
Gravity Forms is a powerful tool for building online forms and collecting visitor data. However, you may not be happy with its limited design options. The good news is that integrating this tool with our Beaver Builder plugin enables you to take control of your form’s appearance and functionality.
In this post, we’ll explain what Gravity Forms is and how you can start using it. Additionally, we’ll show you how to integrate Gravity Forms and Beaver Builder to customize your forms easily. Let’s get started!
Table of Contents:
An Introduction to Gravity Forms
Many websites use forms for capturing leads, payments, and other valuable data from online visitors. Therefore, as a developer or designer, you’ll need powerful, flexible tools to quickly and easily build forms for your client’s websites.
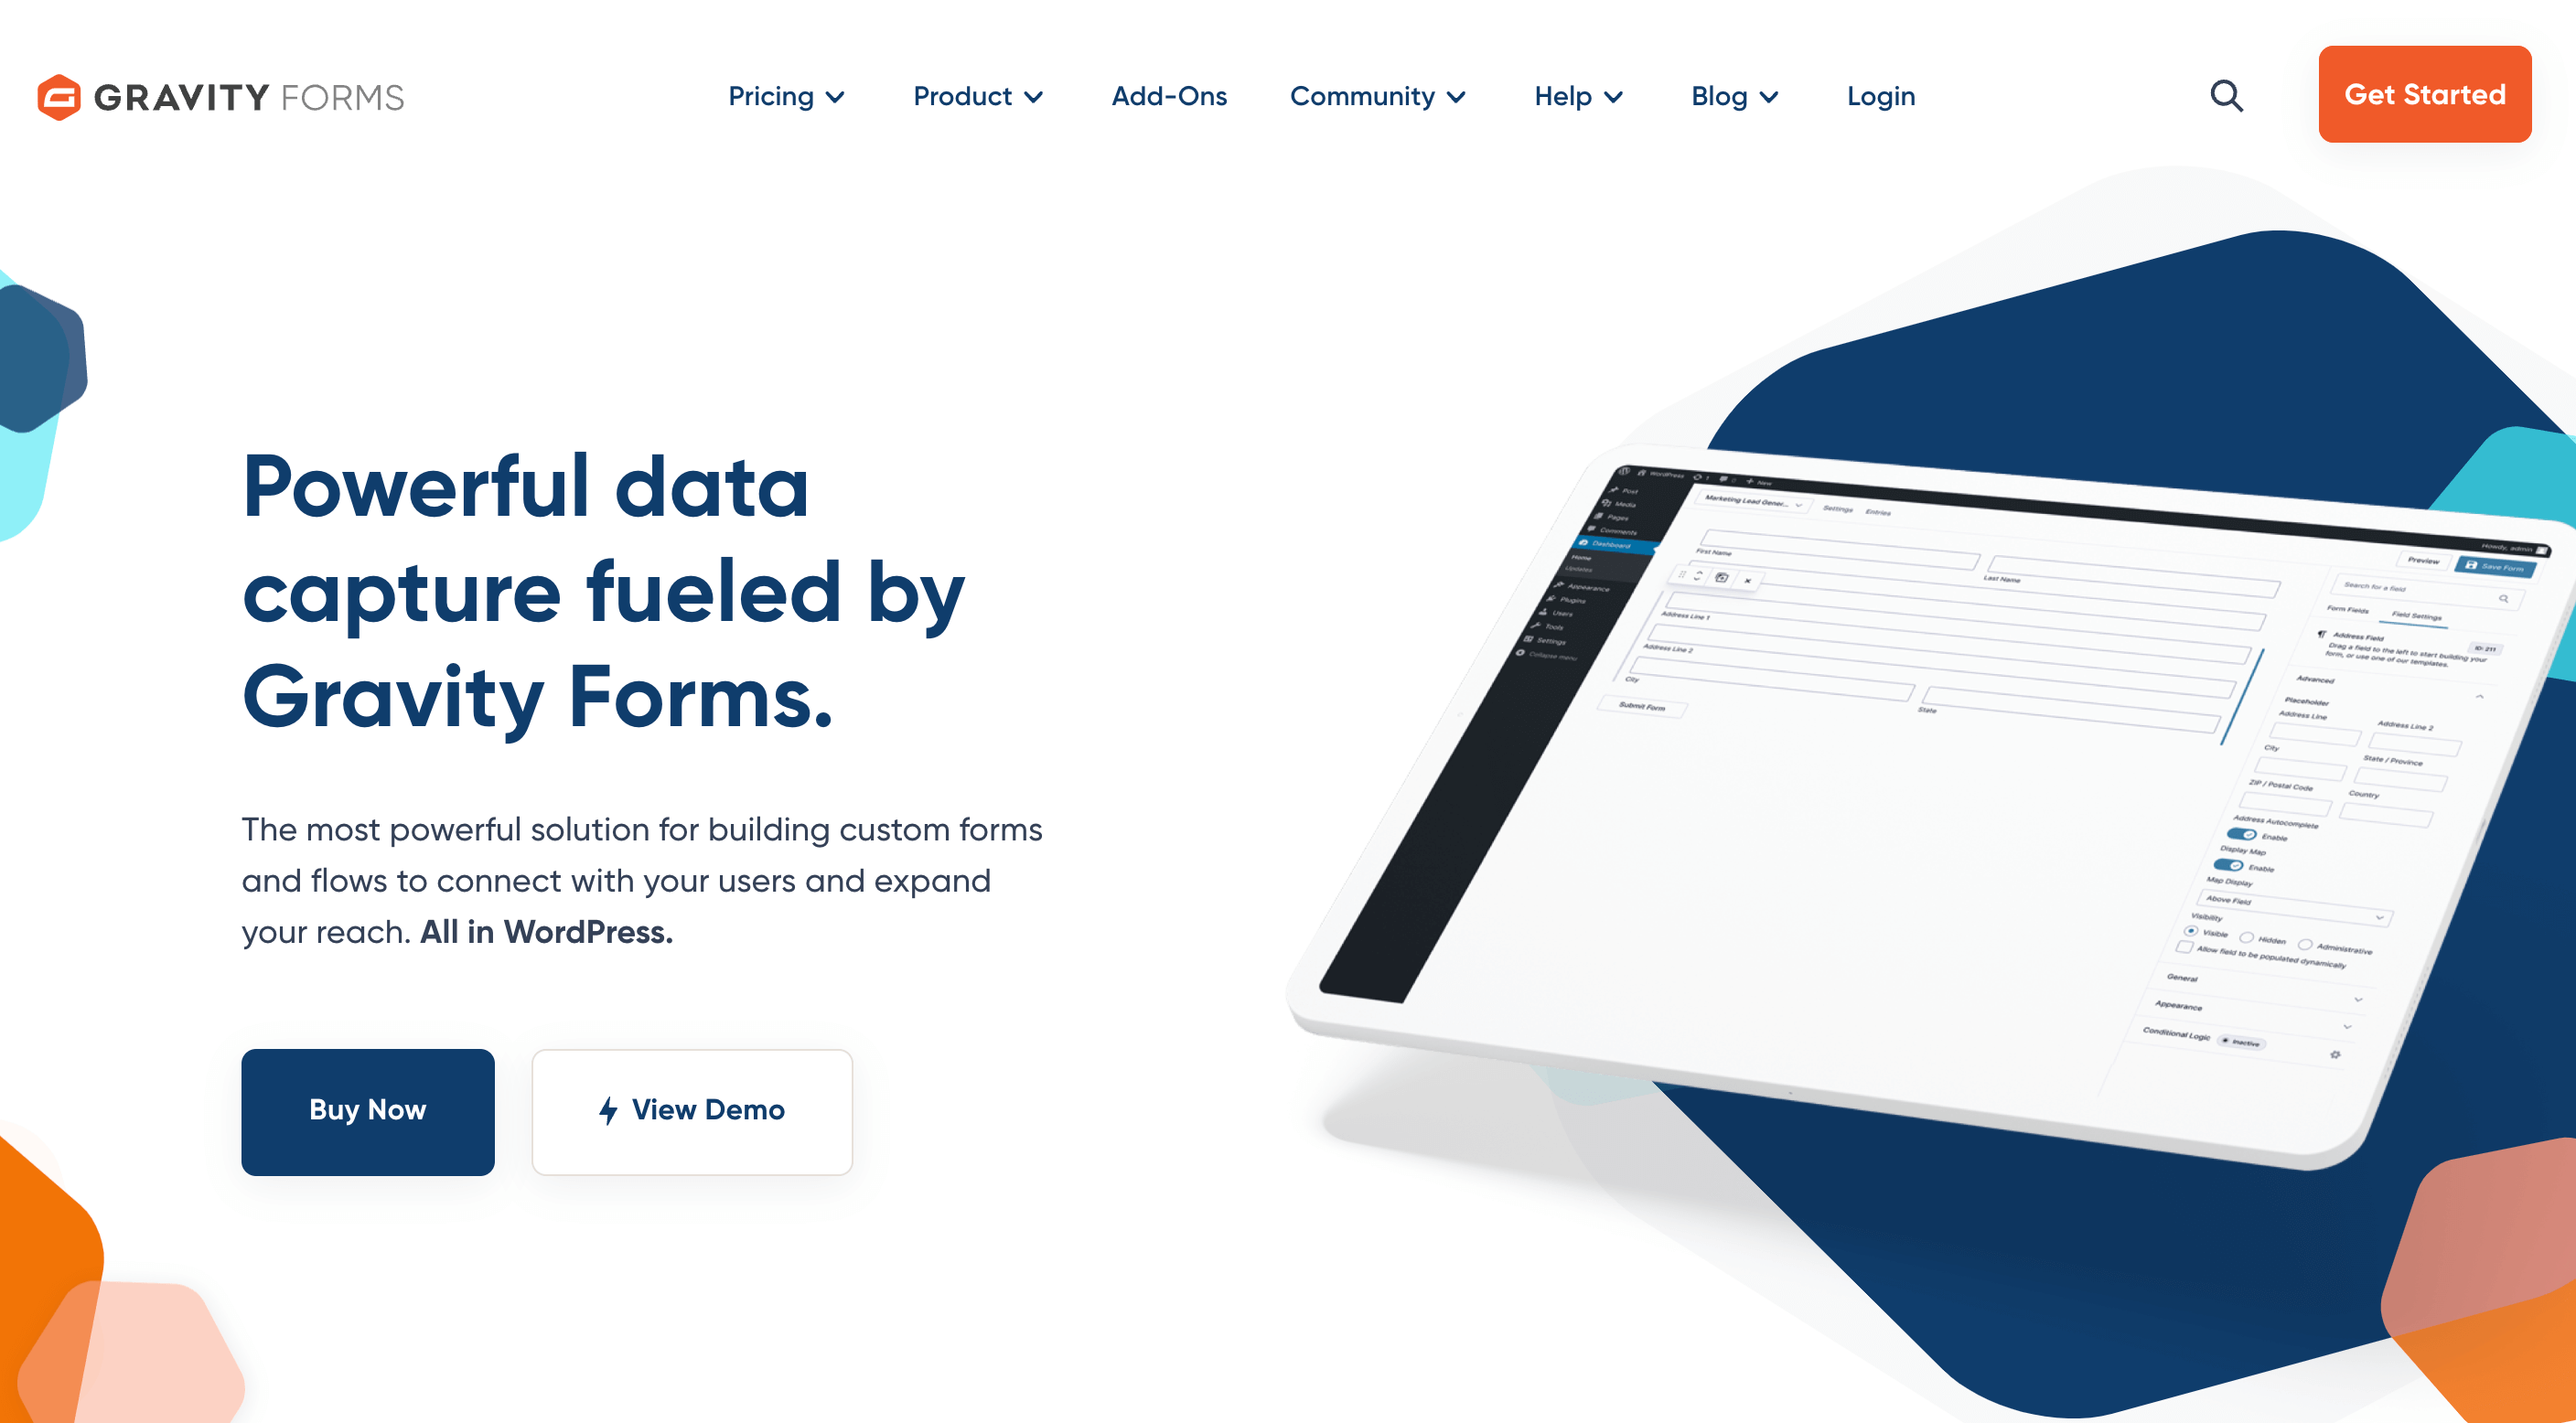
Gravity Forms is one of the most popular plugins for creating custom forms. Its drag-and-drop form builder, pre-designed templates, and extensive addons make it easy to accept submissions from your audience:
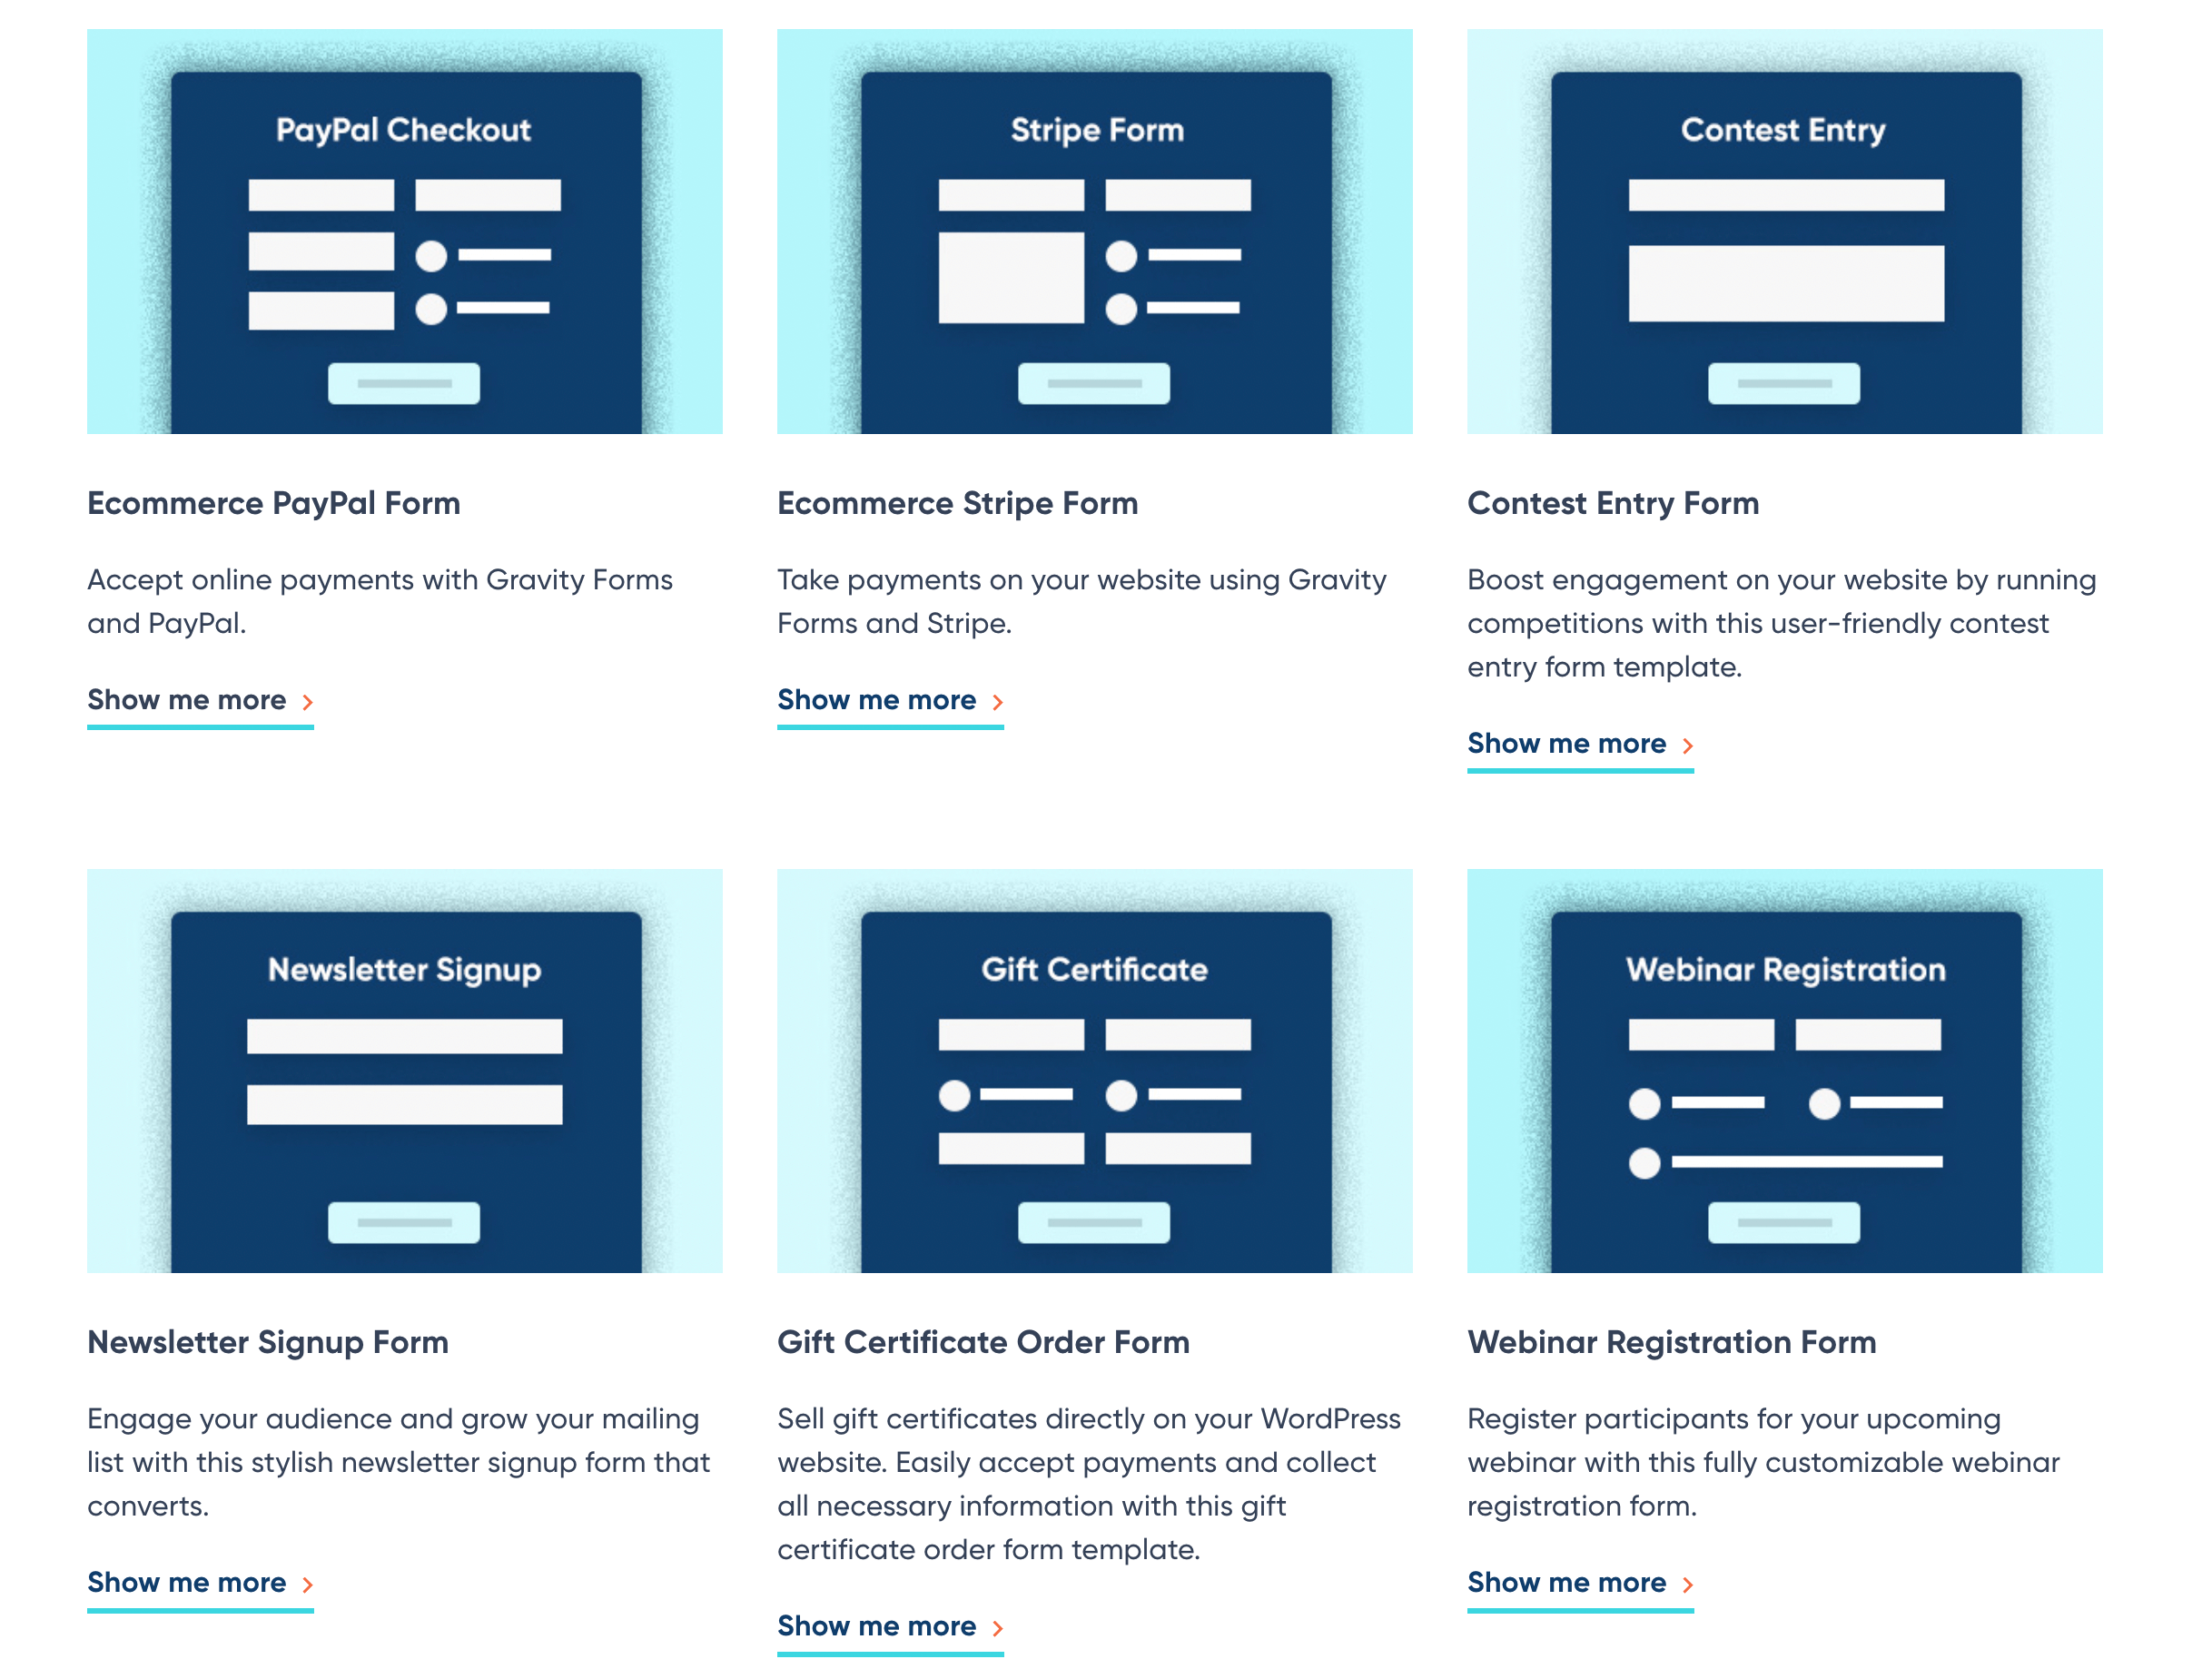
With Gravity Forms, you can design forms for virtually any purpose. Using its template library, even beginners can create newsletter signups, event registrations, customer surveys, and much more:
Although there are many free contact form plugins, Gravity Forms offers more options for developers. For example, this premium plugin includes a developer API that you can use to extend the tool’s functionality. By familiarizing yourself with these actions and filters, you can fully customize every part of Gravity Forms.
How to Get Started With Gravity Forms
Before you can integrate Gravity Forms with Beaver Builder, you’ll need to create your first form. To get started, be sure to install and activate Gravity Forms in WordPress.
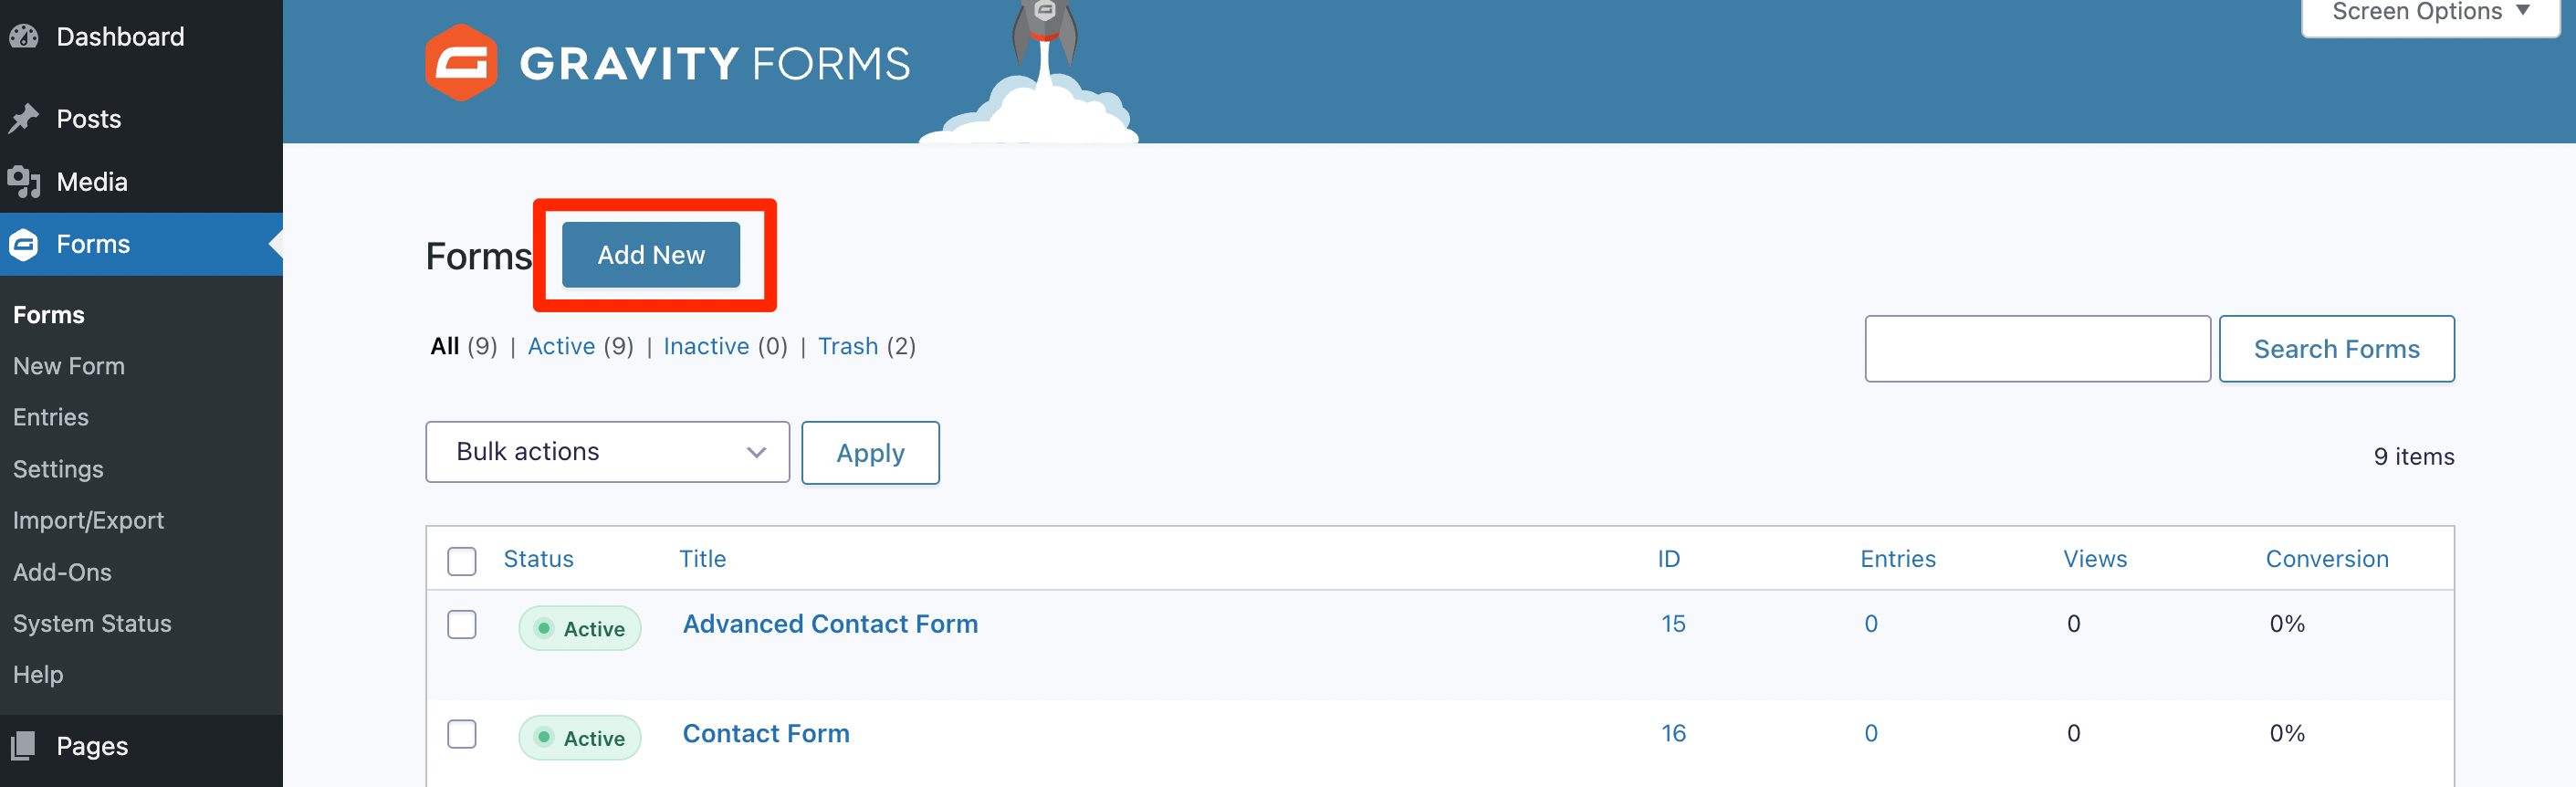
Then, click on Forms > Add New:
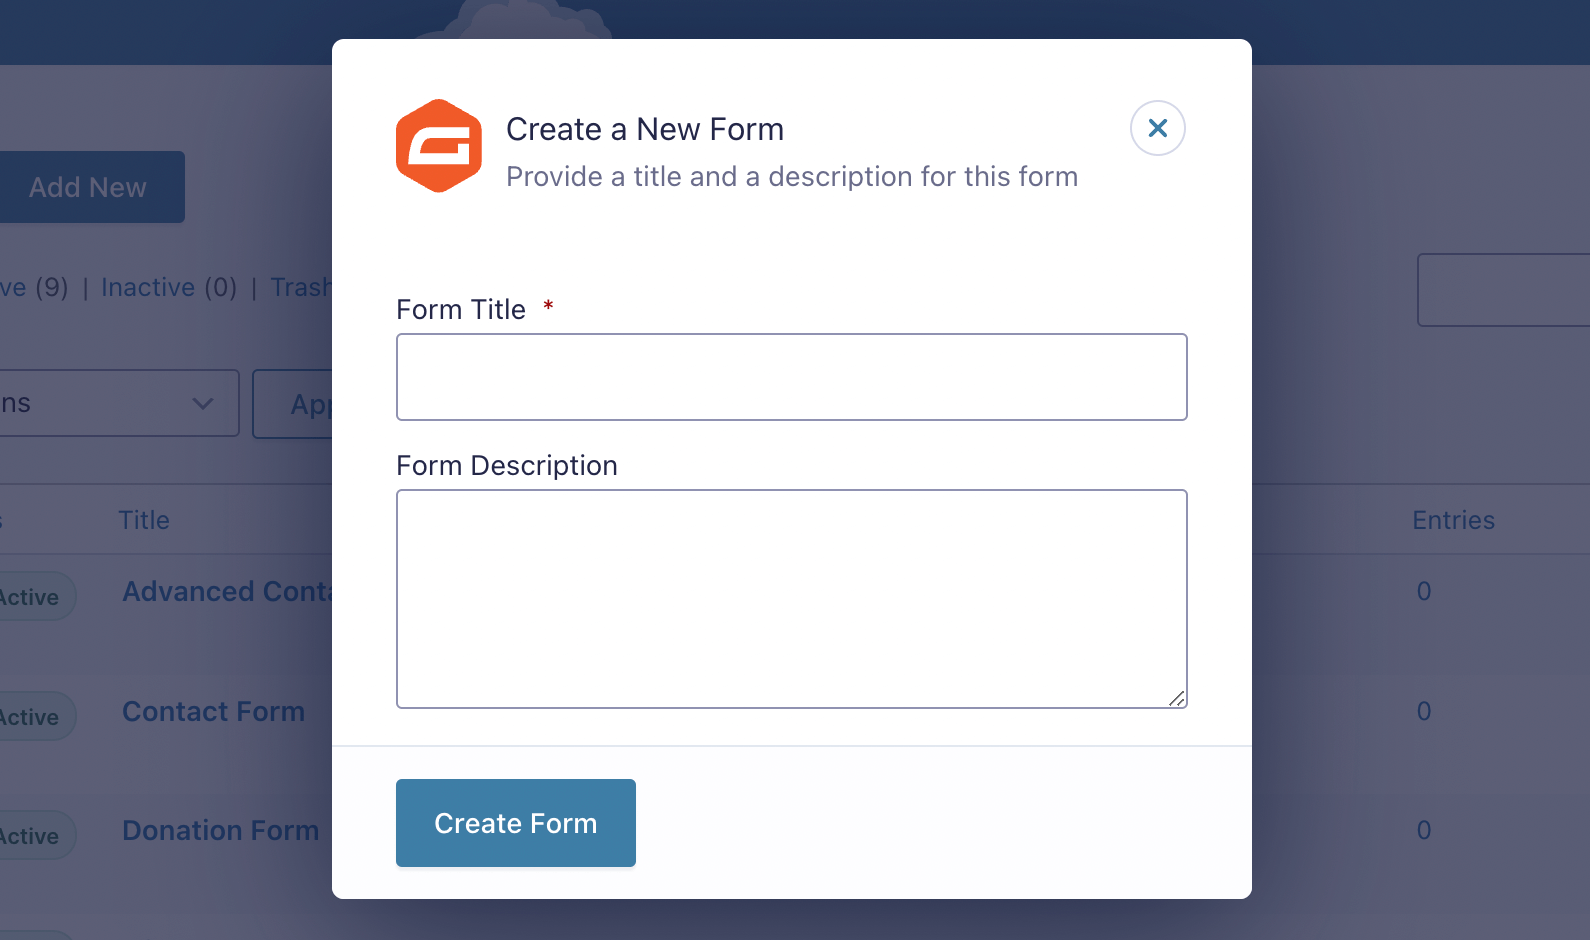
To create your form, give it a title. You can also add a brief description:
After you hit Create Form, this will automatically open the Gravity Forms editor. On the right, you’ll see a list of fields that you can drag and drop onto the form:
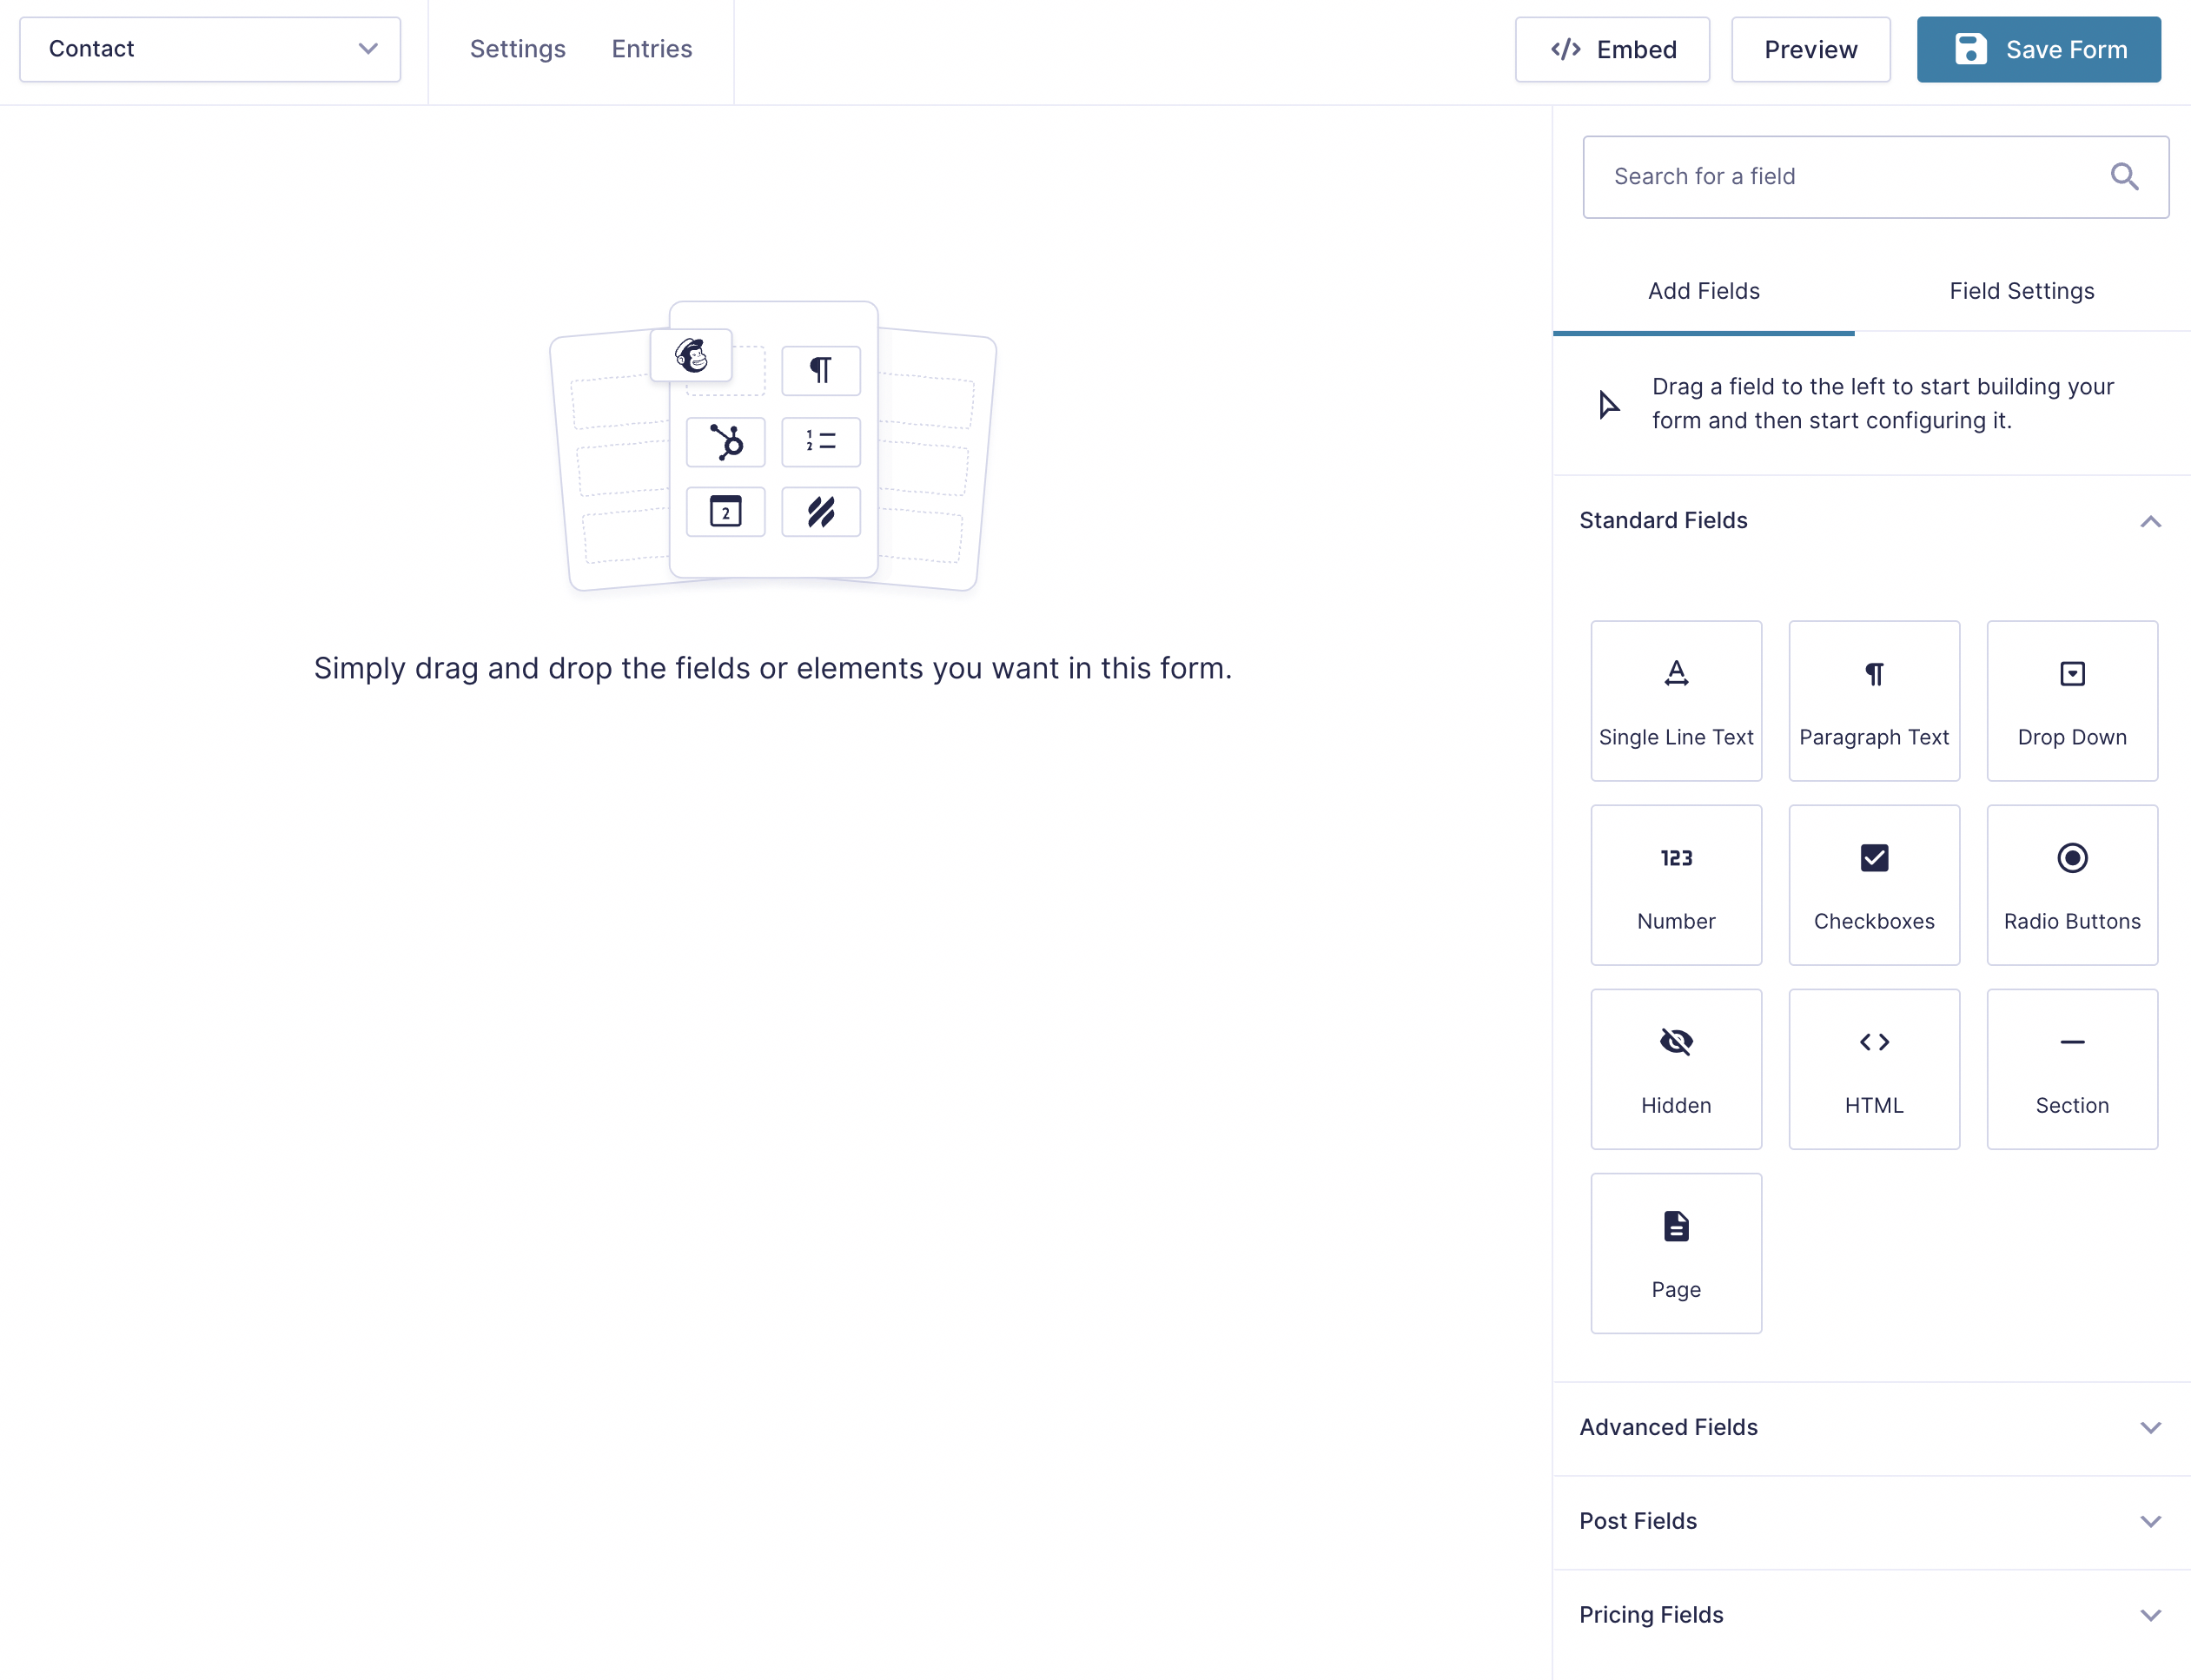
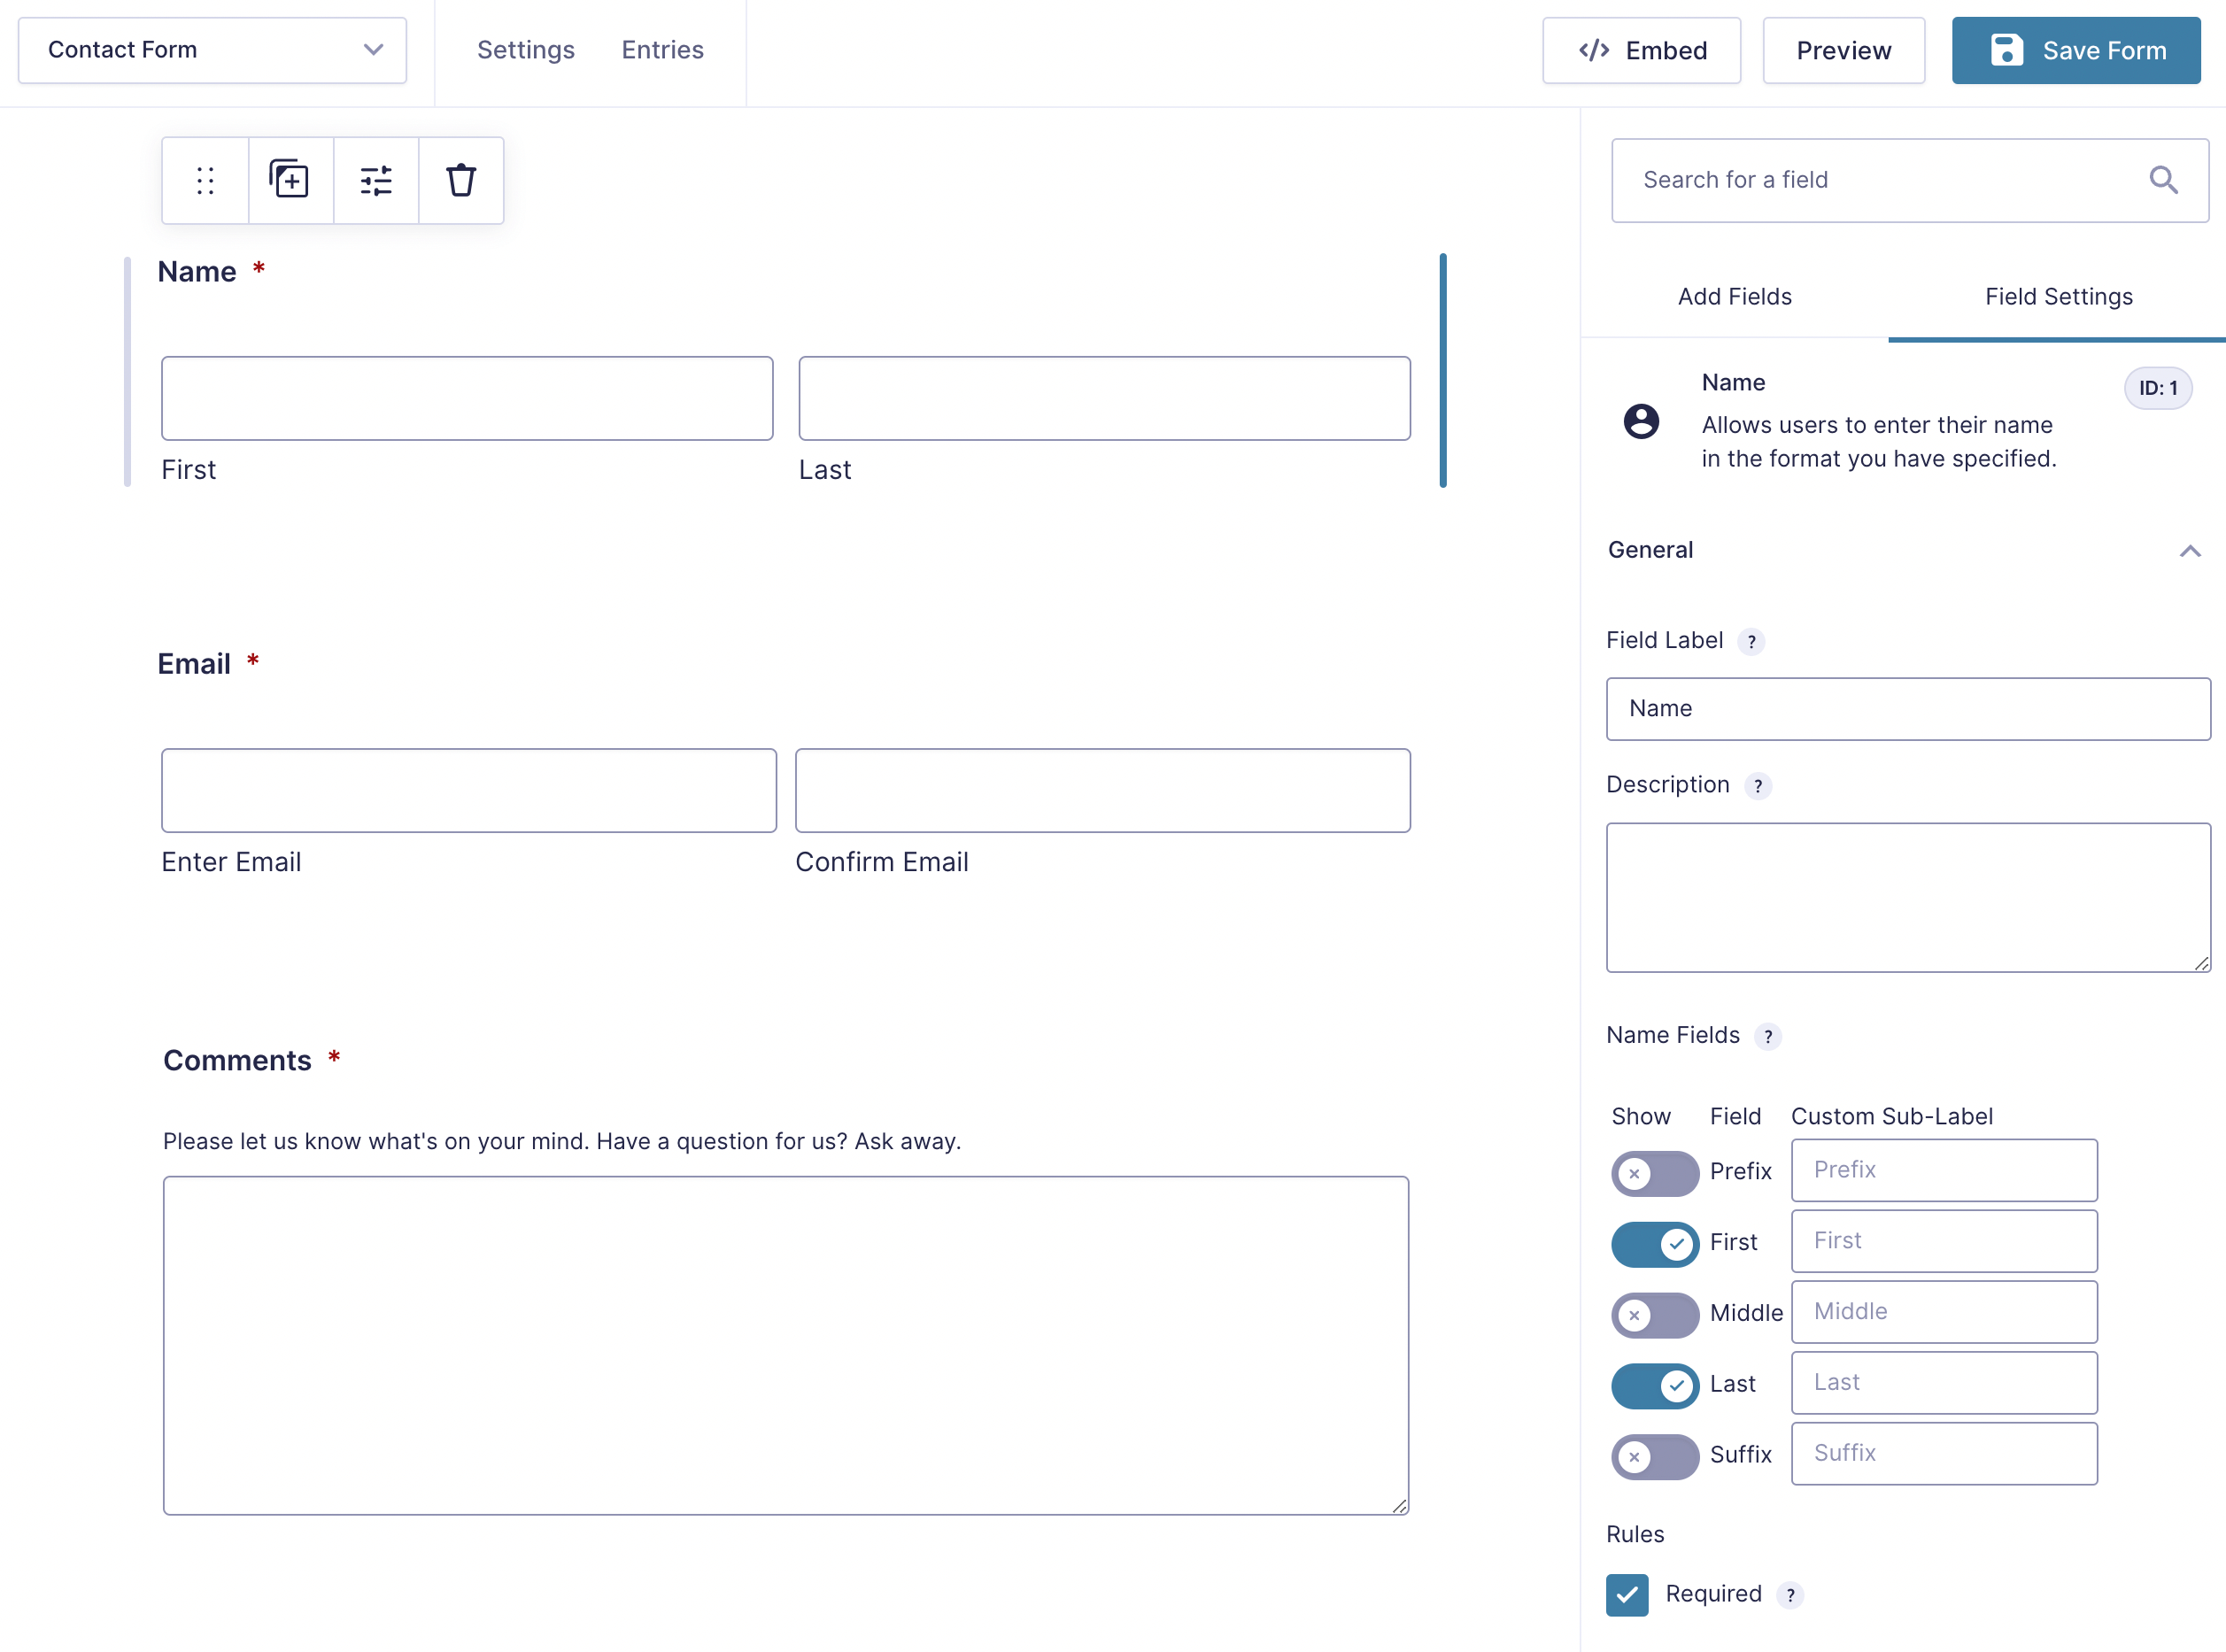
For example, a contact form might include a Name, Email, and Phone field. After you add a field, you can customize its settings to meet your needs. Depending on the field, you could adjust options like labels, descriptions, and sub-labels:
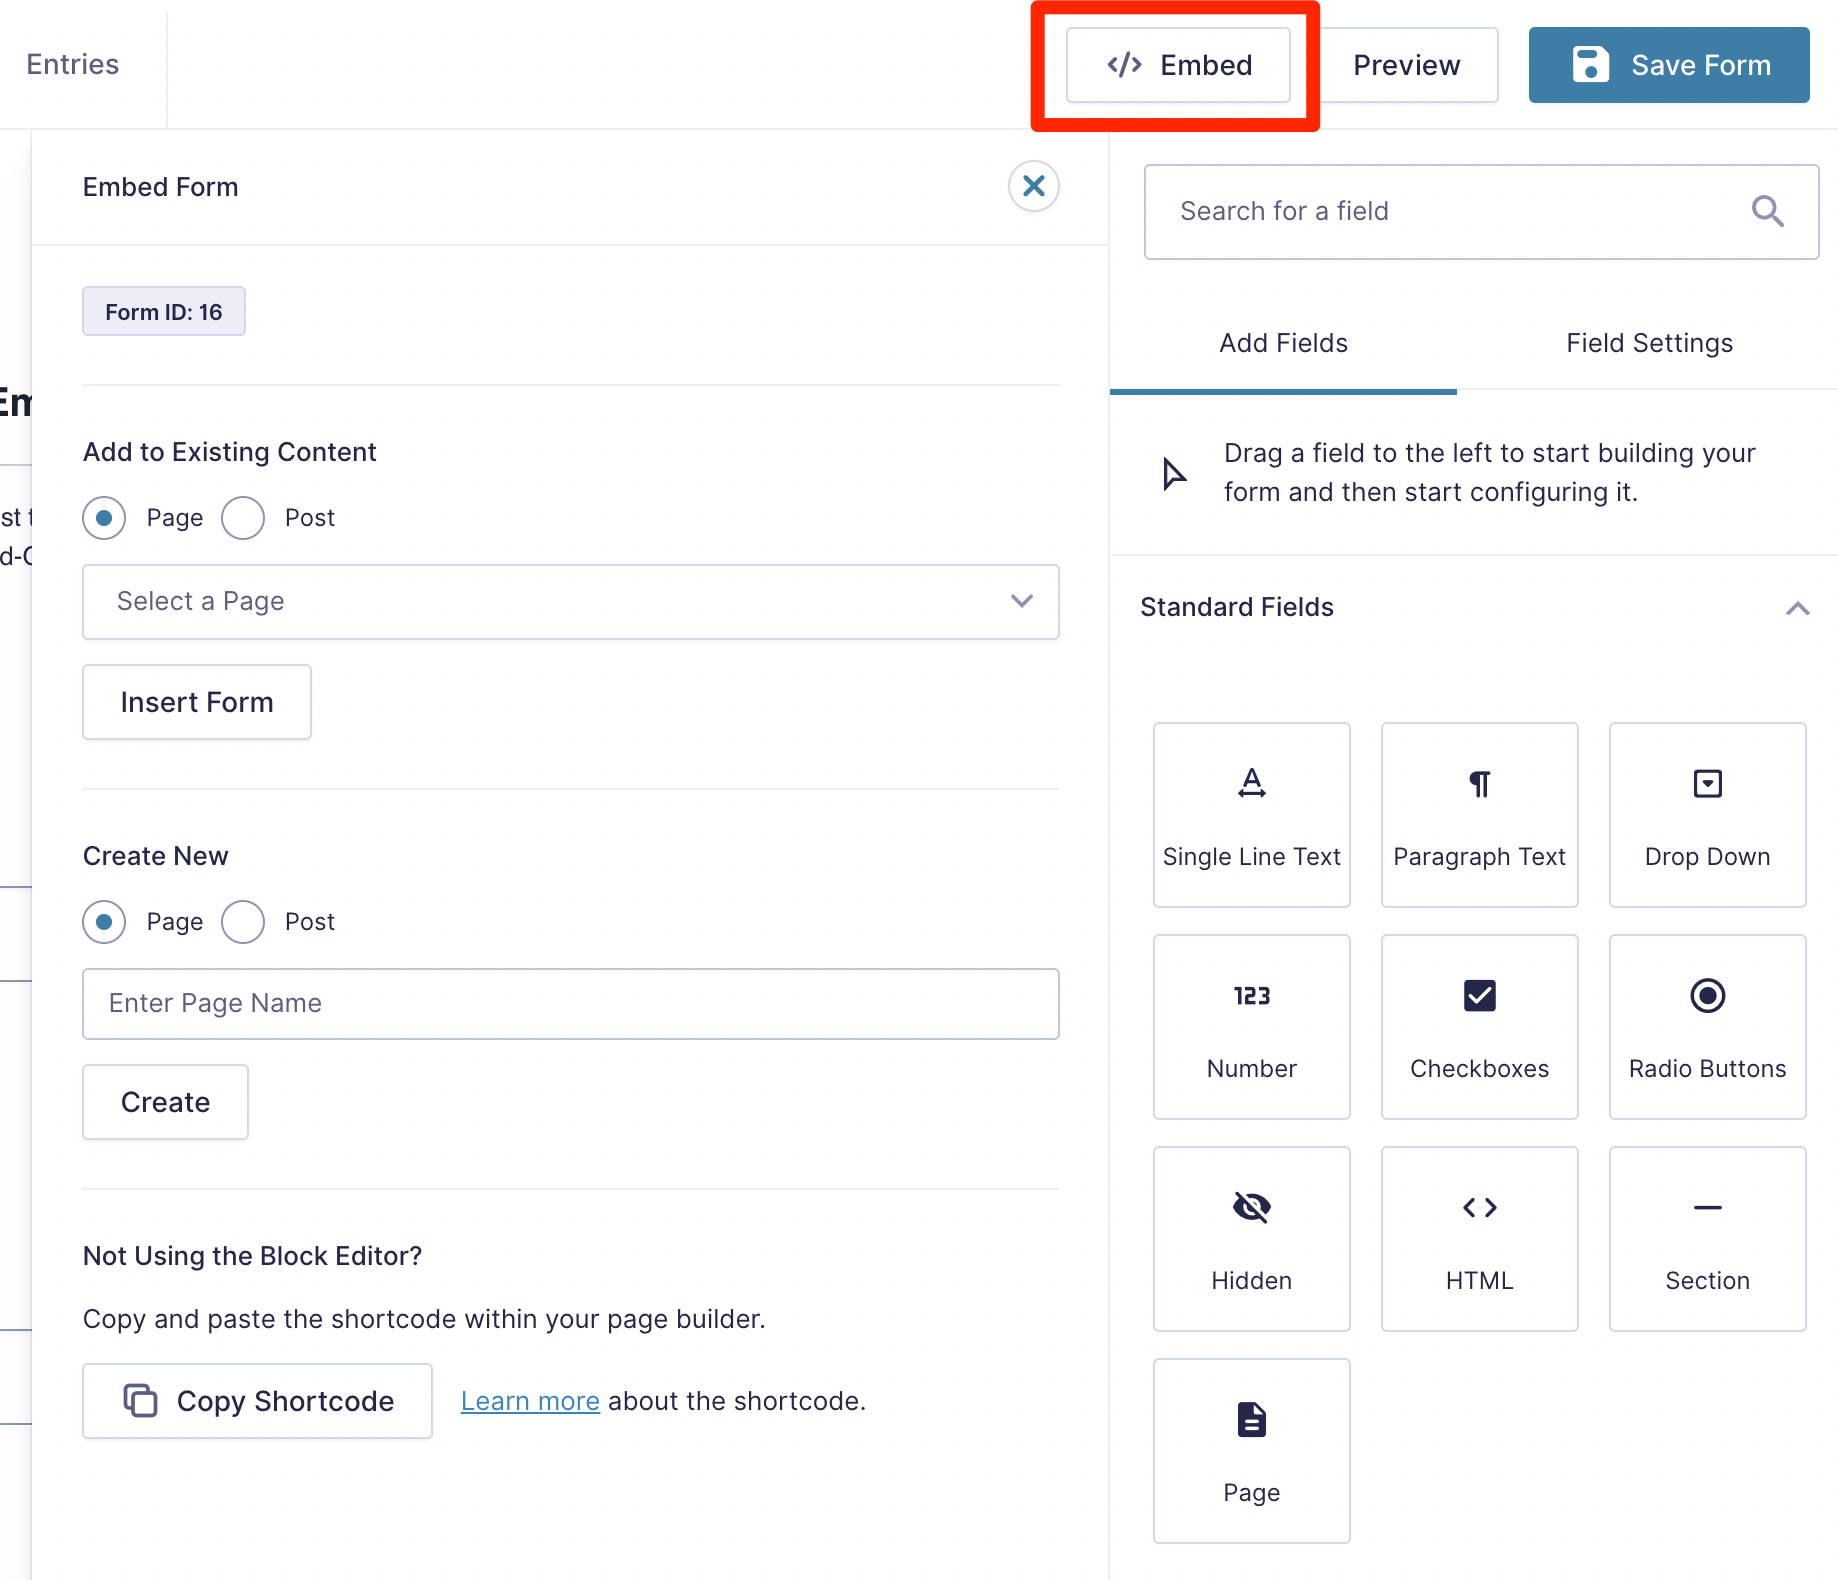
Select the Embed button when you’re ready to publish your form. This enables you to easily add the form to any page on your website:
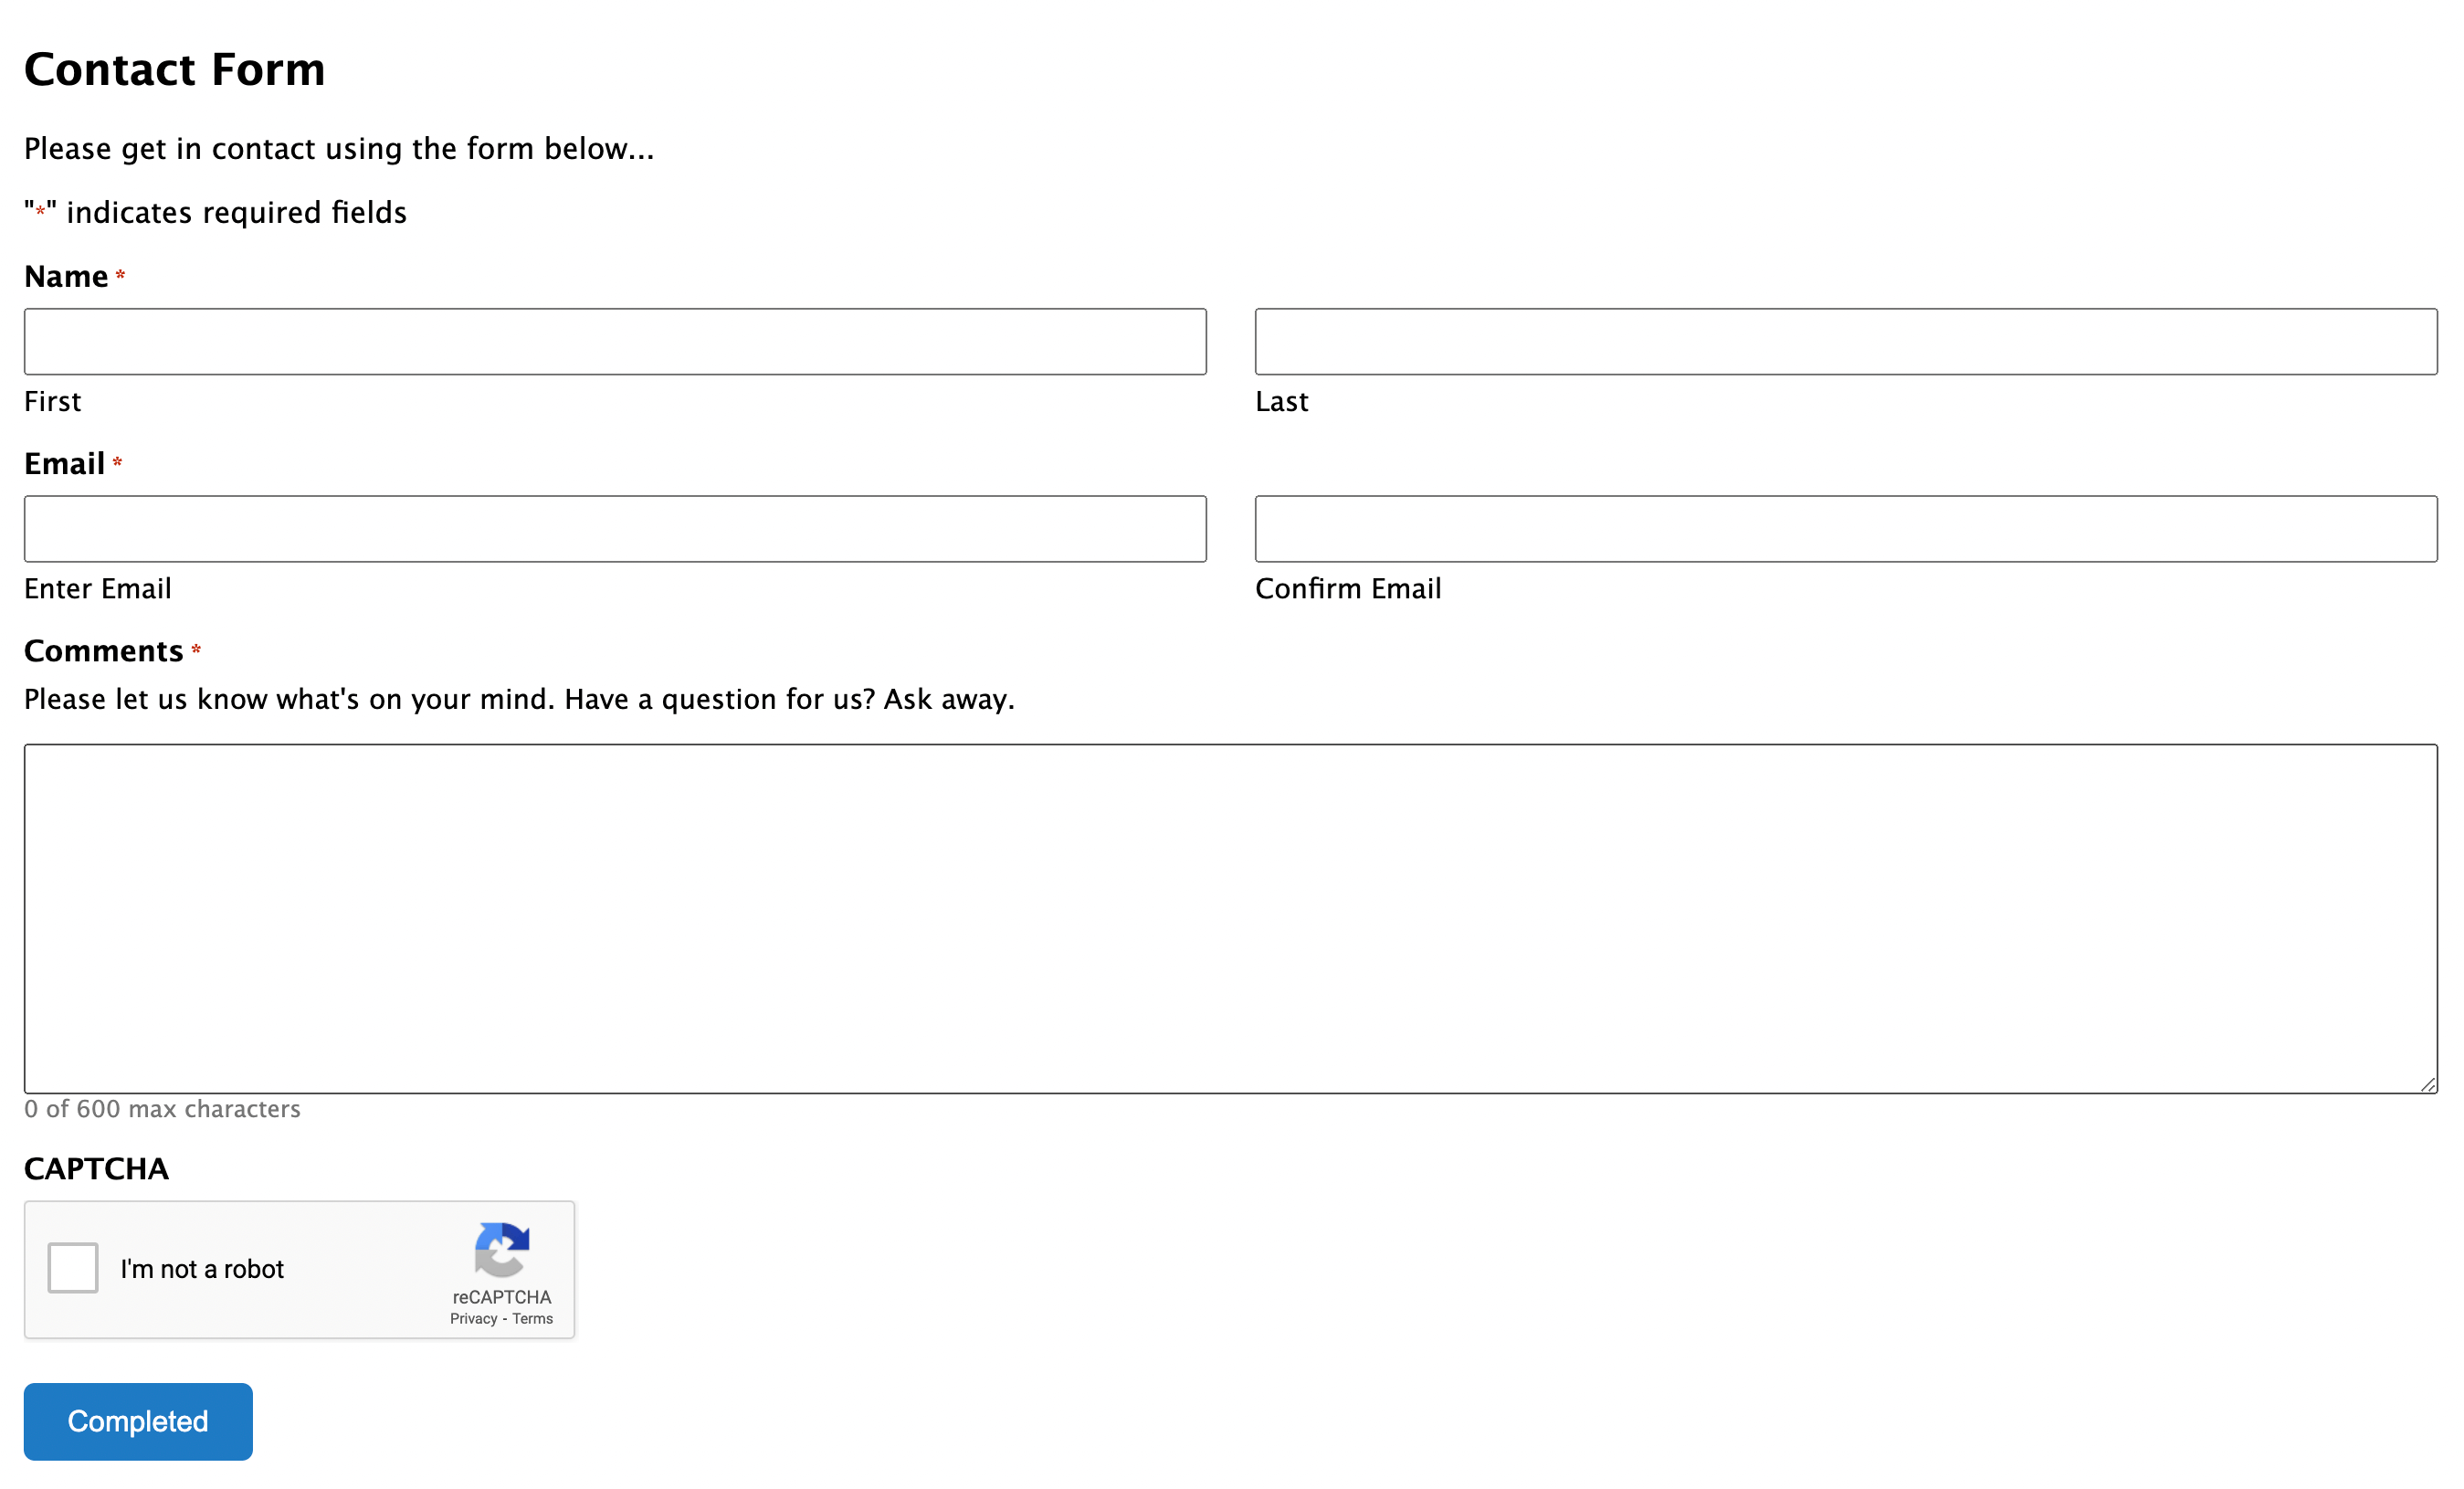
However, this method won’t give you much control over your form’s appearance. It will have a simple layout that may not align with your website’s visual brand:
To solve this problem, you can integrate Gravity Forms and Beaver Builder. After customizing your form fields in Gravity Forms, you can use our page builder plugin to fully design your form before publishing it!
How to Integrate Gravity Forms and Beaver Builder (3 Methods)
Now that you’ve built your first form with Gravity Forms, it’s time to add it to your website. In this tutorial, we’ll be using our Beaver Builder page builder to easily insert any Gravity form into your web pages. Here are three easy methods!
1. Add a Gravity Forms Shortcode
After installing Gravity Forms, you can insert a Gravity Forms block into any WordPress post or page. This method lets you embed forms easily without a page builder.
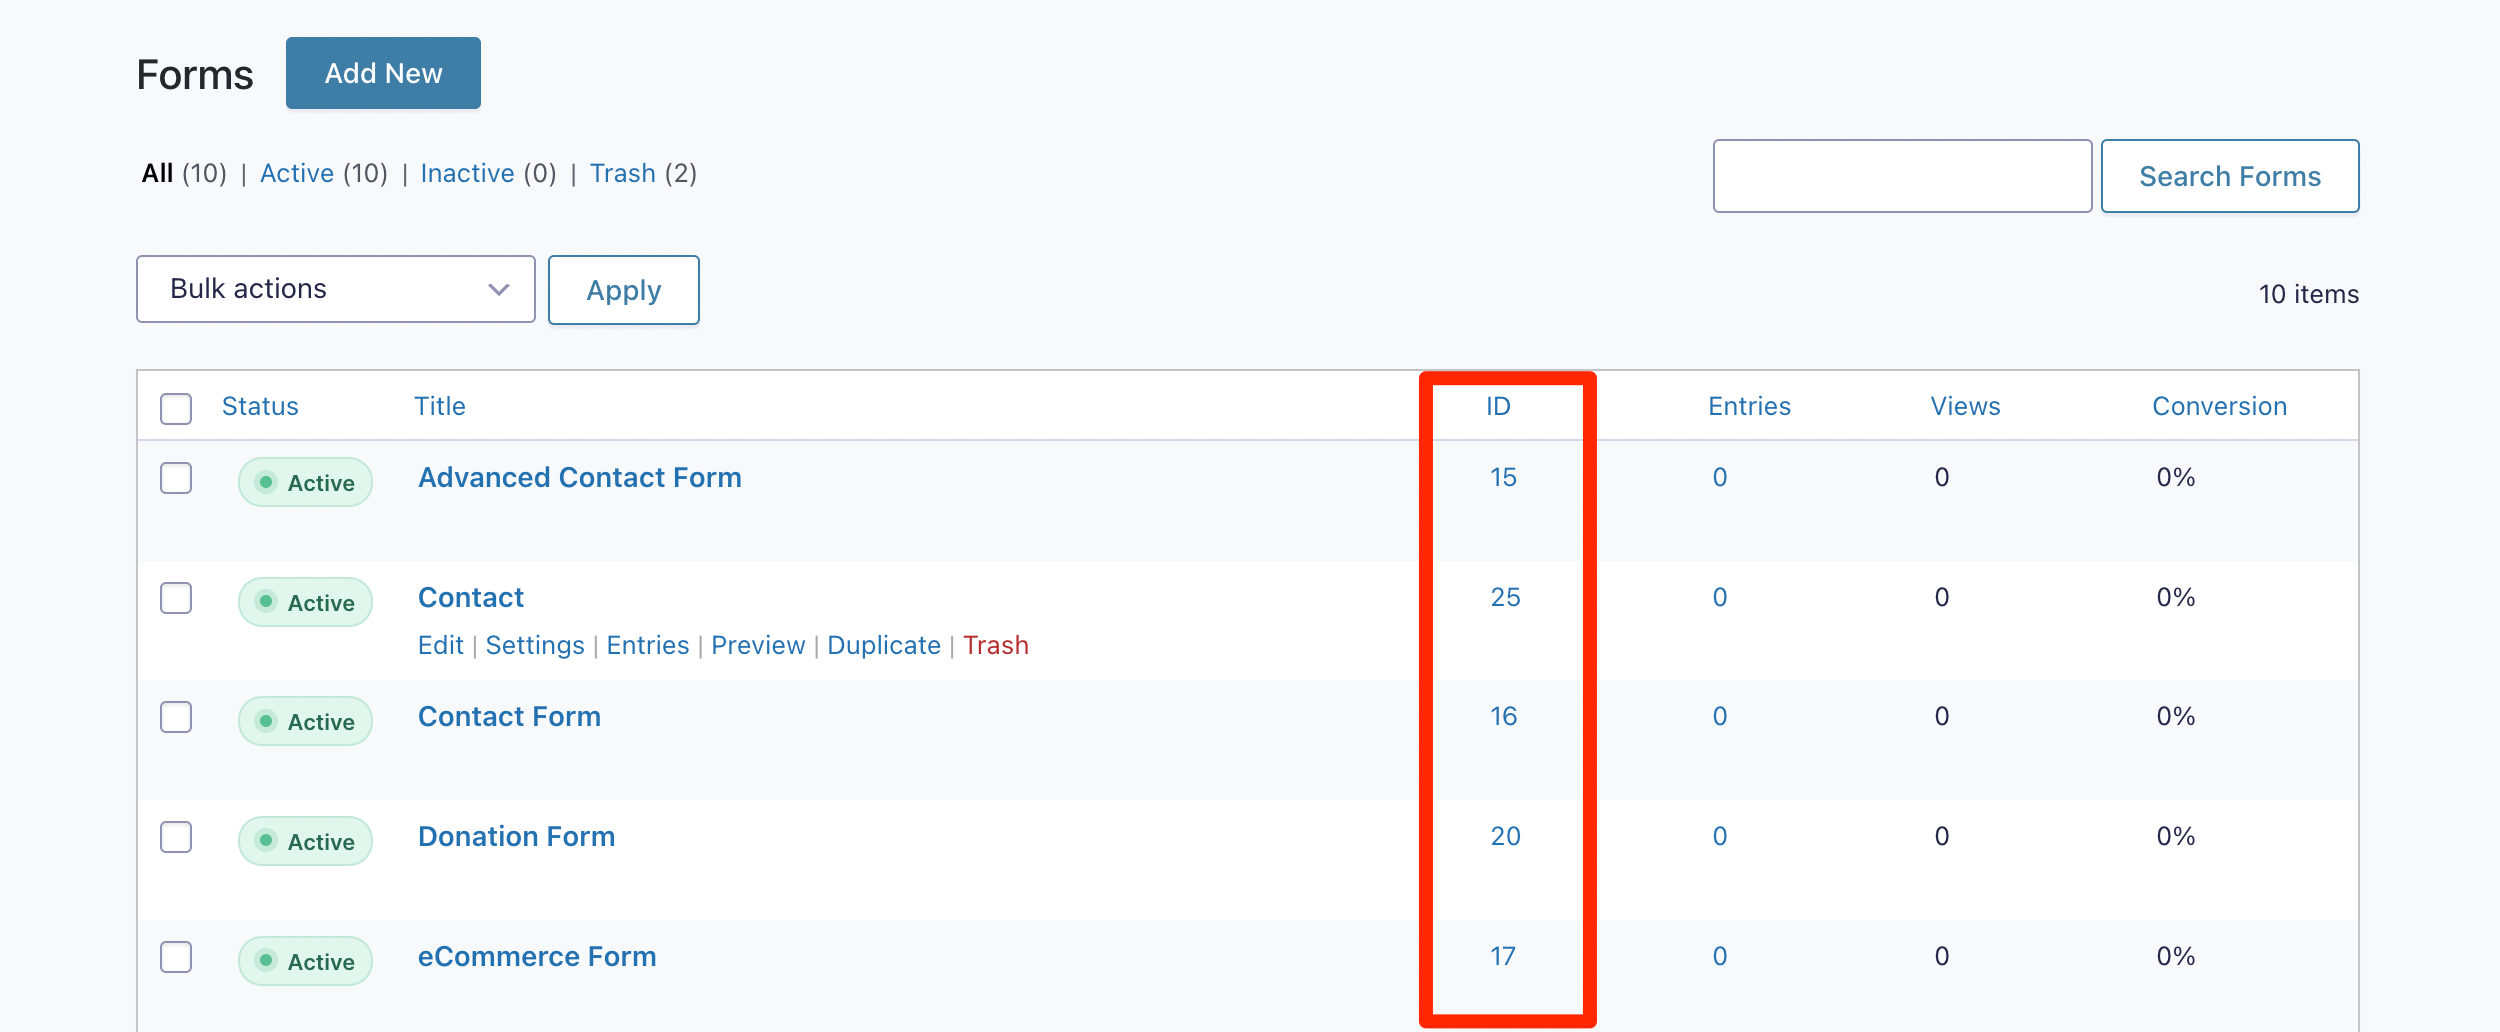
However, if you’re using Beaver Builder, you can also generate a shortcode for your form. First, open your Forms page. Find a specific form from the list and take note of its ID number:
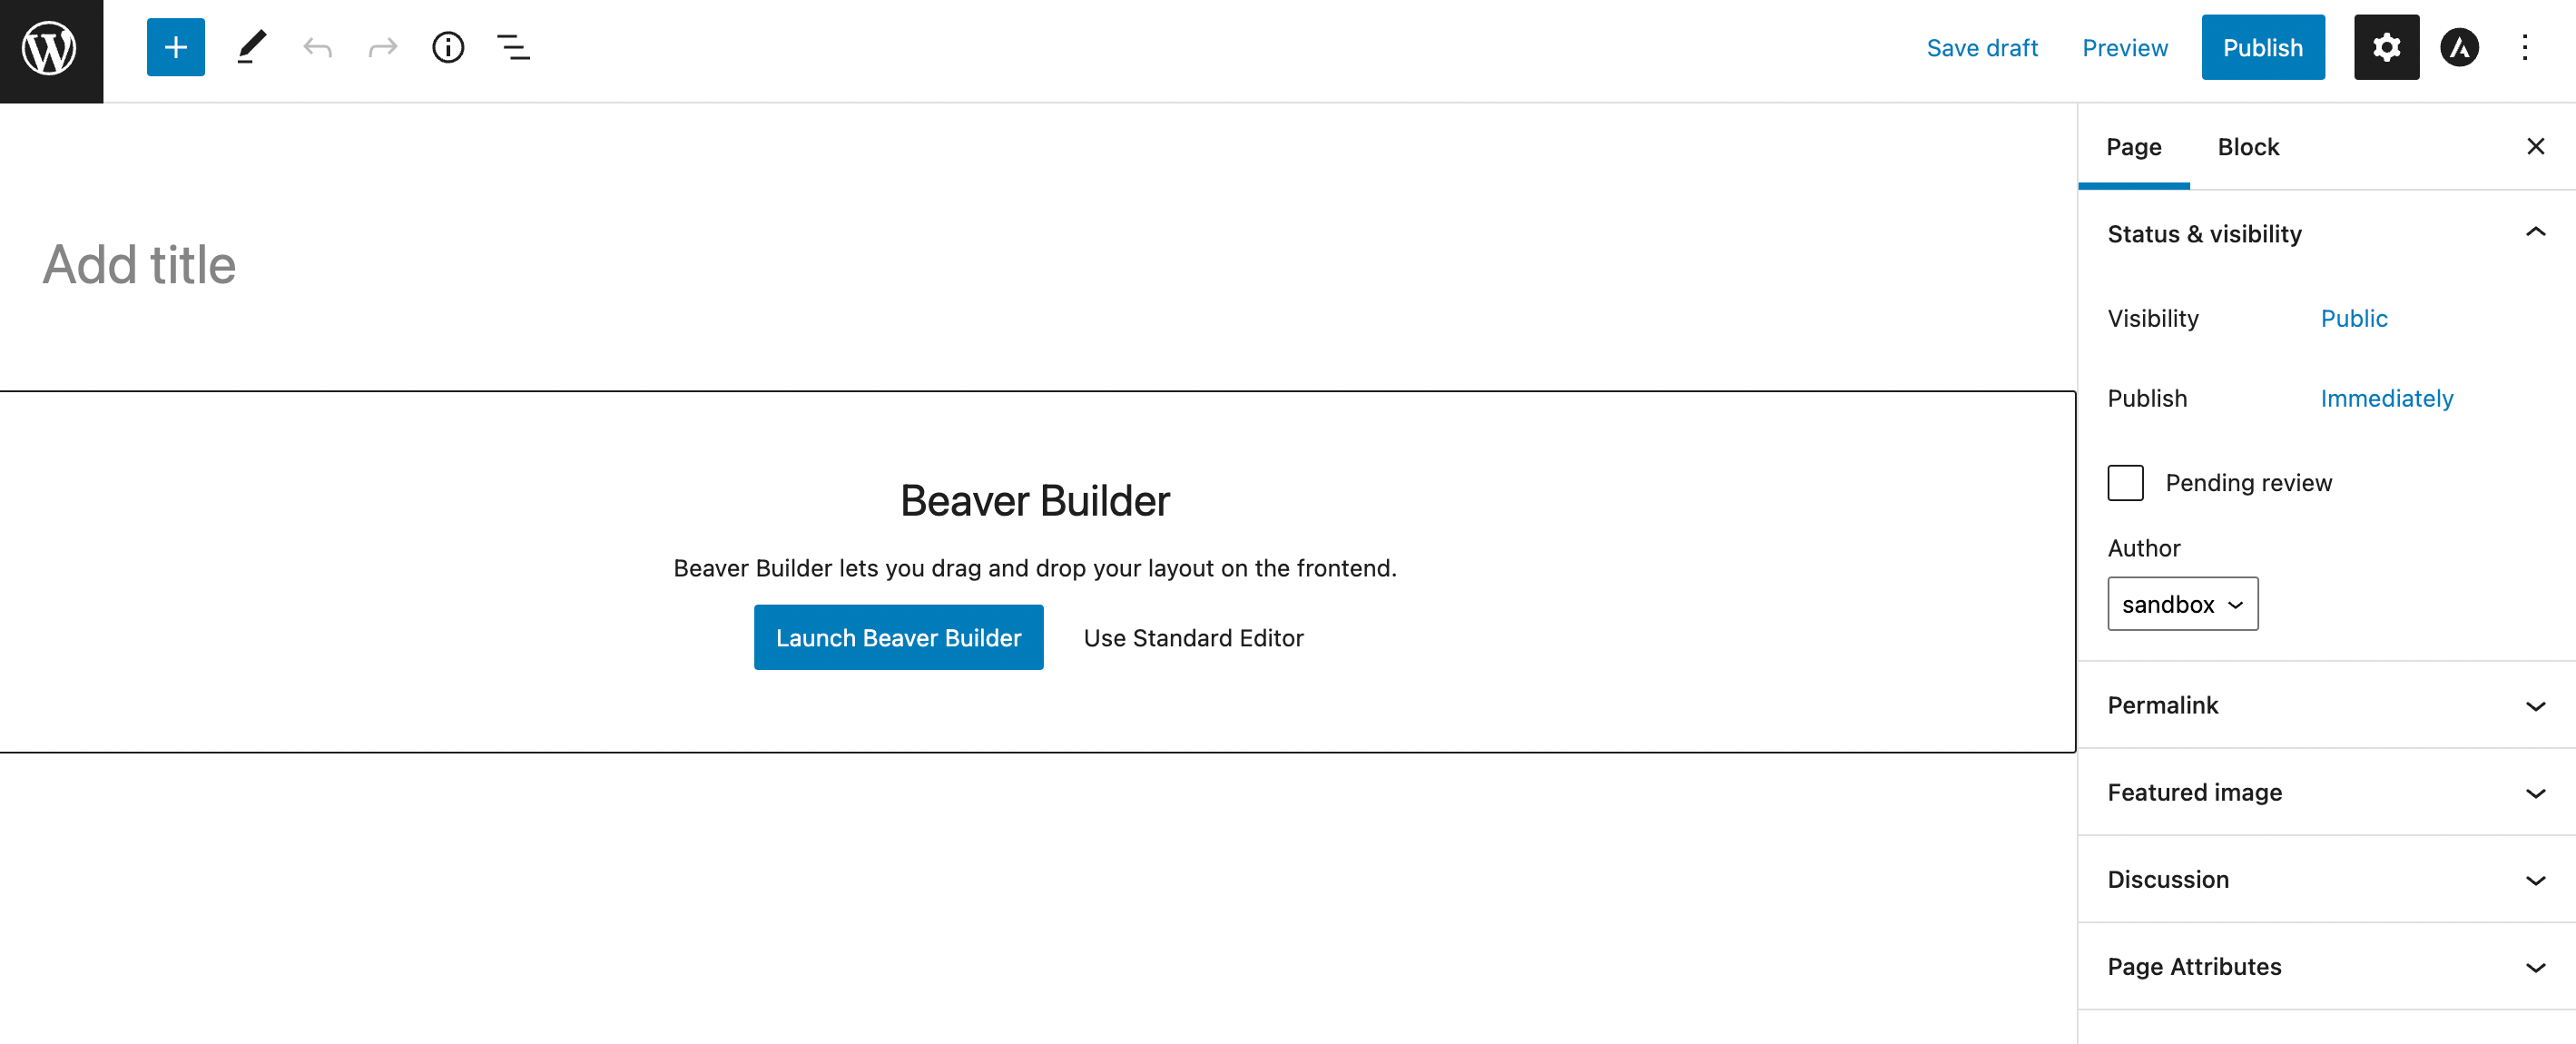
Next, open the post or page where you want to feature the form. When prompted, click on Launch Beaver Builder:
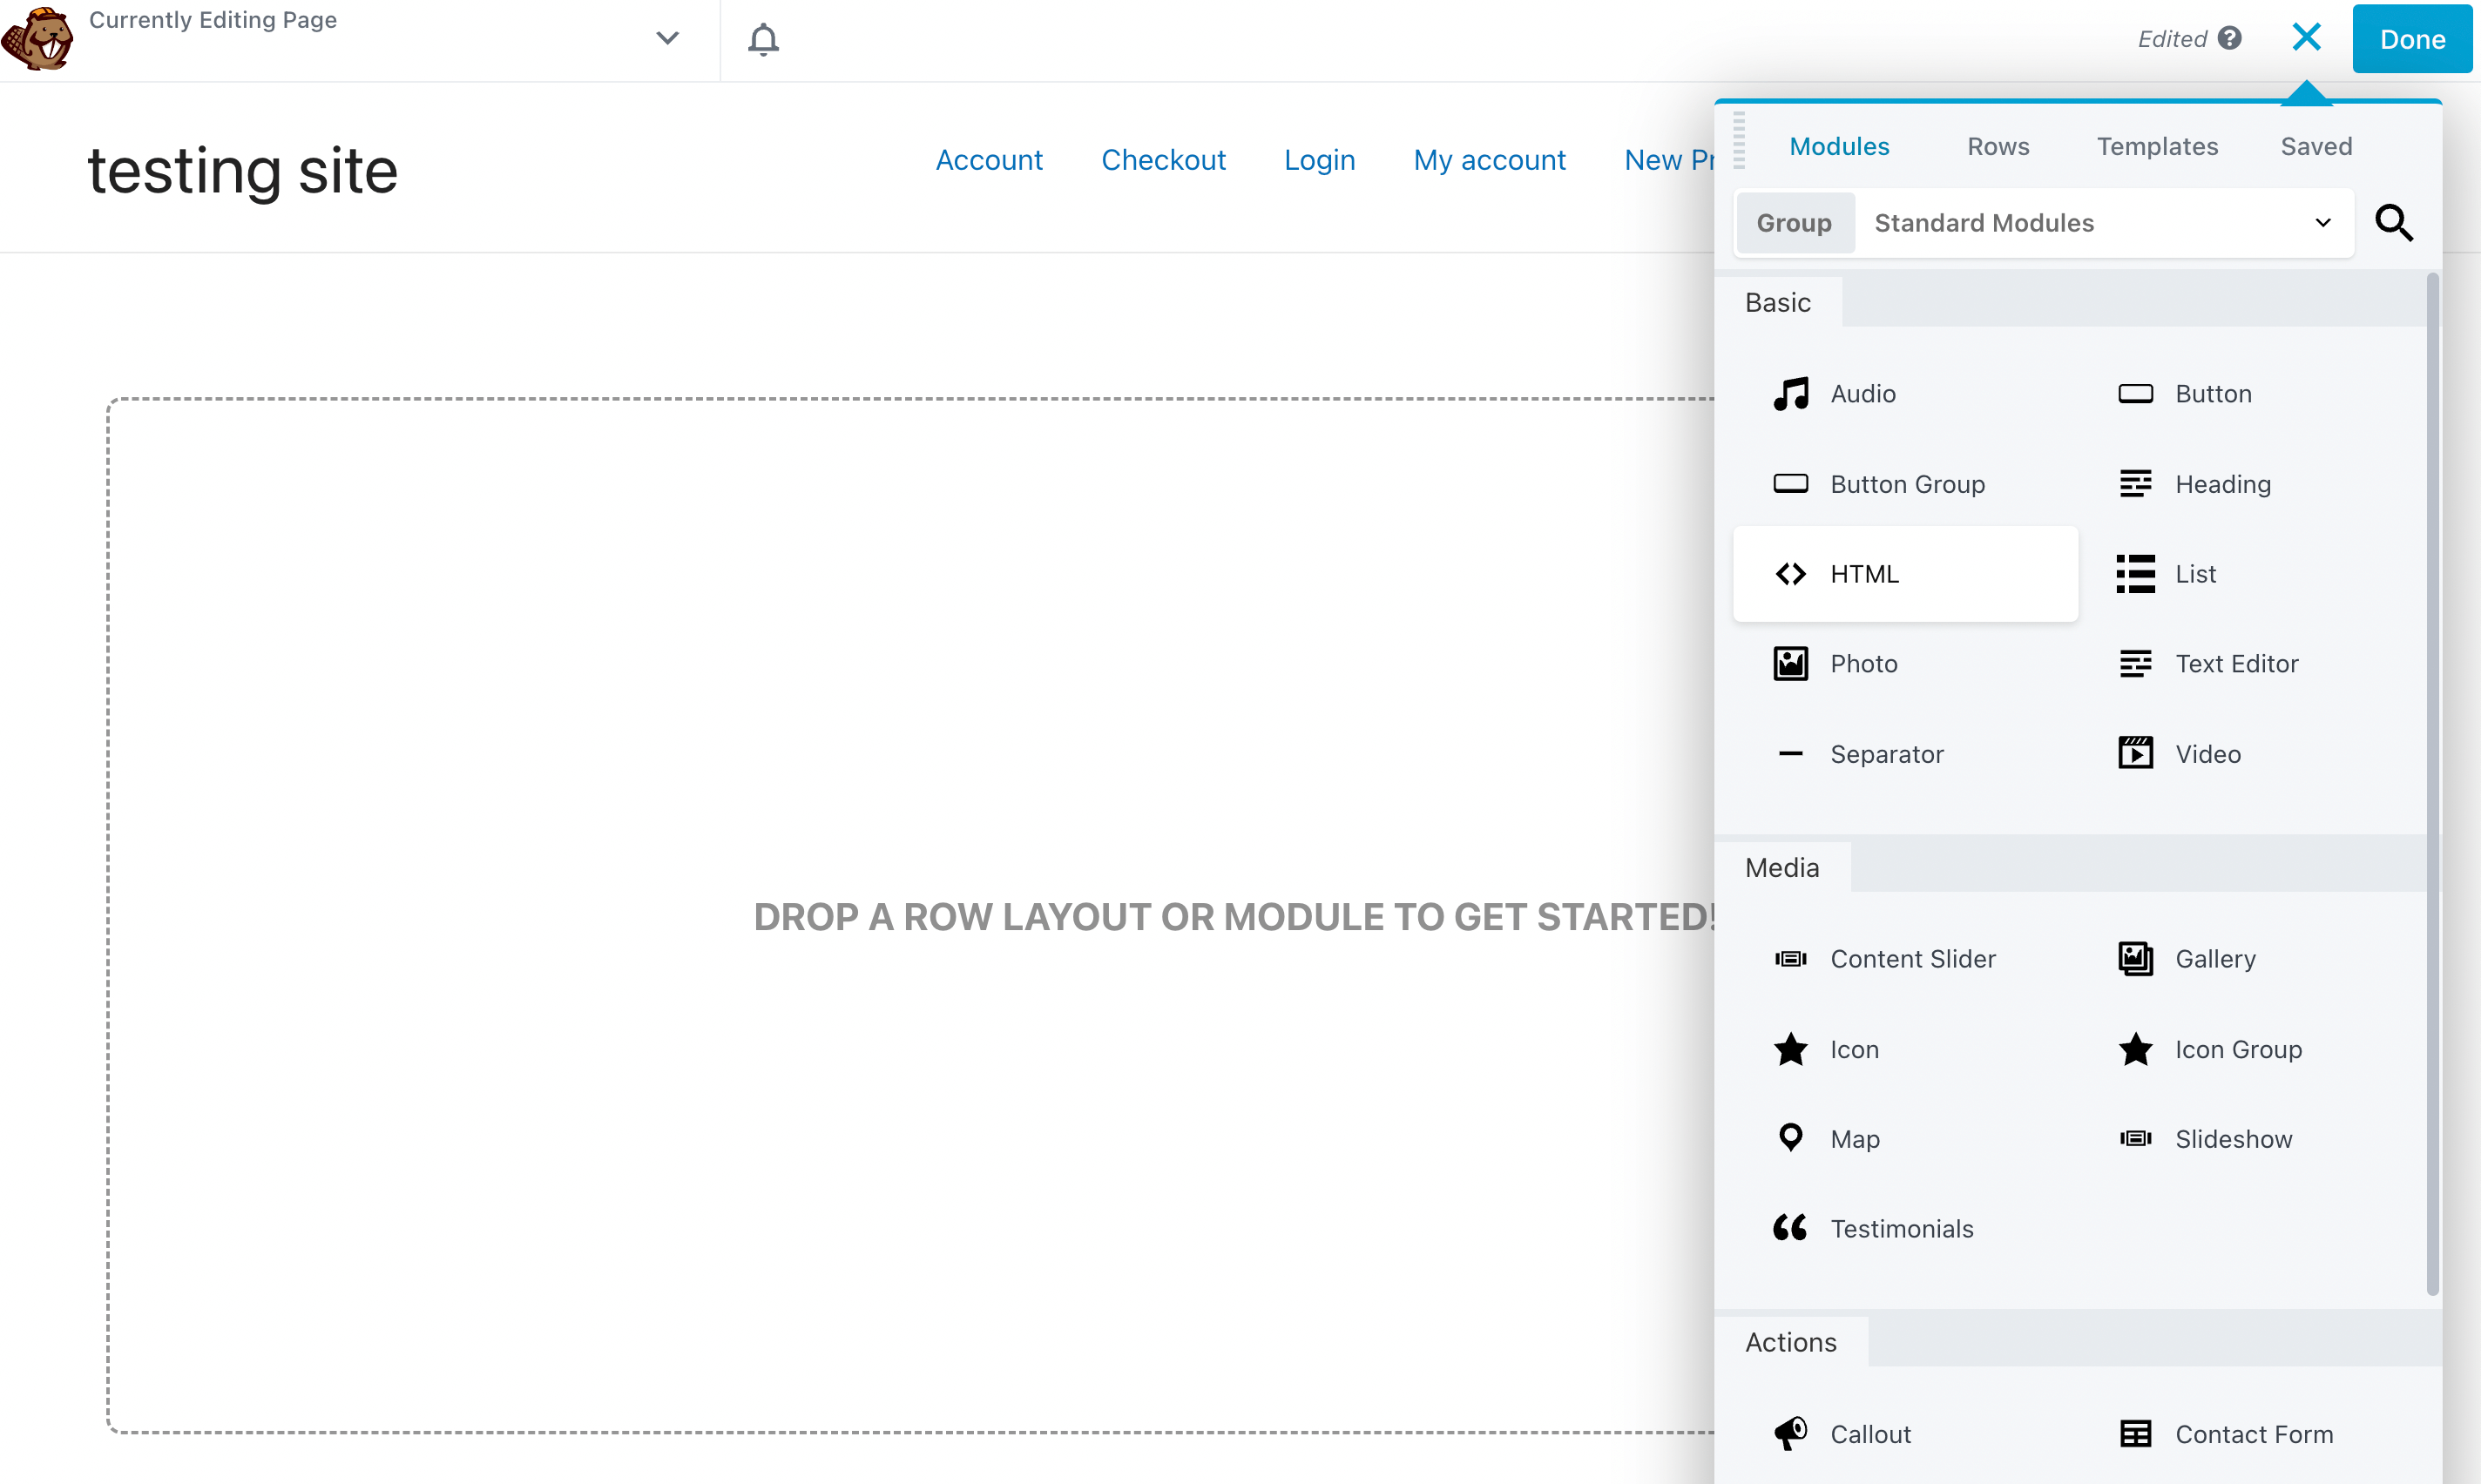
In the Beaver Builder editor, select the Modules tab. Here, find the HTML module and drag and drop it anywhere on the page:
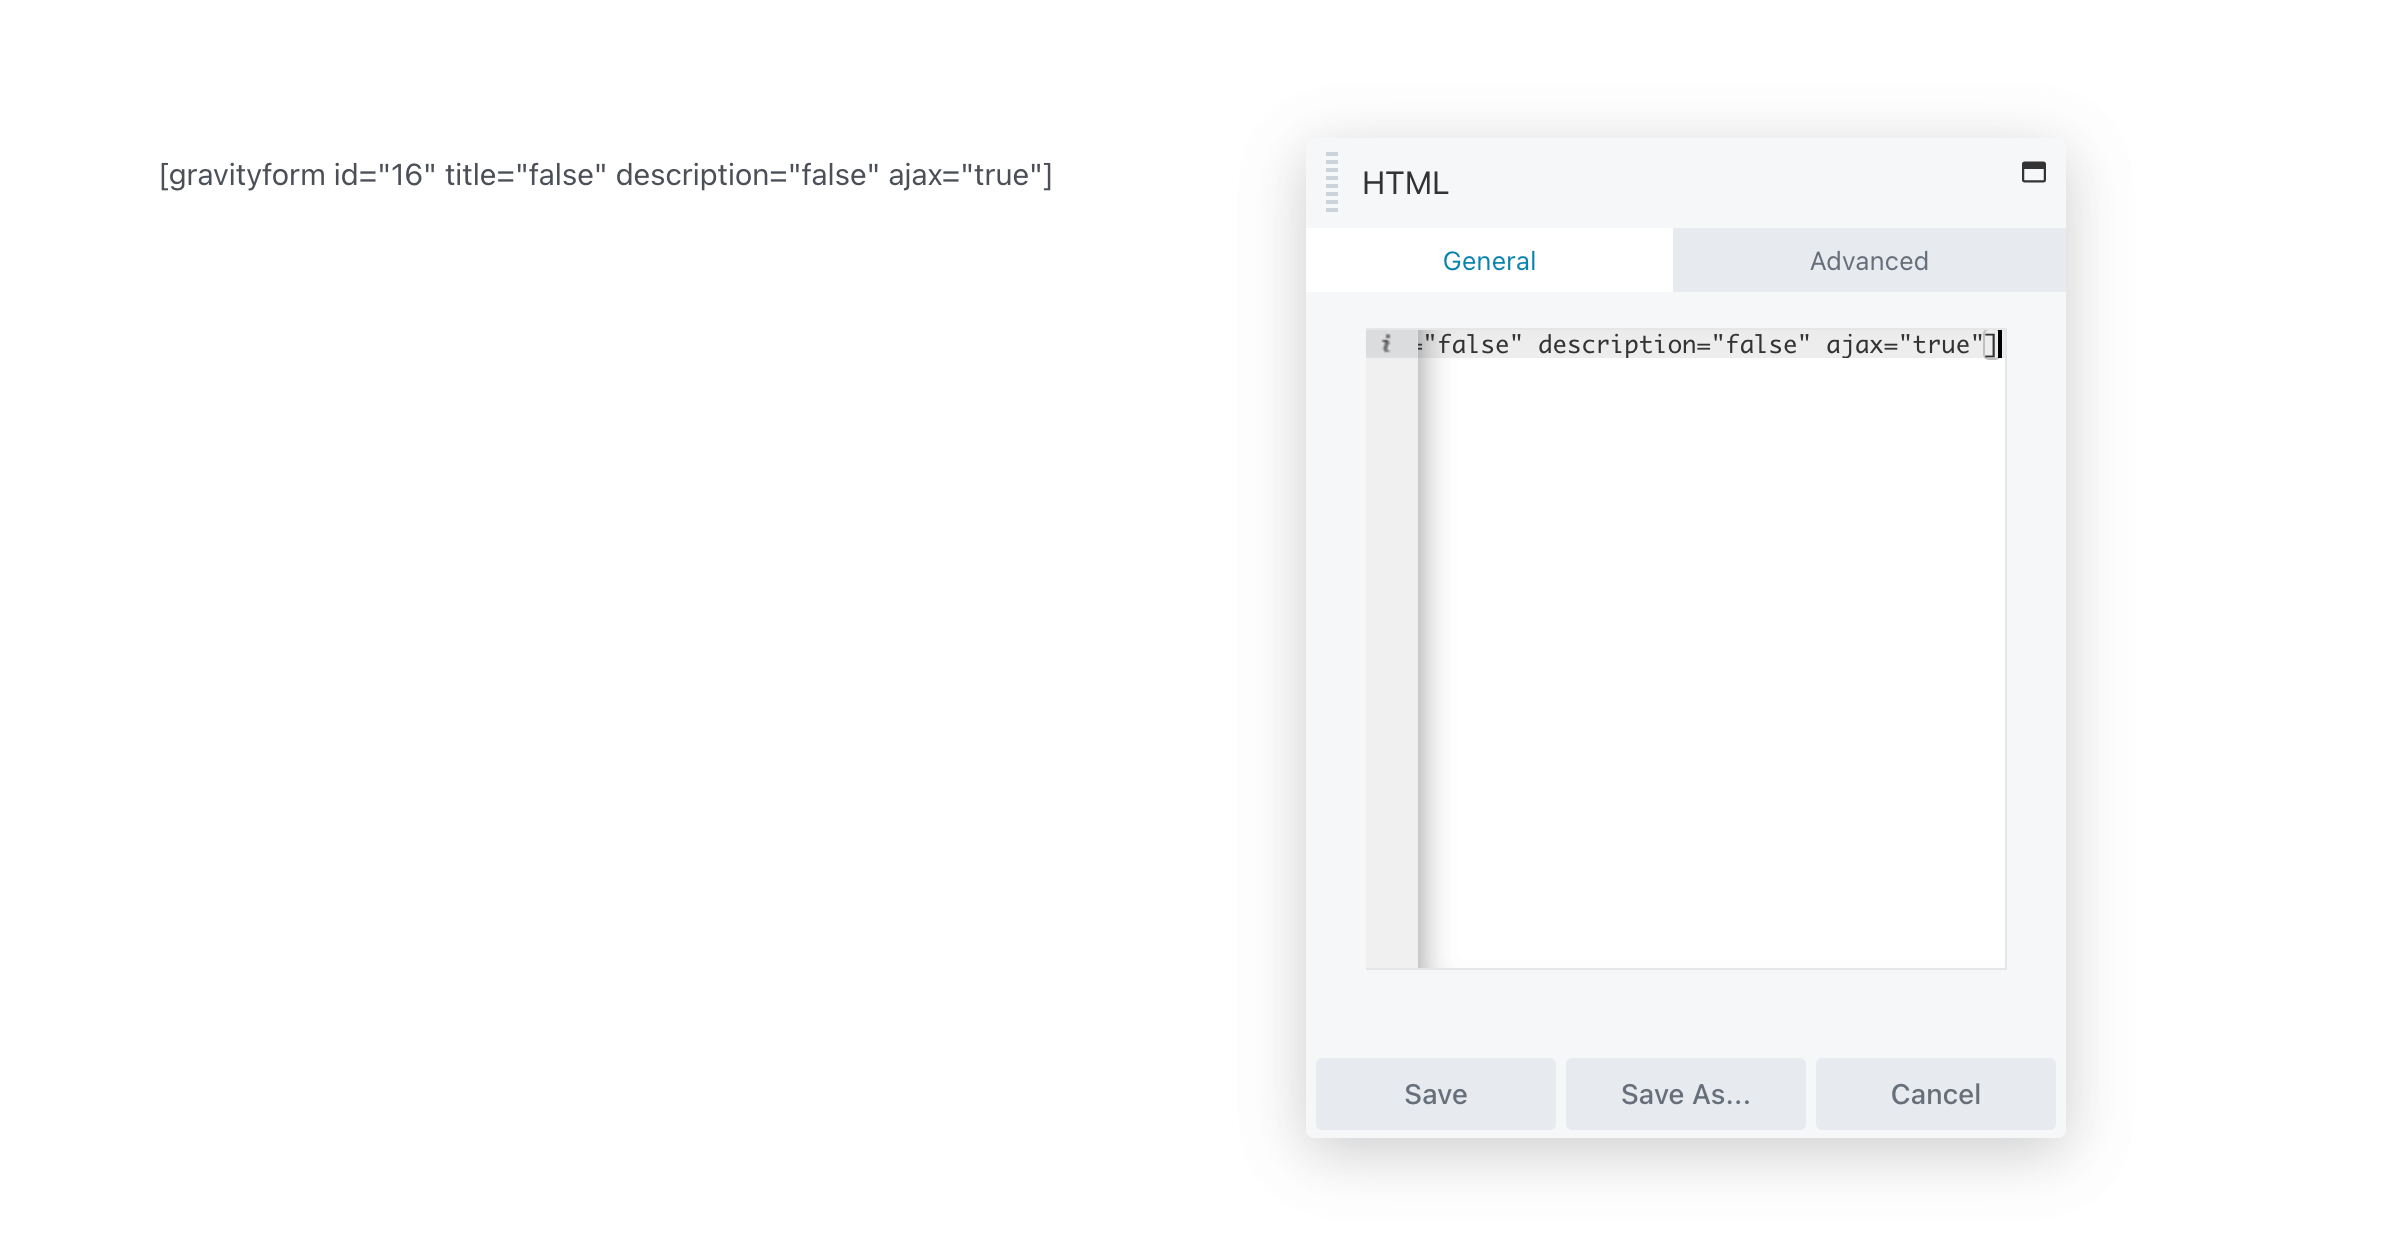
Now you’ll need to paste the following HTML code into the module:
[gravityform id="1" title="false" description="false" ajax="true"]Be sure to replace “1” with the unique form ID that you copied earlier:
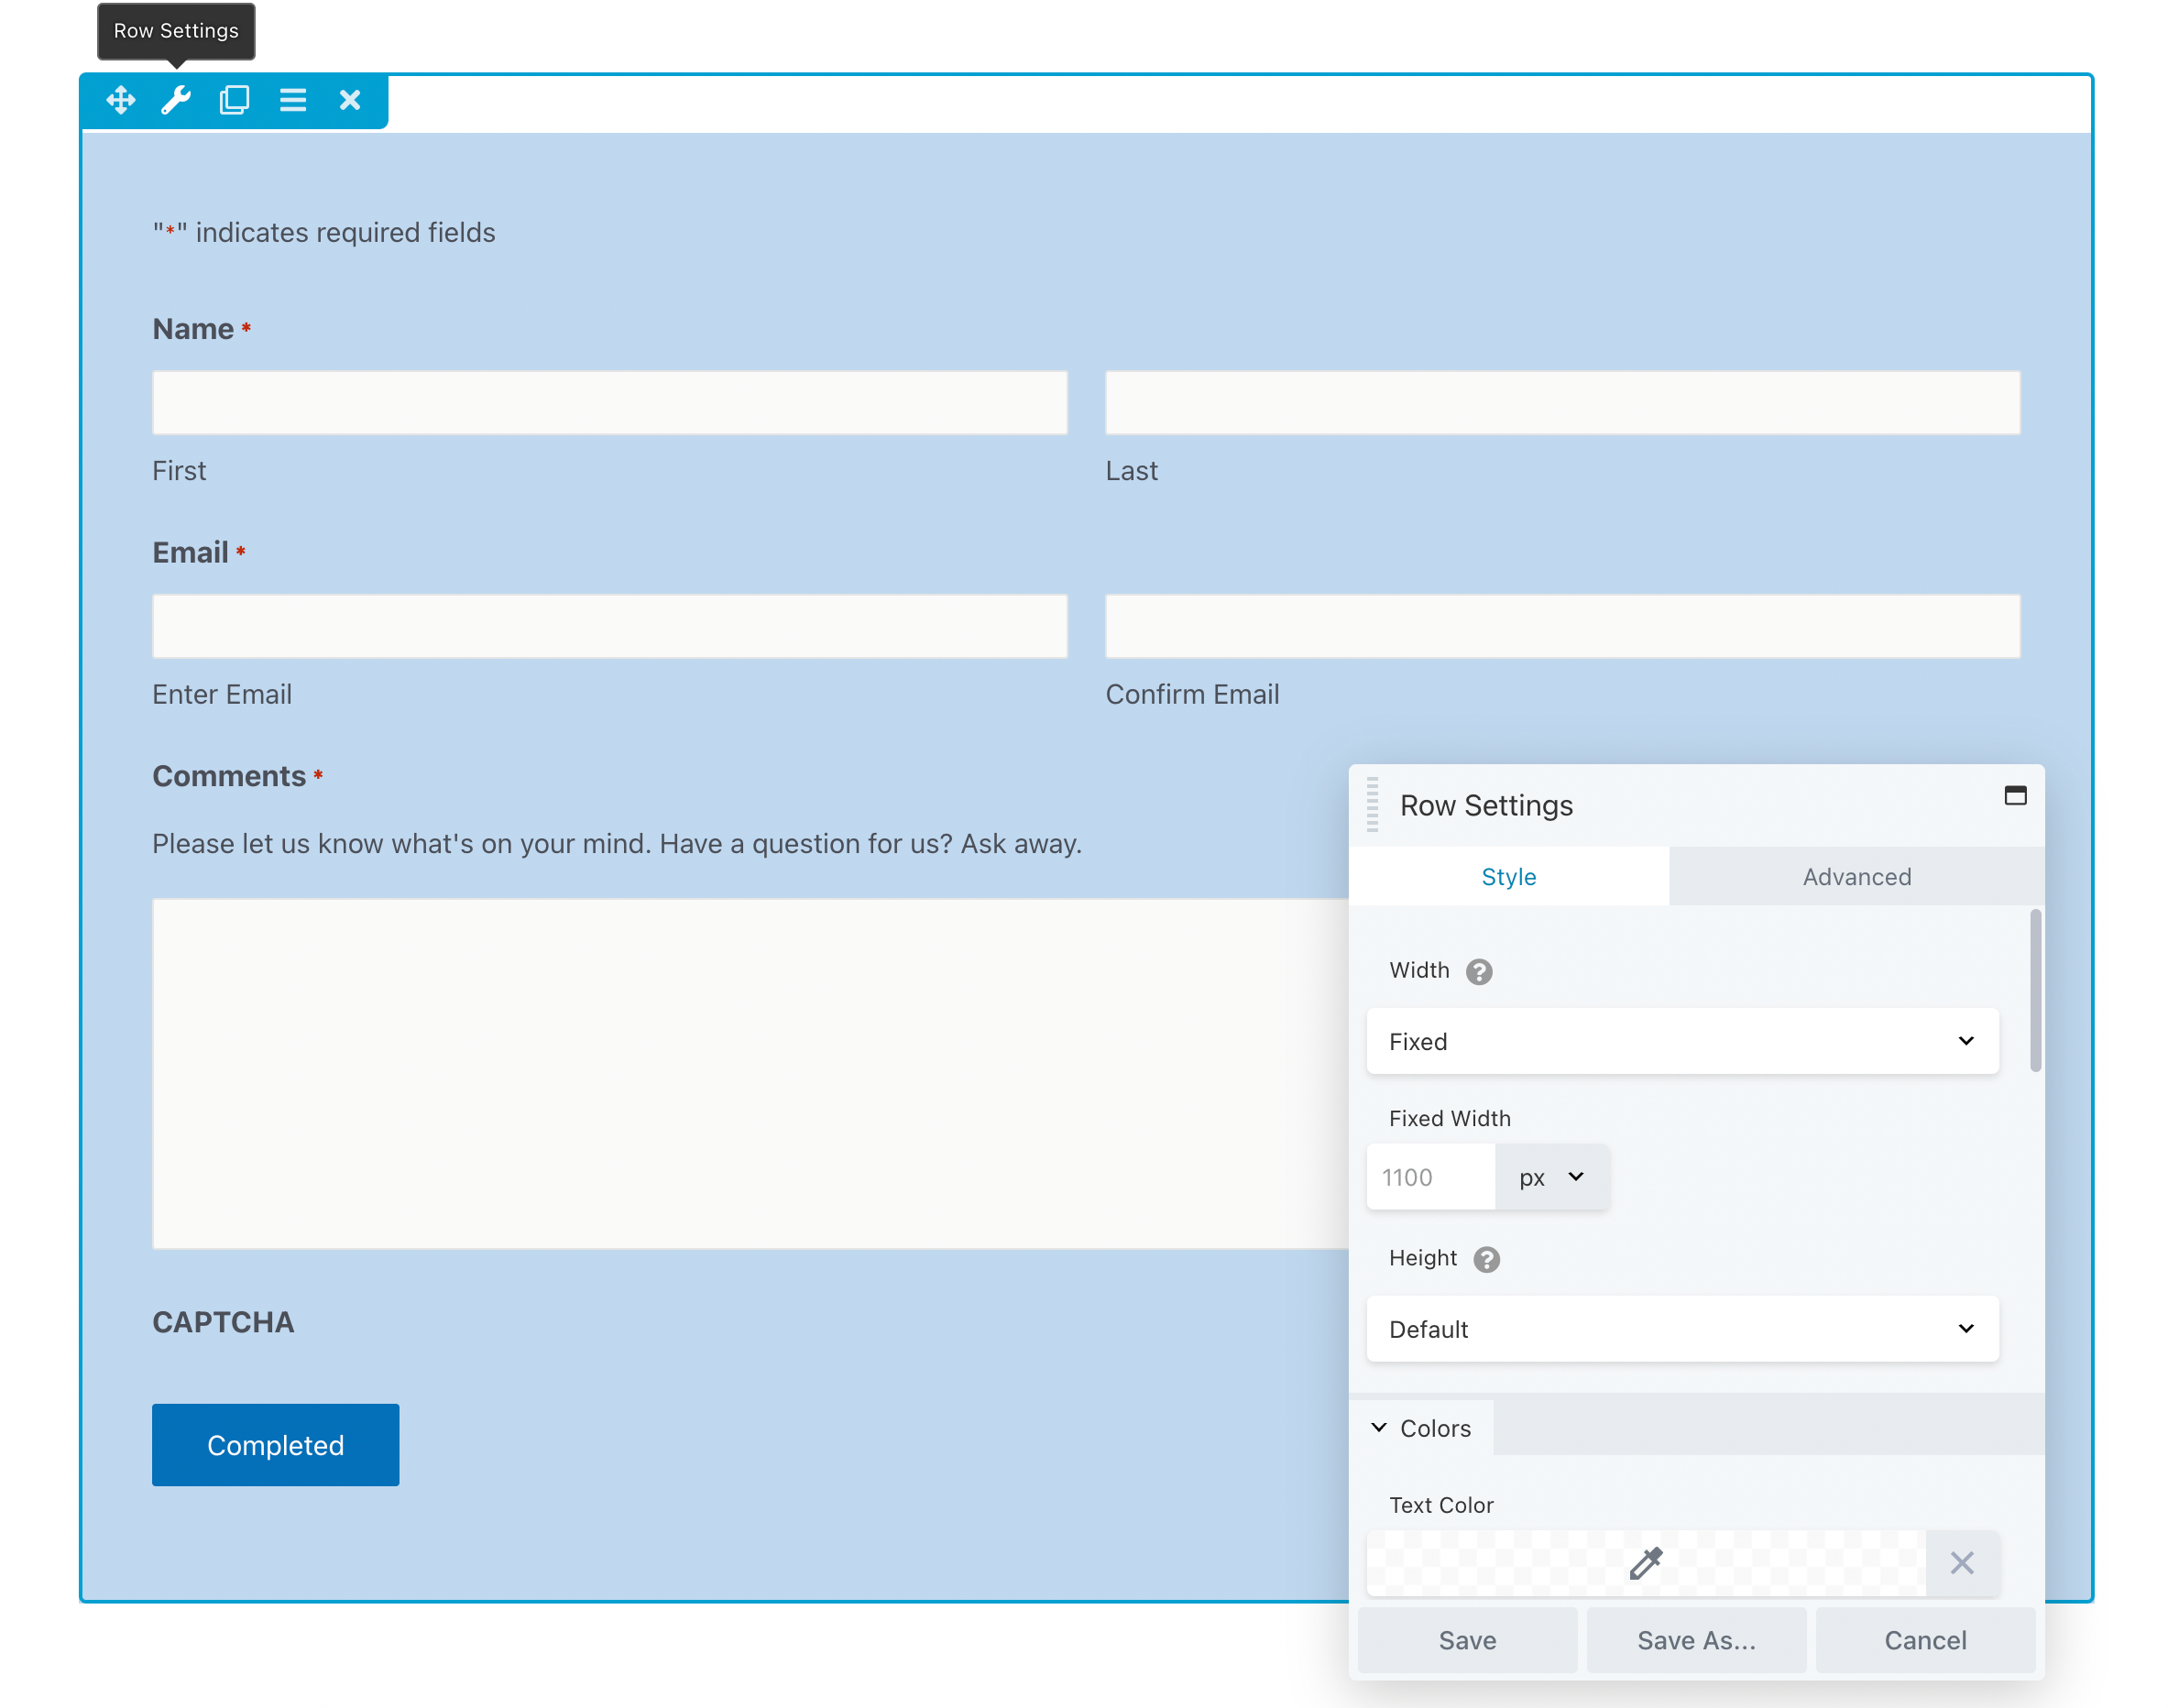
Once you hit Save, you’ll be able to see a live preview of your Gravity form. Then click on the Row Settings to customize the form’s height, width, background, and color palette:
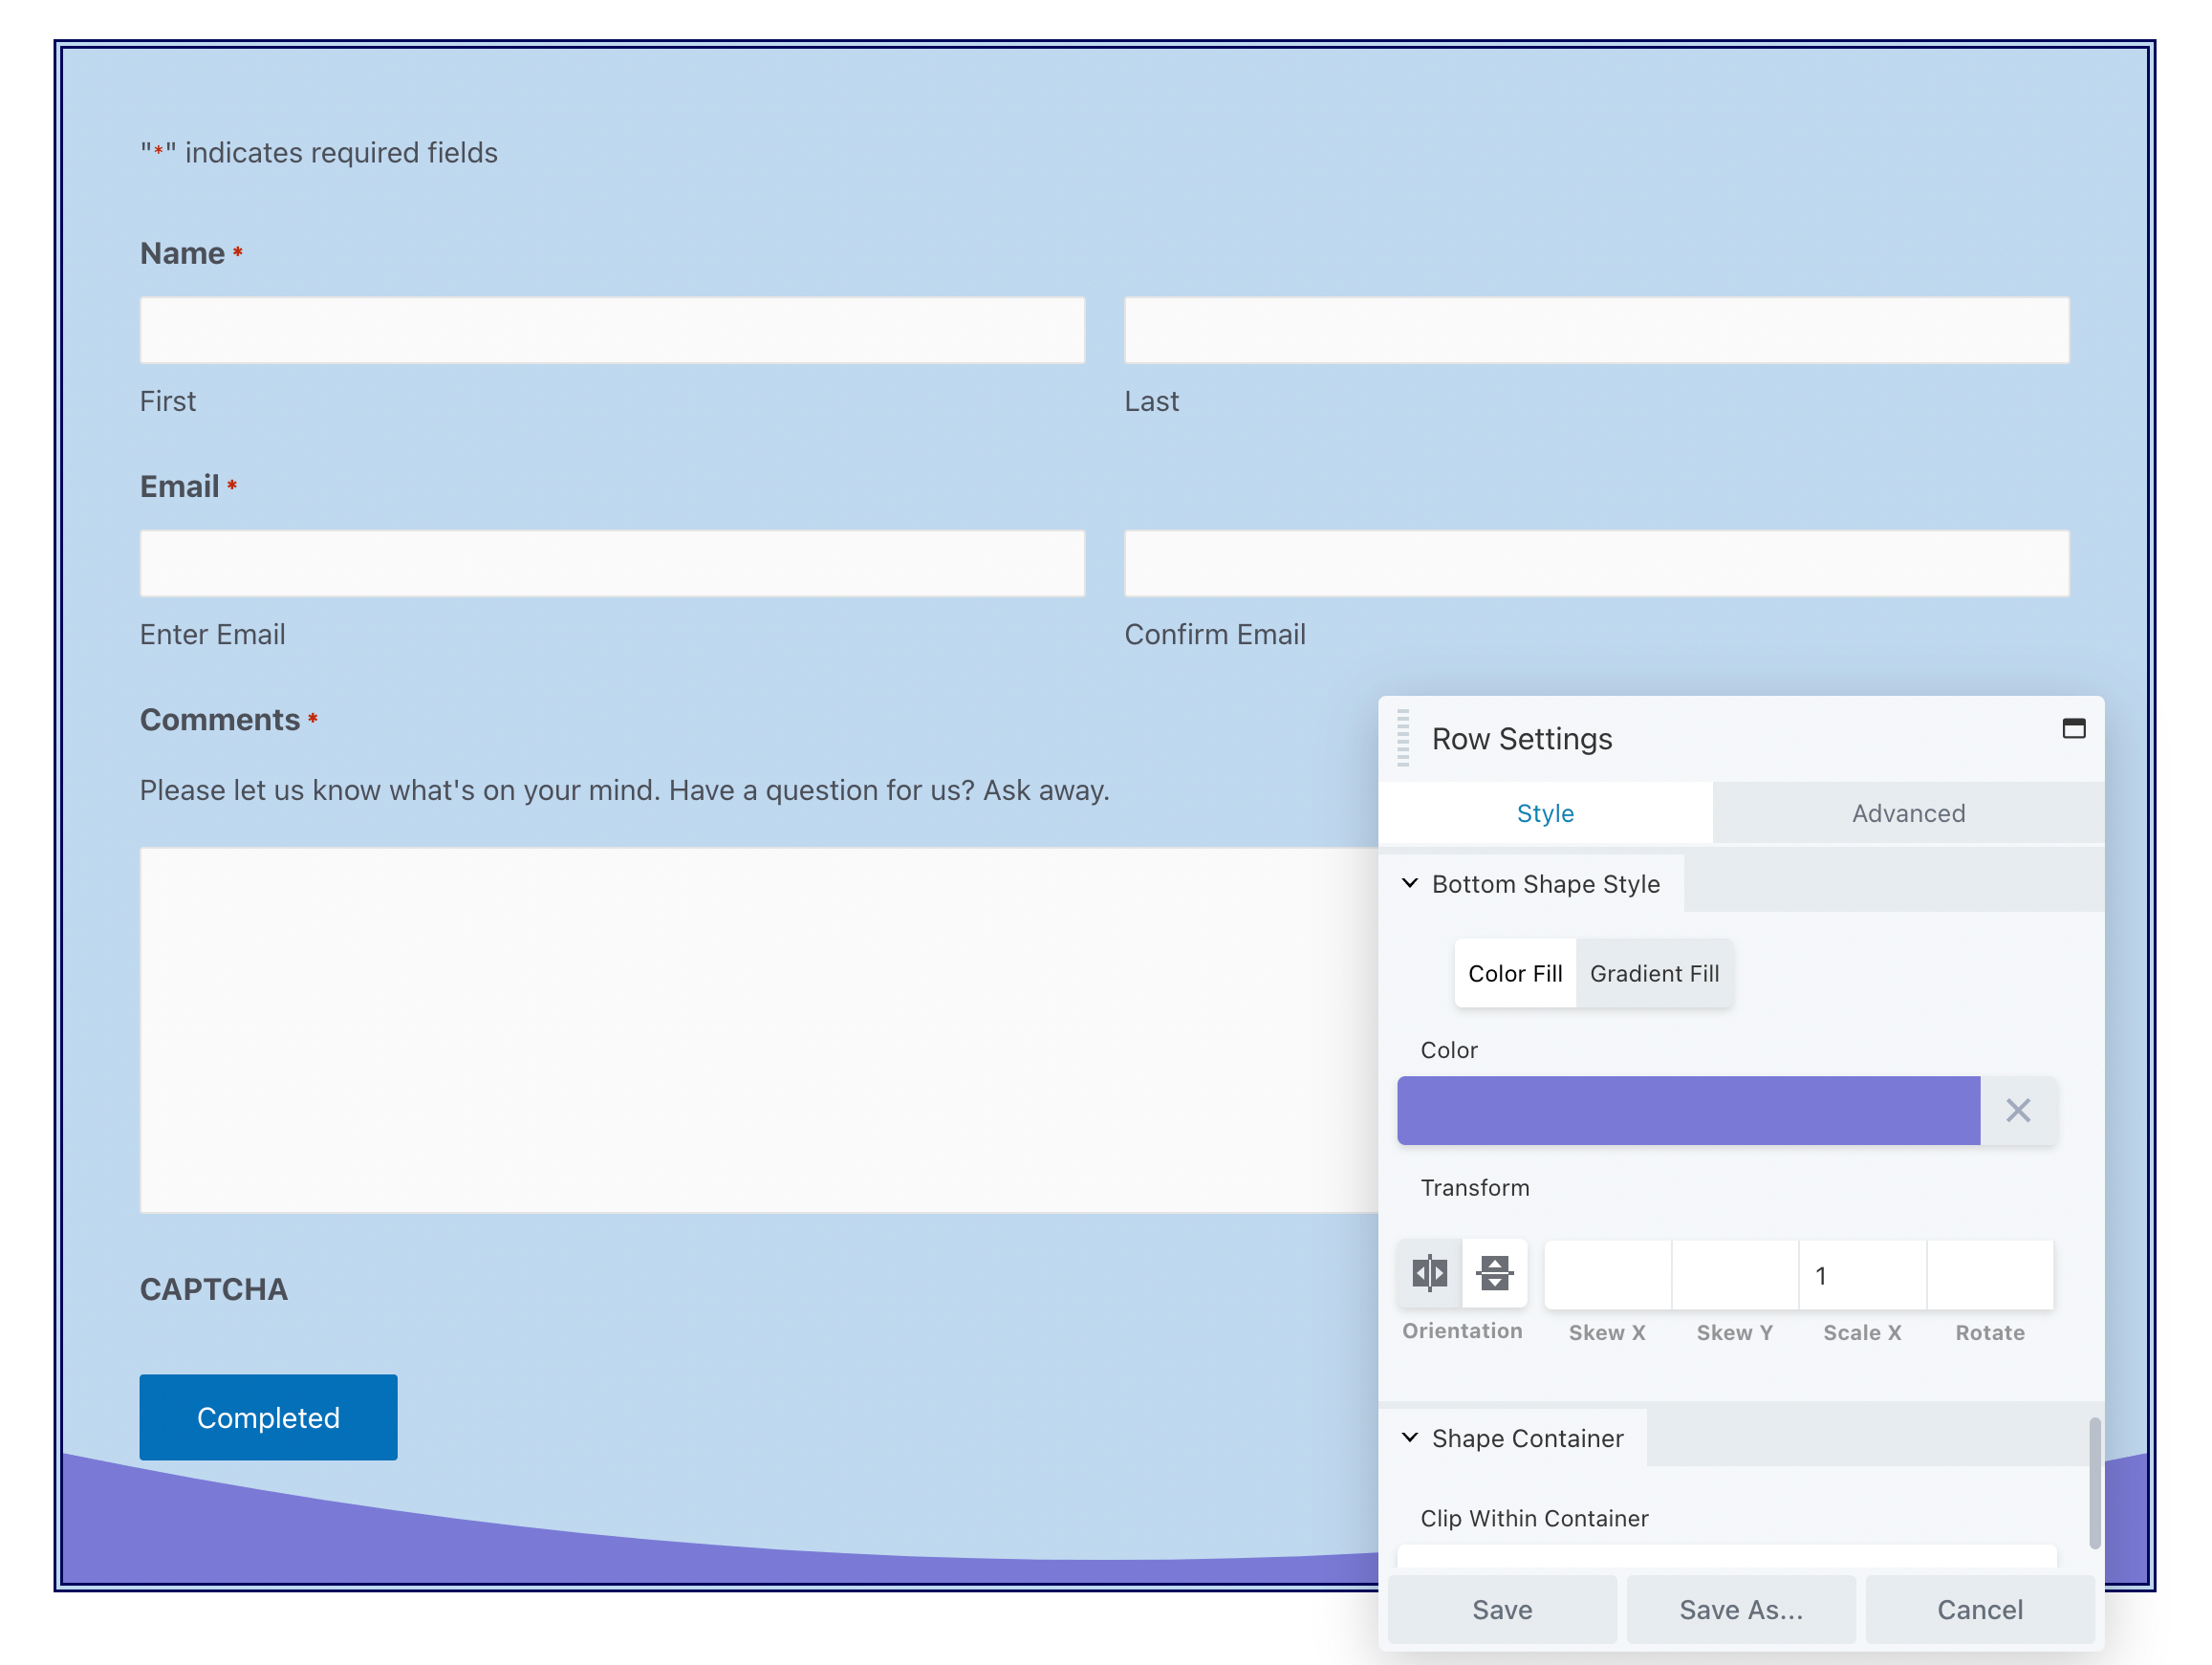
Unlike the limited options in Gravity Forms, Beaver Builder enables you to add interesting design elements like borders or shapes:
When you’re happy with these changes, feel free to publish the page!
2. Insert a Gravity Forms Widget
Alternatively, you can use a Gravity Forms widget to add your form to Beaver Builder pages. This method is an easier option if you want to avoid copying and pasting shortcodes.
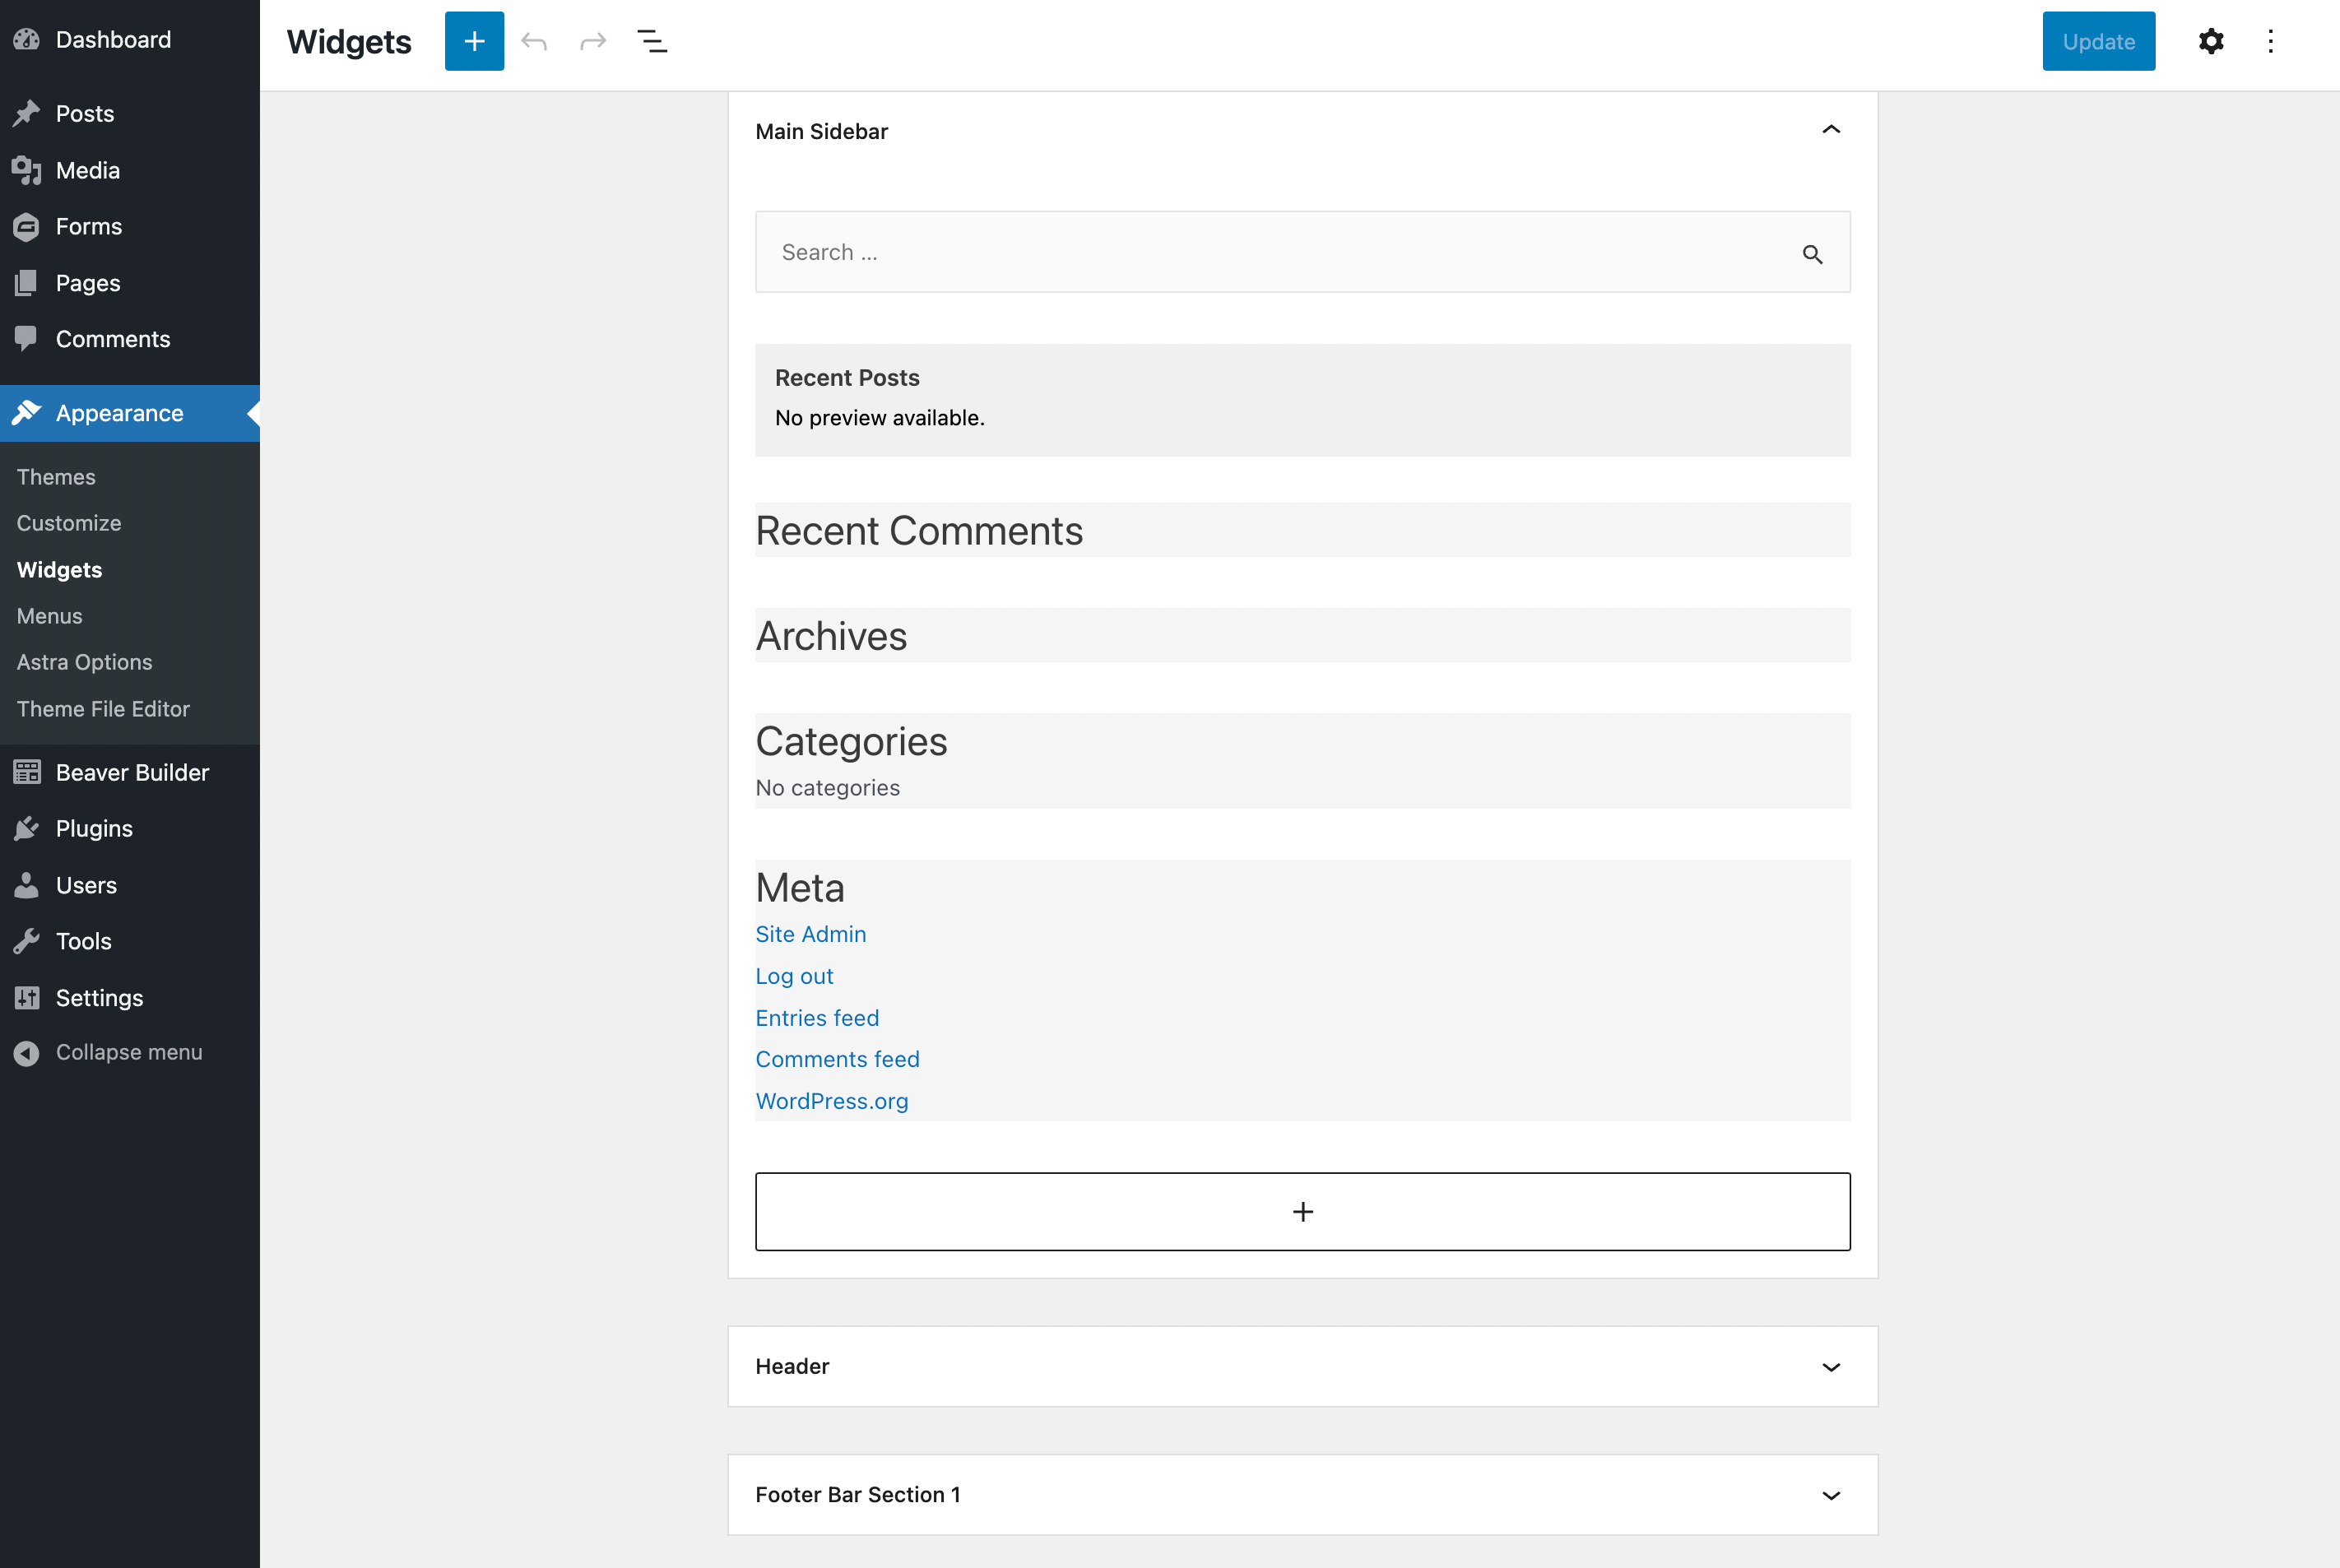
To do this, head to Appearance > Widgets. You should now see a list of widgets available for your activated WordPress theme:
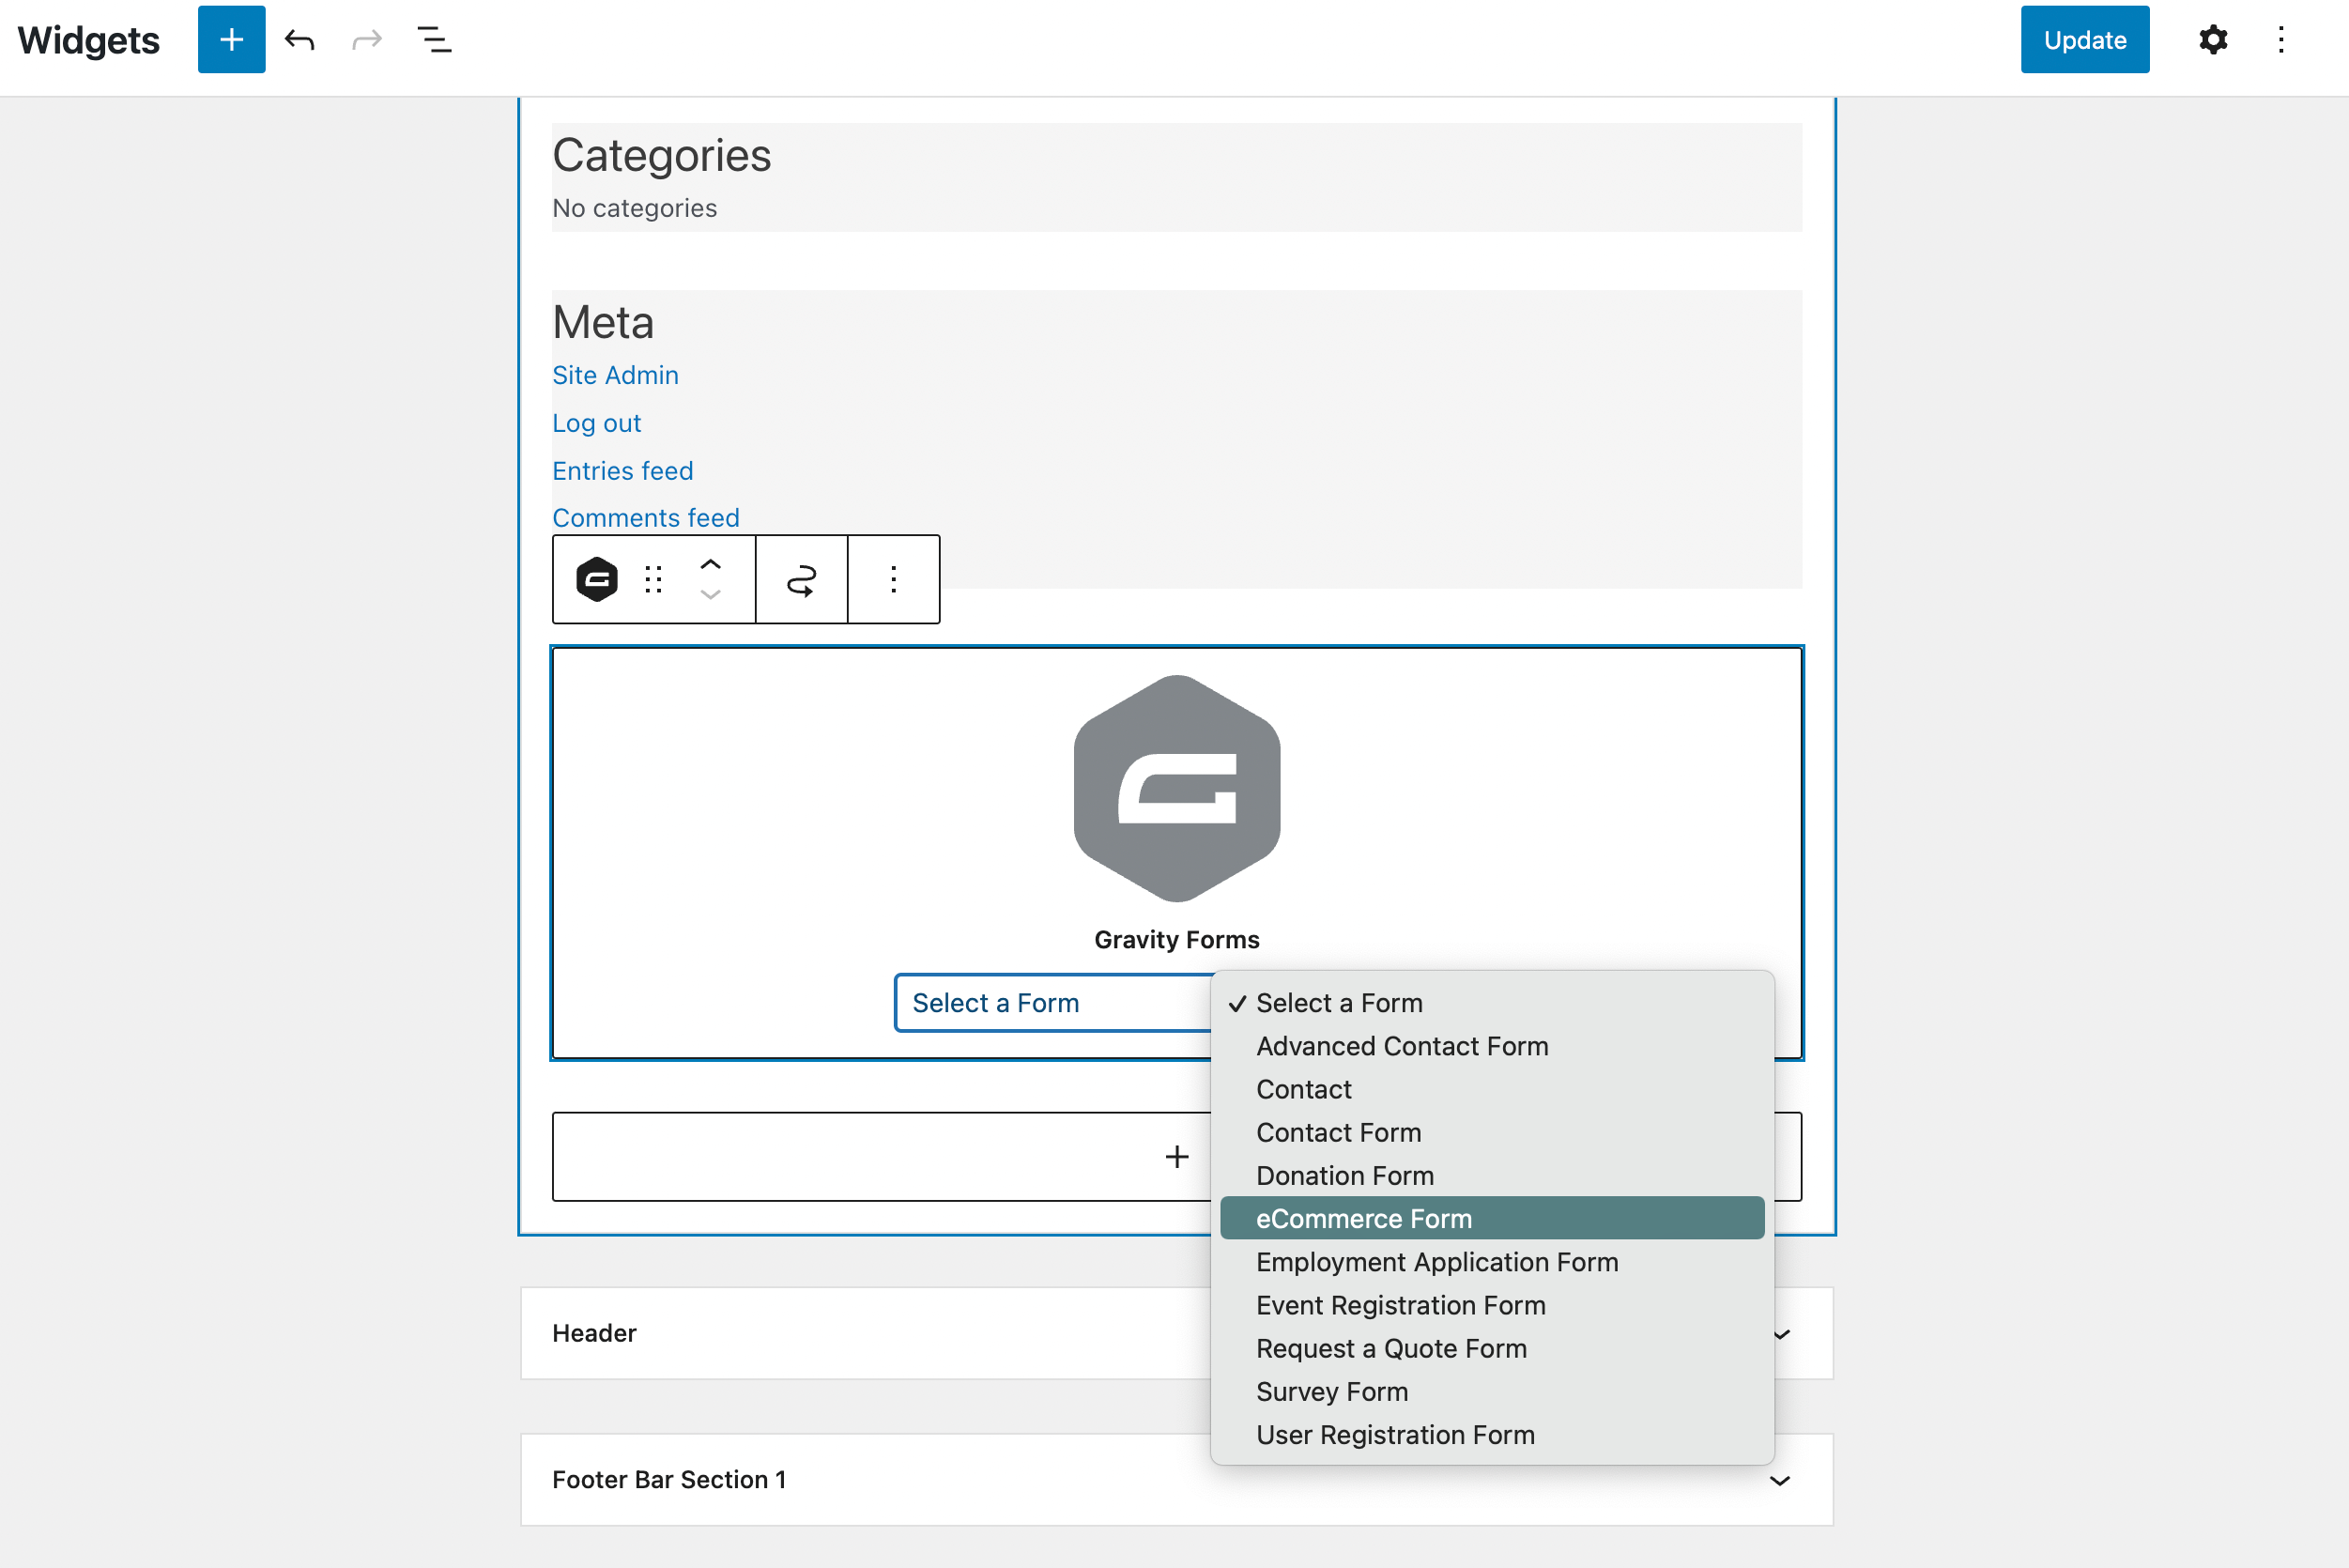
If you don’t already have a Gravity Forms widget, you can add one. Simply hit the + icon and search for “Gravity Forms”. Then, click on it:
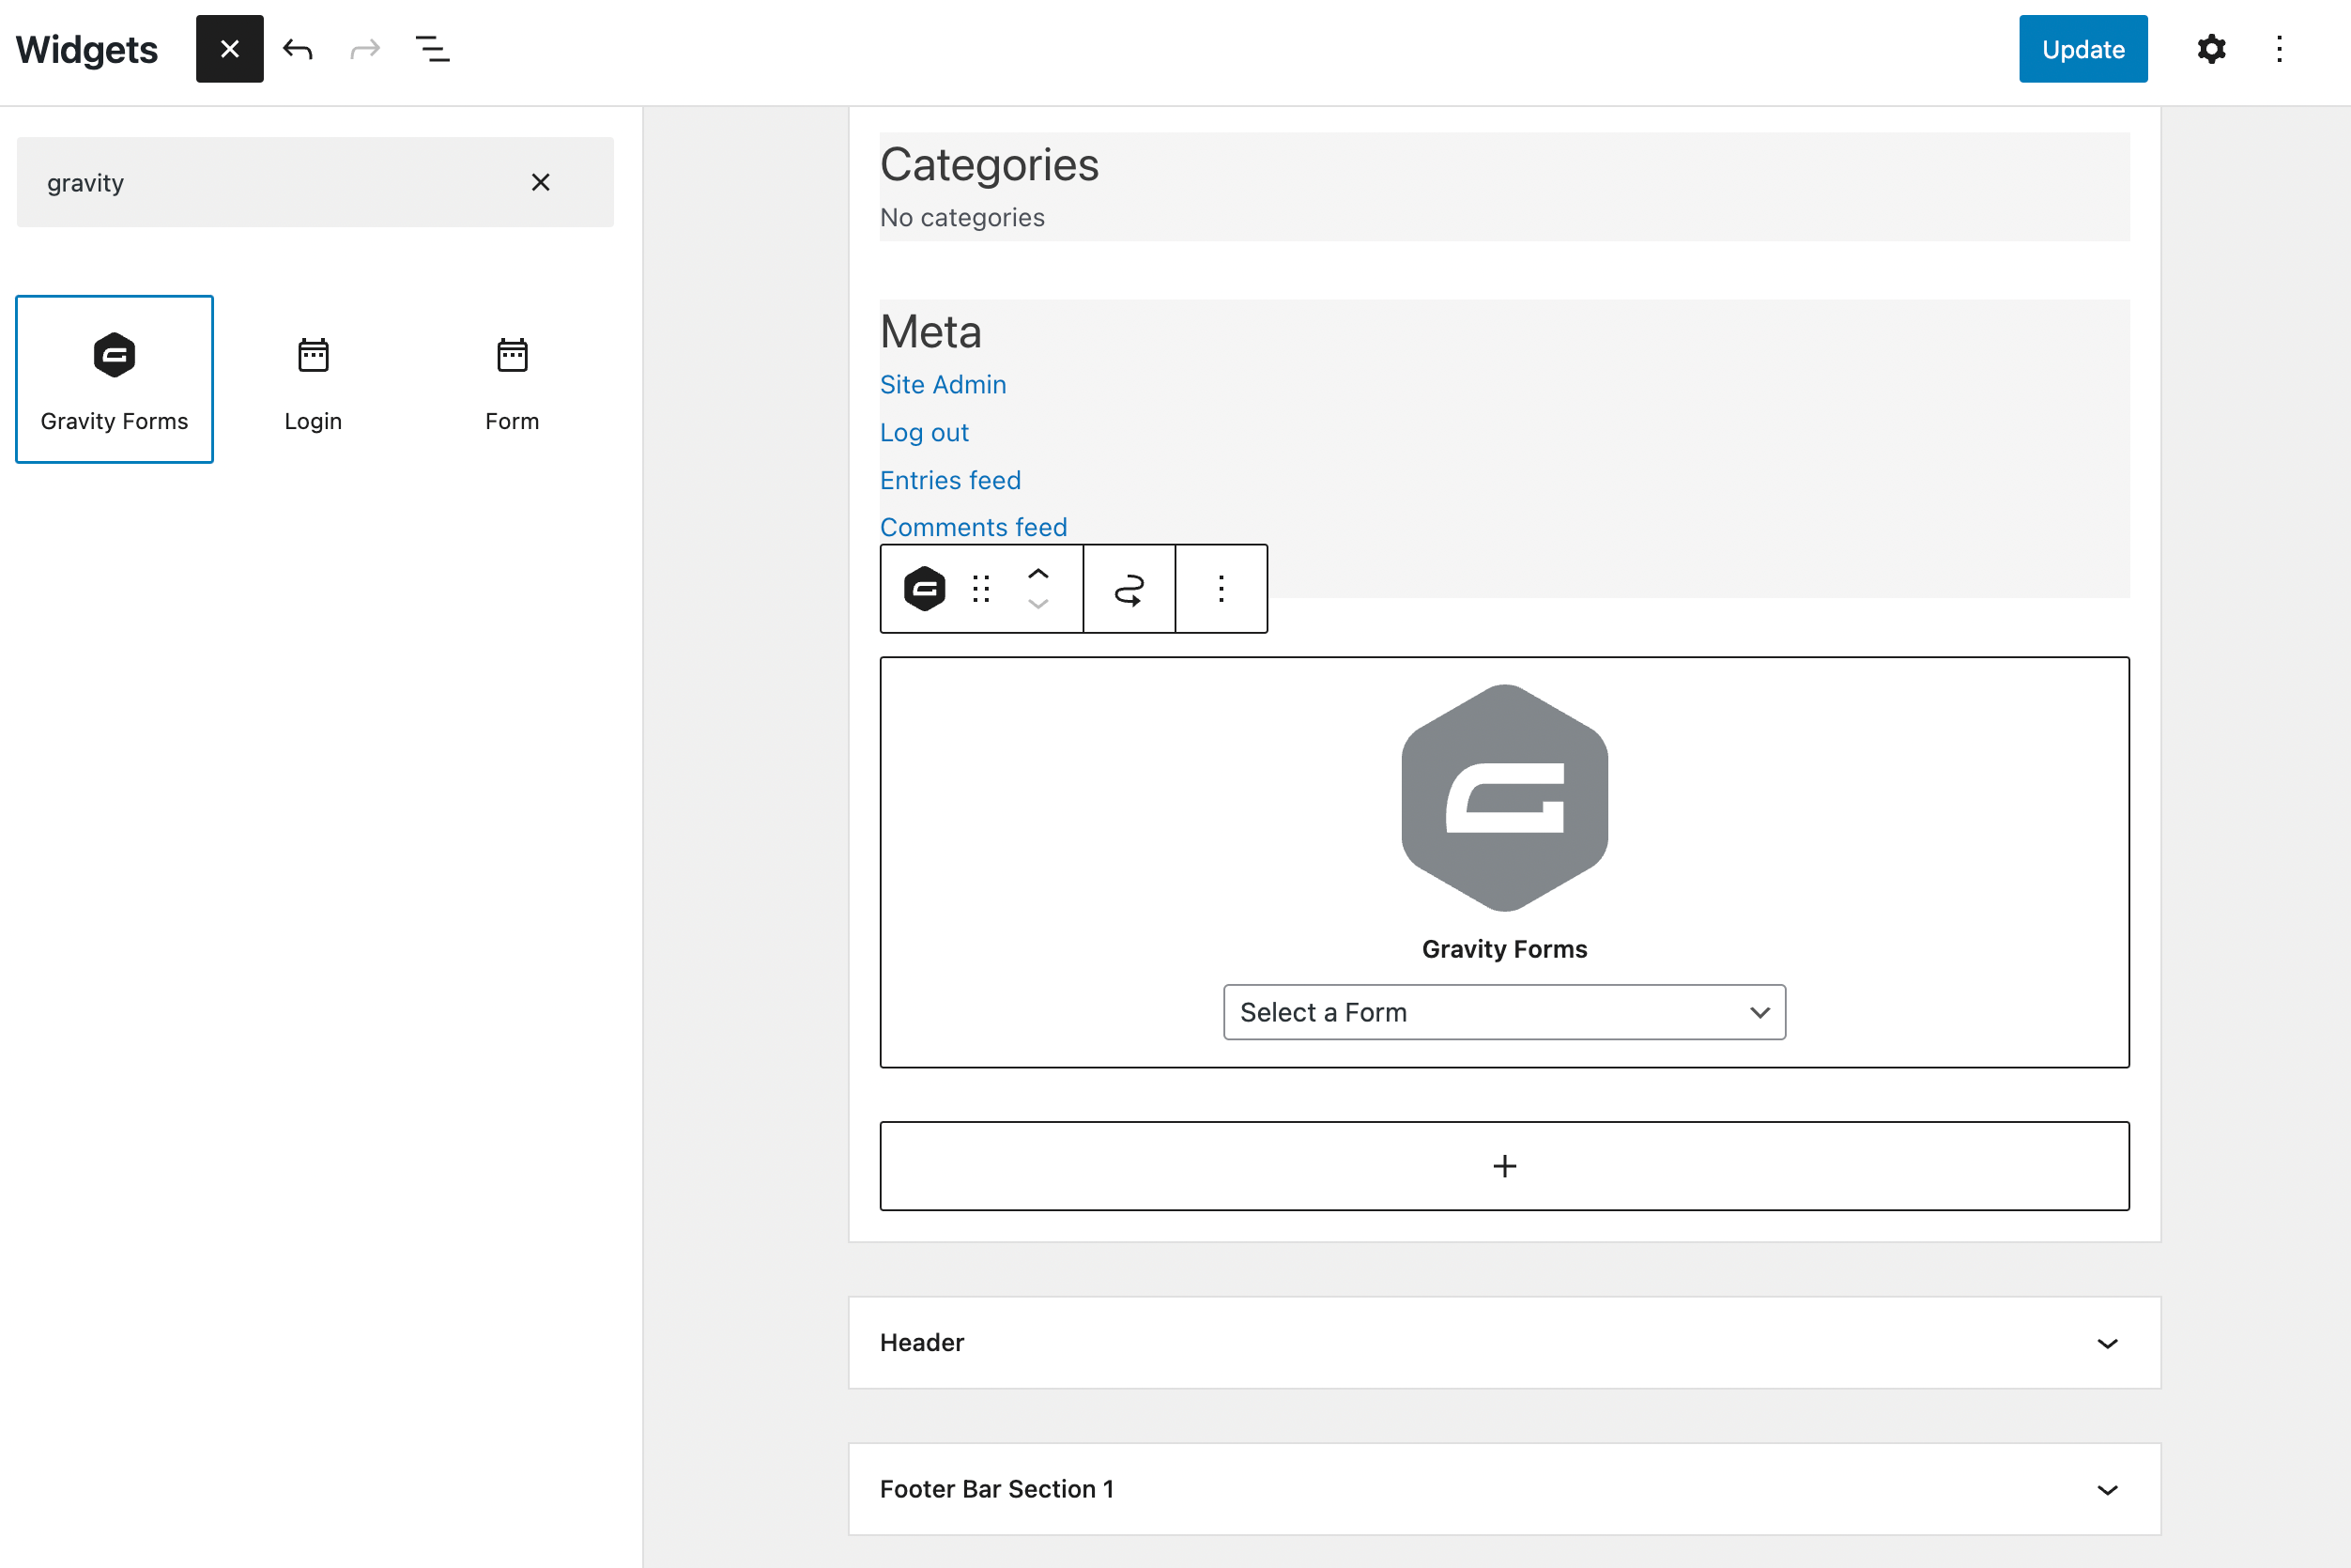
Once you create the widget, you’ll need to select one of your pre-made forms. You can do this using the dropdown menu:
Next, open a page using the Beaver Builder editor. In the search bar, enter “form” to find the WordPress Form widget:
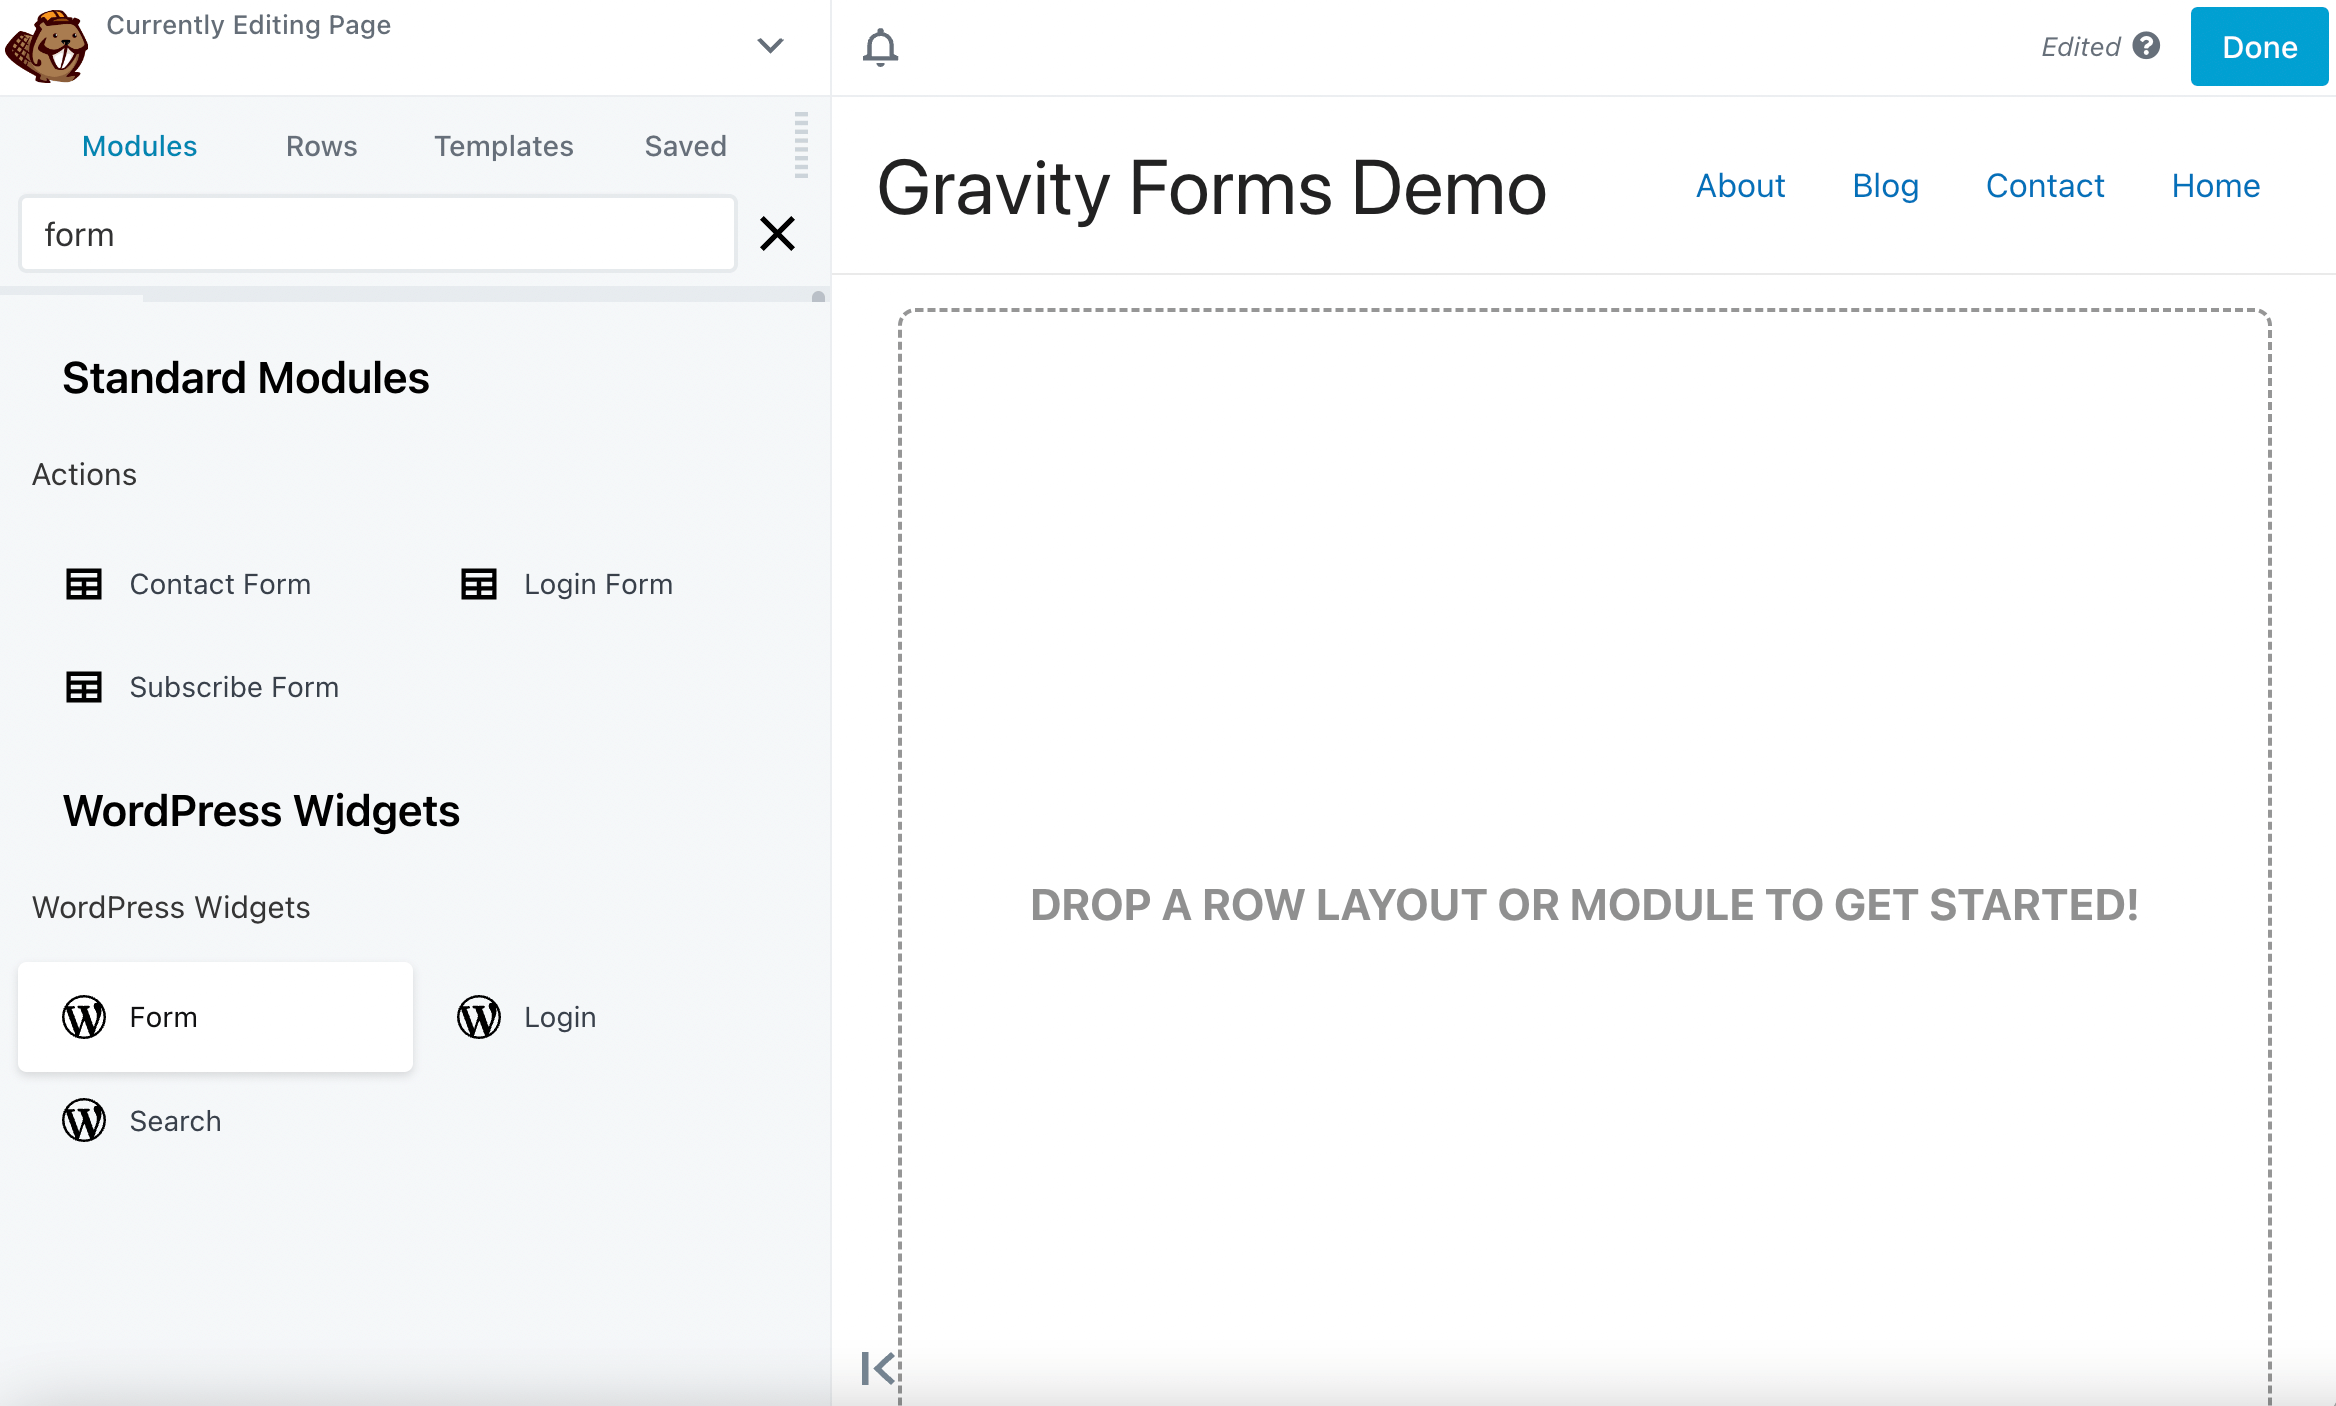
Once you drag and drop the widget onto the page, it will automatically open the widget editor. Here, add a title and select your Gravity form. You can choose to hide the form title and description if needed:
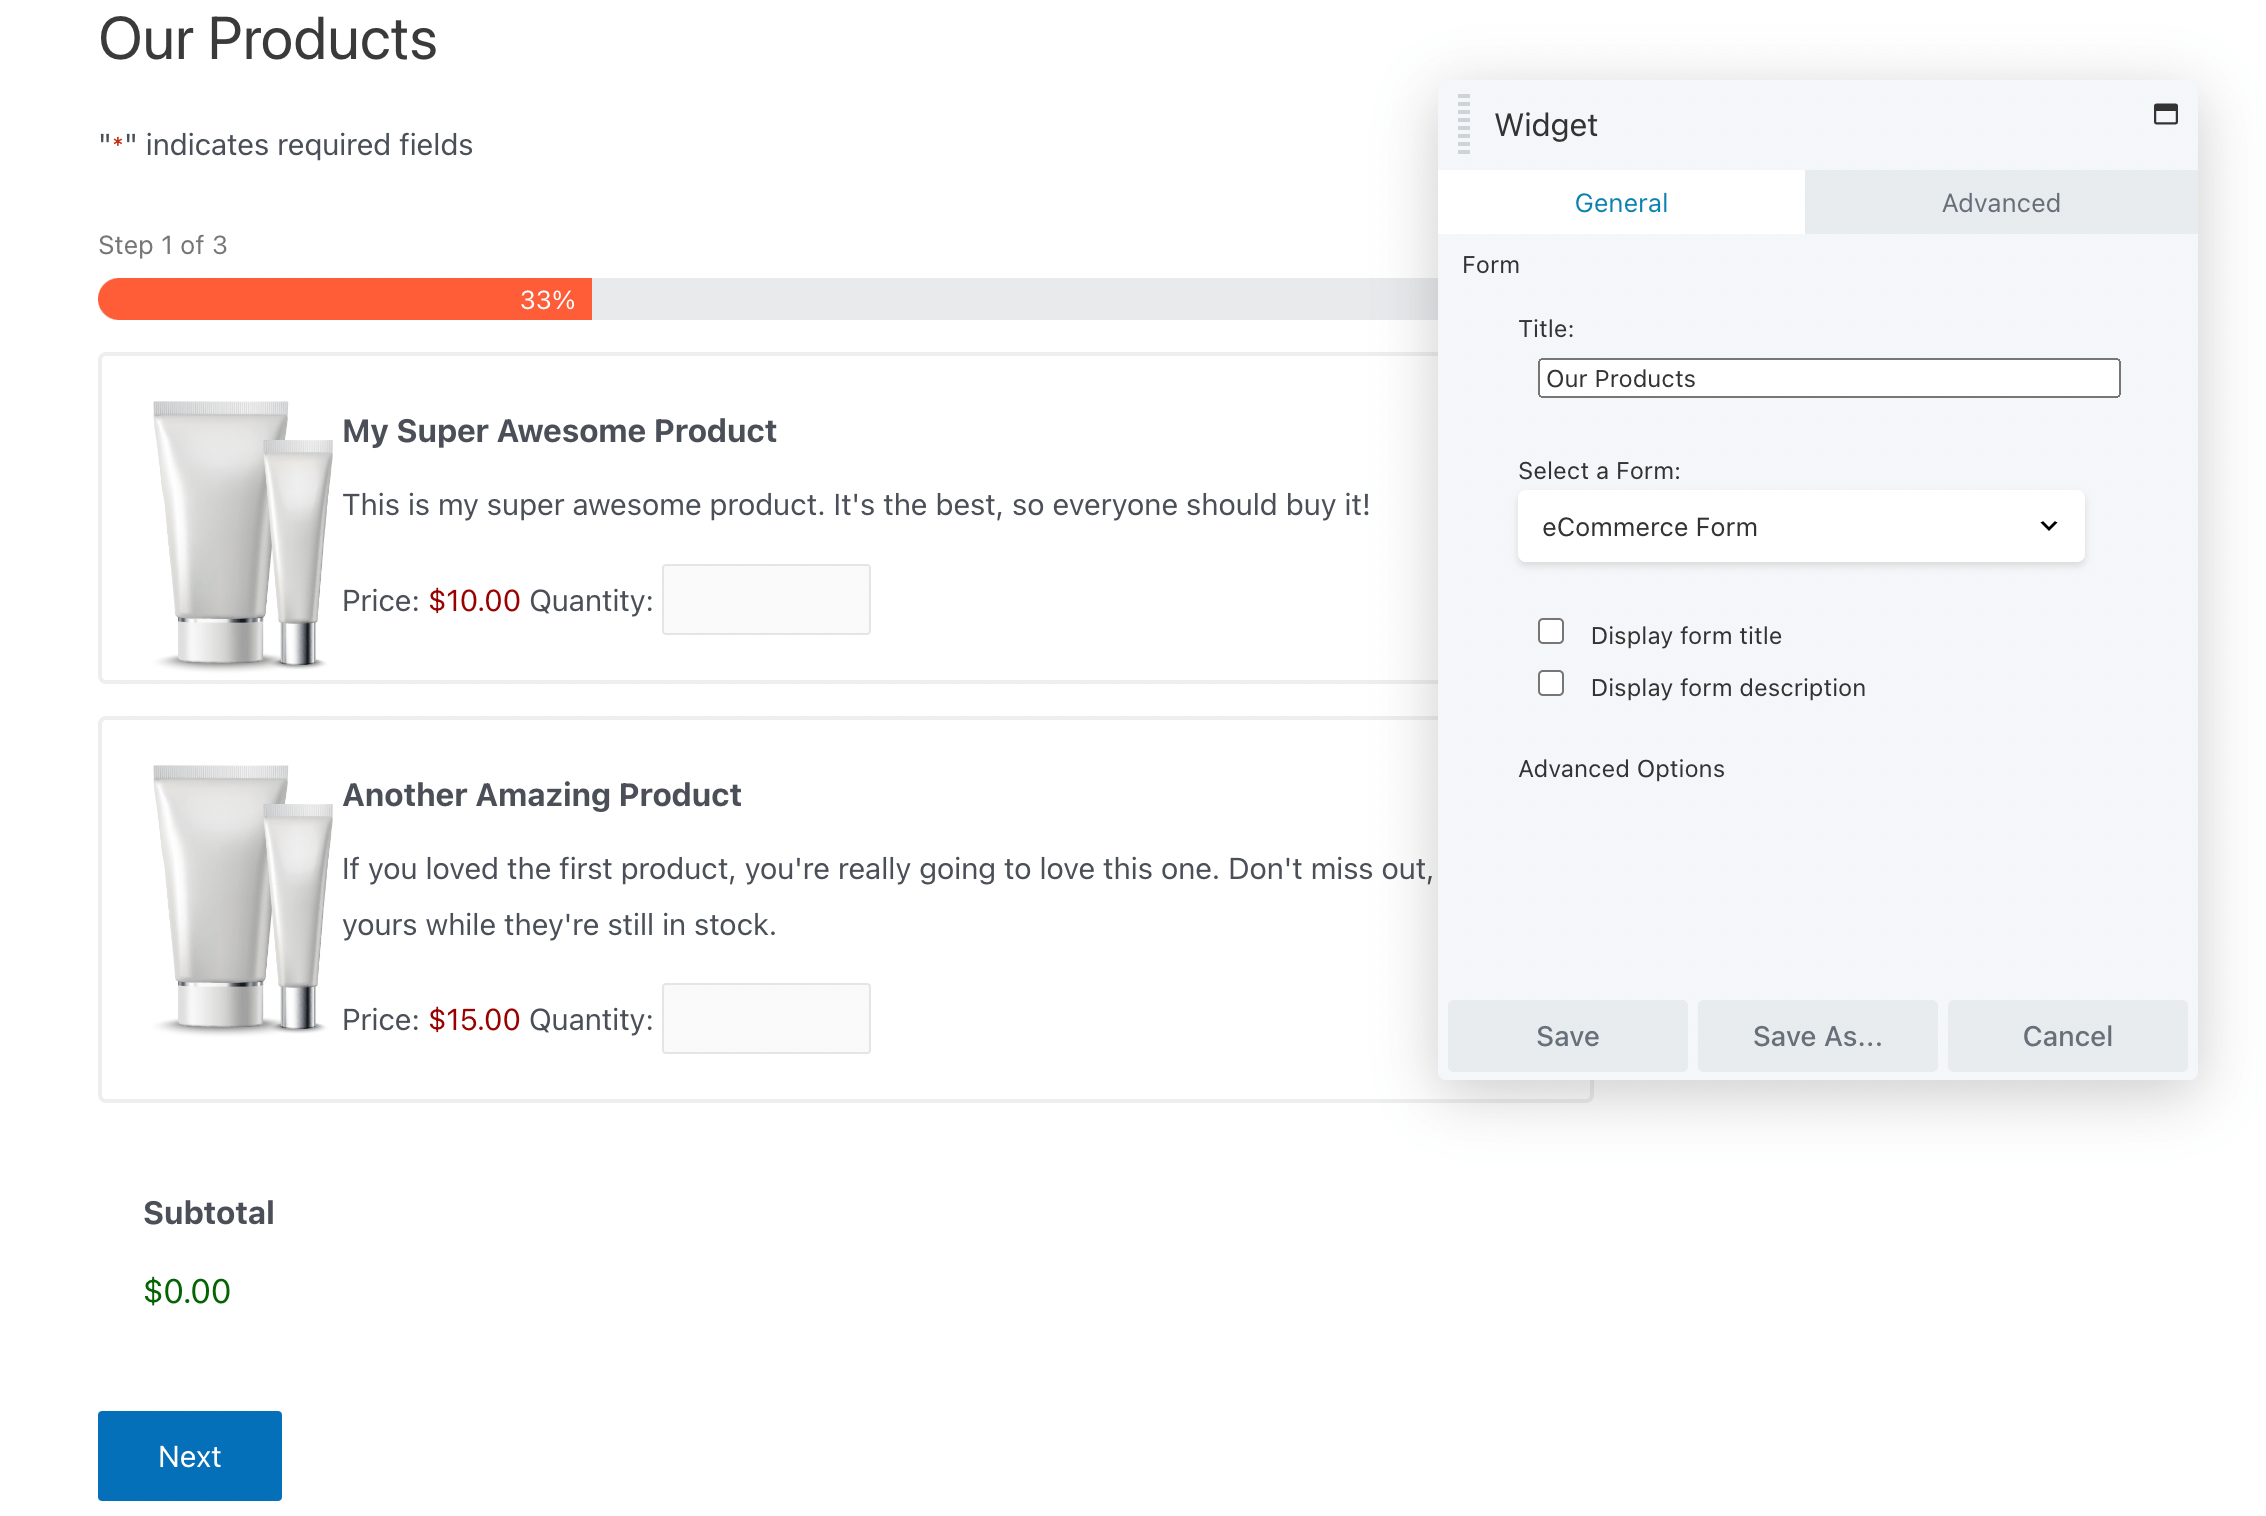
Finally, save your widget. Like the previous method, you can use the Row Settings to customize the form’s appearance further until it matches your website’s design!
3. Use the Gravity Forms Styler Module
So far, these methods have just used our Beaver Builder plugin. Although it can give you everything you need to add a Gravity form to your site, you may want additional styling options.
With Ultimate Addons for Beaver Builder, you will have complete control over the look and feel of your online forms:

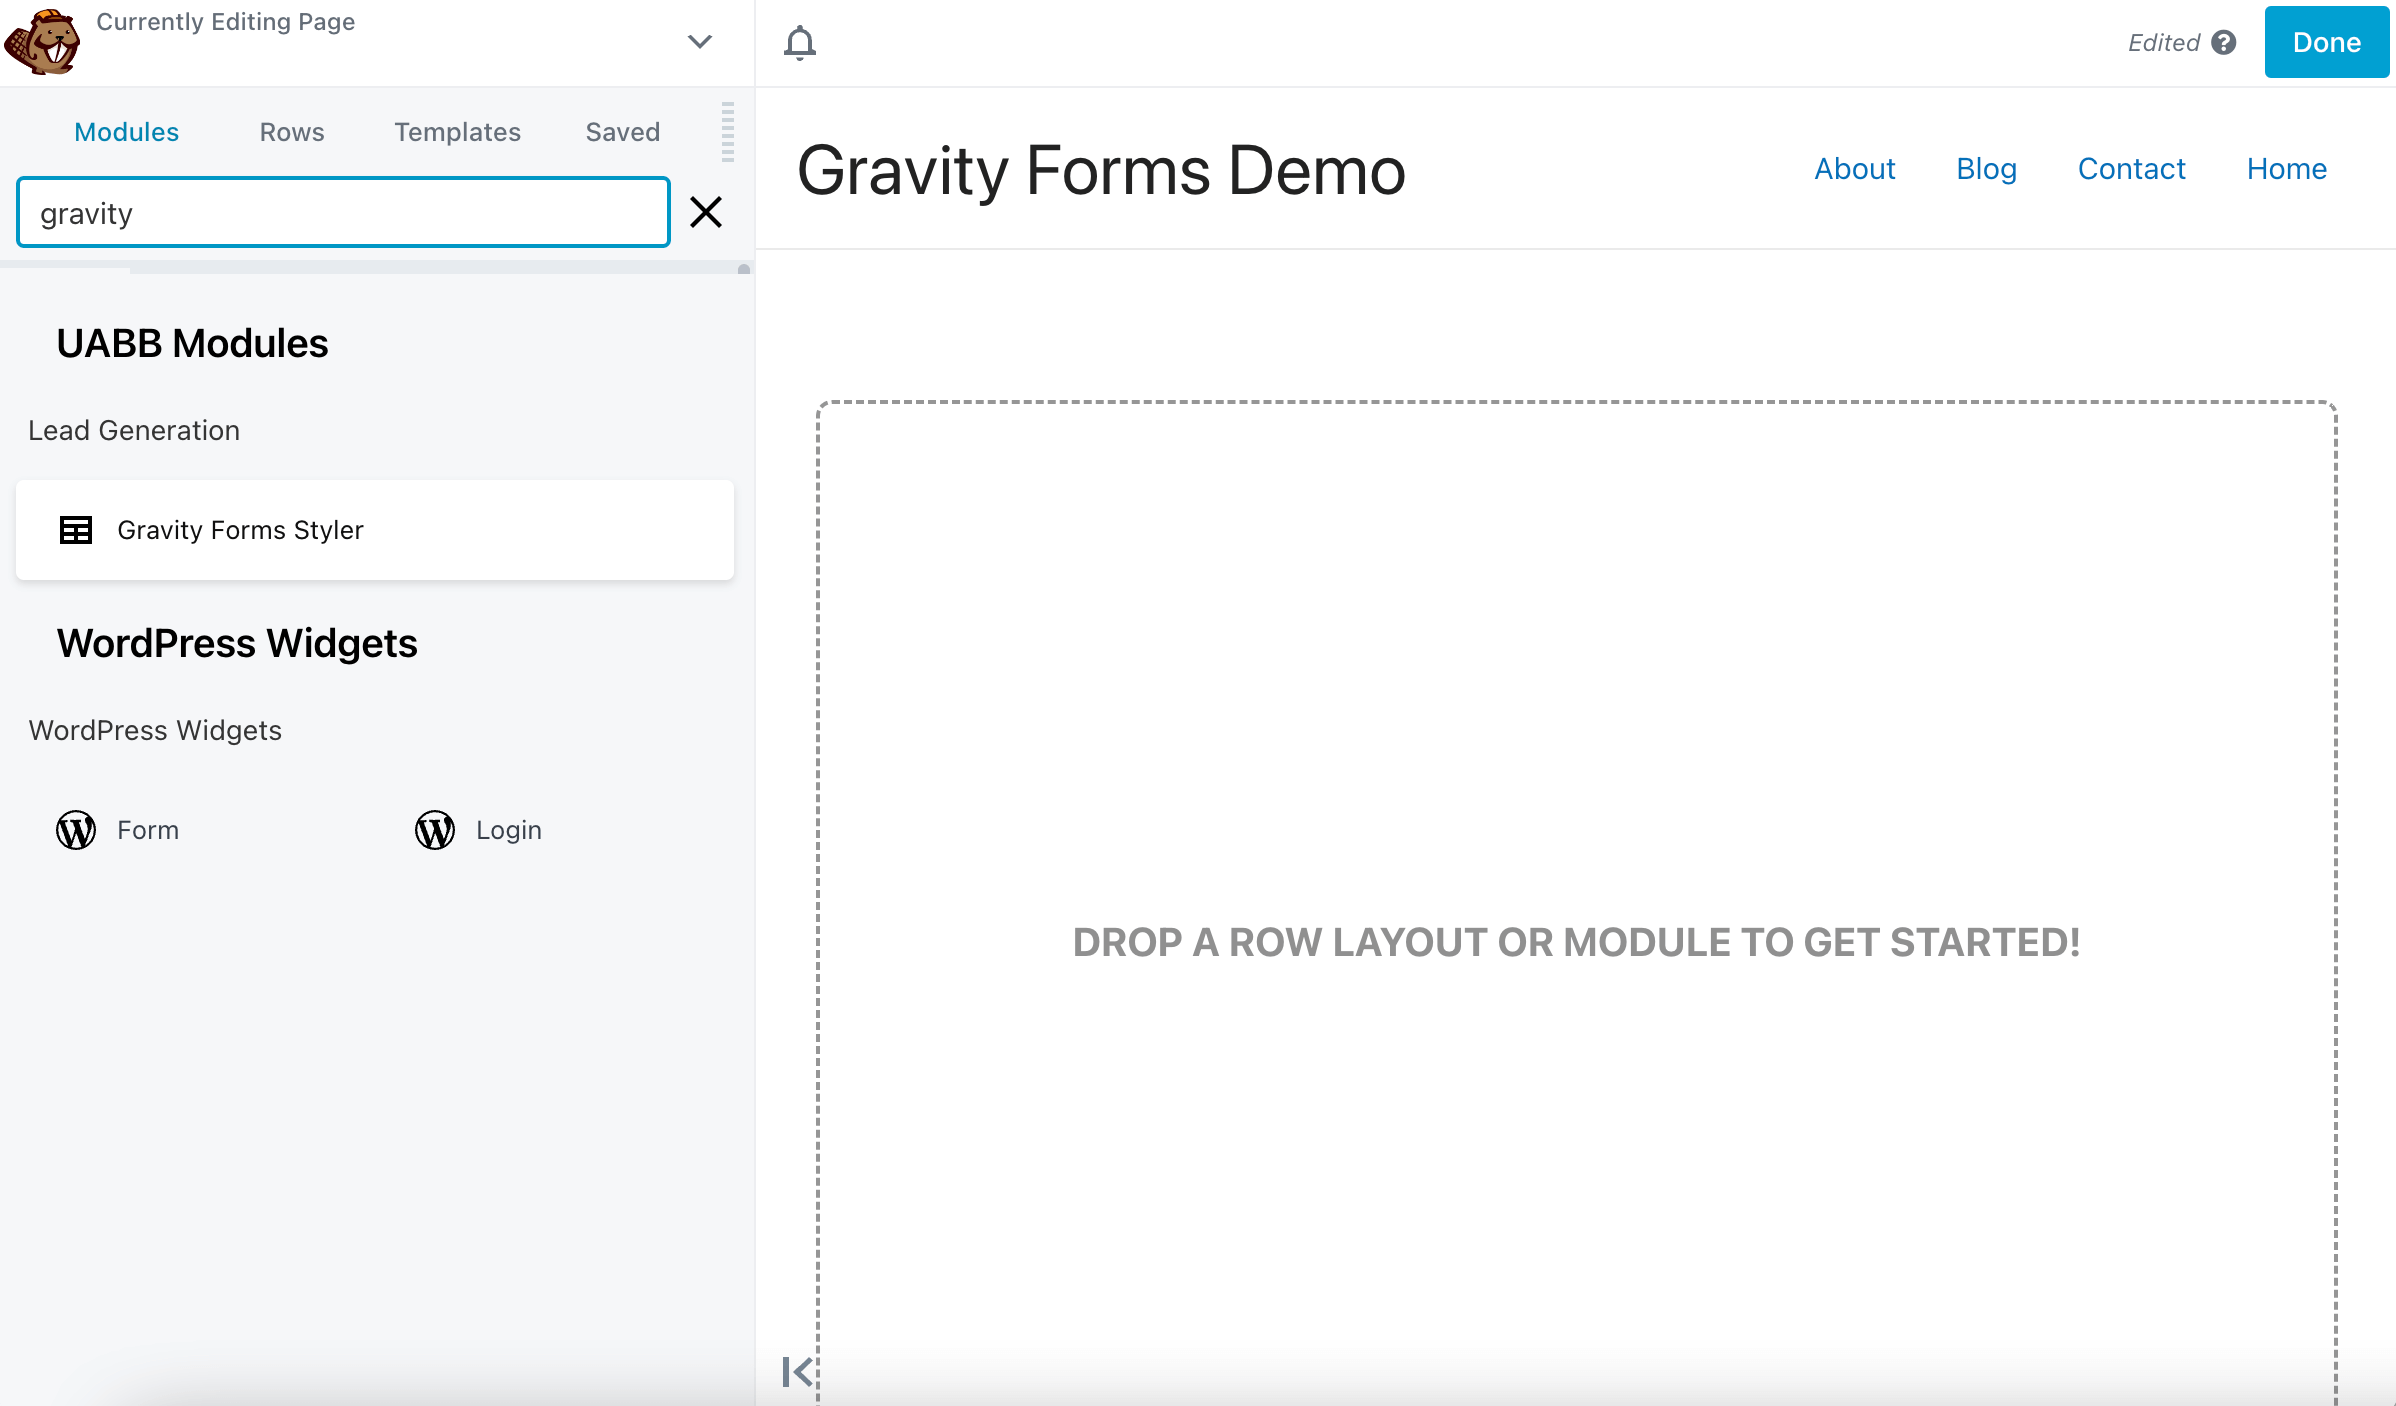
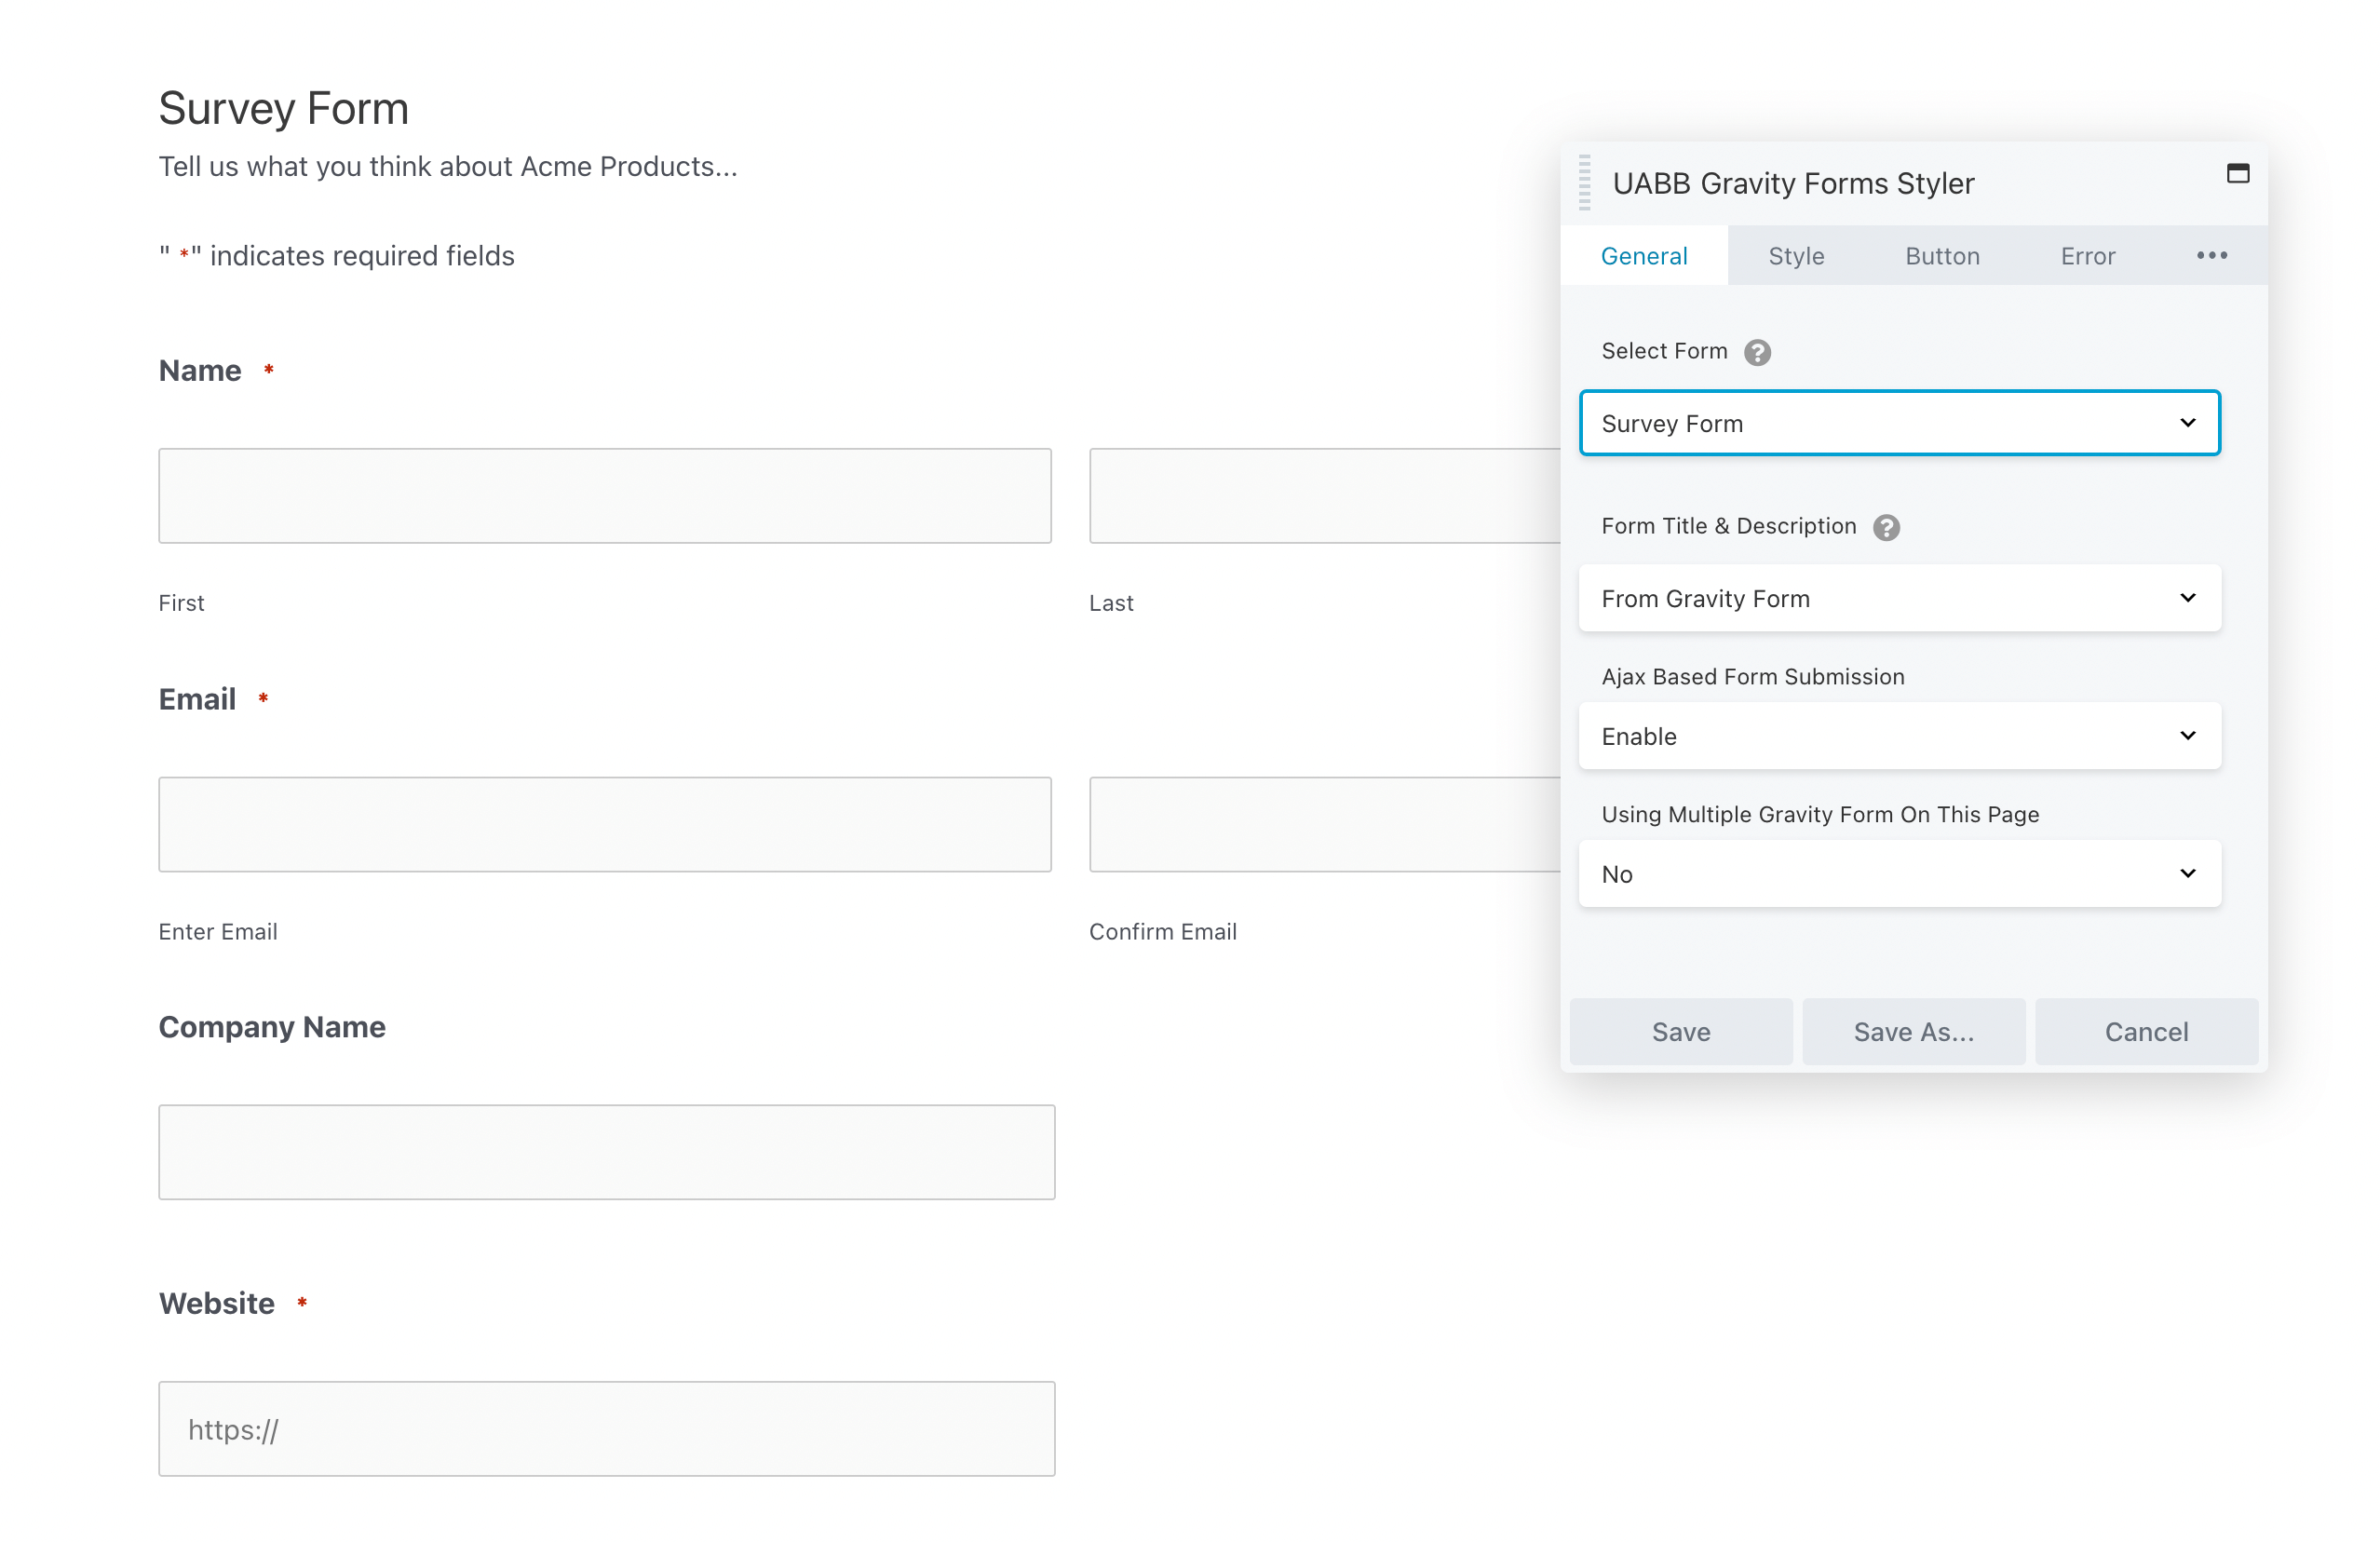
After installing and activating Ultimate Addons, be sure to paste the license key from your purchase. Then, you can go straight to the Beaver Builder editor and search for “Gravity Forms”. You’ll now see a new Gravity Forms Styler:
Under Select Form, use the dropdown menu to choose one of your Gravity forms. You can also enter a custom title and description:
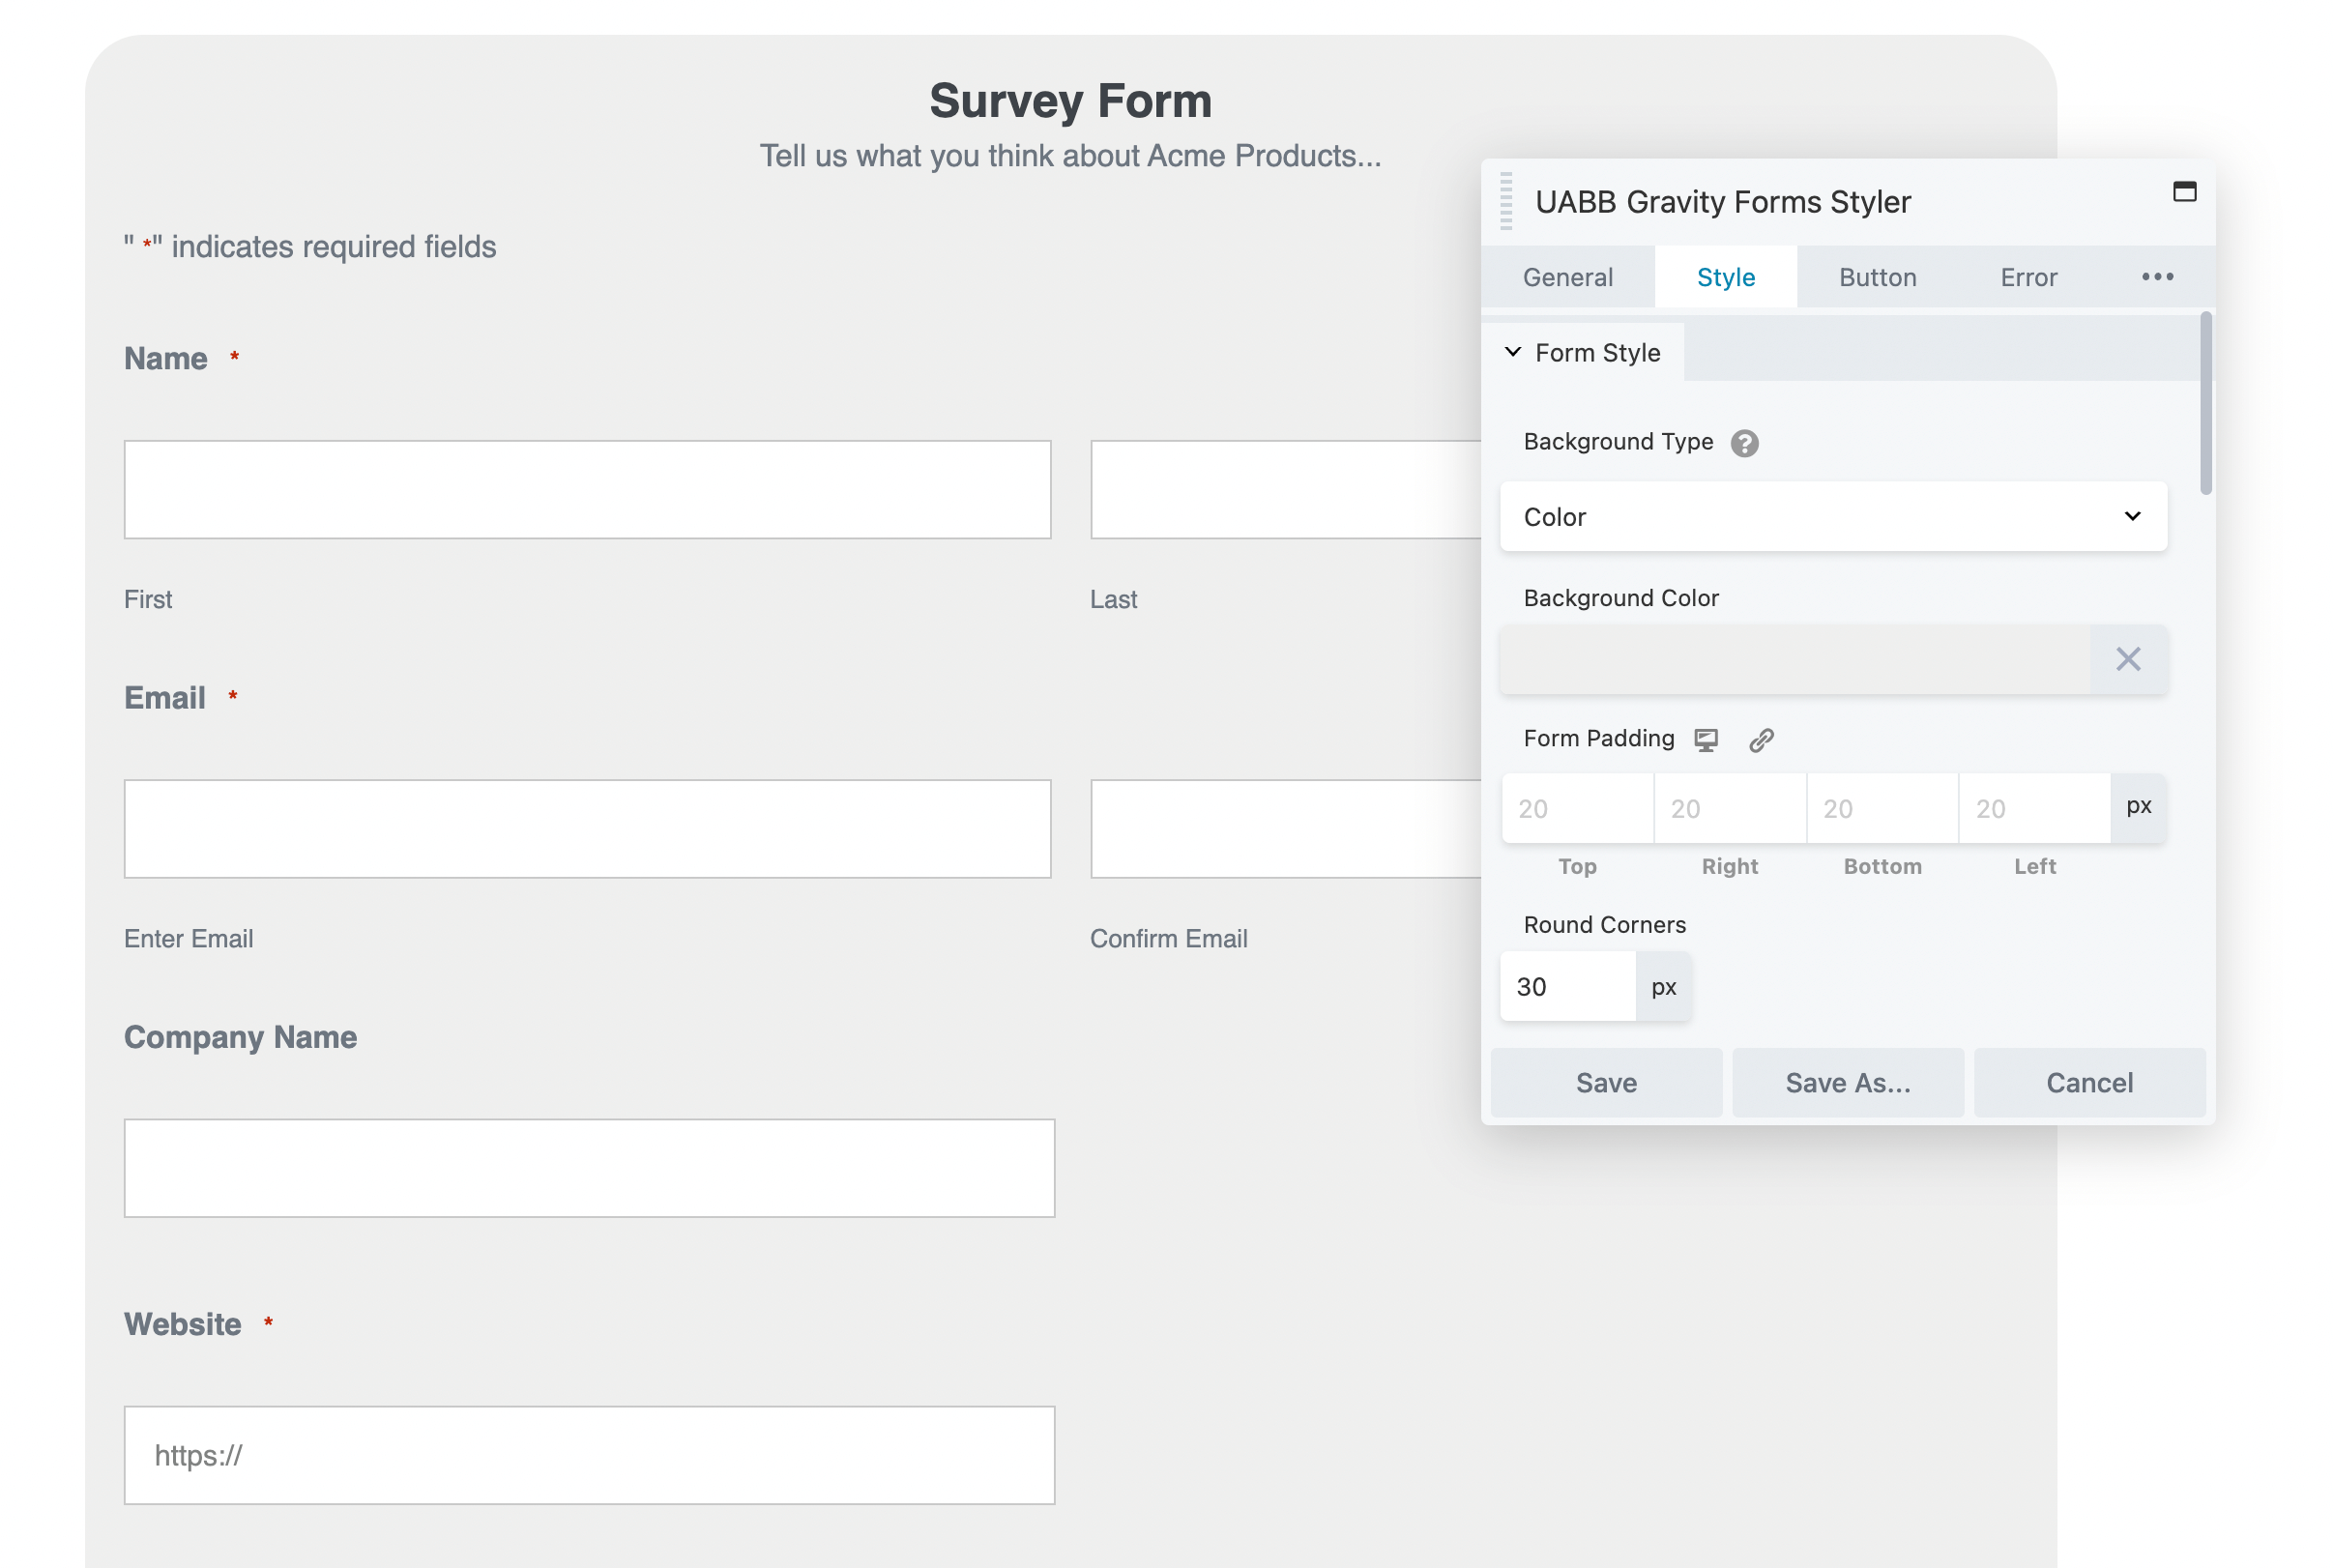
Next, click on the Style tab. Here, you can choose a color, gradient, or image background. If you like, you can also round the corners and adjust the title alignment:
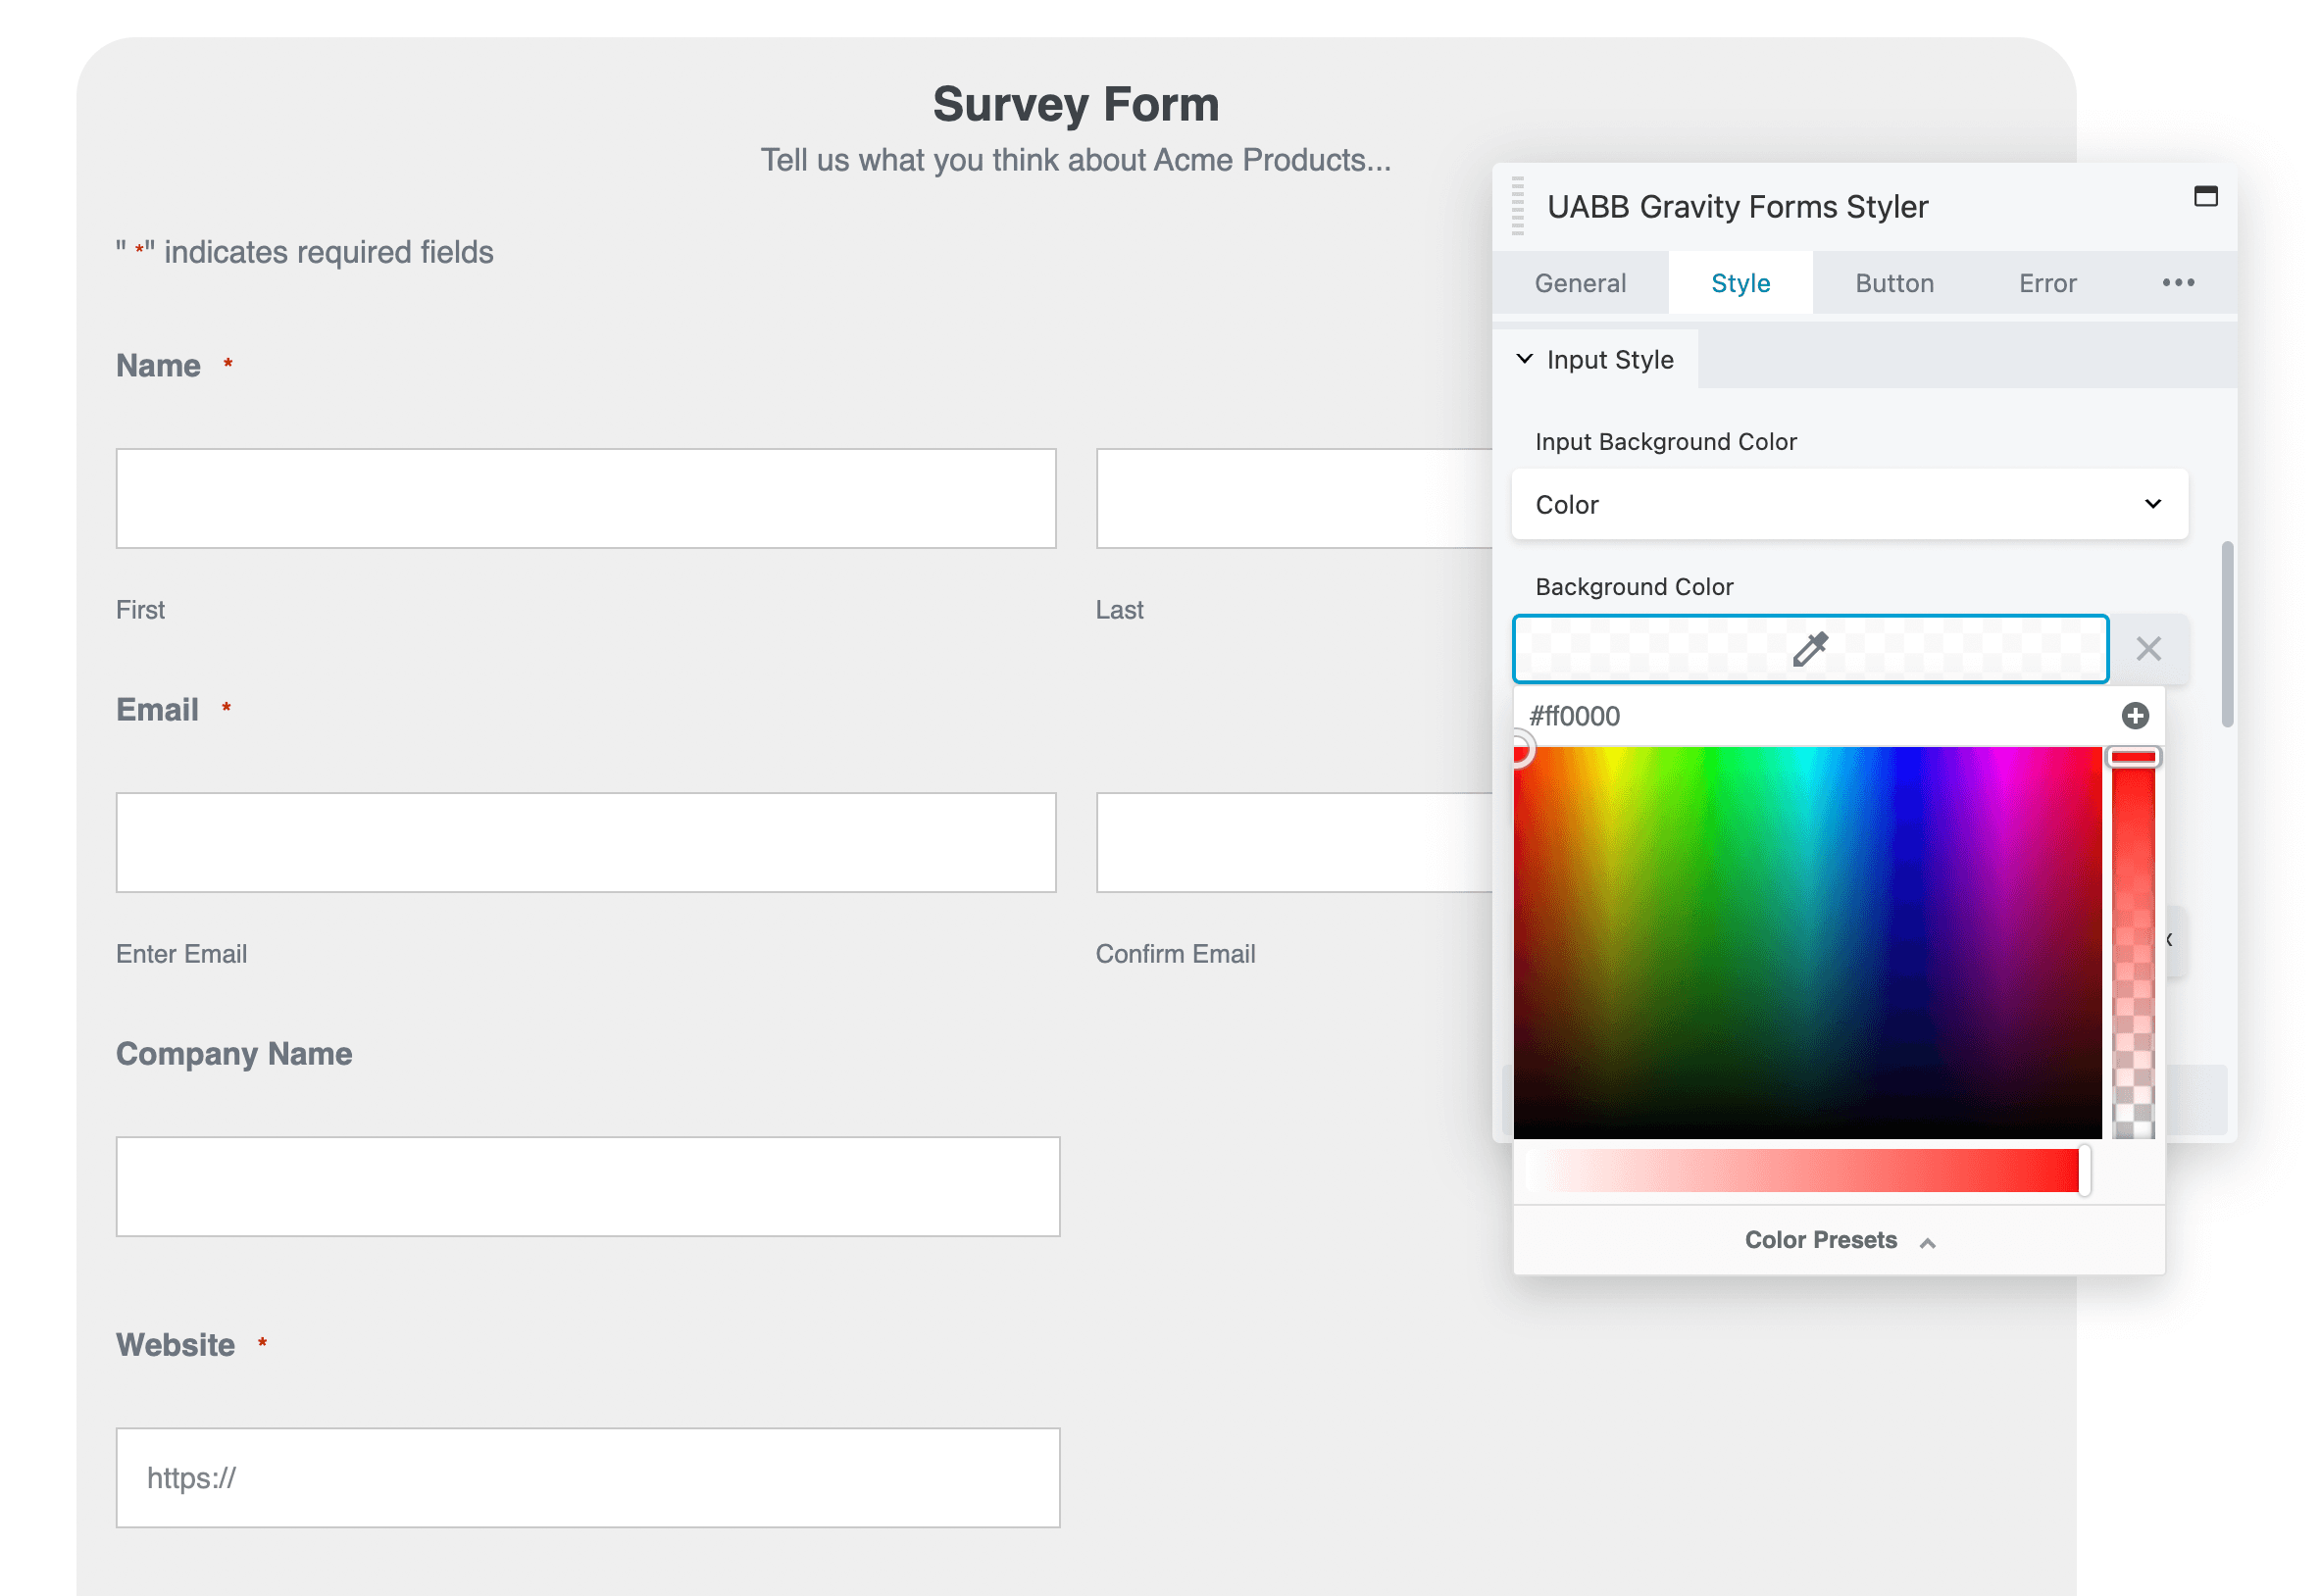
The Input Style section enables you to edit the text entry boxes. You can make them transparent or add a background color that fits your branding:
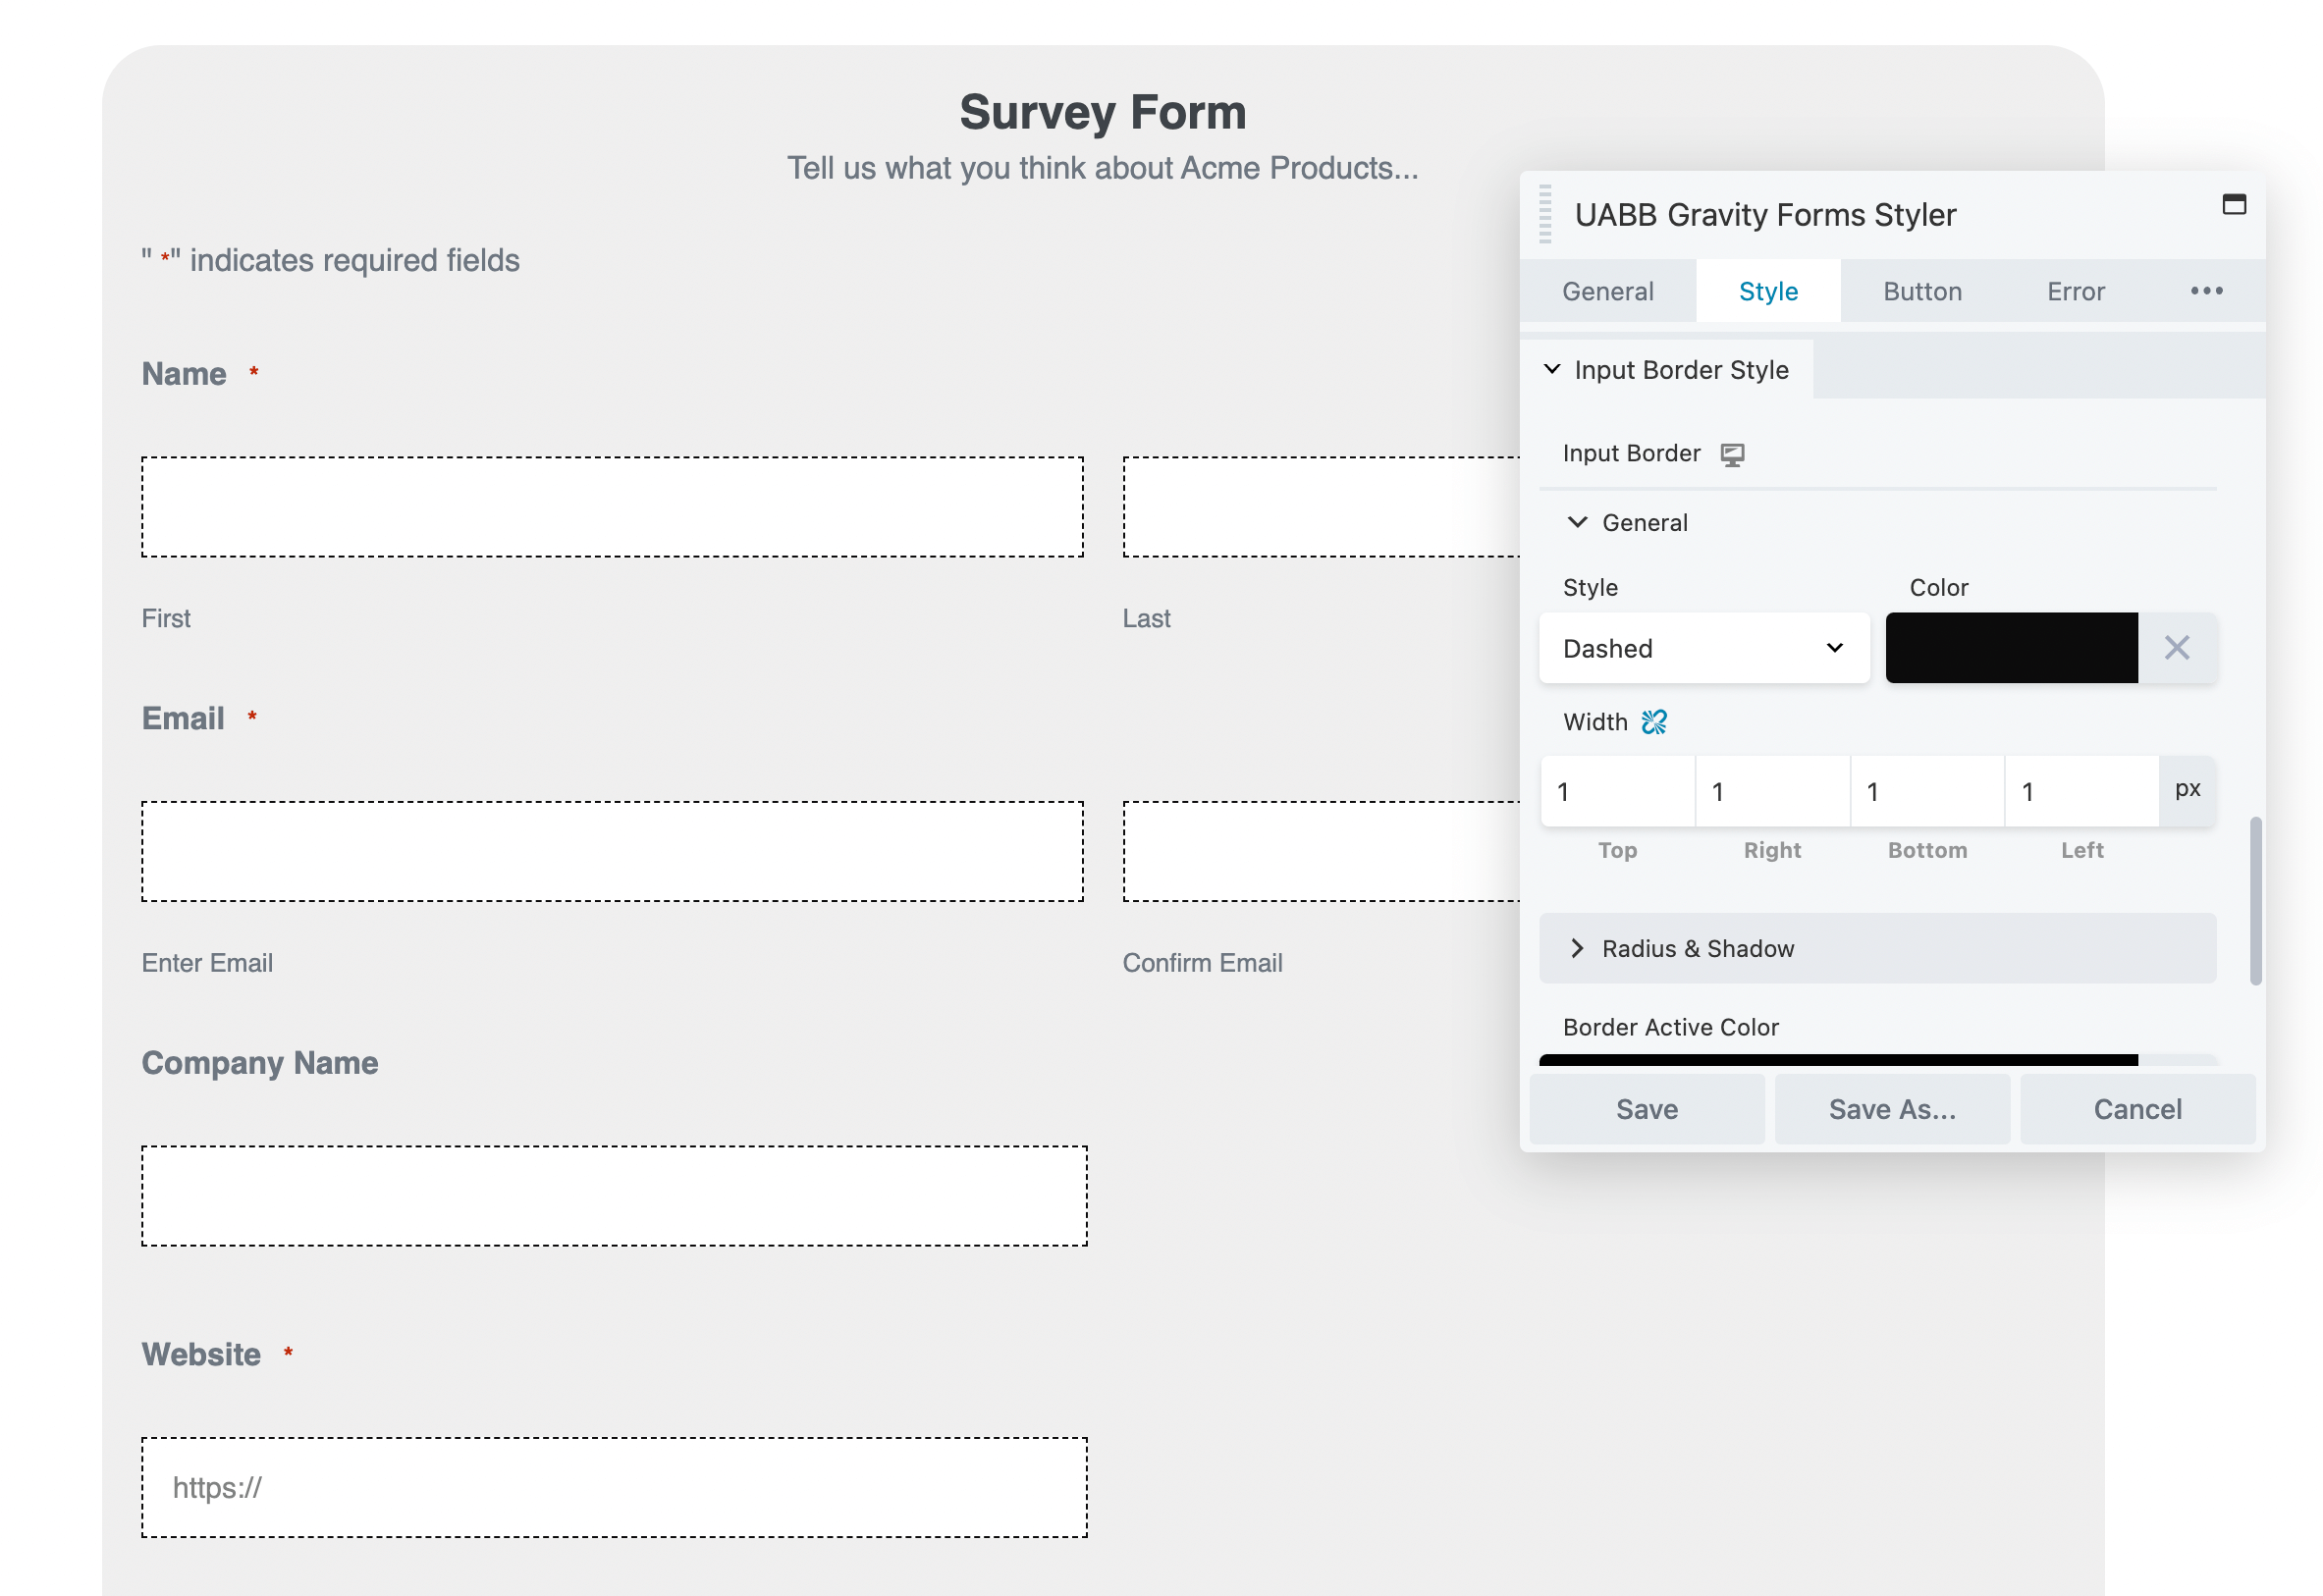
To further customize the input style, you can add a border. Ultimate Addons will allow you to adjust its style, color, and width:
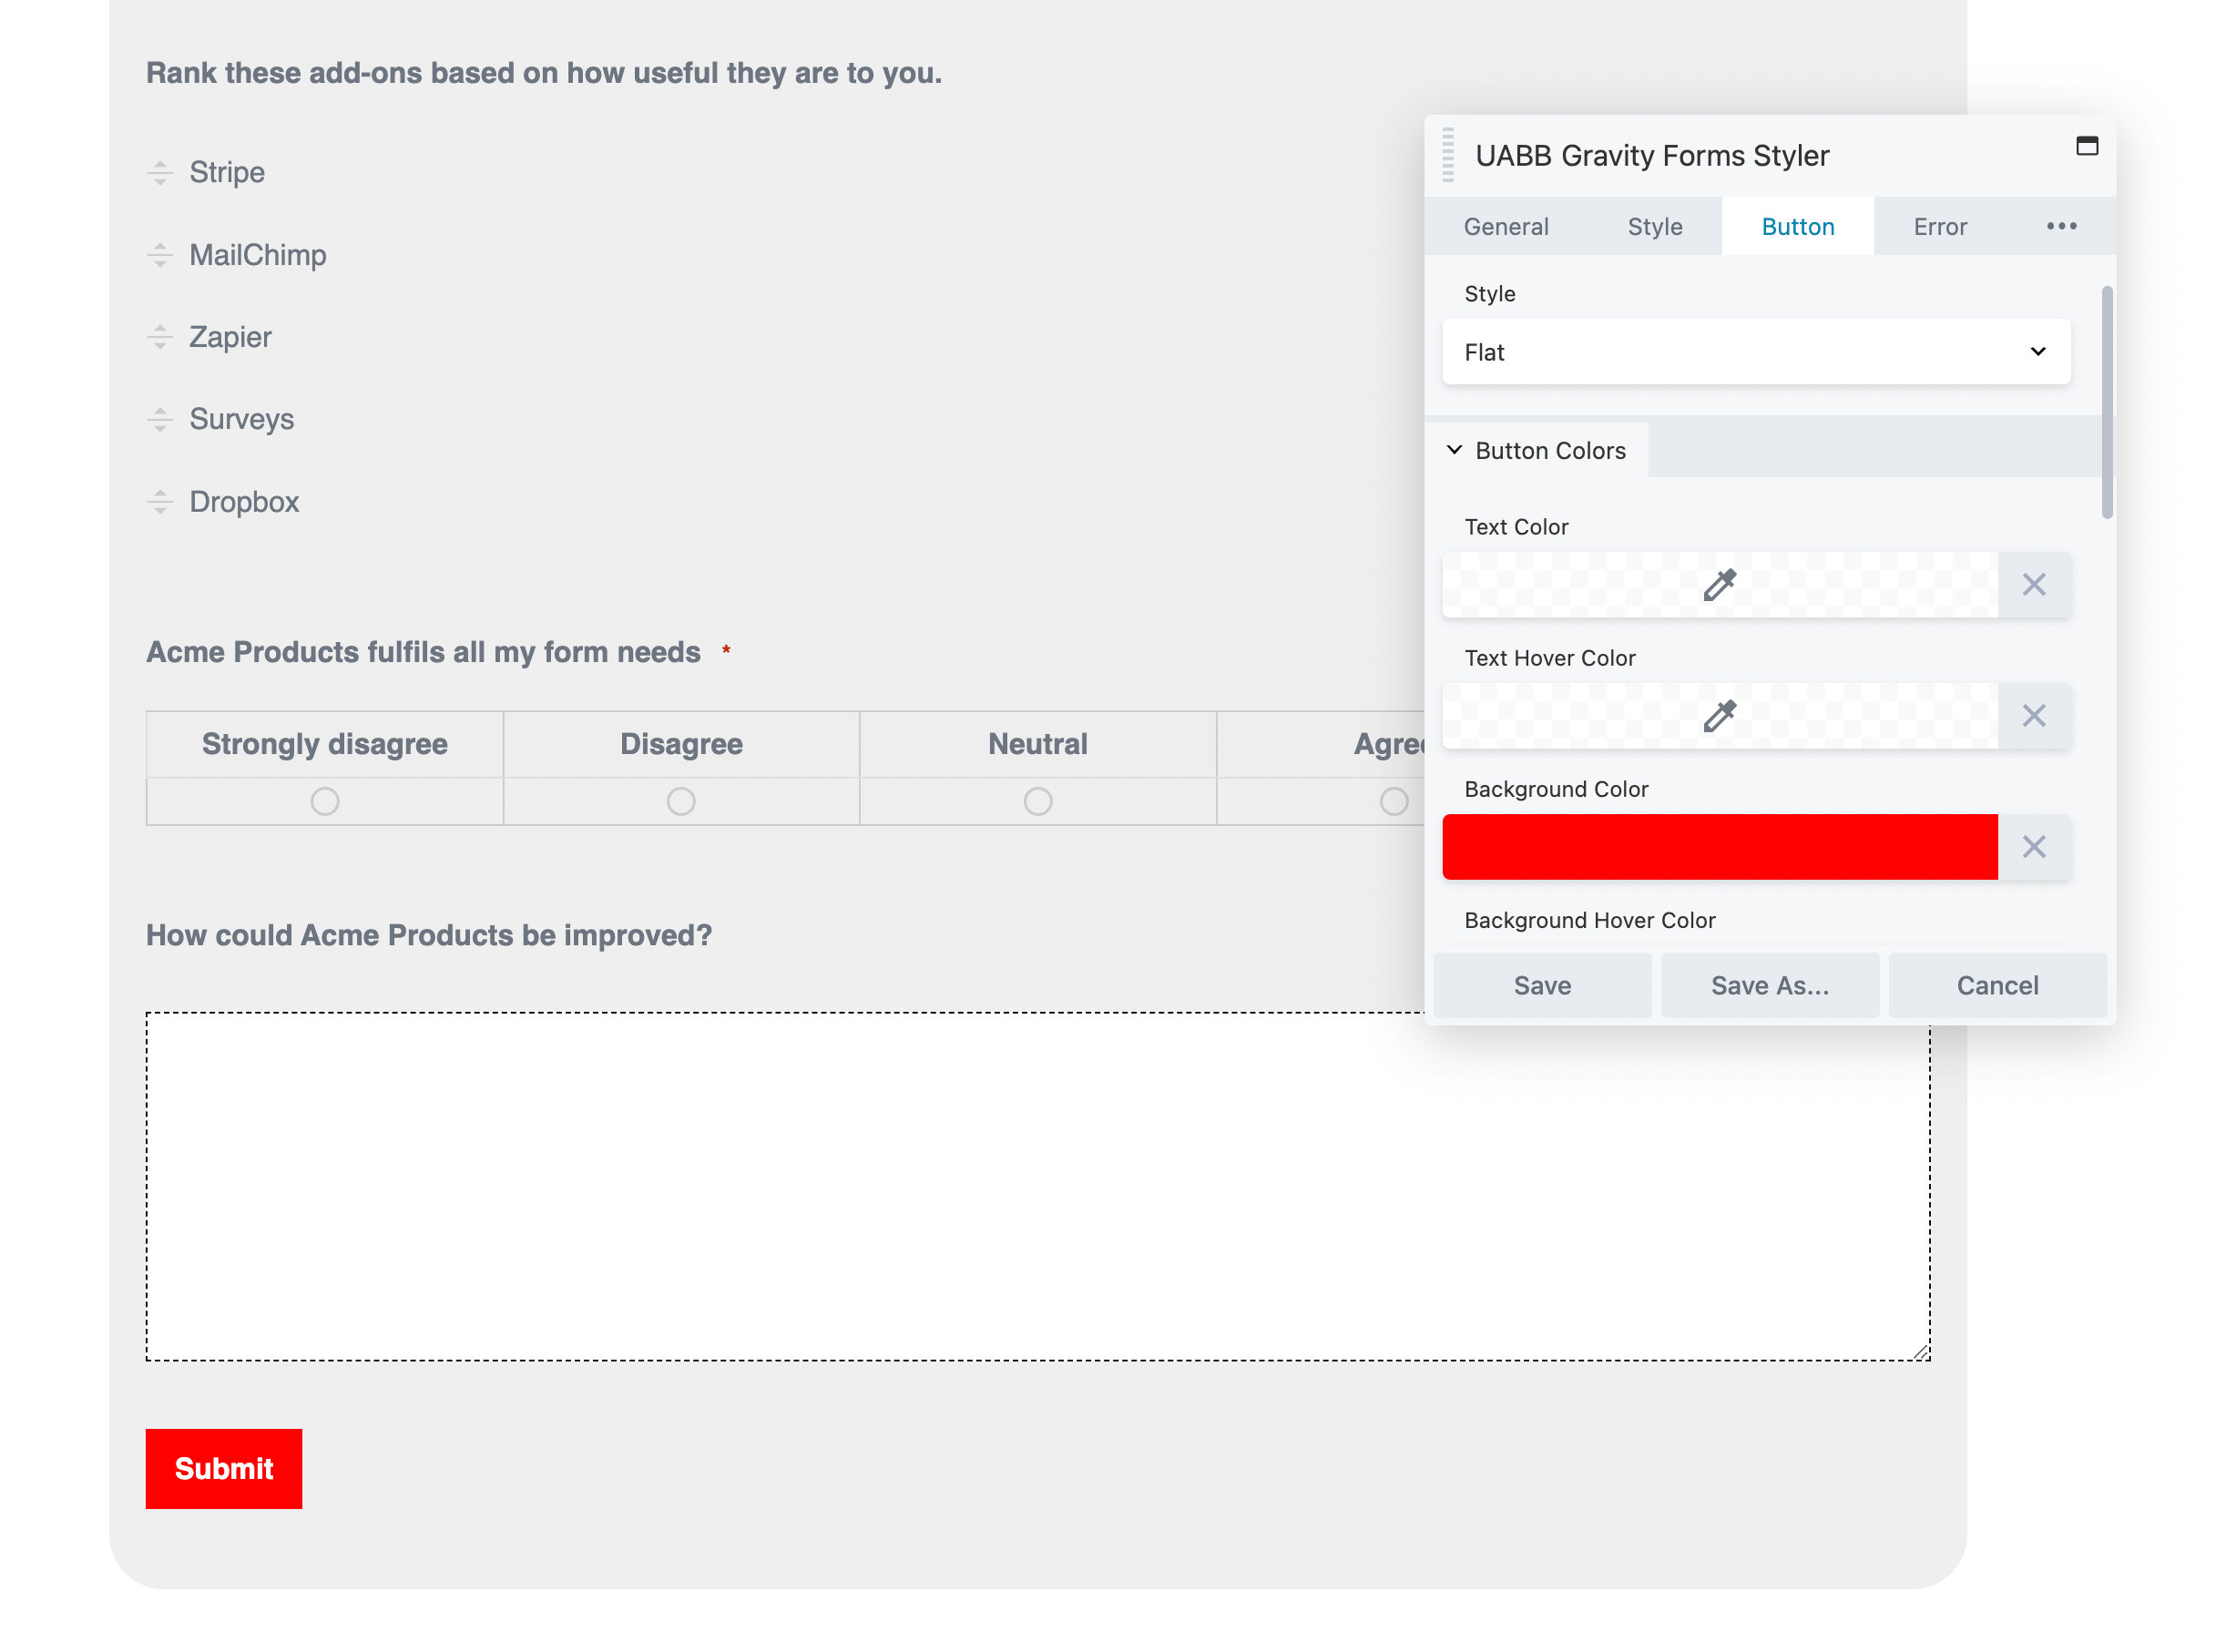
A well-designed Call-to-Action (CTA) button can also lead to more form submissions. By navigating to the Button tab, you can select a new style and color palette for the Submit button:
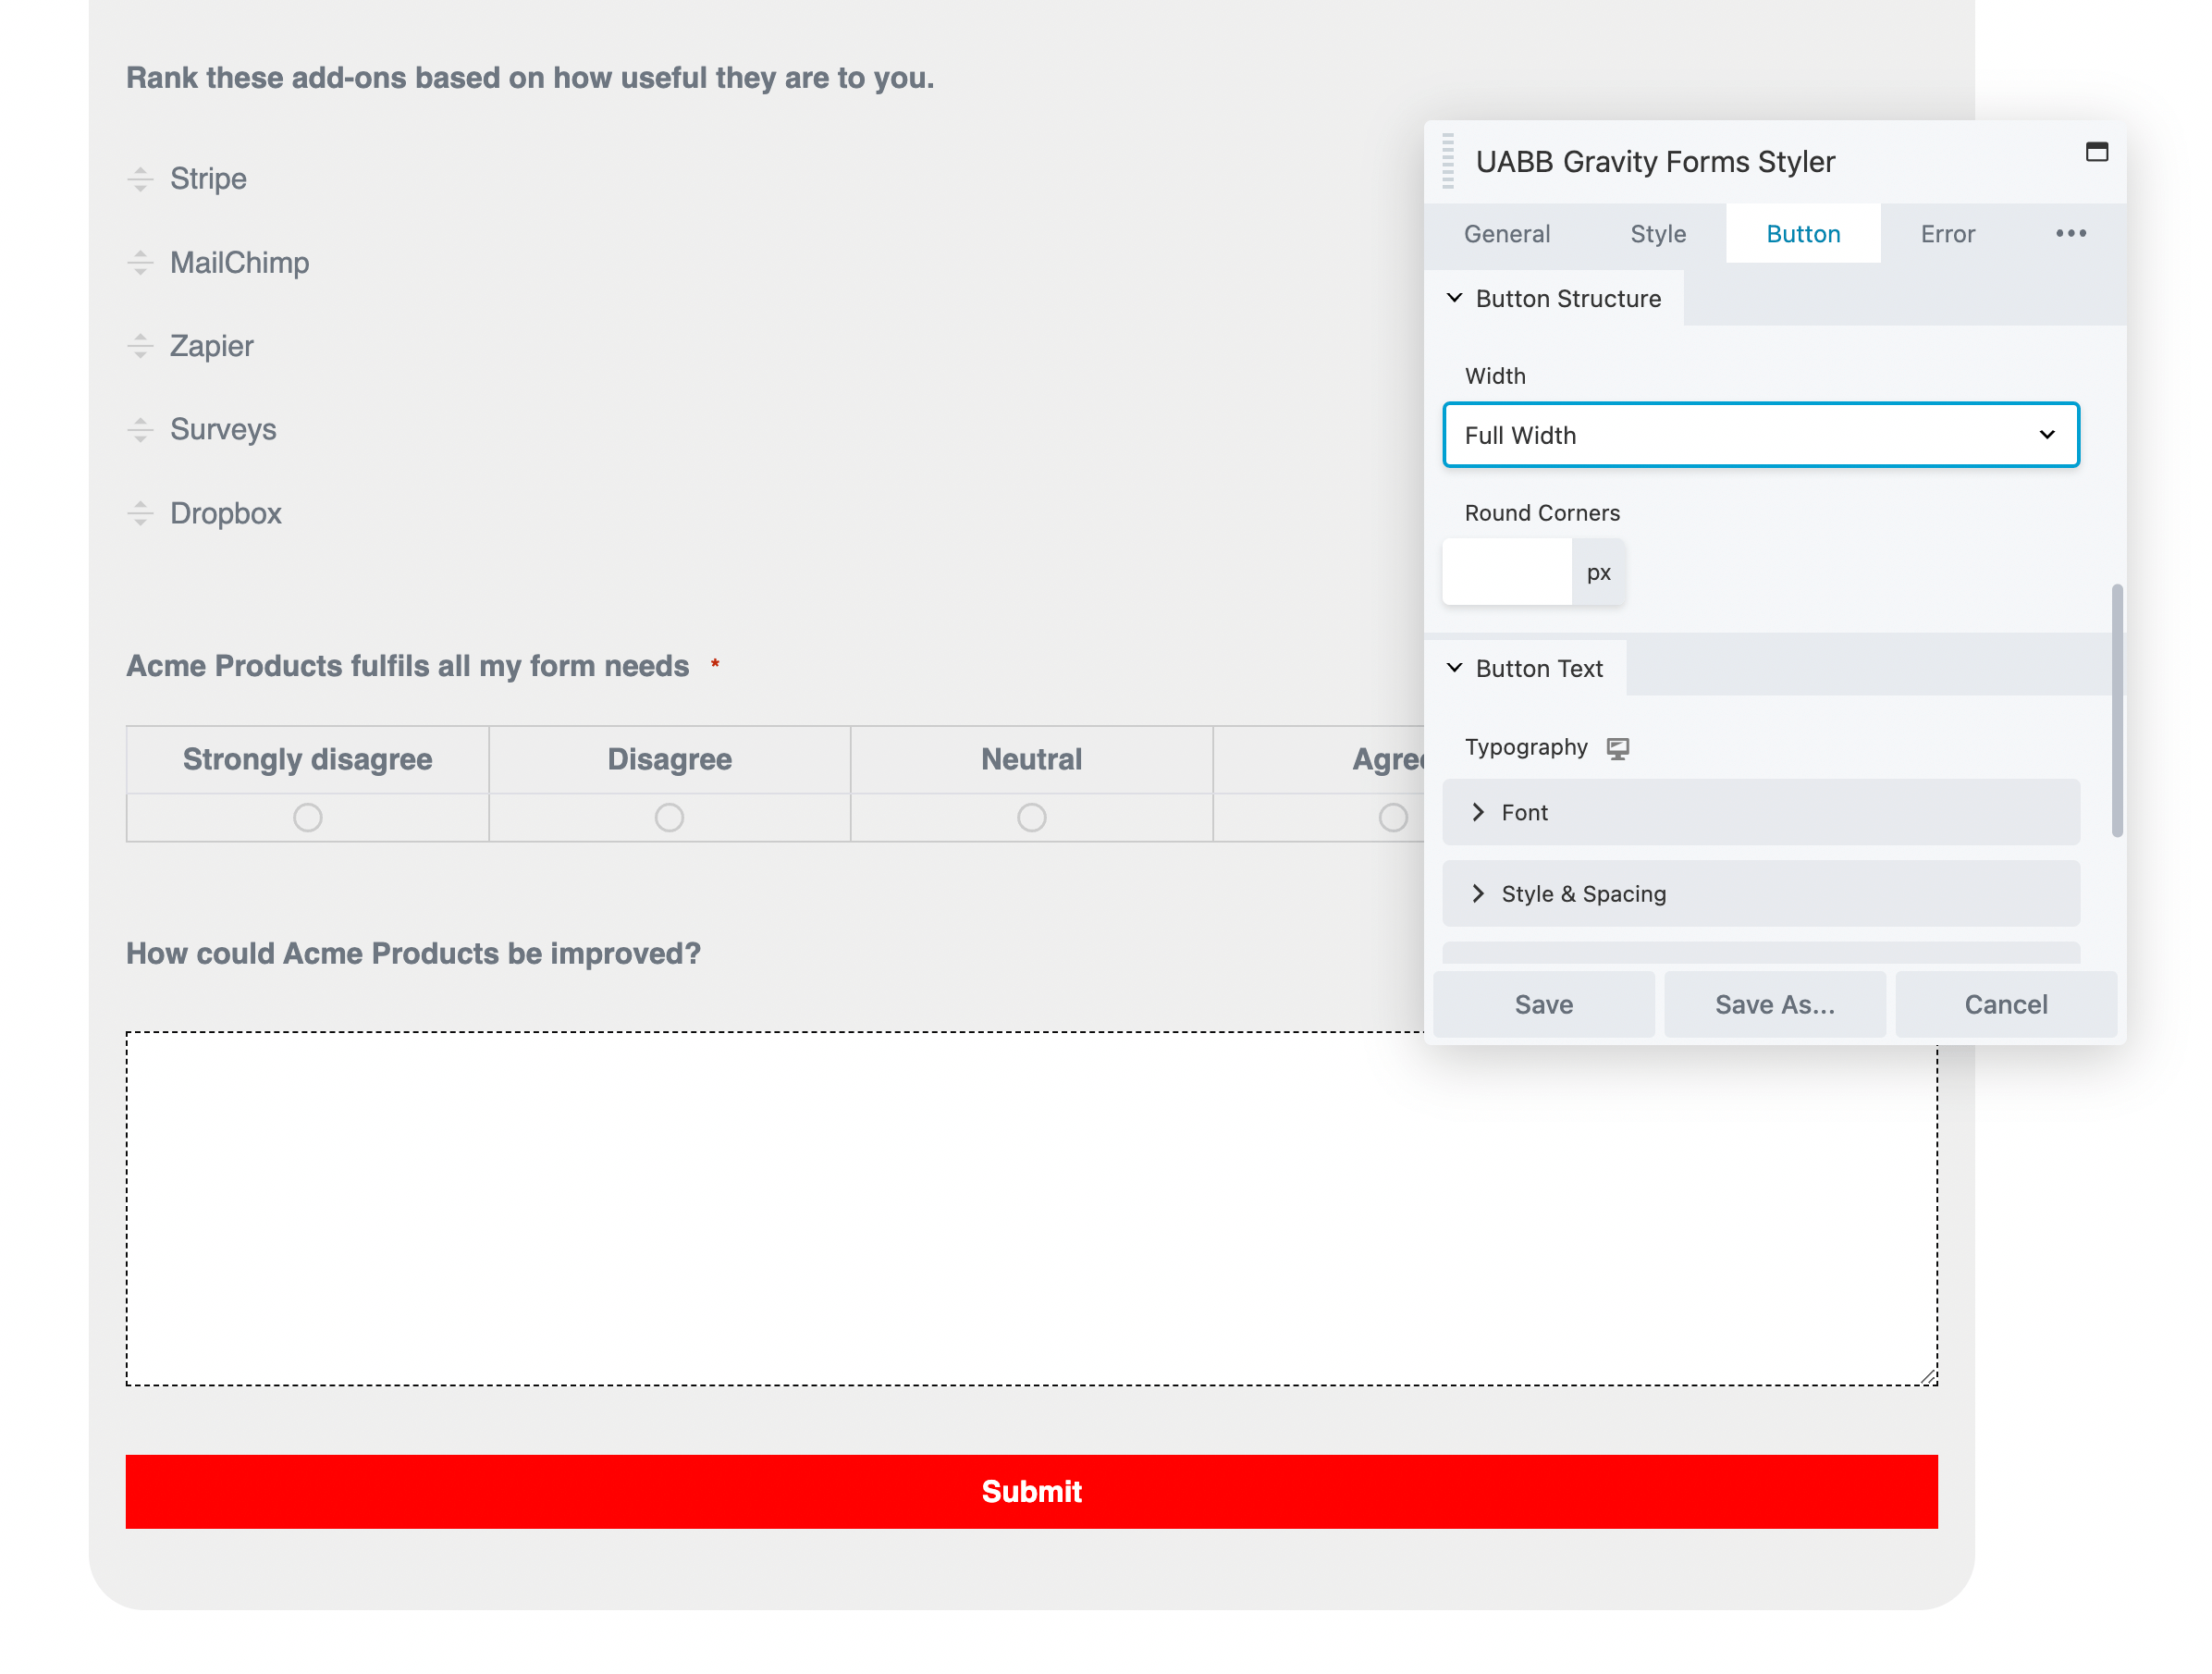
Under Button Structure, you can make the button more visible by adjusting its width. You can also round the corners to match the rest of the form:
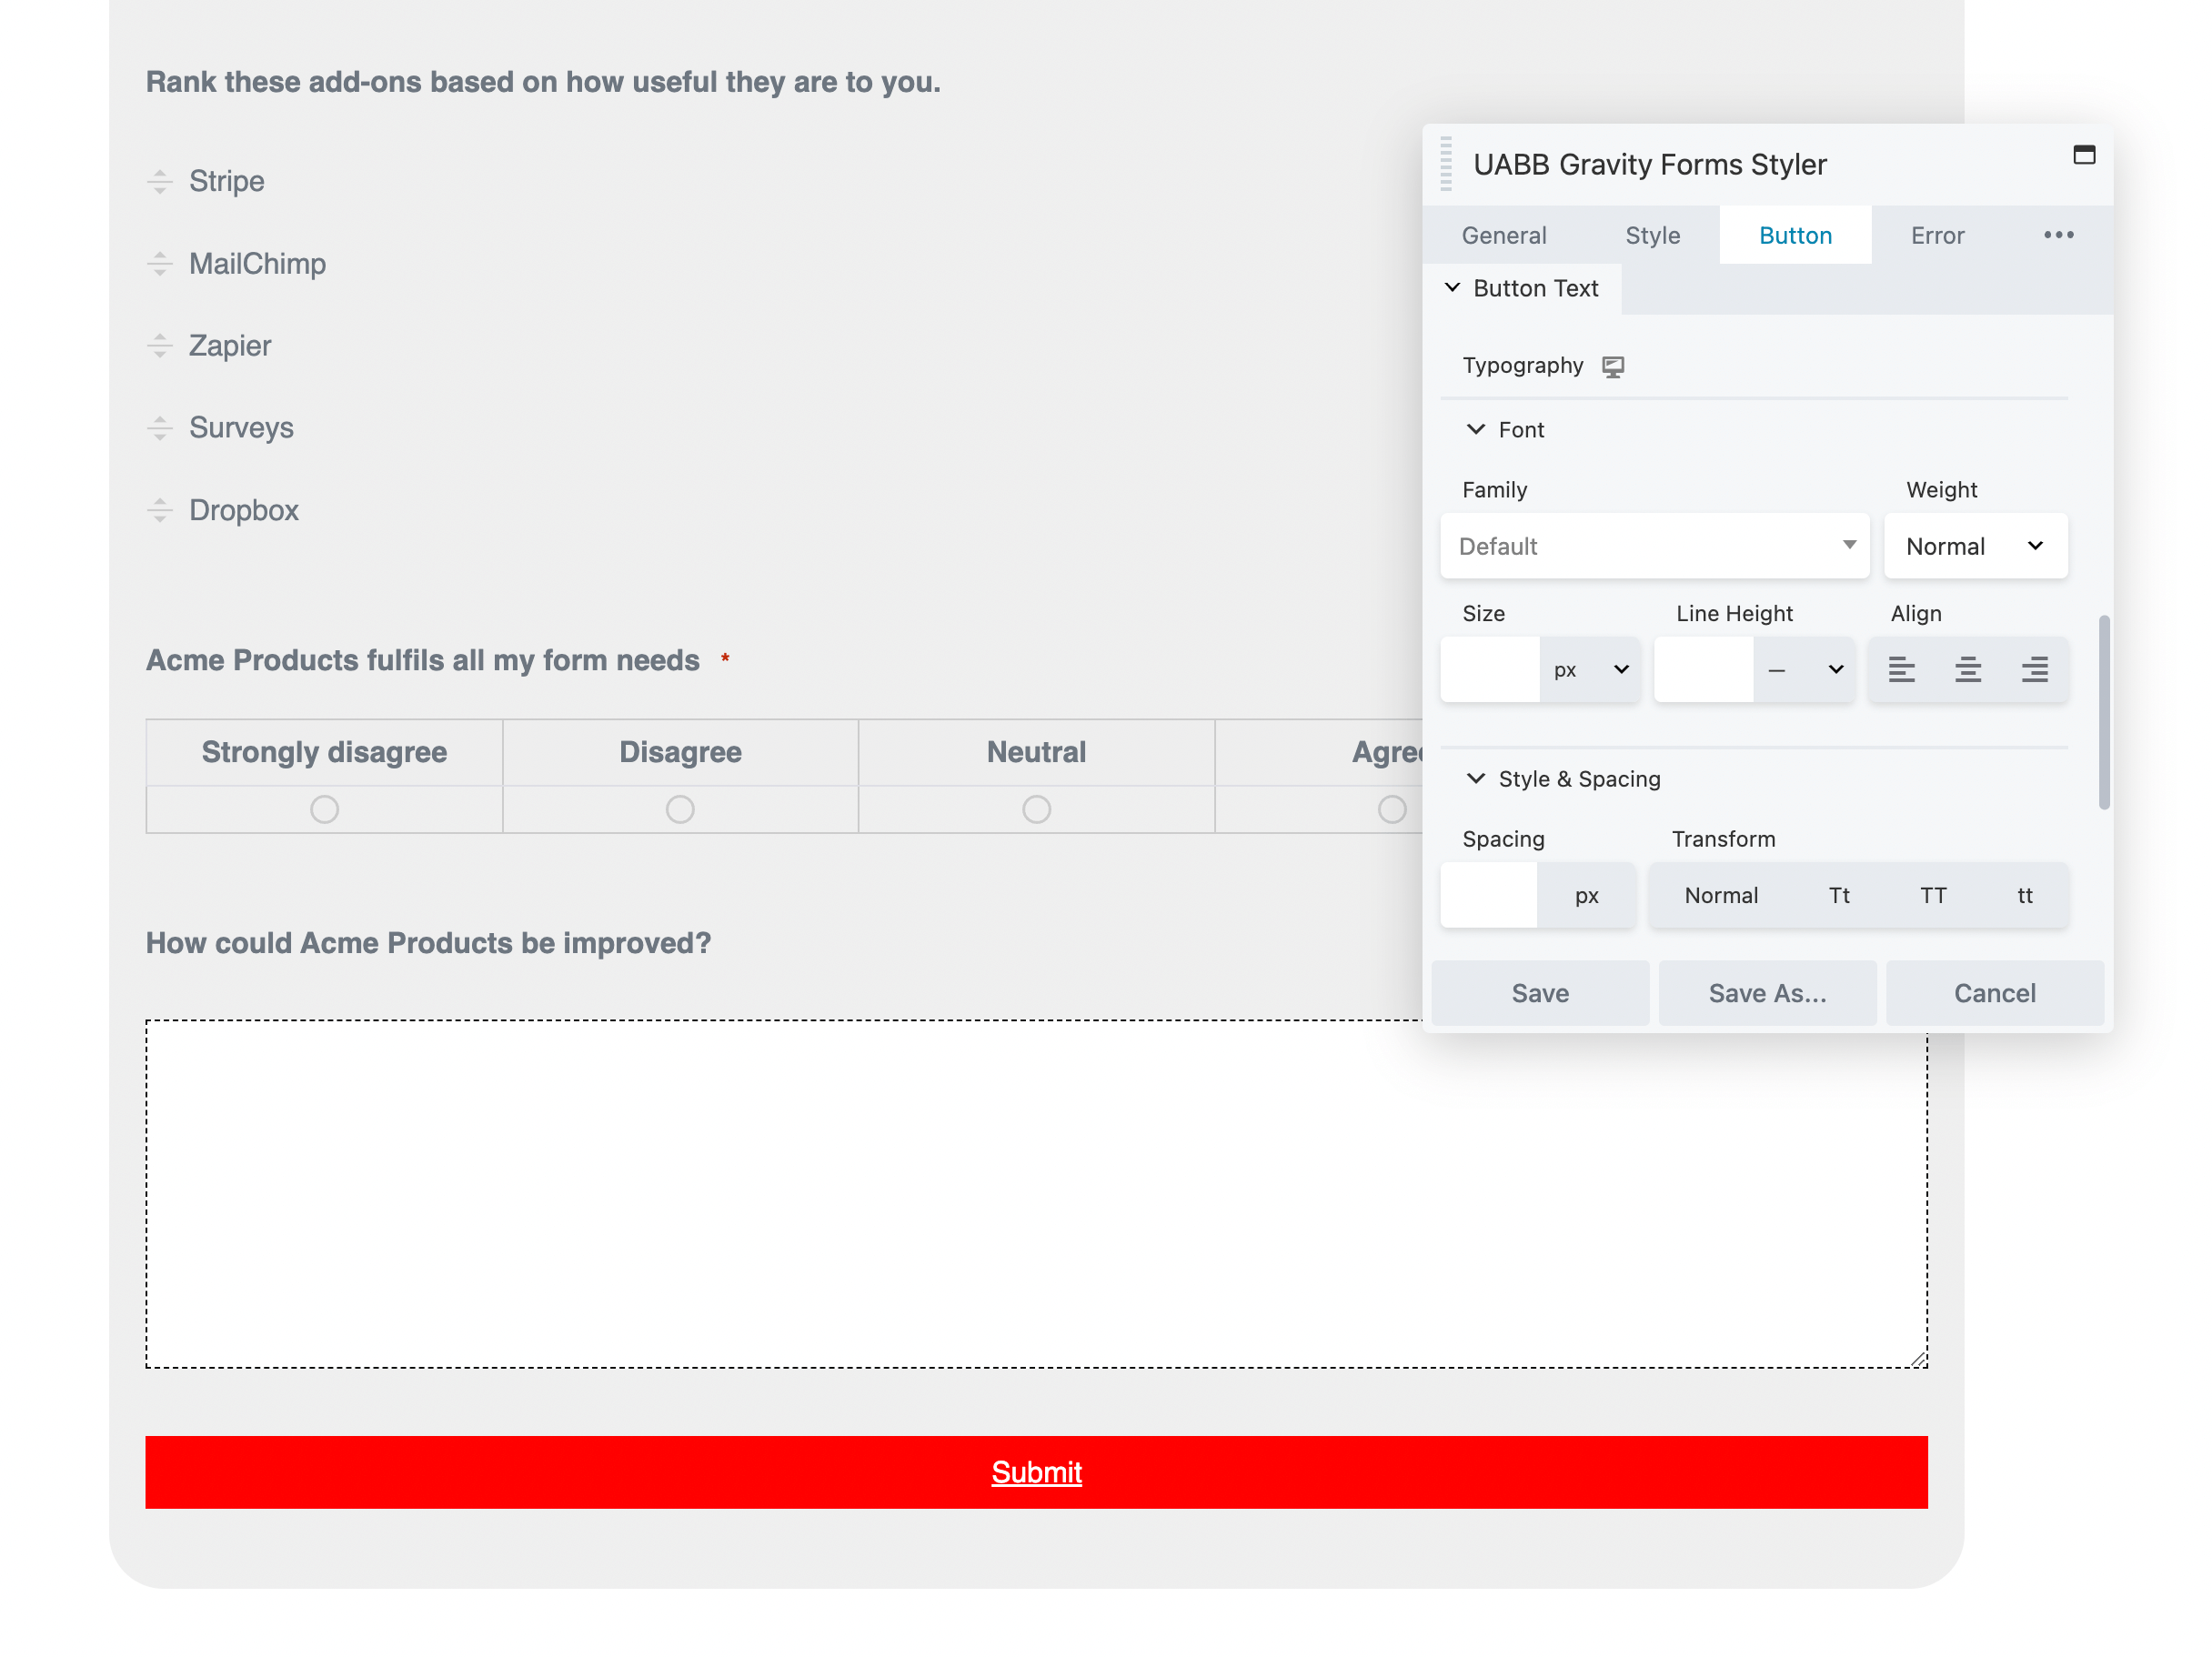
Next, customize the font with a unique family, weight, and size. If you’d like, you can also add decorations like an underline. This can make the form more visually appealing:
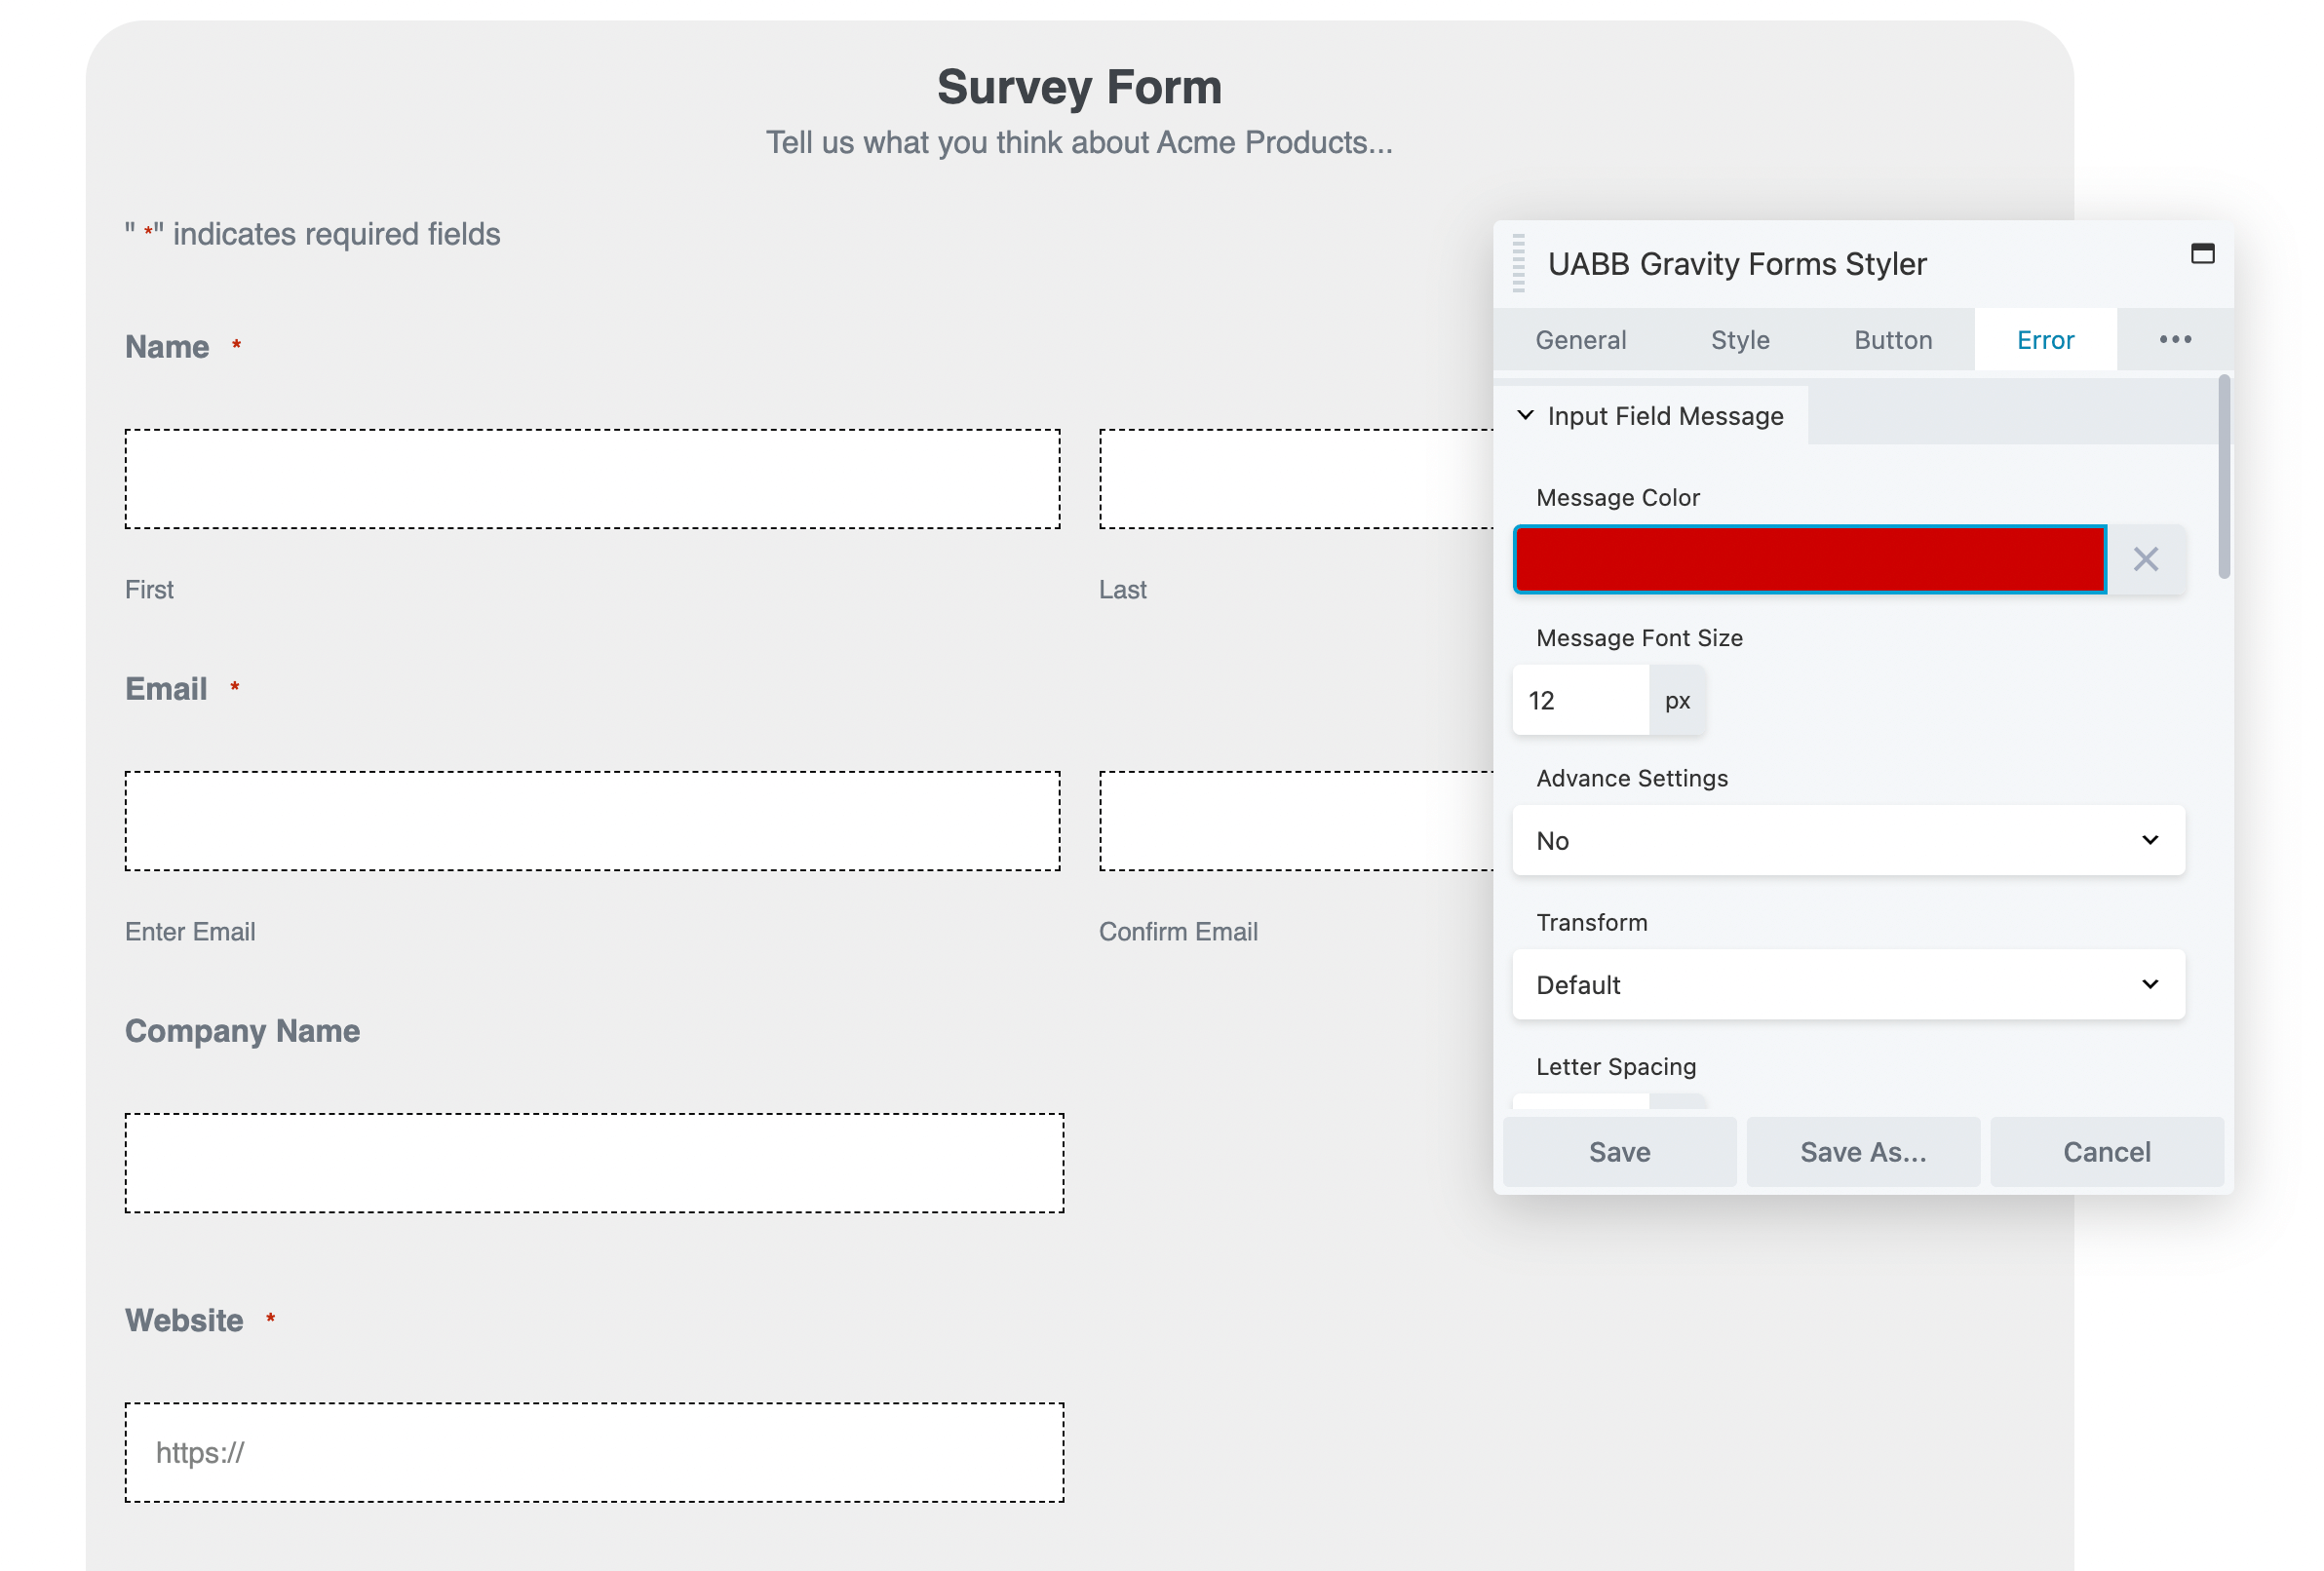
Users who don’t follow the input field guidelines will receive an error message. In the Error section, you can adjust the validation and success messages:
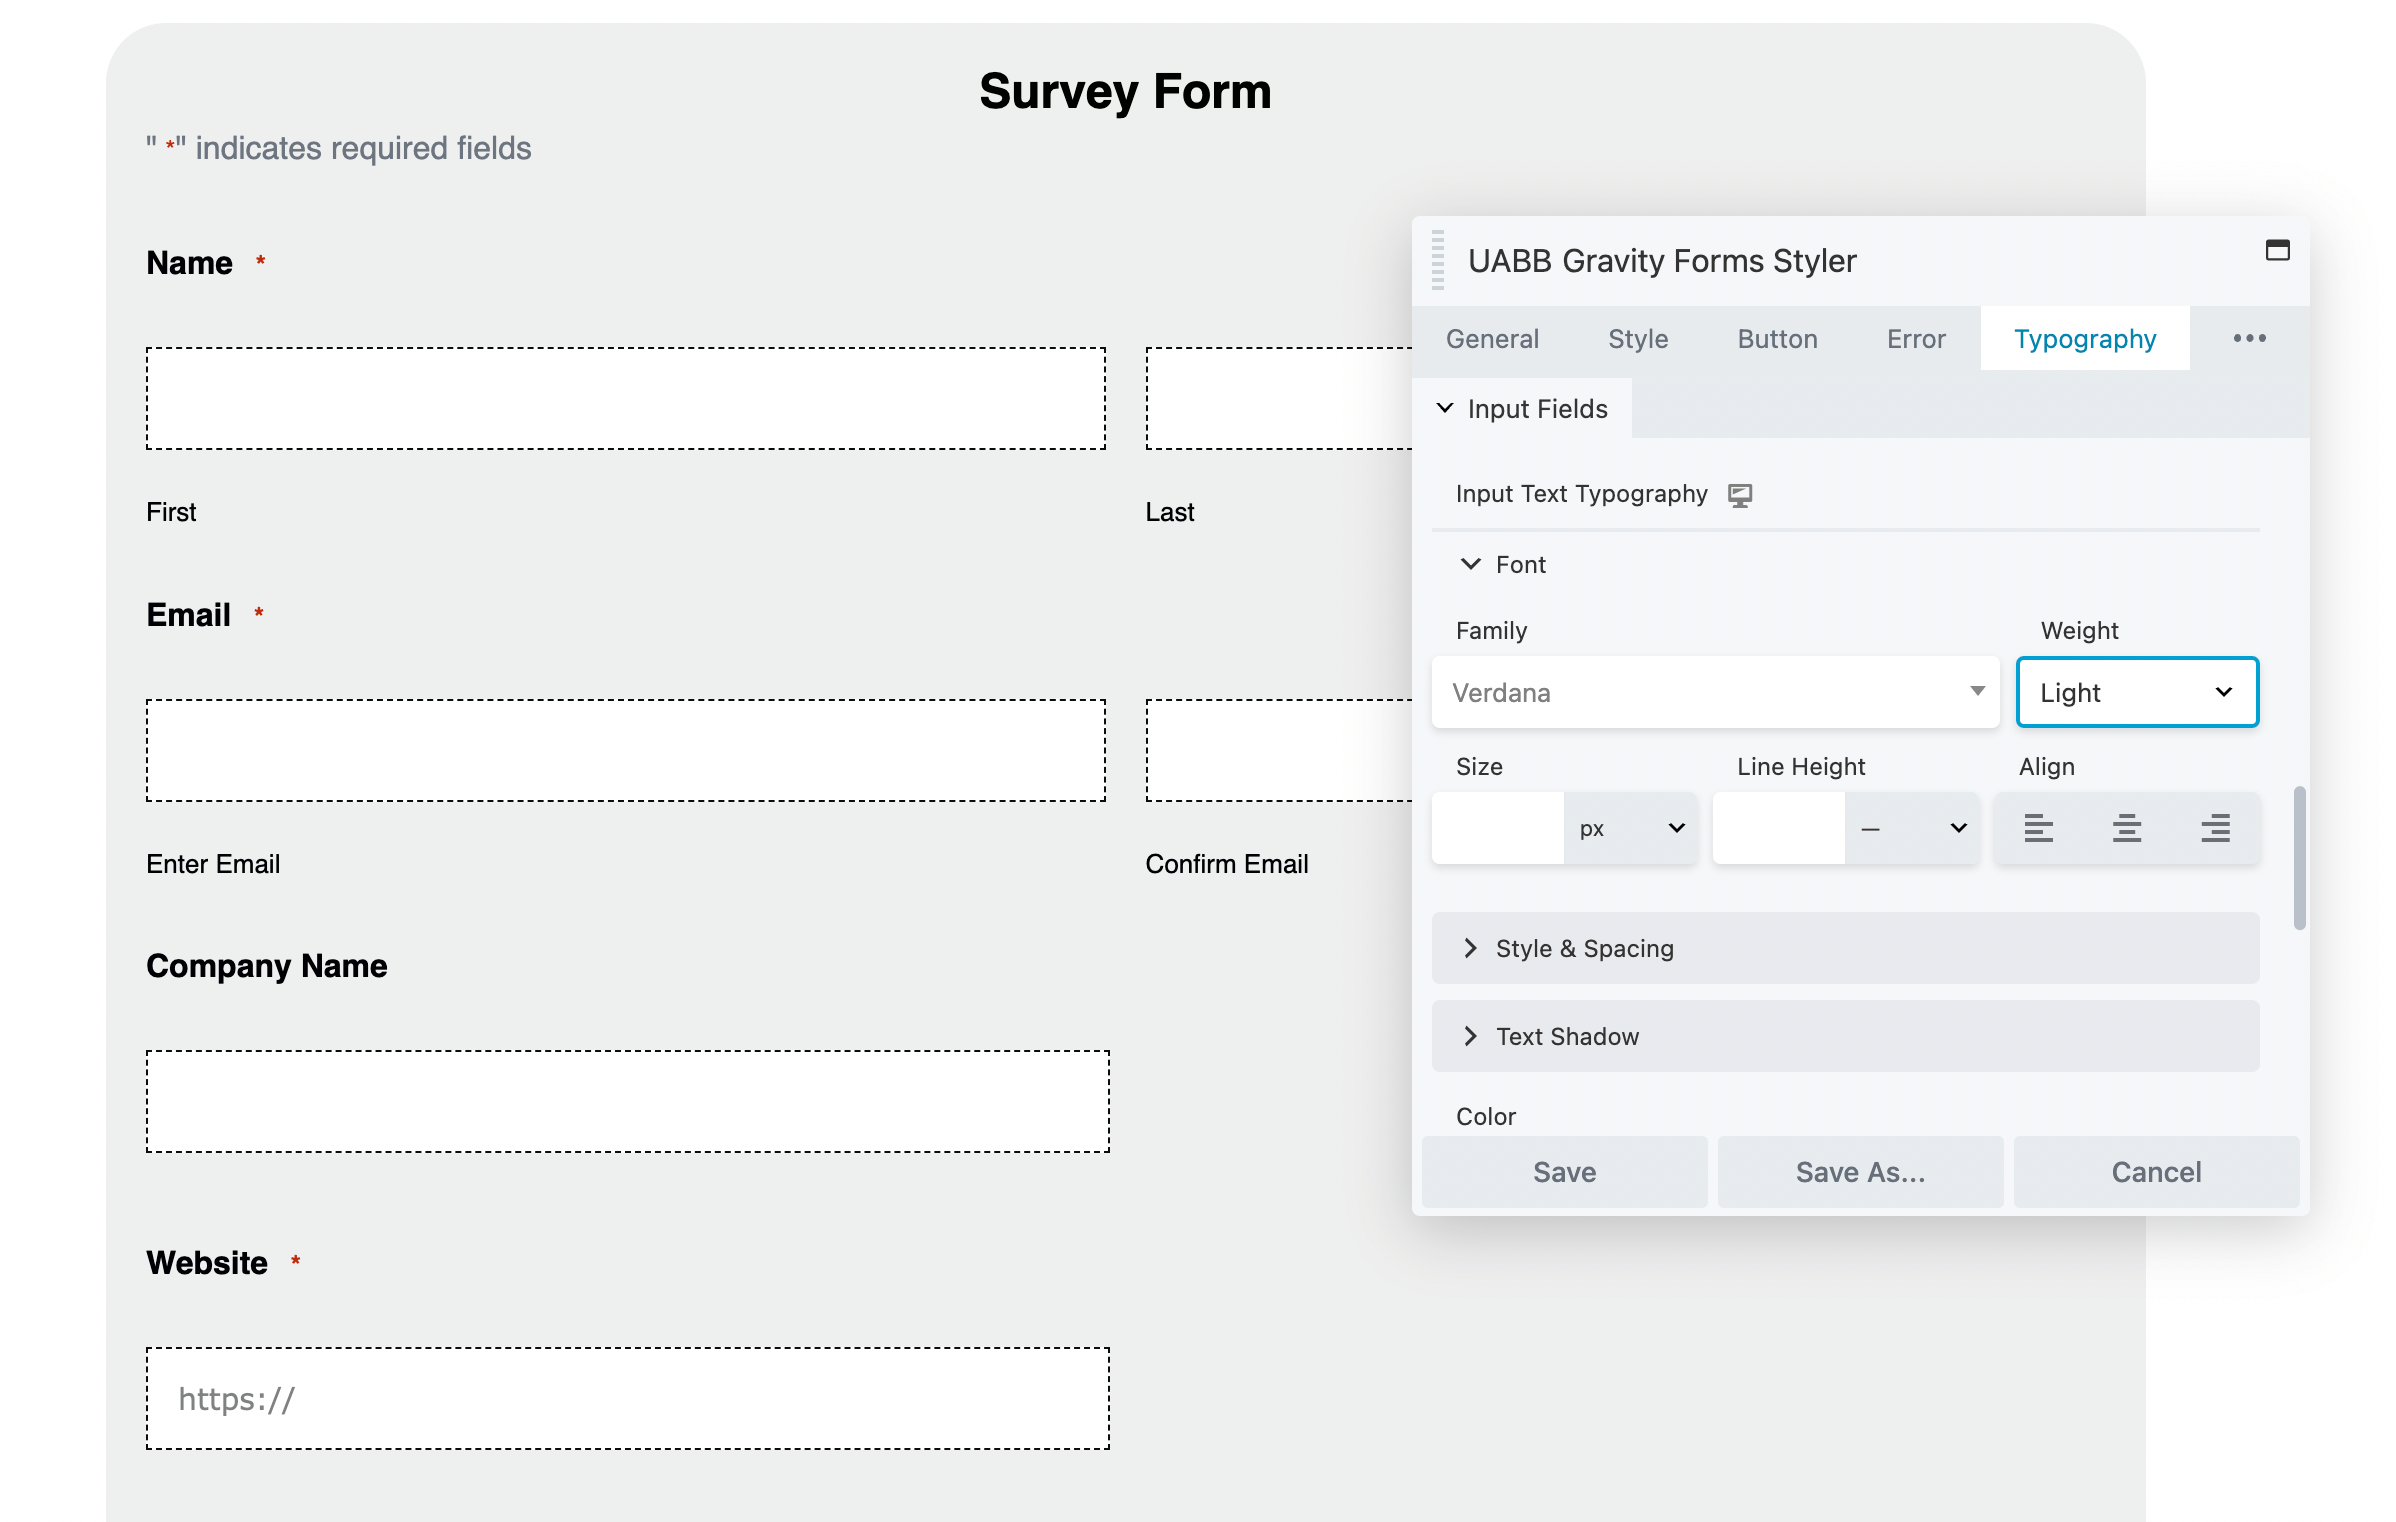
Finally, consider updating the form’s typography. You can create a custom font, style, spacing, and color for the heading and description:
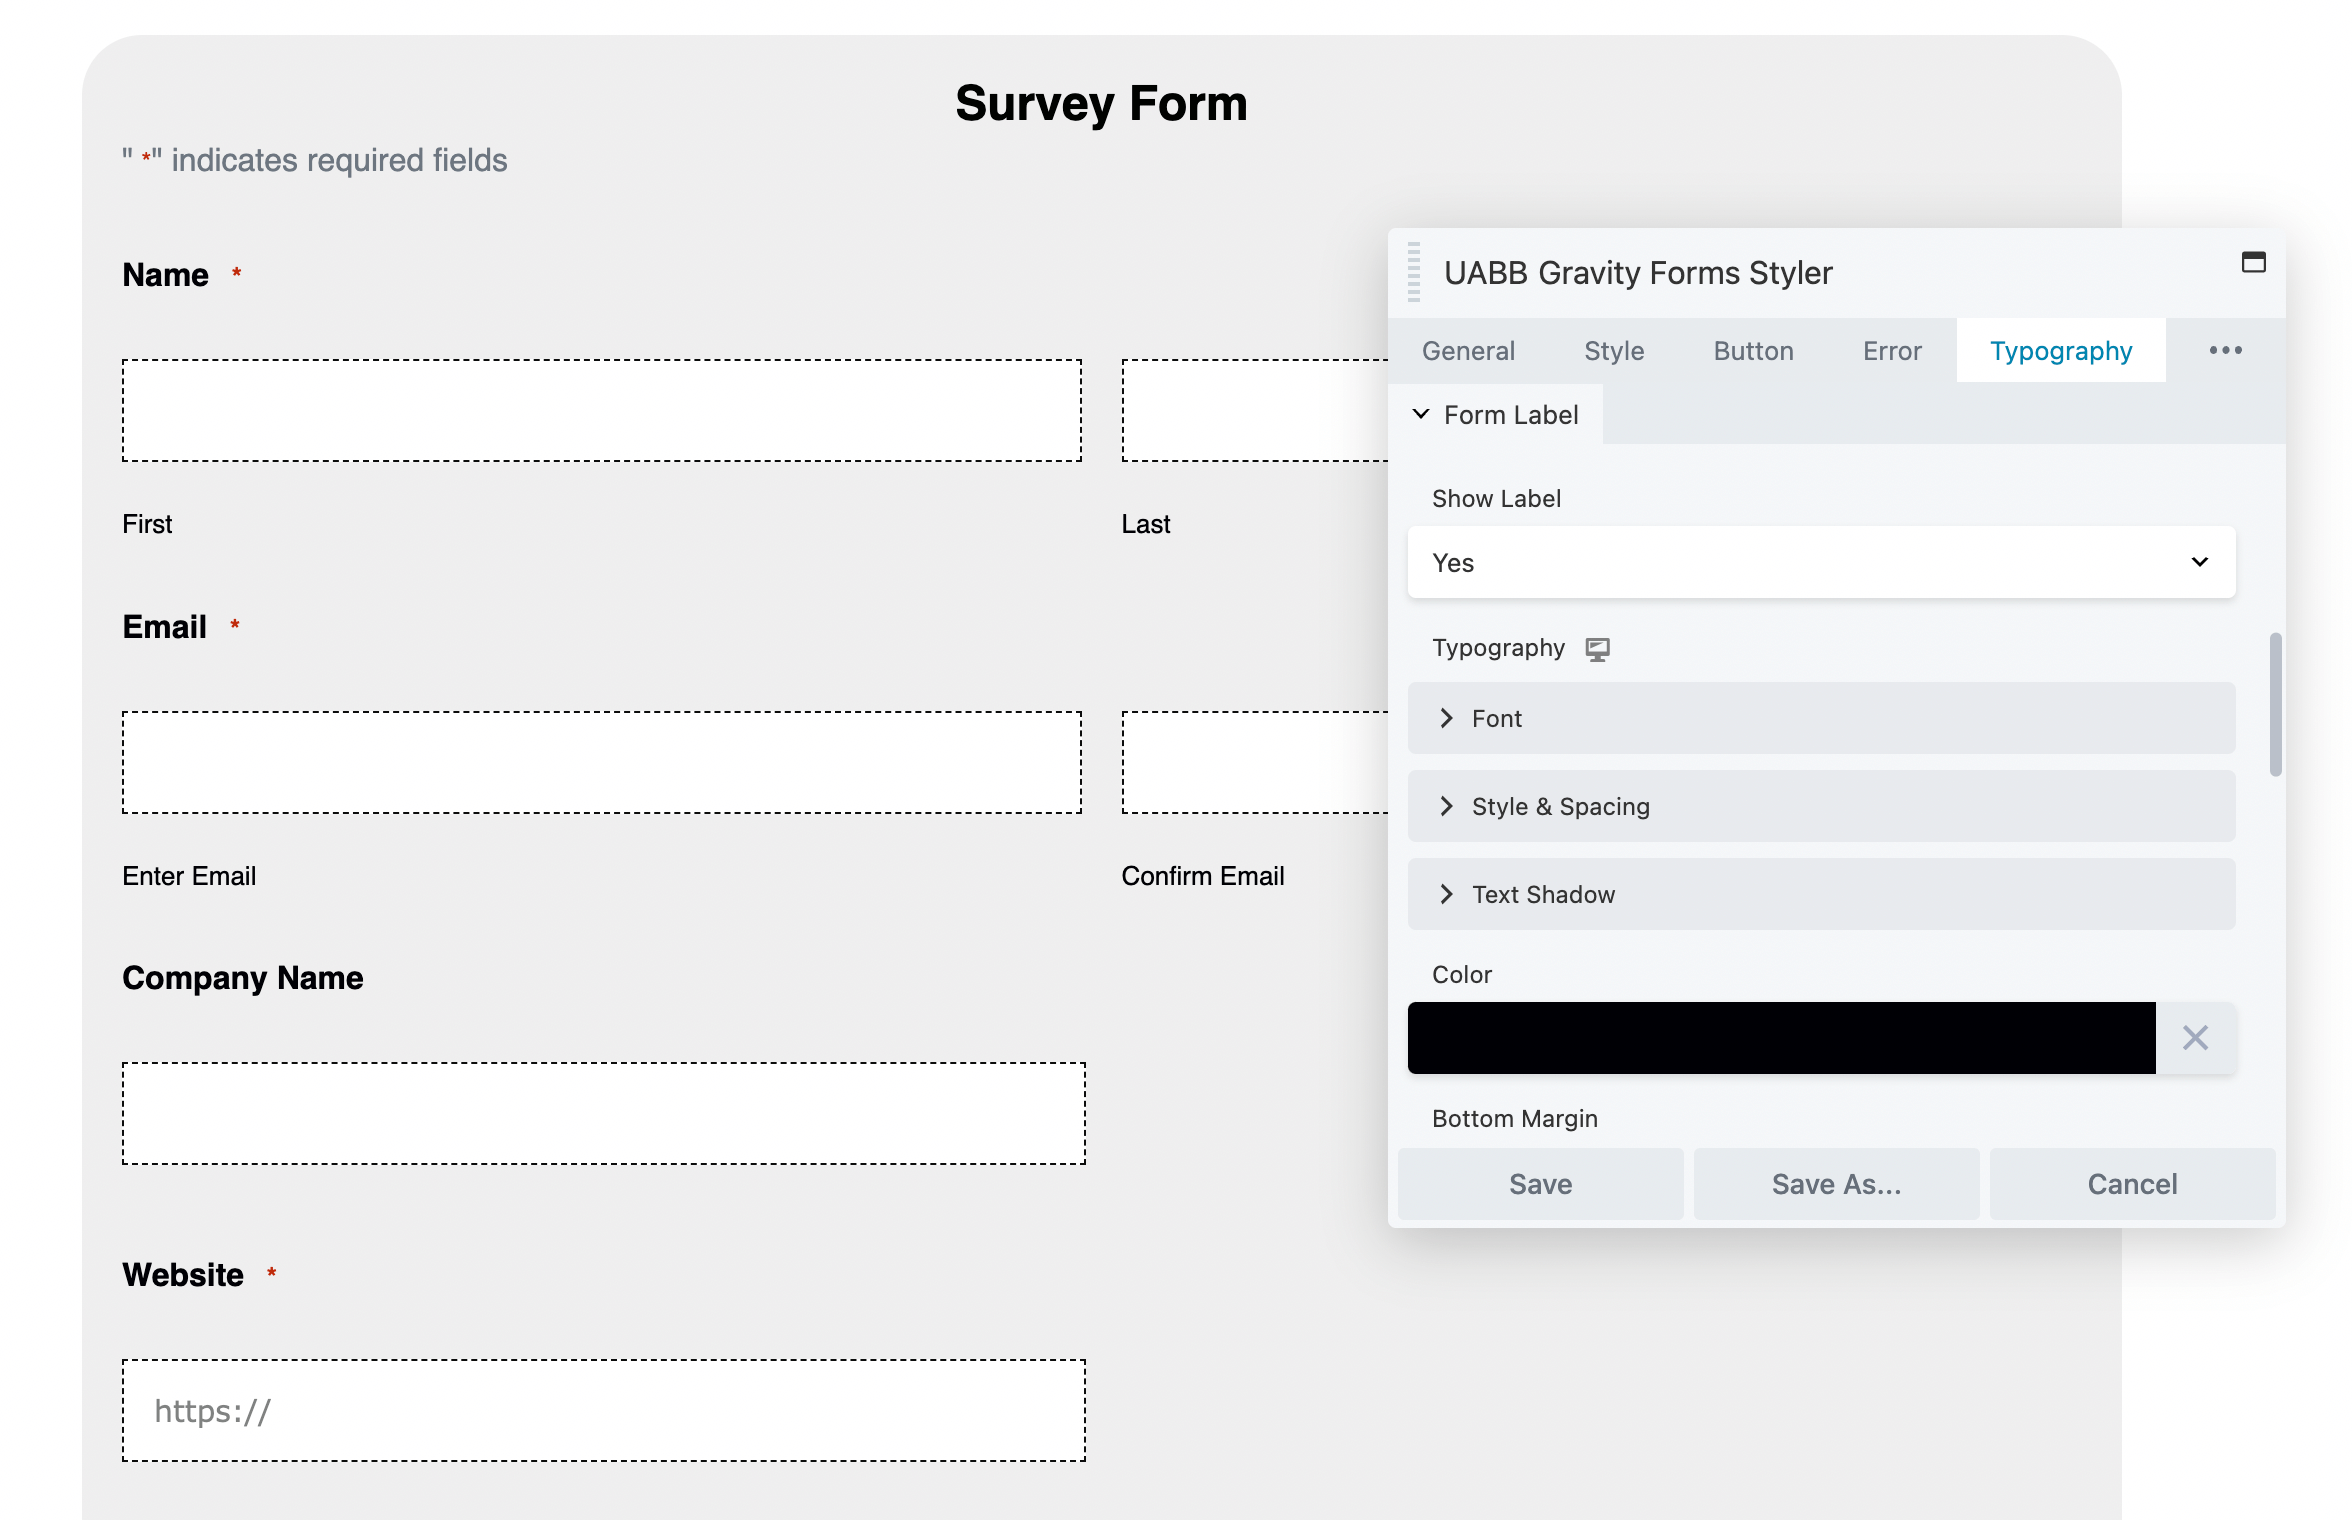
You can similarly adjust the font for the form label and input fields as you scroll down. When you’re ready, save the module:
By following these steps, you can create an attractive Gravity form with a customized design. As a result, you can gain more conversions!
Conclusion
When your forms aren’t converting because of their unappealing designs, it’s time to extend the default options included in Gravity Forms. Integrating this tool with Beaver Builder lets you take advantage of our page builder’s extensive design tools. Then you can create forms that meet your functional needs while matching your site’s unique branding.
To recap, here are three ways to integrate Gravity Forms and Beaver Builder:
- Add a Gravity Forms shortcode.
- Insert a Gravity Forms widget.
- Use the Gravity Forms Styler module from Ultimate Addons for Beaver Builder.
Related Questions
How Do You Stylize Gravity Forms?
You can drag and drop fields using the Gravity Forms editor to customize your form’s layout. Next, add the form to a Beaver Builder page. Then, you can use Beaver Builder to adjust every visual element of the form, including its colors, typography, action buttons, and more!
How Do You Embed a Gravity Form?
Gravity Forms enables you to embed a form directly into a WordPress page. However, you won’t be able to customize its design in the Block Editor. However, with the Beaver Builder page builder, you can embed and style forms with shortcodes, widgets, or the Ultimate Addons Gravity Forms Styler.
Our Newsletter
Our newsletter is personally written and sent out about once a month. It's not the least bit annoying or spammy.
We promise.
Try Beaver Builder Today

Related articles

Beaver Builder AI: Build WordPress Layouts with AI (Now in Alpha)
Hey everyone! Big news. After a long time of building behind the scenes, Beaver Builder AI is here. The alpha…

How Beaver Builder Products Work Together to Build Flexible WordPress Websites
Building a WordPress website often means stitching together a theme from one developer, a page builder from another, and a…

From Azeroth to WordPress: How Warcraft Tavern Uses Beaver Builder
Since releasing Beaver Builder 12 years ago, a feeling will come up from time to time that just never gets…
Join the community
We're here for you
There's a thriving community of builders and we'd love for you to join us. Come by and show off a project, network, or ask a question.
Since 2014
Build Your Website in Minutes, Not Months
Join Over 1 Million+ Websites Powered By Beaver Builder.