
While social media is one way of getting your message across, perhaps you want to make a more personal connection. That’s where it makes sense to learn how to build an email list.
Building an email list can have numerous benefits for your online business. You can reach your readers with promotions, news, and targeted messages. This can lead to higher engagement rates from your users, more repeat business, and eventually, increased sales.
In this post, we’ll discuss the benefits of starting an email list. Then, we’ll show you how to create an email list in WordPress with our Subscribe Form module. Let’s get into it!
Table of Contents
- The Benefits of Starting an Email List
- How to Use Beaver Builder to Build an Email List (In 4 Steps)
- Step 1: Place Beaver Builder’s Subscribe Form Module
- Step 2: Set up Module With Your Email Marketing Software
- Step 3: Finish Setting Up Your Signup Form
- Step 4: Change Your Subscribe Form’s Appearance
- How to Get More Subscribers to Your Email List
- Conclusion
The Benefits of Starting an Email List
An email list is a collection of subscribers to your business or website. You’ll prompt readers to sign up for your list and send them marketing messages, updates, and even customer surveys.
Email remains one of the primary methods of marketing. There will be 4.6 billion daily email users by 2025, and more than 306 billion emails are sent and received daily.
Plus, 64% of small businesses use email marketing to reach customers. This is likely because email marketing has a staggering Return On Investment (ROI) of $36 for every $1 spent and an average open rate of 21.5%.
Furthermore, email marketing is a great way to send personalized and targeted messages. If the customer has joined your mailing list, they are already engaged with your business. Engaged readers typically want to know more about your promotions and are likely receptive to your marketing efforts.
Plus, email marketing lets you show customers that you care about them. You can send seasonal messages, reminders if they haven’t logged in, birthday offers, and more. In turn, you have the potential to increase sales and revenue.
You might even share your business’s latest news, blog posts, sale updates, or shop page highlights tailored to the customer’s purchase history. You can even use the email list for market research.
How to Use Beaver Builder to Build an Email List (In 4 Steps)
Email list building is easy with Beaver Builder and our Subscribe Form module. The module enables you to create an instant email list signup form for your customers and place it anywhere on your website.
Before starting this tutorial, you’ll need to install and activate Beaver Builder. Now let’s explore how to build an email list in four easy steps!
Step 1: Place the Beaver Builder’s Subscribe Form Module
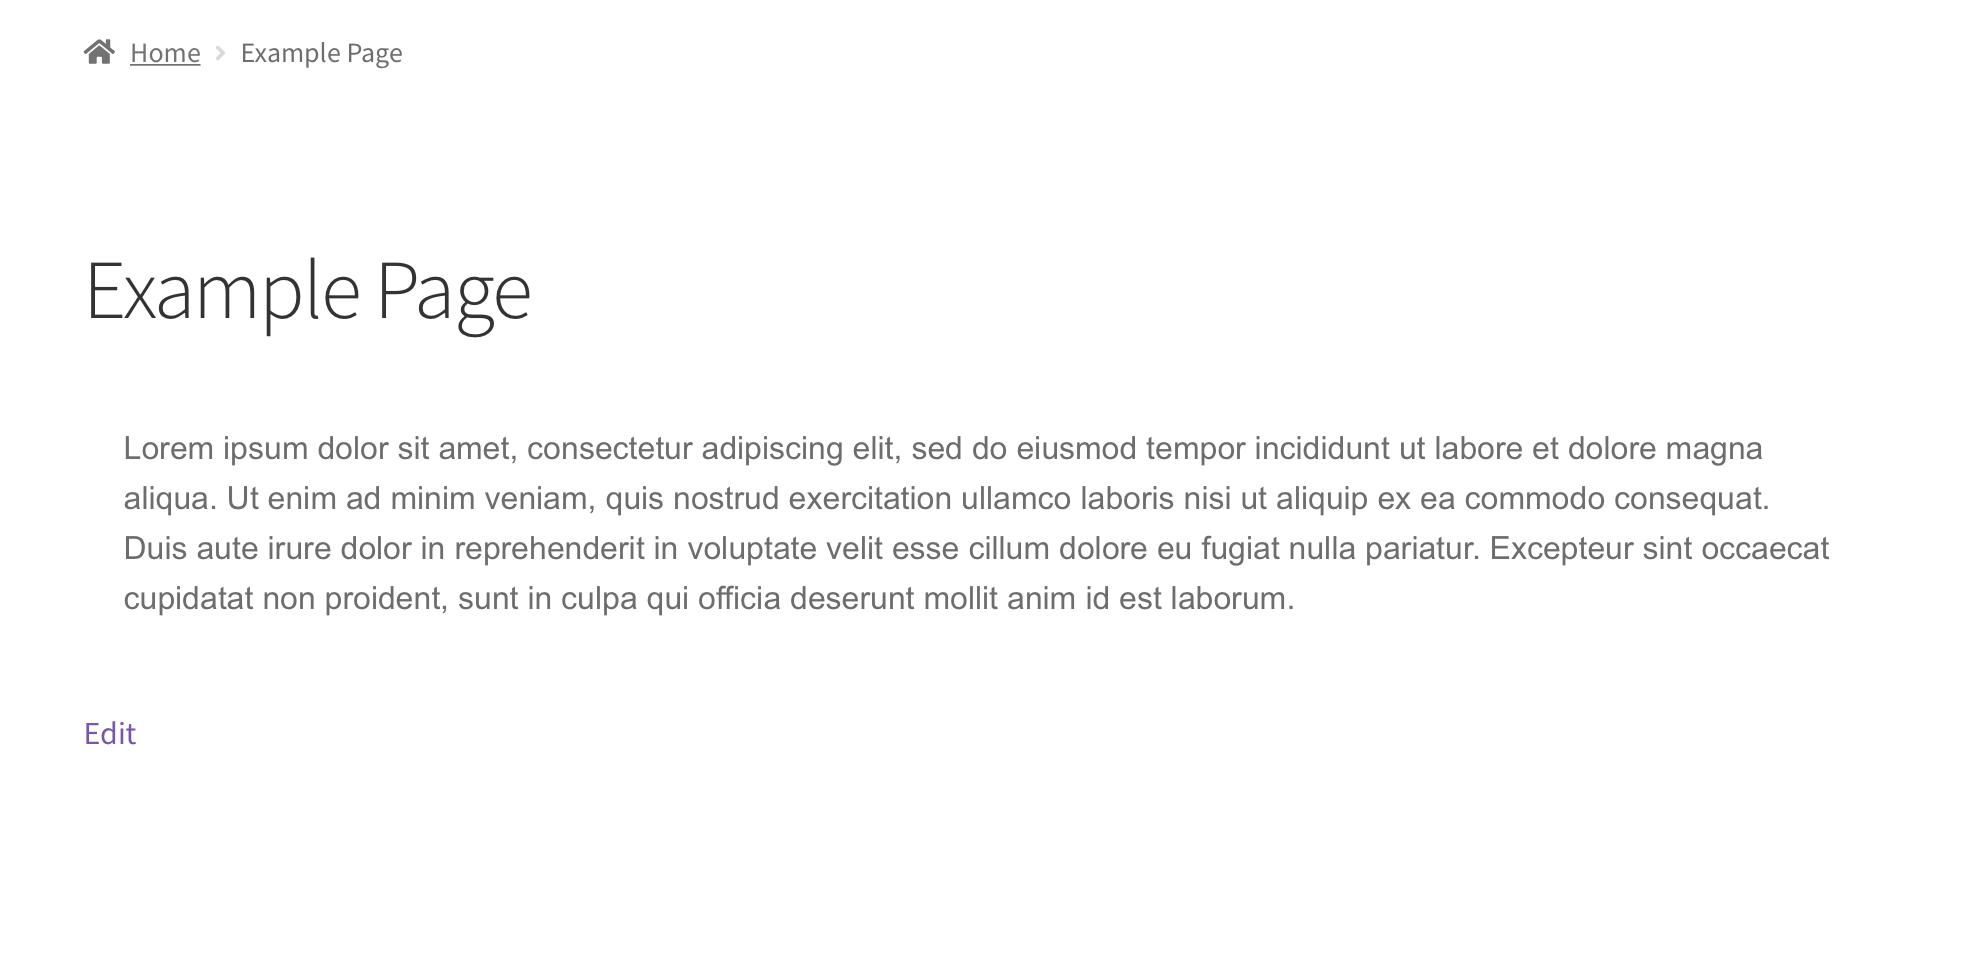
The first step is to place Beaver Builder’s Subscribe Form on your site. Open your page and click Launch Beaver Builder rather than using the standard Block Editor.
Our example page has a Text module. We’ll place our Subscribe Form Module below this:
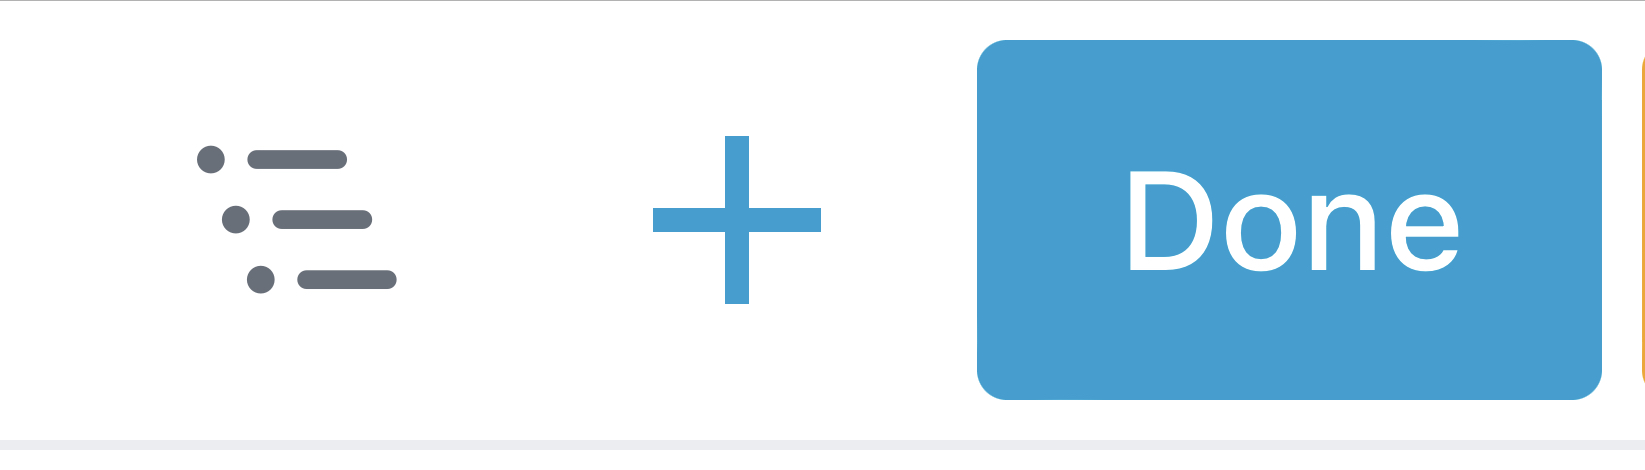
To insert the Subscribe Form module, click on the + sign in the top right corner of your screen:
Now search for “Subscribe Form”:
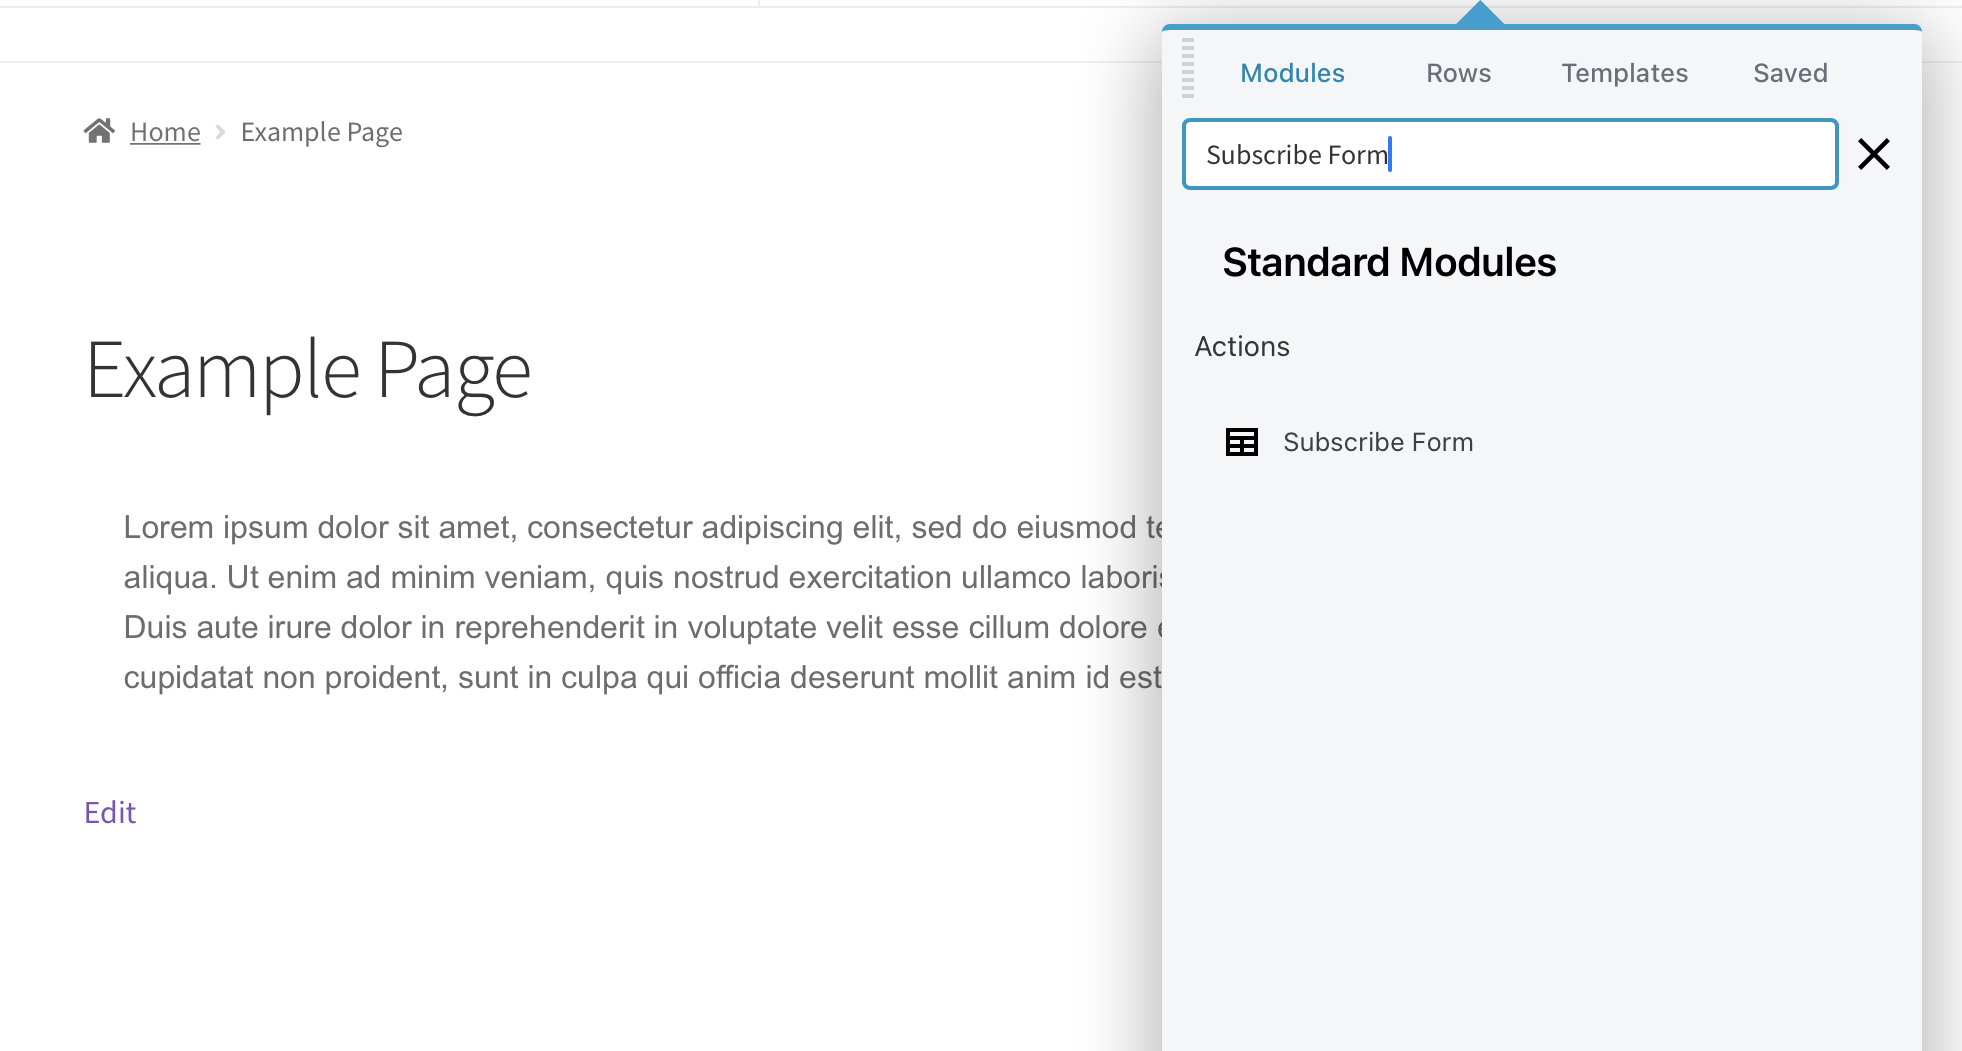
Then drag and drop it onto the page:
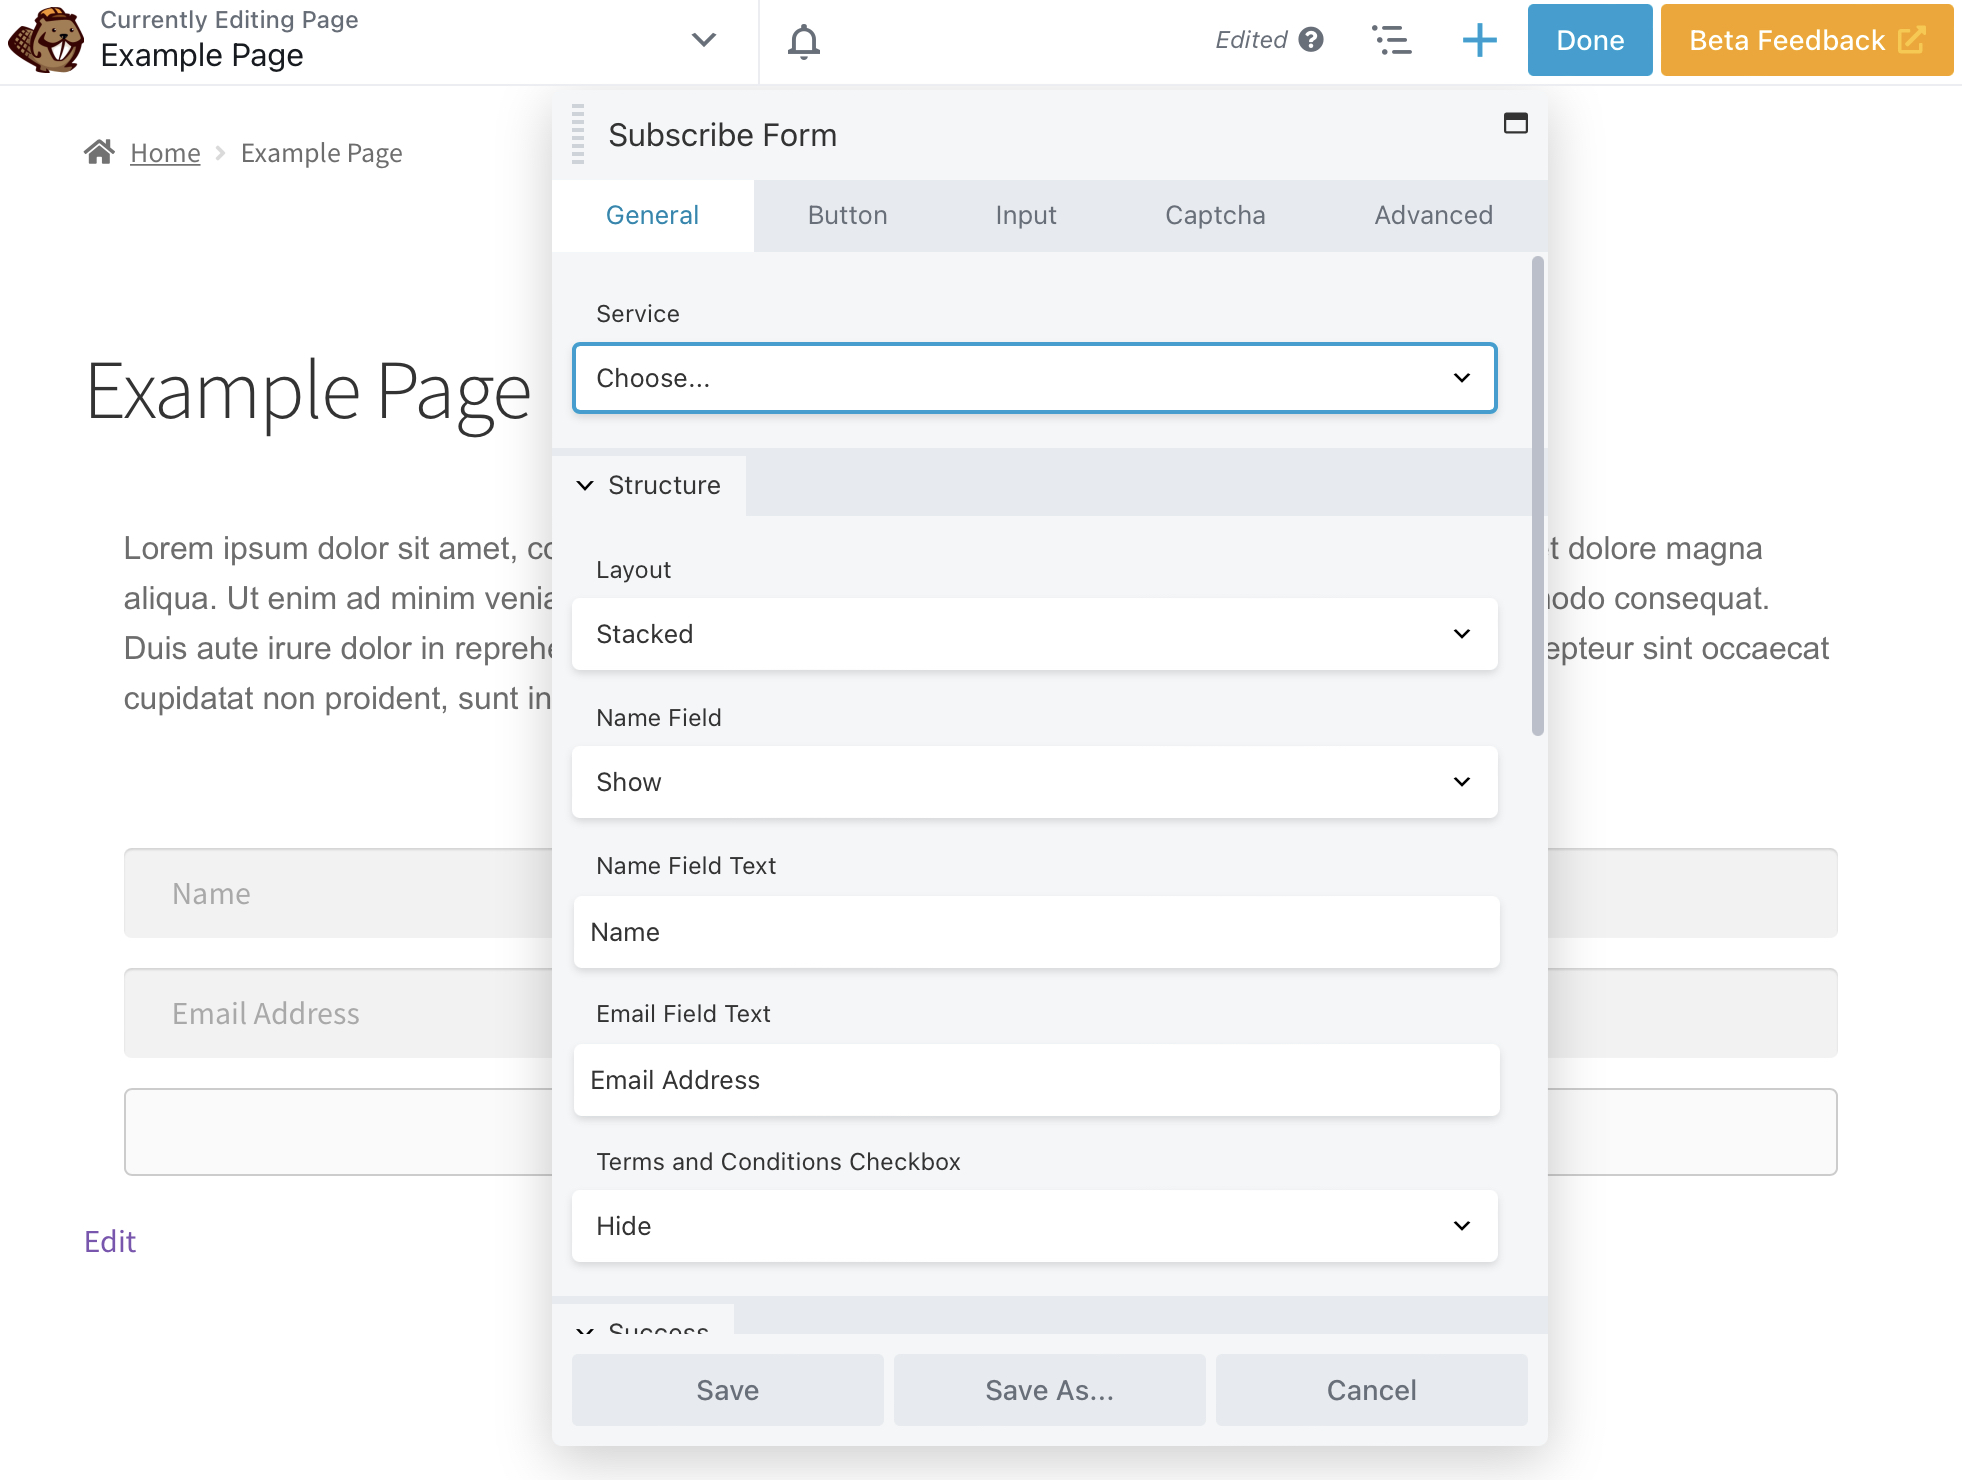
In the pop-up, you should now see a General settings menu for the Subscribe Form. We’ll discuss how to set up the module in Step 2 of our tutorial.
Step 2: Set Up the Module With Your Email Marketing Software
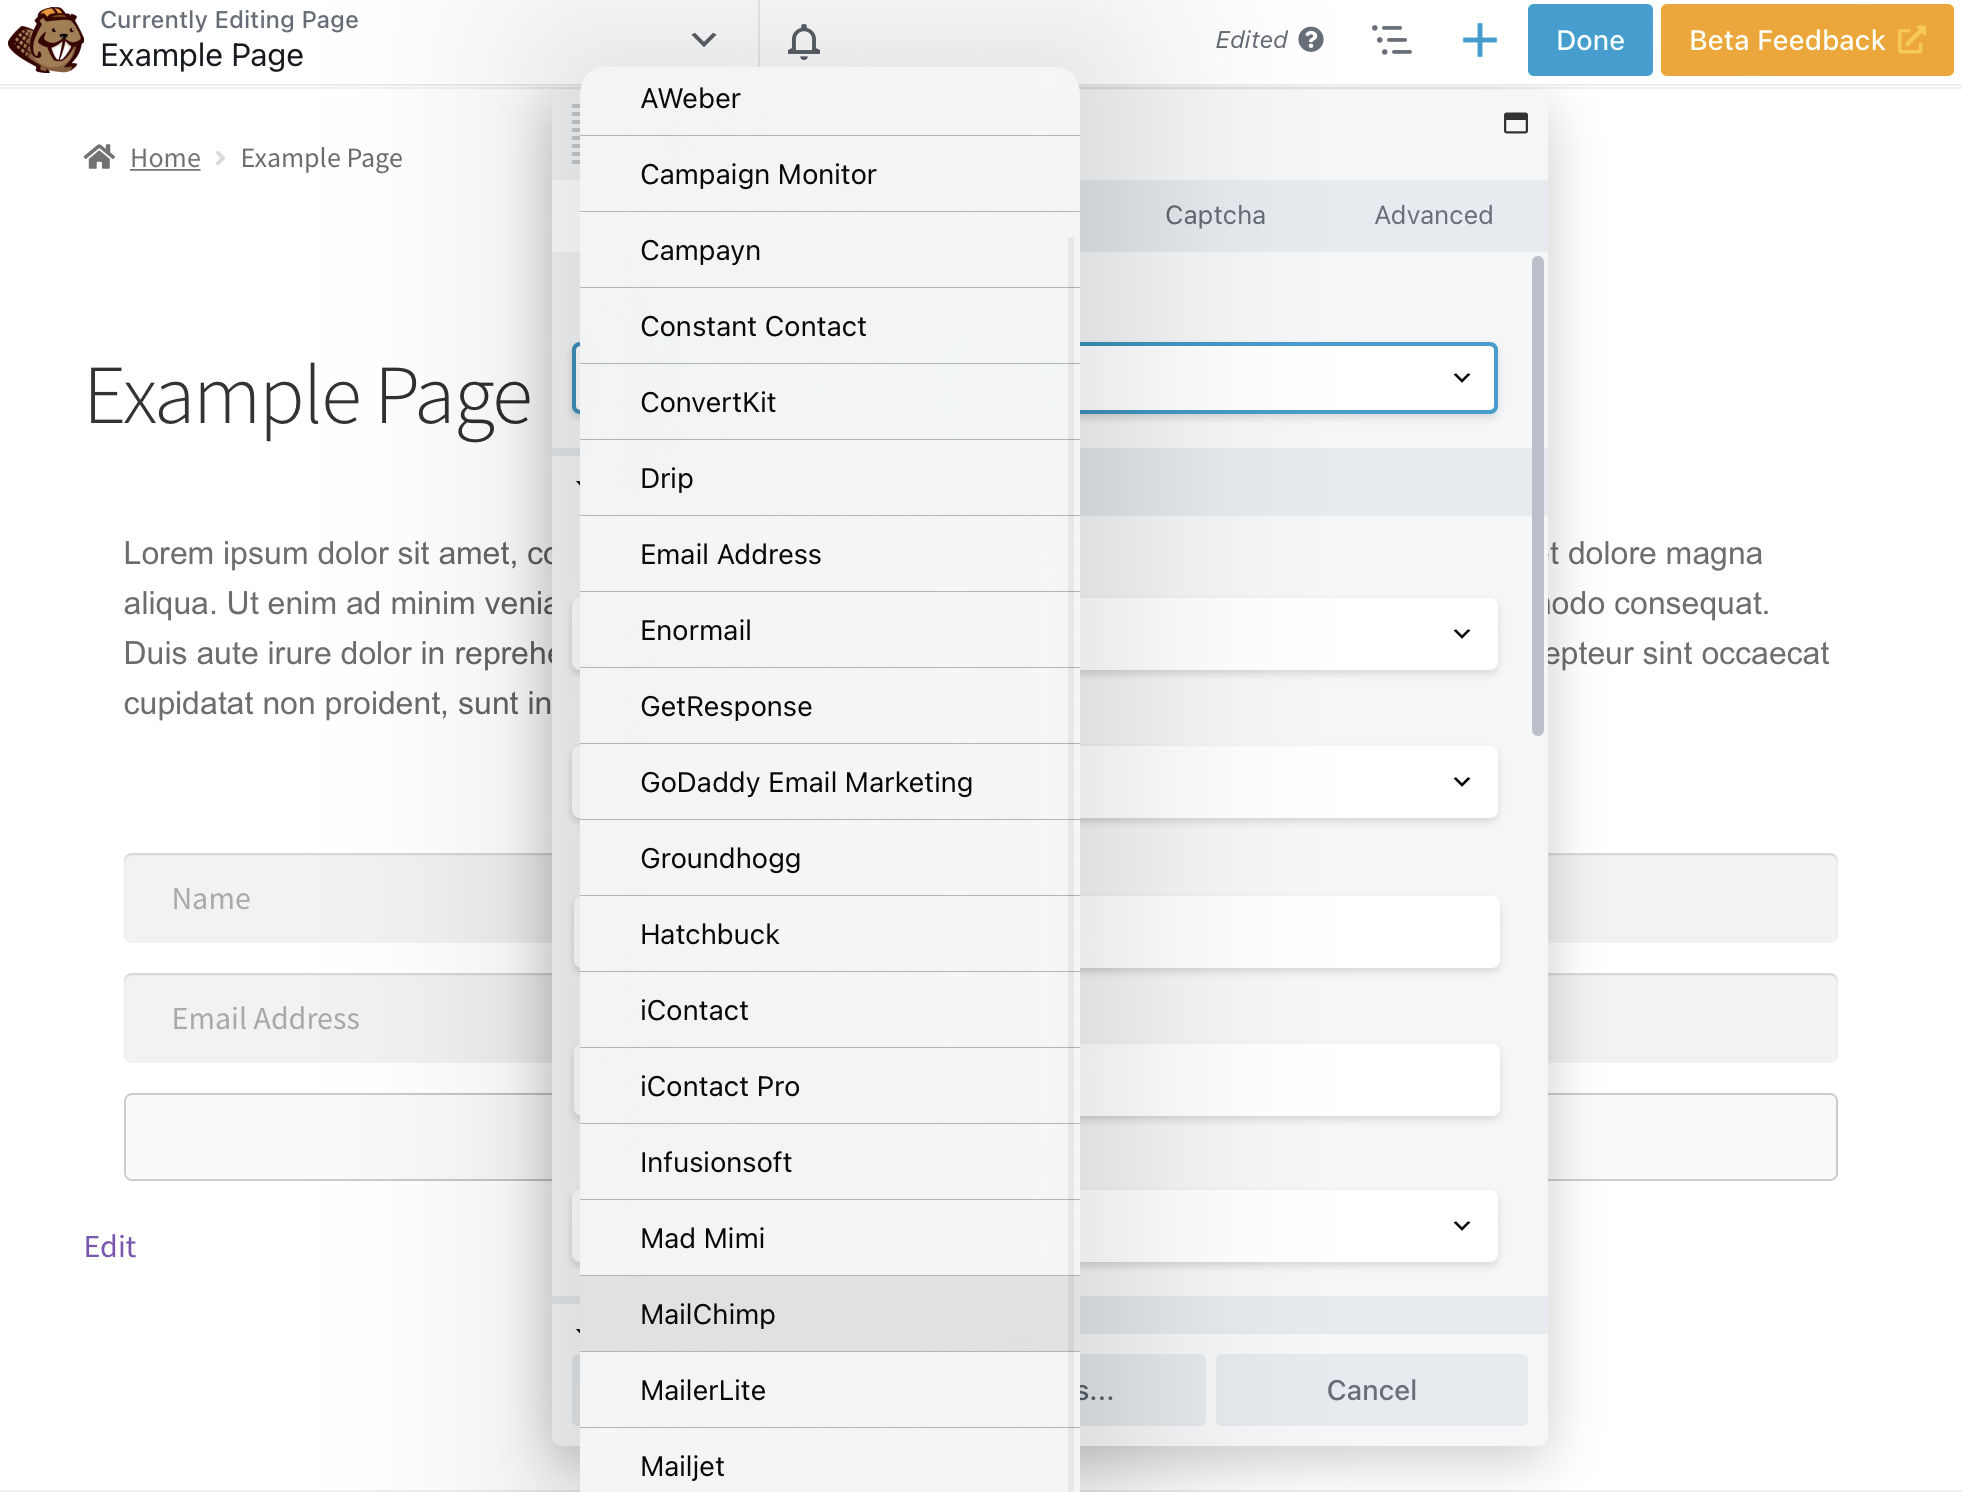
Now navigate to the Service field in the Subscribe Form General settings. Here you’ll connect your email marketing software so that customer addresses will be added to your email list.
Choose your provider from the dropdown menu. We’ll be using MailChimp in our example:
You should now see new fields to input an Account Name and API Key. These fields might look slightly different depending on your email provider:
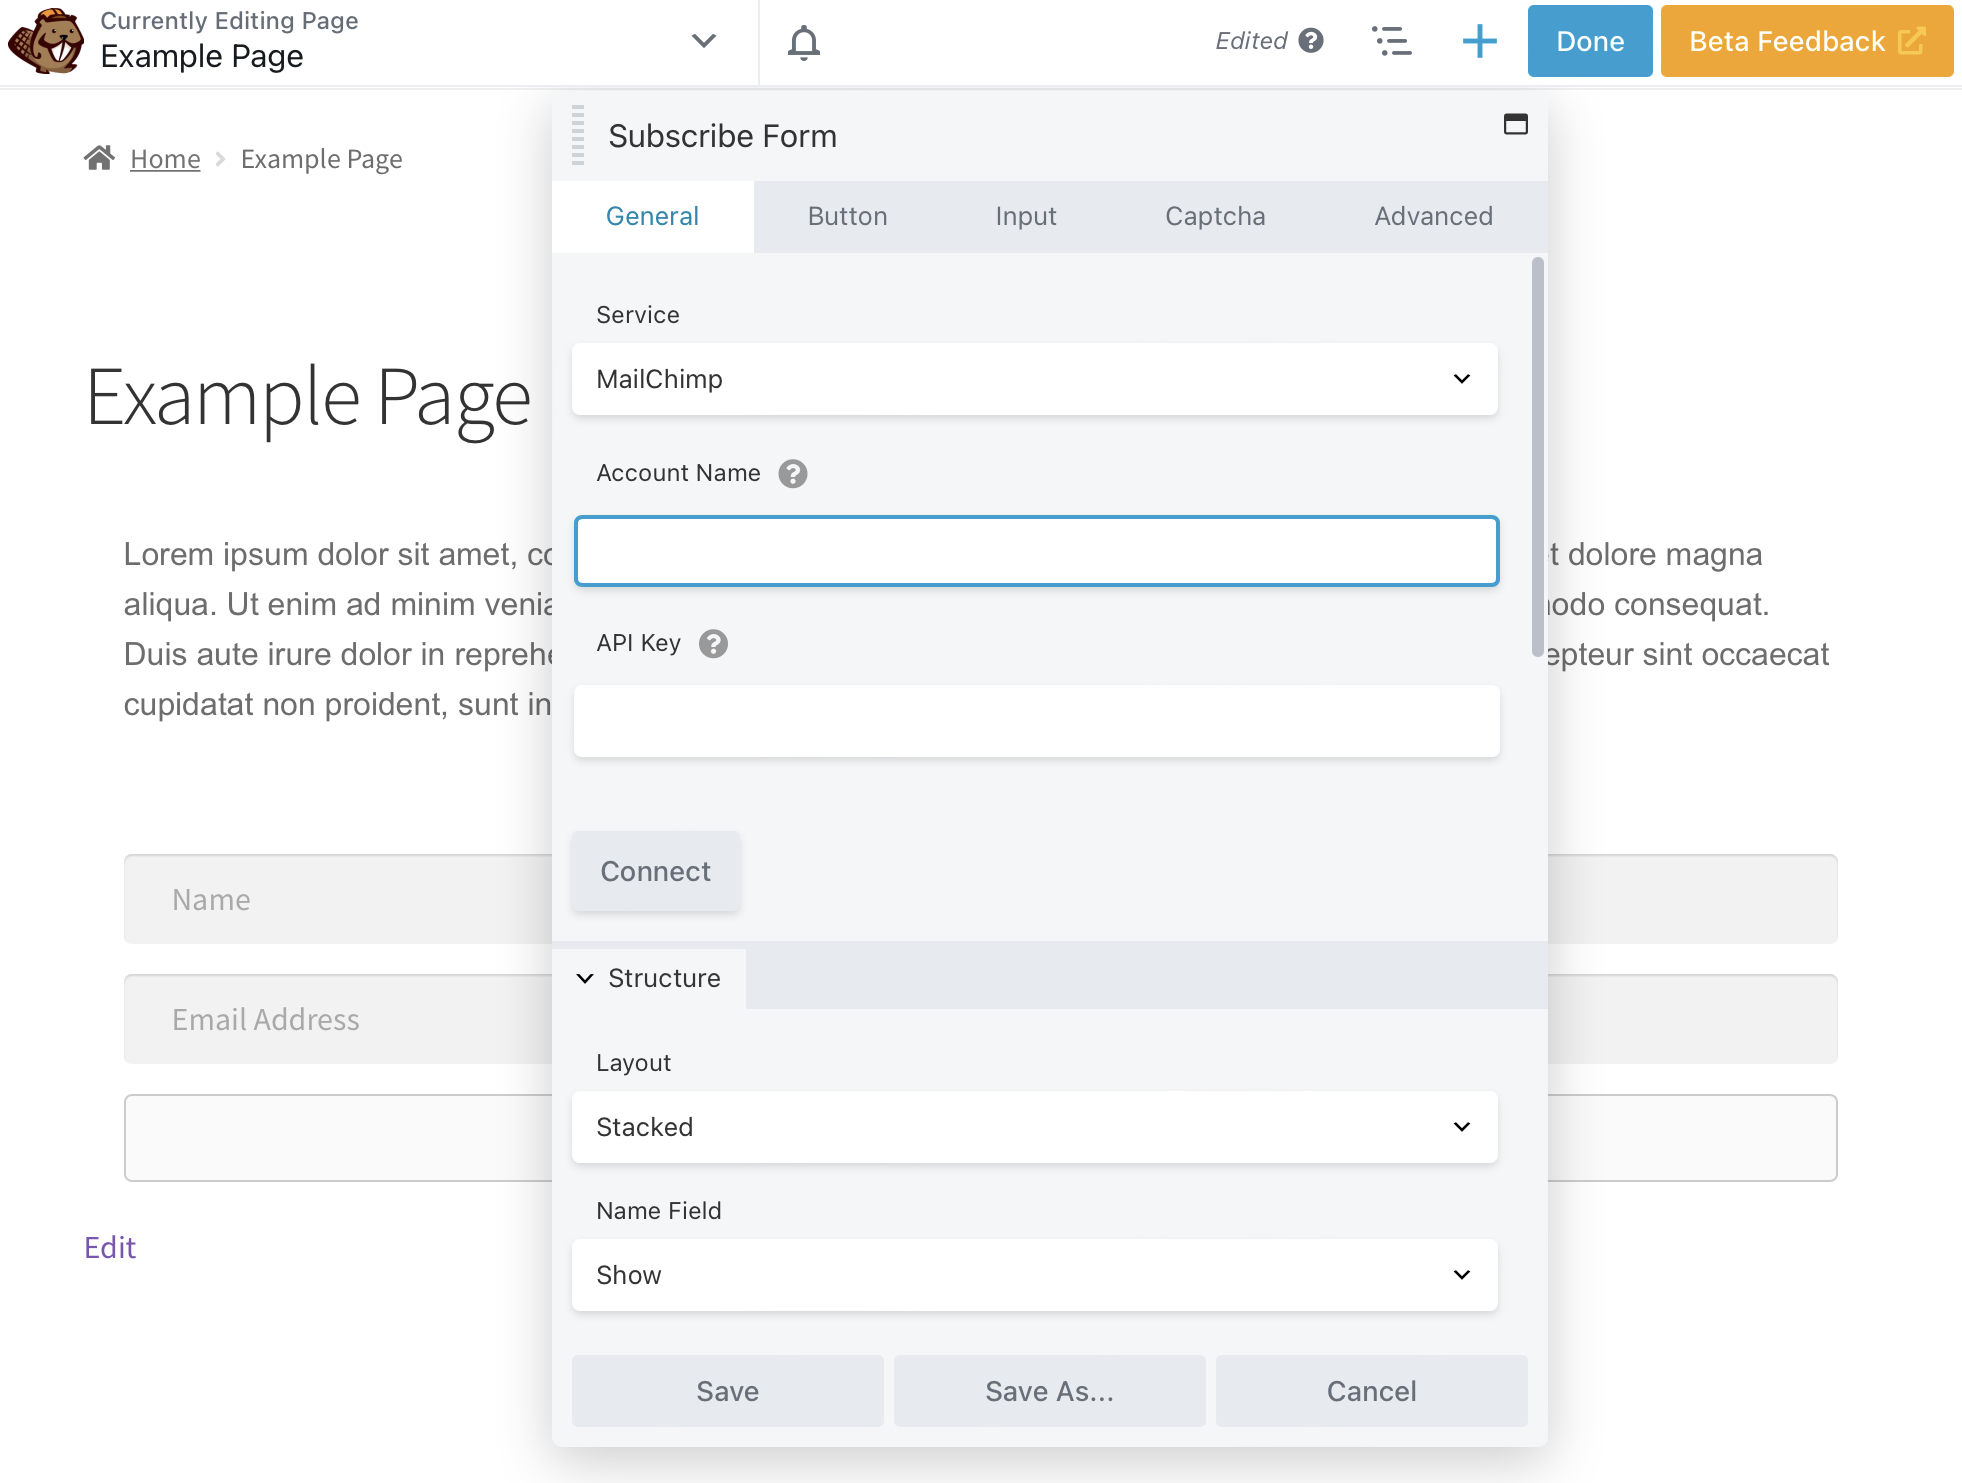
Once you’ve filled in all the details, click on the Connect button. Your email marketing provider will now be connected to your subscription form.
Step 3: Finish Setting Up Your Signup Form
Once you’ve connected your email marketing provider, it’s time to finish setting up the Subscribe Form settings. For example, you may wish to show a Terms and Conditions Checkbox. You can then enter your terms in the text field below:
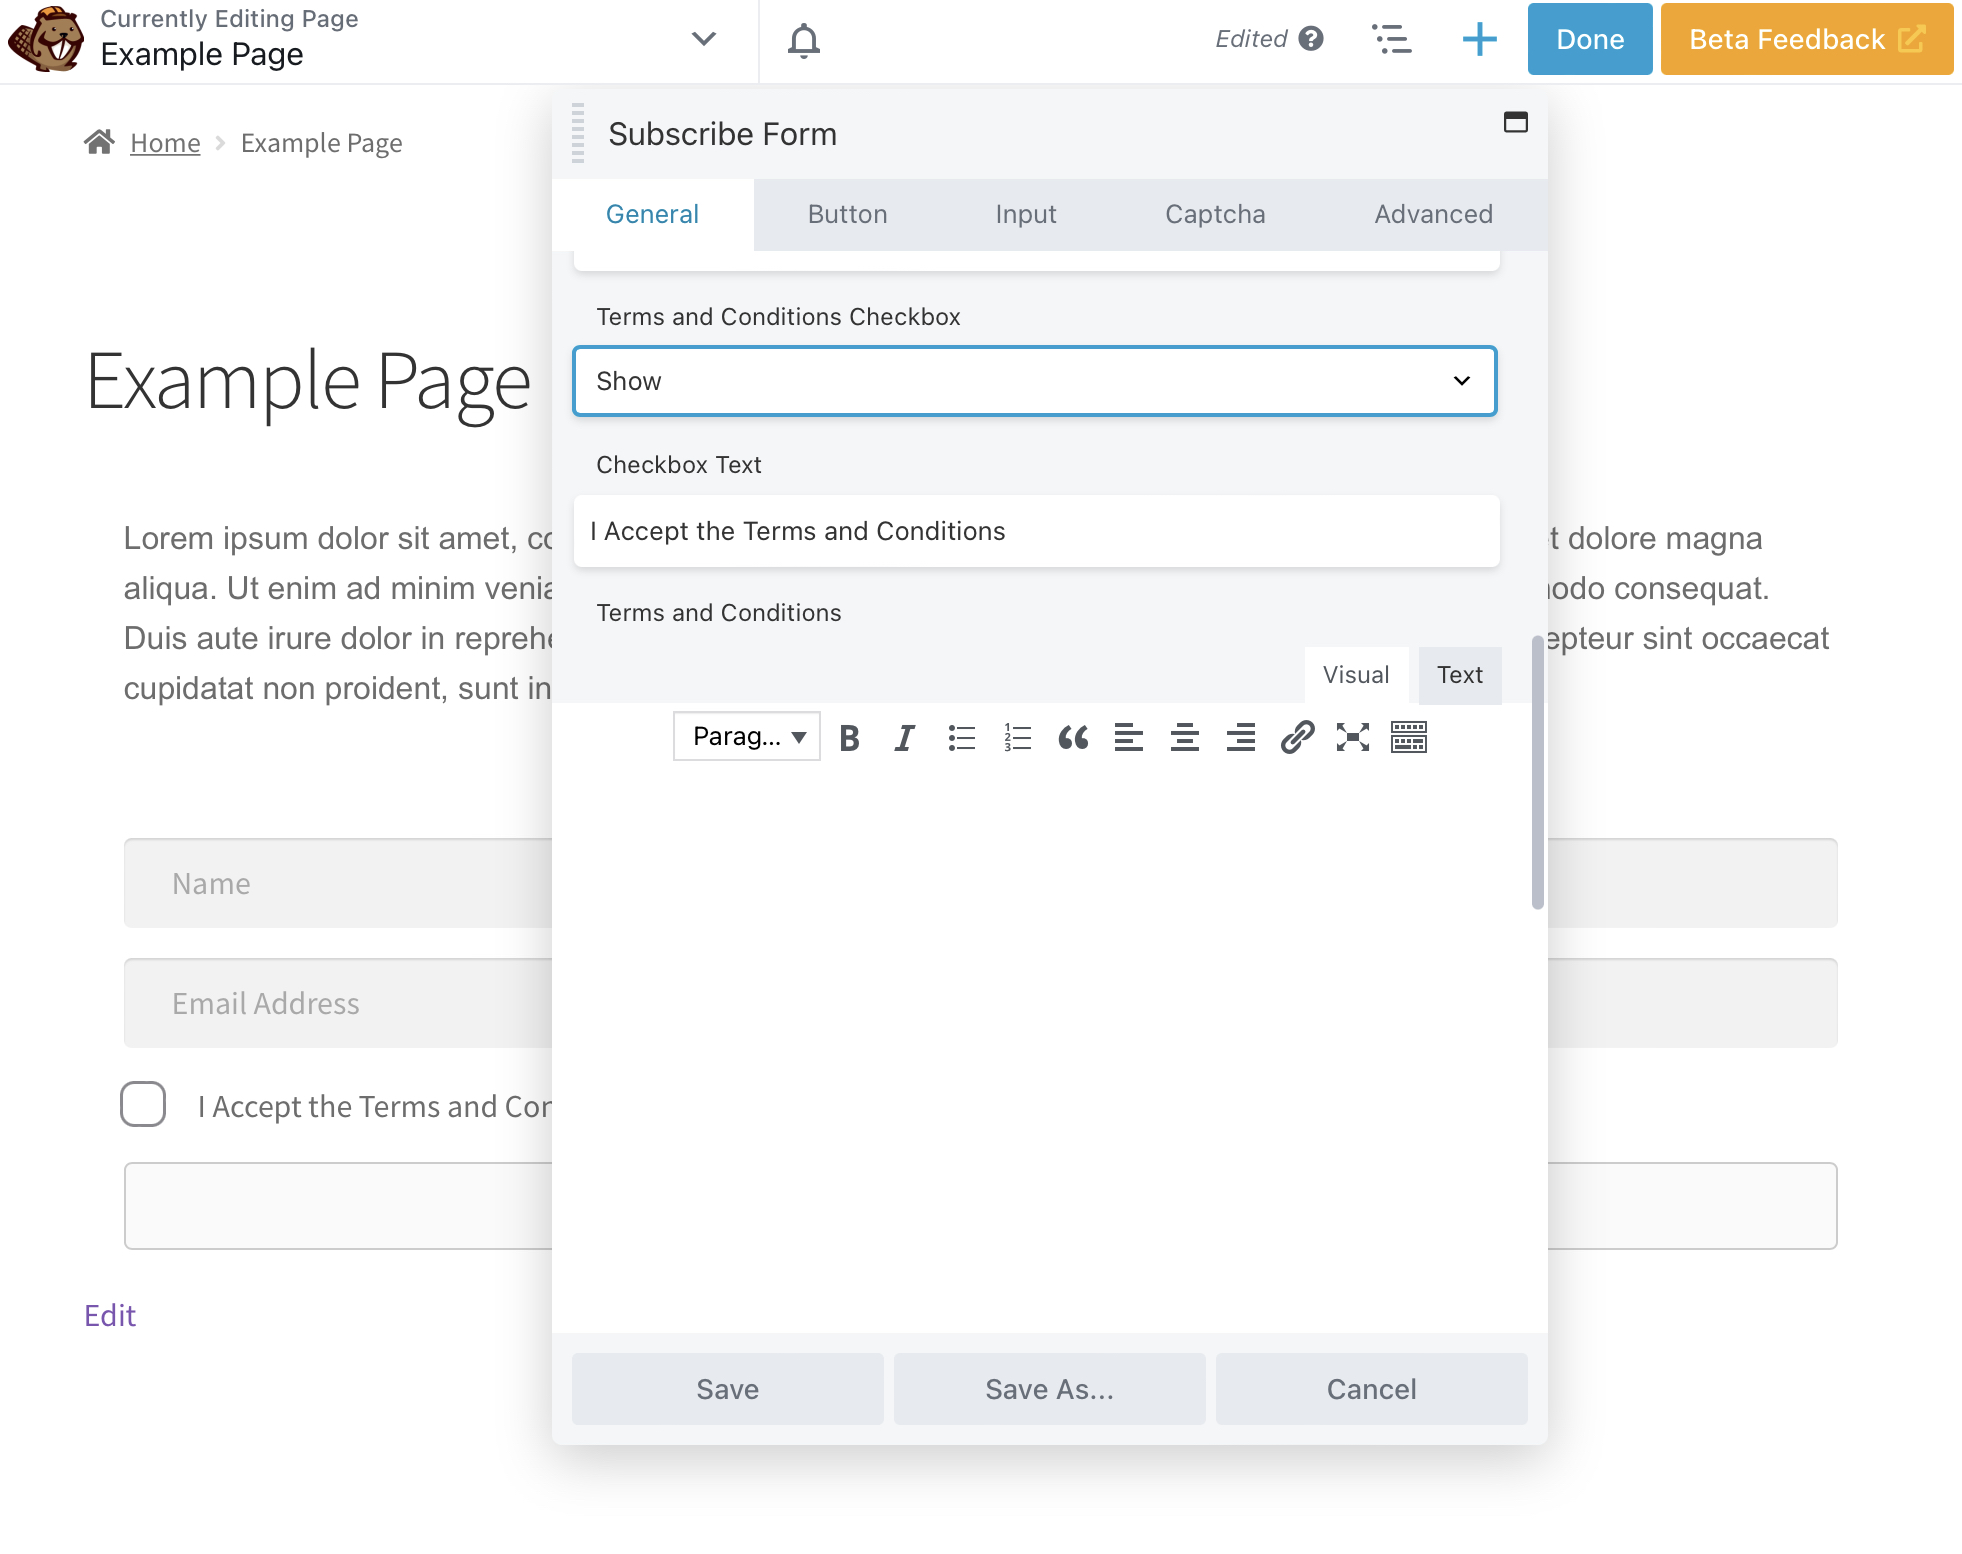
Adding terms and conditions can be helpful because it shows readers what you’ll do with their personal details. It might even be a legal requirement in your location, like the General Data Protection Regulation (GDPR)
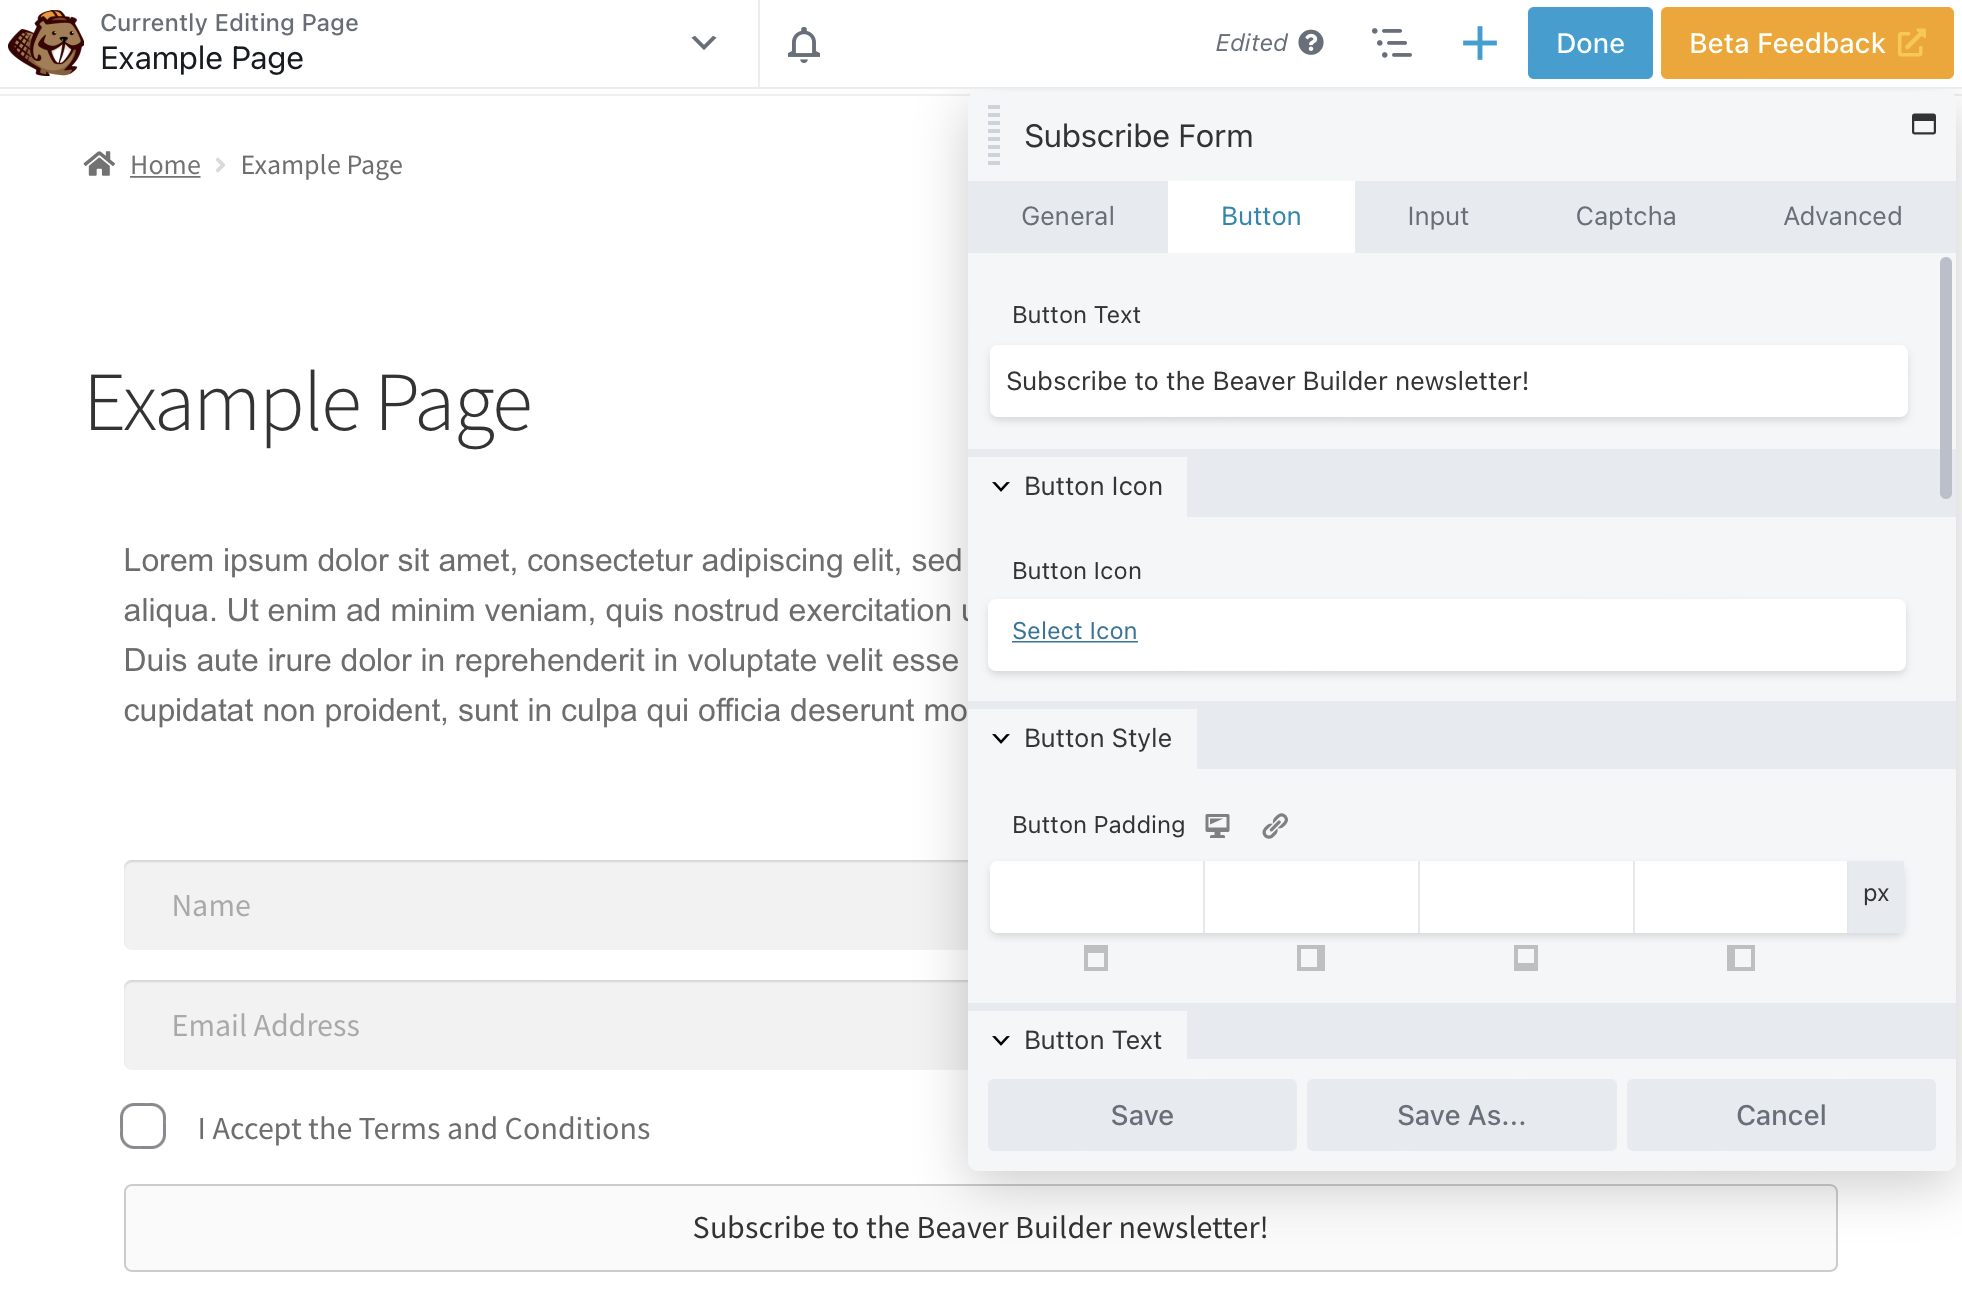
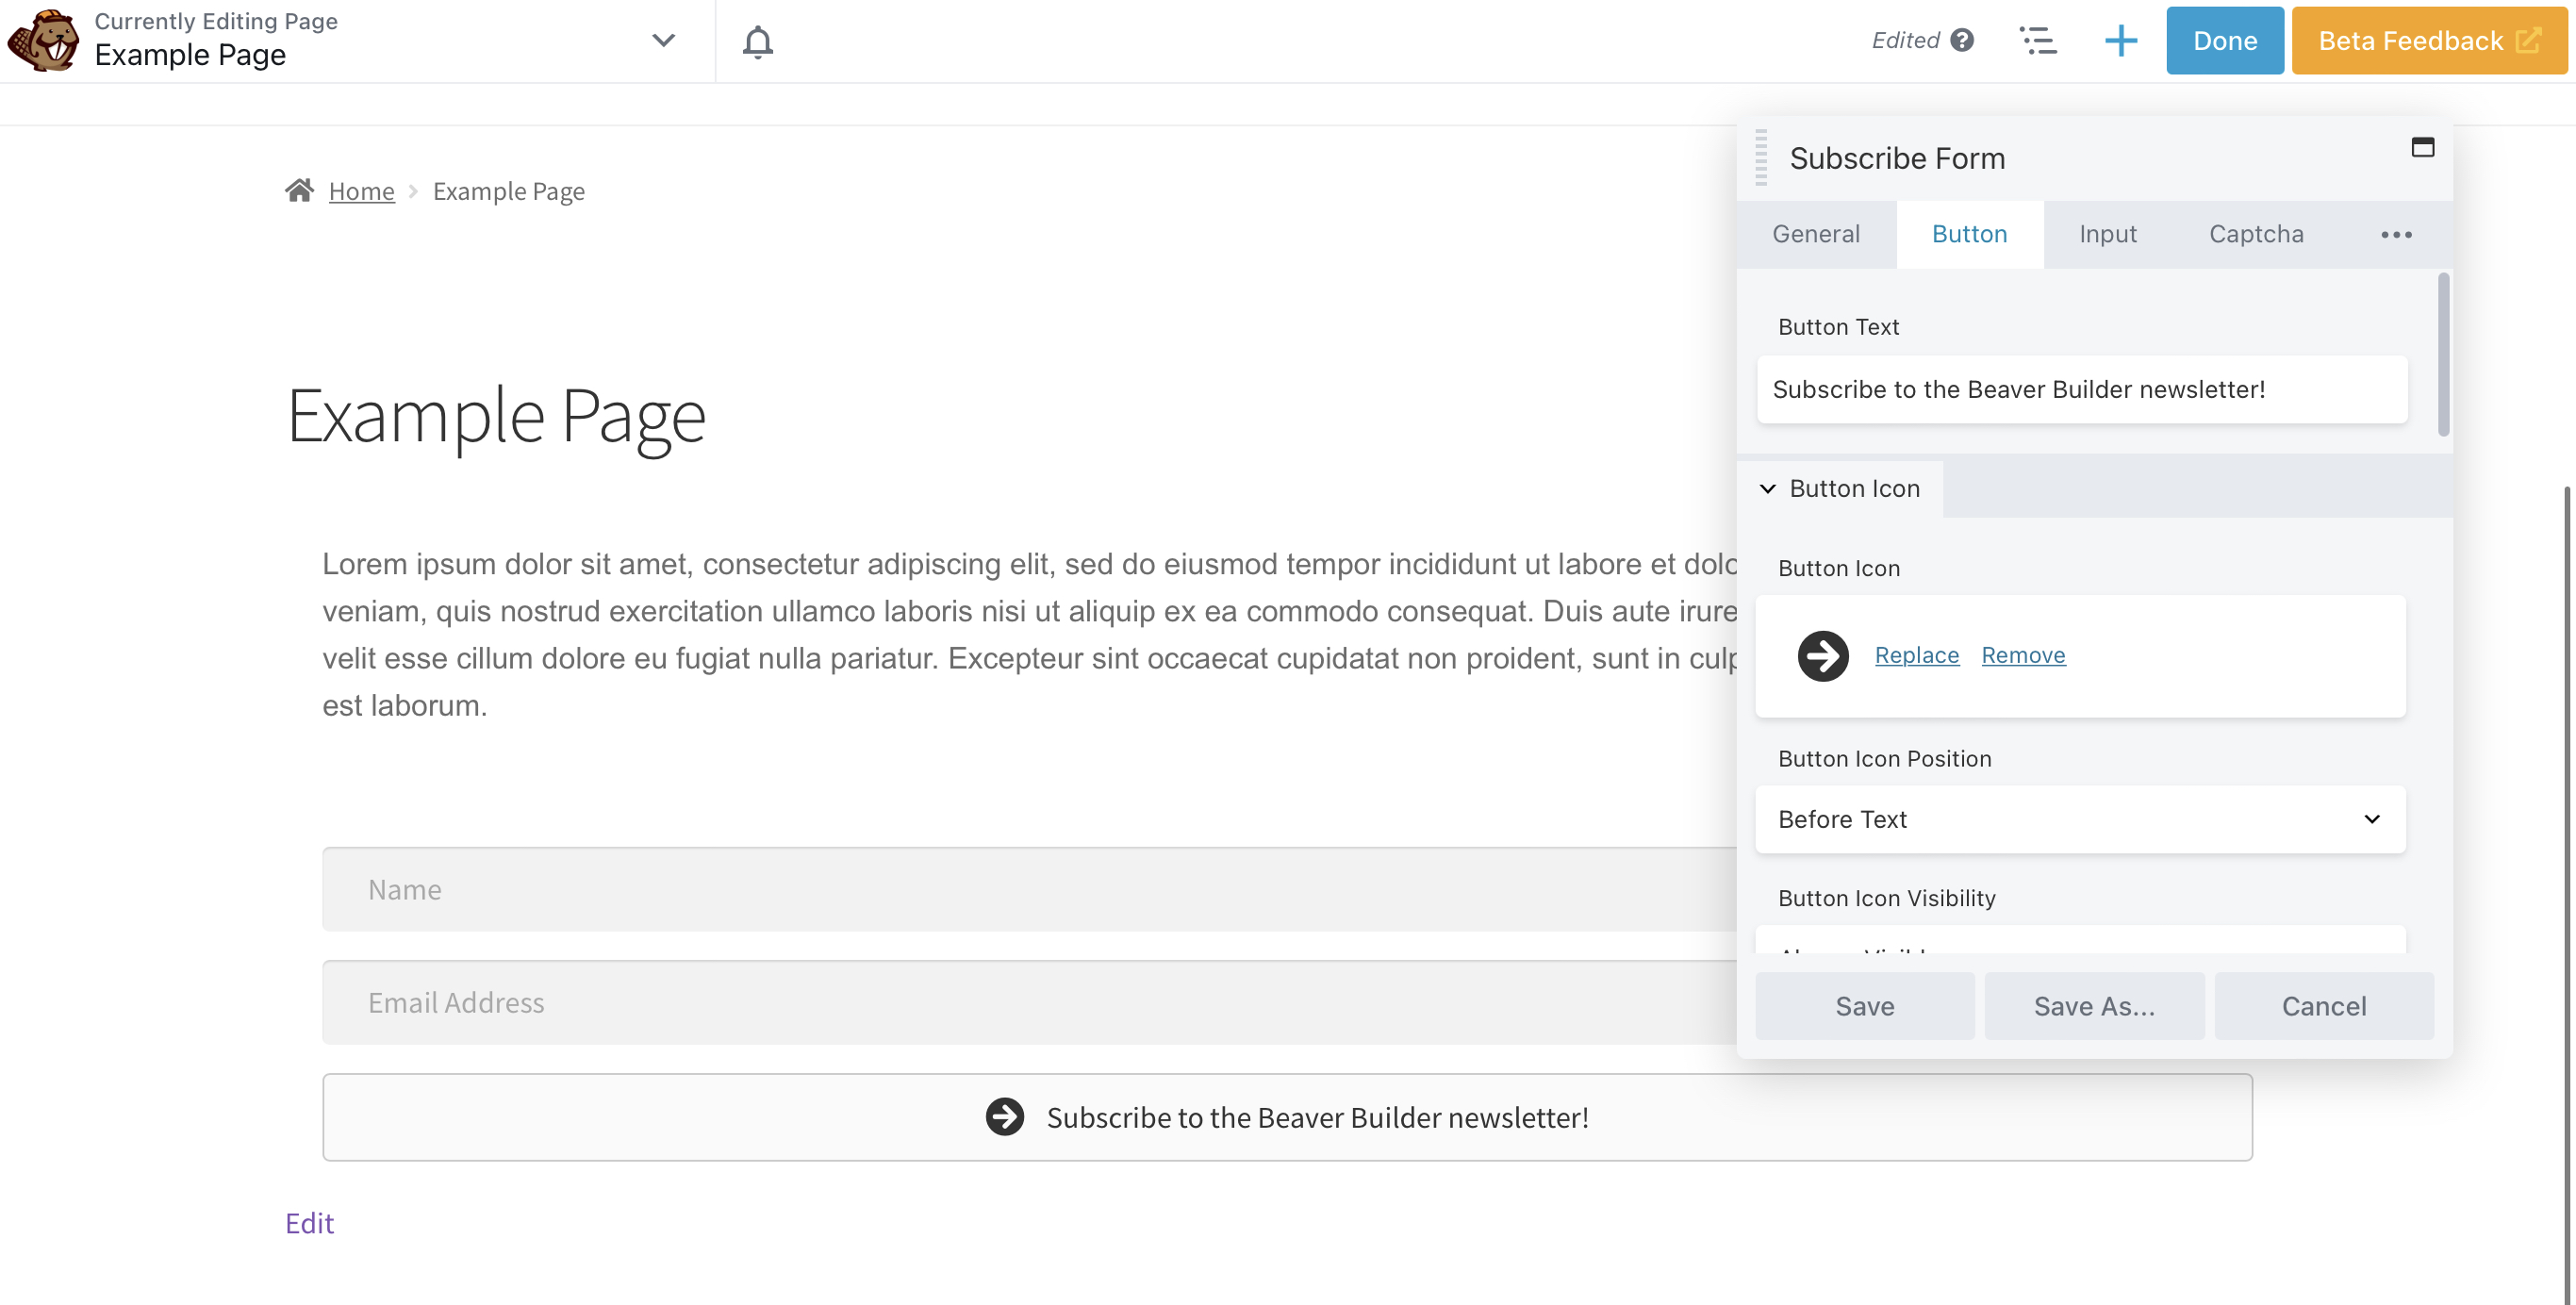
You can also edit all fields with the Subscribe Form Module, including the Button. As shown below, “Subscribe!” is the default Button Text:
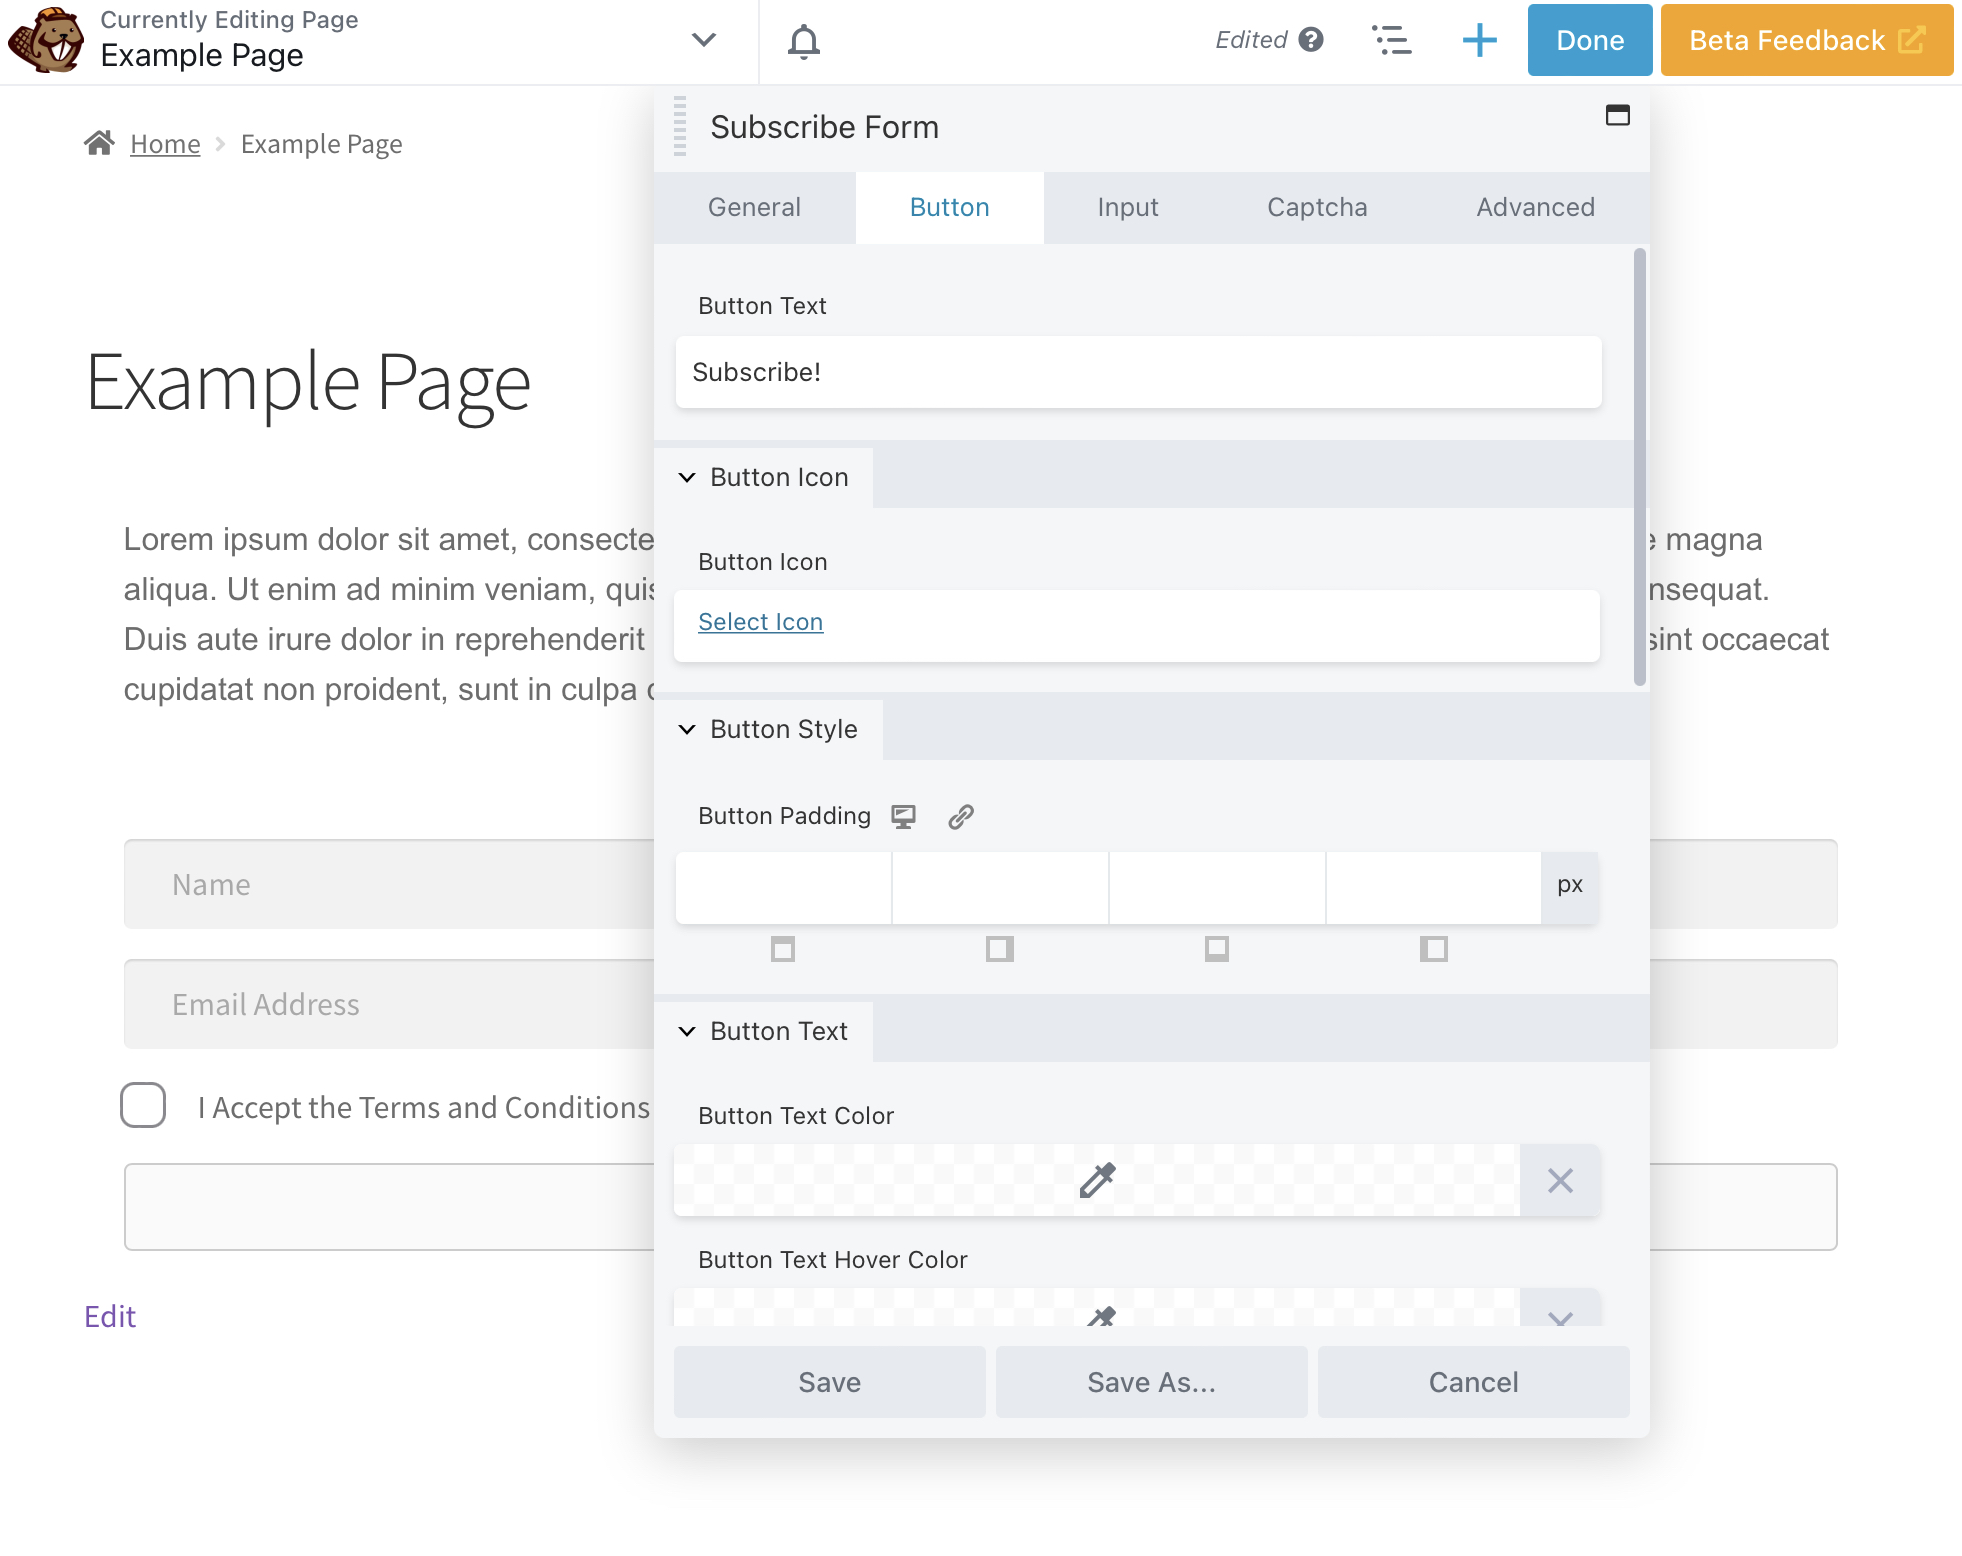
However, this text isn’t very descriptive and doesn’t tell the user why they should subscribe. It might not be the most compelling Call to Action (CTA) either. Instead, you can enter some descriptive text for your subscribers:
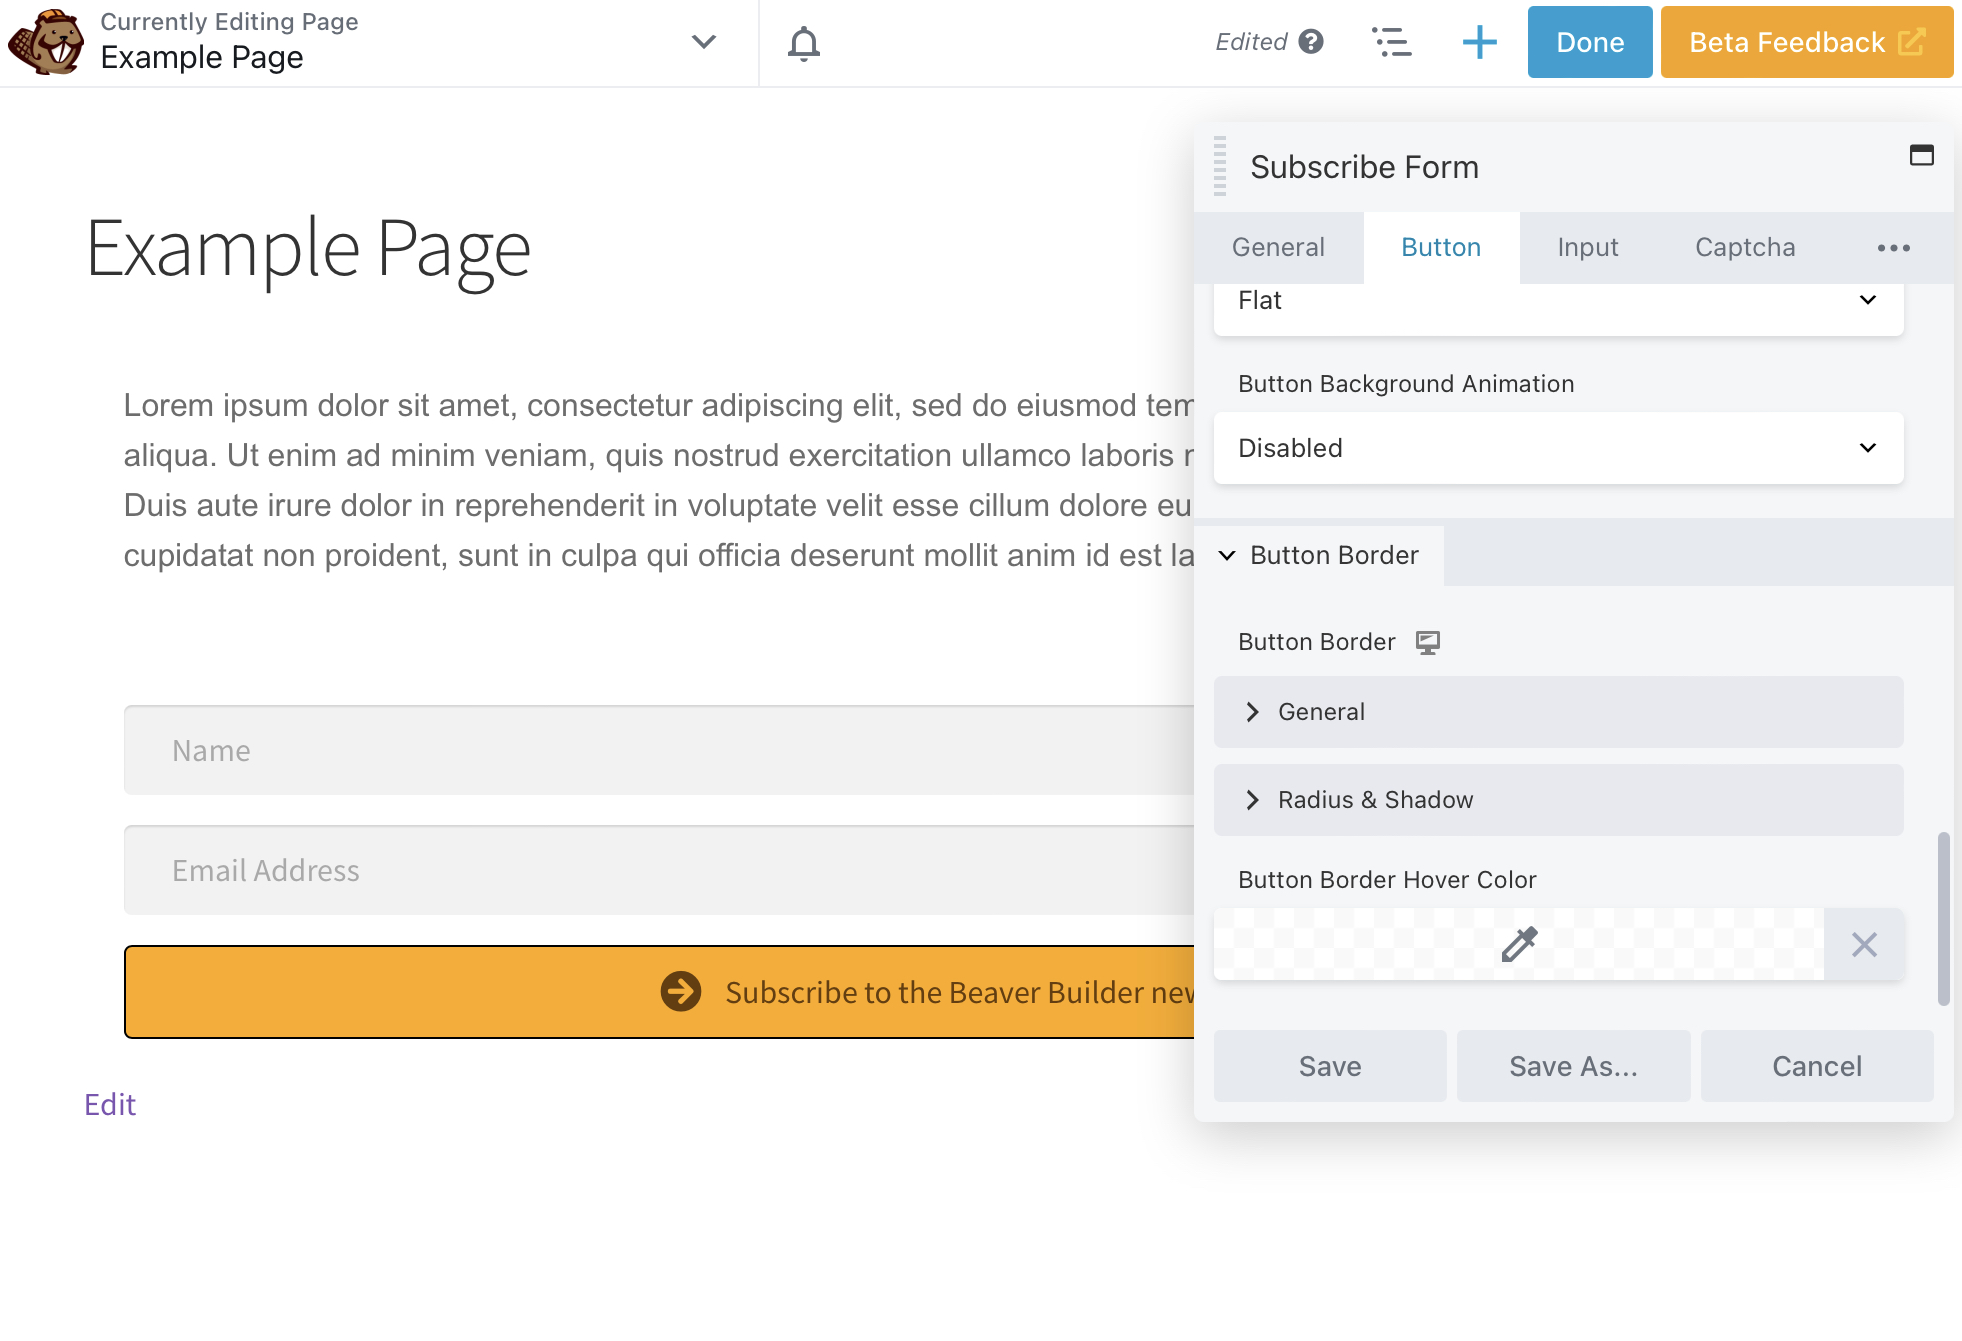
Finally, in the Captcha tab, you can add reCAPTCHA to your form. reCAPTCHA is a free Google service that helps protect your website against spam and abuse. Here, it will prevent bots from signing up for the list or entering malicious code into your signup form.
To add reCAPTCHA, head to the Captcha tab and change the reCAPTCHA Field to Show:
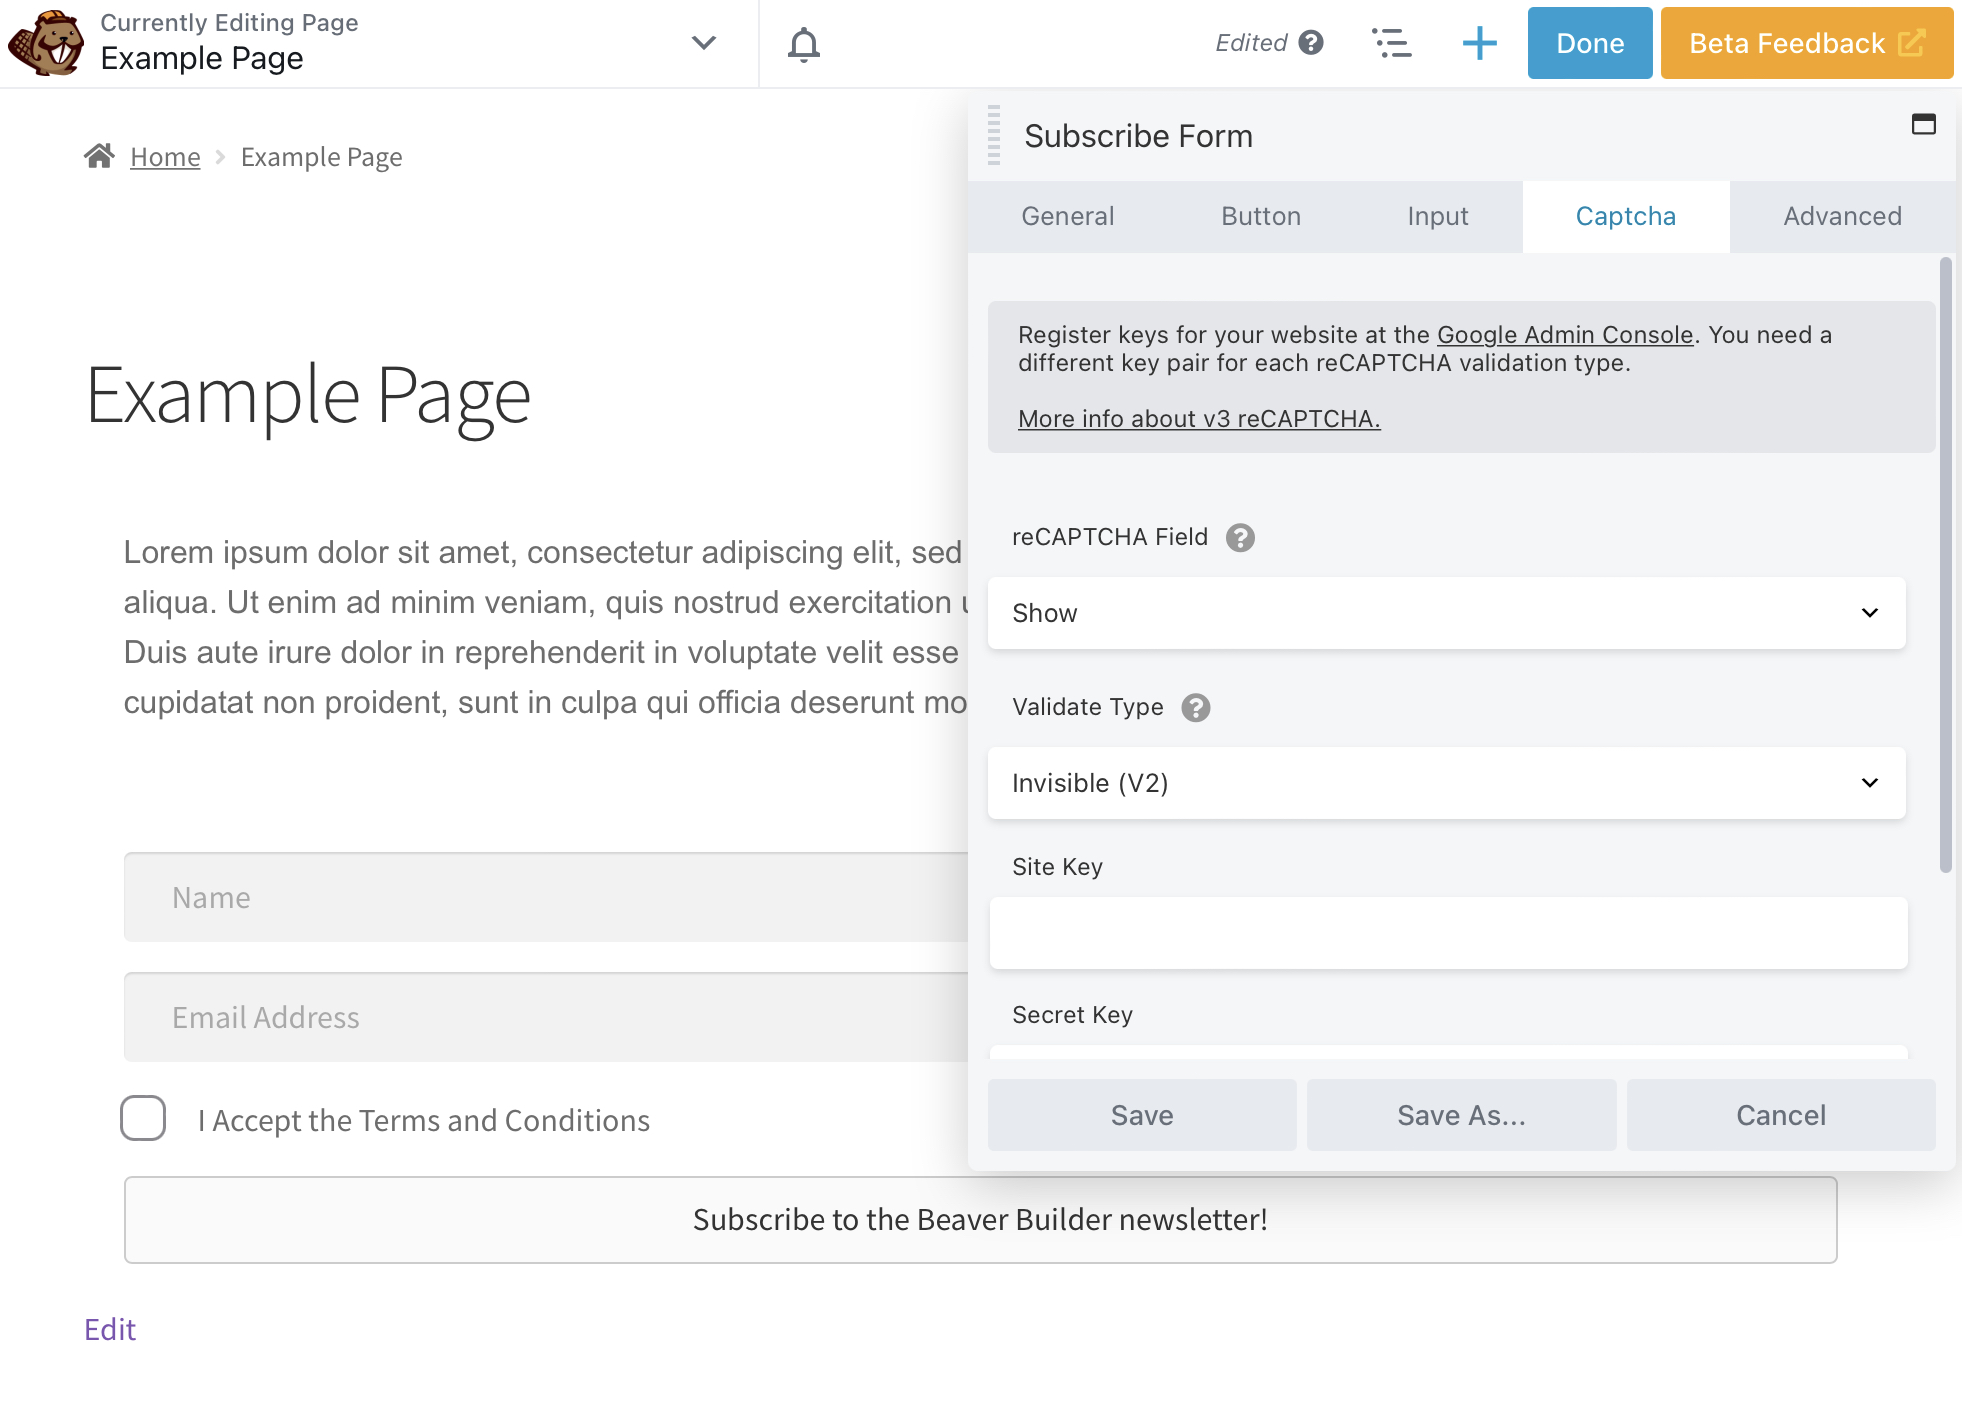
Then select your Validate Type and enter your Site Key and Secret Key. You can create these keys through Google’s reCAPTCHA generator.
Step 4: Change Your Subscribe Form’s Appearance
Your Subscribe Form module should now be ready from a technical standpoint. However, we recommend adjusting its appearance to match your website’s visual branding. Let’s look at some of the design options.
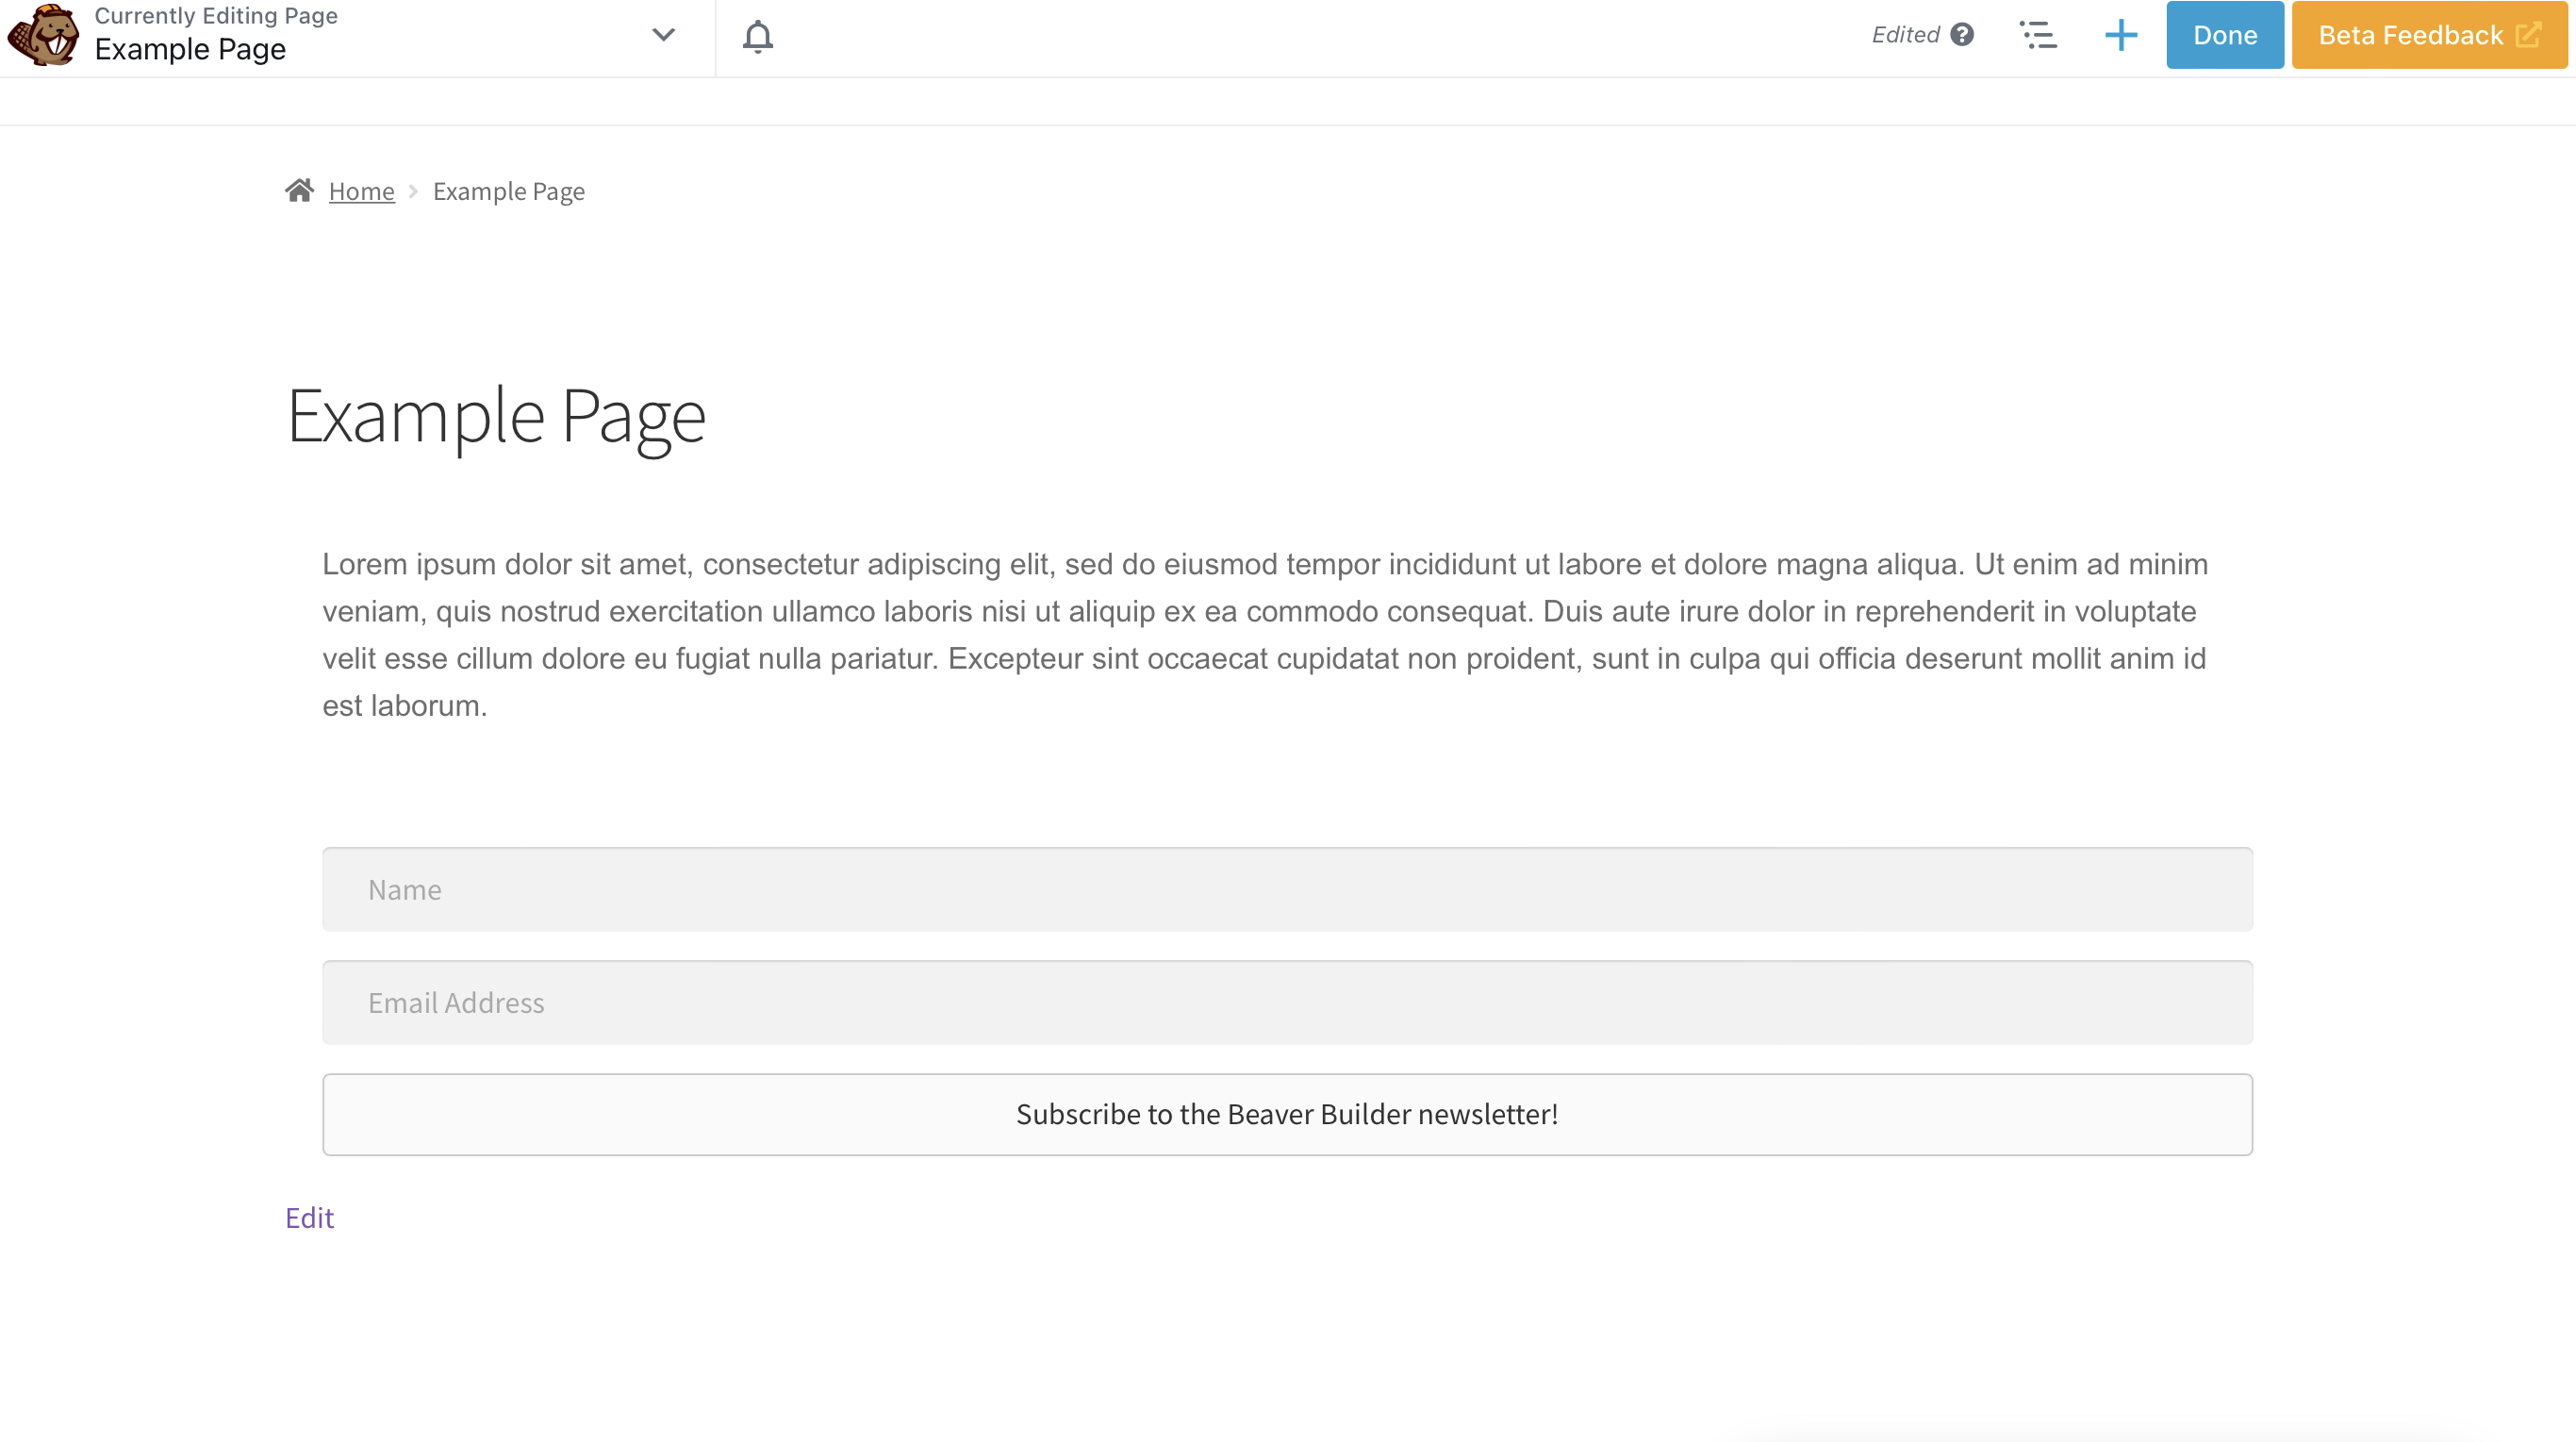
One of the first considerations is the layout. Beaver Builder offers two different types: stacked and inline. Stacked places each form field on top of each other:
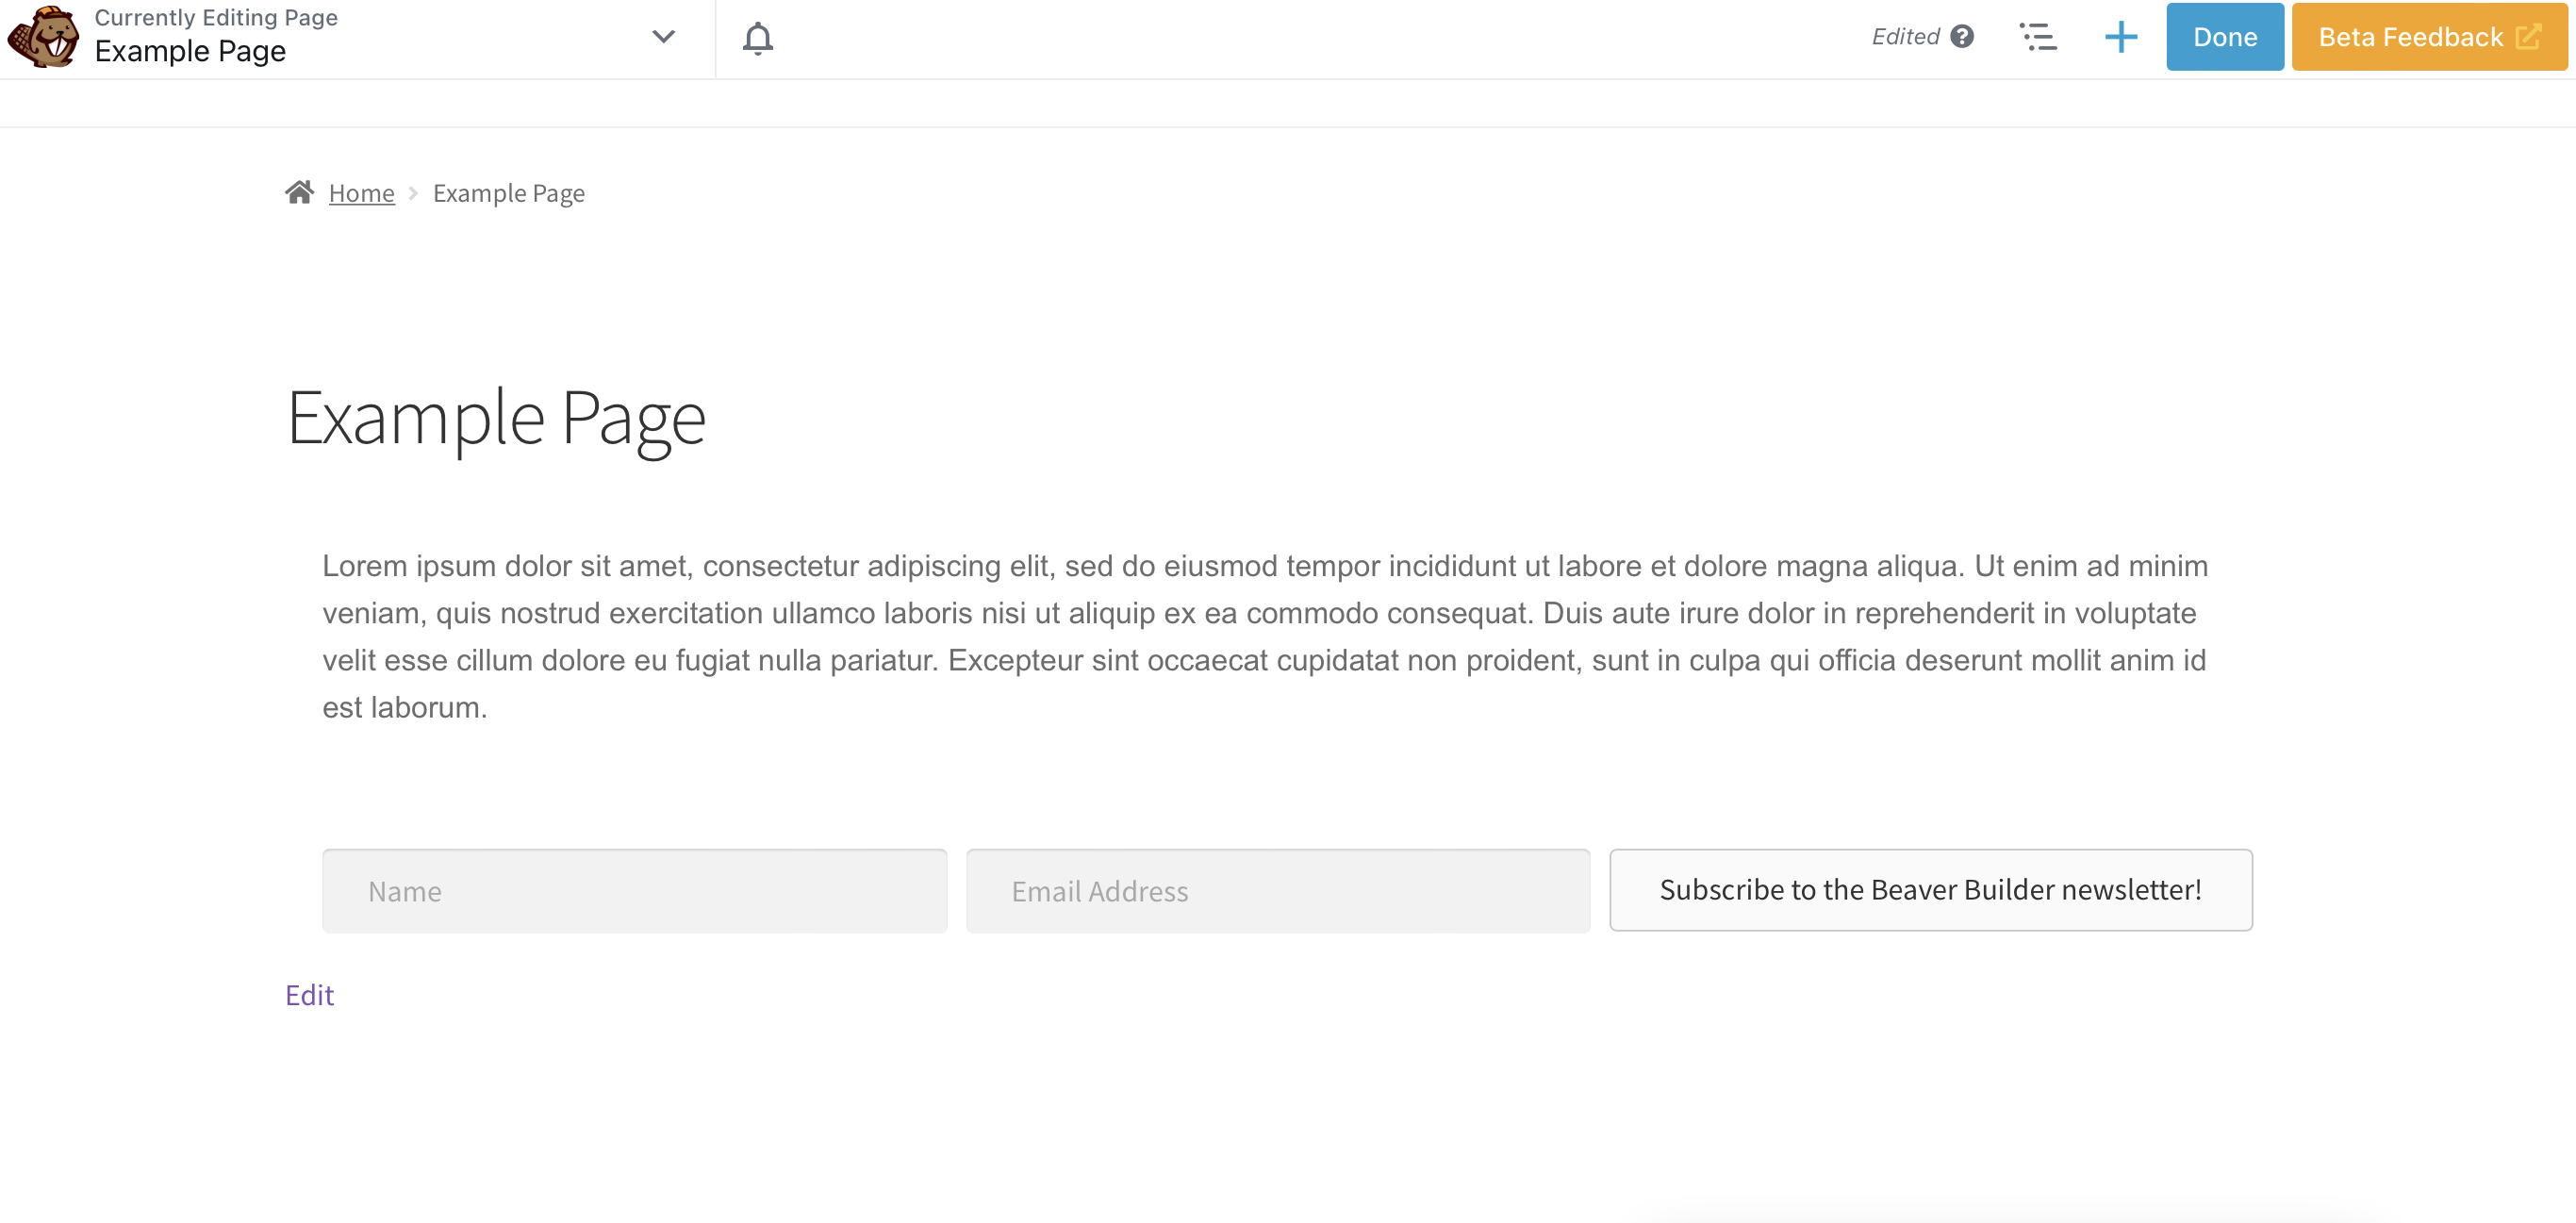
Inline, meanwhile, looks like this. You can use this layout to save space:
You might also like to change the appearance of your subscription button to look more visually appealing. Head to Button > Button Icon:
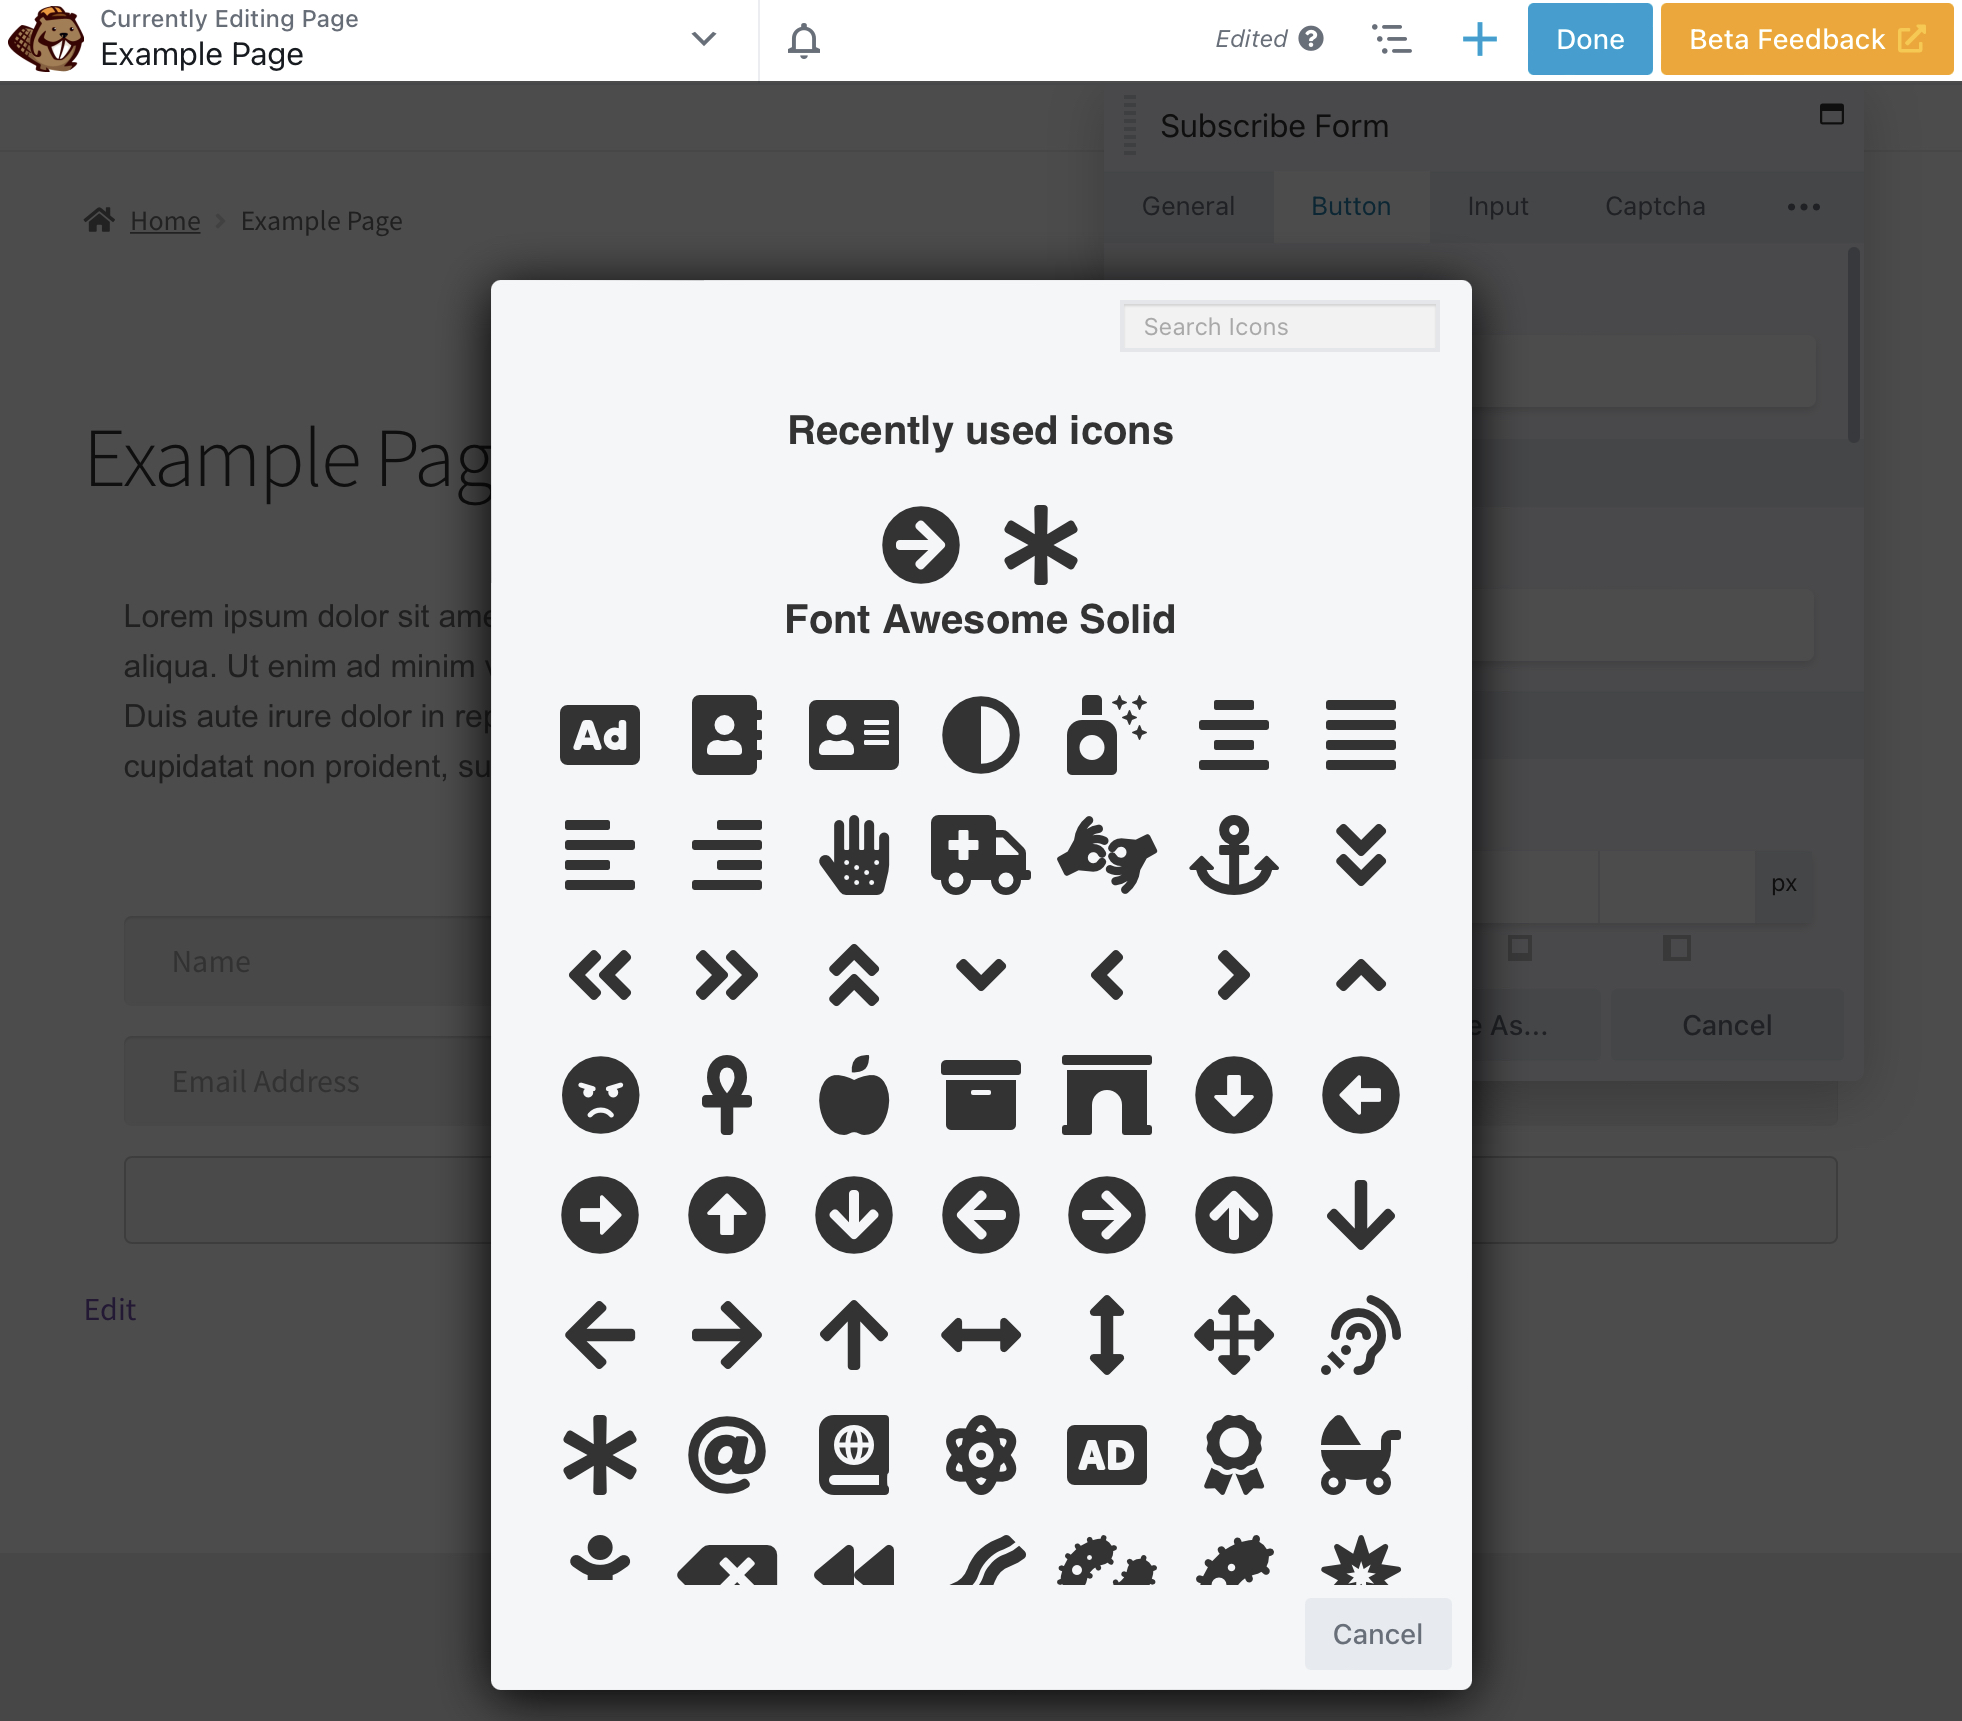
Here you can choose an icon. We’ve selected an arrow that emphasizes the text’s CTA:
Next, we’ll change the color of the button. While the grey looks minimalist, we want to make the button stand out to readers. We’ll do this using contrasting colors, which is also great for website accessibility.
Further down the Button settings, you’ll find Button Background Color:
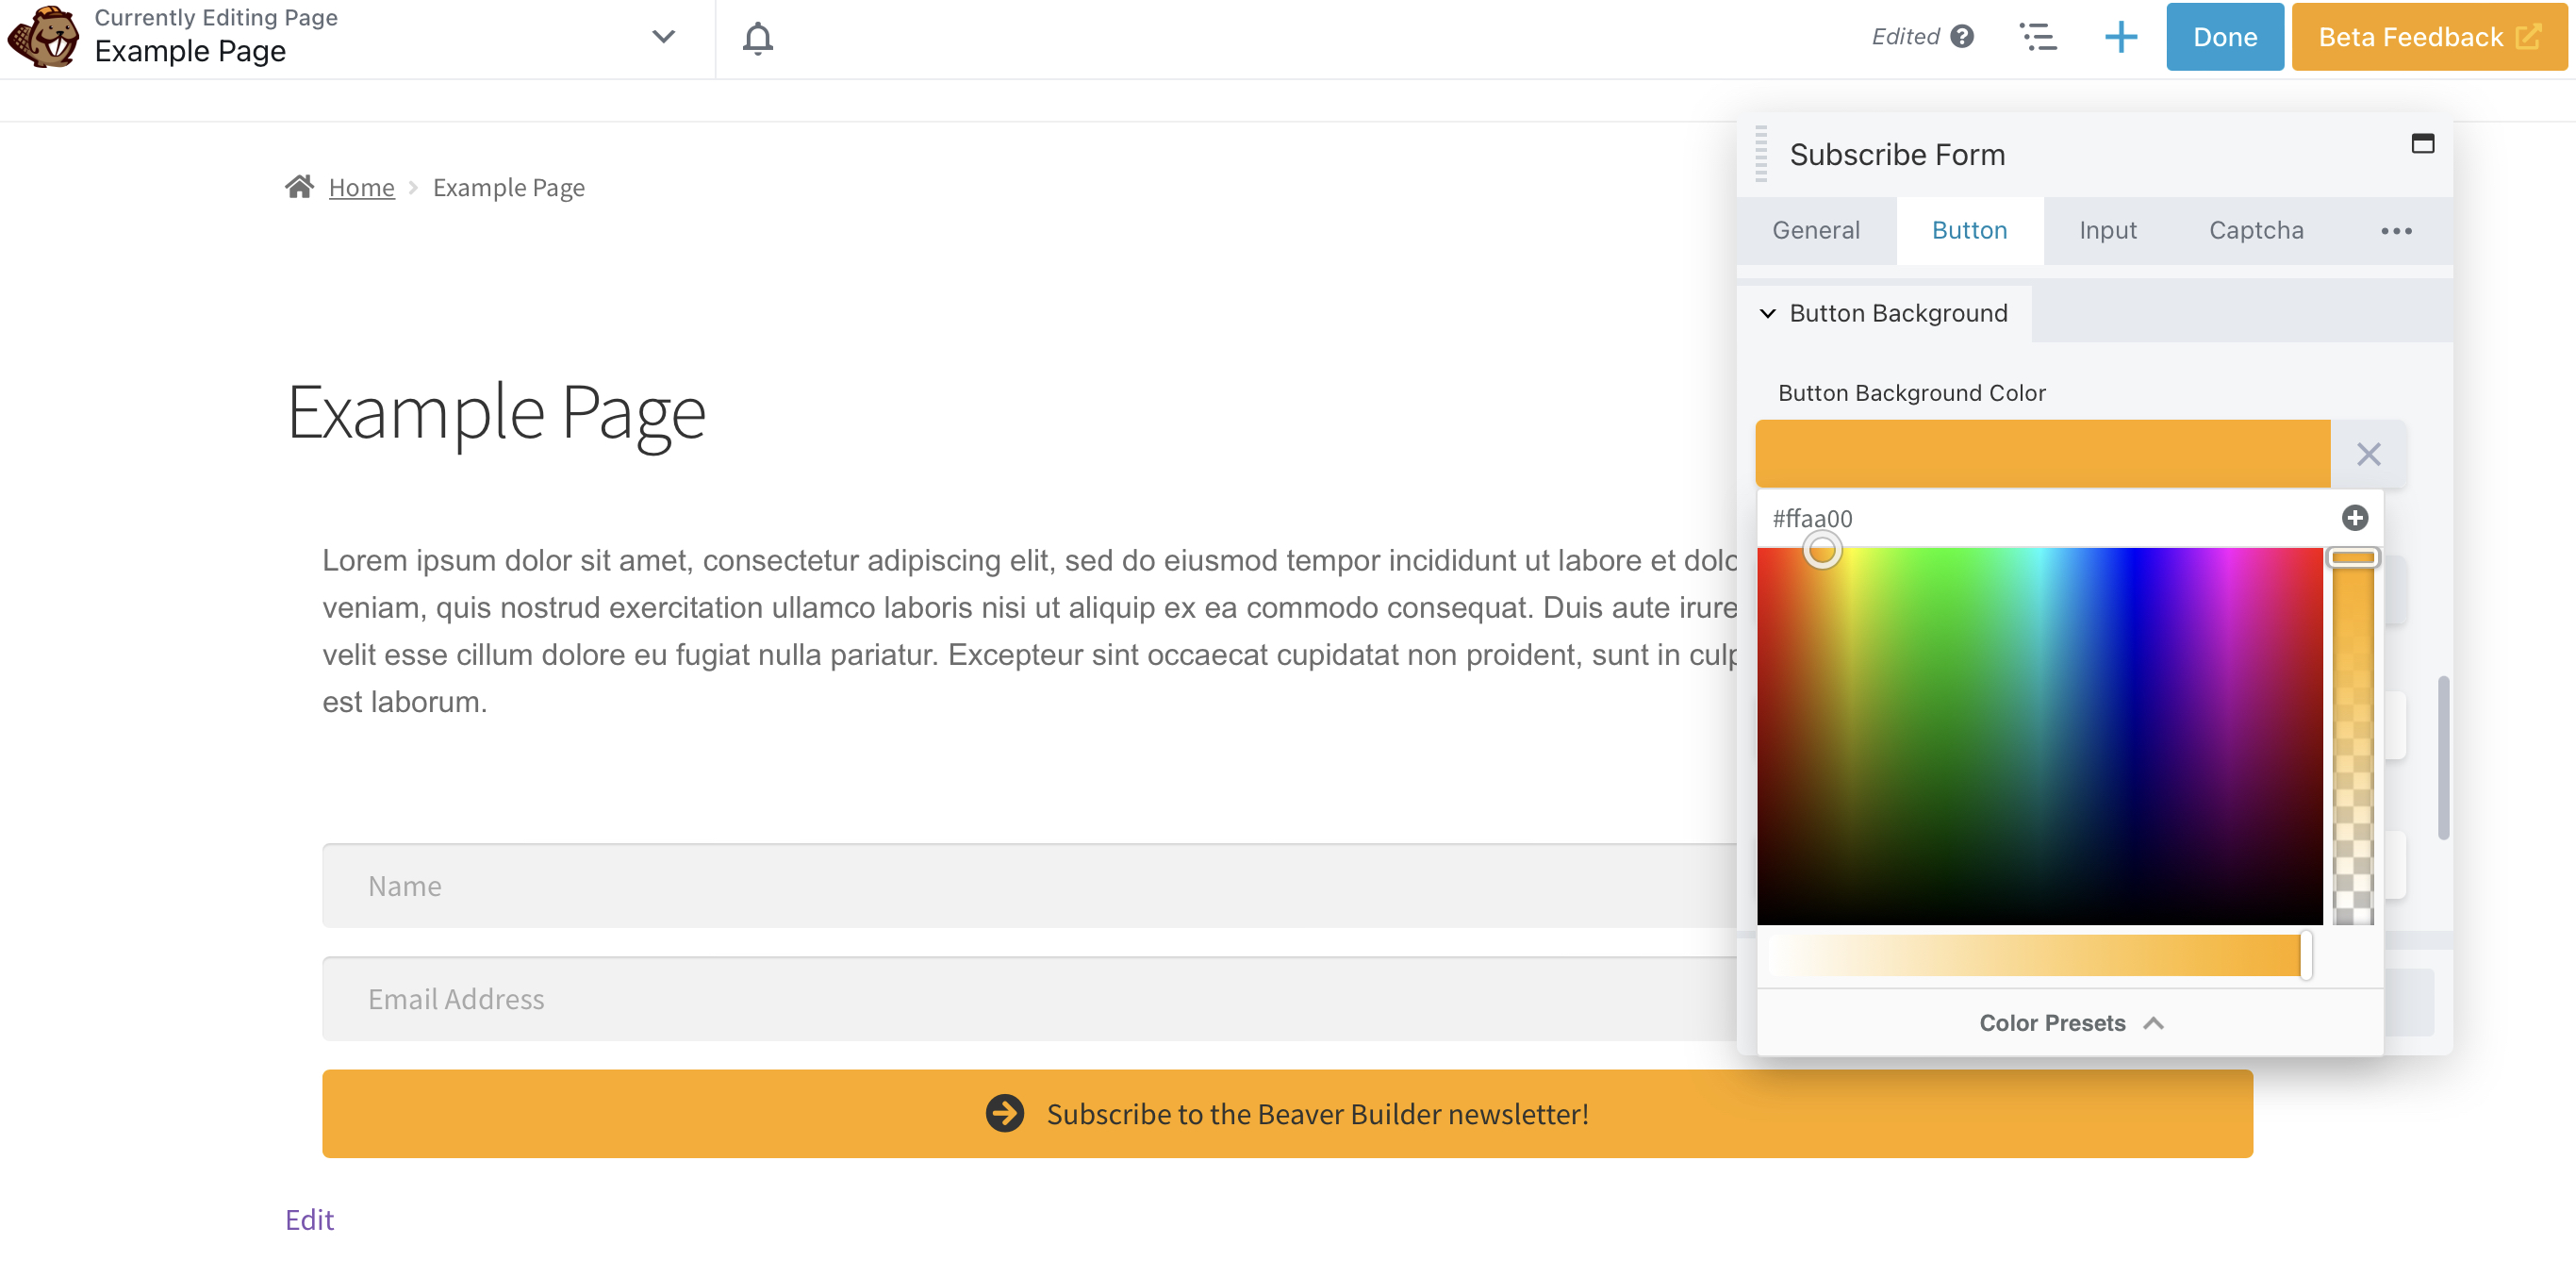
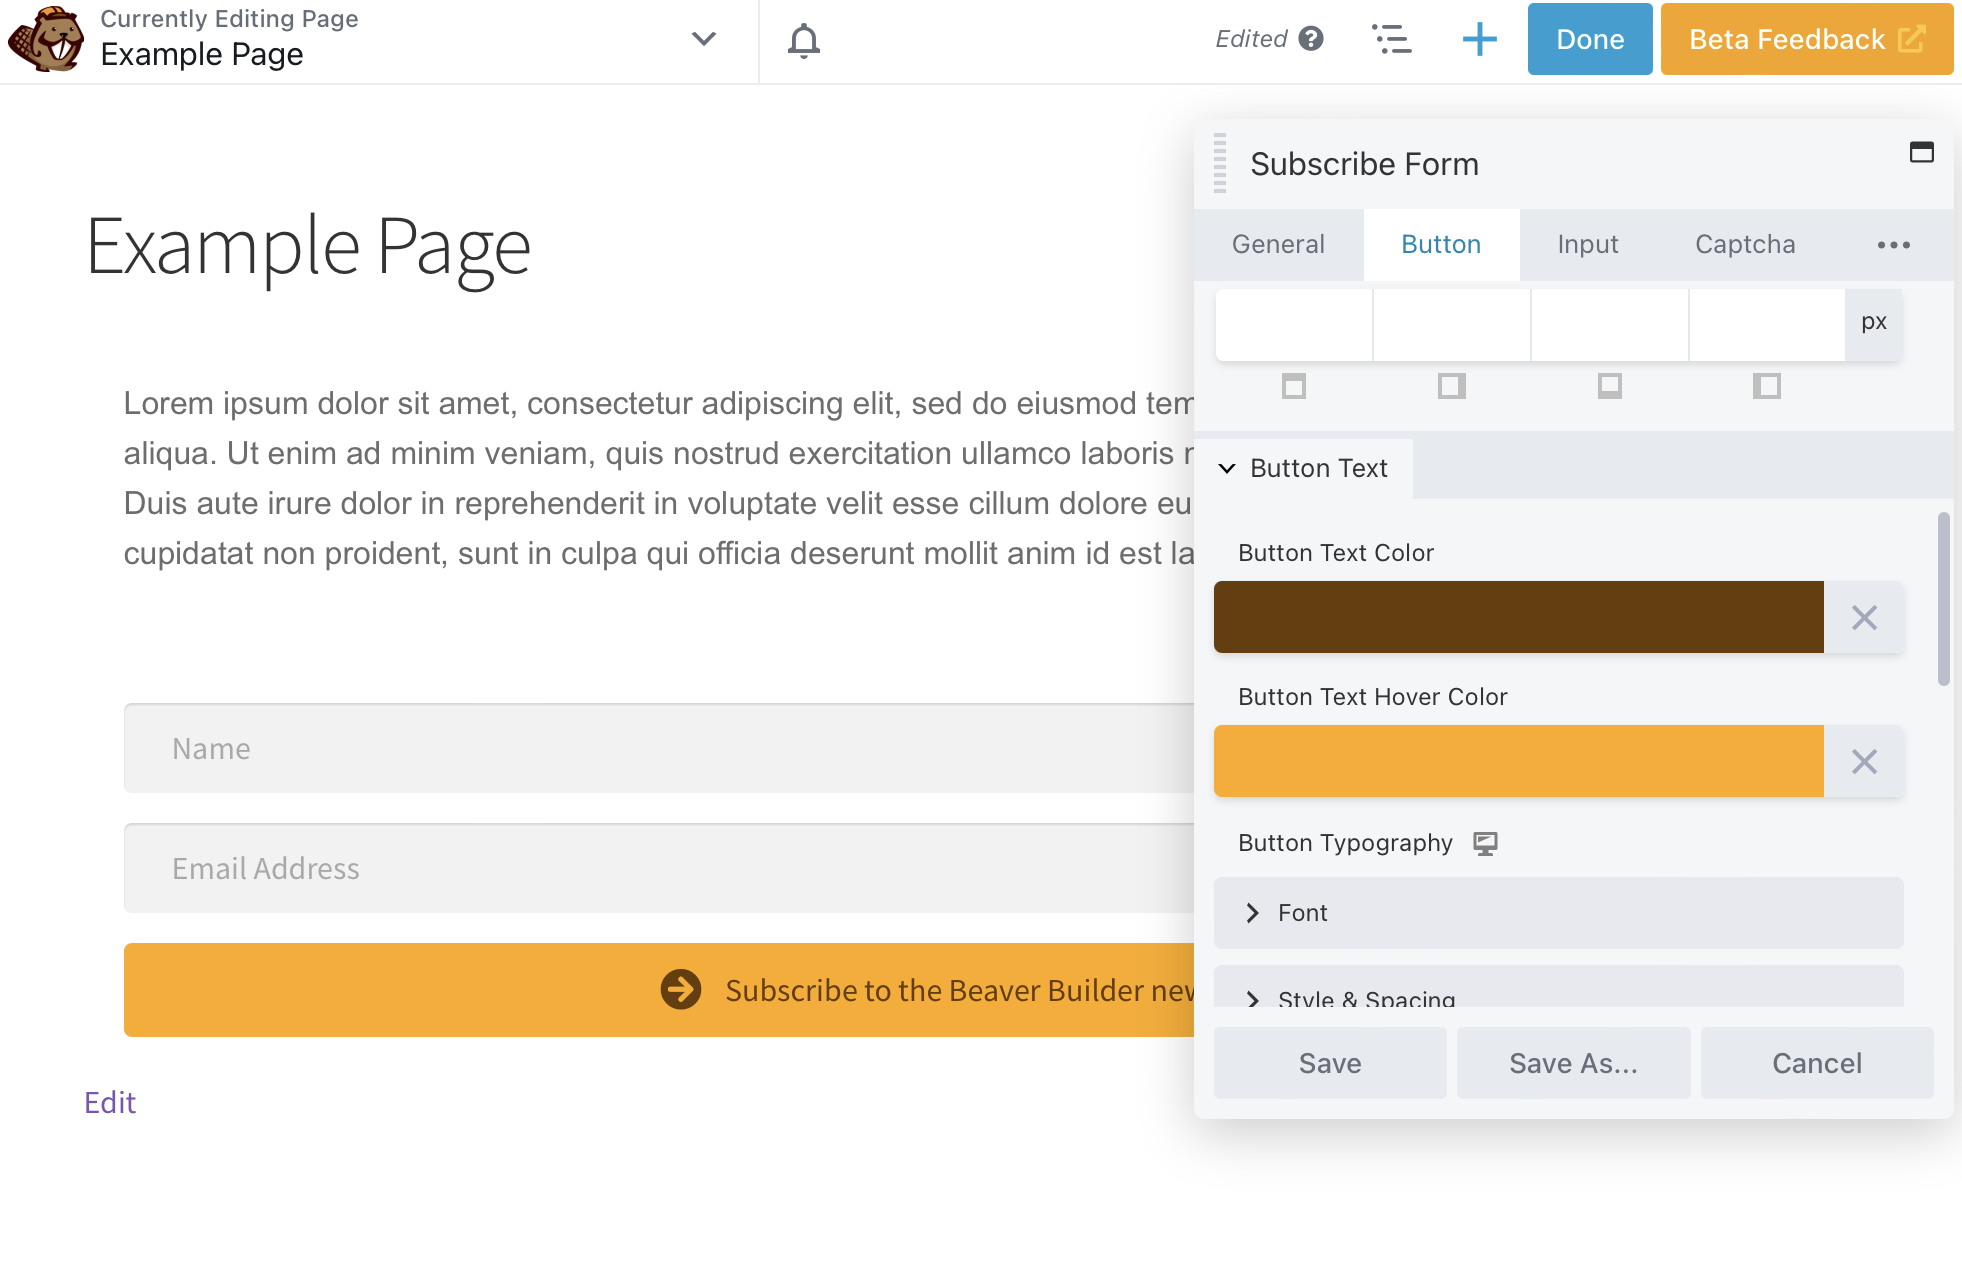
Now scroll up to Button Text and make the text match or contrast. In our example, brown is our primary color, and orange is our hover color:
Now you can make the button stand out more. Scroll down to Button > Button Border > General and change the Style to a solid border. Then, choose the width in pixels:
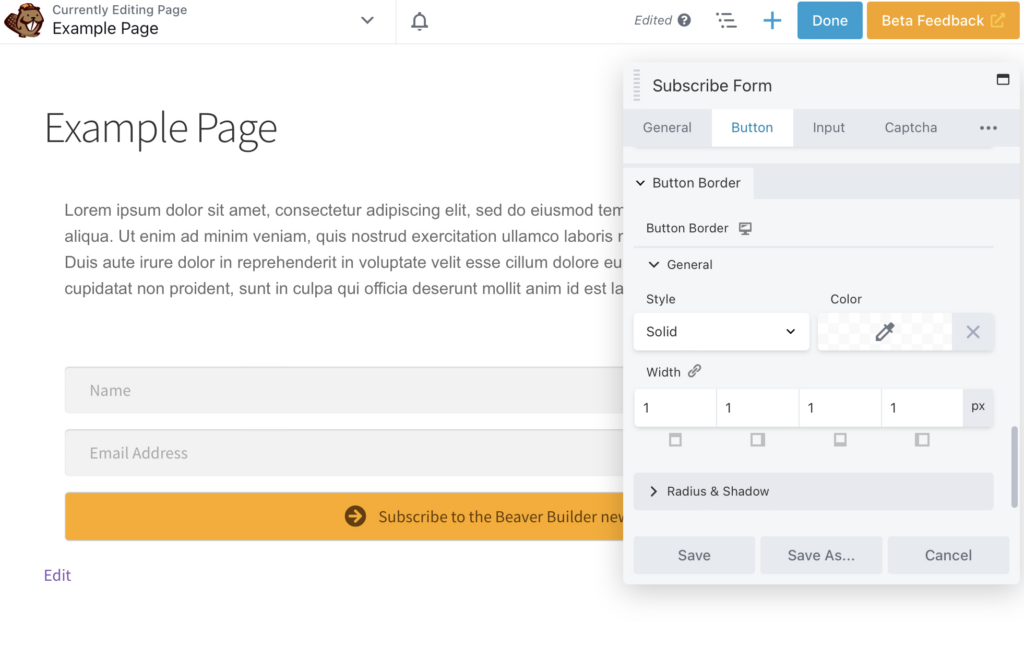
You can also change the border color:
Finally, you can change the font by returning to the Button > Button Text section. Here we’ve chosen Arial. While fancy fonts may look attractive, they can be more difficult to read, particularly on mobile screens:

Remember to save all your changes and Publish when you’re happy with your signup form. Now you’re ready to add subscribers to your email list!
How to Get More Subscribers to Your Email List
Once you’ve inserted and configured your Subscribe Form module, you’ll need a strategy to get more subscribers to your email list. Some people will sign up simply by seeing your module, particularly if it’s striking and has a strong CTA.
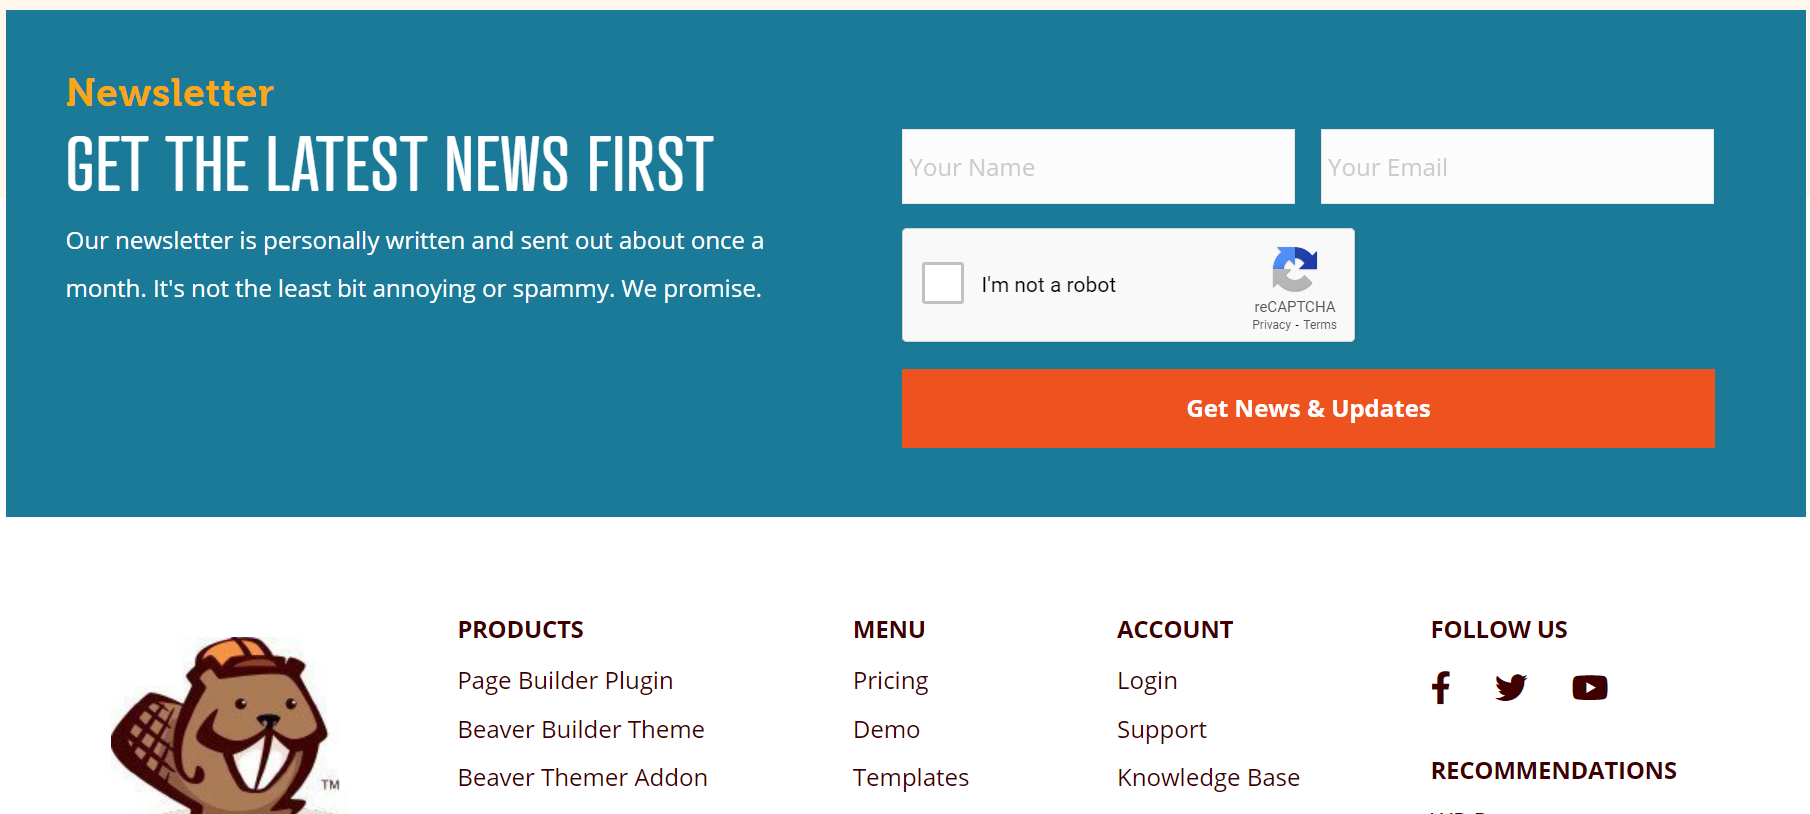
You can also make your form more visible by putting it on landing pages, the home page, popup forms, your footer, or the sidebar. For example, on our site, we have an eye-catching signup form at the bottom of the home page:
You might also incentivize users with a compelling offer. You could offer your customers a coupon or a free resource for joining your email list. Alternatively, signing up to the mailing list might unlock exclusive content or other on-site bonuses.
Finally, don’t forget your other marketing channels. If readers have followed you on social media, they might be interested in your email list. You could promote your signup link across social media and direct users to your Subscribe Form.
Conclusion
Staying in touch with customers is essential to the success of your online business. By sending personalized, targeted emails, you can make customers feel important and promote your products to an engaged audience.
In this article, we listed four steps to help you start an email list in WordPress with our Beaver Builder Subscribe Form module:
- Place the Beaver Builder Subscribe Form module on your page.
- Connect your email marketing platform.
- Configure your email signup form’s settings.
- Use design options to make the form fit your branding.
RELATED QUESTIONS:
How Do I Create an Email List?
You can easily create an email list for your website using Beaver Builder and our Subscribe Form module. Simply add the module to your page, link your email marketing service, and configure the form’s settings and appearance.
How Can I Get More Subscribers to My Email List?
You can get more subscribers to your email list by creating an attractive signup form with a compelling Call to Action (CTA). You might also consider offering readers incentives like coupons, free resources, or early access to your sales.
Our Newsletter
Our newsletter is personally written and sent out about once a month. It's not the least bit annoying or spammy.
We promise.
Try Beaver Builder Today

Related articles
How to Build Card Layouts in Beaver Builder (Flexbox + Box Module Tutorial)
If you’re using the Beaver Builder Box Module to build responsive layouts, you’ve likely noticed two things: it’s incredibly powerful…
How to Center Content in Beaver Builder (Flexbox, Rows & Modules Guide)
Wondering how to center content in Beaver Builder? The most reliable way is to use the Box Module with Flexbox:…
Struggling with CSS Grid? Turn This On in Beaver Builder
CSS Grid is powerful, but it can be hard to work with when you can’t clearly see your layout. Beaver…
Join the community
We're here for you
There's a thriving community of builders and we'd love for you to join us. Come by and show off a project, network, or ask a question.
Since 2014
Build Your Website in Minutes, Not Months
Join Over 1 Million+ Websites Powered By Beaver Builder.