
Building an online store can be an exciting undertaking. Your storefront is a huge part of your branding and can contribute to the success of your business. However, you might struggle when it comes to designing an effective shop.
Using a WooCommerce page builder can help you create an eCommerce site that both you and your customers are happy with. In this guide, we’ll introduce you to the WooCommerce plugin. Then we’ll show you how to use Beaver Builder to quickly and easily create your online storefront.
A Brief Introduction to WooCommerce
If you’re using WordPress for your online store, WooCommerce is an excellent plugin for adding the eCommerce functionality you need to sell products on your site:
You’ll also find yourself in good company because WooCommerce accounts for just over 28 percent of the eCommerce platform market share in 2020.
Like WordPress, WooCommerce is open-source and highly customizable. It includes everything you need to get your eCommerce empire started, including functionality for setting up payment gateways and multiple shipping options.
You can also use WooCommerce to create and edit your products and manage all of your orders:
There are many other features you can take advantage of by using WooCommerce add-on plugins. Among those features, you have options such as advanced pricing configuration, additional payment gateways, and more.
How to Use Beaver Builder to Build WooCommerce Product and Shop Pages (In 4 Steps)
However, before you can really dig into WooCommerce’s functionality, you need to design and build your website. Before you get started, install and activate the WooCommerce, Beaver Builder, and Beaver Themer plugins. Then you’re ready to follow the instructions below to build your product and shop pages.
Step 1: Add Products to Your Store
The first step in setting up your shop is to create listings for individual products. With WooCommerce you can sell anything, including physical products, digital products, and items with variations (such as size and color).
We’ve assembled a set of WooCommerce sample products for our course Build E-Commerce Sites With Beaver Themer and WooCommerce. You can download the WooCommerce Product Sample Set by setting up a free account on our file-sharing platform Assistant Pro.
If you want to start with your own items, we’ll walk you through how to create a simple product. The rest of the sections in this post work no matter what kind of merchandise you plan to sell.
To create a new product, start in your WordPress admin dashboard. In the menu to the left, navigate to Products > Add New. On this screen, enter a title and description for an item you wish to include in your store:
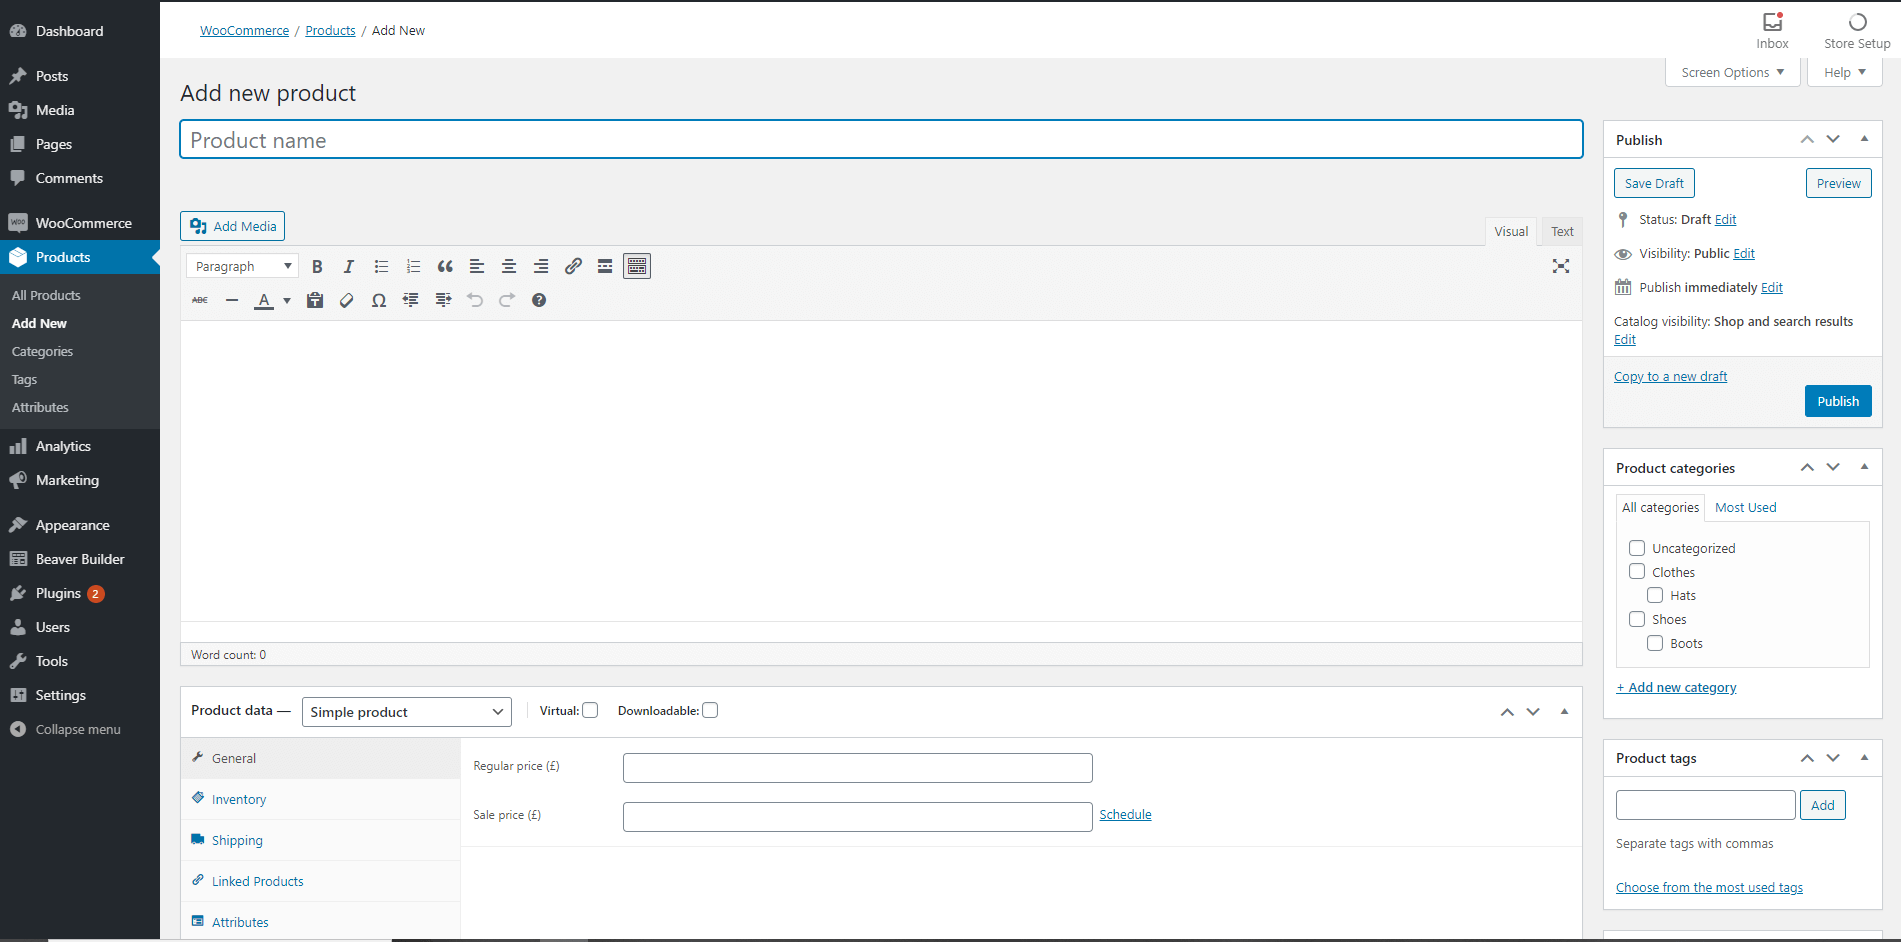
If you scroll down a bit, you’ll come to the Product data panel, where you can set most of the important parameters for your item, including pricing, taxes, and shipping options. Note that taxes and shipping options are usually set globally in the WooCommerce settings, but you can override those options for individual products.
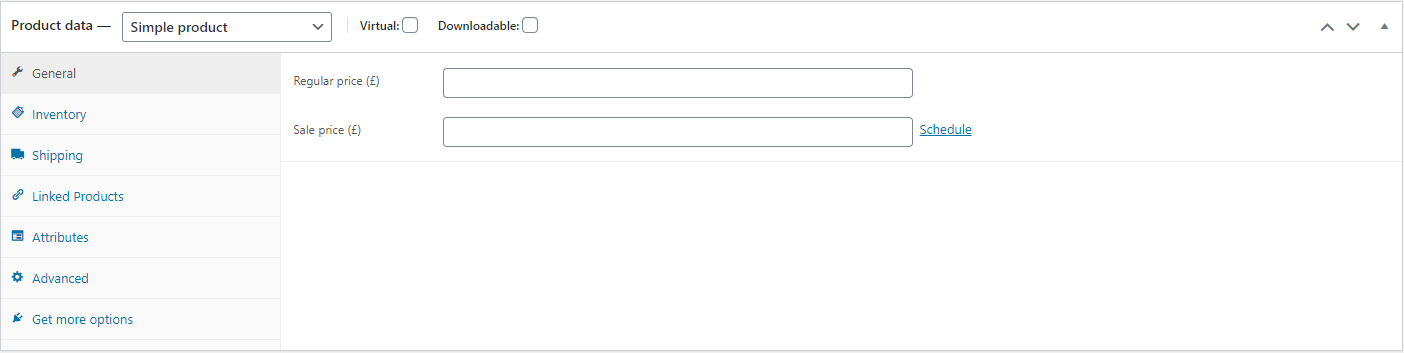
In the General settings, choose if your product is virtual or downloadable. If it’s a physical product, leave the boxes unchecked:
You can also get started with your inventory management. The Linked Products options connect products, so you can take advantage of opportunities to up-sell and cross-sell.
Finally, below the Product data panel, you’ll find the Product short description field where you can add a second, briefer description of your item. This typically displays as part of the listing in your site’s storefront.
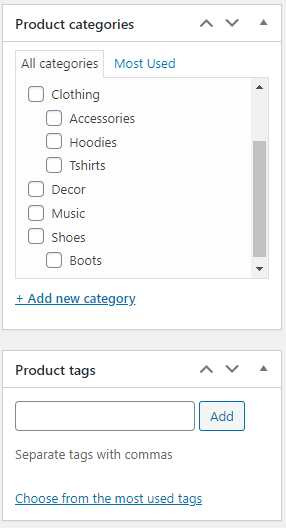
On the right side of the screen, you’ll find product categories and tags. You can use these to help organize your items:
Then add an image or two to your product listing. You have the option of adding a single image or a gallery:
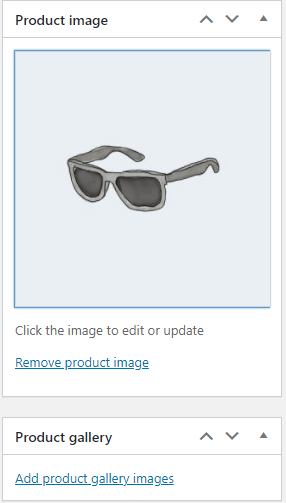
You can add the product image from your Media Library, or you can upload a new photo from your device. Adding images to the product gallery works the same way. If you’d like to reorder the images, you can simply drag and drop them.
Step 2: Design New Product Pages
Next, you can create your product pages to display your products. We have a great step-by-step video tutorial that demonstrates how you can use Beaver Themer to customize your WooCommerce single product pages. Watch the video below:
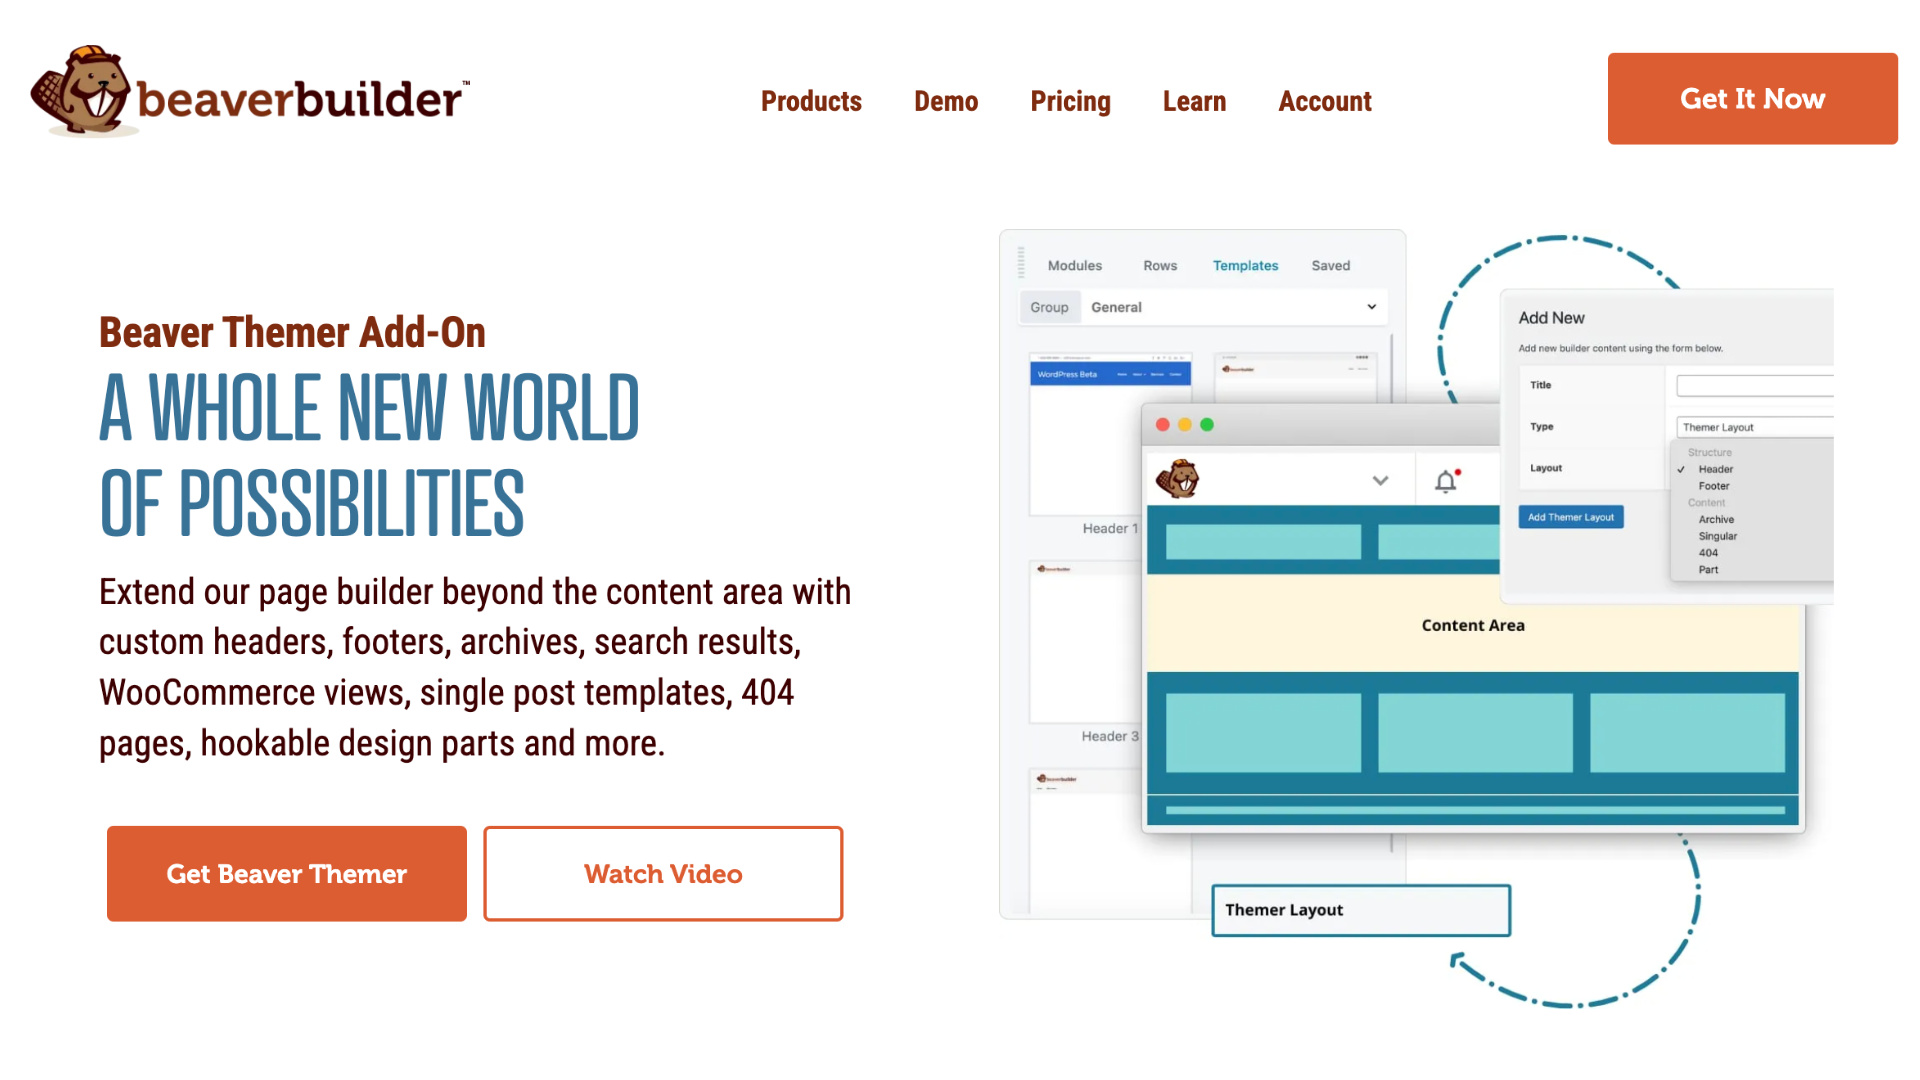
Beaver Themer is a powerful way to extend Beaver Builder into a complete WooCommerce page builder. This theme builder plugin helps you create templates that you can apply to your entire site. That way you can make sure your storefront page, product pages, and entire site look cohesive:
Go to Beaver Builder > Themer Layouts > Add New:
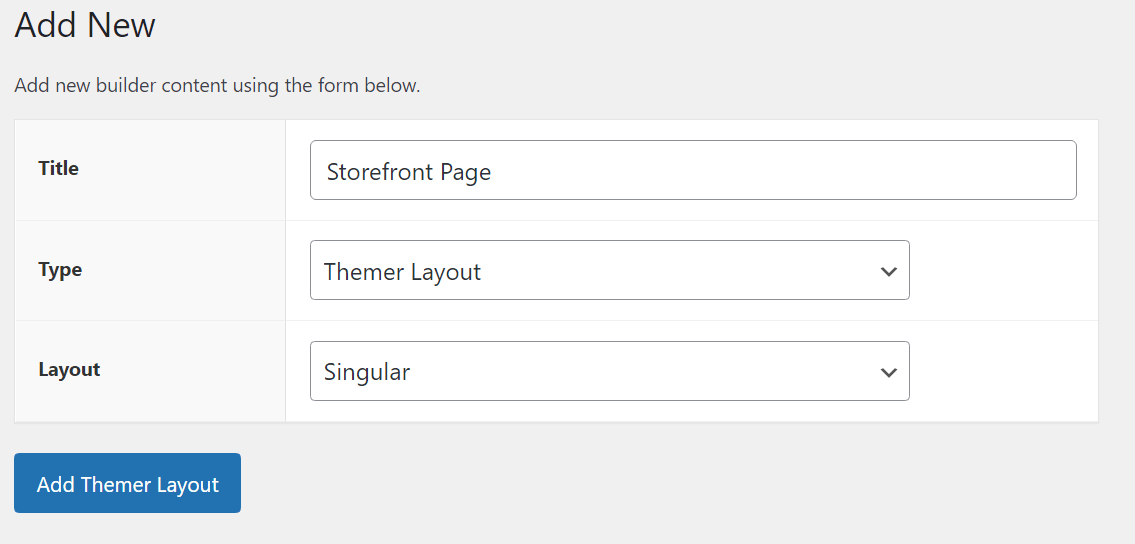
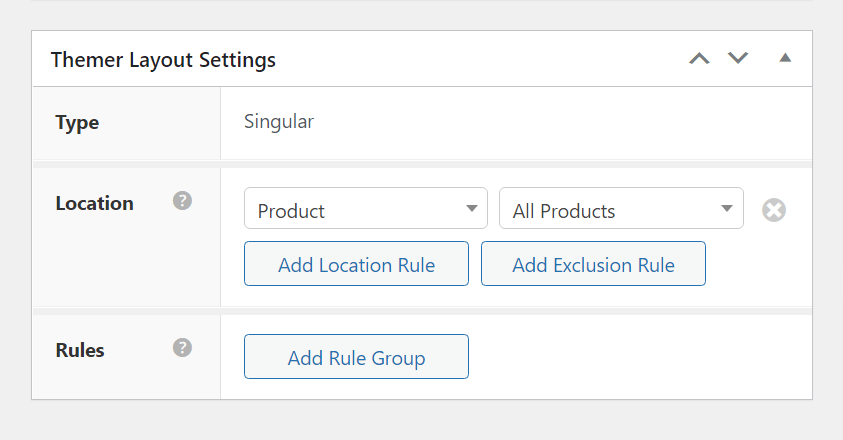
Title your product layout. Afterward, select Themer Layout as your type and Singular as your layout, and click Add Themer Layout.
On the next page, make sure your new design applies to each single product page. Scroll down to Location, select Product first, and then choose All Products in the second box:
Save your work and click Launch Beaver Builder to edit your layout. You can start by clicking the blue plus sign in the top-right corner and then clicking Templates:
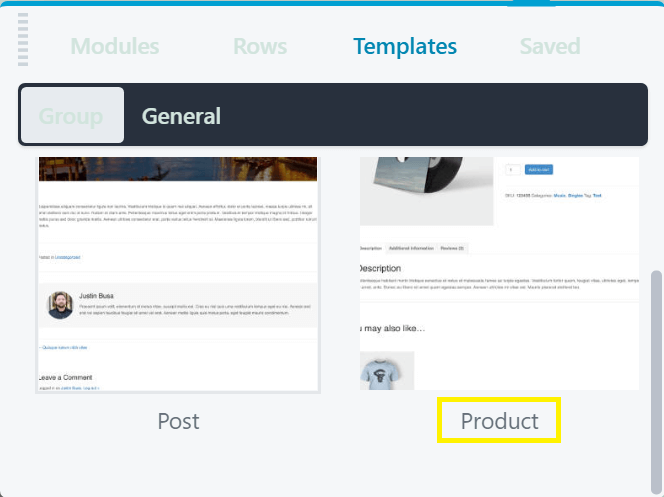
Select Product > Replace Existing Layout. This transforms your template into a product page, with a few helpful defaults already in place:

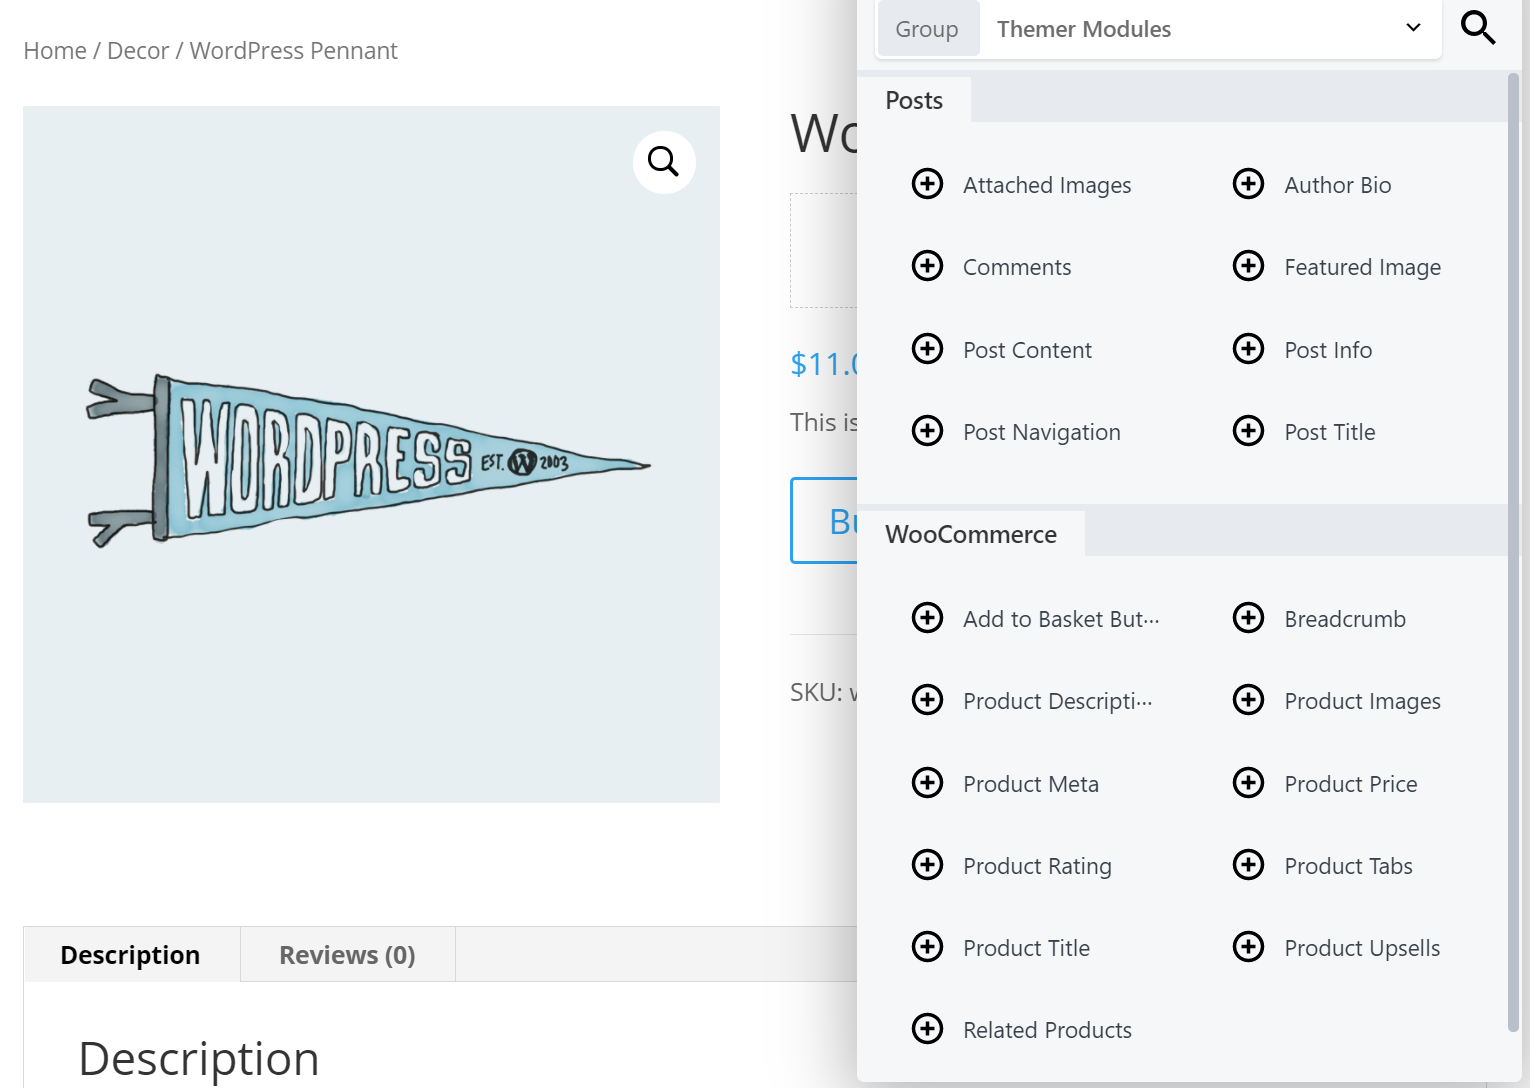
Once you have a basic layout, you can add or remove WooCommerce modules from it. To access WooCommerce modules, navigate to Modules > Themer Modules > WooCommerce. You’ll have options for product ratings, descriptions, upsell sections, and many more:
You can use Beaver Builder’s Preview As feature to change the product that you see while editing the layout:
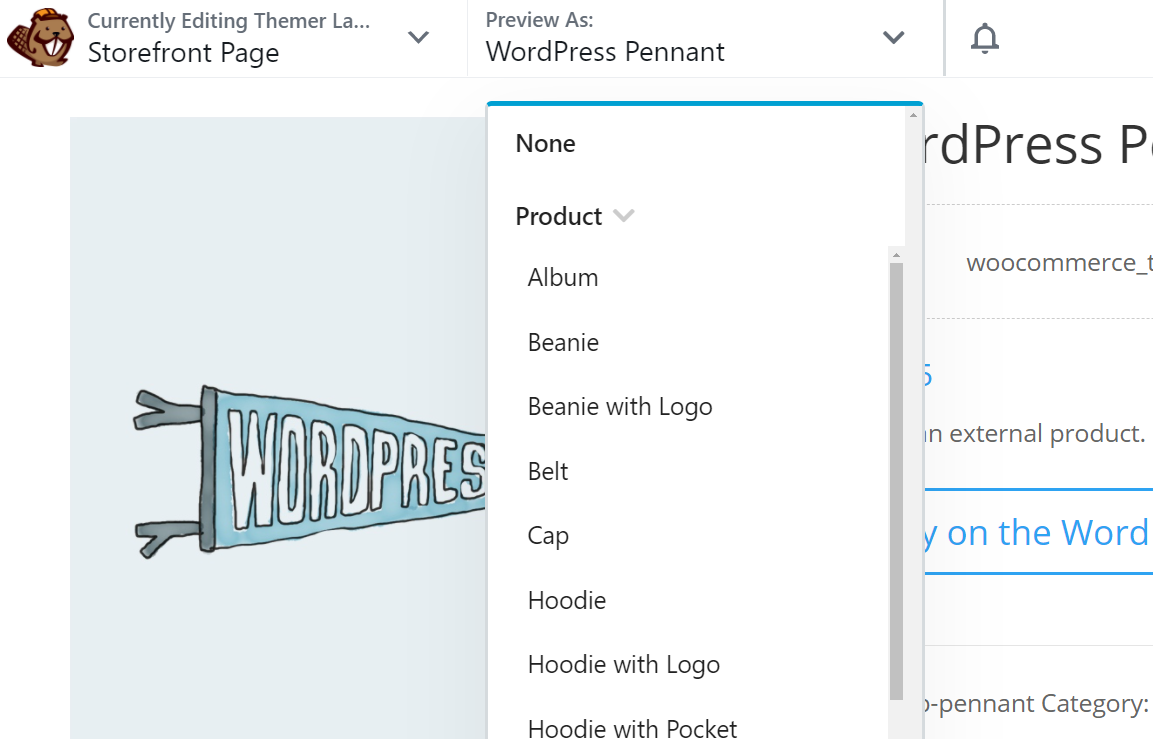
That feature lets you see how your new page looks when viewing each product. Once you’re happy with your product page design and the modules it includes, click Done and Publish to save your work. Now the new page style applies to all of your single-product pages.
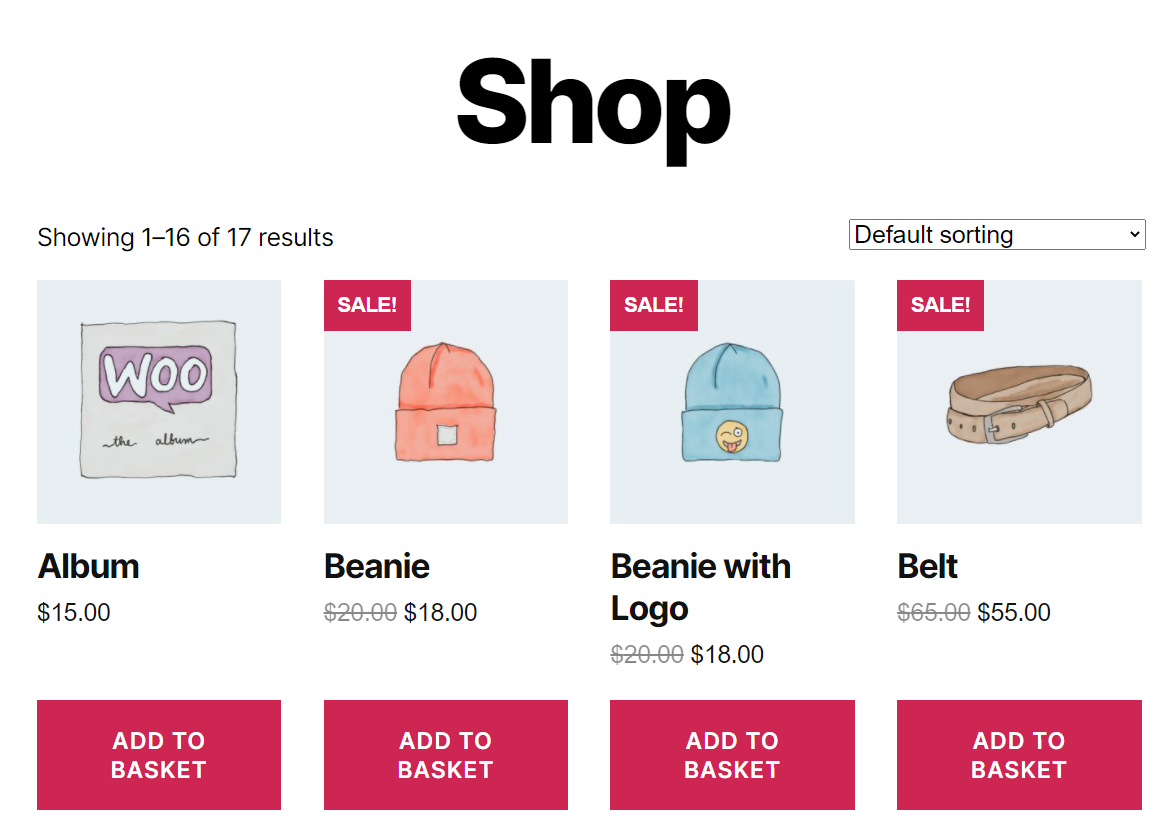
Step 3: Create a WooCommerce Shop Page
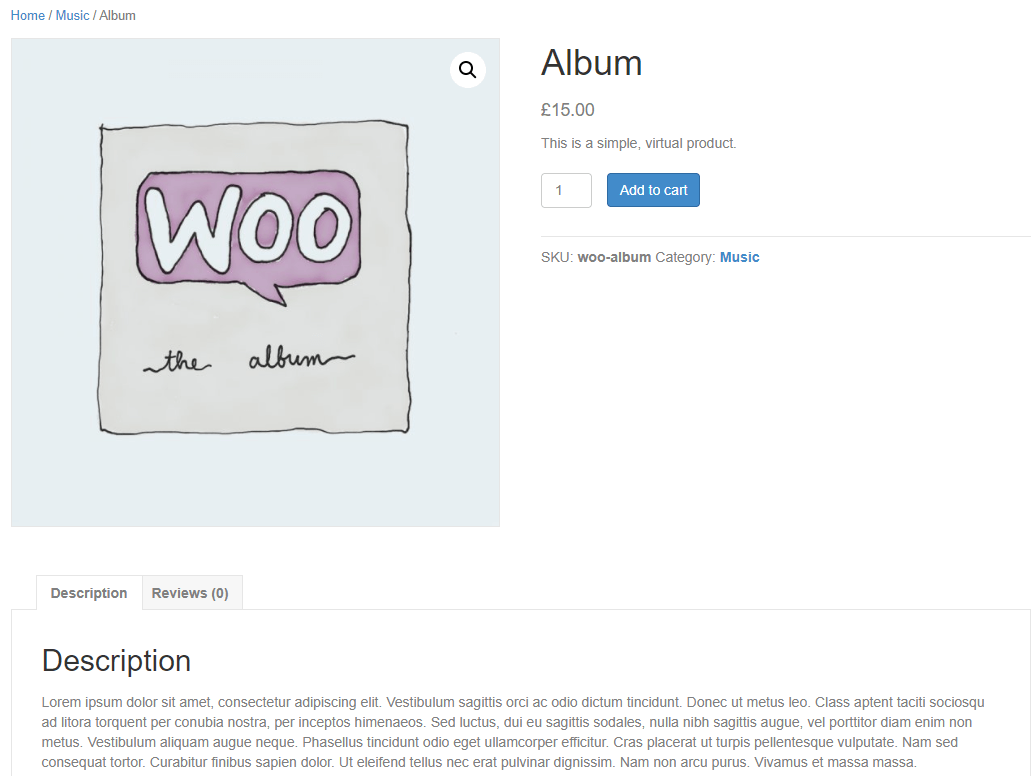
Once you have a killer layout for your WooCommerce products, it’s time to give your shop page the same treatment. By default, WooCommerce uses a very simple shop layout that’s not very exciting:
You can do better by using Beaver Themer to design your Shop page. First, go to WooCommerce > Settings, click the product tab, and make sure that the Shop page is pointing to Shop or any other page you have created. Any page you specify here is treated as an Archive page by WooCommerce, which means it displays a collection of your products.
To create a brand new layout, return to the Beaver Builder > Themer Layouts tab and click Add New. On the next screen, set a name and select Themer Layout under Type:
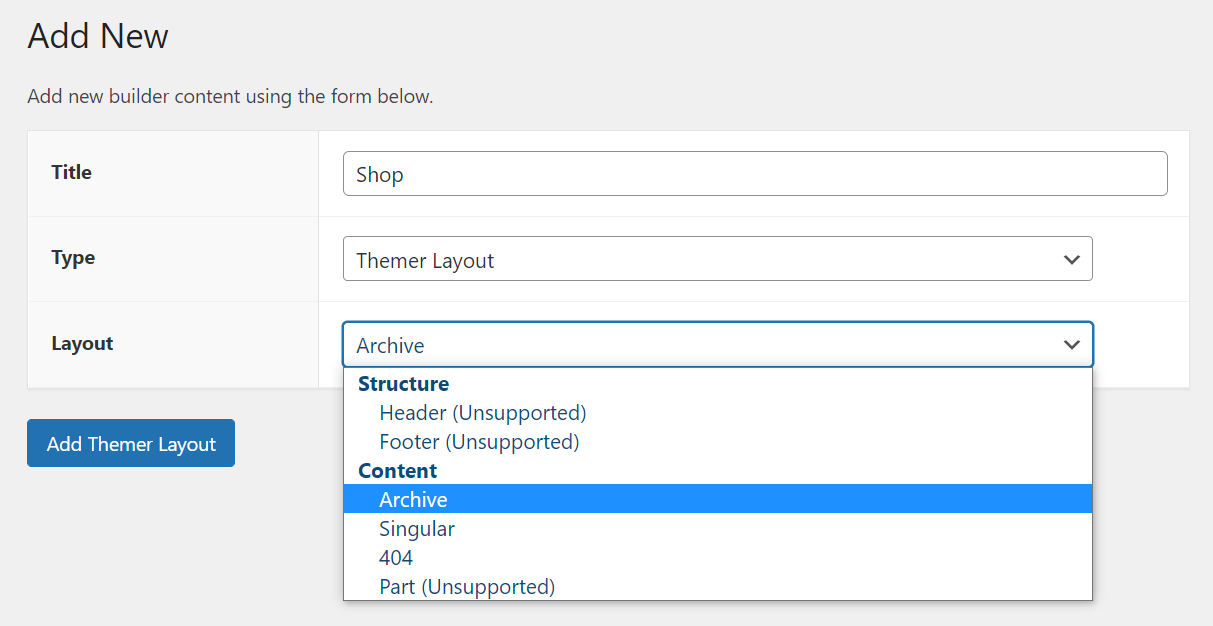
Select the Product Archive option under Location on the next screen. That means the Shop page and product category pages will display all of your store’s products. You can modify it to suit your needs.

Click on Launch Beaver Builder so you can get to work customizing your layout. On the next page, click the plus sign at the top of the screen and then click the Templates tab:

The Products template works perfectly for a new shop page. Once you set the template, you can modify it using all of the tools and instructions that we’ve covered so far.
We recommend that you spend some time tweaking the Posts module style settings until your shop layout fits in with the rest of your store.
Once you’re done, save the changes to the module and click Done > Publish at the top of the screen.
All that’s left to do now is to check your navigation menu on your site to make sure that whatever page you designated as your Shop page is there. If not, go to Appearance > Menus from your WordPress dashboard and add it.
Step 4: Customize Your Shop Page Further With WooCommerce Layouts
Another feature that makes Beaver Builder an effective WooCommerce page builder is that it includes a WooCommerce module, which lets you place parts of WooCommerce functionality into any Beaver Builder layout on your site. This module includes the following options:
- Single and multiple products: Display selected products by product ID or product category, or display sale products, recent products, top-rated products, and so on.
- Cart: Insert what you normally see on the WooCommerce cart page.
- Checkout: Insert what you normally see on the checkout page.
- Order Tracking: Insert the order tracking form.
- My Account: Inserts the content that normally appears on the My Account page, including account information, past orders, and address details

See the WooCommerce module article in our knowledge base for detailed information and examples.
Conclusion
Setting up a stylish online shop that reflects your brand can be quite a project. However, with a WooCommerce page builder such as Beaver Builder, the process can become a lot less intimidating.
In this guide, we showed you how to build your online storefront in four steps using WooCommerce and Beaver Builder:
- Add products to your store.
- Design new product pages.
- Redesign the WooCommerce shop page.
- Customize your eCommerce site further with WooCommerce layouts.
Do you have any questions about how to build product and shop pages using Beaver Builder? Let’s talk about them in the comments section below!
12 Comments
Our Newsletter
Our newsletter is personally written and sent out about once a month. It's not the least bit annoying or spammy.
We promise.
Try Beaver Builder Today

Related articles

How to Create a Mobile-First WooCommerce Store Using Beaver Builder
In today’s digital age, mobile shopping dominates online behavior. Recent studies show that over 70% of ecommerce traffic comes from…
How to Speed Up Your WooCommerce Store Built with Beaver Builder
Imagine a customer landing on your store, ready to buy, only to hit the back button because the page takes…
North Commerce Module for Beaver Builder
With all the excitement surrounding Beaver Builder 2.8 and our new Box Module, you might have missed the announcement of…
Join the community
We're here for you
There's a thriving community of builders and we'd love for you to join us. Come by and show off a project, network, or ask a question.
Since 2014
Build Your Website in Minutes, Not Months
Join Over 1 Million+ Websites Powered By Beaver Builder.
Good article on the technicalities of implementing WooCommerce, which I have found confusing with the amount of additional plug-in required.
One think your article should address is the cost of implementing WooCommerce, in other words, how many additional plug-in subscriptions are required. This is an important aspect in deciding whether to choose this platform or not.
Hi Al, I think the cost of WooCommerce plugins will really depend on the additional type of functionality that you’ll need in your eCommerce store. Every store will have different requirements thus it’s hard to provide you an estimate.
I would have to agree with Anthony, every store has different requirements, which is the beauty of WooCommerce, you can add whatever you need to customize and achieve the best way to showcase and sell your products/services to your customers and give them the best experience possible.
As I mentioned back in May (related post on this blog), we’re still limited as to what we can do to customize WooCommerce pages using Themer.
You must consider where the WooCommerce notification will come up by default as you can NOT position that with Beaver Builder Themer yet. I understand they are working on it, but with any of your page designs, you’ll need to work around that notification.
(The notifications are the elements that display messages like “this product has been added to your cart.”)
Hey Steve, do you mean that you need to set the notification up in WooCommerce?
Have you found a workaround?
Cheers.
Drew
Really need to be able to position the notifications to solve the issue. There are many elements of the product page you can move around, but not the notifications themselves.
In my case, the client wanted to use a hero image at the top of the product page, but the WC notifications were being hidden or on top of the hero image. (Not sure exactly, as it has been some time now.)
The workaround was to nix the idea about the hero image. (I know it was a strange request, but they saw it on another site and wanted to use it for some special featured products.)
Ideally, “WooCommerce Notifications” would be like the Product Meta, Product Images, Product Reviews, Product Pricing, etc… that you can drag and drop into place.
Considering Beaver/Woo for a major WooCommerce makeover for one of our customers…
Will the Beaver Themer support adding custom layouts for products in certain categories? e.g I want to display a custom products area on my homepage that displays only products in a custom category.
Is this possible? Many thanks.
Hi Walter, You will need to use the Post module and configure it with the following:
*Source > Custom Query
*Post Type > Products
*Then use the filter options to show products from a specific category
Hope this helps!
Thanks Jennifer – not quite sure what the ‘Post module’ is (part of the Themer tools/elements?)
But ostensibly it looks as if we will be able to do this from the interface without necessitating any custom coding?
Is that correct?
Many thanks
Hi Walter, Yes, that is correct. For more information on the Posts Module check out this Knowledgebase doc: https://docs.wpbeaverbuilder.com/beaver-builder/layouts/modules/posts/posts/
Hello,
I currently use Beaver Builder for my website and I love it. I’m thinking of upgrading so I can make a custom layout for my products page. Based on the video I would need to purchase the Pro version so I can use the Theamer but will it work with my current theme which is the Neve Theme?
Also do you offer discounts?
Hi Alex, So glad to hear you love using Beaver Builder.
For more information on themes that support Beaver Themer: https://docs.wpbeaverbuilder.com/beaver-themer/management-compatibility/beaver-themer-supported-themes/
Feel free to contact our support team for specific pre-sales questions: https://www.wpbeaverbuilder.com/contact/
Also, look for a discount code around Black Friday! 🙂