
If you’re a web designer, you’re probably skilled at the launching phase. However, it’s still important to make sure you’re covering all your bases. To help you do that, we’ve put together a complete website launch checklist.
In this article, we’ll talk about why you might want to use a checklist to get your site off to a successful start. Then we’ll take you through eight of the most important elements to consider before you go live. Let’s dive right in!
Why You Might Want to Use a Website Launch Checklist
There are various reasons to launch a website. Perhaps you might want to start a new business, or build on an existing brand. Alternatively, it might be your profession.
If you develop websites for a living, you probably oversee a lot of launches in your line of work. However, even seasoned professionals can find the process a bit challenging. Let’s be honest: there are a lot of moving parts to keep track of.
From designing layouts to analyzing the site’s Search Engine Optimization (SEO) performance, you have a lot of responsibilities as a web developer. Each piece can be critical to ensuring that a client’s website gets the attention that it deserves.
Furthermore, you might not be able to afford missing a step during a page reveal. A solid reputation can be as good as gold when you’re seeking new clients, and a record of flawless launches can help you build one.
That’s why we recommend using a website launch checklist. You might already know all the steps, but having them written down can help you ensure that you don’t miss a beat. Therefore, a checklist is a vital tool for delivering top-notch products to your clients.
Of course, if you’re new to website development, then a checklist is absolutely vital. It will help you make sure you don’t miss anything important during your first few projects, and then remain a useful resource moving forwards.
The Ultimate Website Launch Checklist (8 Key Items)
There are many elements to consider when you’re getting a page ready to go live. Let us help you out with our ultimate website launch checklist.
1. Optimize the WordPress Settings
WordPress settings aren’t one-size-fits-all, and you have a lot of flexibility in customizing a website to provide each client with a tailored experience.
Before you go live, we recommend that you visit the settings page to ensure that you’ve selected the right options. Changing subtle elements such as the currency or date format can add polish to your work. It might also prevent a headache if you have to change a setting later in the site’s lifecycle.
Maybe you want to tweak your discussion settings to allow only registered users to comment. Alternatively, you can help clients keep up user engagement by enabling notifications.
Furthermore, consider reviewing your permalinks. Changing their structure after a site has already gone live can lead to confusion for your users. We recommend confirming with your client that they’re happy with the permalink structure before the site goes live.
It’s also important to ensure that you have a privacy policy set up:
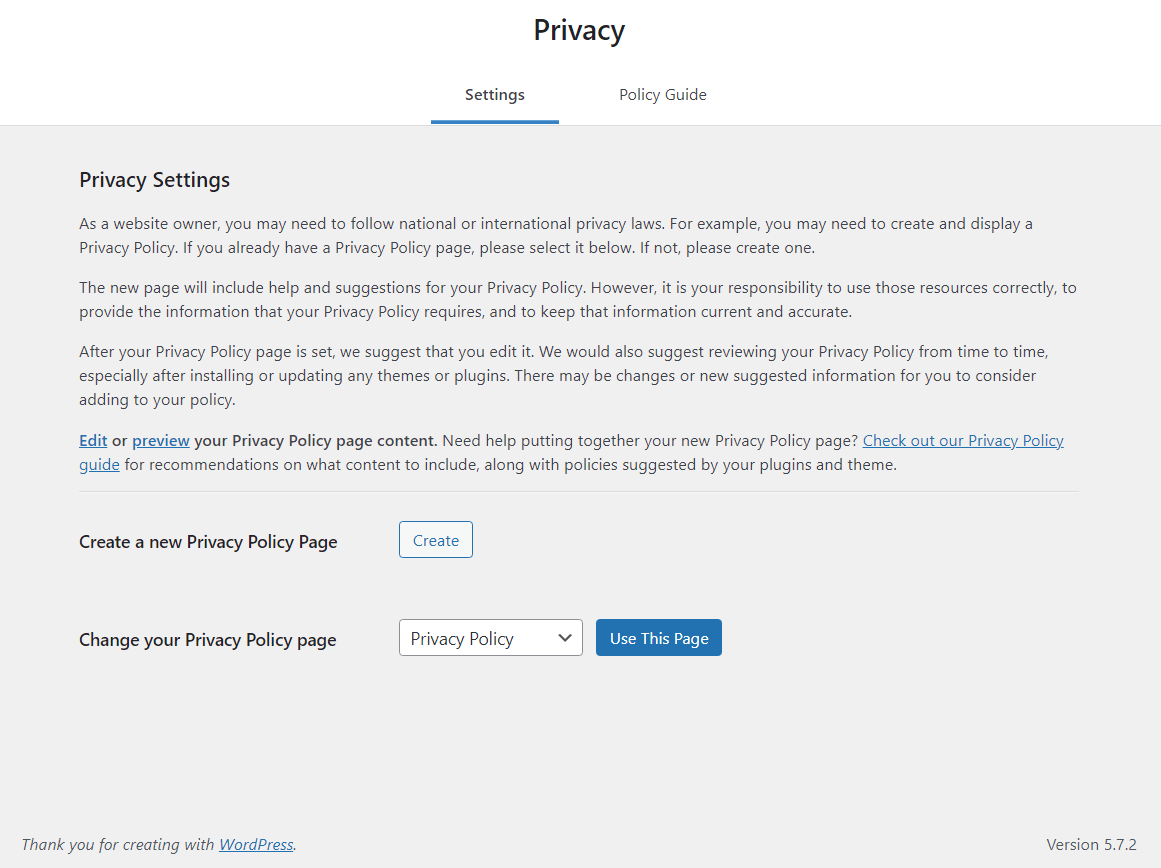
A privacy policy is easy to overlook, but it’s also a vital part of your site. The WordPress installation comes with a draft page with a basic privacy policy that you can tailor to your client’s needs.
Finally, you’ll want to ensure that you’re running the most up-to-date software available. This includes plugins, themes, and even WordPress itself.
Remember to also check any niche-specific tools that your client may use. If you’re not sure what WordPress features a certain profession requires, consider employing a virtual assistant with experience in the field.
2. Check for Broken Links
Broken links are URLs that don’t lead where they’re supposed to. Worse, they might take visitors to a confusing and generic 404 error page. This can frustrate users, and make you look less professional in your client’s eyes.
Broken links can also hurt the site as a whole. Too many bad redirects can result in a dip in the pages’ search engine rankings.
Unfortunately, broken links tend to be inevitable, as pages are bound to change over time. However, there are still ways you can avoid them in the early days of a website. One option is to do this by hand, manually checking every link on your site. However, this can be tedious and time-consuming.
Another option is to use an online tool, such as Ahrefs’ Broken Link Checker:
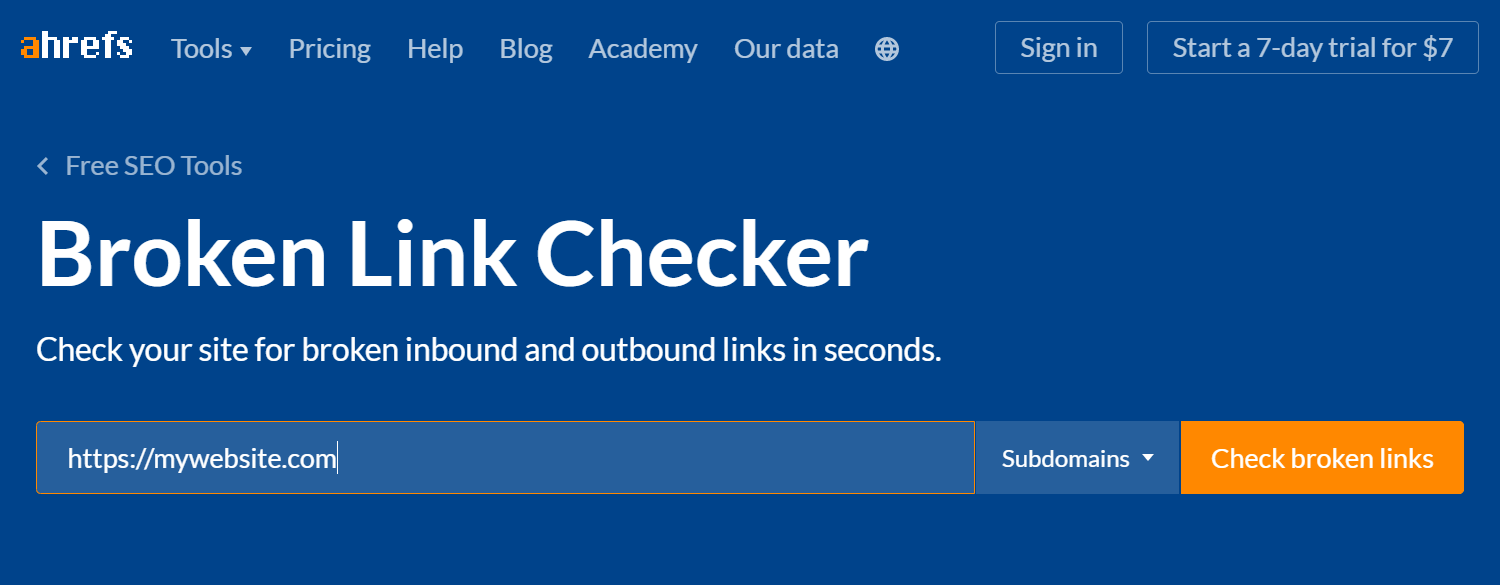
This solution enables you to quickly scan a site for any broken links. Just enter the URL into the text box and click on Check broken links to get your results. Just note that this only works on live websites, so you may want to consider using a staging site as your development environment.
It’s also a good idea to continue using a broken link checker after a site has gone live. It’s a simple yet effective way to maintain top-tier site hygiene.
Of course, despite your best efforts, your audience might see a broken link from time to time. As such, we recommend that you also spend time creating personalized 404 layouts. It can help you make sure that even unintentional redirects appear appealing.
3. White Label the Website
If you’re unfamiliar with the term, ‘white labeling‘ is the process of customizing your tools for your clients. This often includes replacing the names and other branding elements (such as colors).
This practice has several benefits. For starters, it puts your branding on the work you’ve produced. This can help keep you at the front of a client’s mind if they want to give recommendations.
Moreover, it can make you appear more professional to clients. A variety of plugin names and titles can confuse users. In contrast, displaying your agency’s name can simplify and streamline their experience.
You can do all of this with Beaver Builder Agency. This is one of our pricing plans that can help your development business grow.
If you have this license, just navigate to Settings > Beaver builder > Branding to see all of your white labeling options:
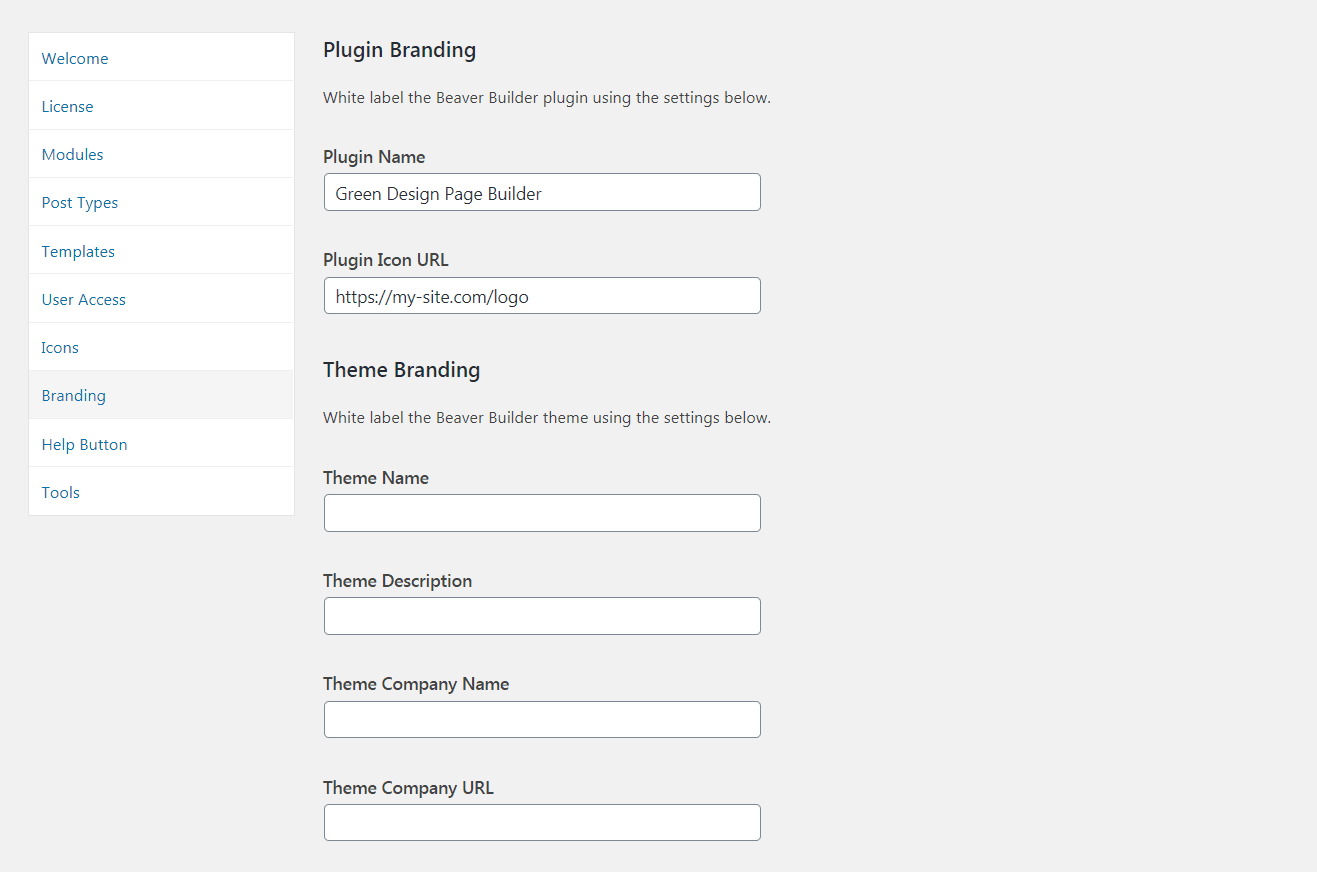
When you’re going through your website launch checklist, try to ensure that the most important parts of white labeling are included. We recommend white labeling the plugin’s name, the login page, and the admin area at a minimum. You may want to go the extra mile and white label your landing pages too.
This checklist item is best resolved before your client gets access to their admin area, so try to allow enough time to complete it beforehand. That way, you can provide a more seamless experience right from the start.
4. Set Up Google Tools
Most developers are familiar with the variety of tools that Google has to offer. Many of these services can help you optimize your client’s site for better performance.
We recommend adding two services to your website builder checklist: Google Analytics and Google Search Console. Let’s start with Google Analytics:

This platform helps you track your site’s audience. Knowing the types of users that normally interact with the site can help your client tailor their content accordingly.
Google Analytics also offers more in-depth reports. For information on these features, you can check out some of our Google Analytics pro tips.
Let’s move on to Google Search Console:
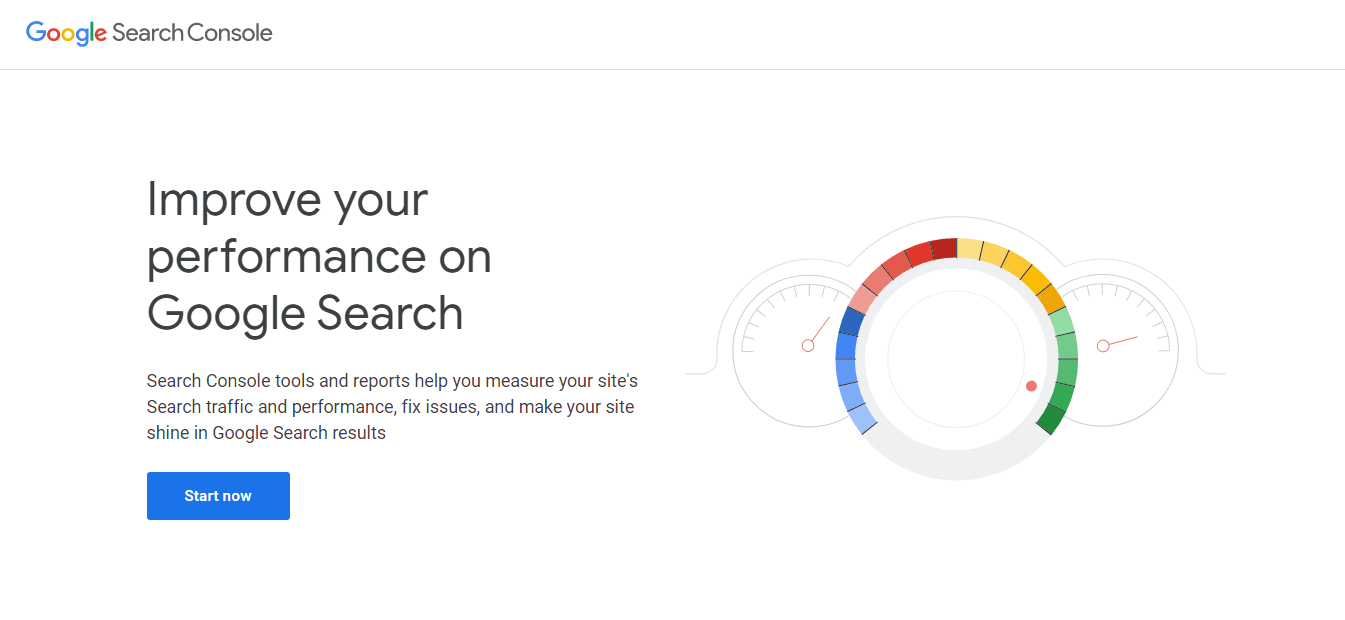
This nifty tool can help you track your organic traffic. It can also show you how a client’s content is ranking. If you add Google Search Console ahead of launch and keep an eye on it, you’ll be able to identify any SEO dips as soon as they appear.
We recommend Google because it’s powerful and free. However, you can use tools offered by other brands as well. As long as you have some kind of tracking tool on a client’s website, you should be good to go.
5. Arrange for Automatic Backups and Site Security
Backups and security settings are crucial to building a safe site. However, you may still overlook them, especially if you assume that you’ve already set them up. This is why we recommend putting them on your website launch checklist.
When it comes to site security, you might want to consider a tool that’s been client-proofed. A lot of web users may not understand more complicated security options. Therefore, keeping them out of a client’s reach can ensure that they don’t accidentally break their own site.
Nevertheless, errors still happen, which is why it’s important to perform regular backups. A bit of preemptive work to set up an ongoing backup solution can help you produce an impressive recovery when the need arises.
Finally, you might also use your prelaunch time to find a security service that offers invoicing. This can help you demonstrate to your client the work you’ve done to ensure that their site is protected against hackers.
6. Speed Test and Troubleshoot
It’s hard to overstate the importance of a fast site. Slow loading times can not only drive visitors away, but also demote your client’s site in search engine rankings.
Therefore, speed testing should be on your website launch checklist. From the design process to the final examination, it’s important that you continuously monitor your site’s performance.
Speed testing is essential if you’re building a complicated site, since plugins and themes can weigh down its pages. The risk grows as you add more tools. Frequent speed tests can help you identify the culprit early on and save you from a lengthy investigation.
If you’re looking for a free and easy tool to help with this, we recommend PageSpeed Insights:
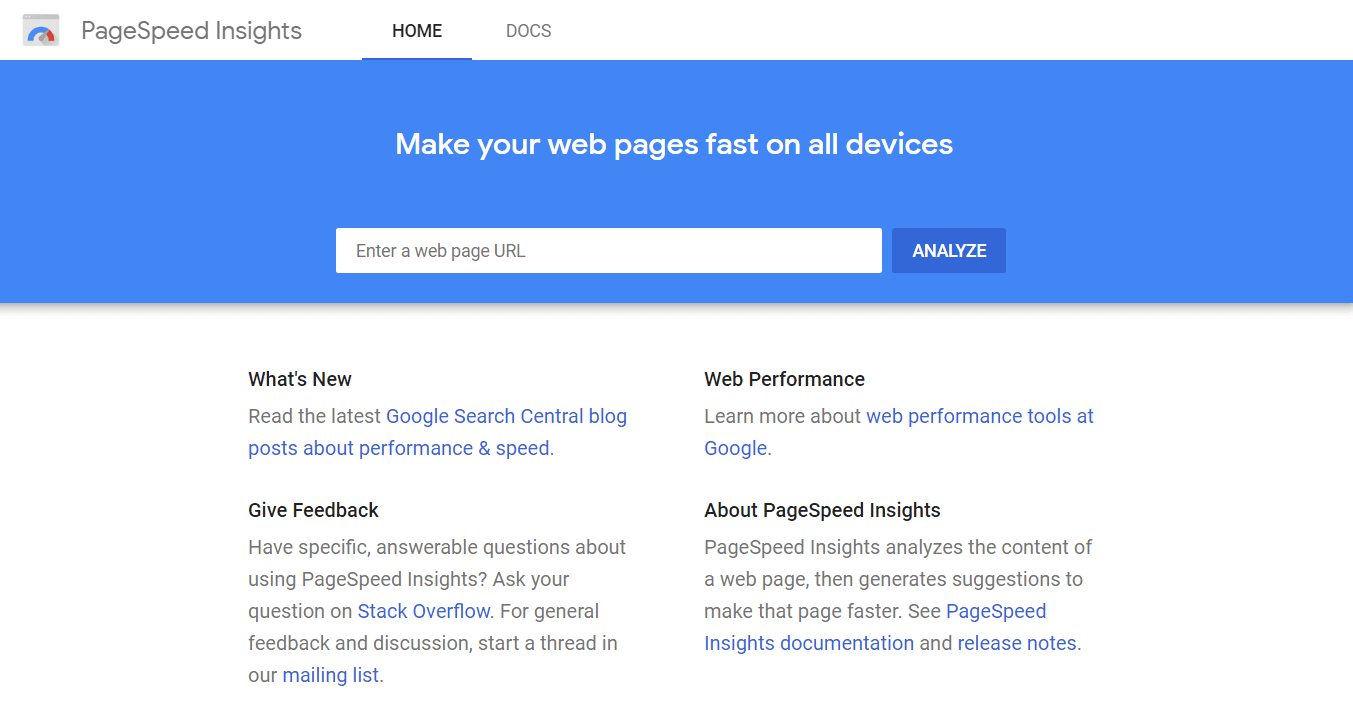
Along with being quick and simple to use, PageSpeed Insights also gives you cross-device data. This means that you can test mobile and desktop speed with one tool.
Furthermore, you might want to recommend this service to your clients and show them how to use it. This can help them keep an eye on their site, and give them a feeling of control over their content.
7. Ensure That Any Test Content Has Been Removed
Test content – also called “dummy content” – can be an invaluable development tool. Building a site without any text or images can make it hard to imagine the final product. Test content can give you a better idea of your results as you edit.
Nevertheless, it can also pose a problem. Test content is designed to mimic the real thing, with the result that a page or a post may fall through the cracks and remain on the final version of the site. This is especially likely if you’re building a large website with a lot of assets.
You can manually comb the site for test content on a final run-through. However, much like with broken links, this can be a tedious task.
Therefore, we recommend that you keep a record of your test content, so you can easily search for it and remove it when you’re ready to launch. If you’re looking for filler that will be easy to find, consider generating Lorem Ipsum text:
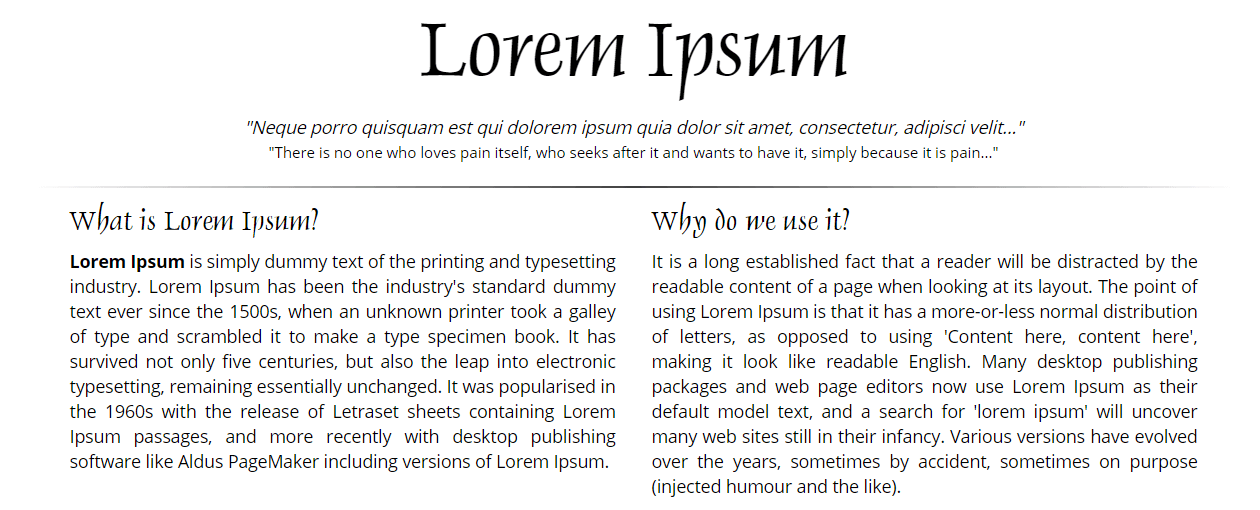
This site will help you generate a predetermined chunk of Latin text. Then you can add it to your site while saving a record of it. This should make it easier to erase when the time comes.
Finally, you can try to include “test content” or a similar label on your test posts. That way, you can just navigate to your list of posts and find the fitting titles. You might also consider using a tagging system to identify your dummy posts.
8. Consider Usability Testing
When you’re building a website, it can be easy to get absorbed with the way it looks. Nevertheless, functionality is often the true marker of a successful website. An audience that struggles to use your website might not come back.
For this reason, we highly recommend that you carry out usability testing, which you can do manually. If you opt for this method, you can start by writing down a list of essential questions to answer. For example, you might test whether a stranger can easily navigate your menus or fill out a form.
You may also need a fresh pair of eyes. Therefore, it’s worth adding a few beta-testers to your website launch checklist. Even non-tech-savvy individuals can usually tell you if a site feels clunky.
Whatever method you decide to employ for usability testing, try to make sure that you cover the necessities. For example, responsive content is often a high priority for clients. We also recommend that you carve out extra time to test any elements that may be complex, such as contact forms.
Conclusion
A website launch is usually a big deal, whether you’re new to web developing or a seasoned pro. It’s important to make sure that the rollout runs smoothly and your clients stay happy, which means covering all the bases.
That includes:
- Optimize the WordPress settings.
- Check for broken links.
- White label the website.
- Set up Google tools.
- Arrange for automatic backups and site security.
- Speed test and troubleshoot.
- Ensure that any test content has been removed.
- Consider usability testing.
Do you have any questions about getting your client’s site ready for launch? Let us know in the comments section below!
3 Comments
Our Newsletter
Our newsletter is personally written and sent out about once a month. It's not the least bit annoying or spammy.
We promise.
Try Beaver Builder Today

Related articles

How to Sell Websites to Clients (Without Talking About Tools)
Struggling with how to sell websites to clients without getting lost in tech talk? Learn how to communicate the real…

Case Study: How One Freelancer Built a Web Design Business with Beaver Builder
Wondering about Beaver Builder for freelancers? Cami MacNamara operates WebCami Site Design, a successful solo web design business in West…
Best Practices for Managing Web Design Clients
Managing web design clients effectively is one of the most crucial skills for a web designer, agency, or freelancer. Whether…
Join the community
We're here for you
There's a thriving community of builders and we'd love for you to join us. Come by and show off a project, network, or ask a question.
Since 2014
Build Your Website in Minutes, Not Months
Join Over 1 Million+ Websites Powered By Beaver Builder.
Very useful for marketers and such a great content. Thank you for sharing this valuable information with us!
I love this checklist. I consider it essential. Thanks for valuable information.
Great article and checklist!