
How to Sell Online Courses in WordPress with Beaver Builder (In 6 Steps)
Finding new ways to monetize your WordPress website can be a challenge. Online courses can be a great option – you won’t need to handle physical inventory and distribution costs. Additionally, you can sell online courses in WordPress with Beaver Builder, a user-friendly page builder.
In this article, we’ll talk more about the benefits of offering courses on your WordPress site. Then we’ll show you how to sell online courses in WordPress with Beaver Builder. Let’s get started!
Table of contents:
- The Benefits of Selling Online Courses
- How to Sell Online Courses in WordPress with Beaver Builder (In 6 Steps)
- Step 1: Design an Online Course Landing Page
- Step 2: Create a WooCommerce Product for Your Online Course
- Step 3: Embed an Add to cart Button for Your Course
- Step 4: Customize the Checkout Page
- Step 5: Customize the Thank You Page
- Step 6: Deliver Your Online Course
- Conclusion
The Benefits of Selling Online Courses
Selling digital products can be an ideal way to generate additional revenue through your website. These products tend to have low overhead and are easy to distribute.
As a content creator or business owner, you can share your knowledge or teach a skill through informative courses. This can also be a great way to build authority in your niche and showcase your expertise.
Online courses can also be used to promote your products and services. For example, if your site sells outdoor gear, you can offer an online first aid course and promote your first aid kits for campers. Another option would be to join an affiliate program and recommend products from other brands within your course content.
How to Sell Online Courses in WordPress with Beaver Builder (In 6 Steps)
If you’re going to sell online courses, you’ll need to present them in an attention-grabbing way. Fortunately, our Beaver Builder plugin can help you create stunning sales pages. It comes with an intuitive drag-and-drop editor that enables you to build pages quickly and efficiently.
Additionally, it integrates with WooCommerce. This means you can also customize your checkout pages and add more e-commerce features to your site.
Let’s look at how to sell online courses in WordPress, using Beaver Builder and Beaver Themer!
Step 1: Design an Online Course Landing Page
When selling a digital course, you’ll probably want to create a landing page to explain what it’s about. Luckily, Beaver Builder has several templates that you can use to market your course.
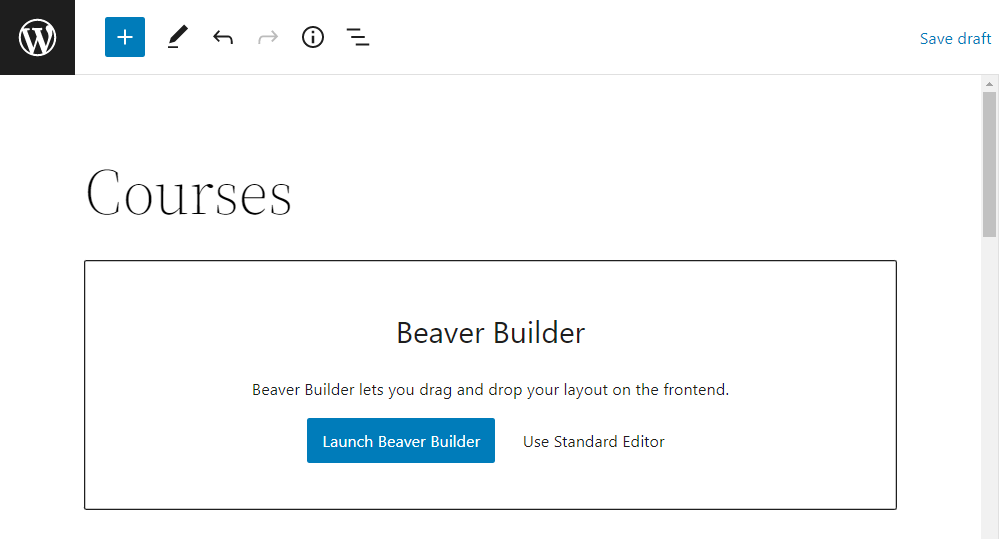
Once you’ve installed and activated the plugin, create a new page in WordPress and select the Launch Beaver Builder button:
This will launch the editor, where you can start designing your course page. If you want to use a premade landing page design, go to the Templates tab and select Landing Pages:
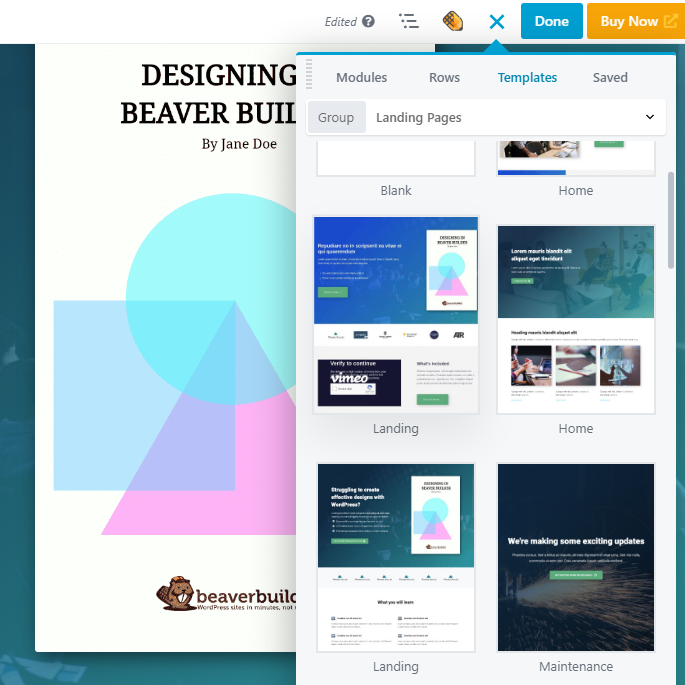
Choose your preferred template and click on the Replace Existing Layout button. You can now customize the template to suit your needs. All you have to do is select the element you wish to modify, and use the toolbar to change its settings:

You can also delete elements and move them around the page. To add a new element, simply navigate to the Modules tab and drag an item onto your template.
Some elements to add to your course page include:
- A description of the course and a list of topics it covers
- The length of the course
- Who the course is designed for
- Cost and pricing plans
- Delivery methods
- Reviews and testimonials
- Terms and conditions
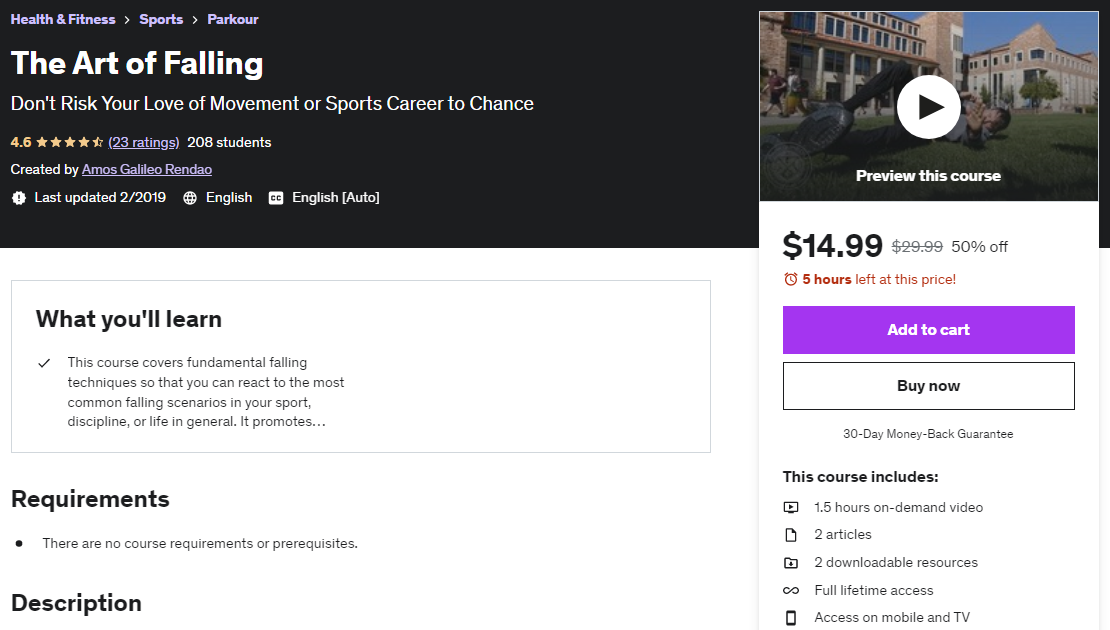
Here’s an example of a course page that contains the elements listed above:
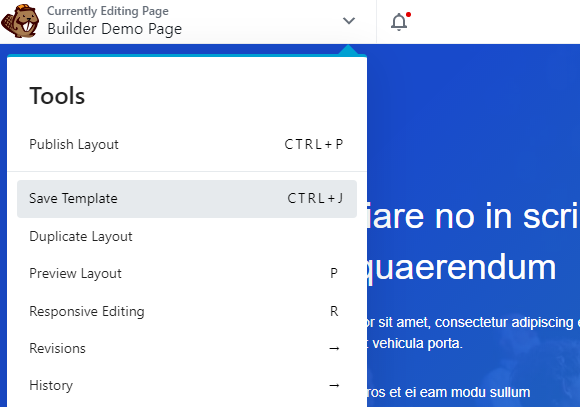
If you plan on creating more than one course, you can save a custom template for future use. To do this, you can use the CTRL + J shortcut, or select Save Template from the Tools menu at the top left of the screen:
You’ll then be prompted to name the template. To reuse this design, go to the Templates tab and select Saved Templates. Here, you’ll see any custom templates that you’ve created.
Step 2: Create a WooCommerce Product for Your Online Course
WooCommerce is one of the most popular plugins for WordPress. It has everything you need to turn a basic website into a fully functional e-commerce store.
Our Beaver Builder plugin integrates with WooCommerce, enabling you to create custom product pages for your courses. To get started, you’ll first need to add your course as a product in WooCommerce.
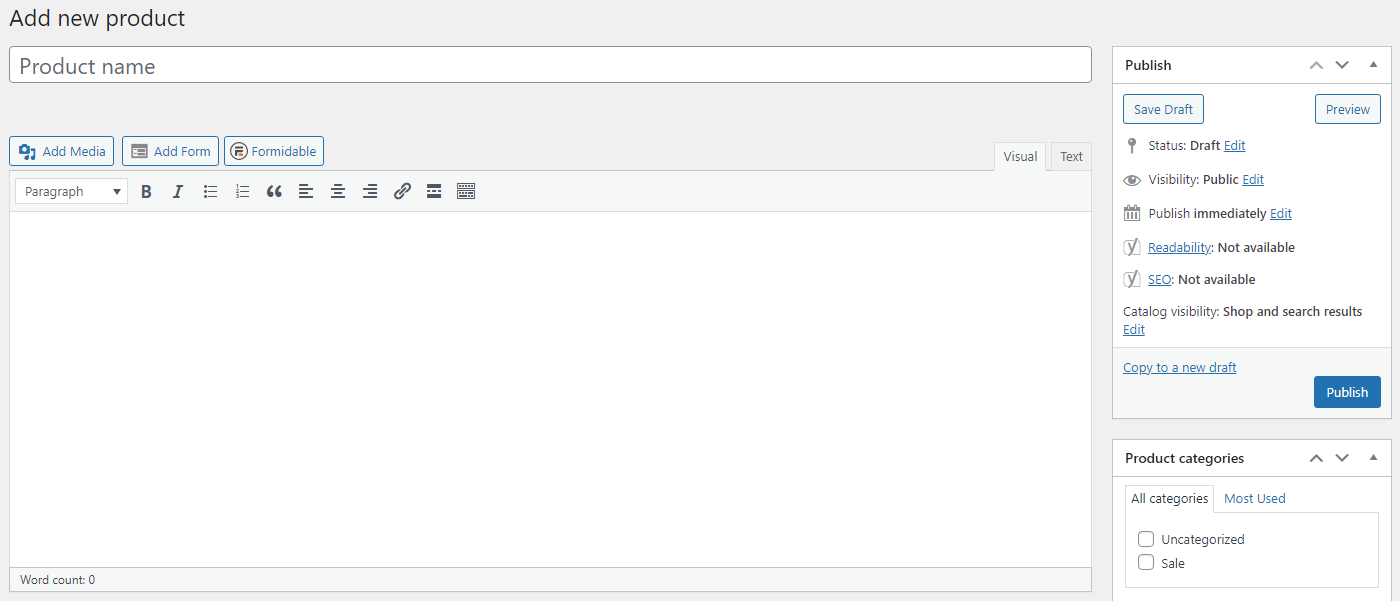
To do this, hover over the Products tab on the left-hand side of your WordPress dashboard and click on Add New. This will launch a fresh product page for you to fill out:
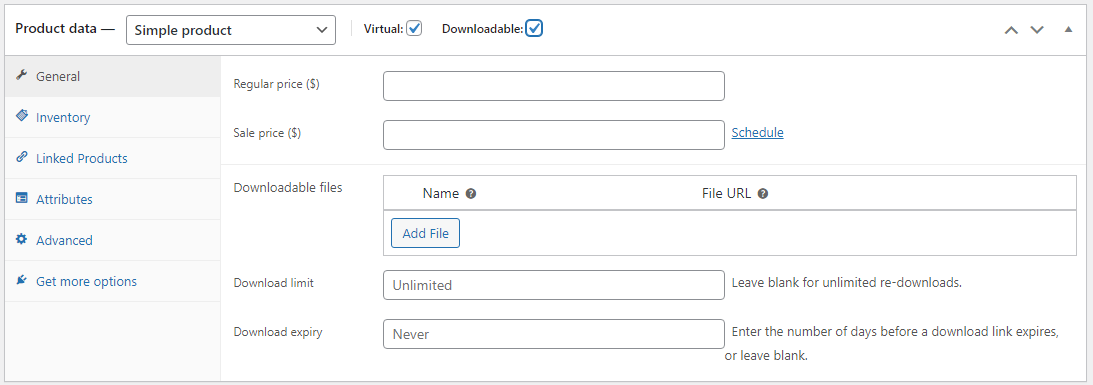
Scrolling down, you’ll see the Product data section which includes things like price, inventory, and shipping information. Since this is an online course, you can check the Virtual box. If your course includes downloadable files, you can click that box too:
Now, fill out the data for your product and publish it like you would a post. This will add the course to your product list.
Another option for selling online courses would be to build a membership site using a plugin like MemberPress. This method implements a subscription model which gives members access to your content.
Step 3: Embed an Add to cart Button for Your Course
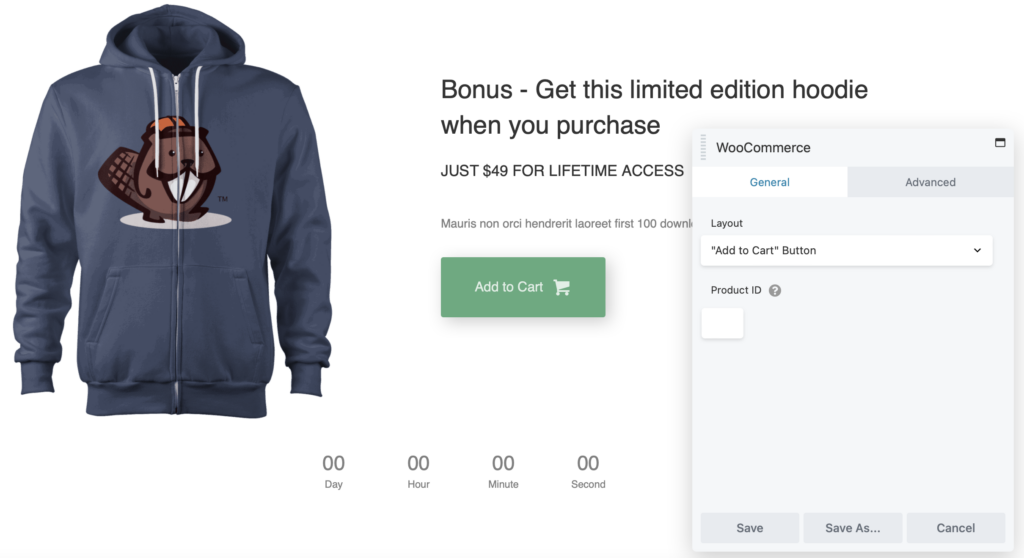
Next, you’ll want to create an Add to cart button for your product. Open your course sales page in Beaver Builder. Then, click to add a new module and navigate to WooCommerce.
Add this module to the page. Then, in the settings panel, select “Add to Cart” Button for the Layout:
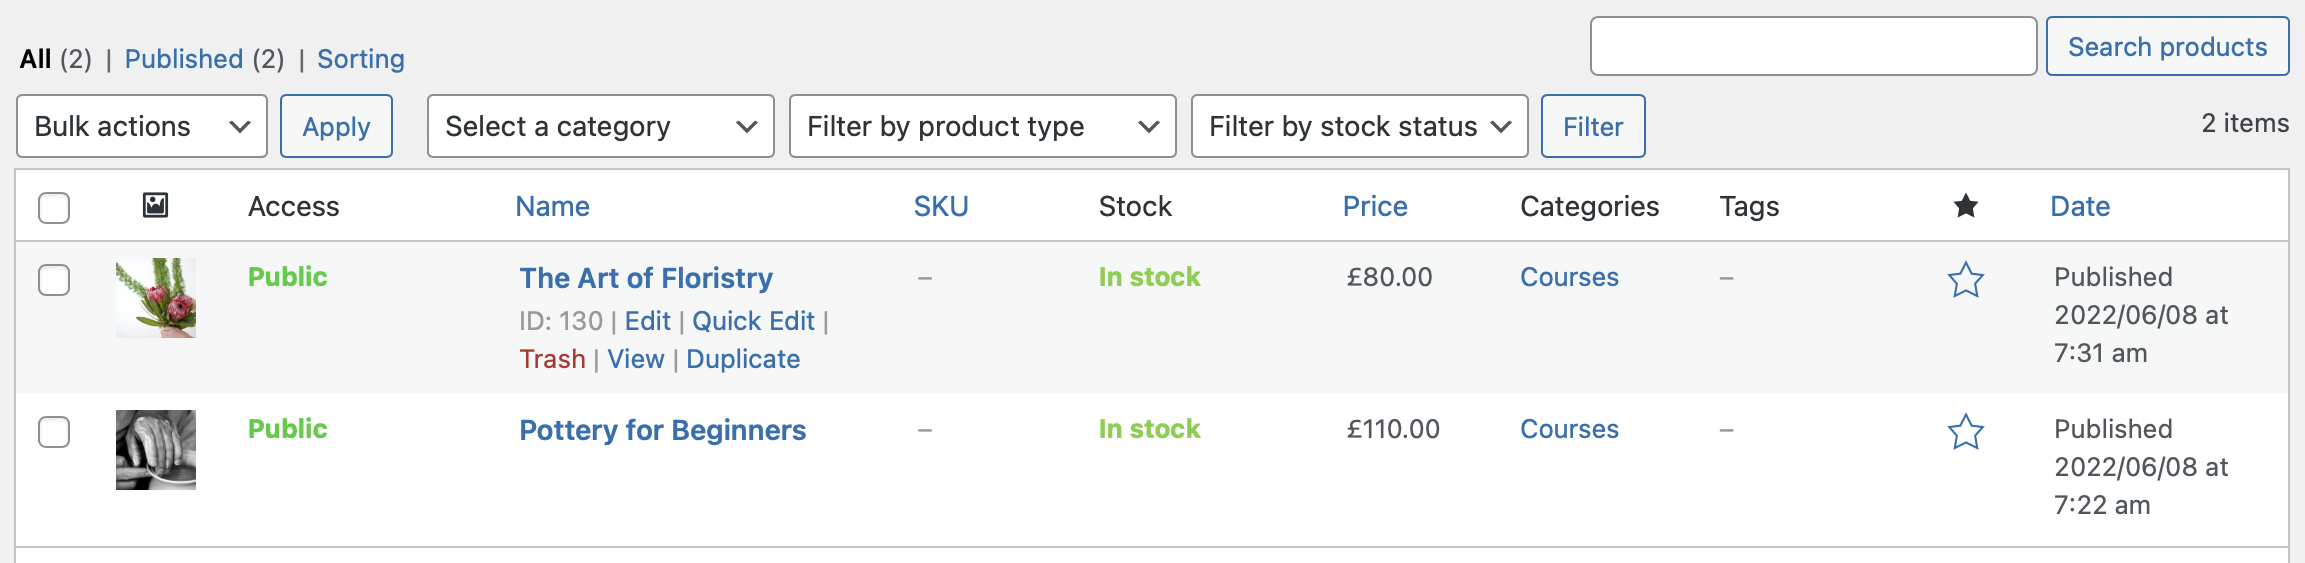
You’ll also need to enter the Product ID for that course. You can find this on the Products page in your WordPress dashboard. Simply hover your mouse over your product and the ID will appear among the options to edit or view your product:
When you’re ready, click on Save. Now, when a user clicks on that button, the course will be automatically added to their cart.
Step 4: Customize the Checkout Page
WooCommerce comes with a prebuilt checkout page. However, this is very basic and might not offer all the features you need for selling digital products like online courses.
Fortunately, you can customize your checkout page using Beaver Builder and the WooPack addons.
To get started, open your checkout page in Beaver Builder. Next, delete the default WooCommerce module so that the page is blank. Then, navigate to the Modules tab and select WooCommerce Modules:
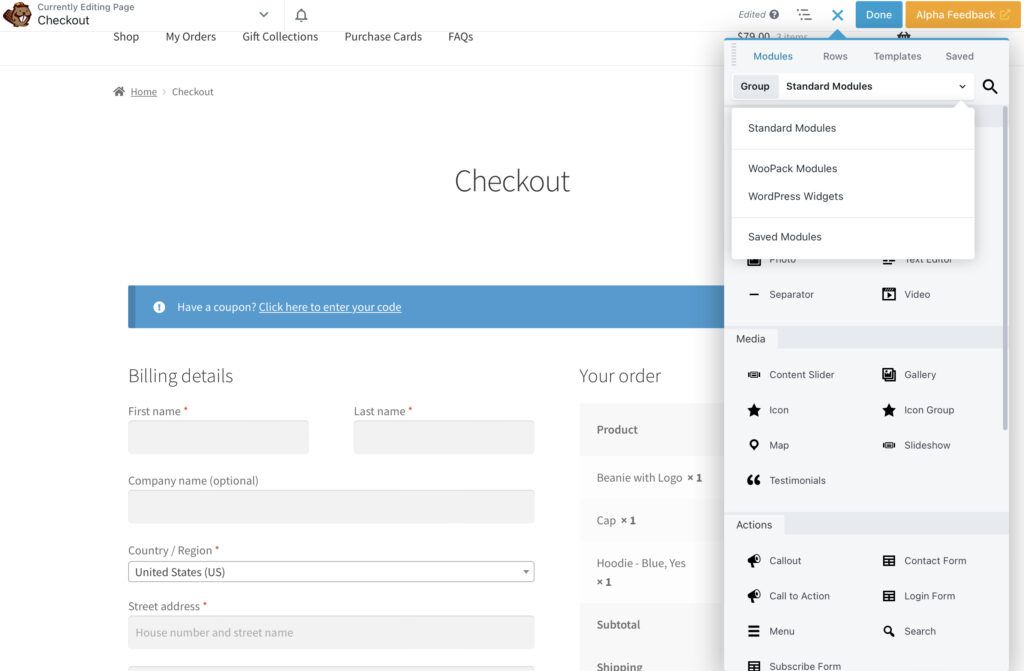
You can now add the Checkout module to your page and customize it:
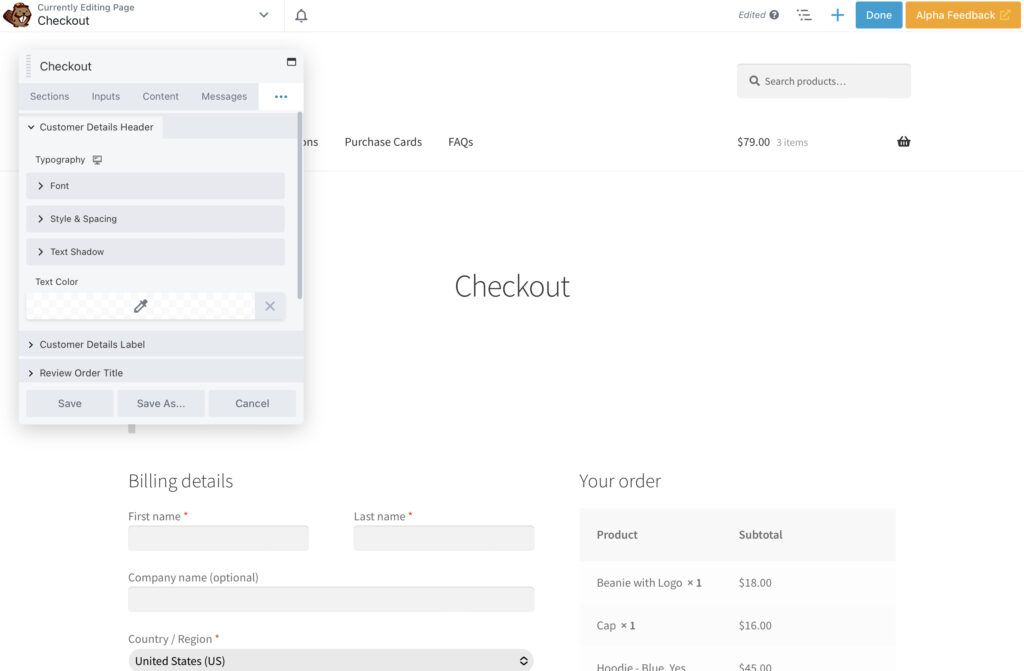
For instance, you can alter the number of columns on the page. You can also change the colors and typography so that the checkout page aligns with your visual brand.
Since you’re selling an online course, you probably won’t need fields for the mailing address. The main details you’ll need to collect are the customer’s payment details. If you’re delivering the course content via email, you’ll want to make sure that the checkout page includes an email address field.
Step 5: Customize the Thank You Page
By default, WooCommerce will display a “thank you” message once someone completes an order. If you attached downloadable files to your product page, the delivery process will happen automatically:
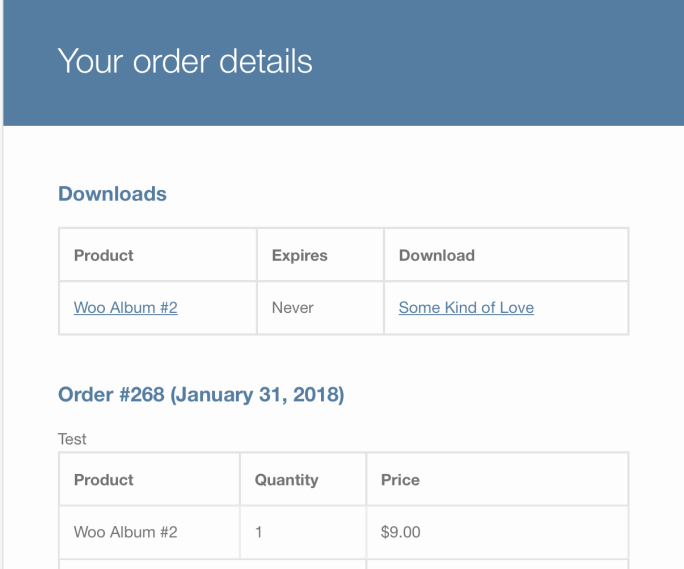
Otherwise, you may need to add instructions to this page for how to access your course. For example, if you will be manually emailing course material to customers, you may want to explain that here.
The easiest way to customize your “Thank You” page is with the Custom Thank You Pages plugin. This will enable you to create different confirmation pages for each course that you sell.
Step 6: Deliver Your Online Course
If you checked the Downloadable box in the Product data section when creating your online course, then you can attach your course files right there for download. This way, WooCommerce will automatically make them available to your users once they purchase a course.
As we mentioned earlier, another option is to set up a membership site to sell your courses. Beaver Builder integrates with MemberPress, a plugin that enables you to set up a members-only area that provides access to your content:
You could also use a Learning Management System (LMS) software like LifterLMS and LearnDash to deliver your courses on WordPress.
If you use an LMS plugin, you can customize your login page and other areas of your course with Beaver Builder. To do this, open the page in the page builder, then add your preferred modules and edit them to suit your needs:
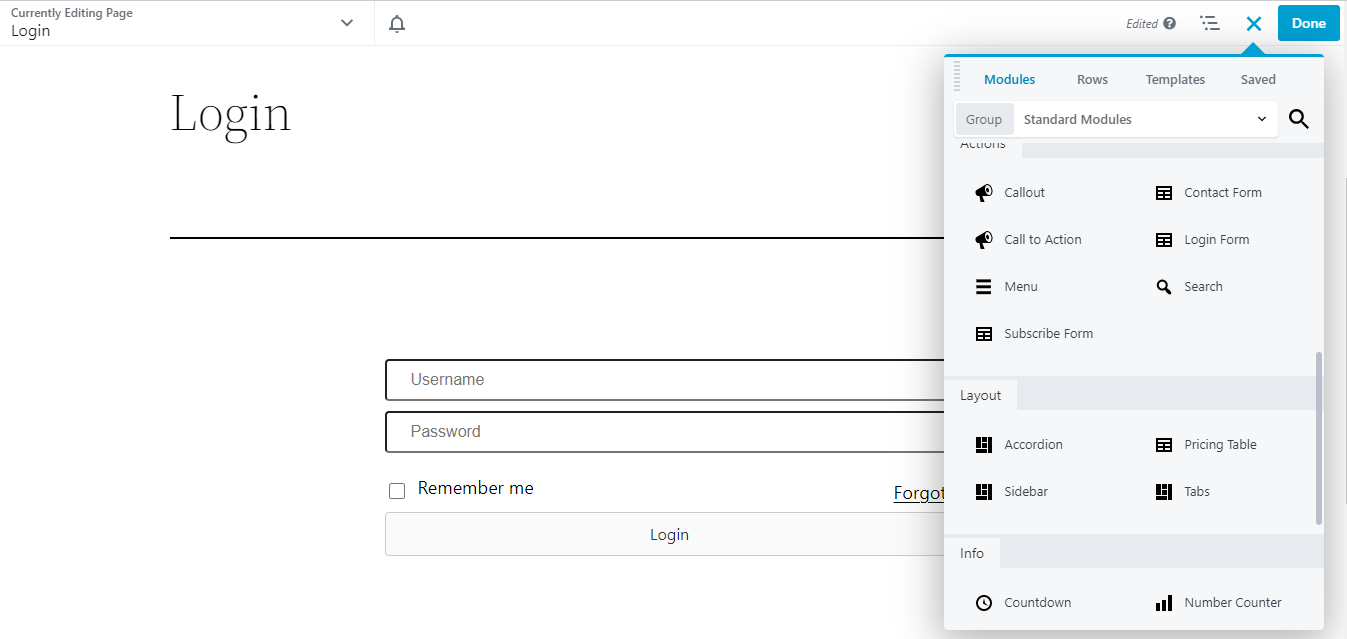
For instance, you can use the Login Form module to create custom fields. You can also add visual elements like images and photos. Remember to save and publish your changes when you’re ready.
Conclusion
One way you can monetize your website is by selling online courses. Using our Beaver Builder page builder, you can quickly create attractive course pages that will help you drive conversions.
To recap, here’s how to sell online courses in WordPress using Beaver Builder:
- Design a landing page for your course, using a professional template.
- Create a WooCommerce product for your online course.
- Embed an “Add to cart” button on your course page.
- Customize the checkout page.
- Customize the thank you page.
- Deliver your online course.
Additionally, you can integrate Beaver Builder with MemberPress to set up a membership site for your courses. You can then customize the login page with our page builder!
Our Newsletter
Our newsletter is personally written and sent out about once a month. It's not the least bit annoying or spammy.
We promise.
Try Beaver Builder Today

Related articles

Beaver Builder AI: Build WordPress Layouts with AI (Now in Alpha)
Hey everyone! Big news. After a long time of building behind the scenes, Beaver Builder AI is here. The alpha…

How Beaver Builder Products Work Together to Build Flexible WordPress Websites
Building a WordPress website often means stitching together a theme from one developer, a page builder from another, and a…

From Azeroth to WordPress: How Warcraft Tavern Uses Beaver Builder
Since releasing Beaver Builder 12 years ago, a feeling will come up from time to time that just never gets…
Join the community
We're here for you
There's a thriving community of builders and we'd love for you to join us. Come by and show off a project, network, or ask a question.
Since 2014
Build Your Website in Minutes, Not Months
Join Over 1 Million+ Websites Powered By Beaver Builder.