
As a small business owner, Mailchimp is a beginner-friendly email marketing tool that can enable you to build your email list for free. However, its built-in signup forms aren’t very easy to customize out of the box. By integrating Mailchimp with Beaver Builder, you can design your forms from scratch or choose from a collection of pre-designed templates.
In this post, we’ll introduce you to Mailchimp and explain the benefits of using this service. Then we’ll show you how to integrate Beaver Builder and Mailchimp. Let’s get started!
Table of Contents:
- Why You Should Consider Using Mailchimp
- How to Integrate Beaver Builder and Mailchimp
- Step 1: Create a Mailchimp Account
- Step 2: Generate an API Key
- Step 3: Insert a Beaver Builder Subscribe Form
- Step 4: Customize Your Subscribe Form
- Step 5: Design Your Subscriber Content
- Conclusion
- Related Questions
Why You Should Consider Using Mailchimp
Mailchimp is one of the most popular platforms for email marketing. It originally launched in 2001 and was created as an accessible alternative to expensive email software. This makes it one of the best sets of marketing tools for small businesses:
Unlike other services, Mailchimp emphasizes affordability. Using this tool, anyone can build an email marketing campaign. The free plan even includes a website builder, domain, marketing CRM (Customer Relationship Management), forms, and landing pages.
Plus, Mailchimp can also automate many important tasks in your business. It includes pre-built maps to welcome new subscribers, send reminders about abandoned carts, send order confirmations, and more.
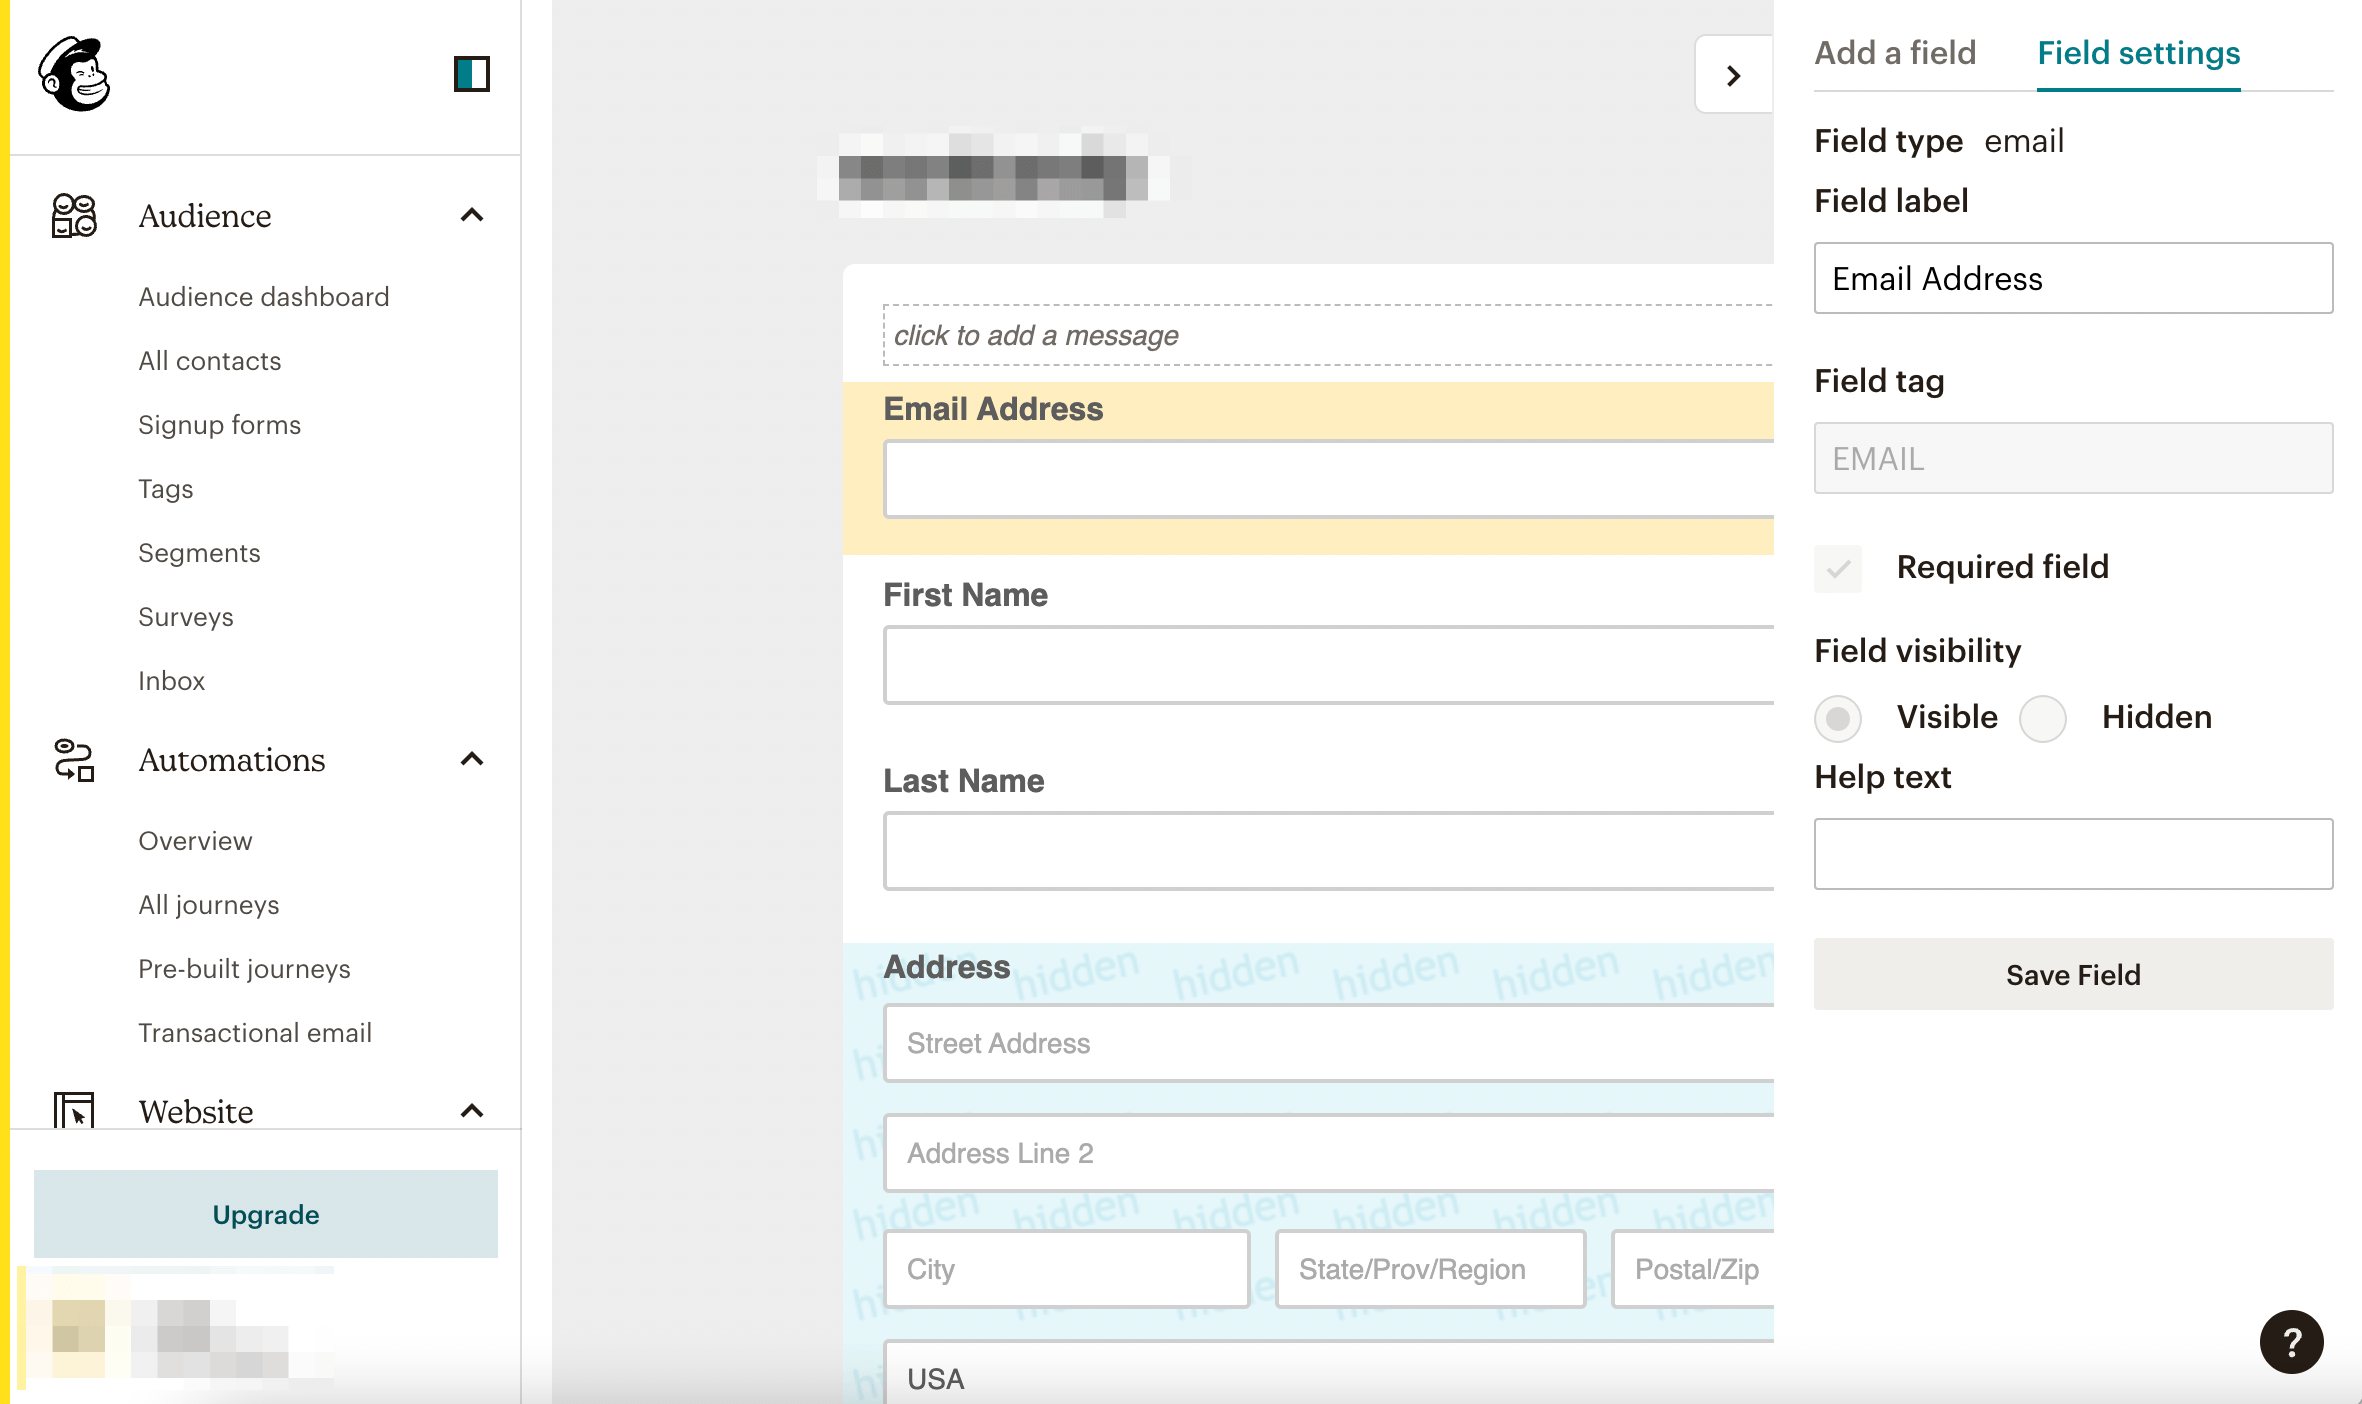
If you want to start generating leads with Mailchimp, you’ll need to design the right opt-in forms. However, out of the box, Mailchimp offers limited customization options for this feature. After you open the form builder, you may struggle to add new fields, customize their format, and update the form’s design:
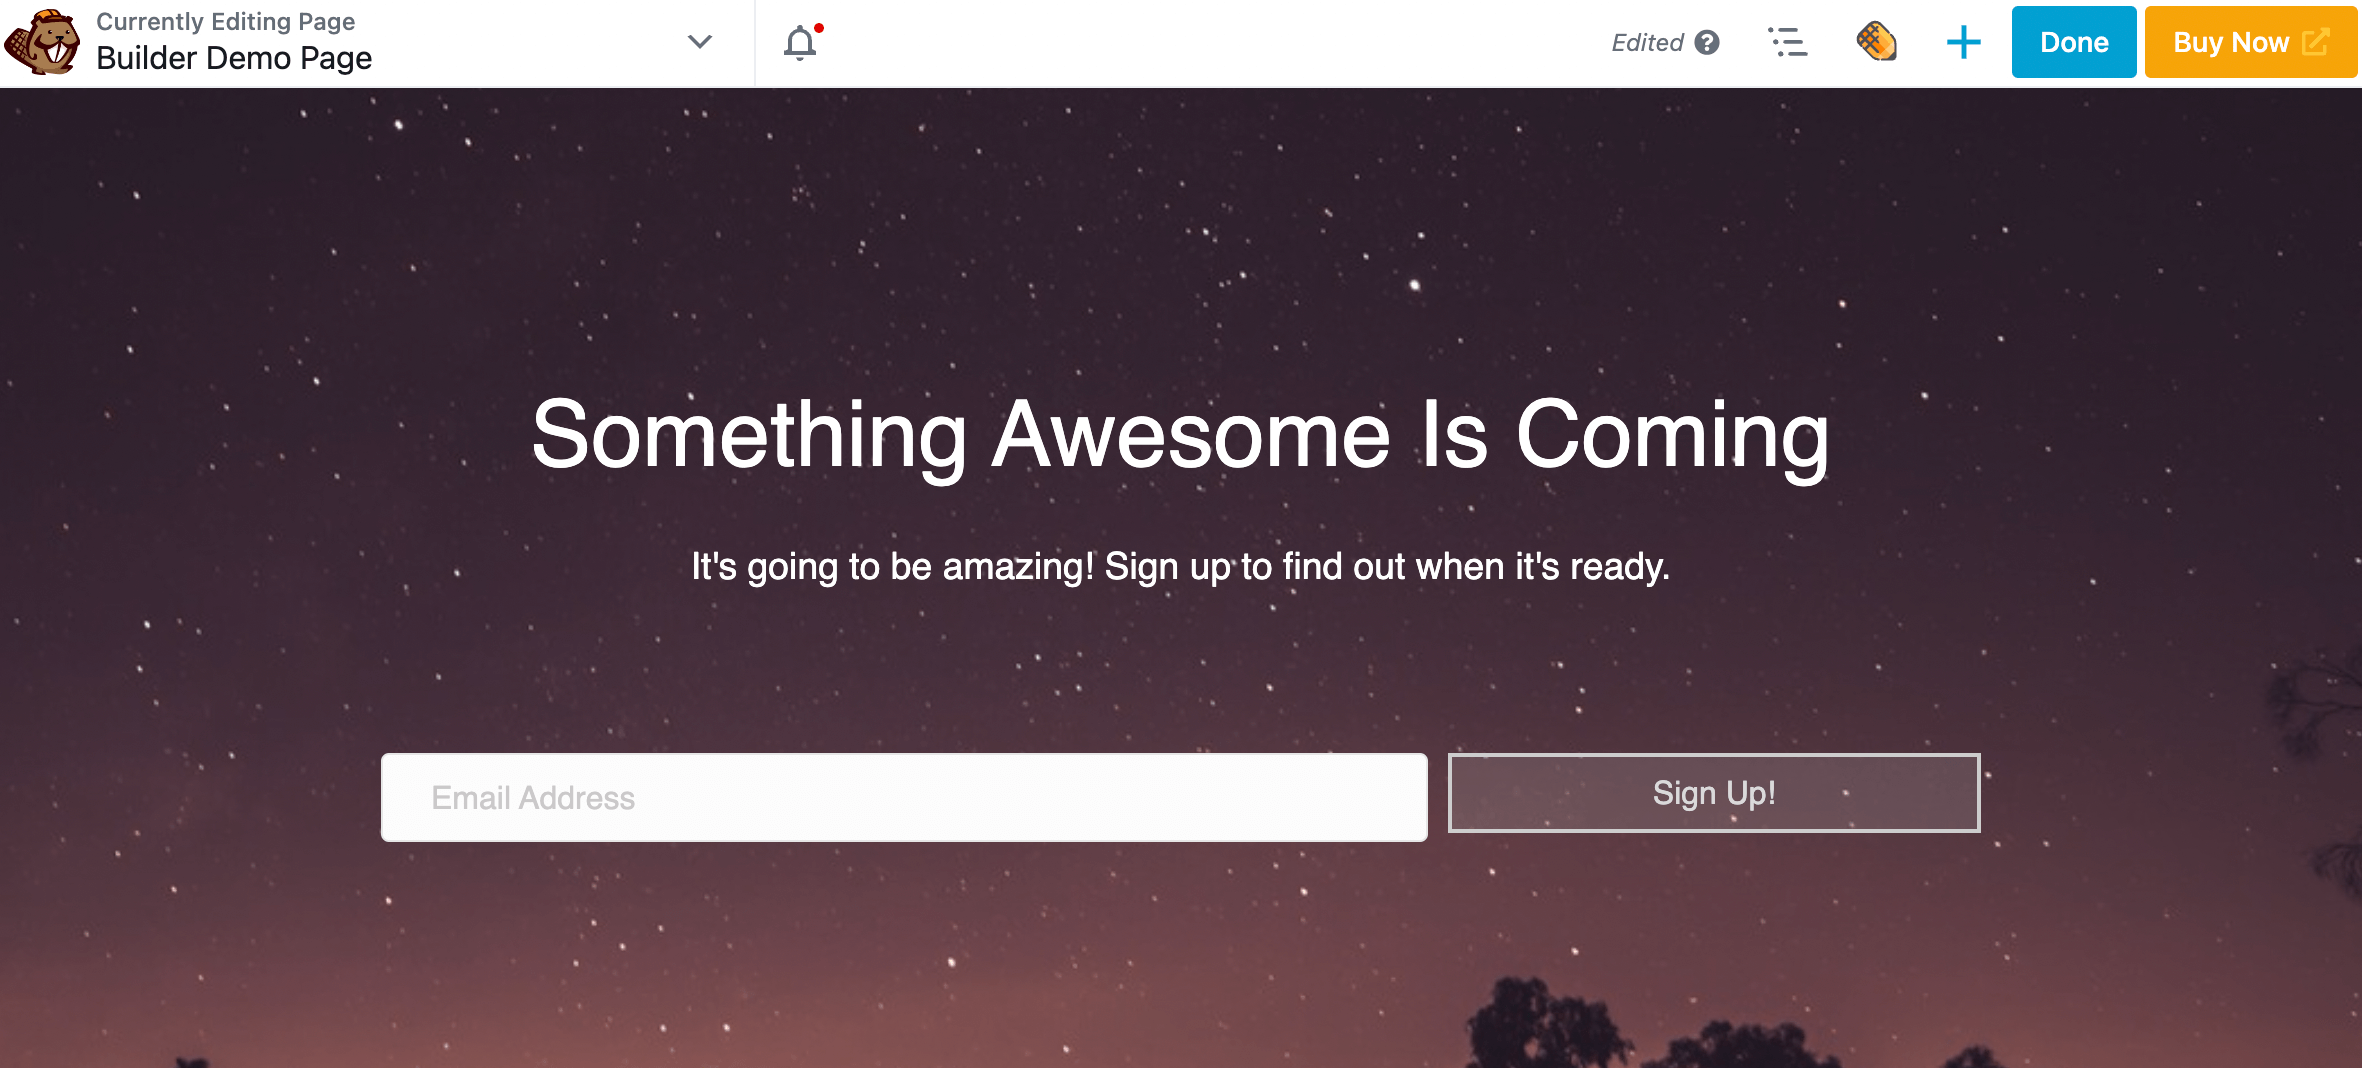
Rather than switching to a new email marketing tool, you can simply integrate Mailchimp with Beaver Builder. Using our page builder, you can create a subscribe form module with custom fields, buttons, colors, terms and conditions boxes, and much more:
Once you connect Beaver Builder with your Mailchimp account, you can send any new subscriber information to your Mailchimp dashboard. By integrating these tools, you can have everything you need to start an email campaign directly from your website!
How to Integrate Beaver Builder and Mailchimp
Once you decide you want to use Mailchimp, you may struggle to integrate its services on your WordPress site. Luckily, our Beaver Builder plugin provides everything you need to start collecting leads on your website. Now, let’s see how you can begin using these tools together in just five simple steps.
Step 1: Create a Mailchimp Account
To get started, you’ll need to set up an account with Mailchimp. First, head to the Mailchimp website and click on Sign Up. Here, you’ll be able to select a subscription:
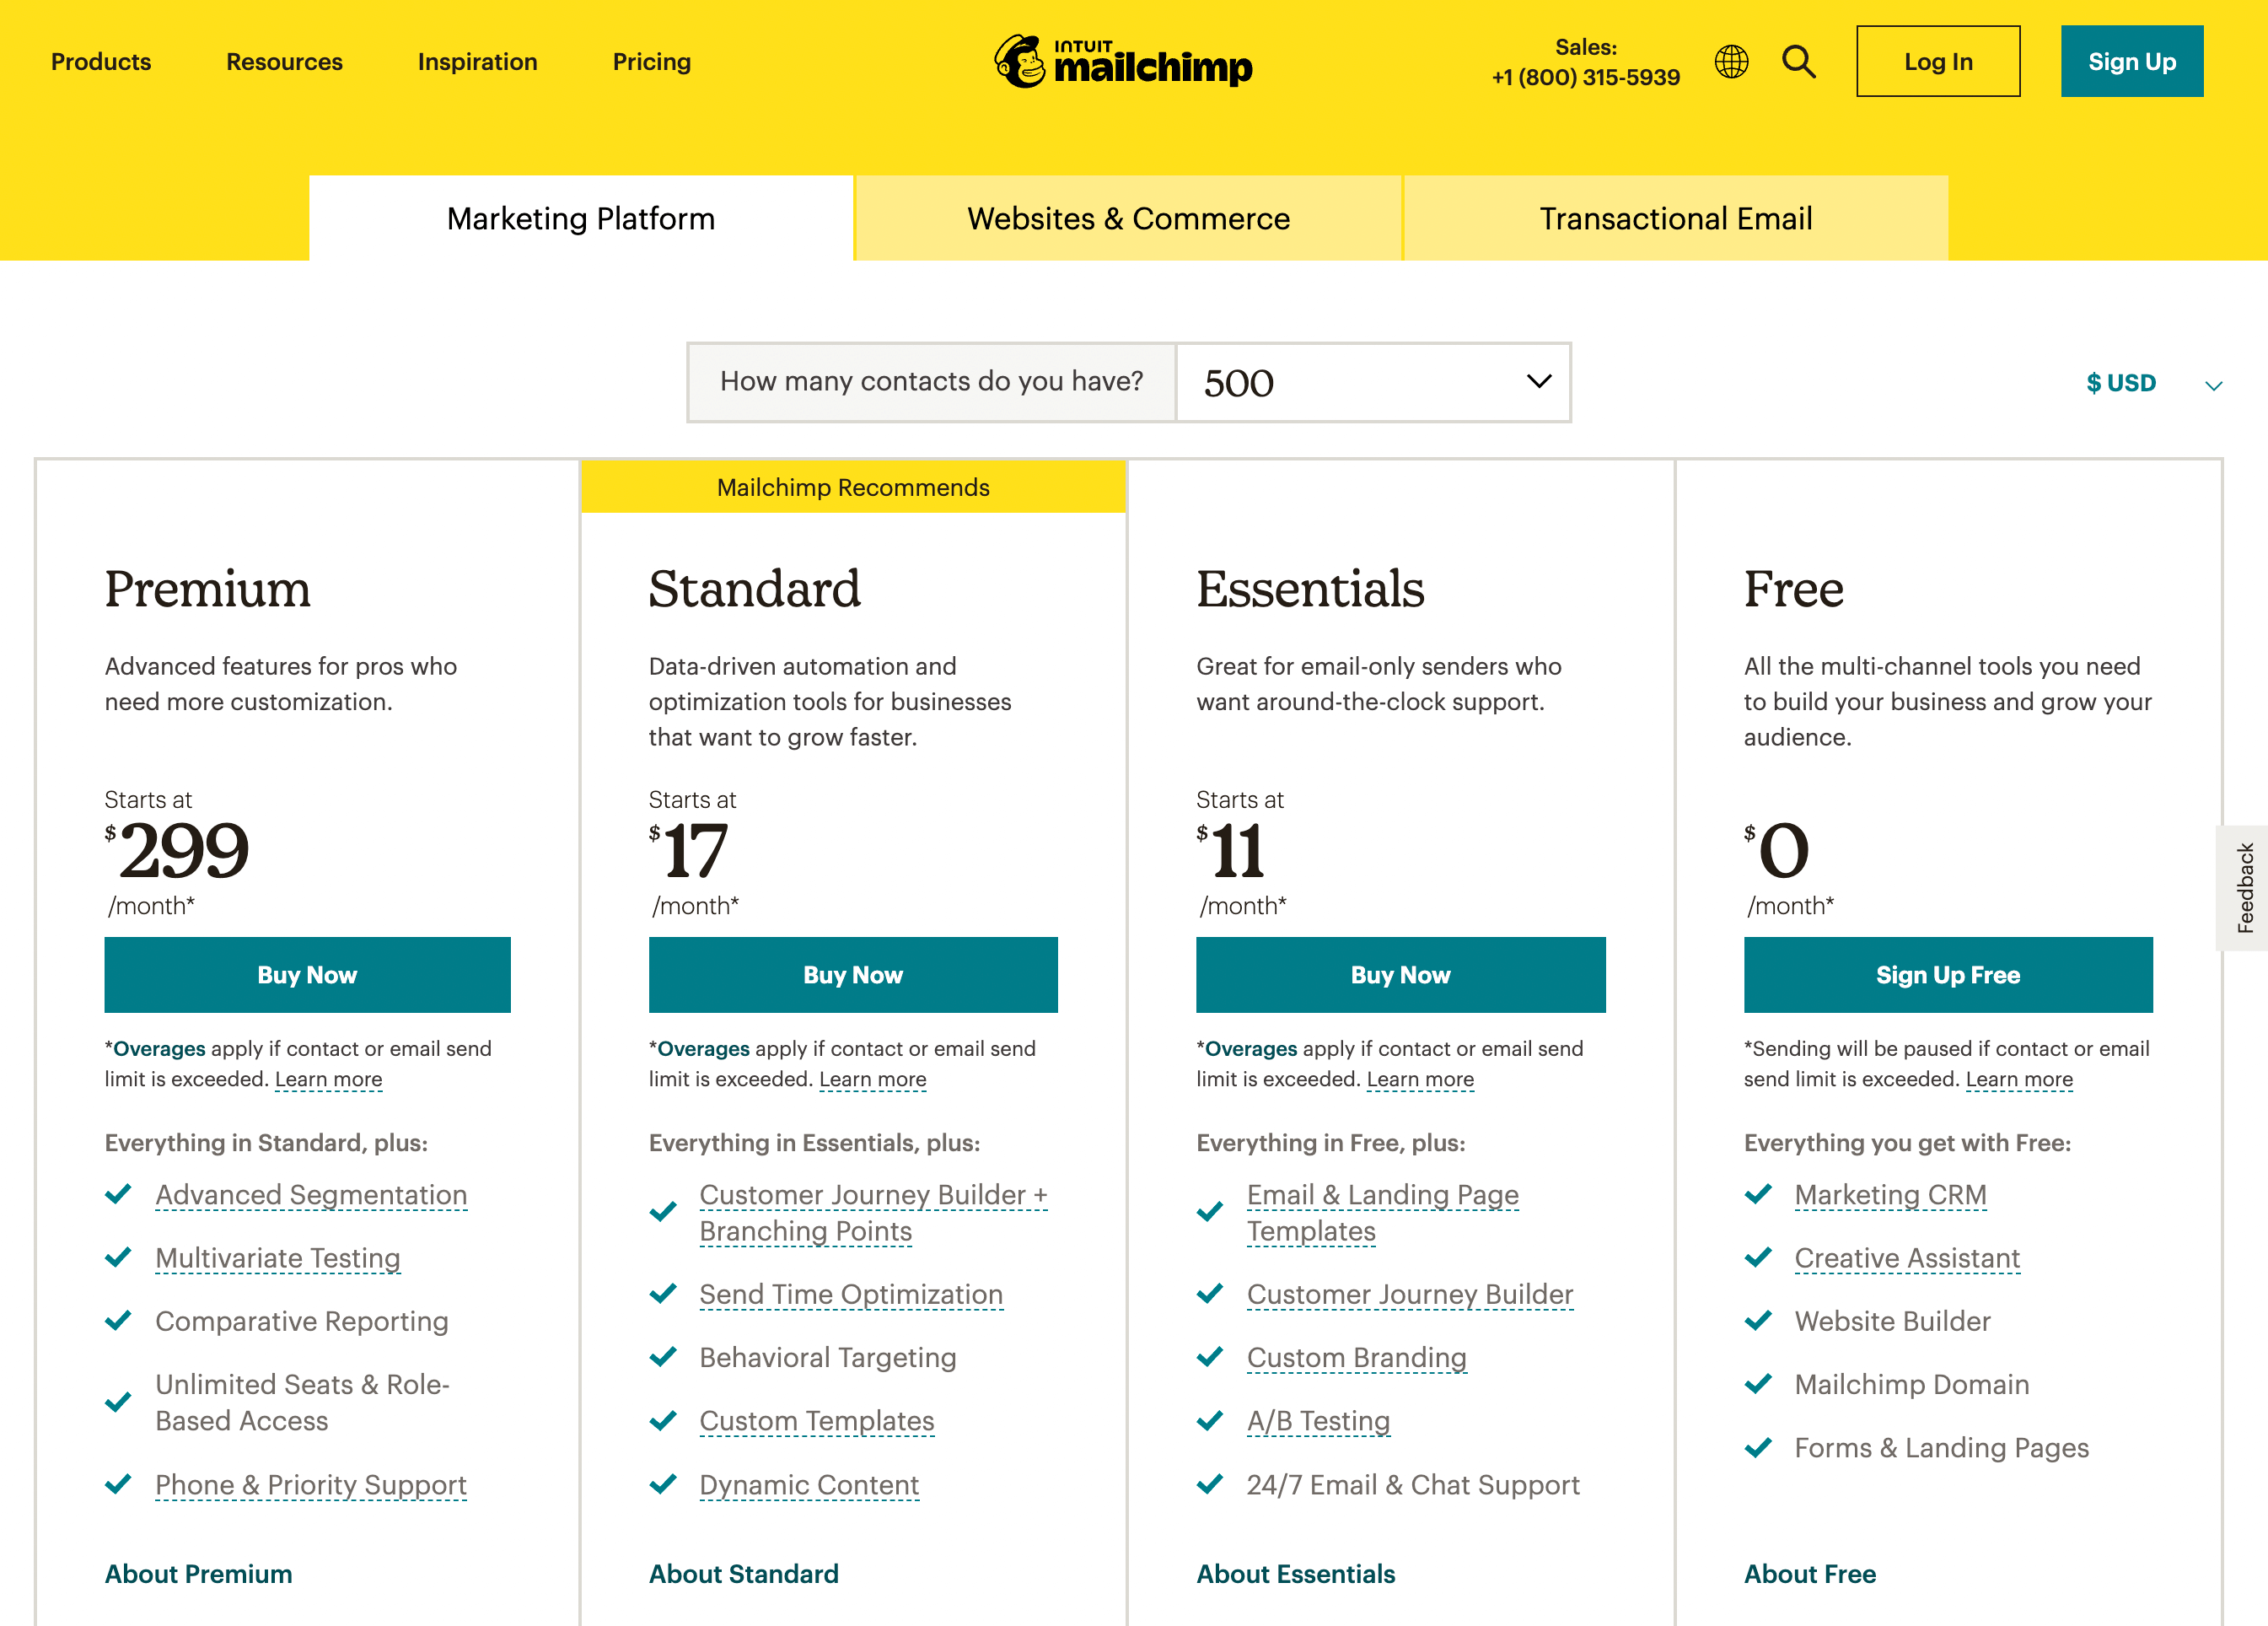
For this tutorial, we’ll be using the free plan. Keep in mind that this option will only support a monthly email limit of 2,500 sends. Plus, you won’t be able to access custom branding, A/B testing, or advanced segmentation.
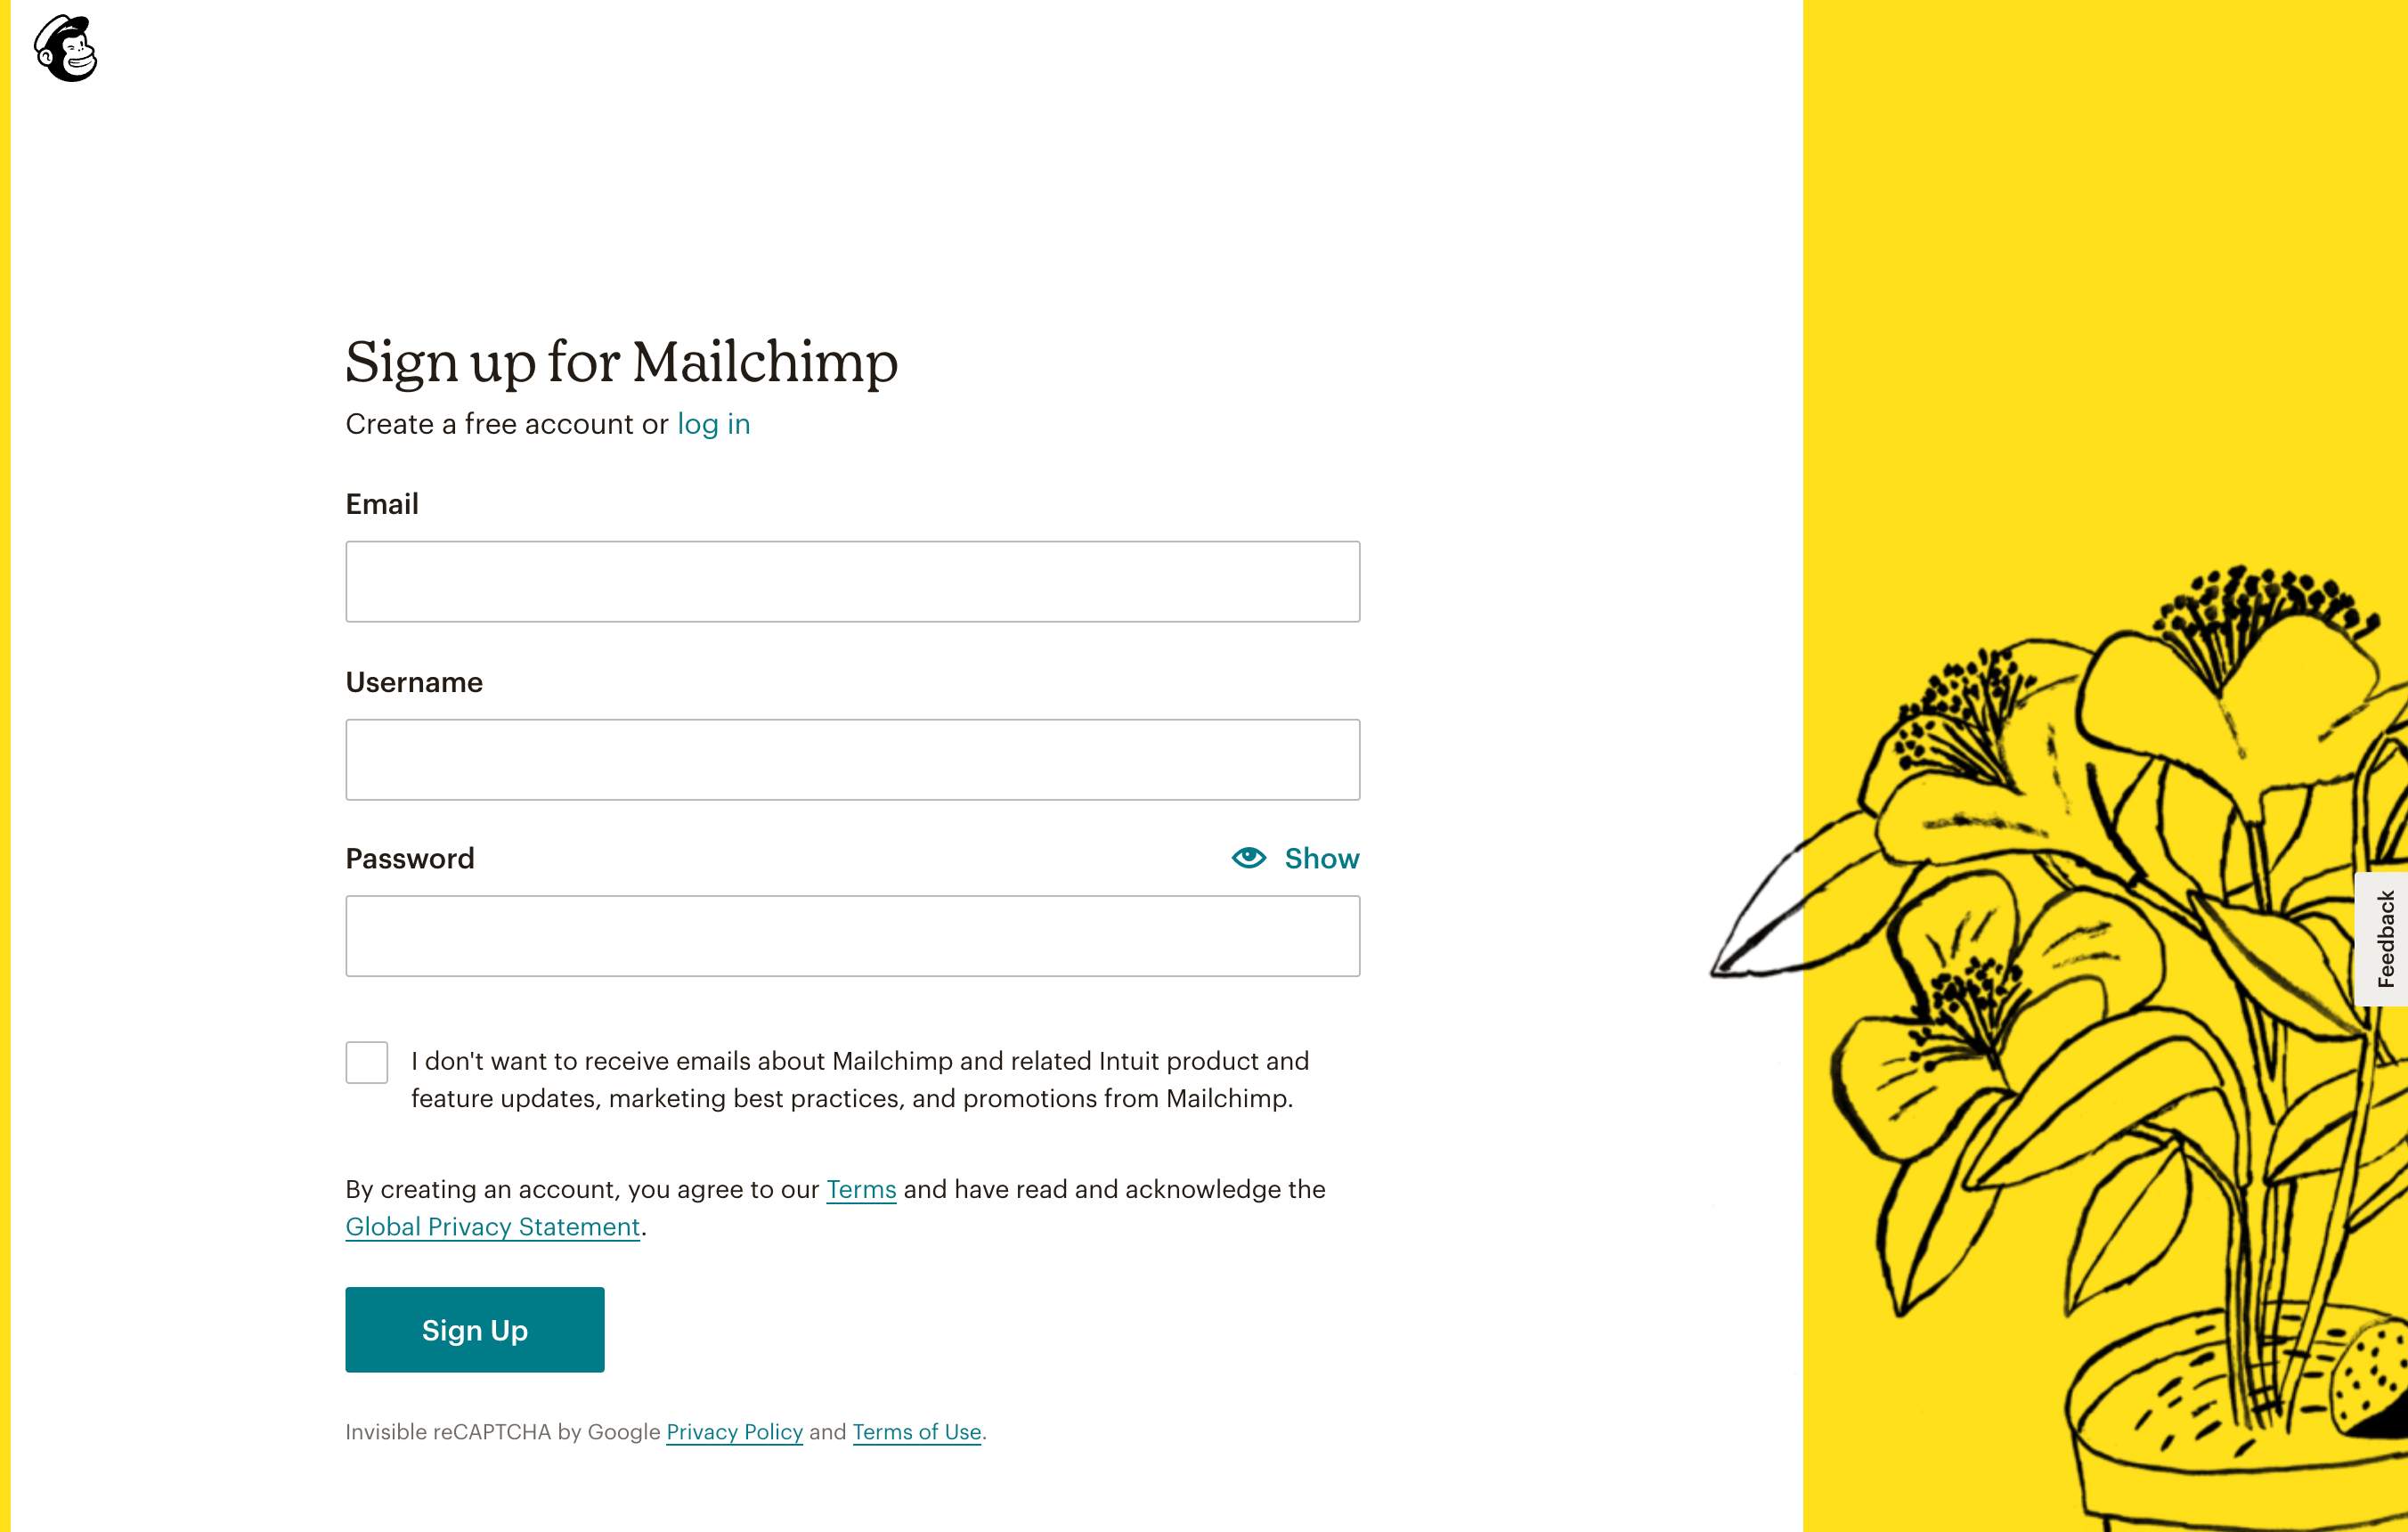
Once you choose a plan, you can sign up for Mailchimp. To do this, simply enter your email, username, and password:
Then, you’ll need to use your email to confirm your account. If you want to purchase a premium plan, you can enter your payment details in the next step:

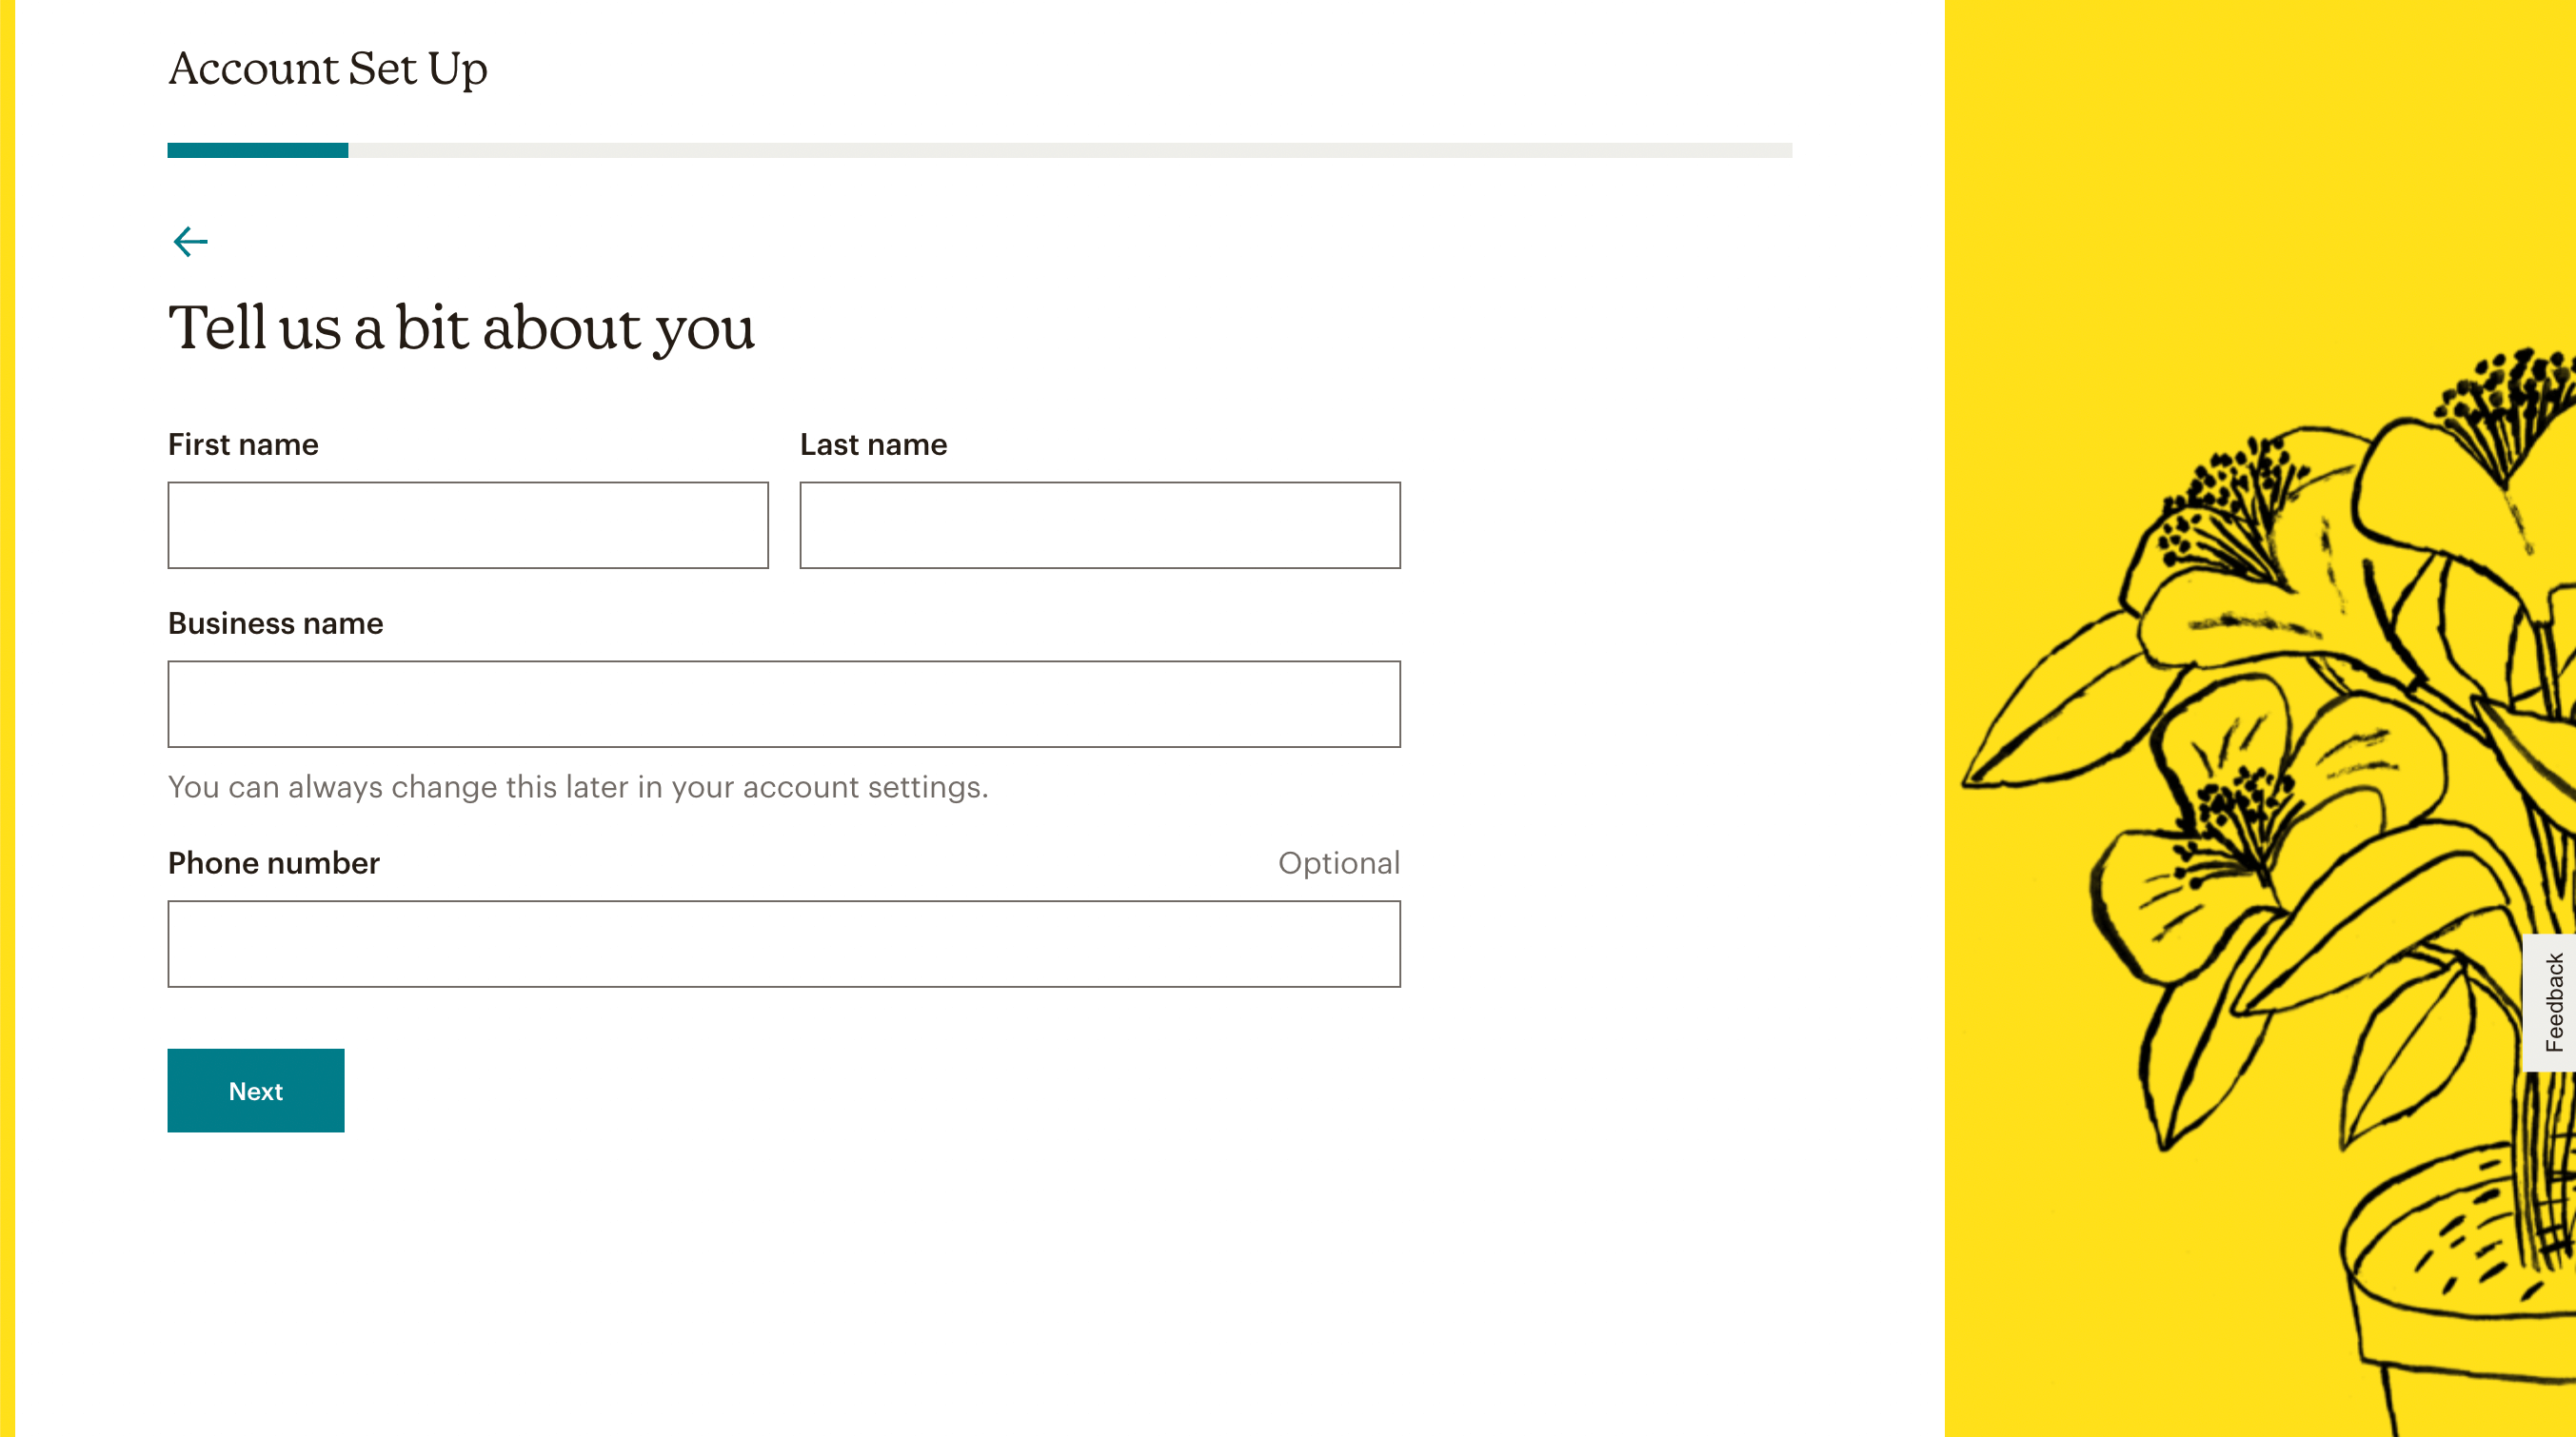
Now you can add a few more details about yourself and your business. After you fill out the required fields, hit Next:
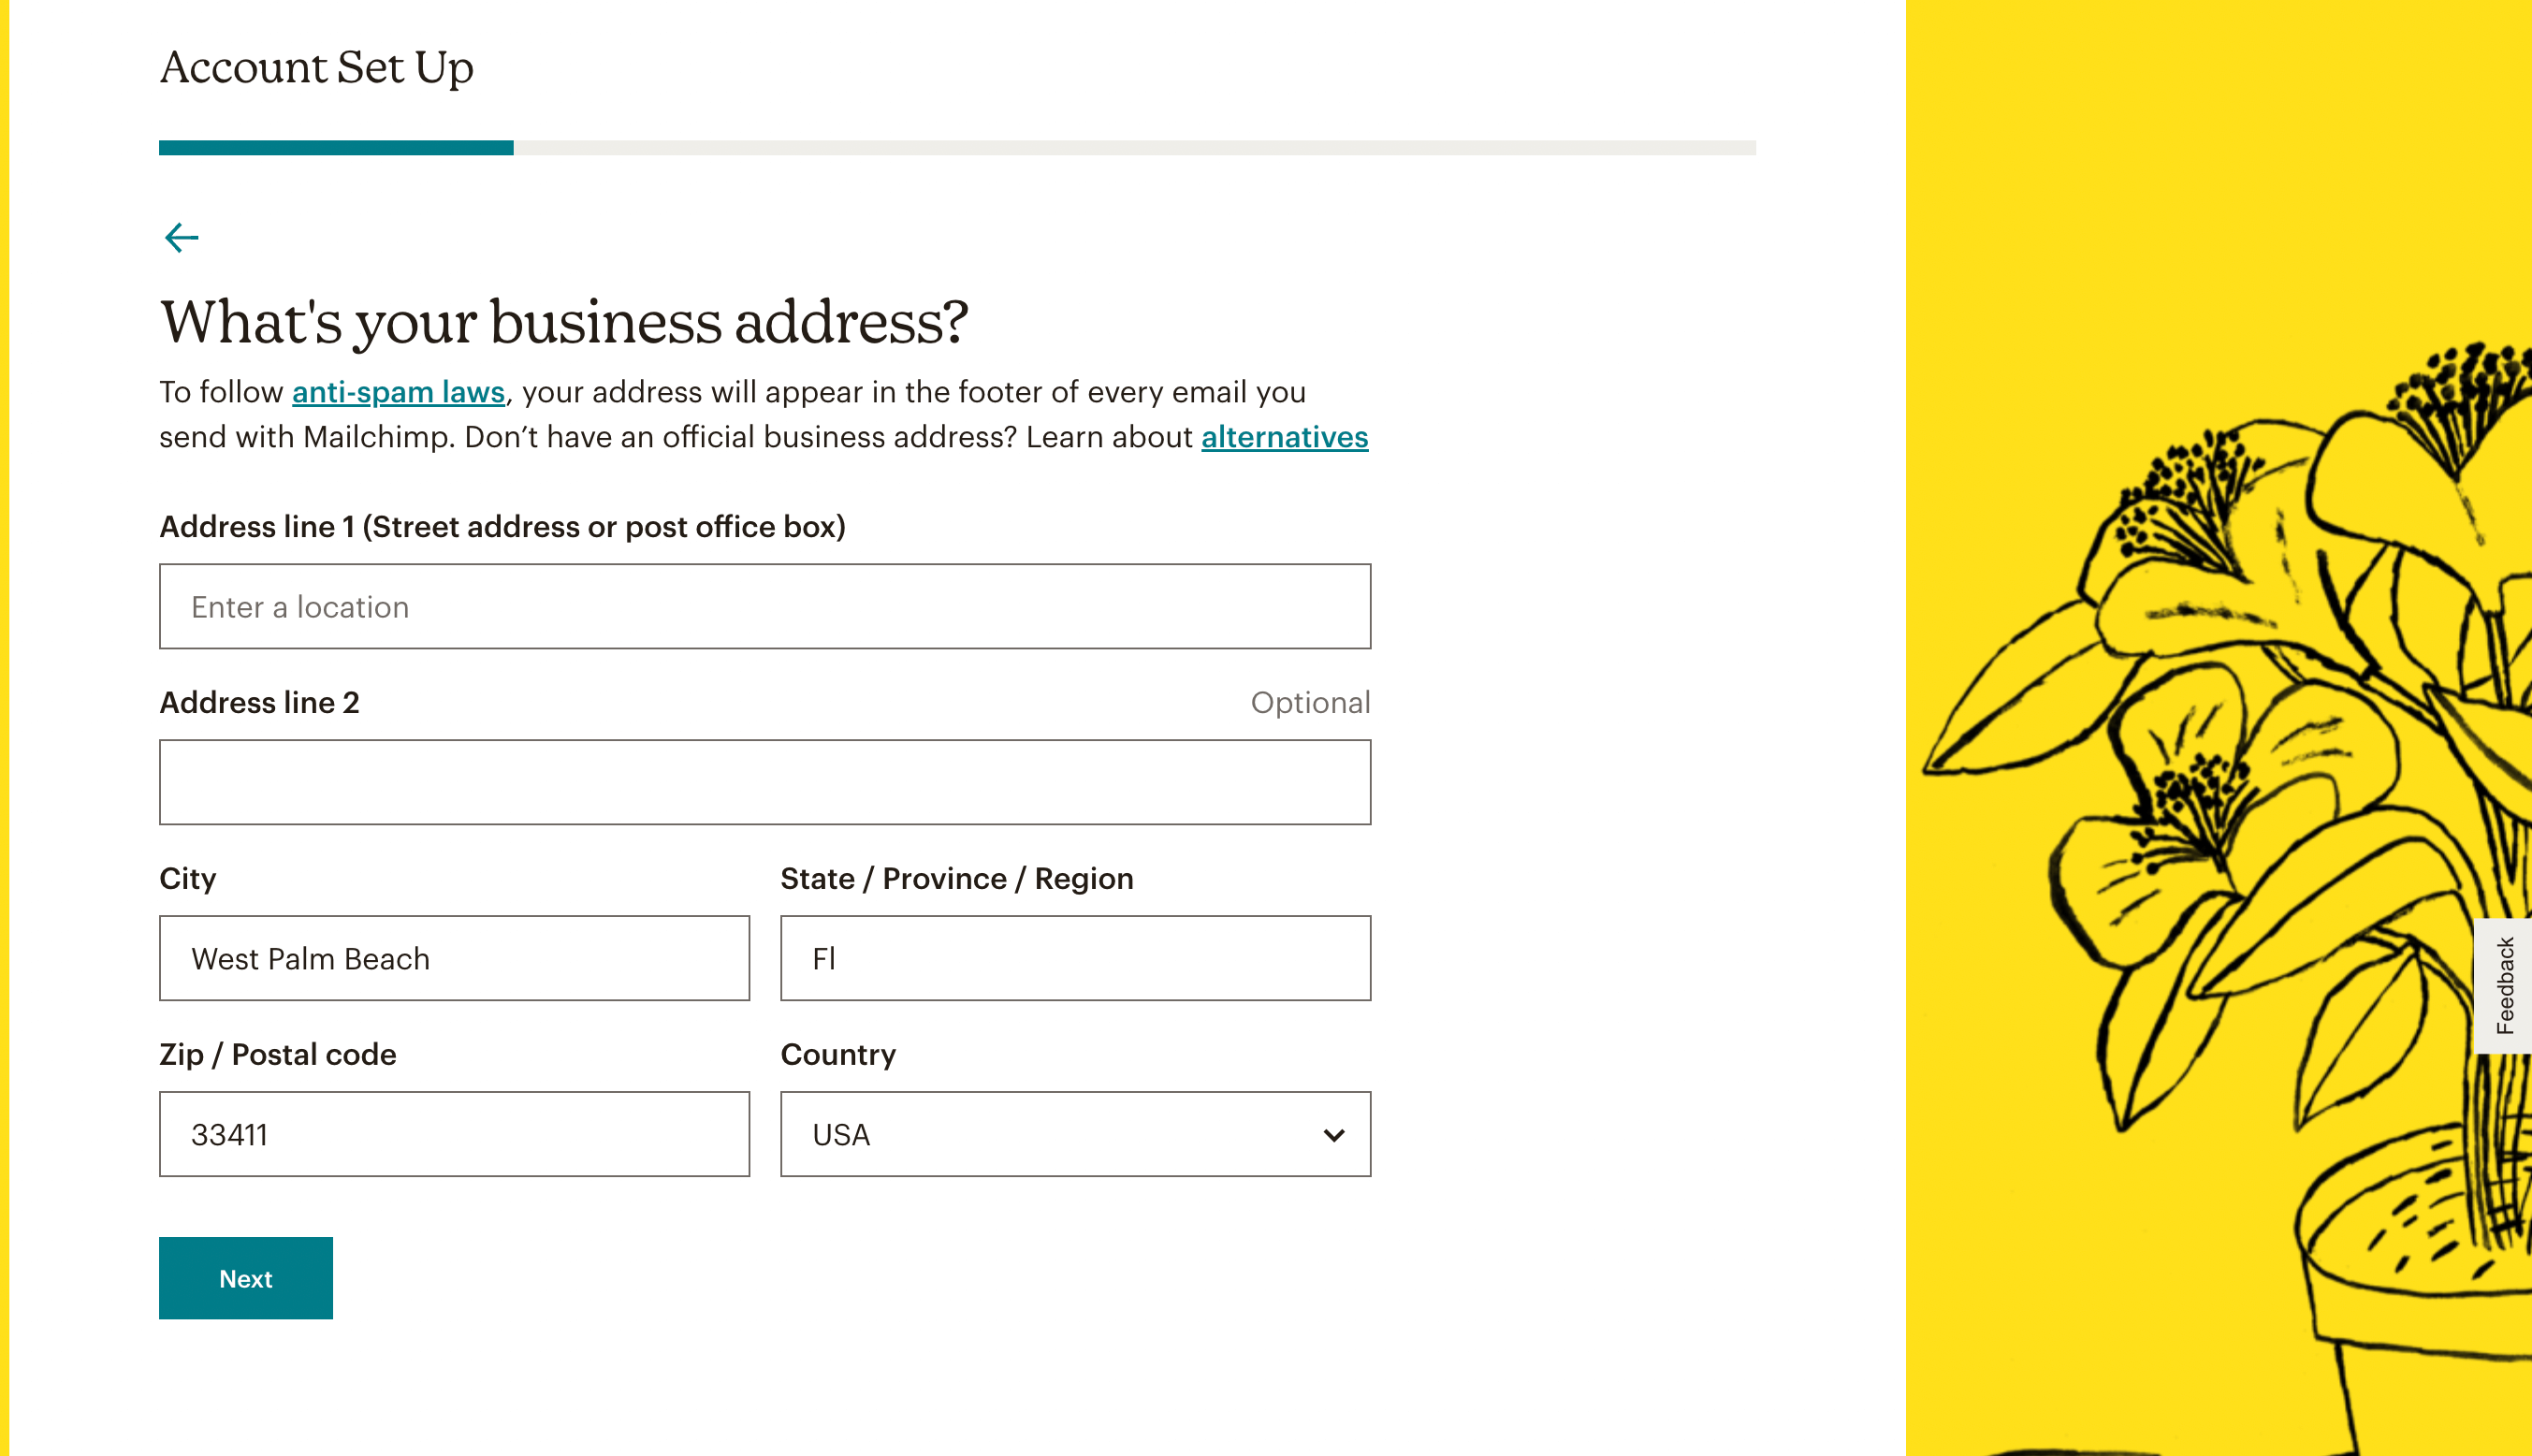
Since Mailchimp has anti-spam requirements, you’ll need to include your business address as well. This information will appear in the footer of your emails:
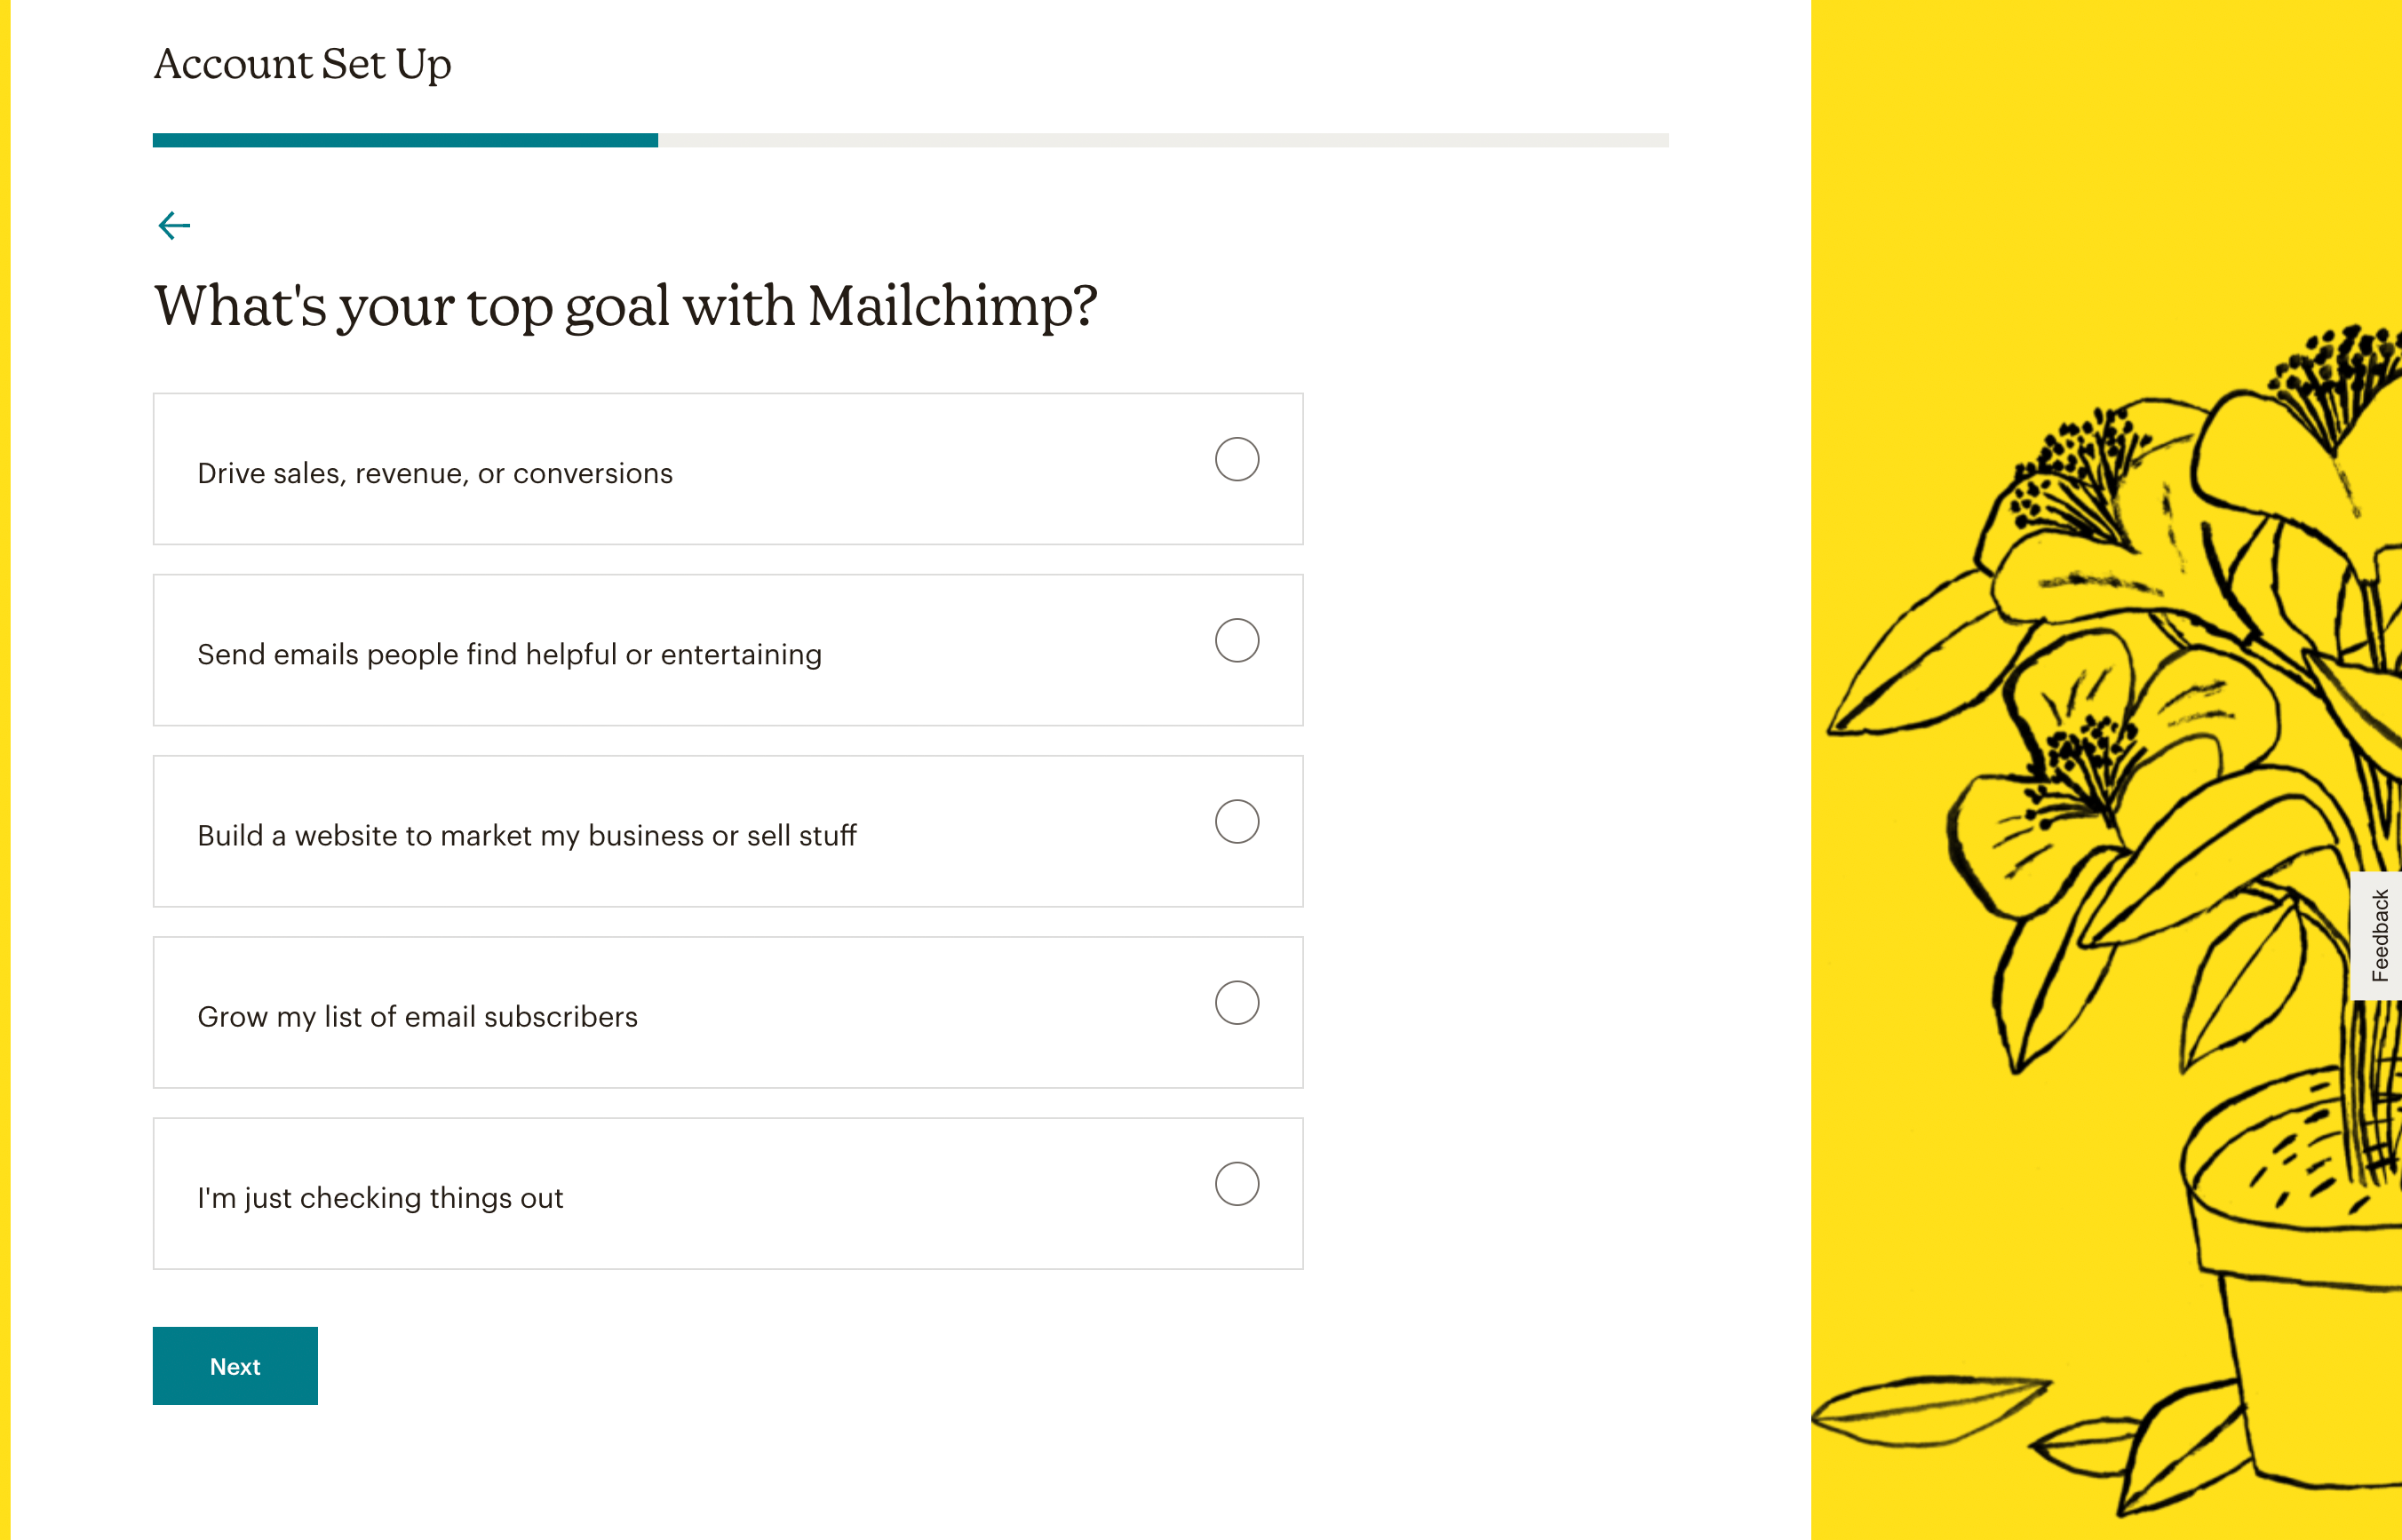
You’ll also need to define your goals with Mailchimp. Then, click on Next:
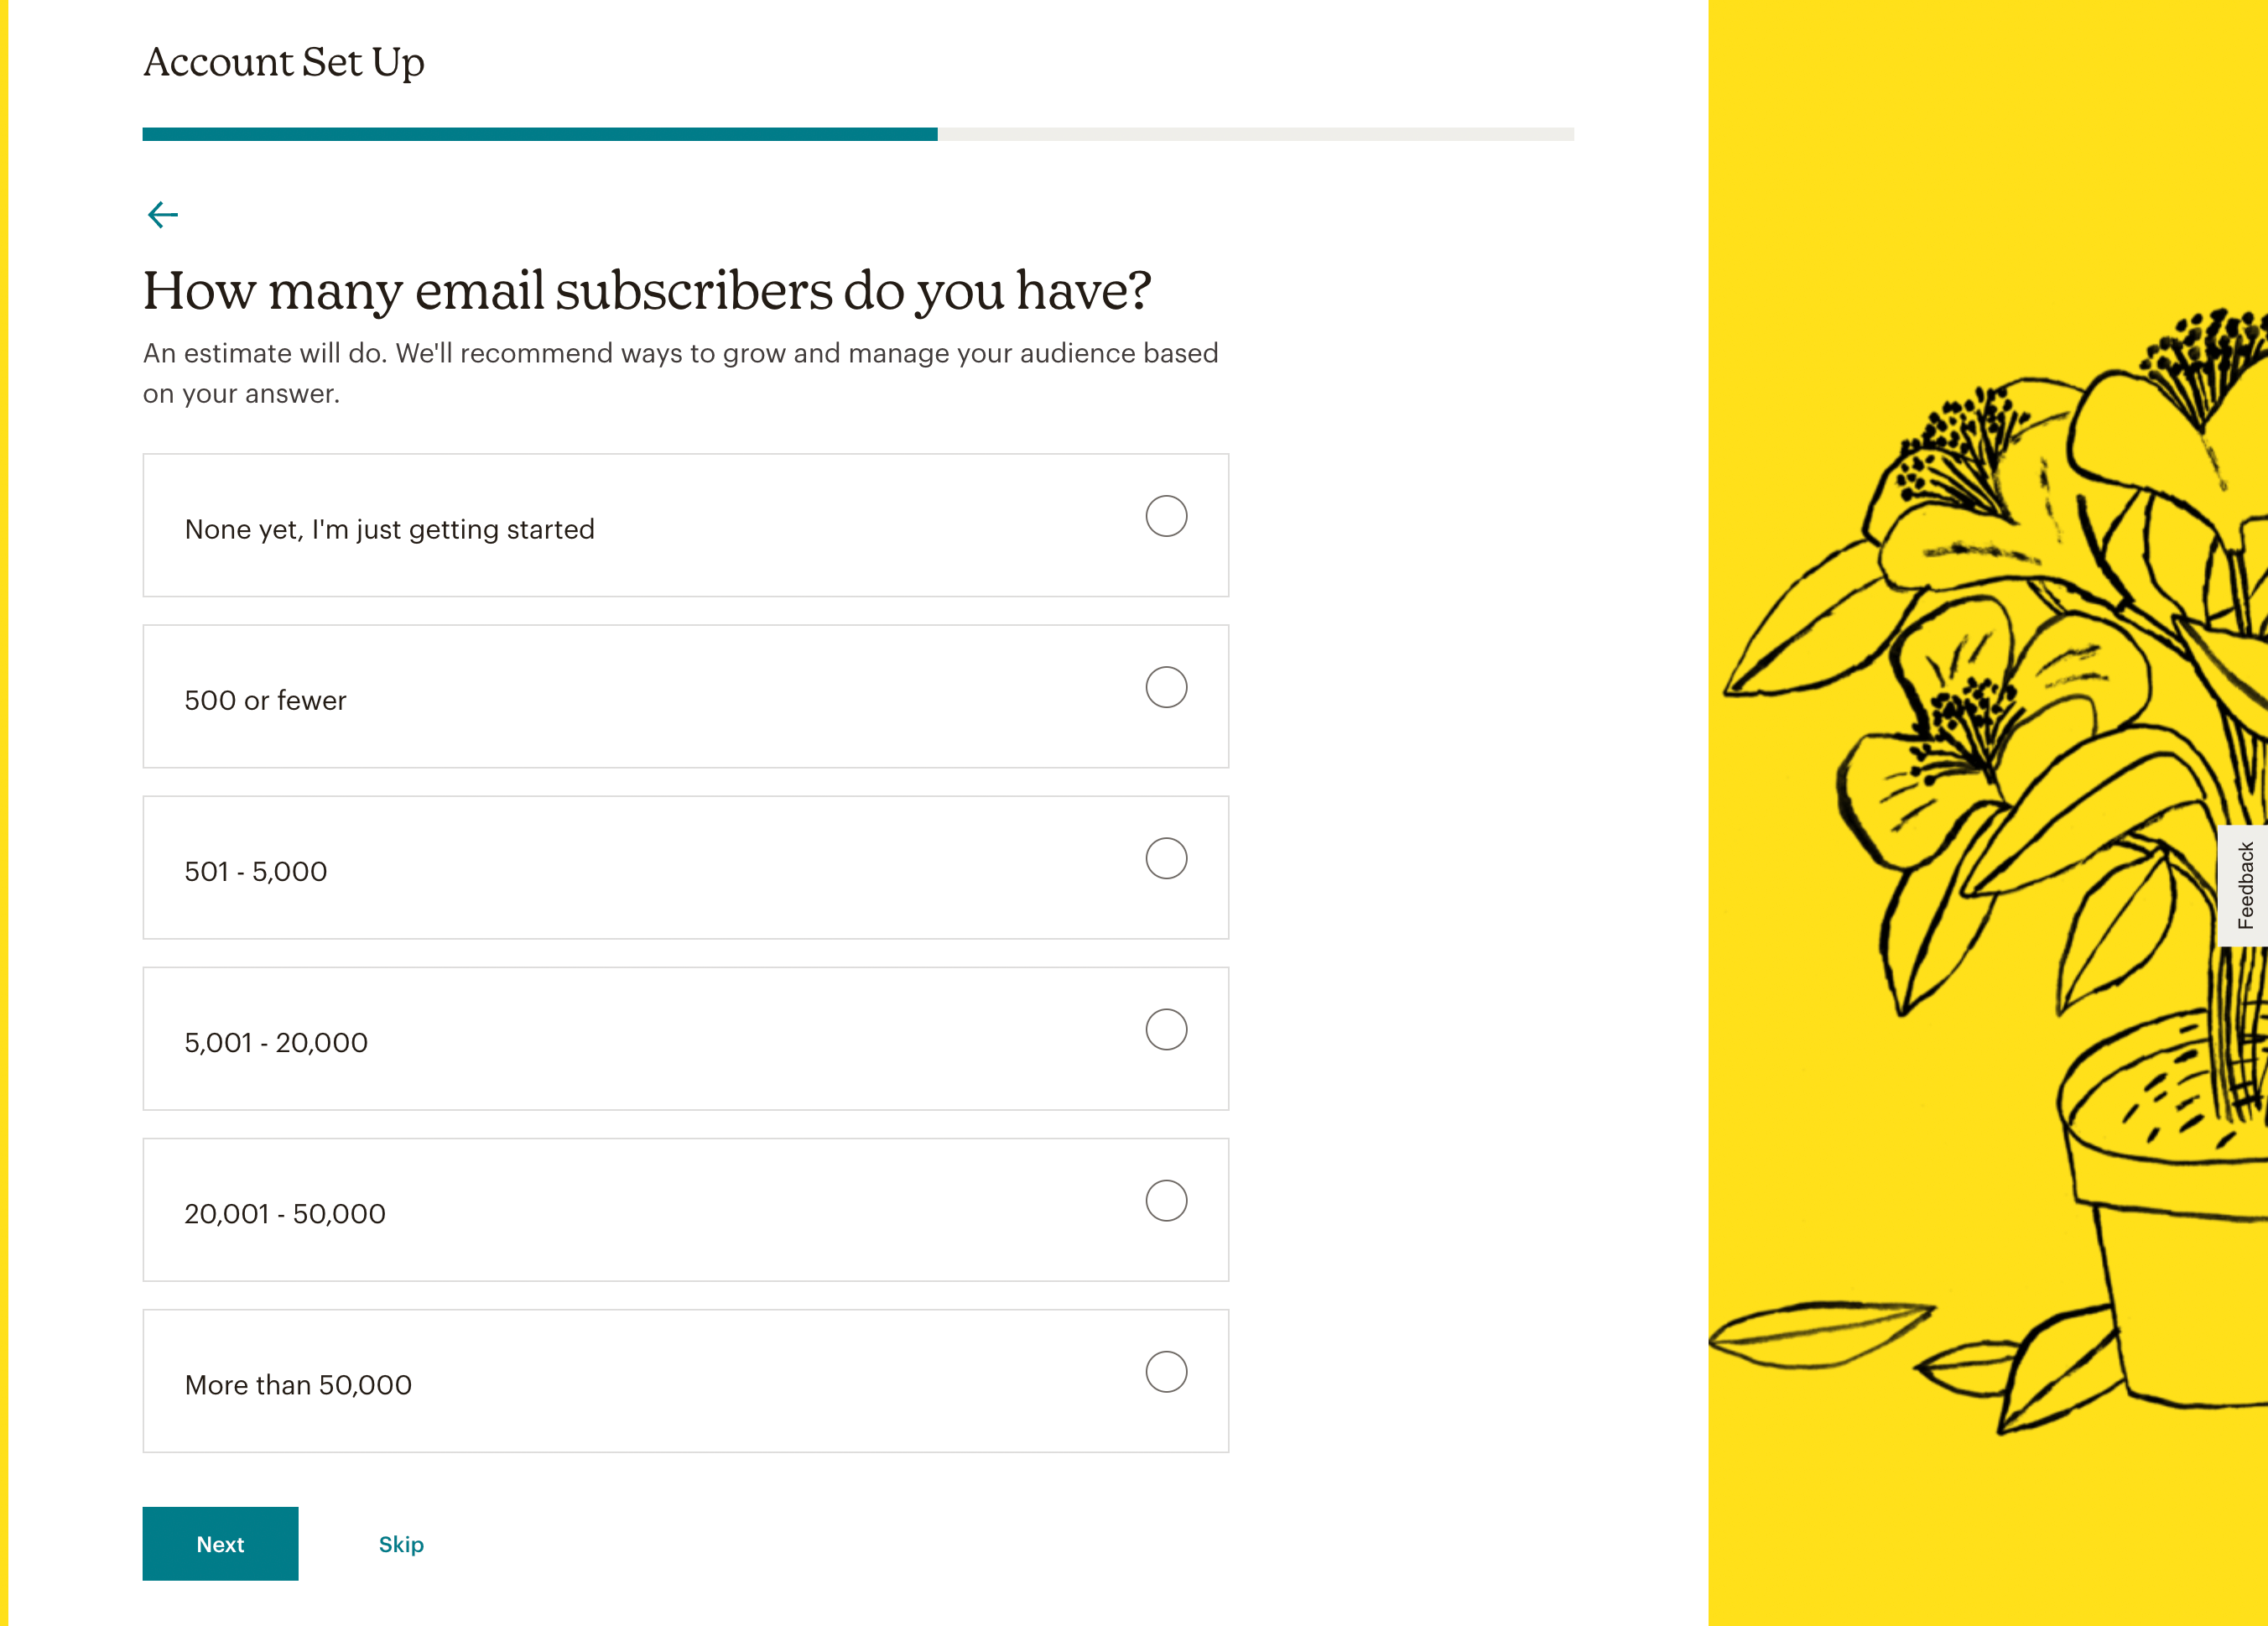
After that, you will have the option to define how many email subscribers you currently have. However, you can skip this step if you’d like:
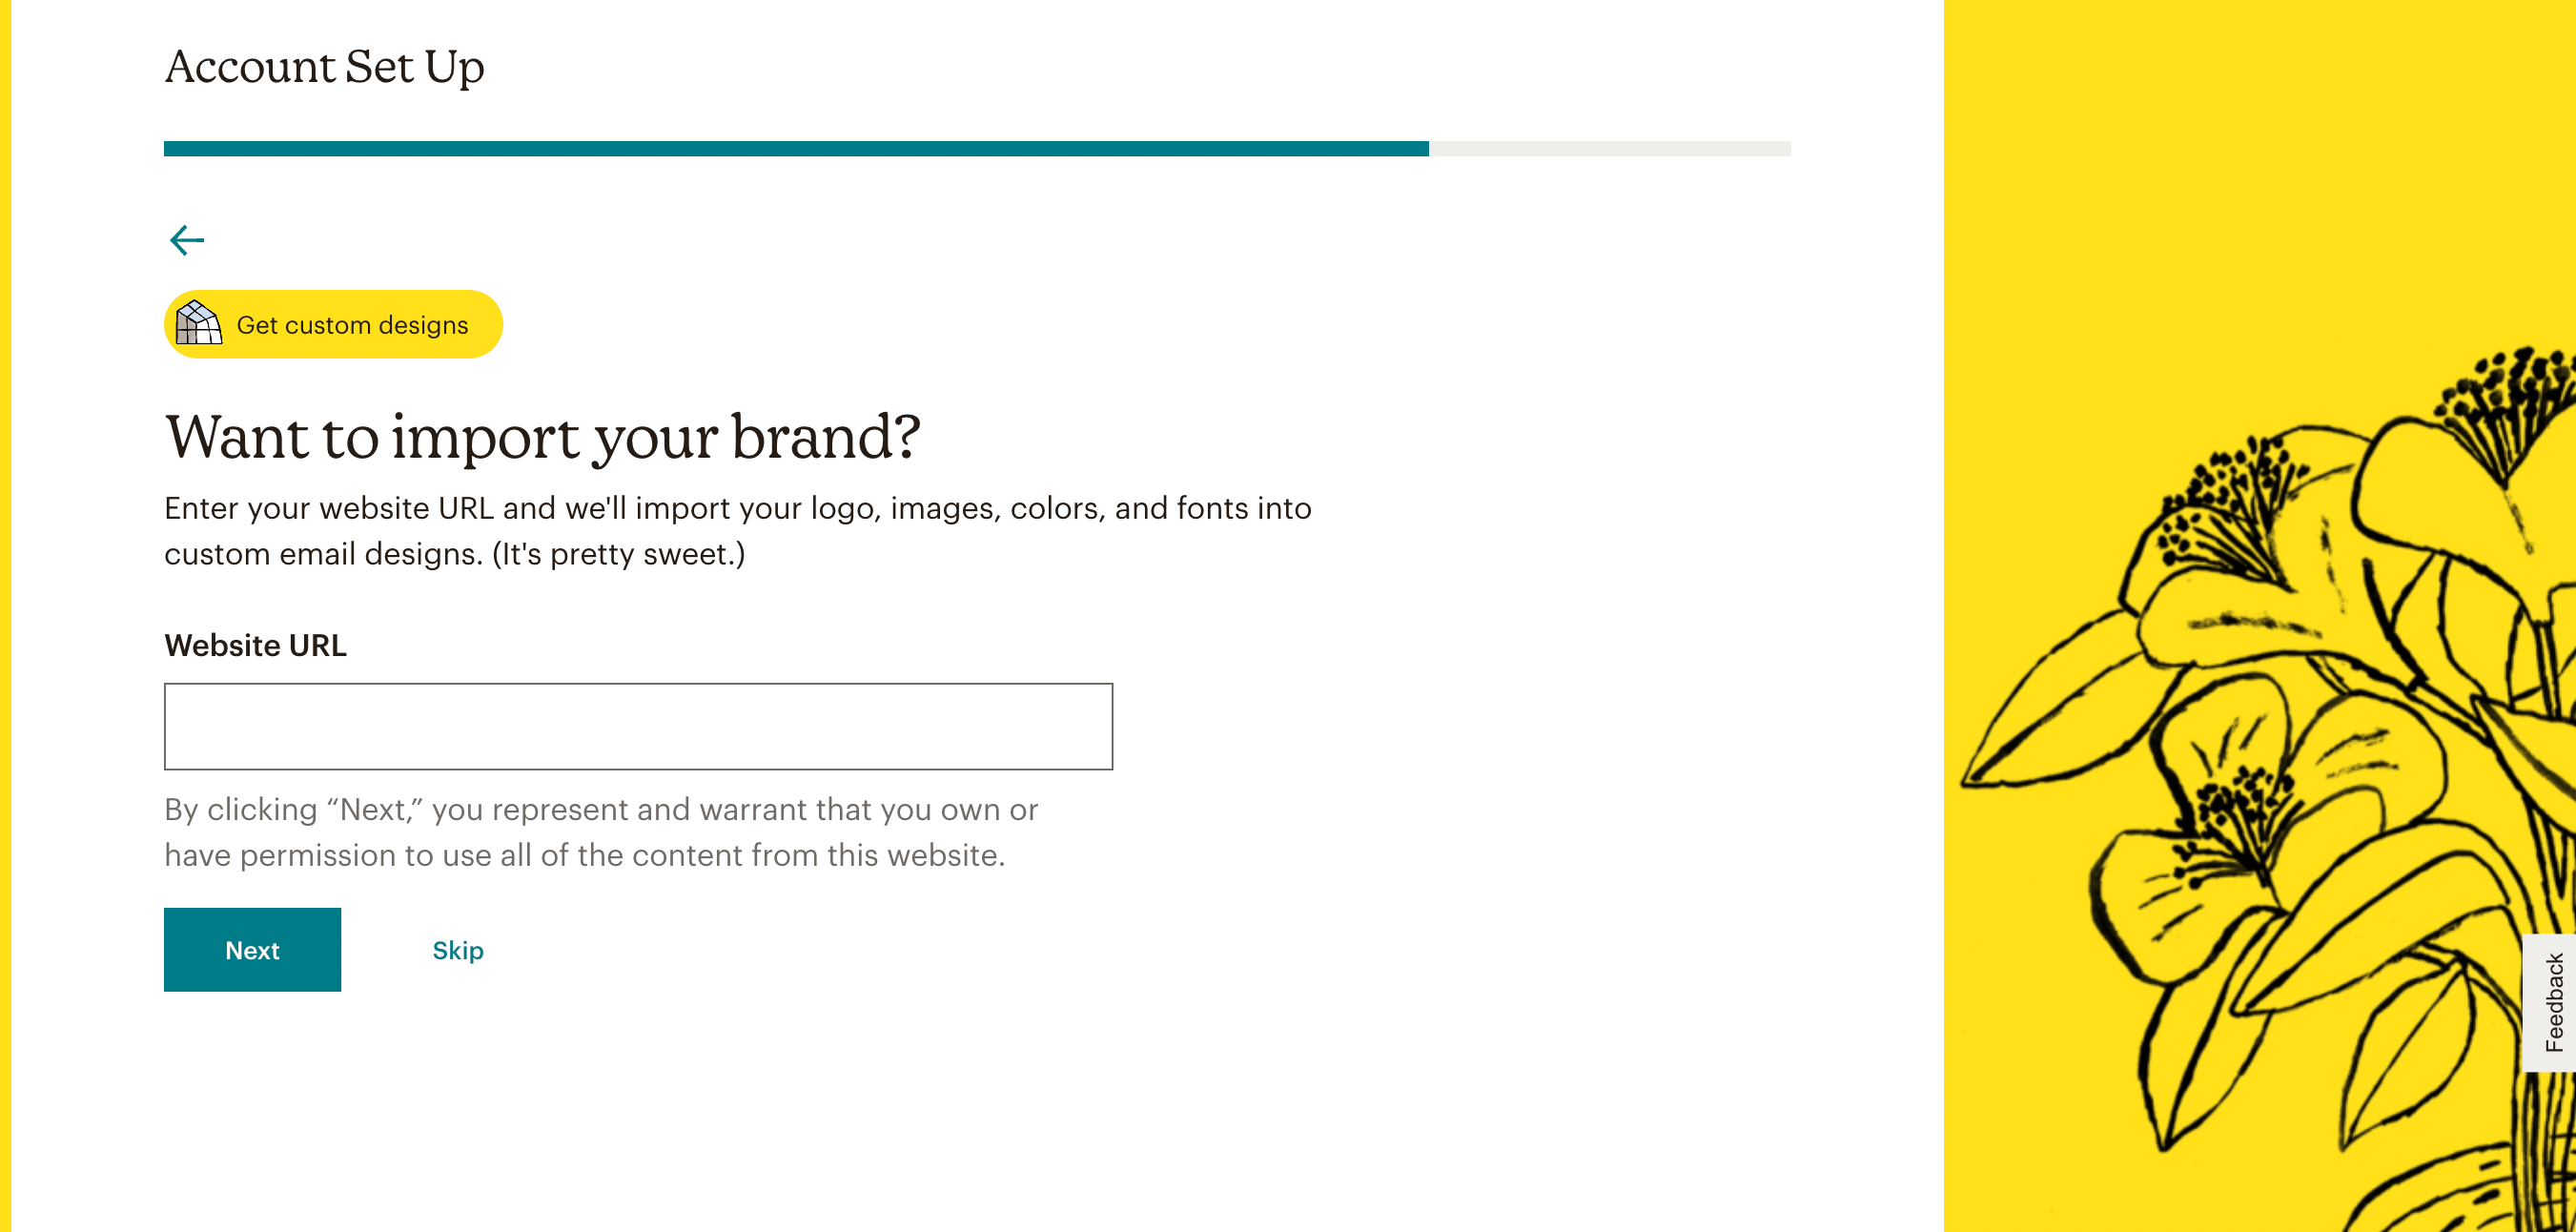
On the next screen, you can consider importing your website’s design. If you enter your URL, you can enable Mailchimp to create custom emails with your logo, images, colors, and fonts:
Once you finish this setup process, you should be able to access your Mailchimp dashboard!
Step 2: Generate an API Key
In order to integrate Mailchimp and Beaver Builder, it’s important to create an API key. This will allow external apps to access your account without needing a password.
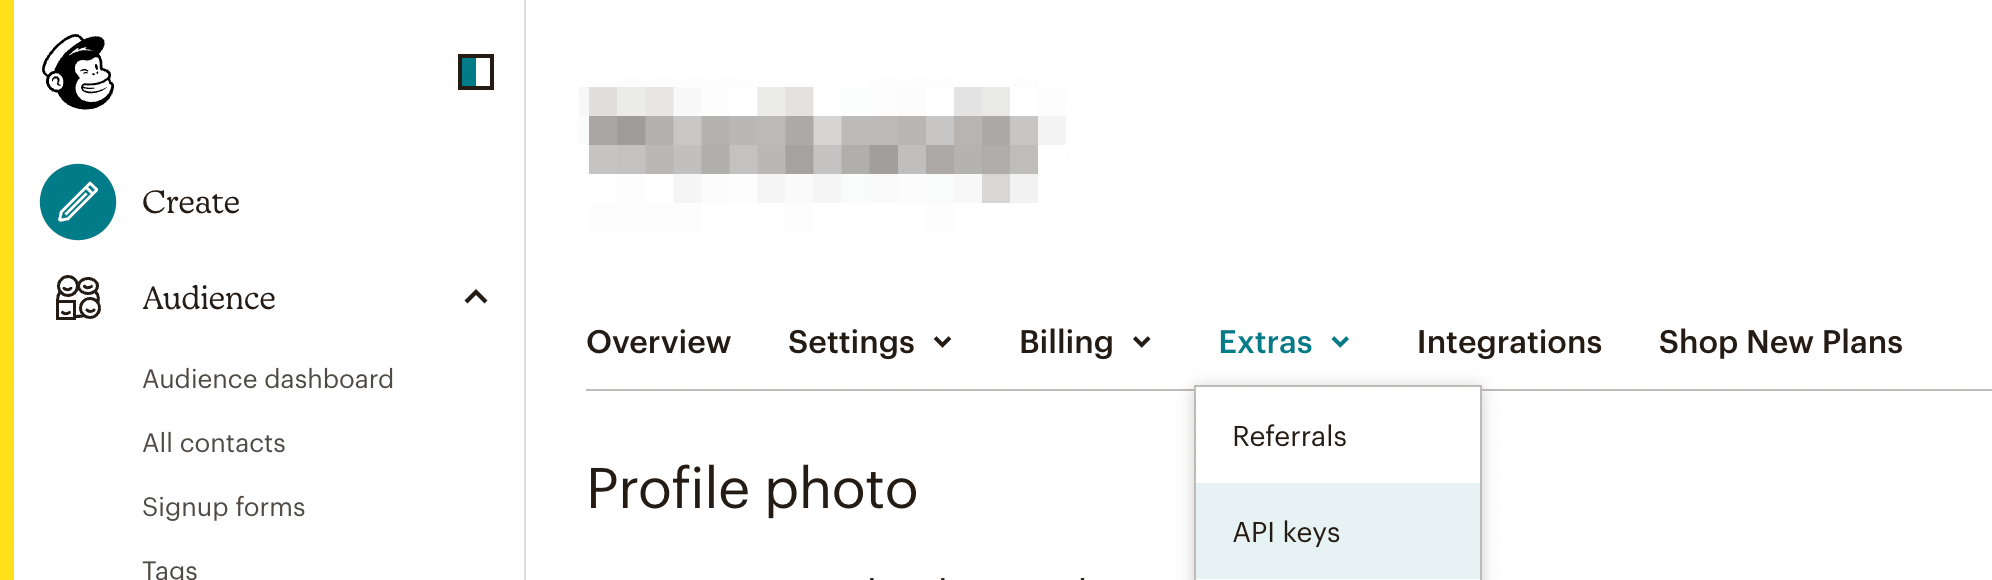
To generate an API key, go to your profile in your Mailchimp dashboard. Then, navigate to Extras > API keys:
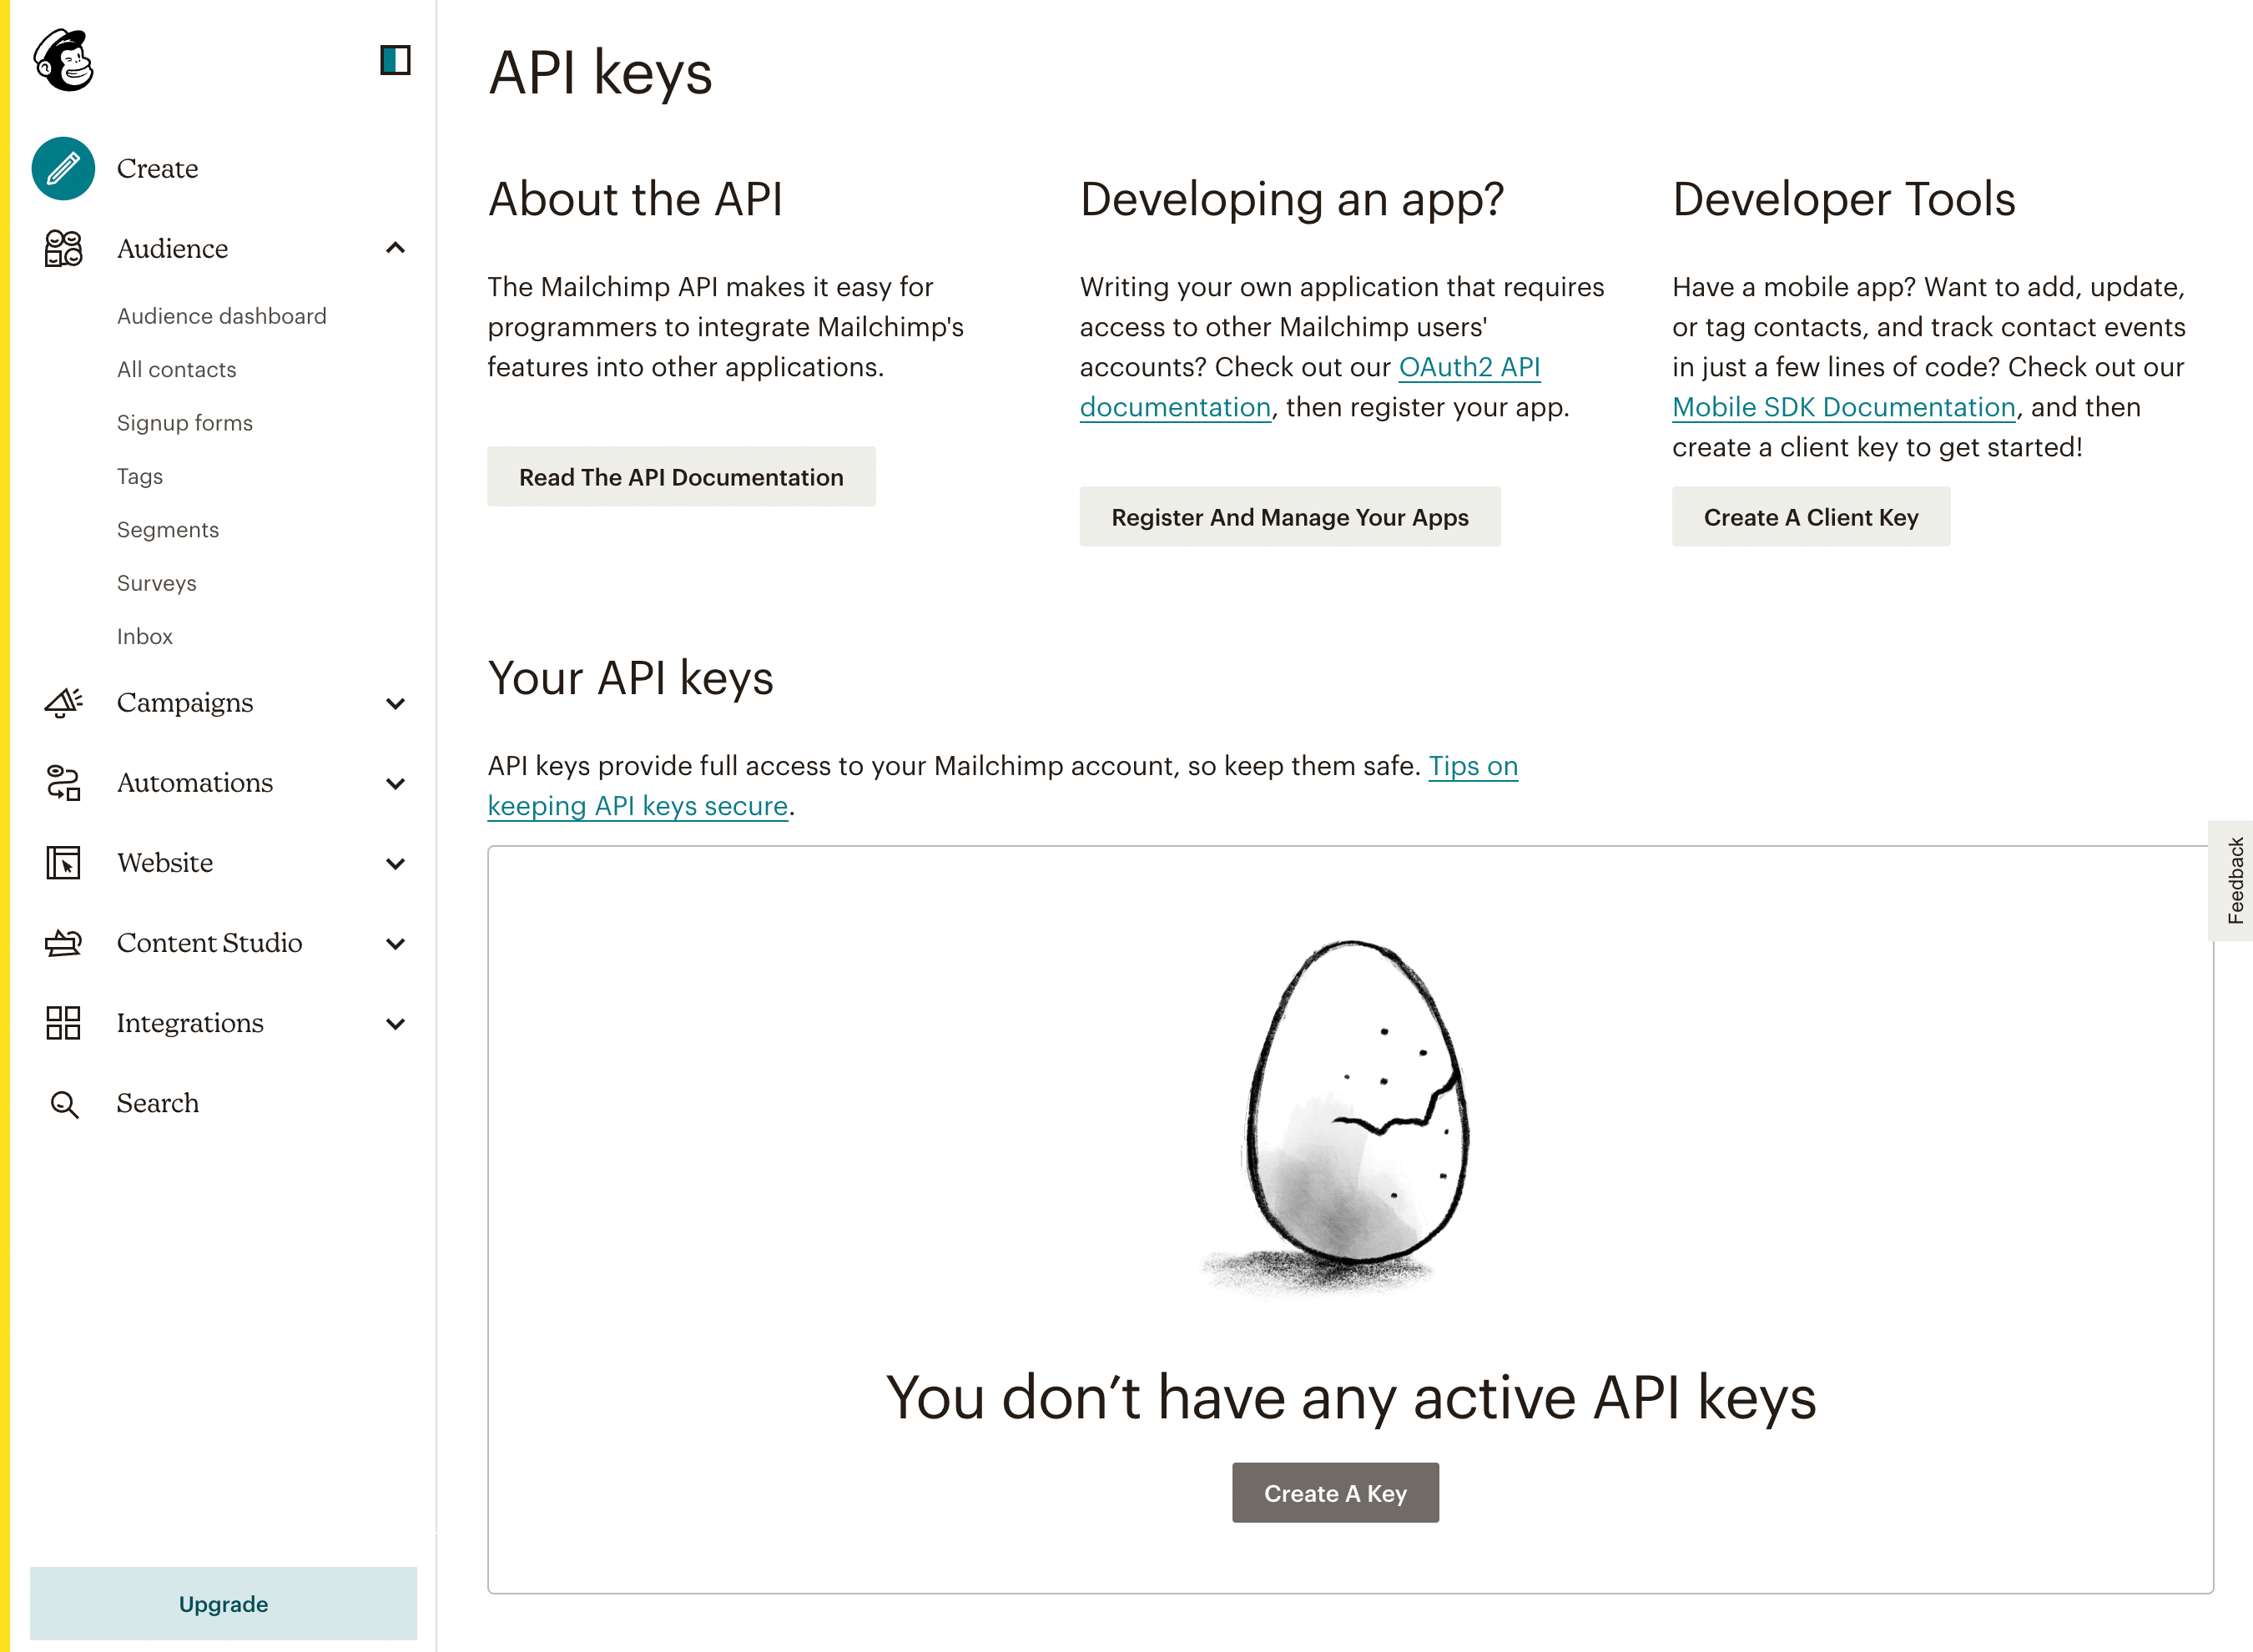
Since you have a new account, you won’t have any active API keys yet. Under Your API keys, click on Create A Key:
This will automatically generate an API key for your Mailchimp account. Be sure to copy its long string of numbers so you can use it in the next step:
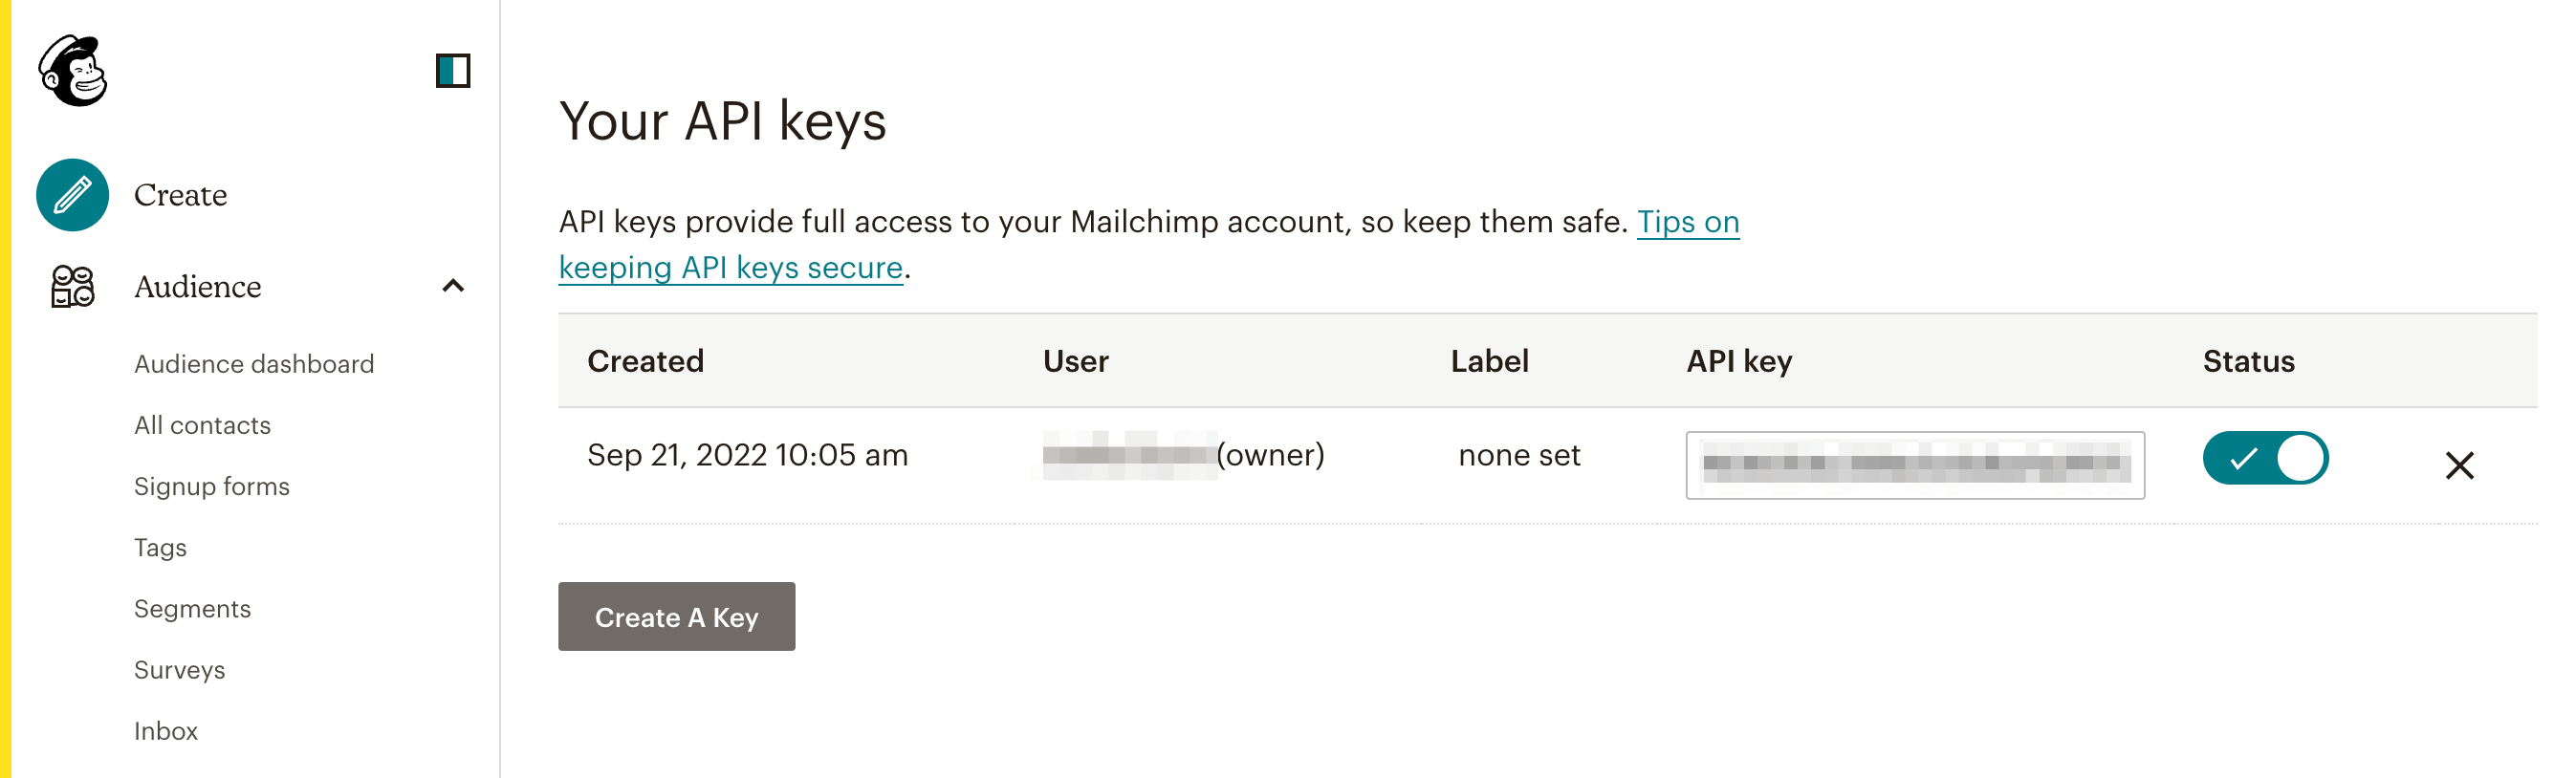
Since this API key can grant full access to your account, you should avoid sharing it publicly. If any of your API keys become compromised, you can simply disable them.
Step 3: Insert a Beaver Builder Subscribe Form
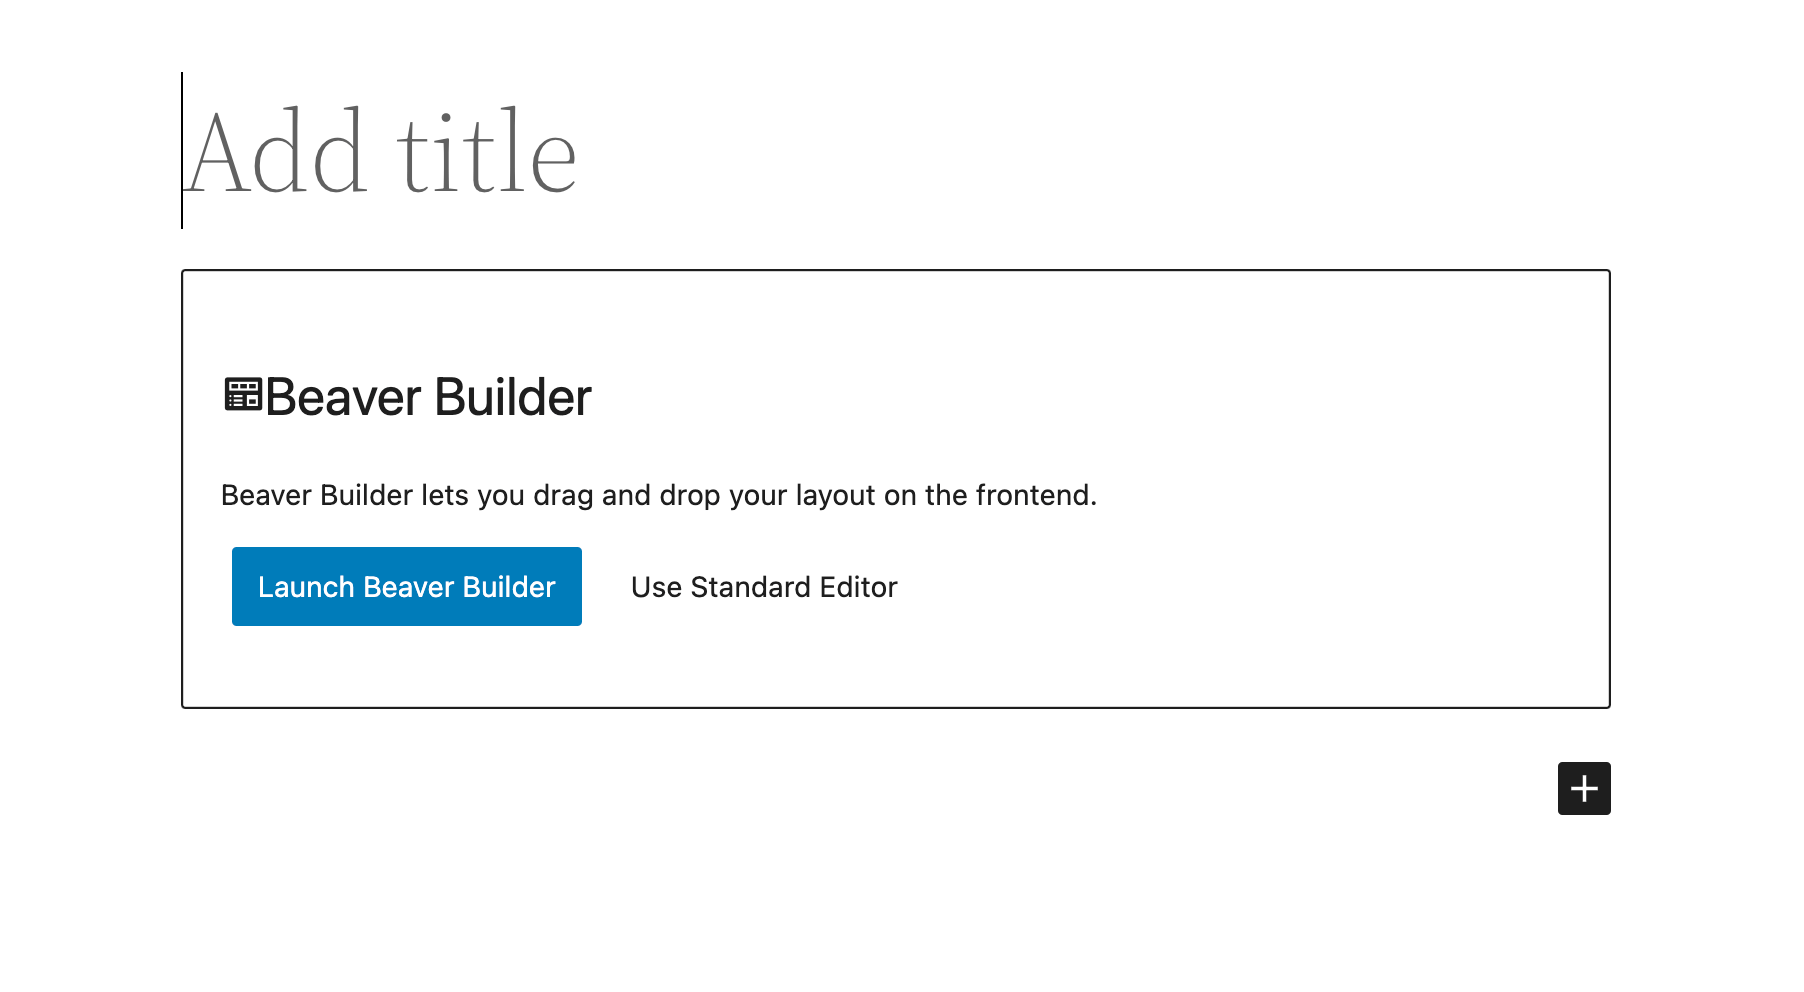
Now it’s time to connect Mailchimp to your website. To do this, make sure you have Beaver Builder installed and activated. Then, add a new post or page and click on Launch Beaver Builder:
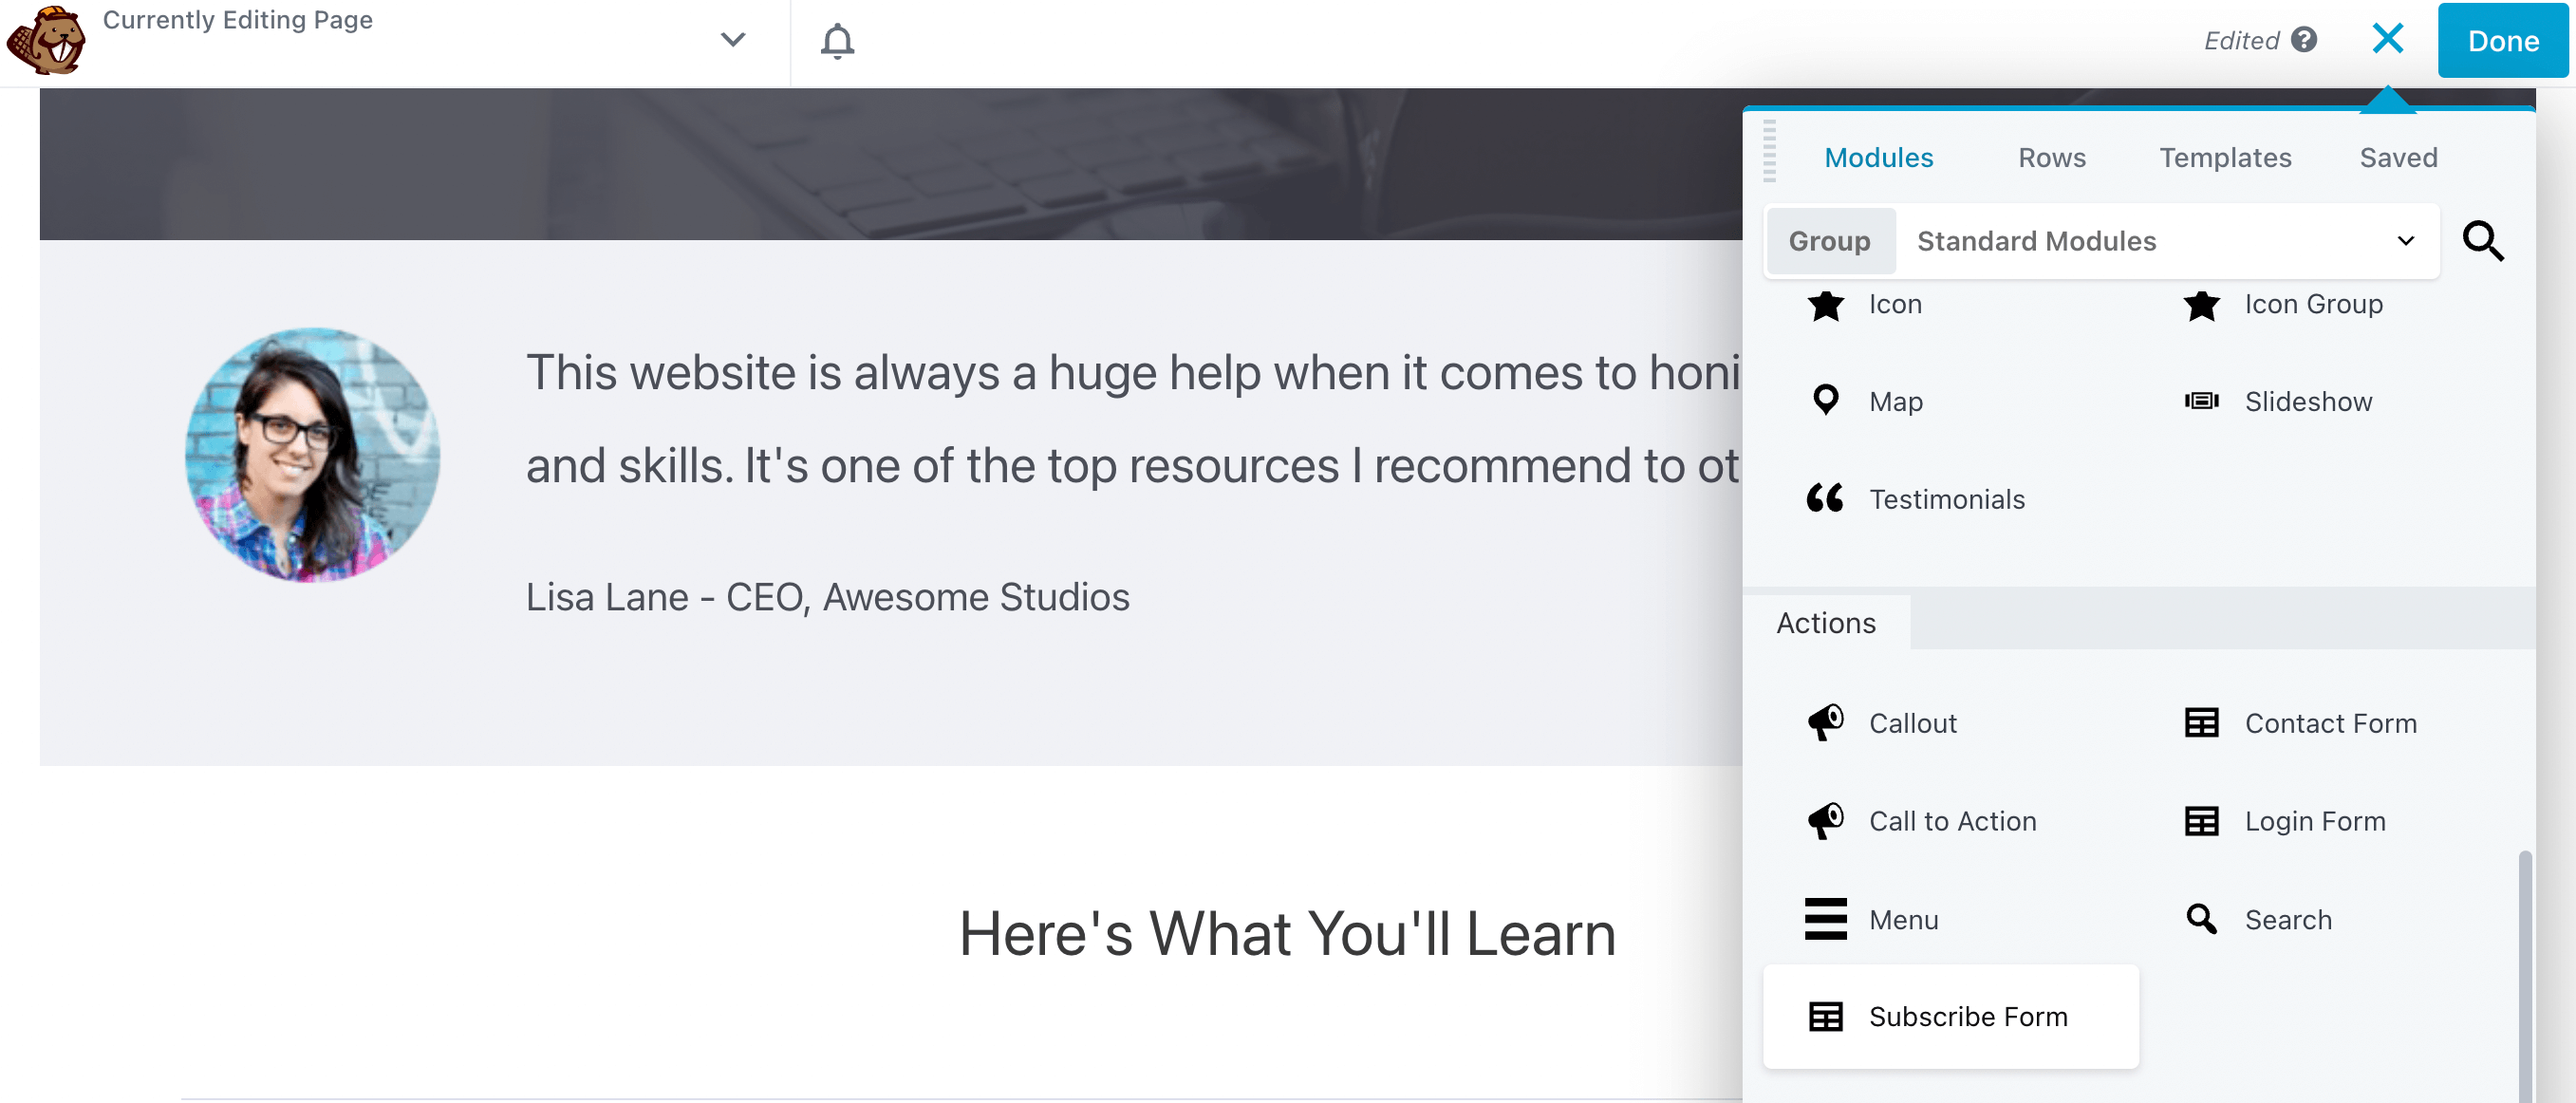
Next, select the + icon to open the available Beaver Builder design elements. In the Modules section, find the Subscribe Form. This will be located within the Actions collection:
You can drag and drop this module anywhere on the page. Within the General tab in the pop-up window for the module, select MailChimp as the Service:
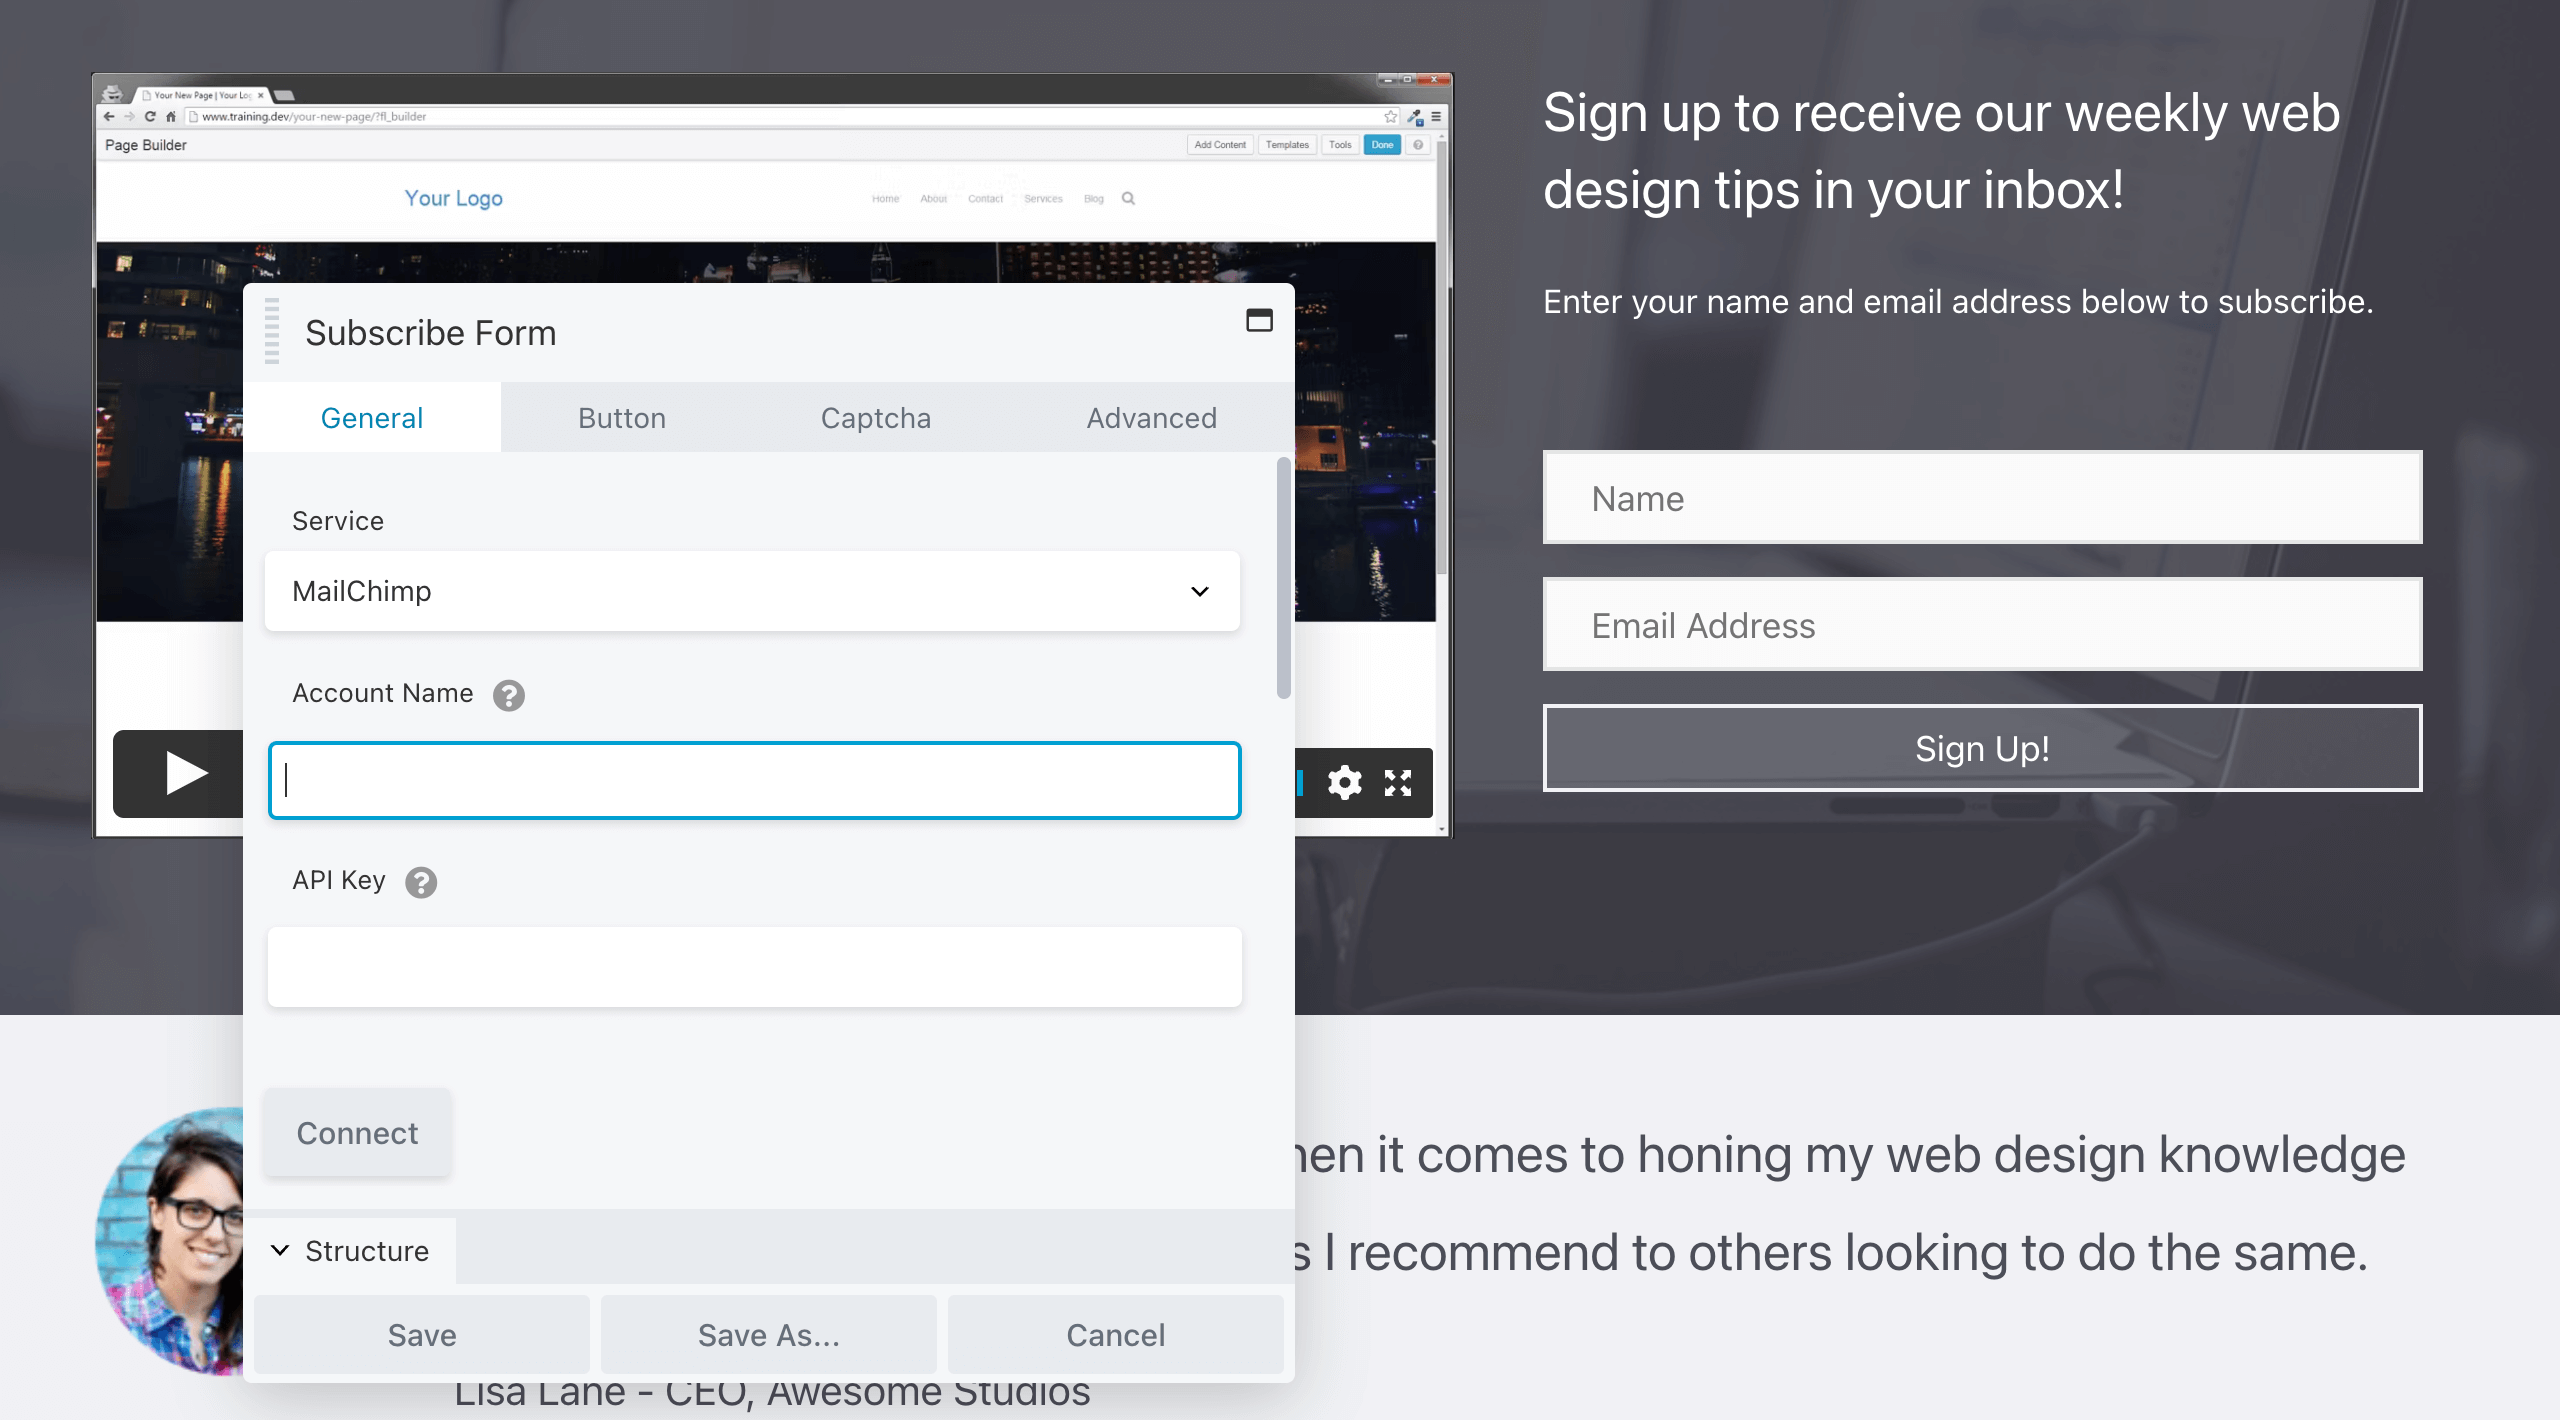
Then, enter the account name from your Mailchimp account. You’ll also need to paste the API Key that you copied earlier.
After this, you can connect one of your Mailchimp lists to the subscribe form. Essentially, any generated leads from this form will then be listed in this group:
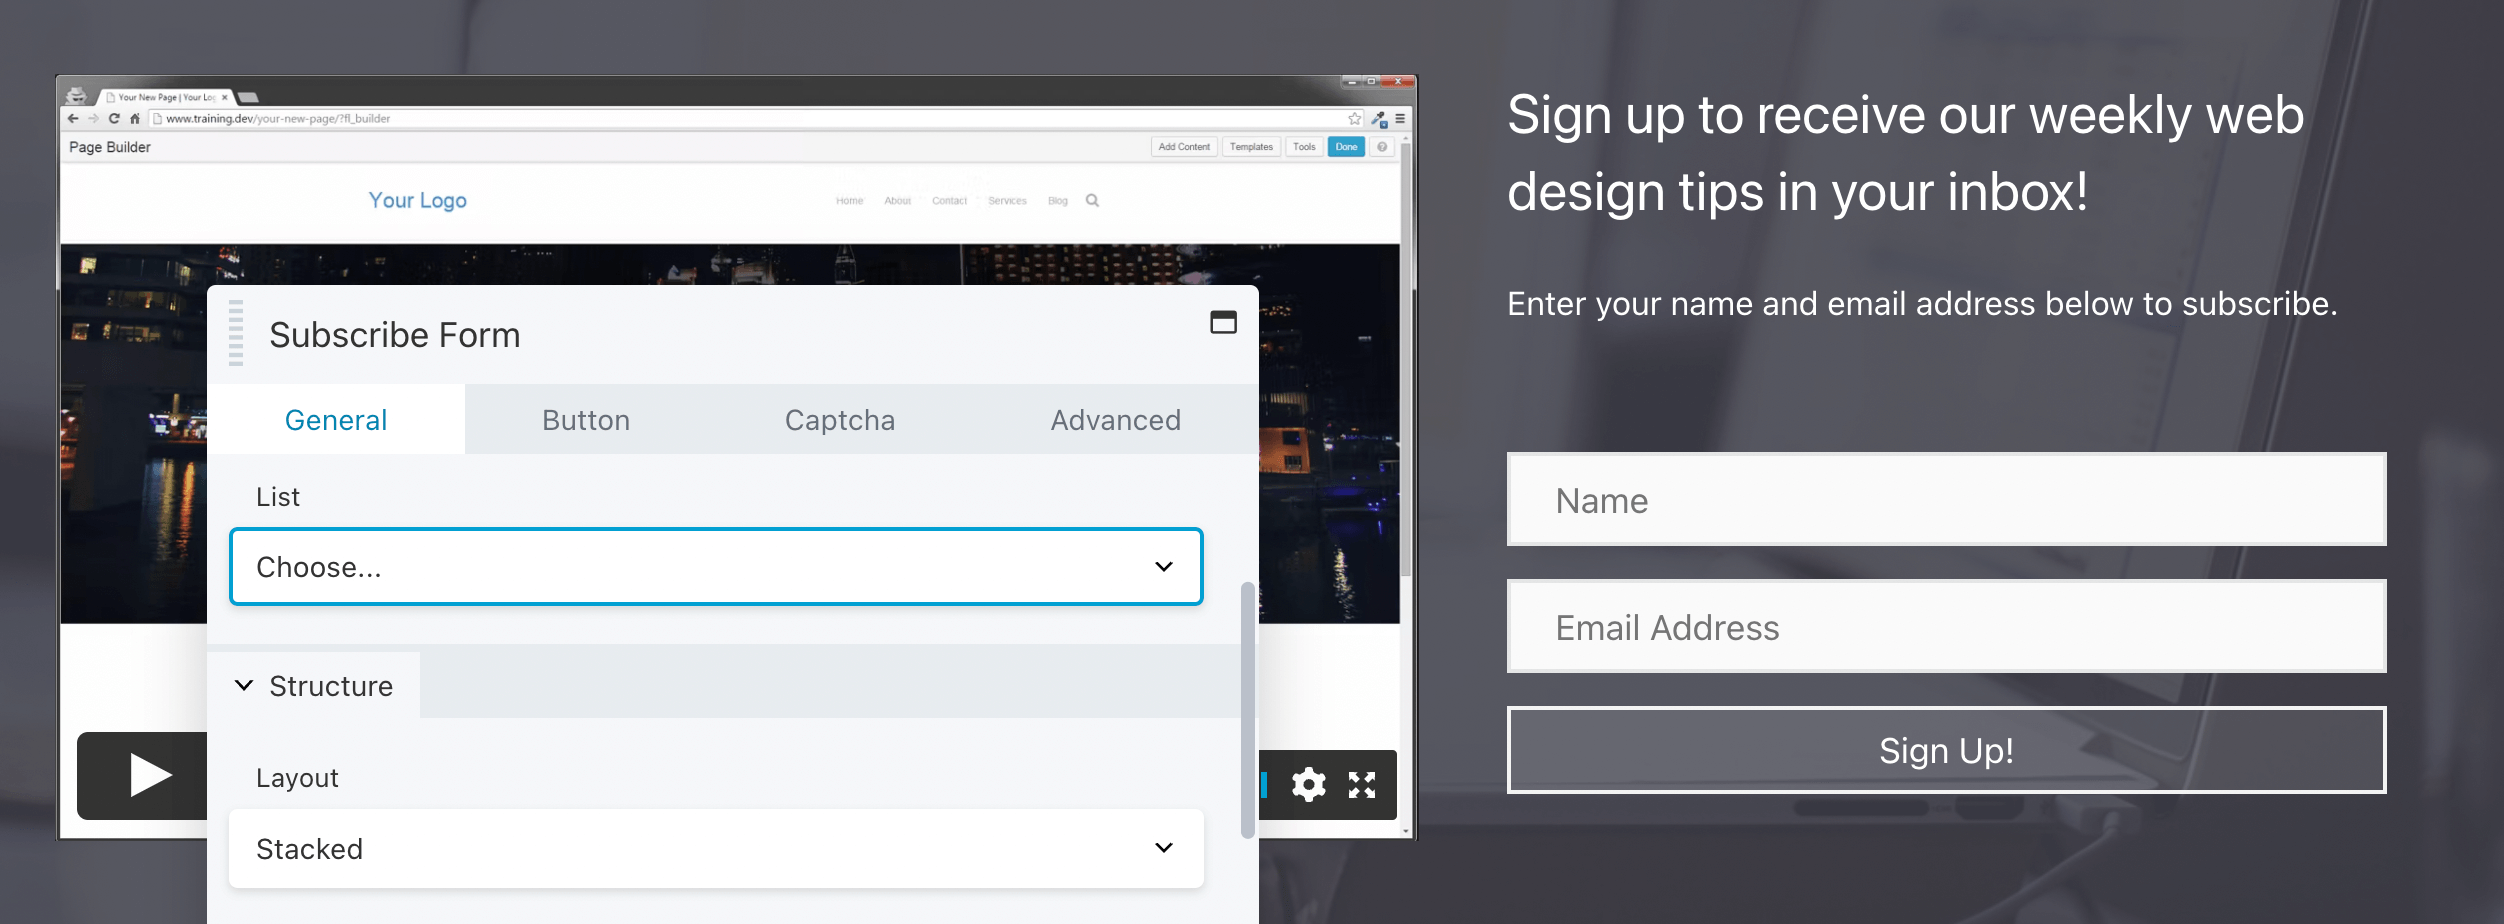
You can also customize the appearance of the subscribe form. A Stacked layout will layer the fields on top of each other, while Inline will place them side by side:

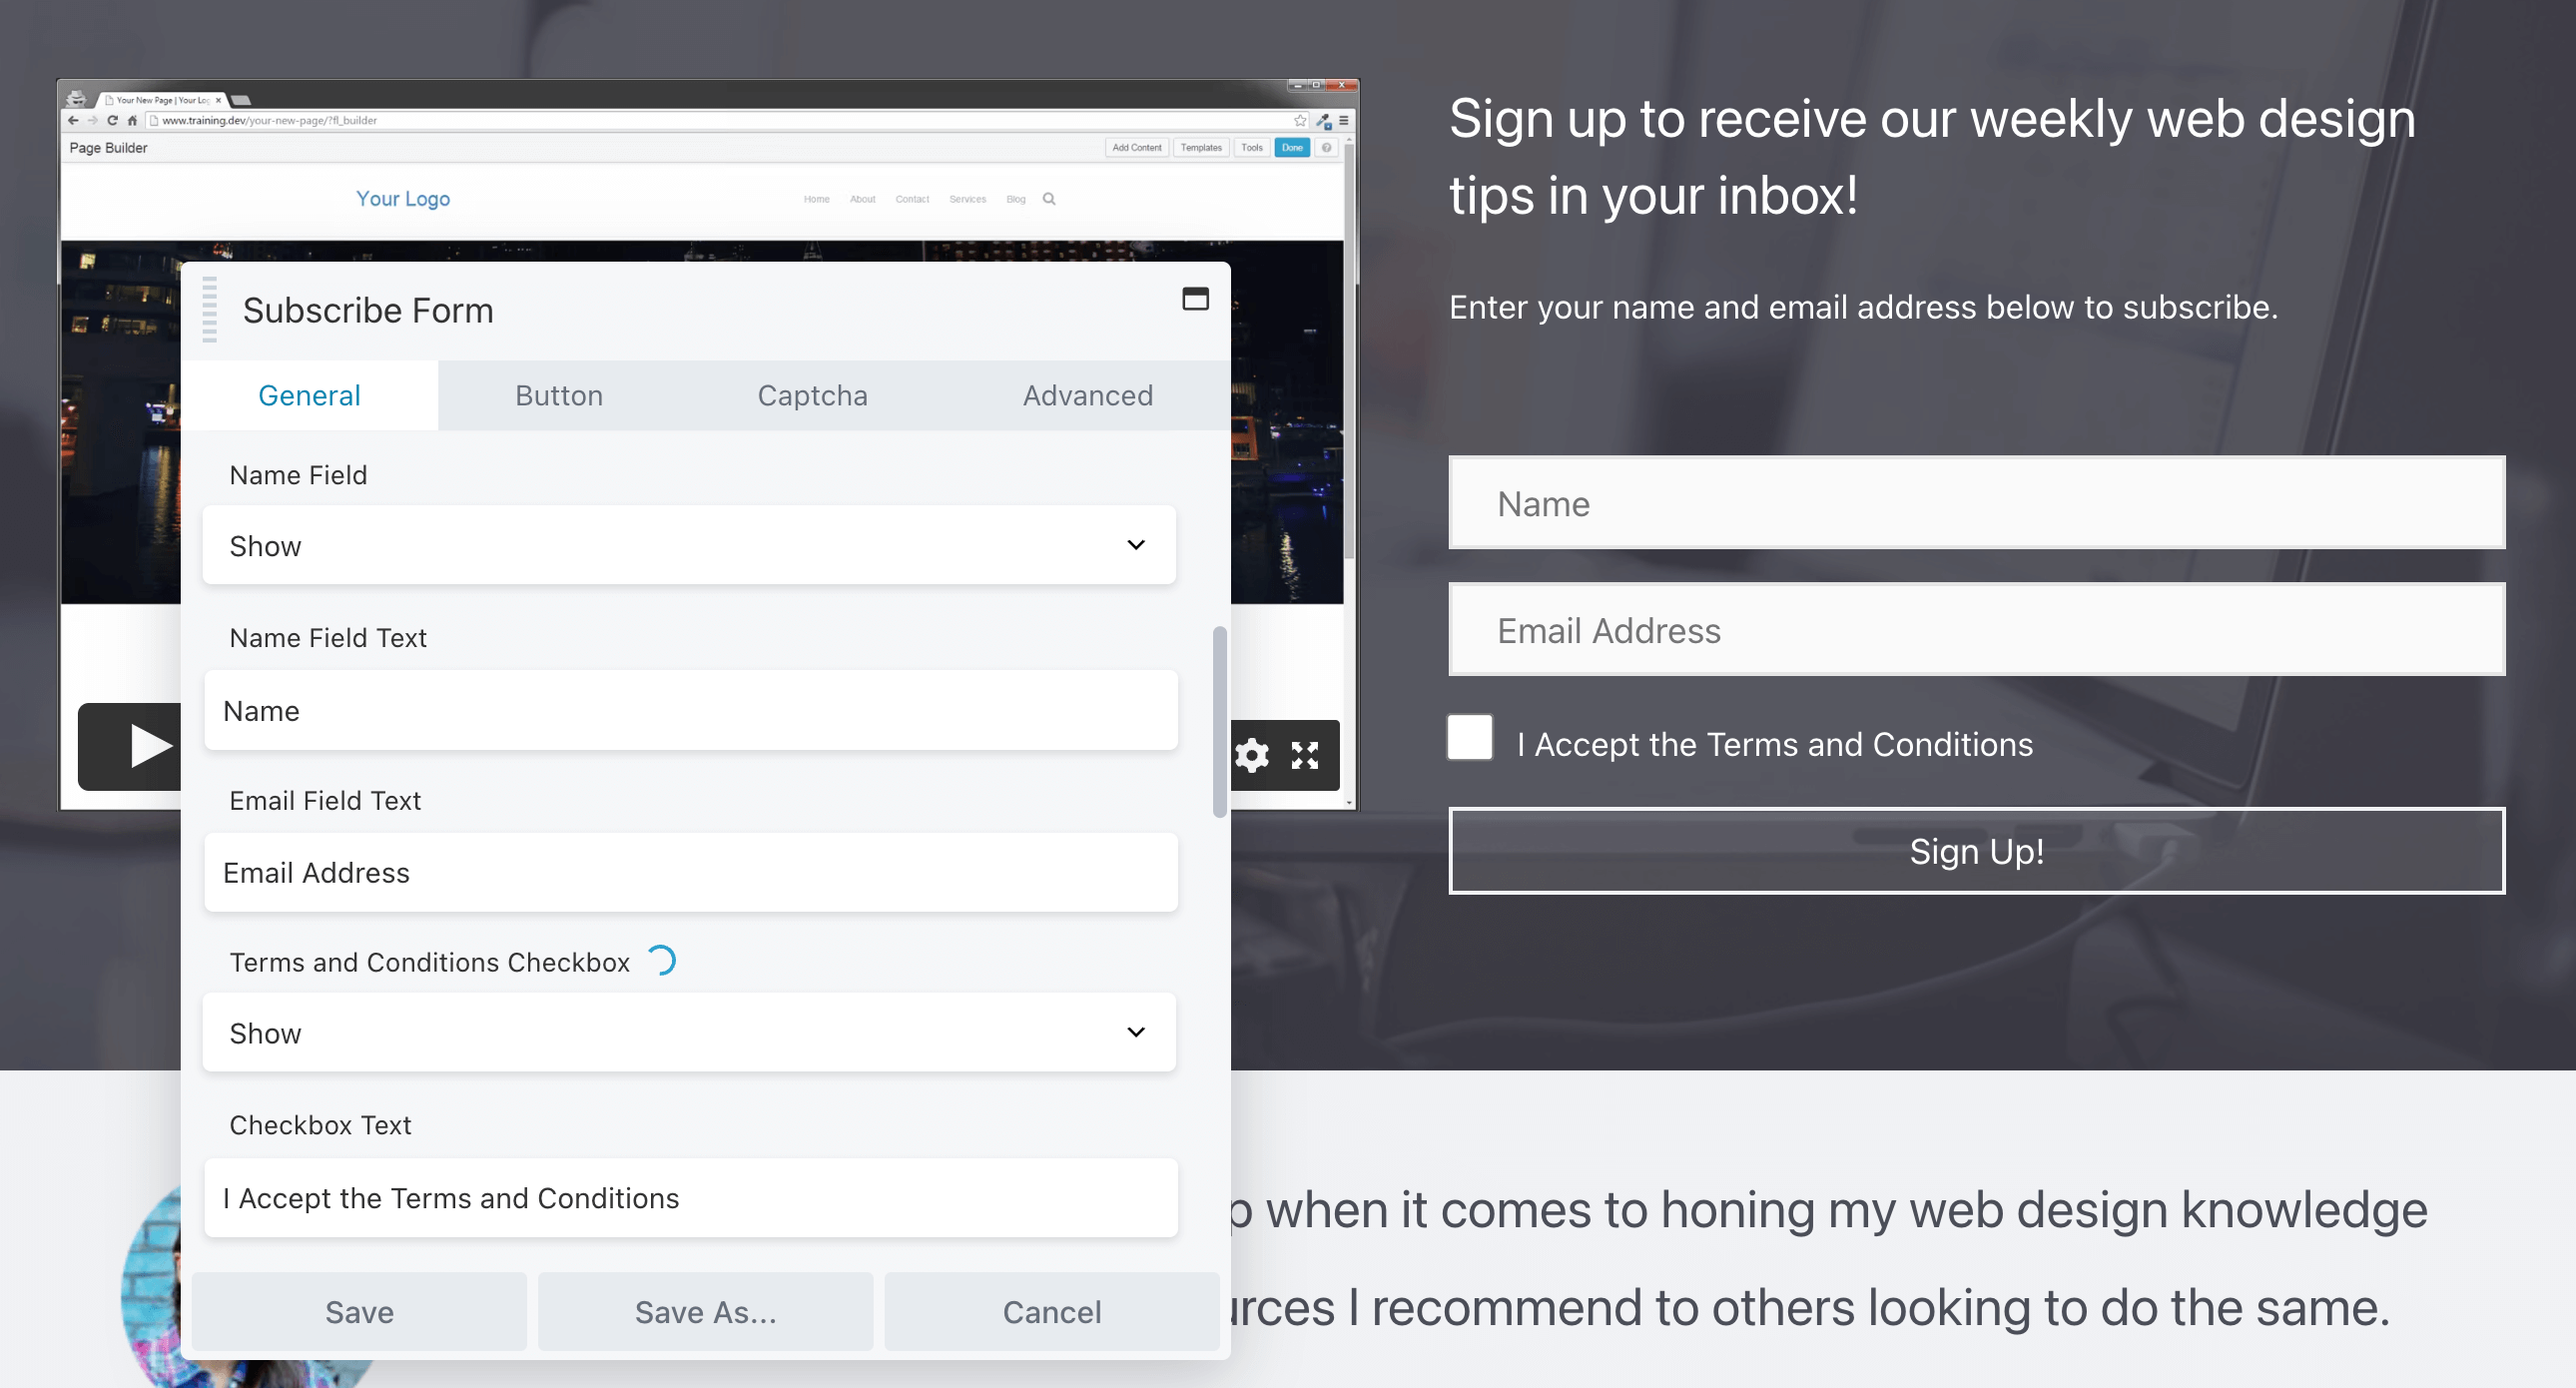
Additionally, you can change the text of each field. Beaver Builder will also give you the option of adding a Terms and Conditions Checkbox:
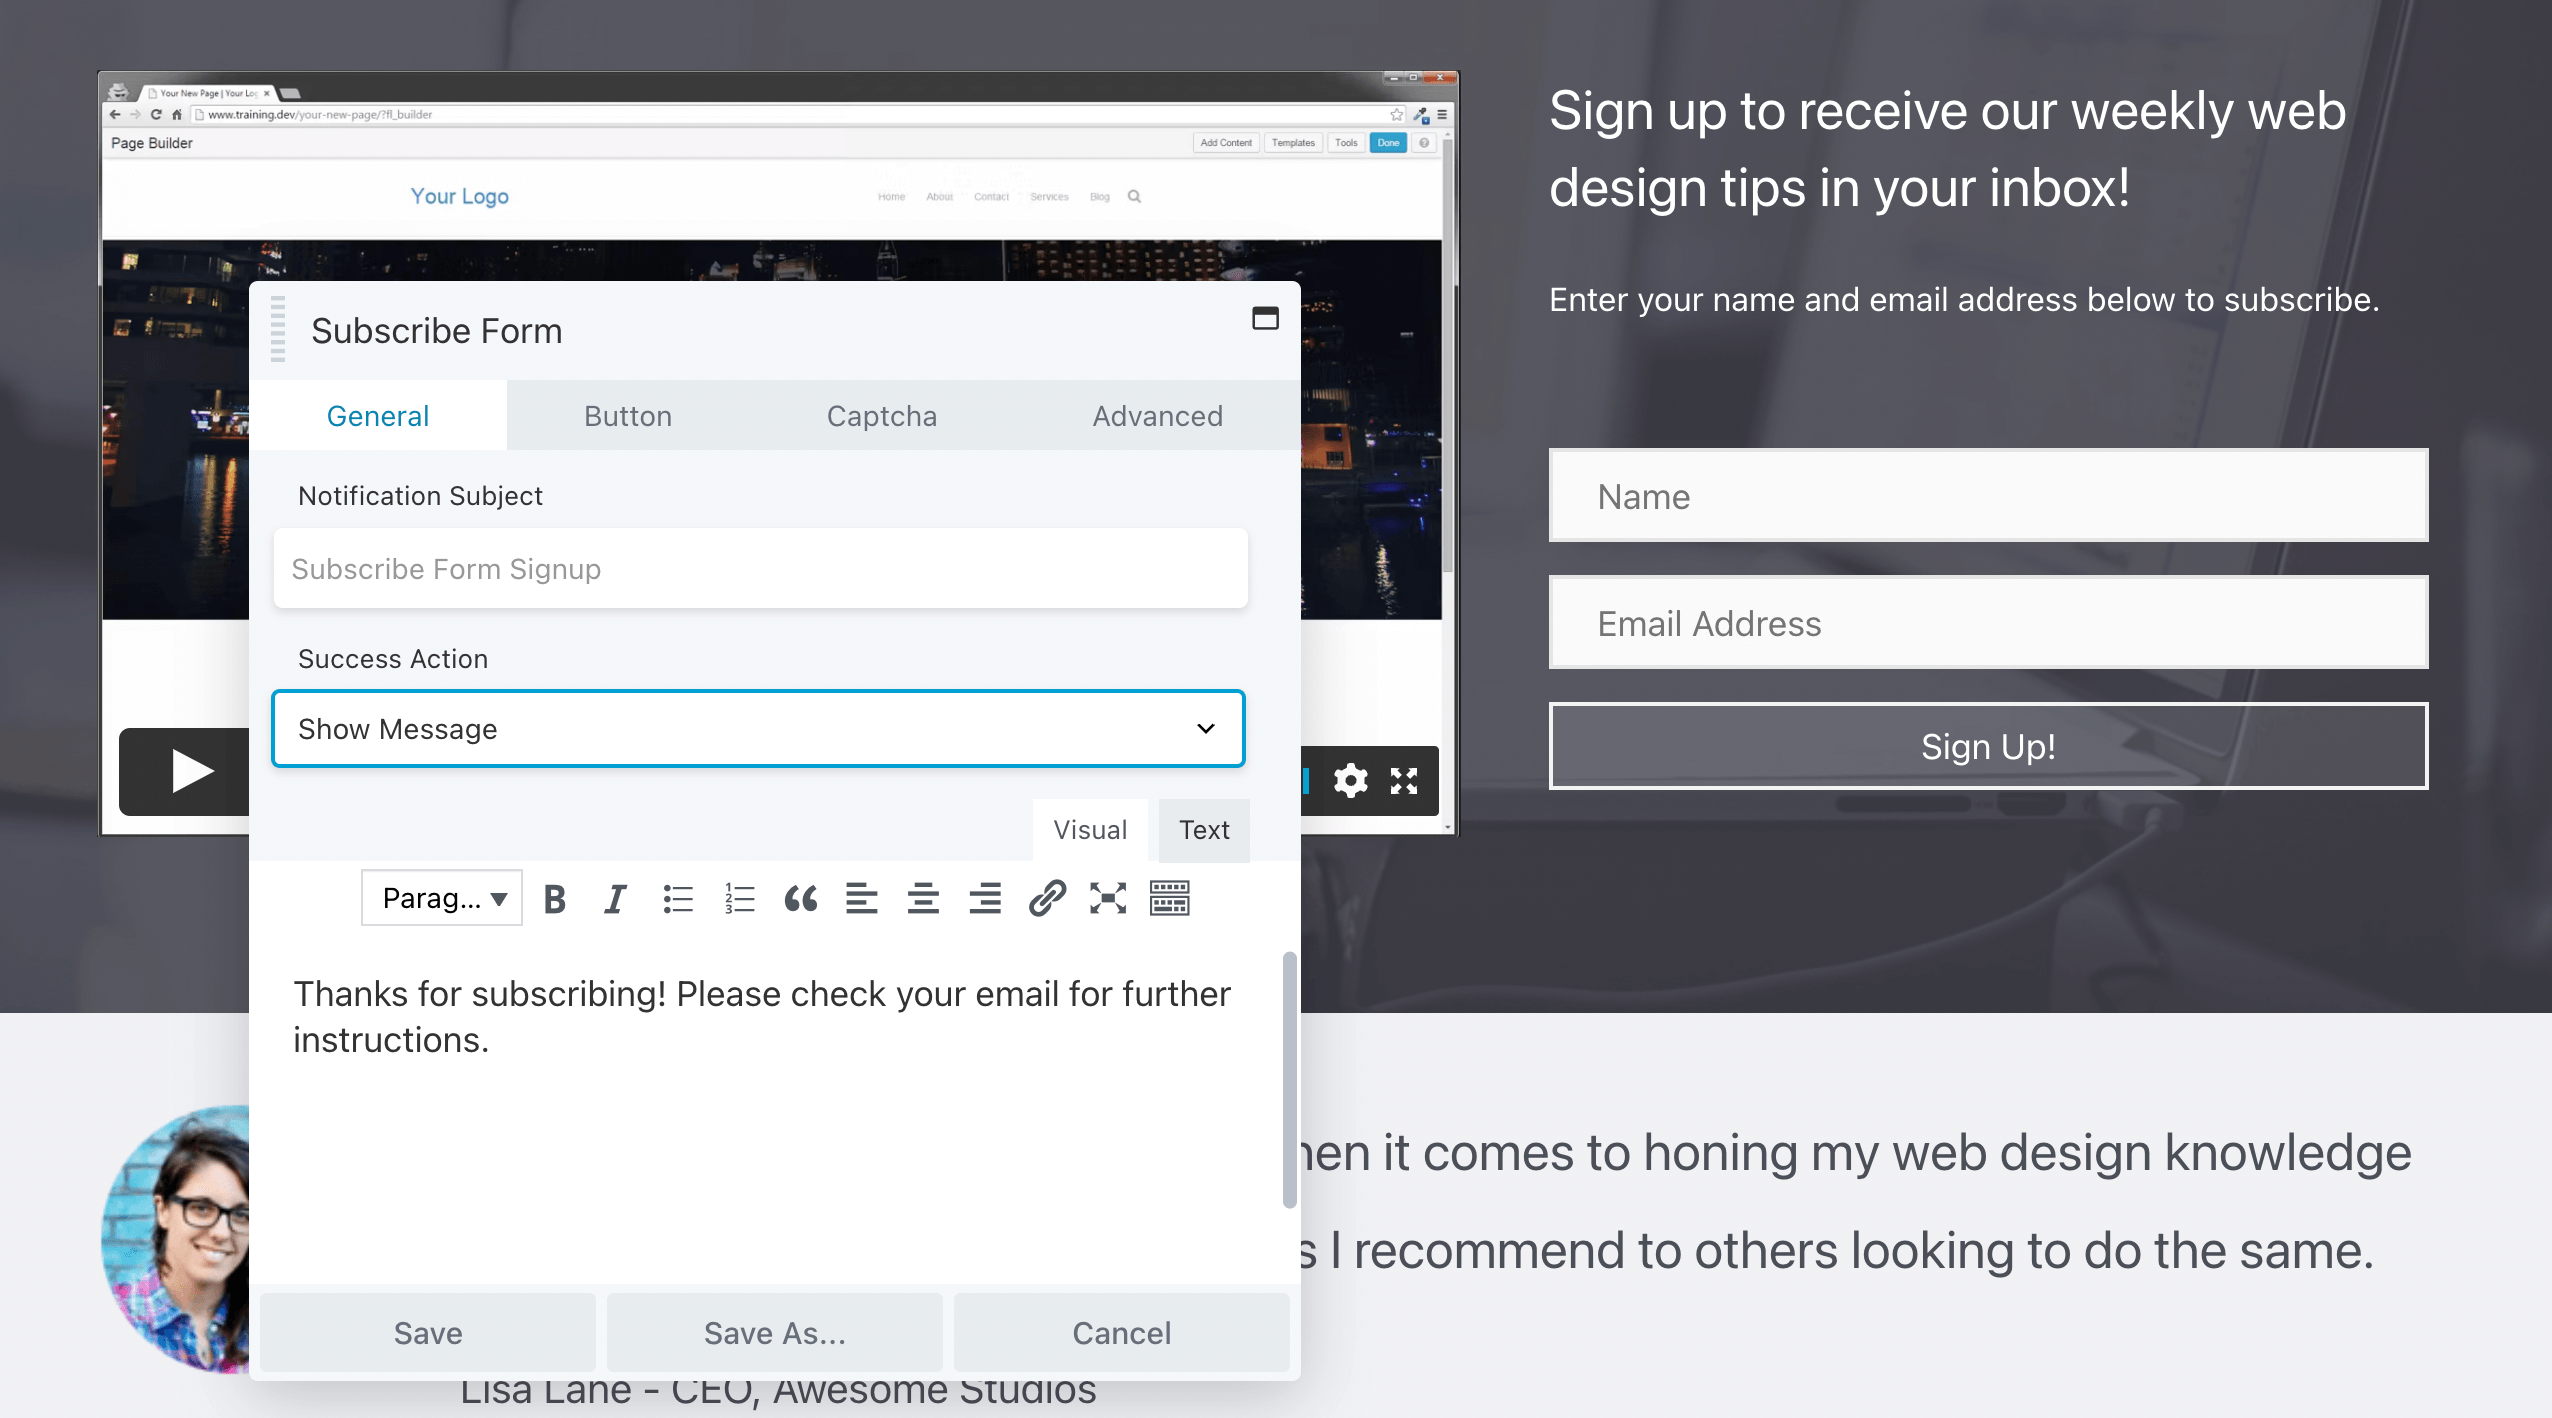
At the bottom of the window, under Success Action, you can also choose Show Message to add a custom note for your new subscribers.
Here, you can simply thank visitors for signing up or explain what they can expect from your newsletter:
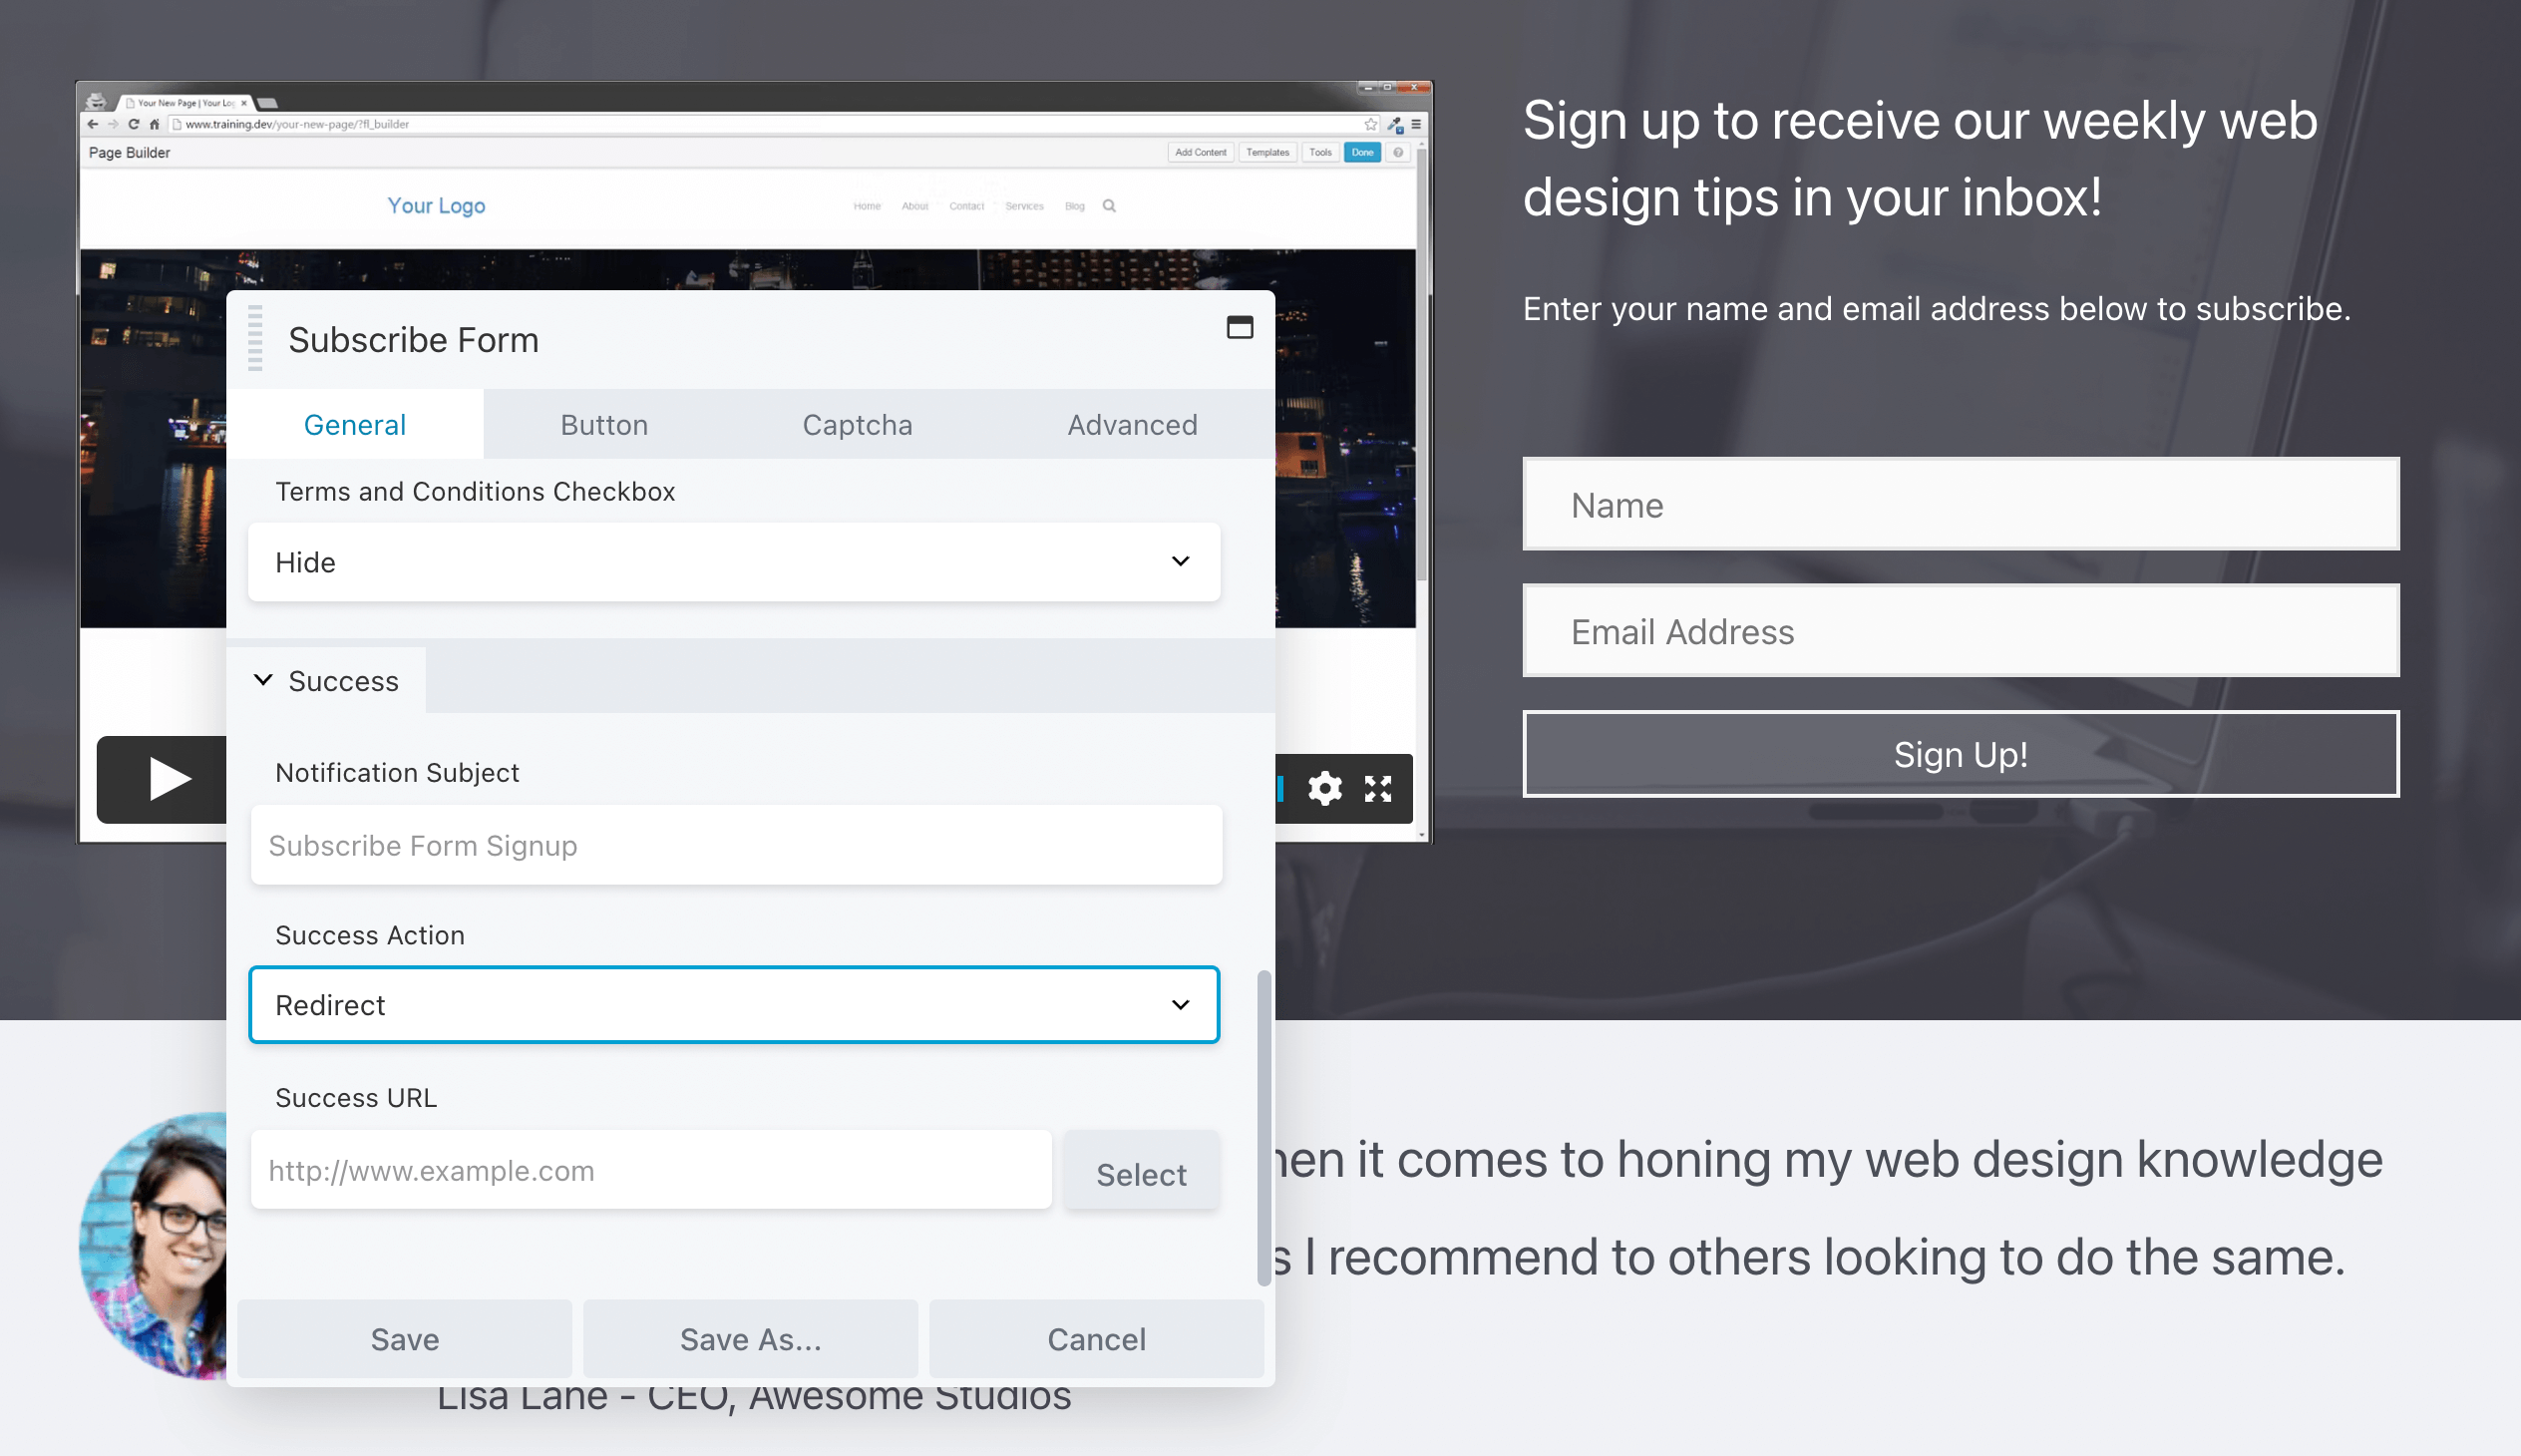
Alternatively, you can redirect them to a different web page. This page can feature a simple success message, special discount, or further instructions:
By now, you should have a basic subscribe form that is linked to Mailchimp!
Step 4: Customize Your Subscribe Form
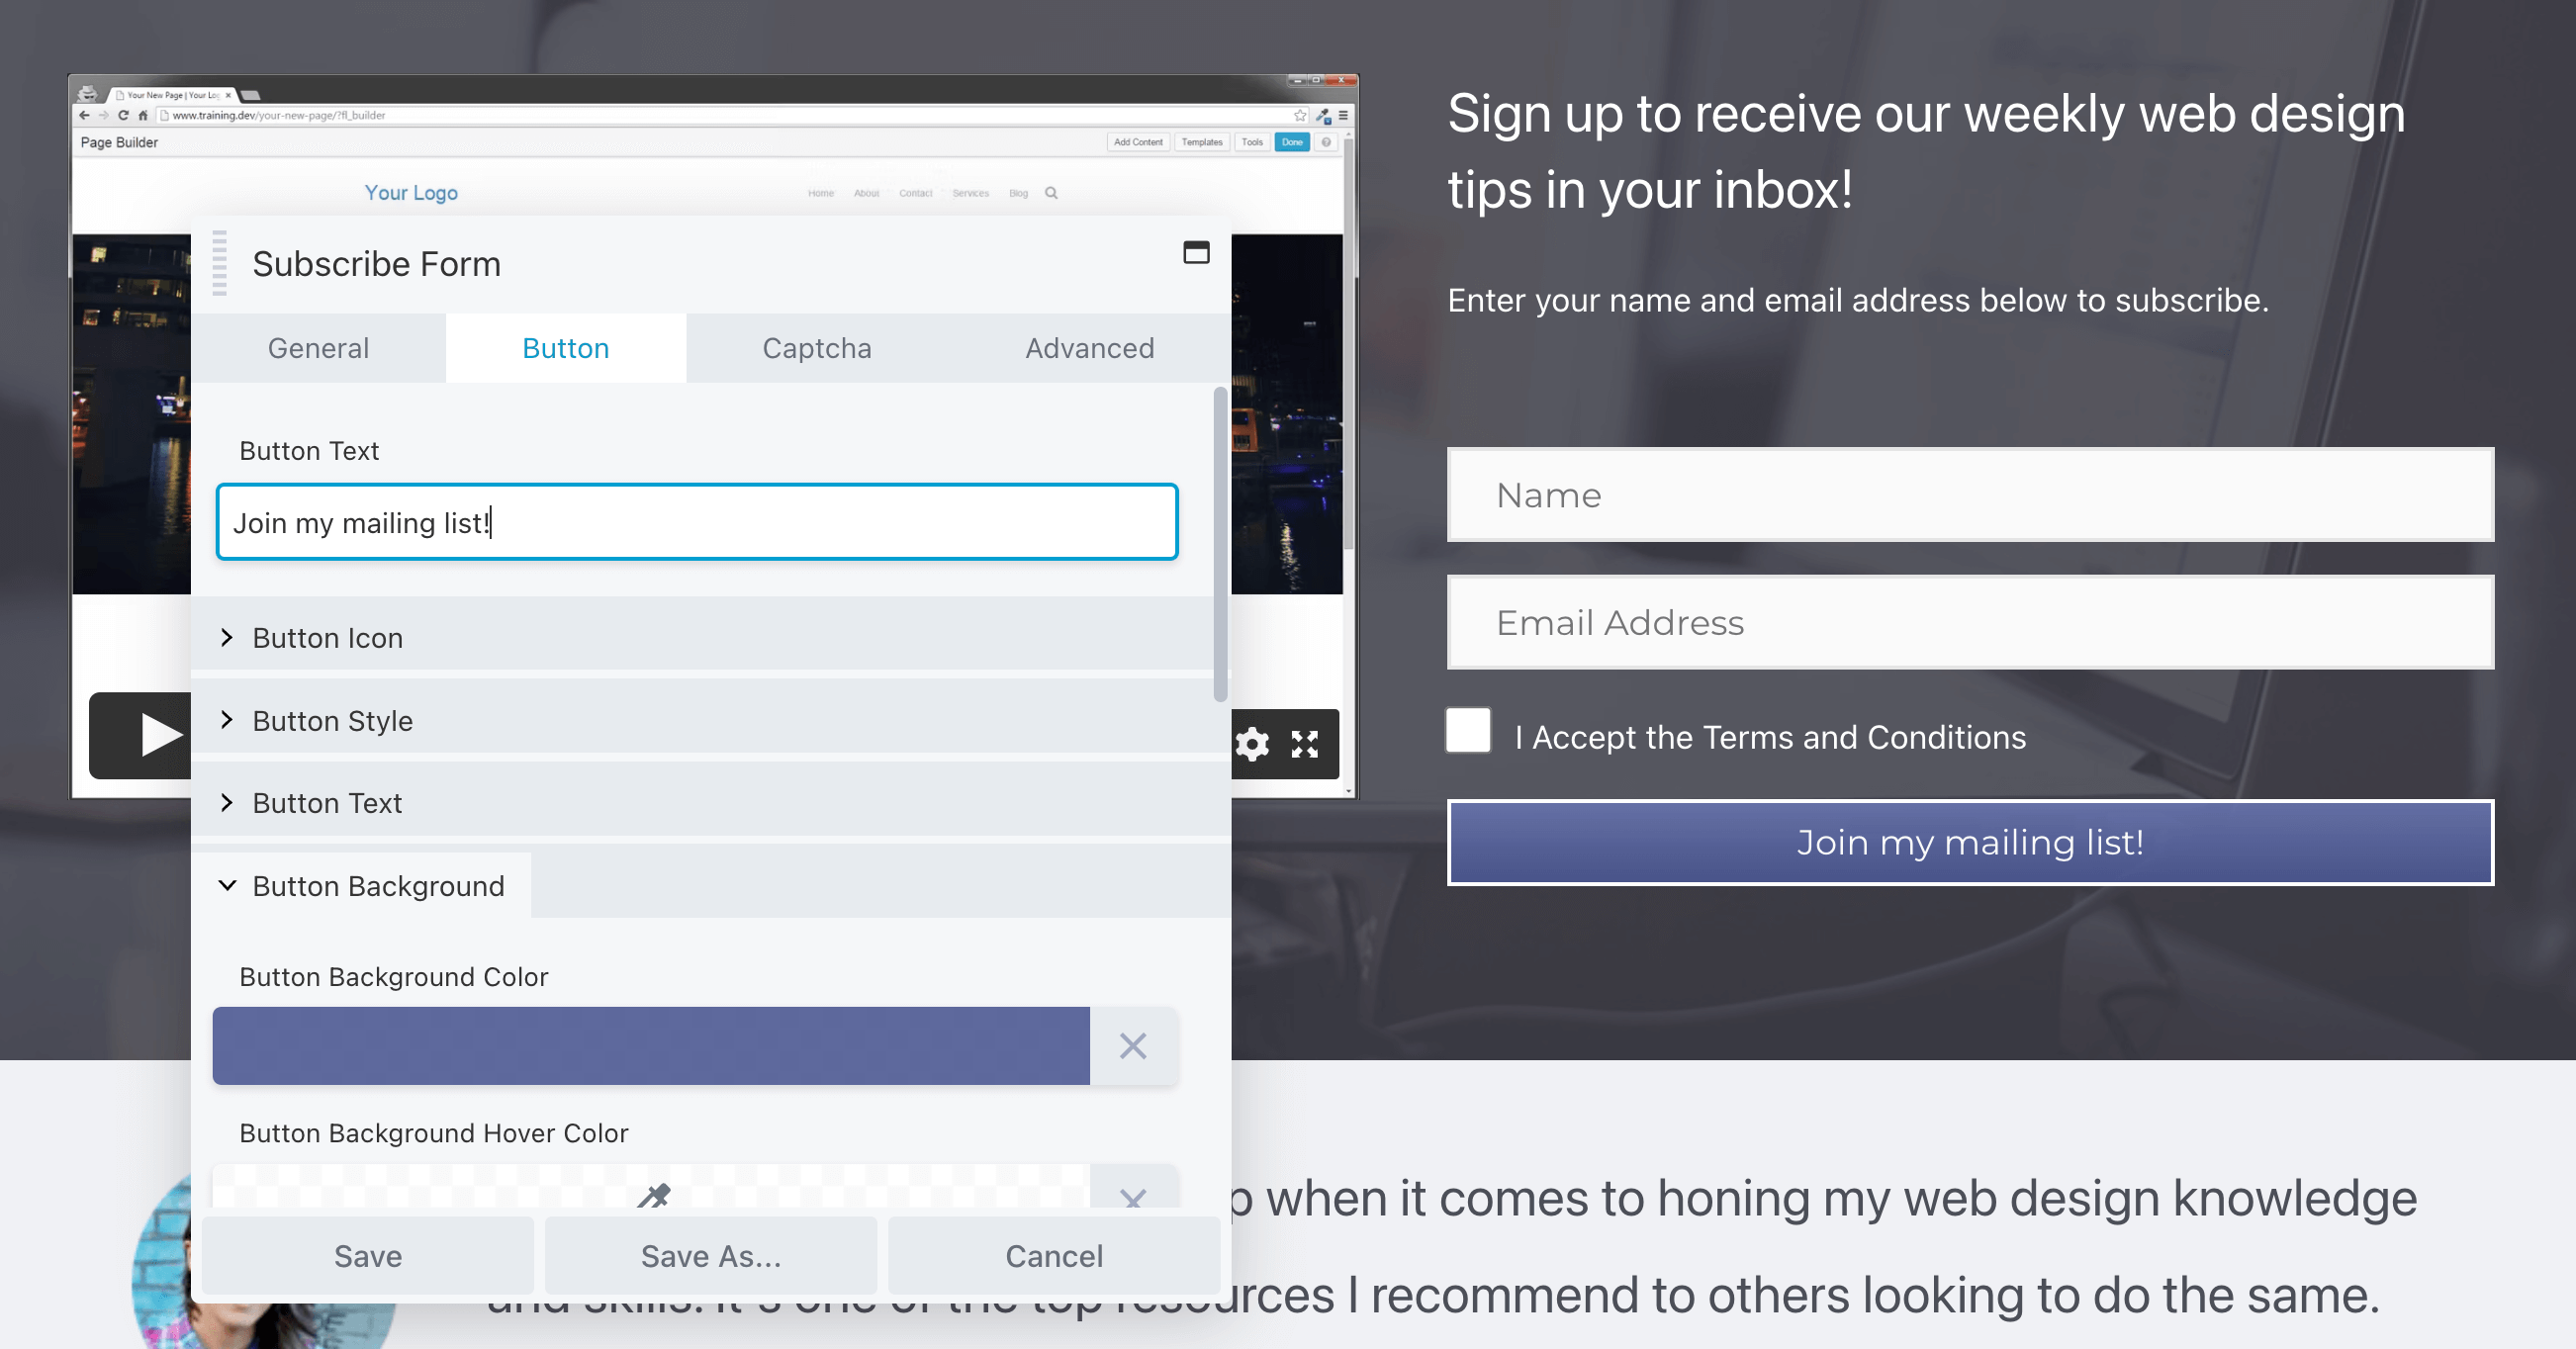
Although you can leave this form as is, you may want to consider customizing it further. For instance, you can click on the Button tab to edit the action button’s text, style, and icon:
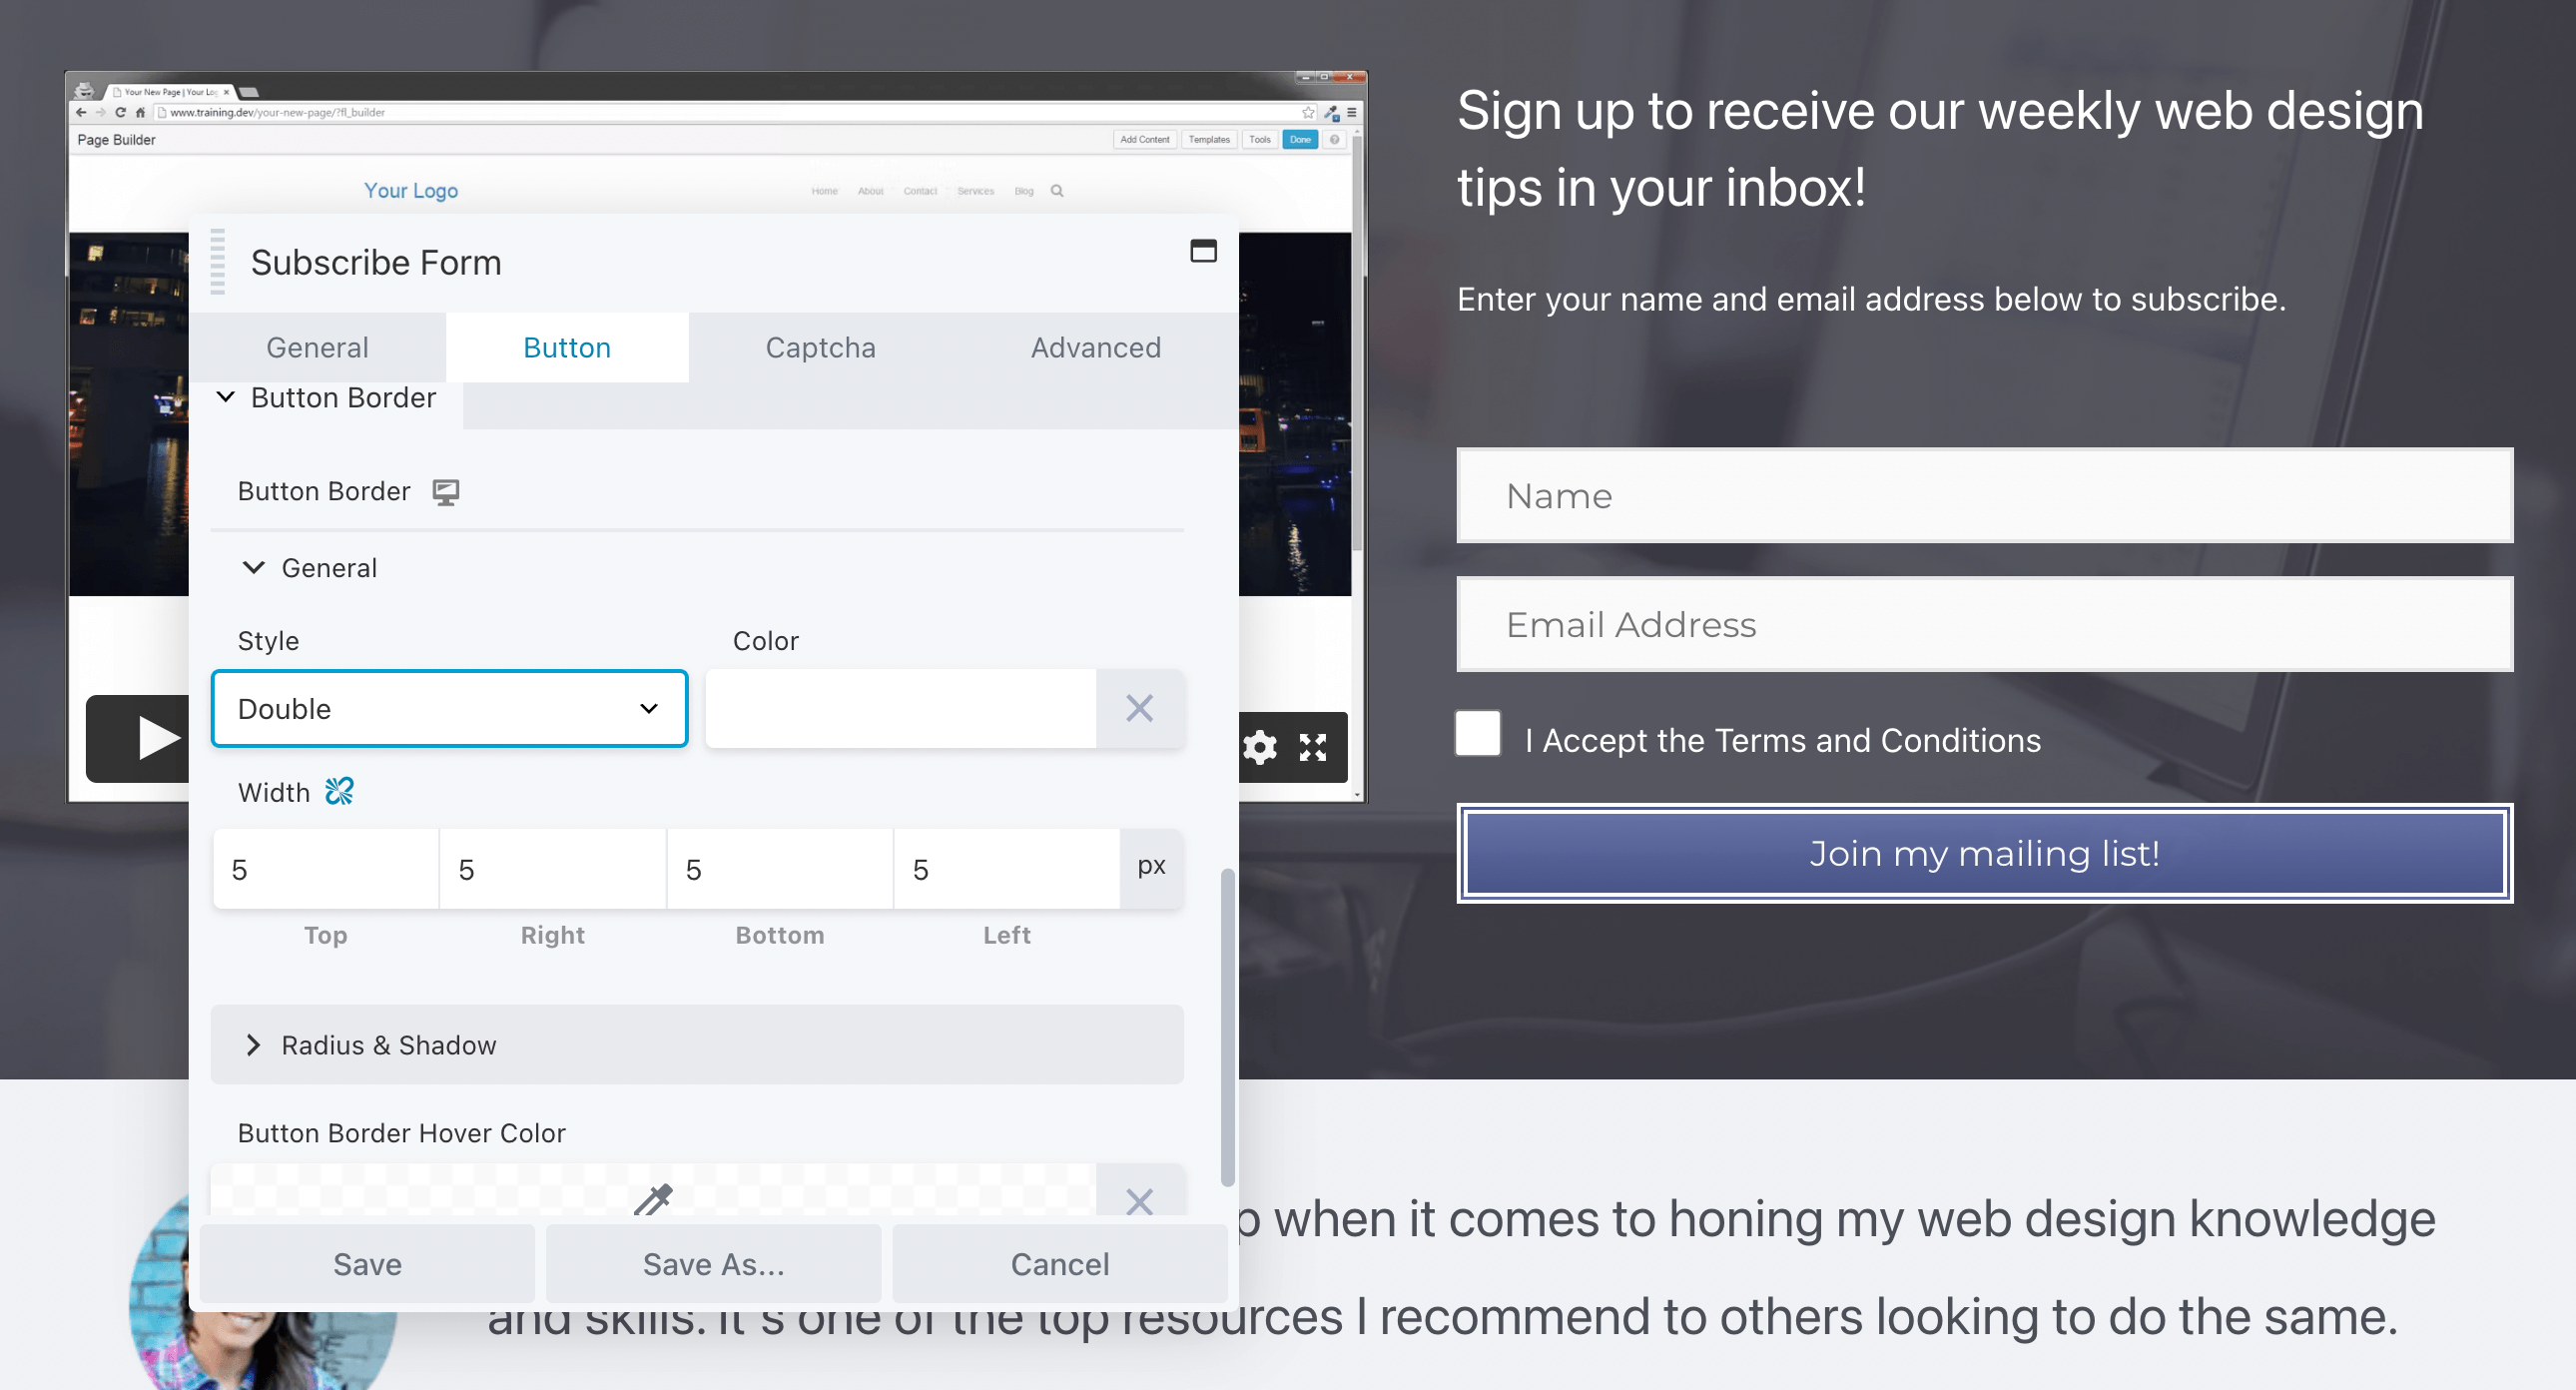
You can also change the style, background, color, text color, and width of the button’s border. Additionally, the Advanced tab can enable you to update the margin and padding around form elements:
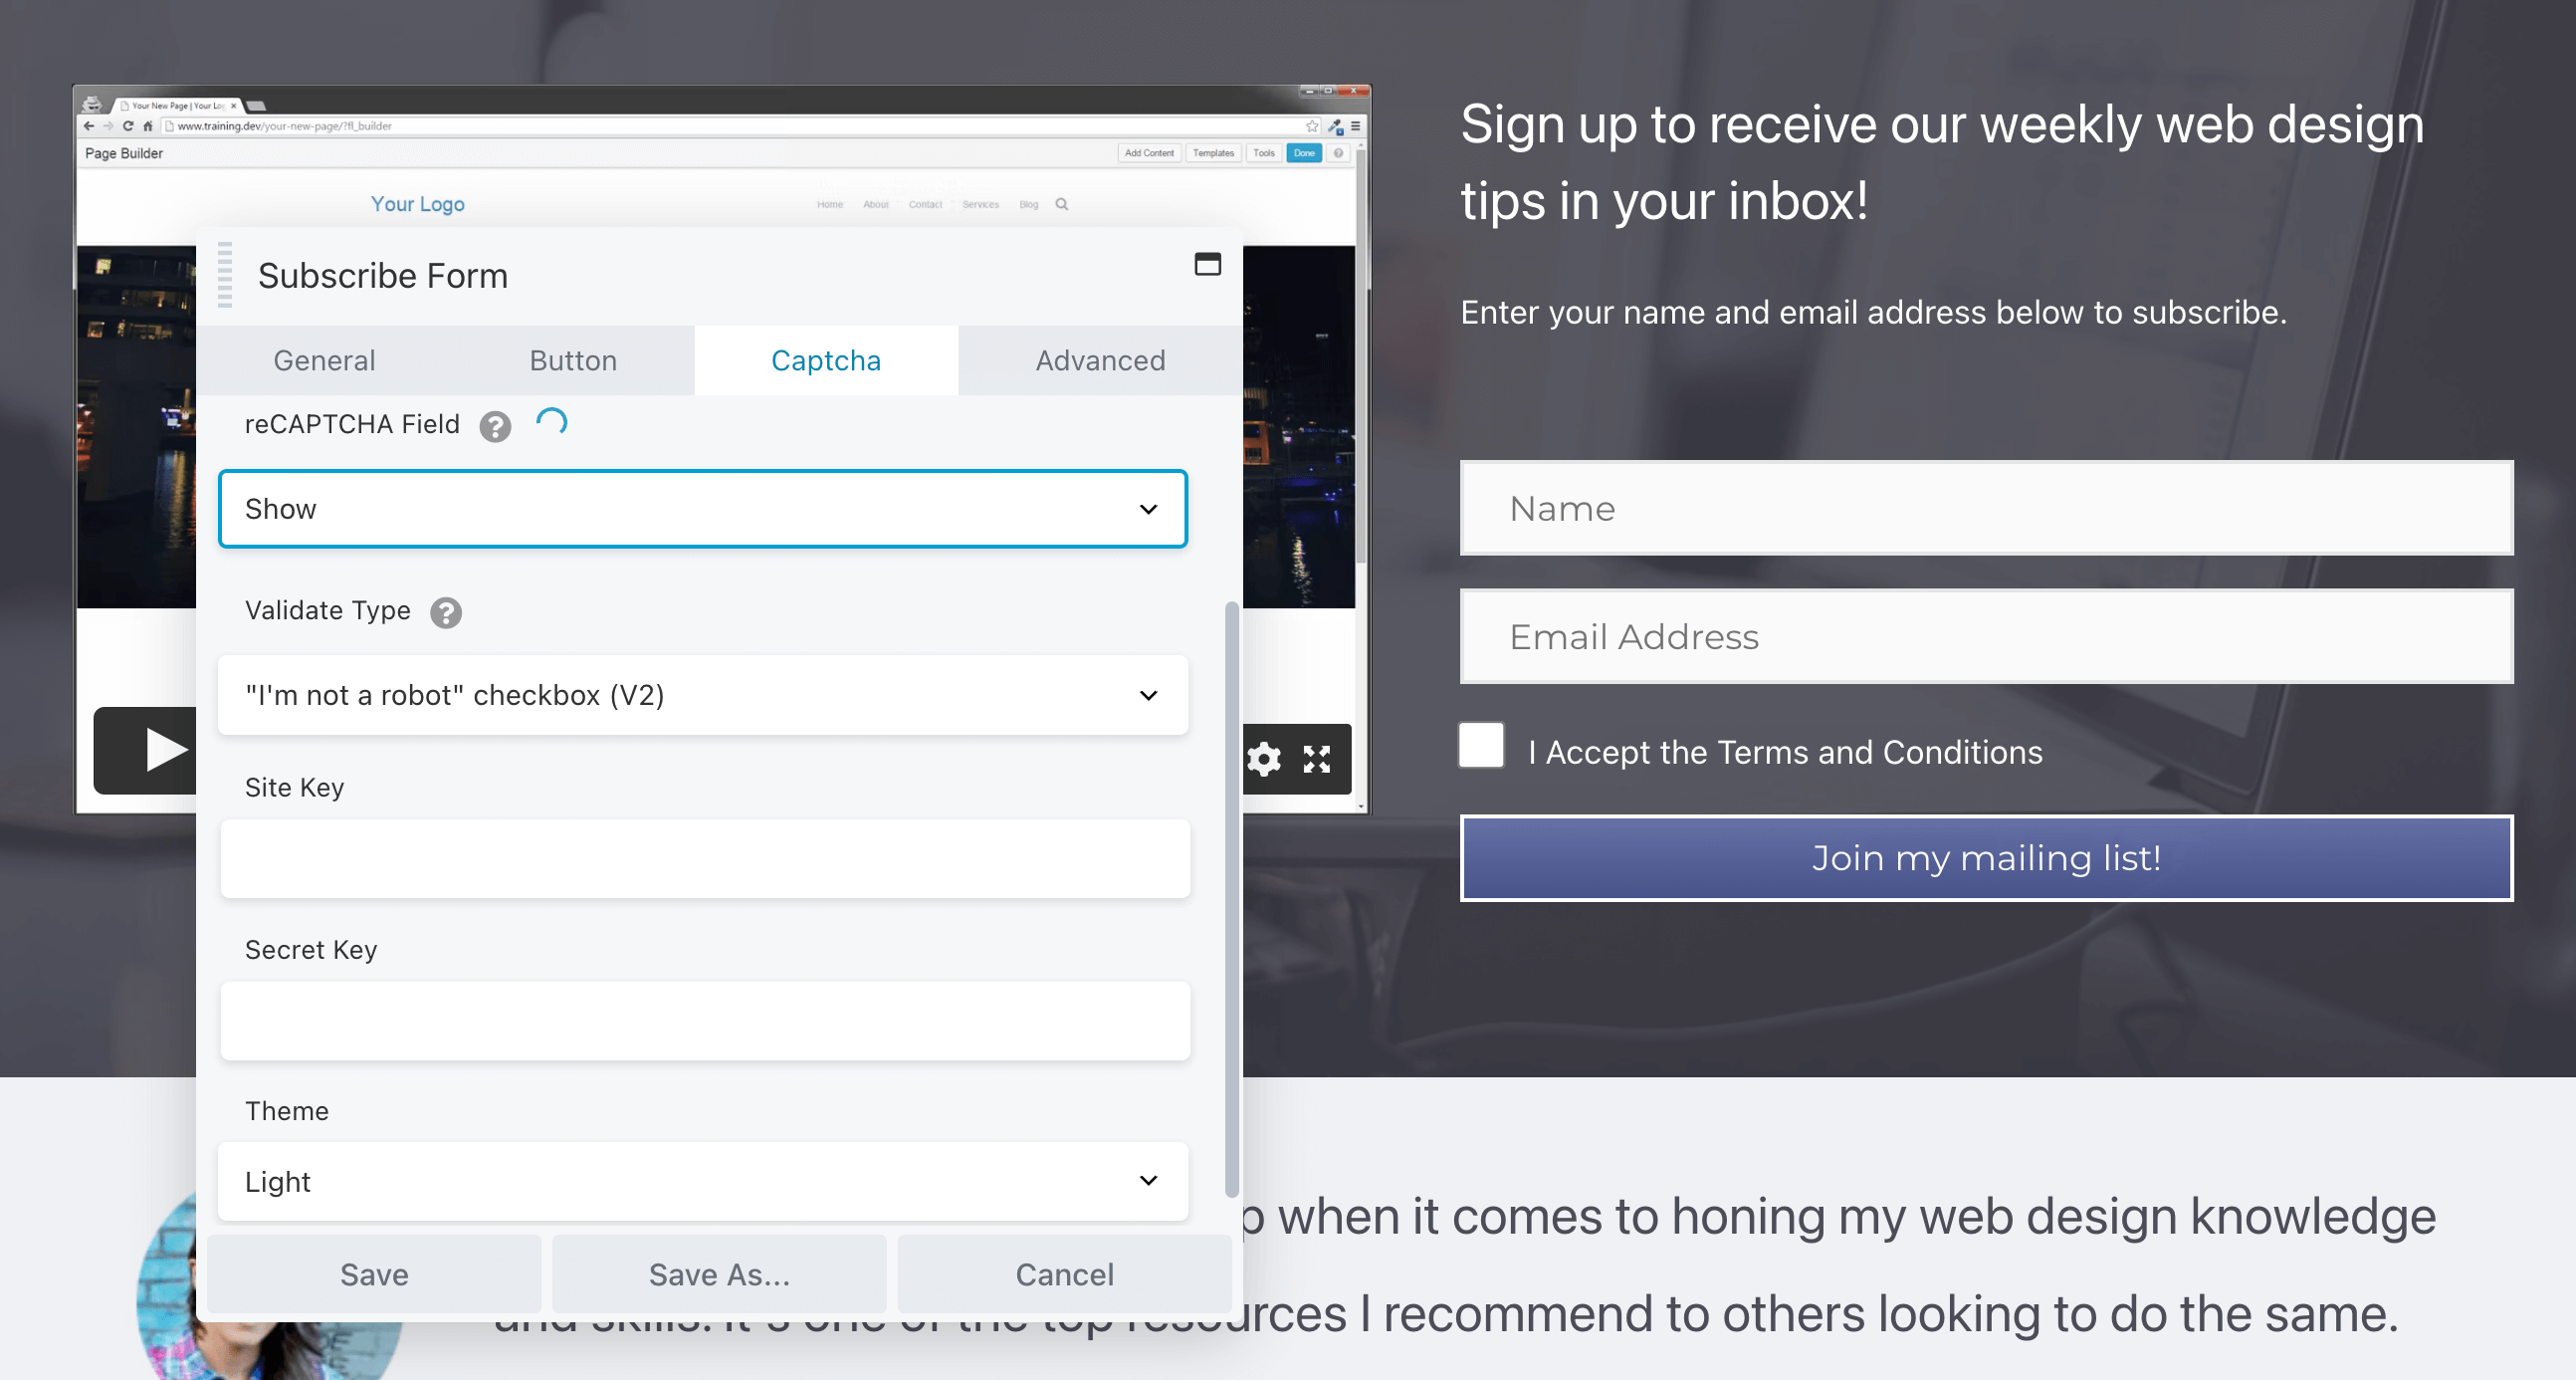
To minimize the number of spam entries you receive, you can even add a reCAPTCHA field to your form.
First, you’ll have to register for a reCAPTCHA license key. Then, enter the Site Key and Secret Key from your registration:
After you’re satisfied with how your subscribe form looks and functions, feel free to publish the page. Now, any new subscribers will be added to your Mailchimp lists, allowing you to see detailed analytics about them in the email marketing dashboard.
Step 5: Design Your Subscriber Content
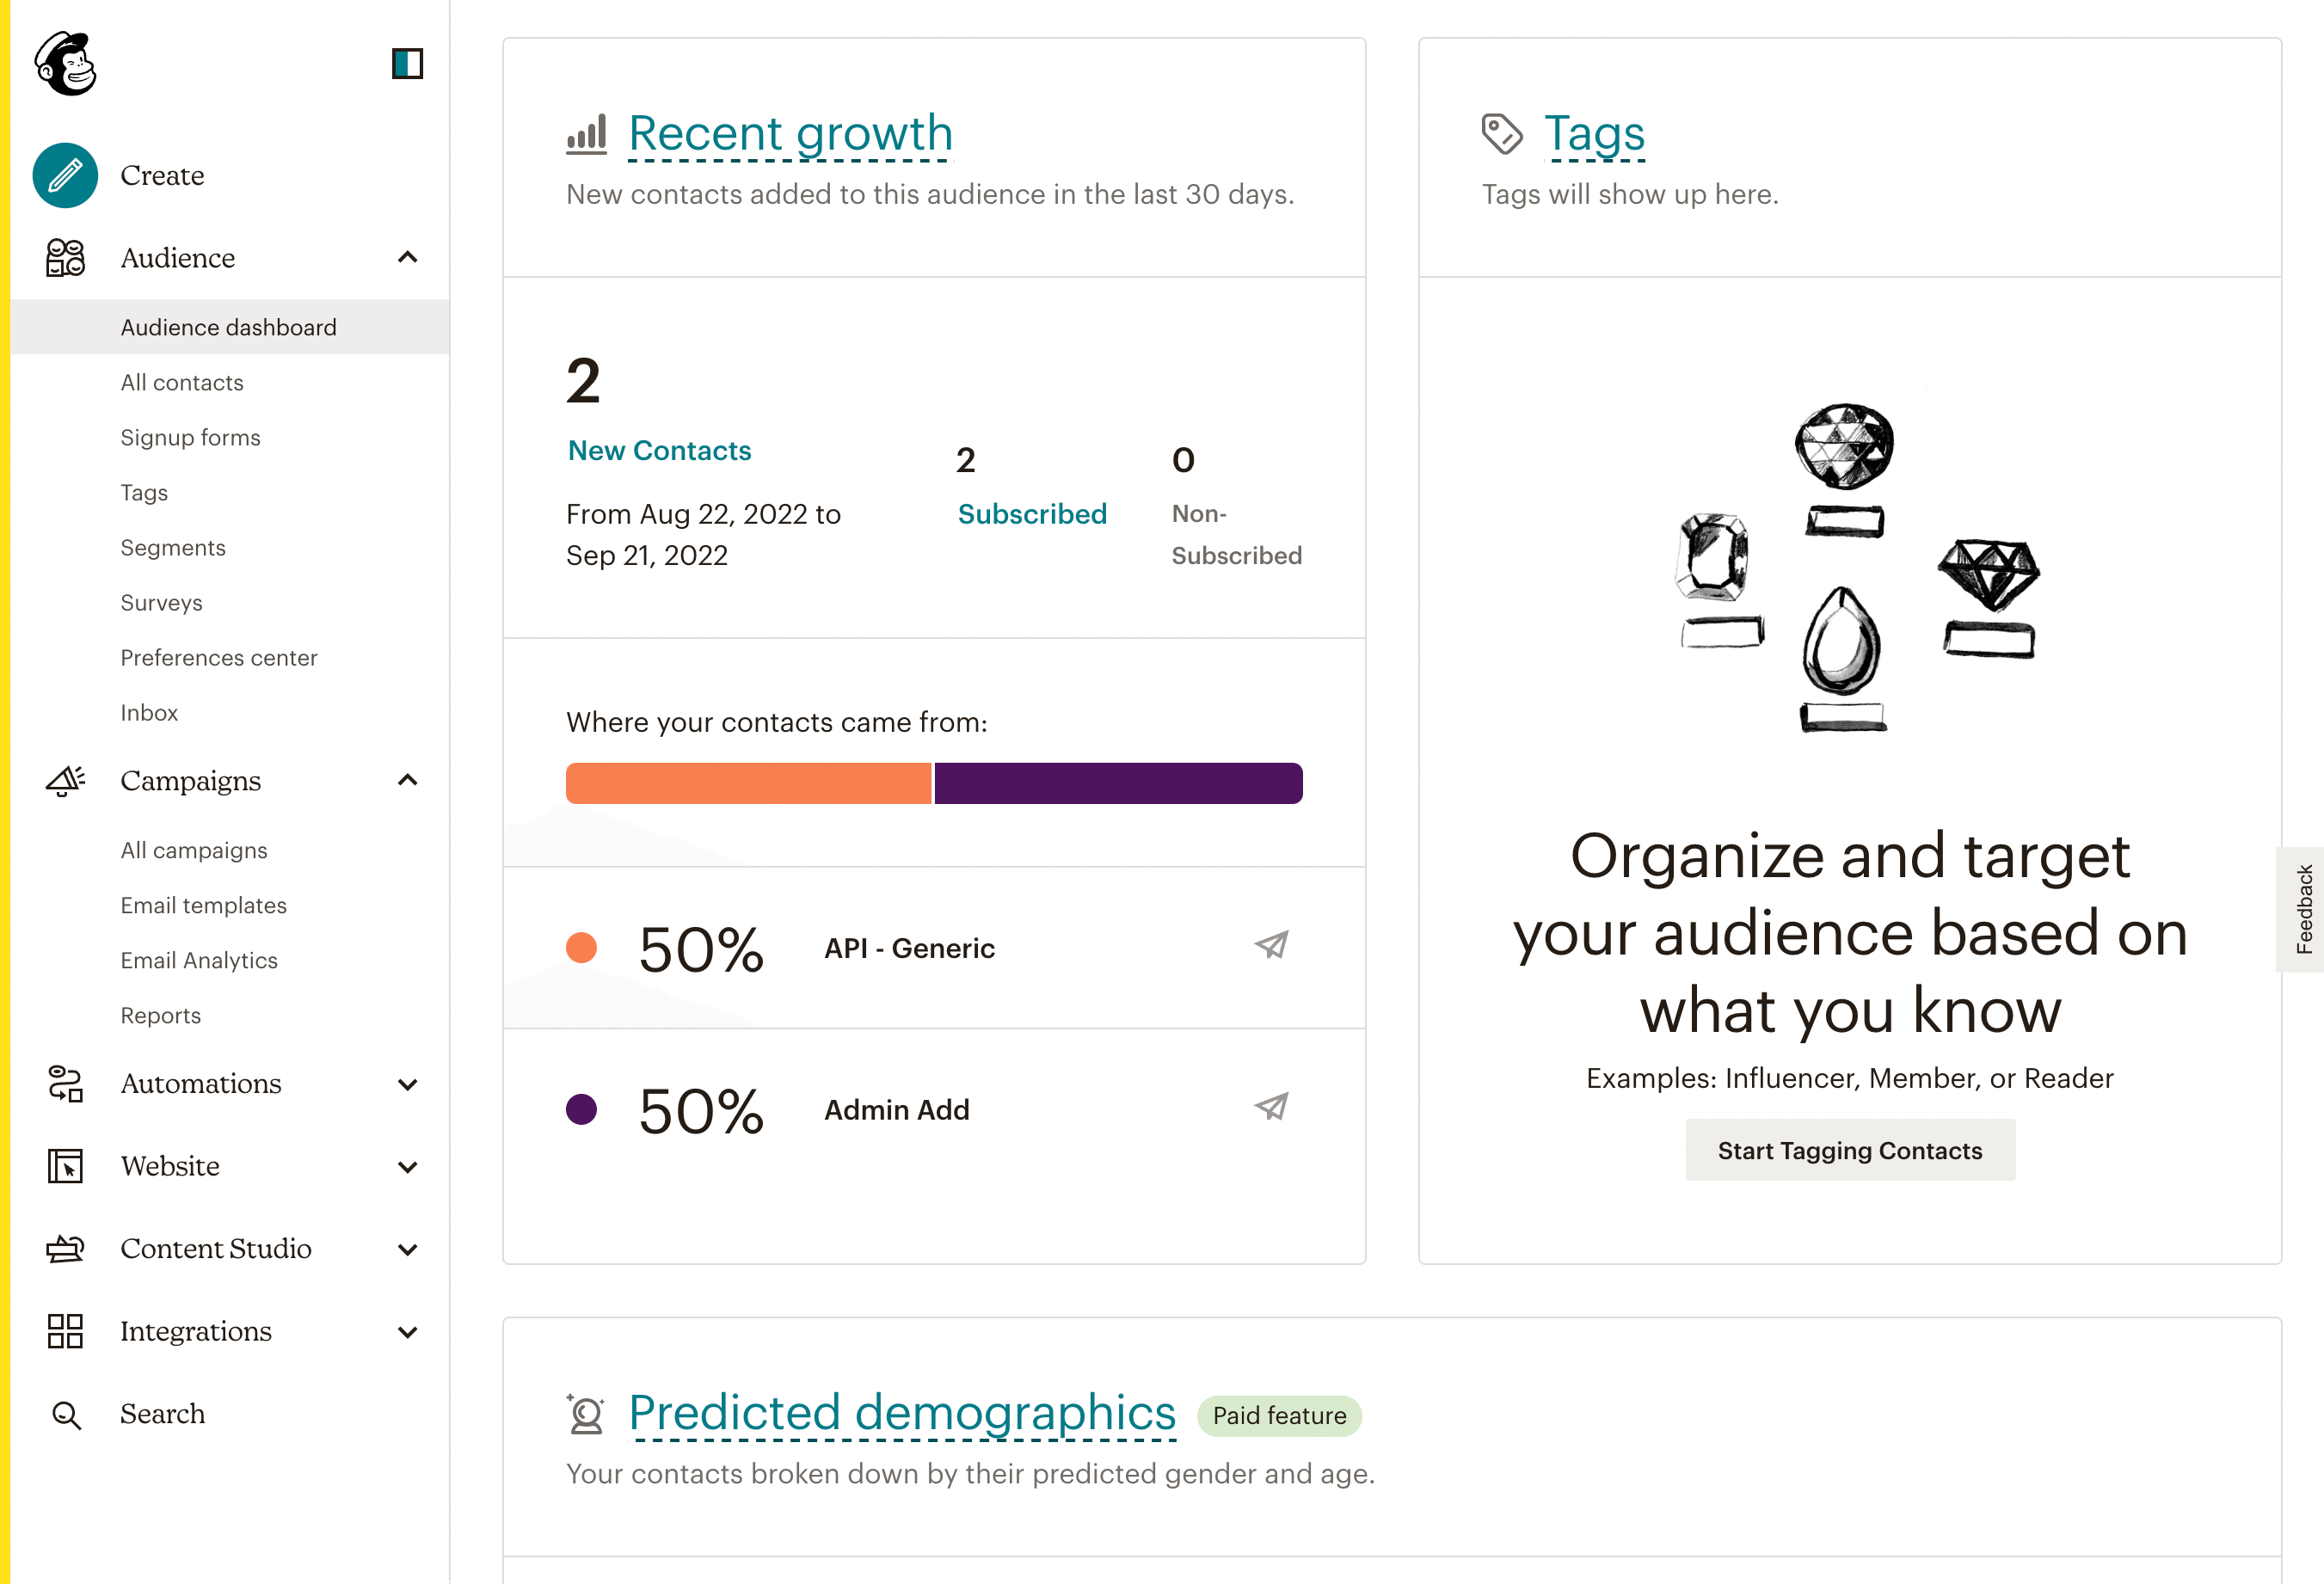
Once you gain some new subscribers, open your Mailchimp account and find the Audience dashboard. Here, you can view analytics about your recent growth. For example, you’ll be able to see your new contacts and where they came from:
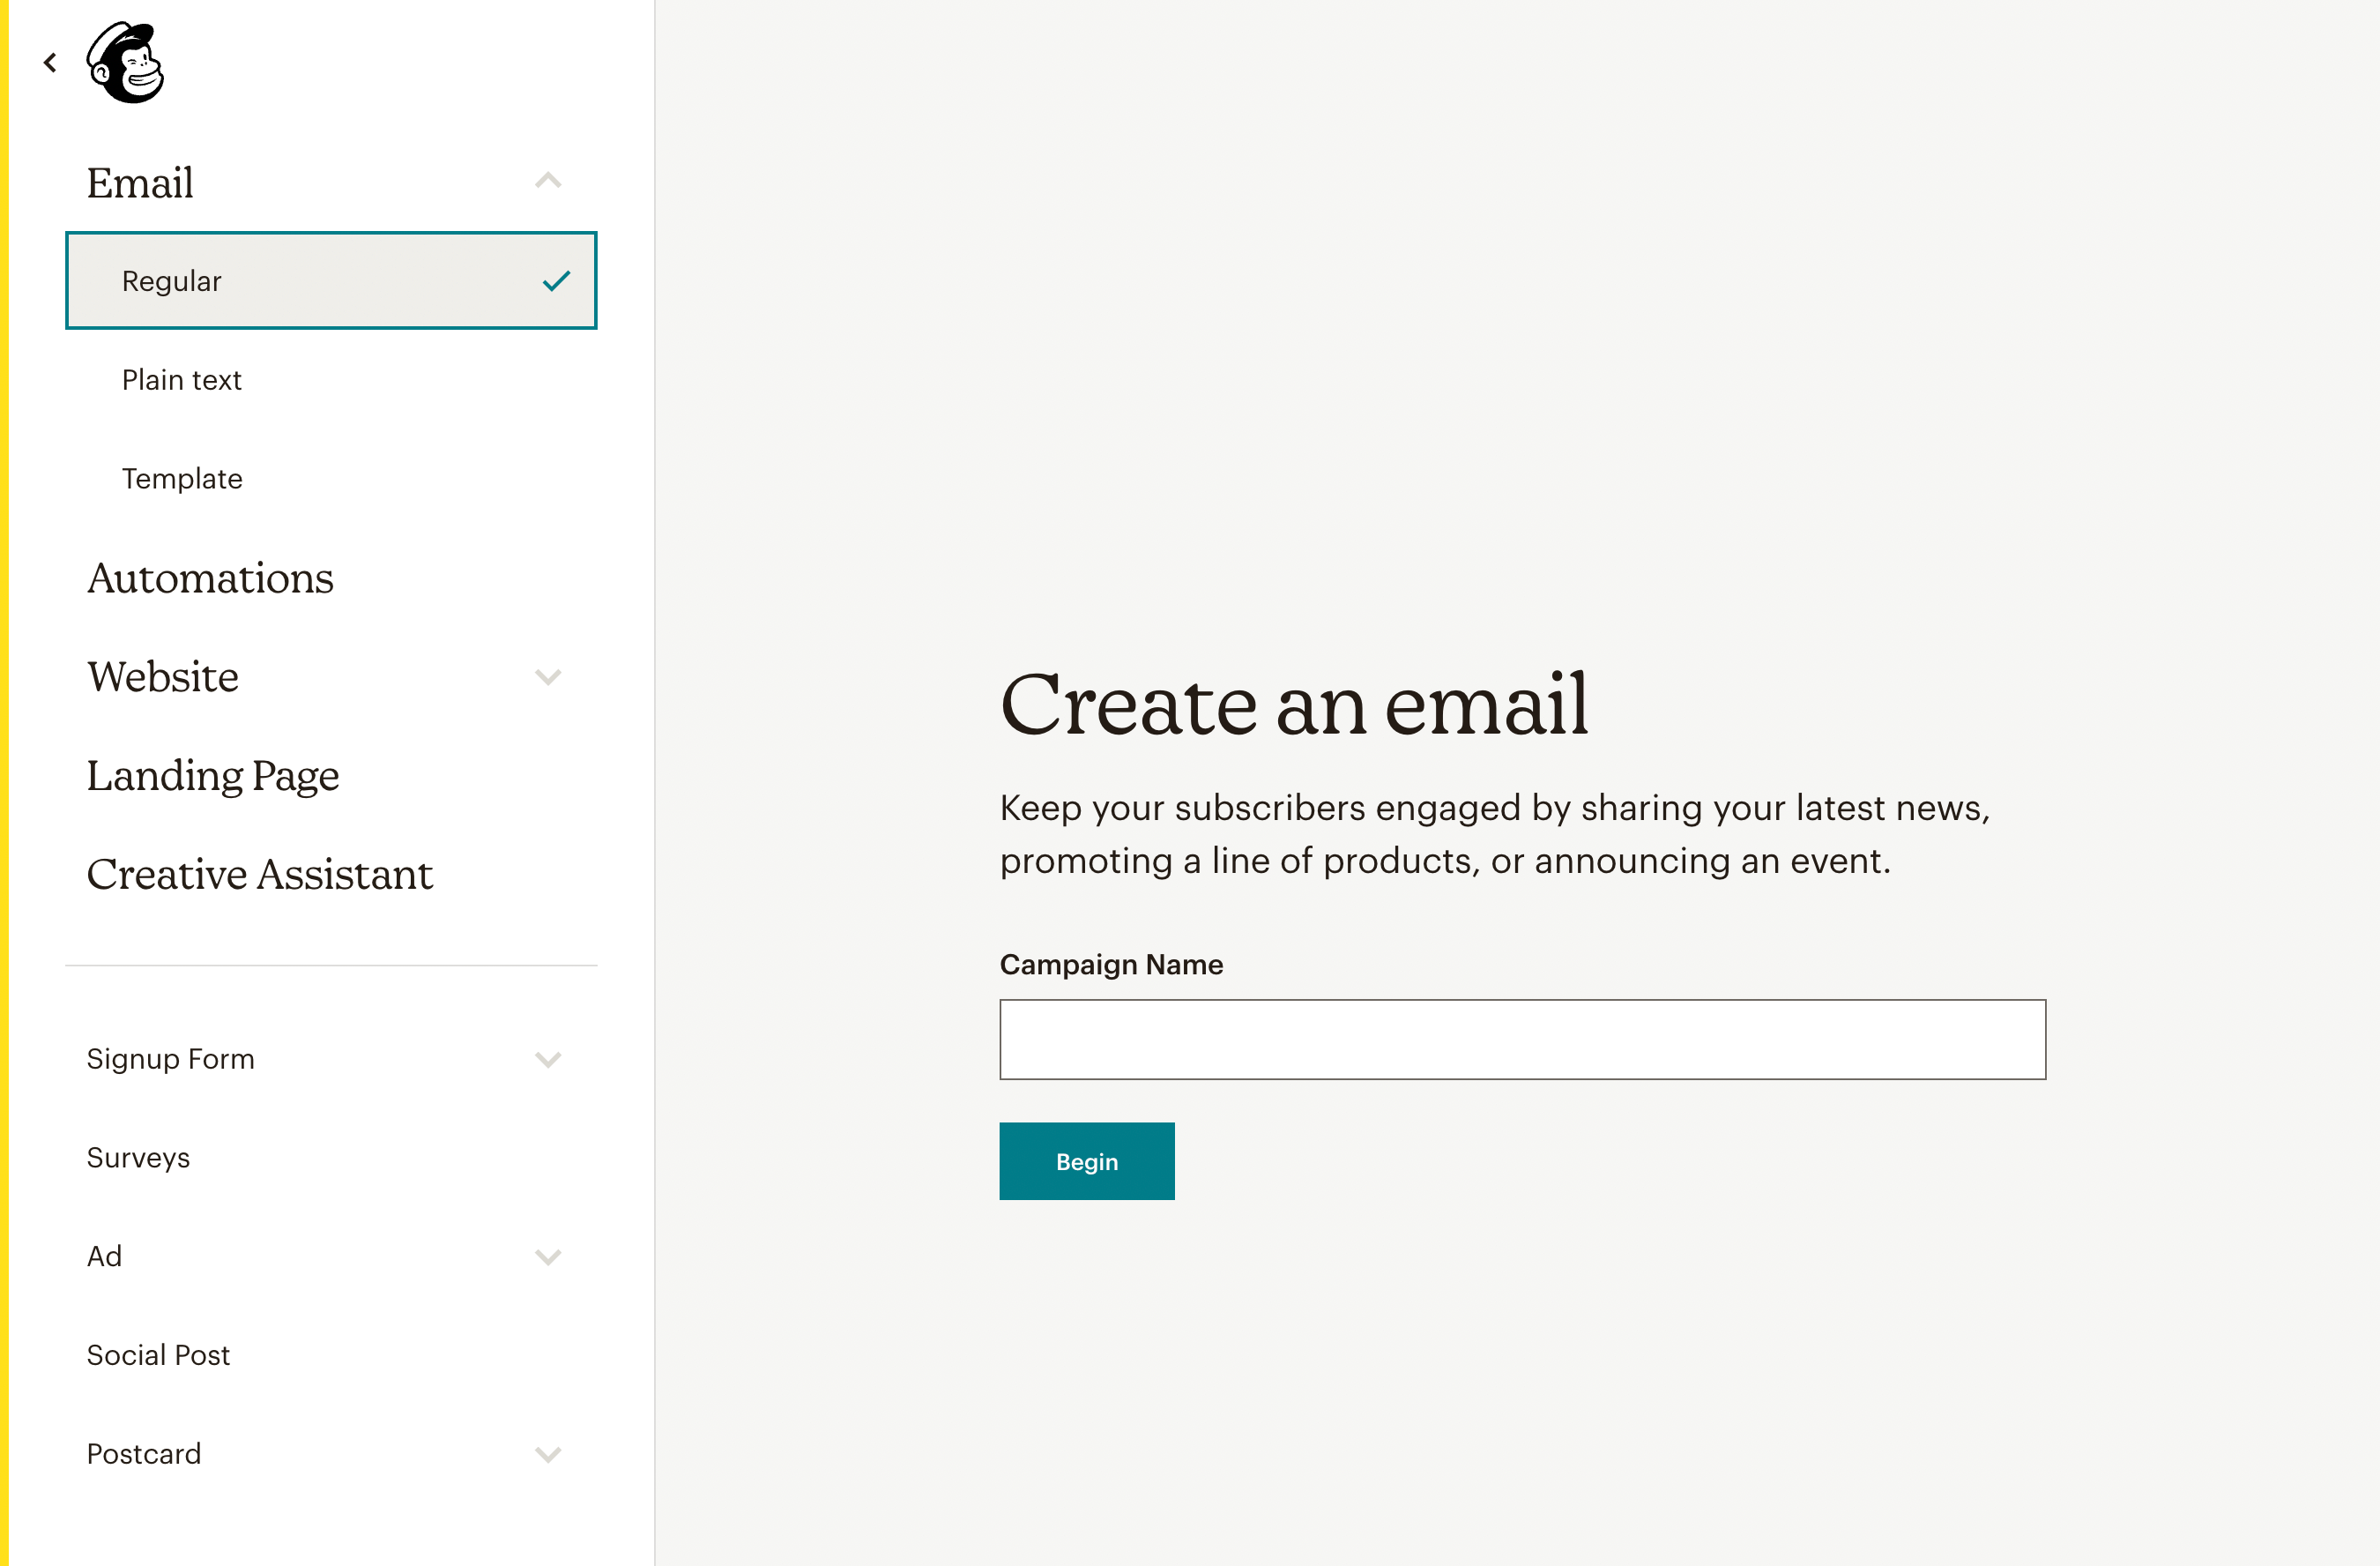
When you’re ready to start creating subscriber content, click on Create > Email > Regular. Before you build a new email, you’ll have to start with a Campaign Name:
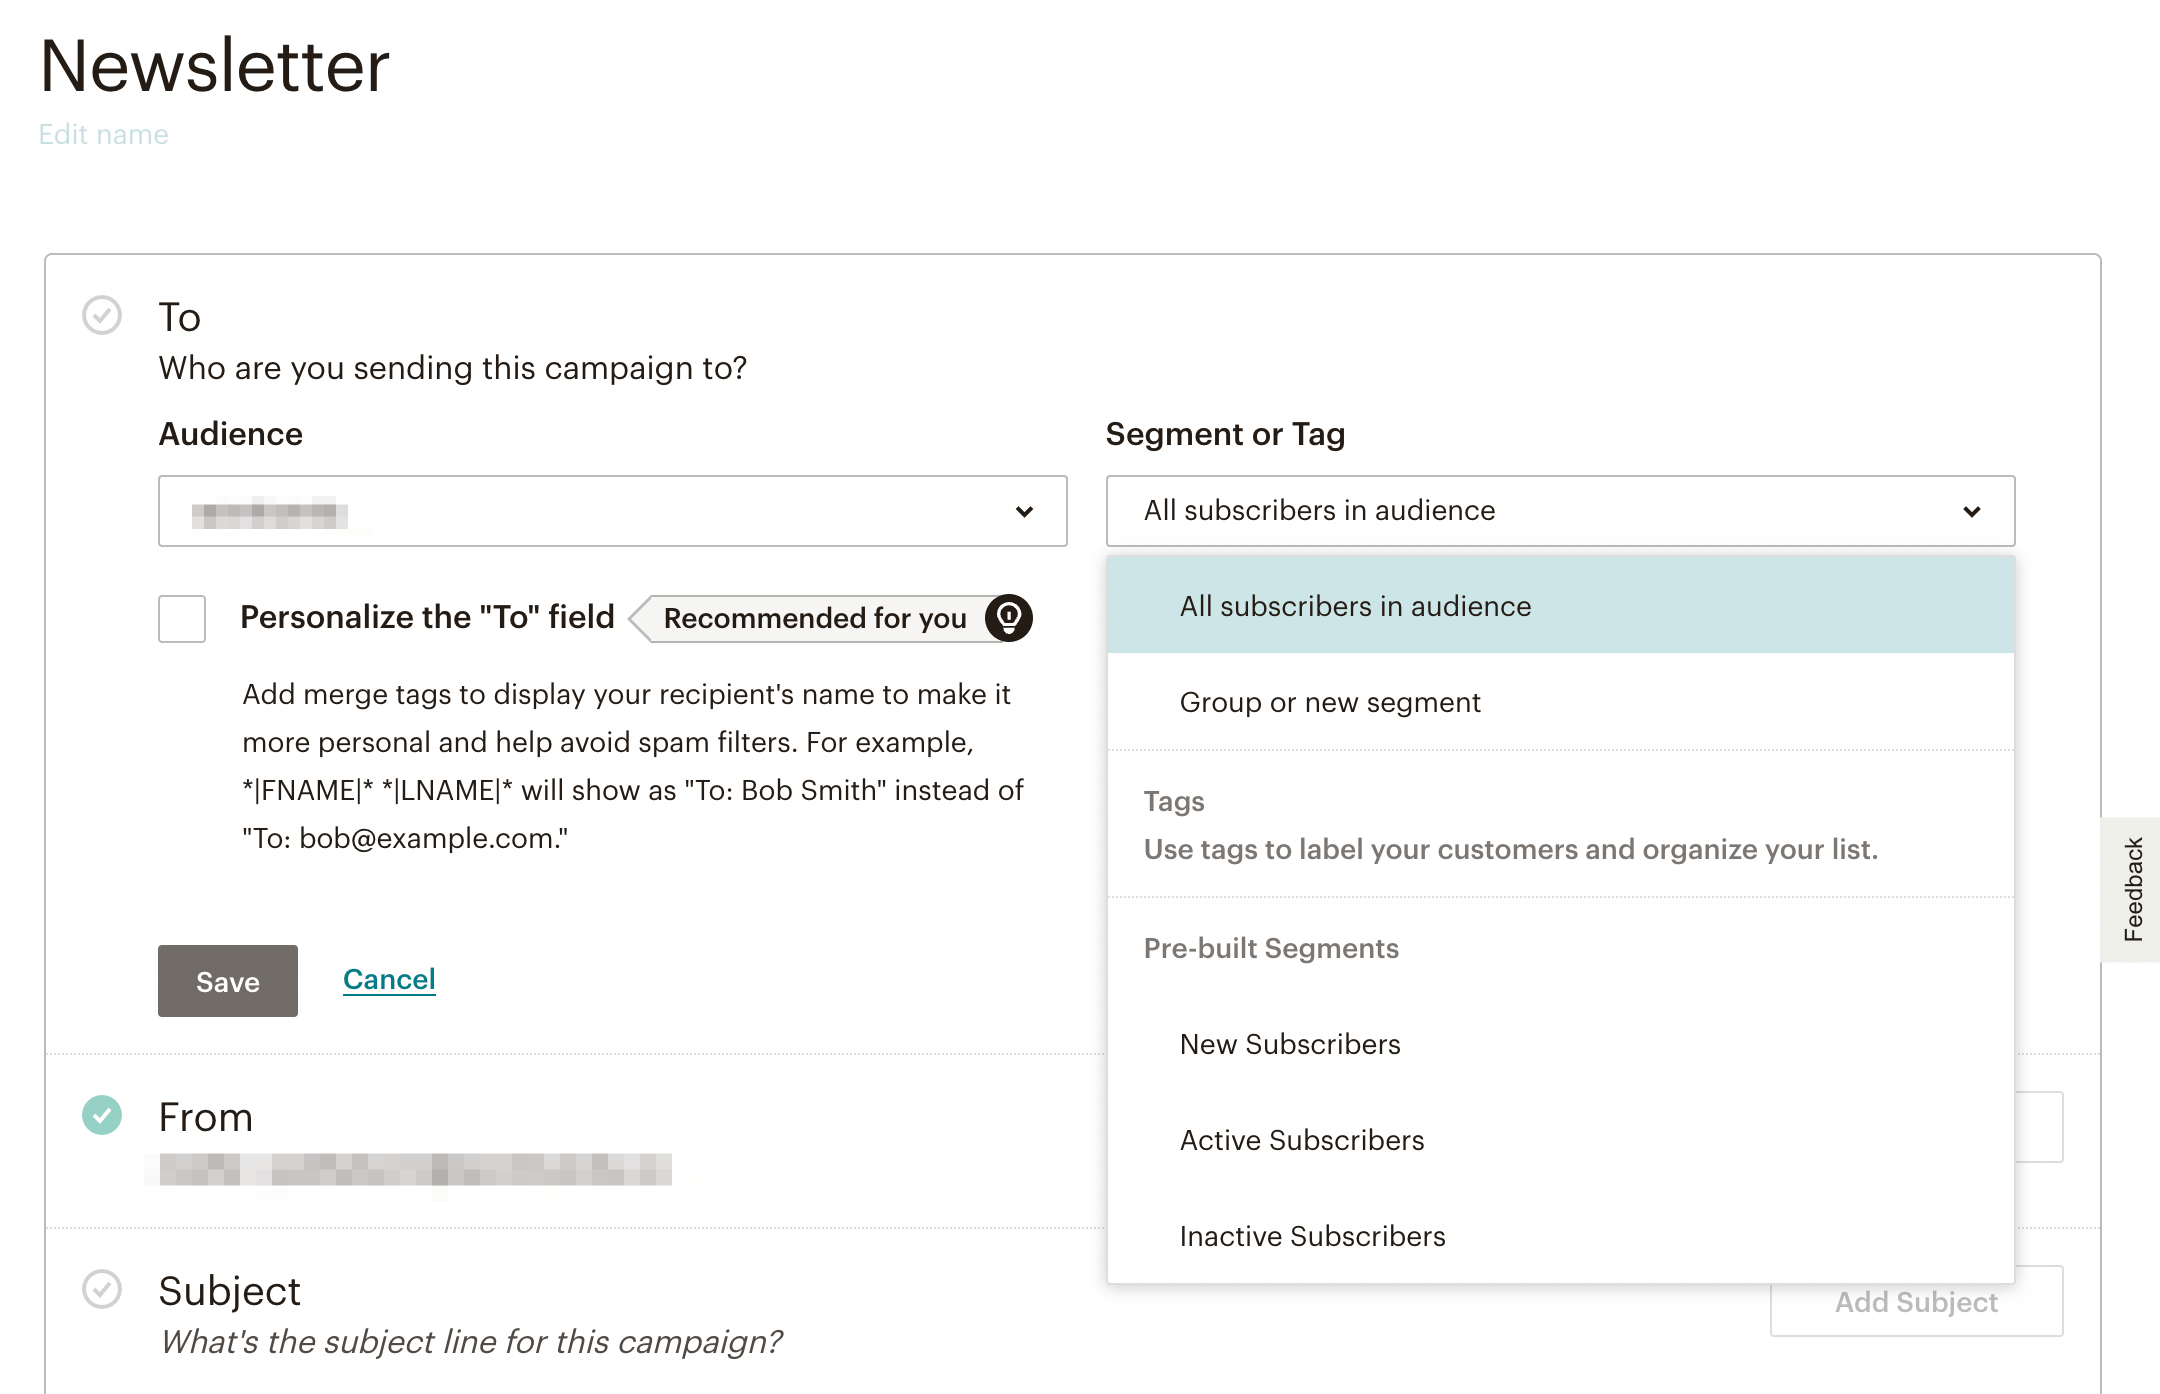
Then, you can customize the recipients of the email by selecting a specific audience. You can send the email to all subscribers in this group. You can also consider being more specific, like narrowing the recipients by active or new subscribers:
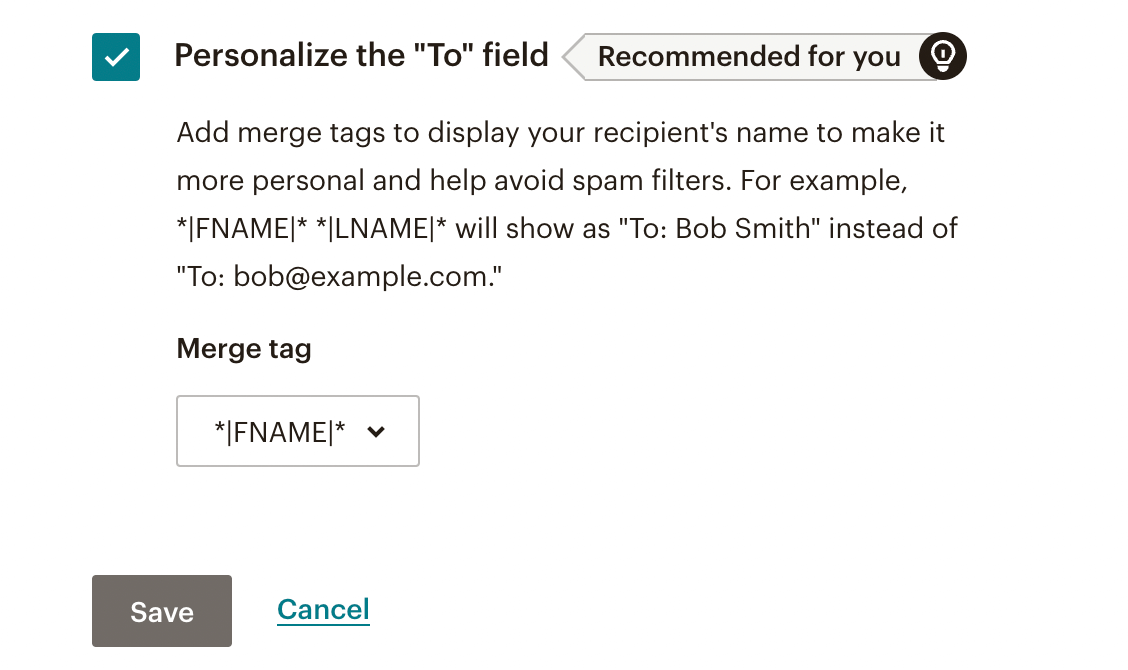
Often, personalization can be the key to increasing email open rates. For this reason, you can personalize the “To” field to include your subscribers’ names instead of email addresses:
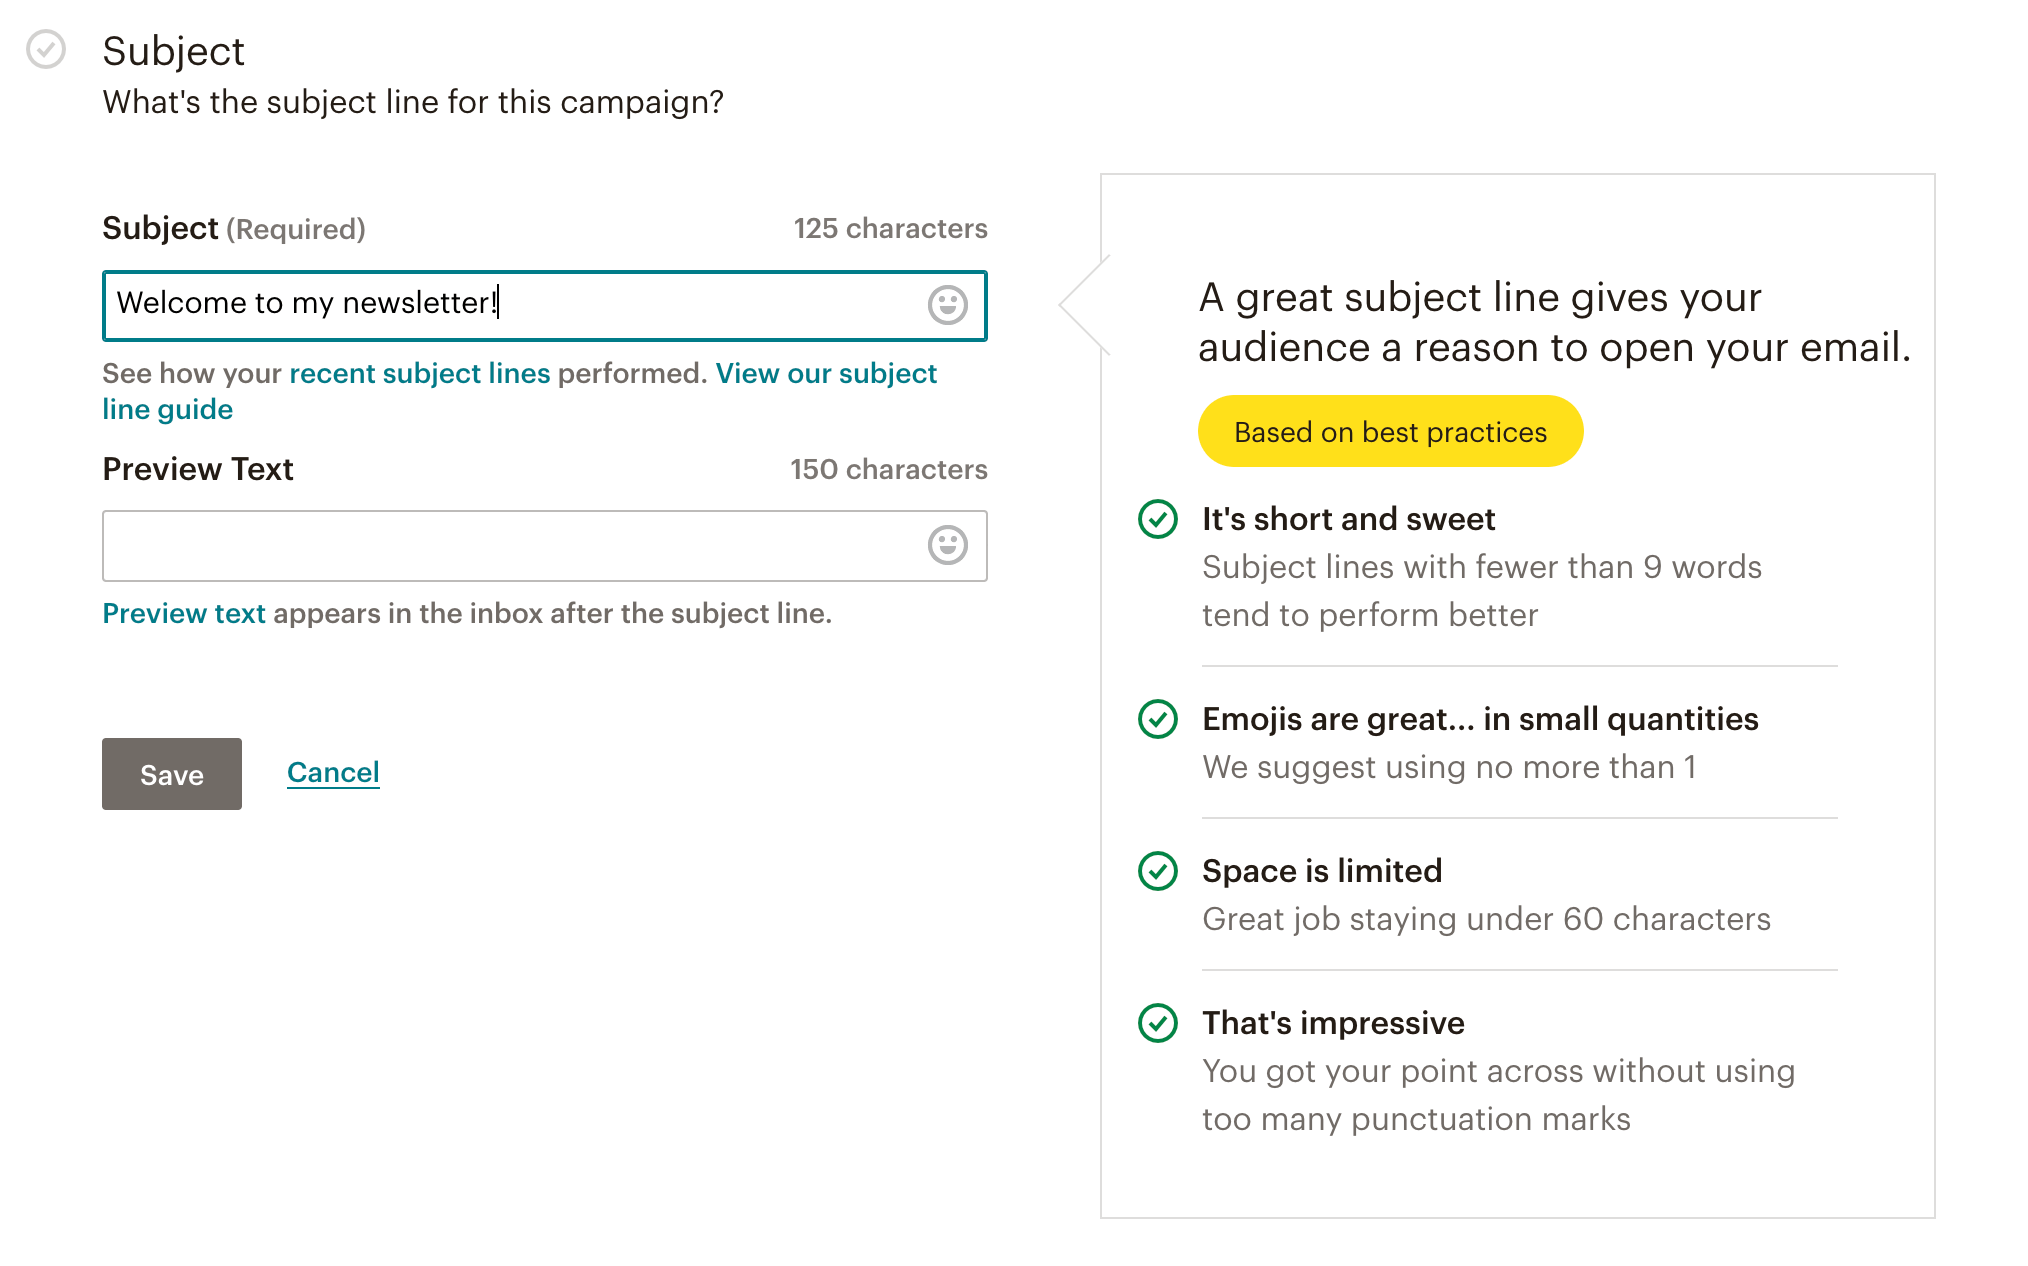
After this, you can add a subject line and preview text for the email. Remember to keep this short and descriptive:
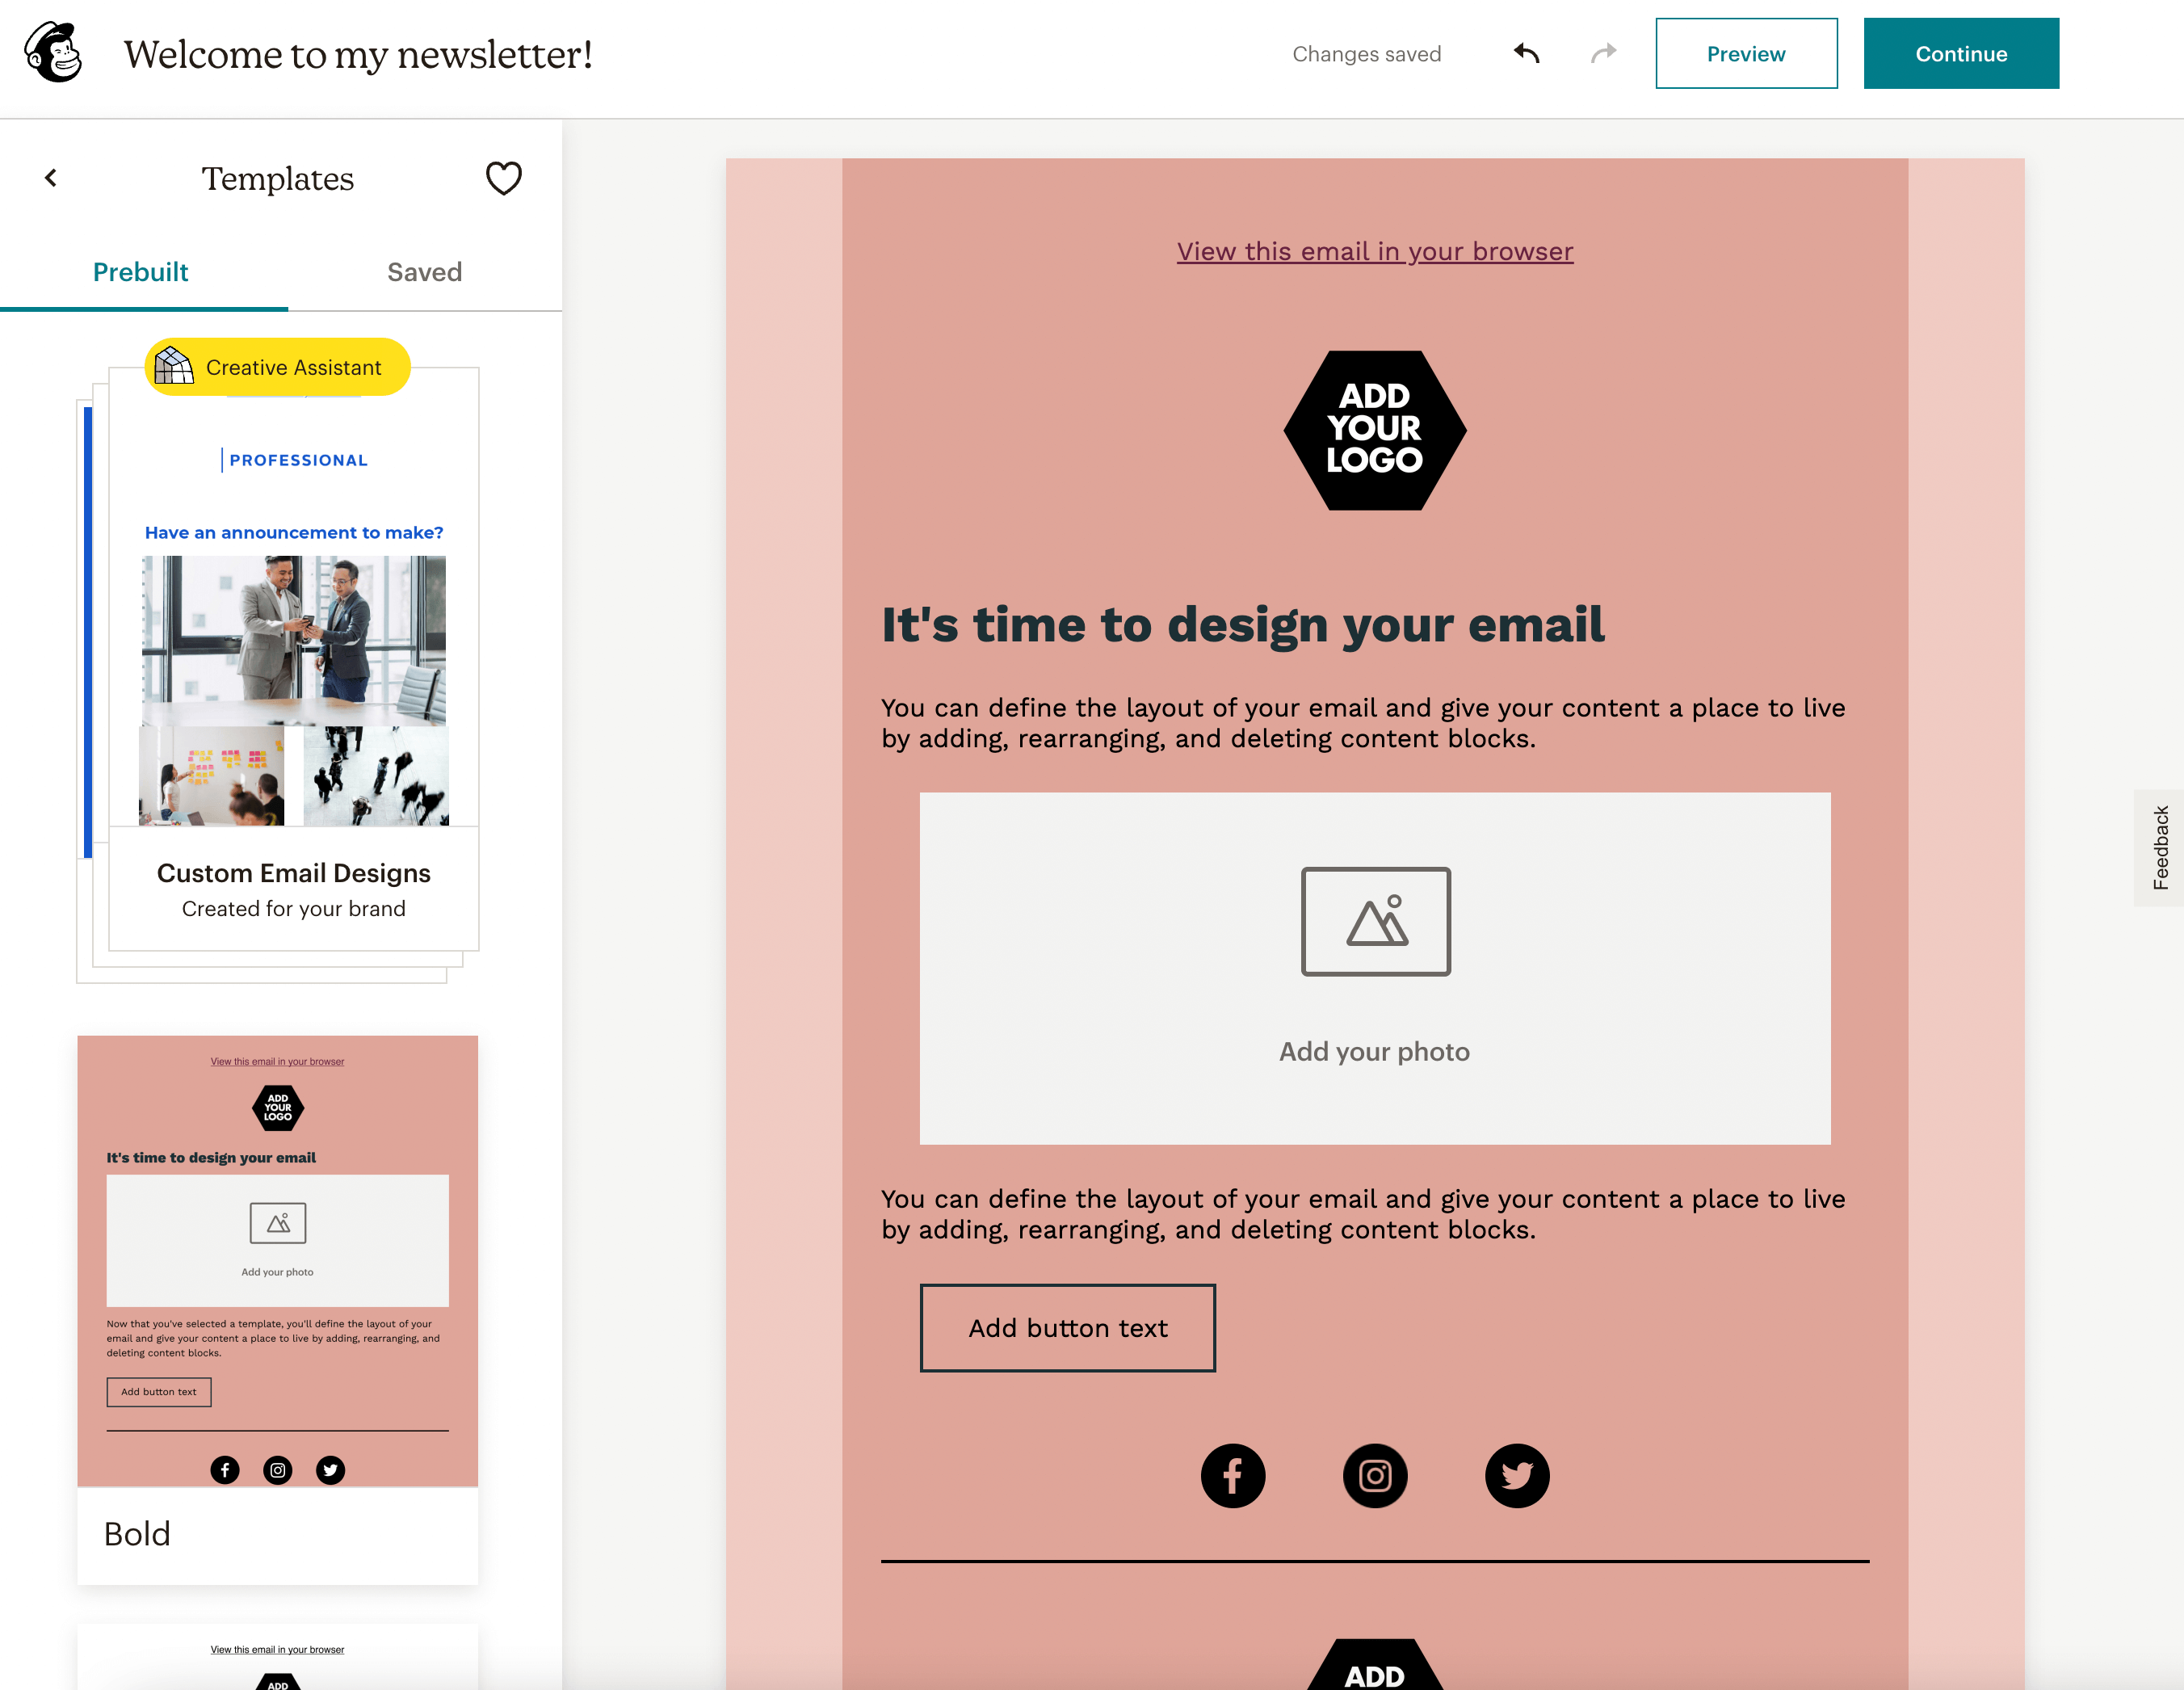
Finally, it’s time to design your first email. To do this, you can start by choosing a pre-built template. This can help you instantly implement effective visuals:
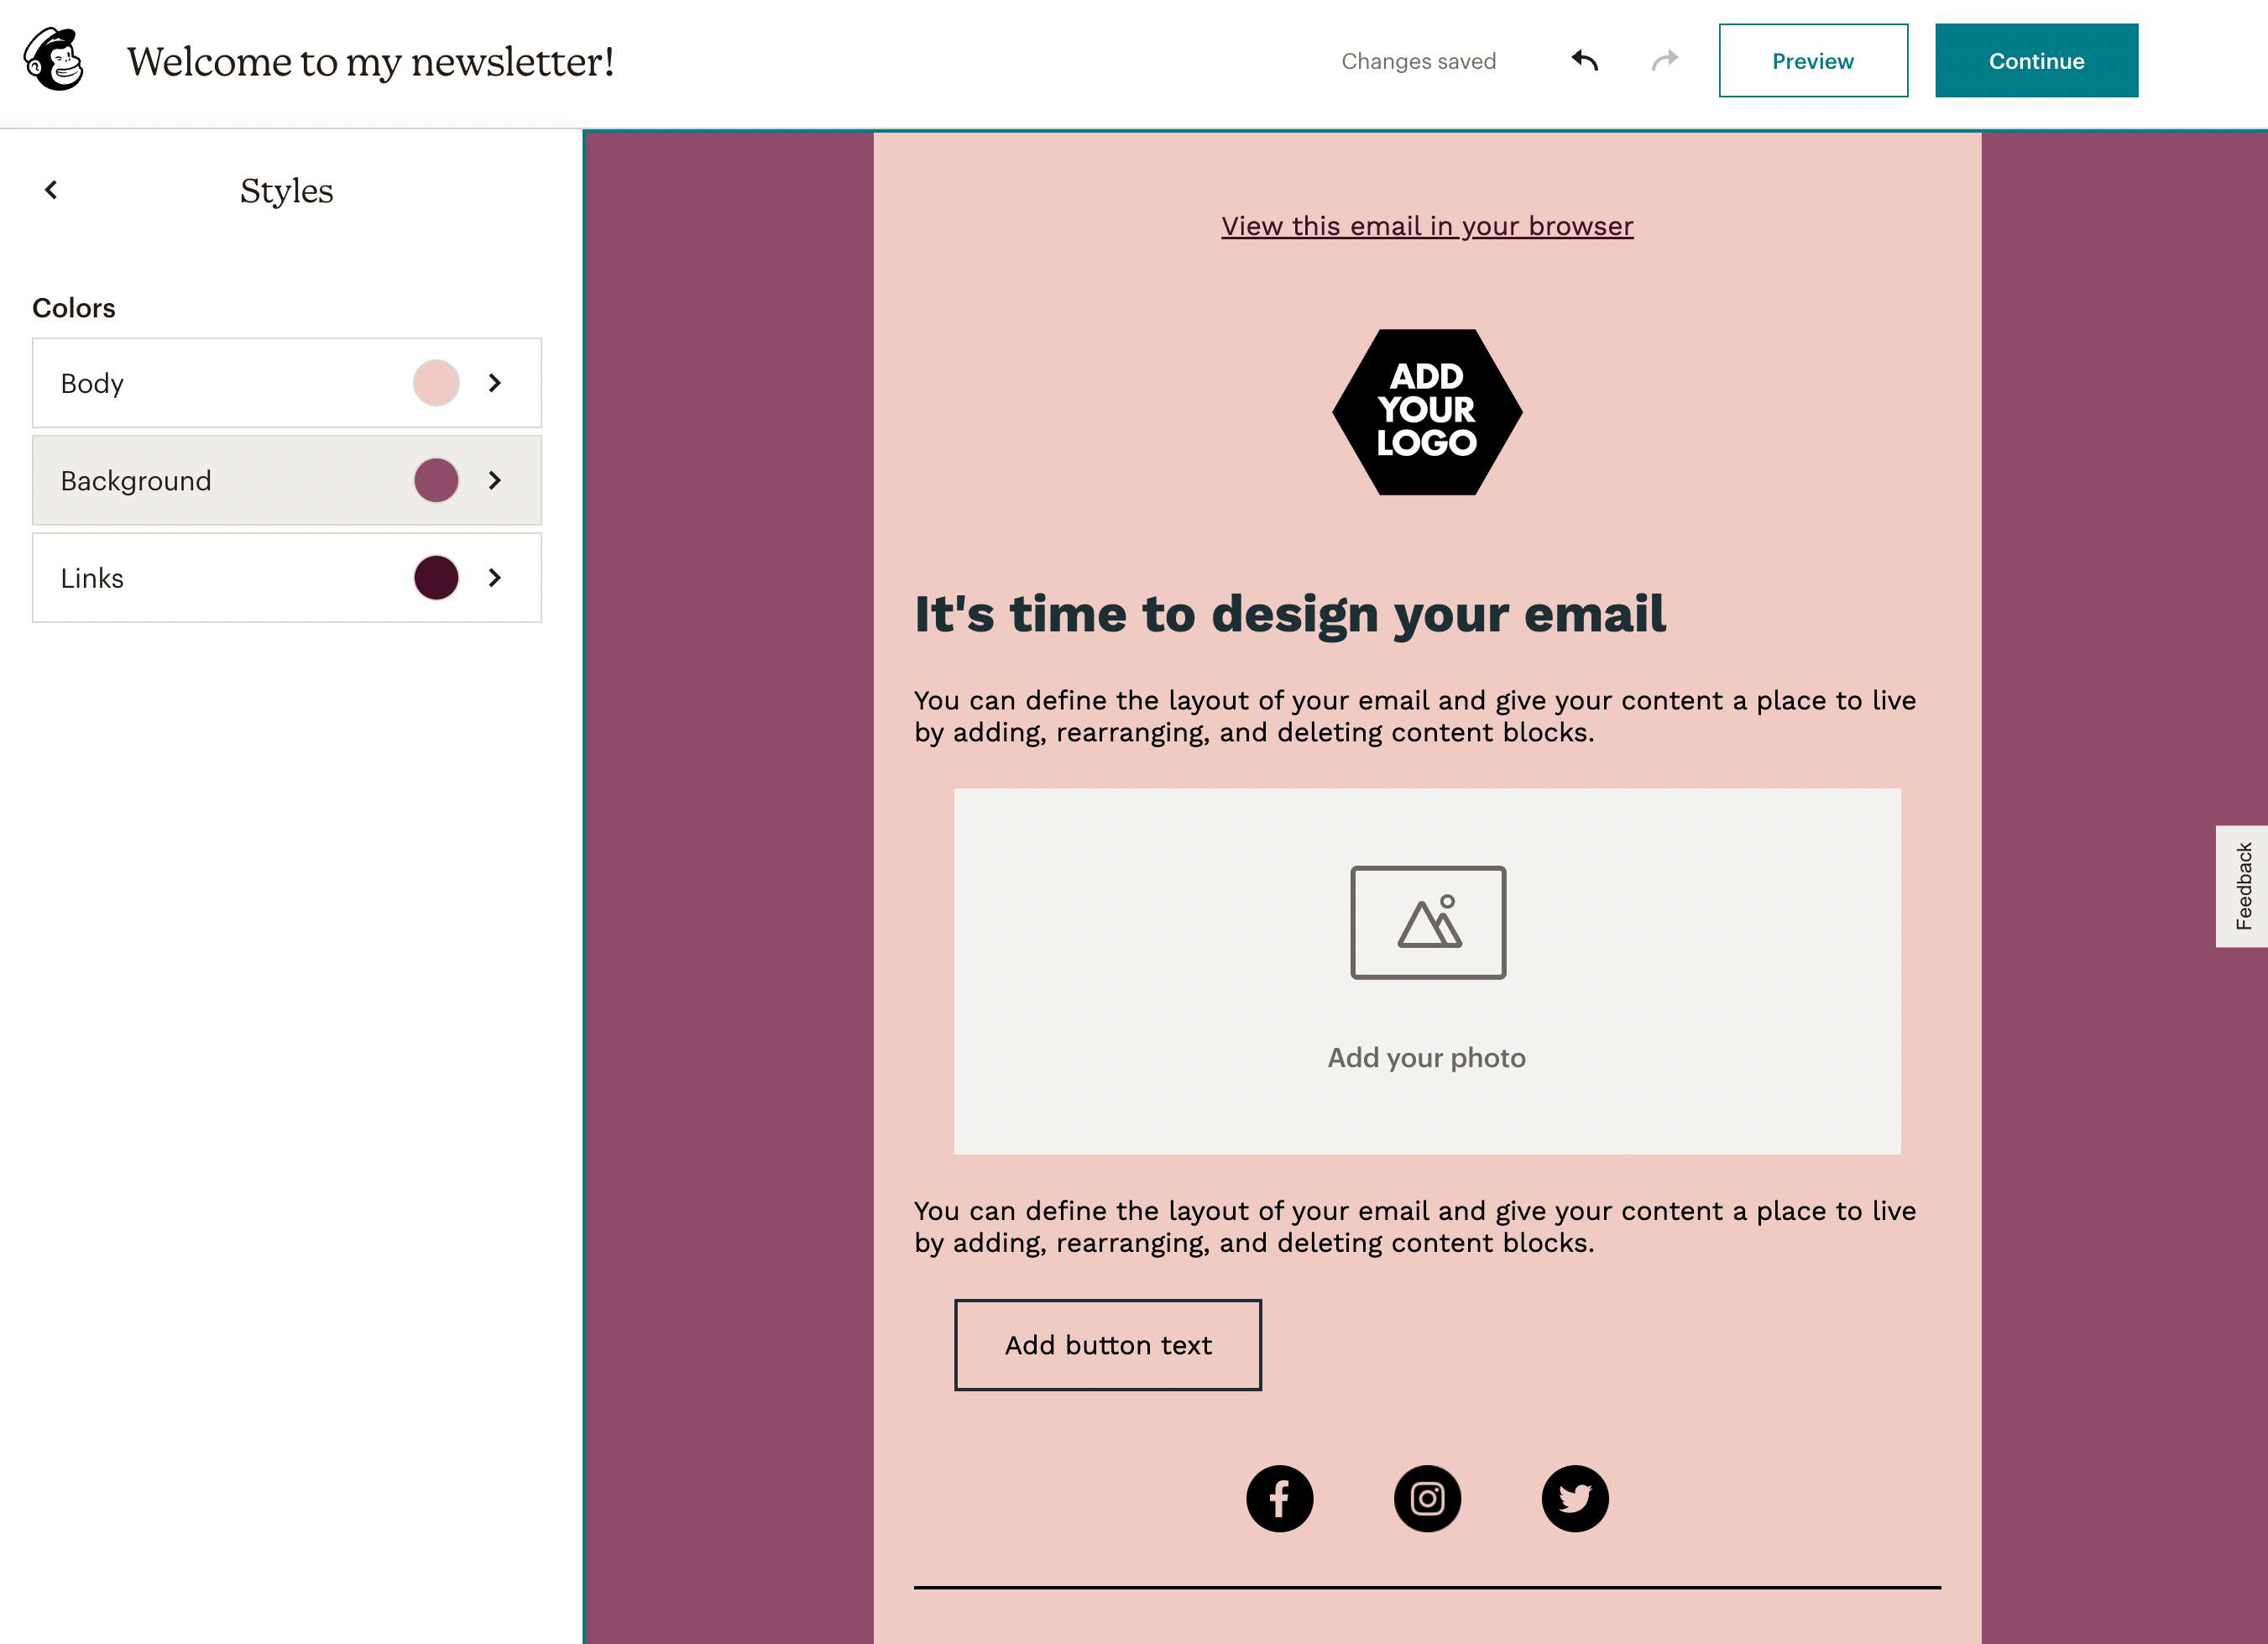
In Styles, you can choose a color palette. This includes a body, background, and link color:
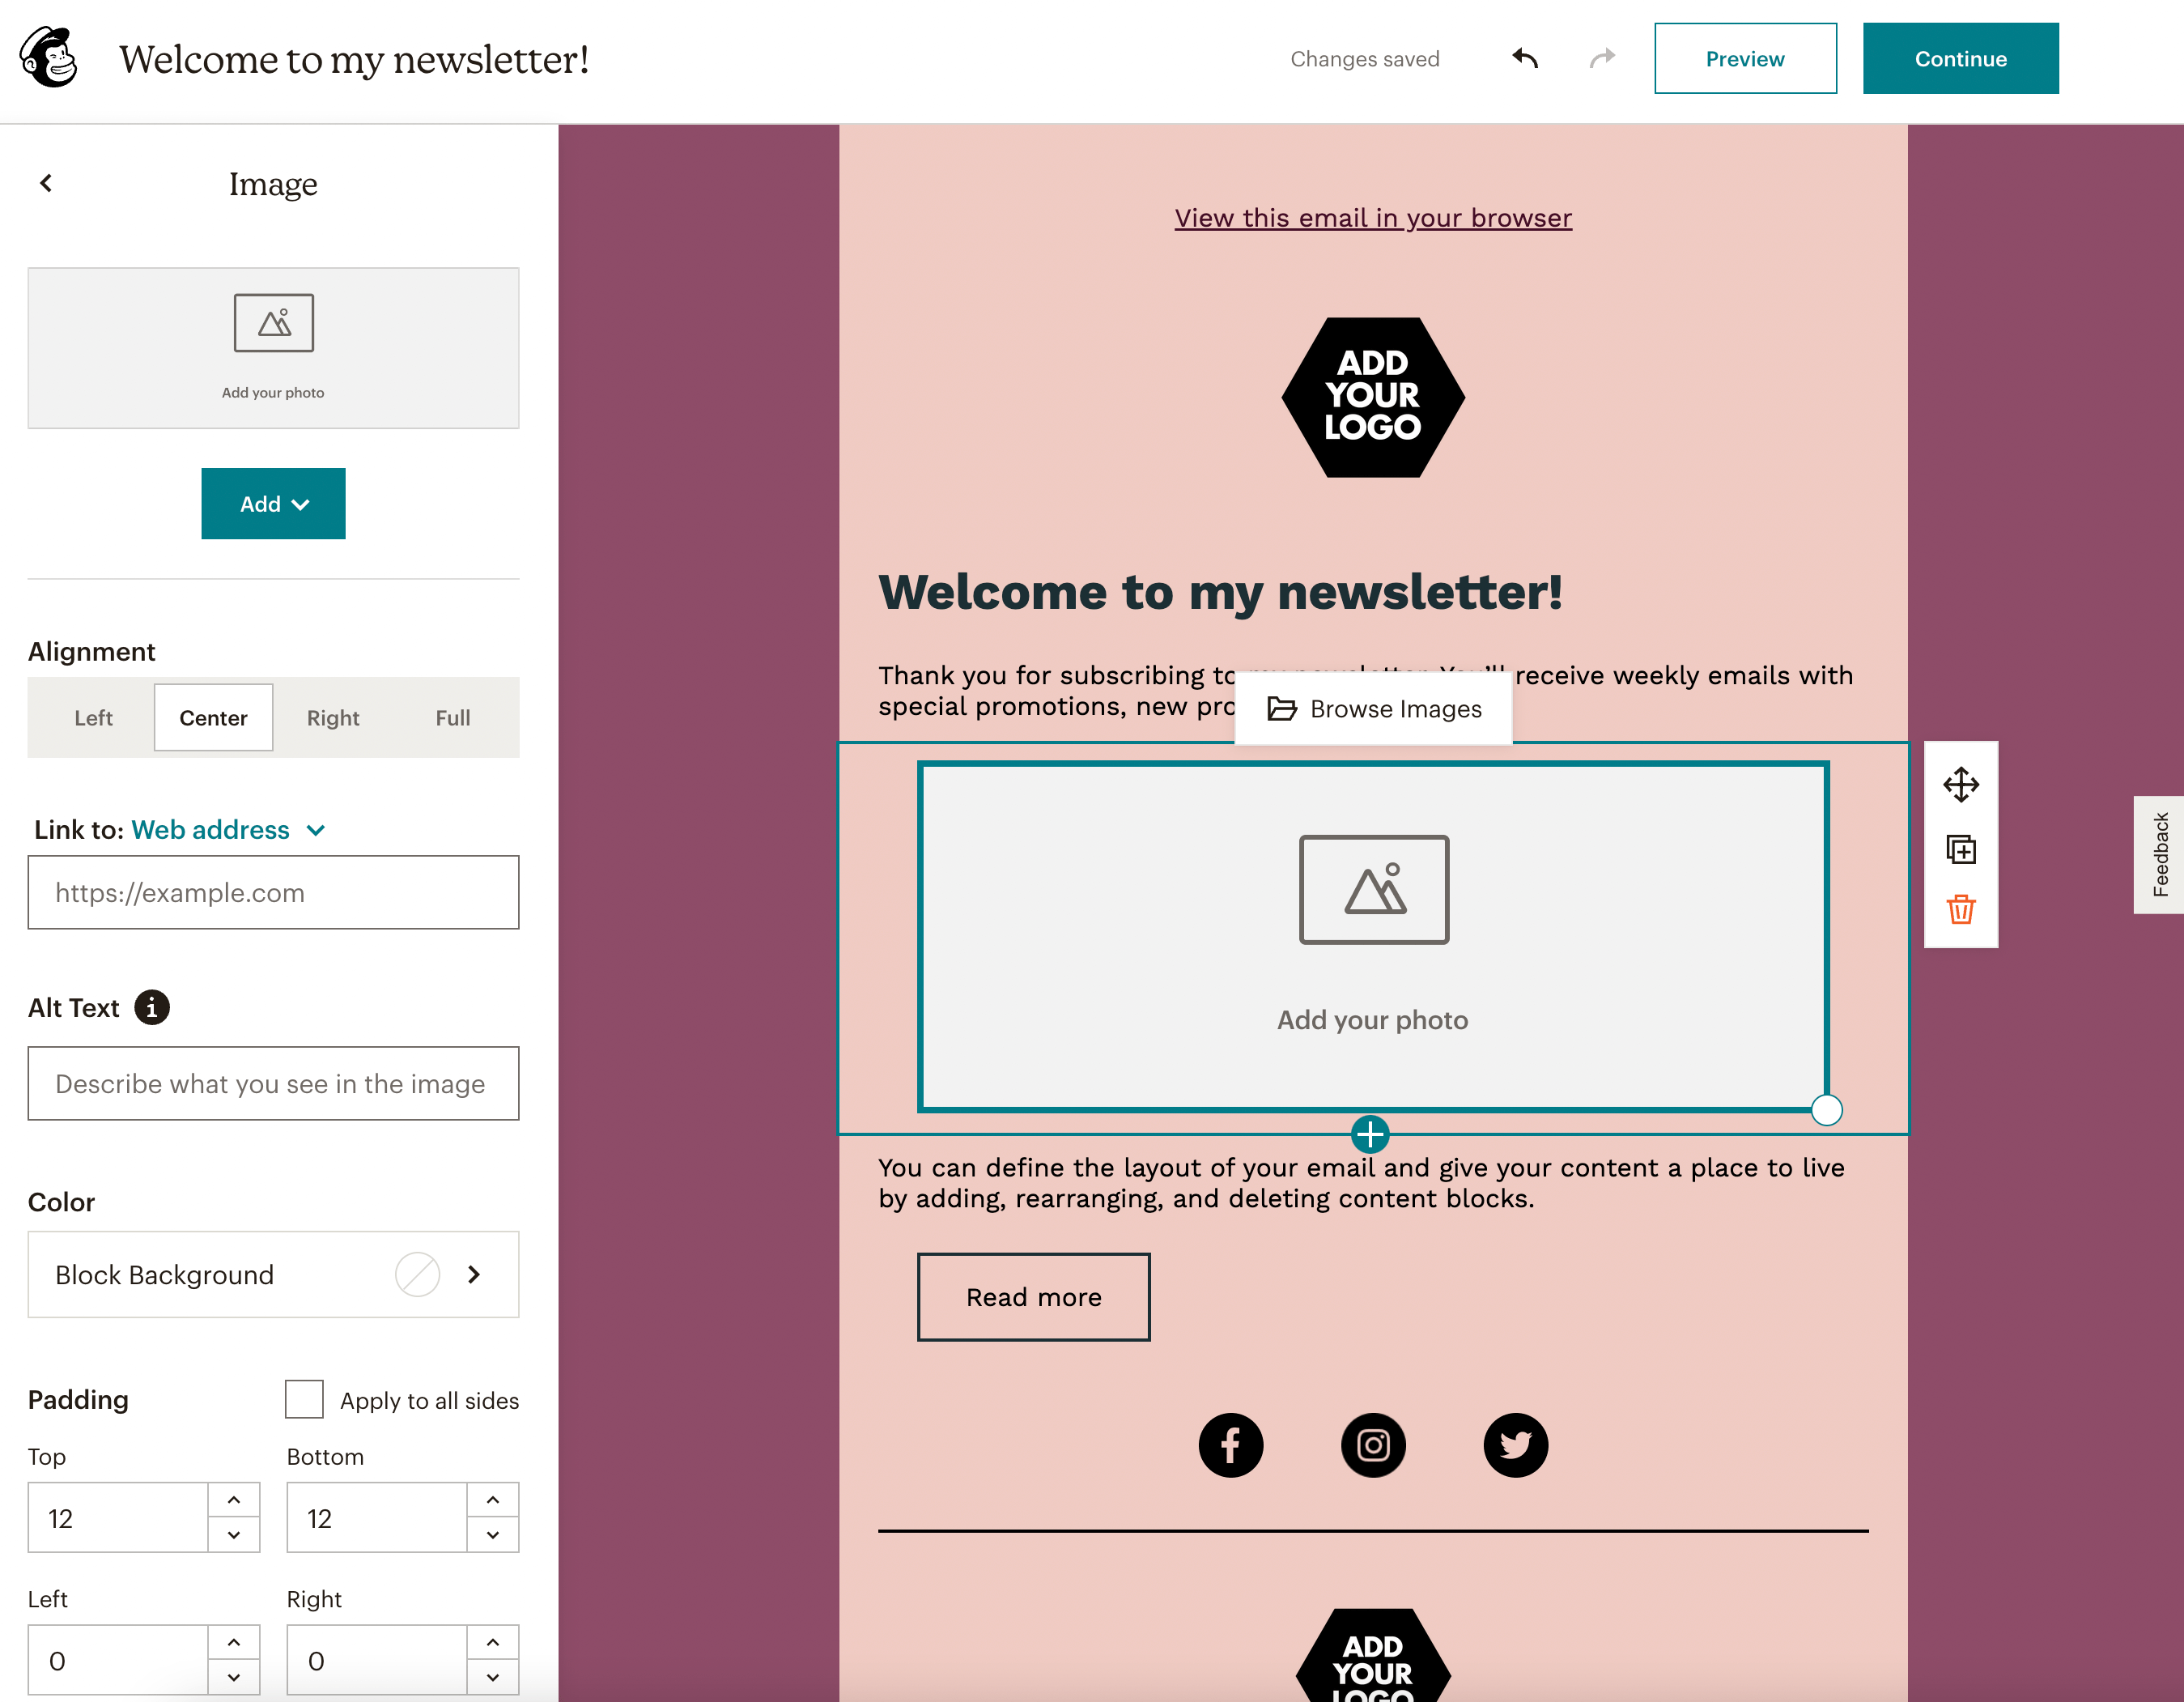
You can continue to edit each part of the template by clicking on specific elements. For example, selecting a photo will allow you to upload media, change alignment, and add alt text:
Once you’re finished, you can send your email, save it as a draft, or schedule its release!
Conclusion
Before you develop your email marketing campaign, you’ll need to find the right tools. With Beaver Builder, you’re able to effortlessly design subscribe forms that can convert new visitors into subscribers. Then, by connecting Beaver Builder to Mailchimp, you can easily manage new subscribers and create content for them.
To review, here’s how you can integrate Beaver Builder and Mailchimp:
- Create a Mailchimp account.
- Generate an API key.
- Insert a Beaver Builder subscribe form module.
- Customize your subscribe form.
- Design your subscriber content.
Related Questions
Where Are the Best Places to Include Subscribe Forms on a Website?
As a general rule, subscribe forms are most successful in sidebars, footers, and pop-ups. These are high-converting areas of your website that can help generate more email signups. You can also place them at the end of blog posts or on your home page.
How Can I Start Building an Email List?
You can start building an email list and gaining more subscribers by placing subscribe forms on the most visible areas of your website. Beaver Builder’s Subscribe Form module makes it easy to integrate with a plethora of email marketing tools, including Mailchimp. It’s also important to include a call-to-action, as well as an incentive to motivate new visitors to sign up.
Our Newsletter
Our newsletter is personally written and sent out about once a month. It's not the least bit annoying or spammy.
We promise.
Try Beaver Builder Today

Related articles

Beaver Builder AI: Build WordPress Layouts with AI (Now in Alpha)
Hey everyone! Big news. After a long time of building behind the scenes, Beaver Builder AI is here. The alpha…

How Beaver Builder Products Work Together to Build Flexible WordPress Websites
Building a WordPress website often means stitching together a theme from one developer, a page builder from another, and a…

From Azeroth to WordPress: How Warcraft Tavern Uses Beaver Builder
Since releasing Beaver Builder 12 years ago, a feeling will come up from time to time that just never gets…
Join the community
We're here for you
There's a thriving community of builders and we'd love for you to join us. Come by and show off a project, network, or ask a question.
Since 2014
Build Your Website in Minutes, Not Months
Join Over 1 Million+ Websites Powered By Beaver Builder.