
As a world-class agency, you naturally want to design the best possible campaigns for your clients. However, driving conversions can sometimes feel like a guessing game. That’s where A/B testing comes in. If you’re currently debating whether one approach might be better than the other, this strategy promises to eliminate all of that uncertainty.
In this post, we’ll show you how to quickly and easily create multiple versions of a landing page, and verify which one will deliver the best results. Let’s get started!
An Introduction to A/B Testing (And Why It’s Important)
Sometimes known as split testing, A/B testing involves creating multiple versions of a variable. Then, you’ll display these variations to different segments of your target audience.
In A/B testing, the A is the original testing variable, also known as the control. The B refers to the variation, which is any new version of the original variable.
After running these tests, you can measure which variation delivers the best results. “Results” are whatever you define them to be, such as the most conversions. You can then optimize your content based on this real-world data.
When you’re creating content for a client, A/B testing can be your secret weapon for delivering wow-worthy results, every single time. You can test landing pages, contact forms, marketing emails, and any other type of public content.
Split testing can help you develop a deeper understanding of your client’s target audience. It may also reveal patterns in the content that visitors engage with. For example, the target audience may be less likely to complete a form once it surpasses a certain number of fields. You can then use this insight to shape all your subsequent work with this client.
When you’re constantly improving on your previous results, you’re more likely to land repeat clients. You might even be able to justify a pay increase or secure positive feedback including testimonials, reviews, and powerful word-of-mouth recommendations. This can help you secure new customers and grow your agency.
How to Conduct A/B Split Testing for Your Clients (In 6 Easy Steps)
The landing page is a staple of many different campaigns. Get this crucial element right, and you should have no problems driving conversions.
With this in mind, let’s see how you can help your client smash their goals. Here’s how to conduct A/B testing for a client’s landing page.
Step 1: Decide Which Elements to Test
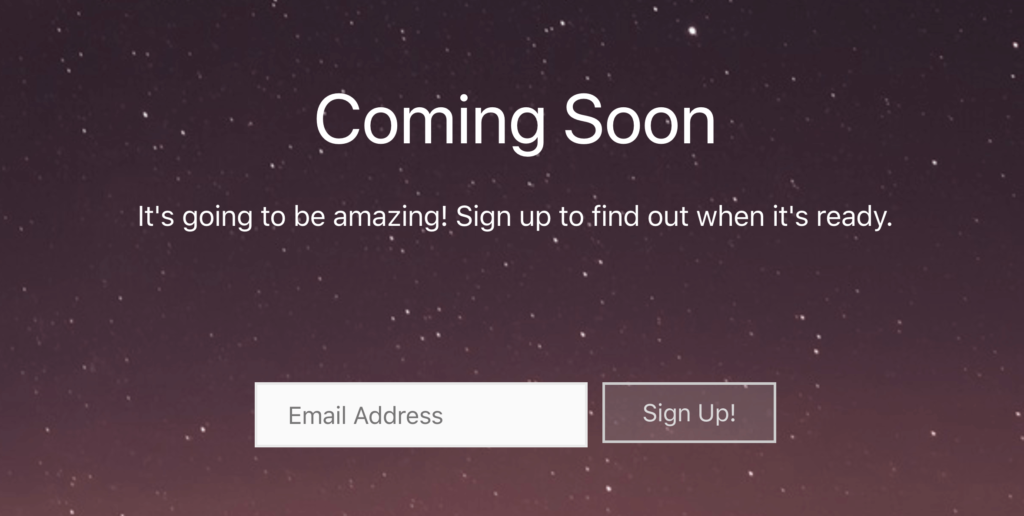
The first step is deciding which element you want to test. Here, it may help to list all of the variables that make up the client’s landing page. This varies depending on the page in question, but some common elements include featured images, the number of fields in a form, the location and text of your Call To Action (CTA), and the headline:
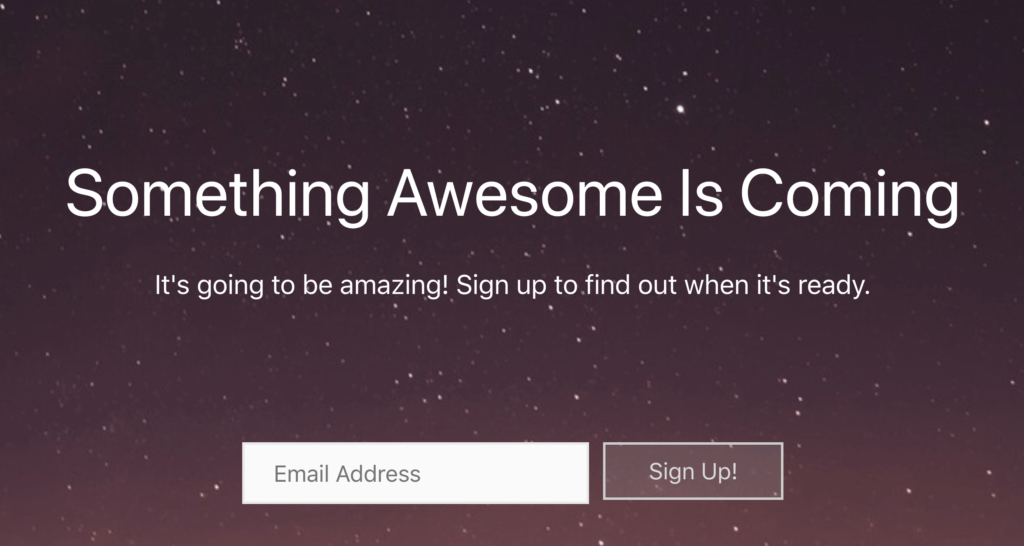
You may end up with a list of variables that you would like to test. However, you should always limit yourself to a single element. For example, you might test whether the size of a button impacts your conversion rates, or whether a shorter headline generates higher Click-Through Rates (CTRs). Here, the title has been shortened:
Remember that the goal is to identify the variable that delivers the best results. If you bundle multiple variables into a single test, then you can’t know which element influenced the audience’s actions.
In theory, you could test any onscreen element. However, it typically makes sense to focus on changes that are likely to have a big impact on traffic and conversions. This means that headlines, CTAs, buttons, forms, and featured images are all ideal candidates for A/B testing.
It’s not unusual for agencies to perform multiple split tests before making a final decision. If you have a long list of variables, then you need to test each of these elements individually. This may be time-consuming, but it’s also an effective way to optimize every part of the client’s landing page and deliver world-class results.
Step 2: Set a Deadline for Your A/B Split Testing
Now it’s time to set your schedule and decide how long the test should run. To ensure that you have enough data to draw an accurate conclusion, it’s important to provide an adequate opportunity for visitors to encounter your landing page.
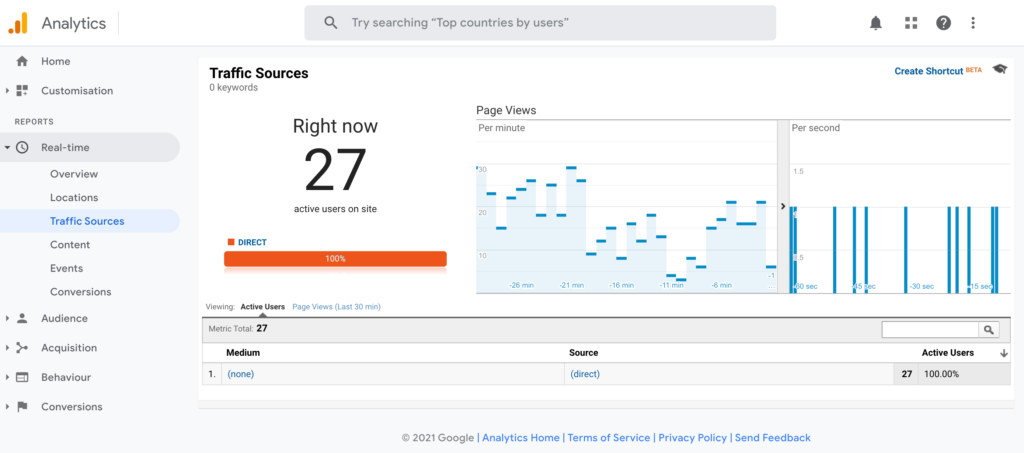
The perfect timing varies depending on factors such as your client’s target audience and the amount of traffic the page typically receives. When making this decision, it may help to use an analytics tool, such as the client’s Google Analytics account. By examining these metrics, you can better gauge how long this test will need to run in order to generate the required data:
As an agency, you want to deliver the best results for your clients. However, time is money, so you should also consider the impact that extensive A/B testing will have on your bottom line.
Step 3: Design a Compelling Landing Page
After you’ve identified the element that you want to test, the next step is bringing your creative vision to life. This element is the A in your A/B testing, the original “version” of the tested element.
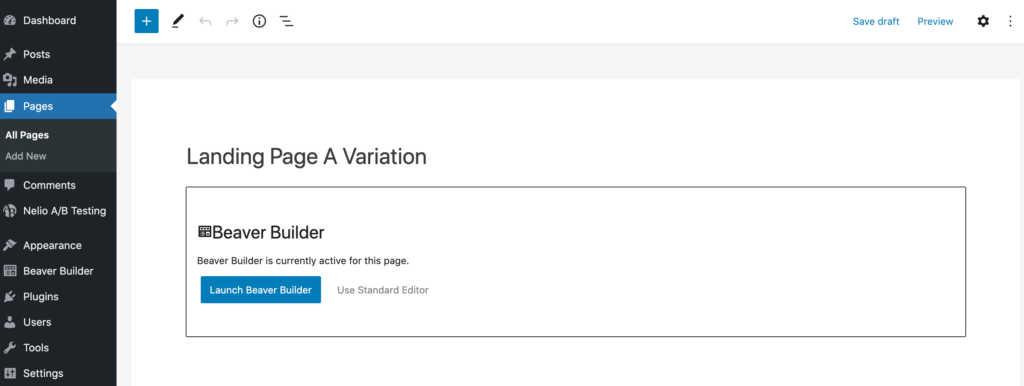
You can either use an existing page or create a new WordPress page for your A version. Beaver Builder provides a selection of ready-made landing page templates that you can use to create a stunning, engaging web page for your clients, without having to write a single line of code.
To get started, click Launch Beaver Builder. This opens the current post in the Beaver Builder editor:
To apply a landing page template, click the blue + icon in the upper right corner of the editor to open the Content panel, then click the Templates tab:
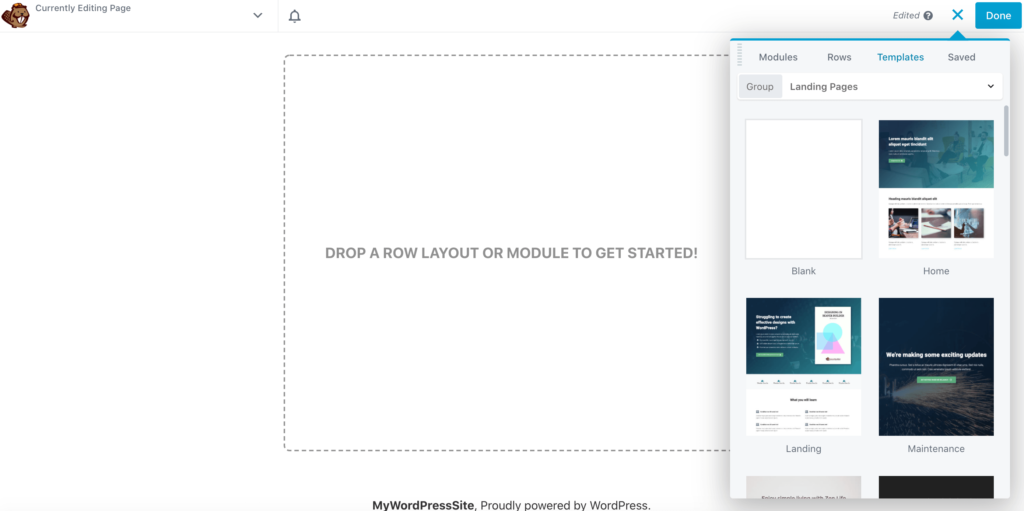
Take a look through all of the available templates. When a design that’s a perfect fit for your clients, click to add it to your layout. We’re using the Agency template in all of our screenshots:
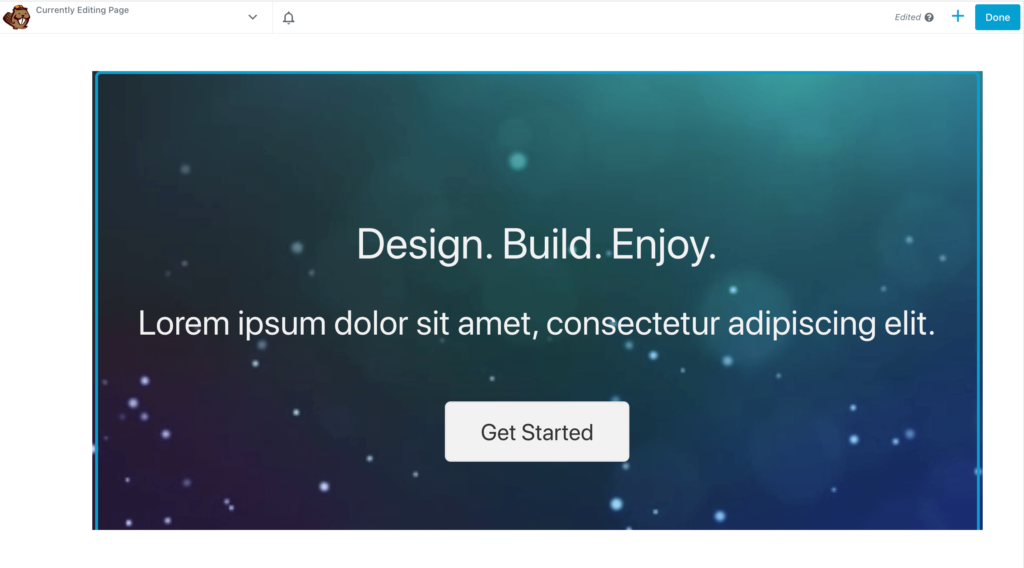
After selecting your template, make any adjustments you want to create your A variant. This might include adding your own marketing copy, crafting a compelling CTA, and embedding your client’s images. In our example, we’ll test A/B versions of the CTA, which is the Get Started button in the previous screenshot.
If you plan to perform multiple rounds of A/B testing on this landing page with different variables, it’s smart to save this landing page as a layout template. Click the down arrow in Beaver Builder’s upper left-hand corner and choose Save Template. Now, you have access to a base design that you can use in all of your A/B tests.
Step 4: Create Your B Variant
Now, it’s time to put your landing page to the test. There are several ways to perform split testing, but Nelio A/B Testing is a popular plugin:

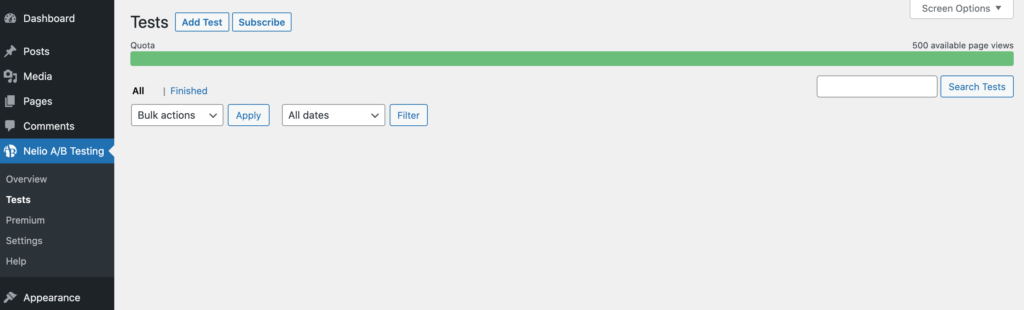
After activating this plugin, select Nelio A/B Testing from the left-hand menu. When prompted, accept the terms and conditions, and then click on Tests:
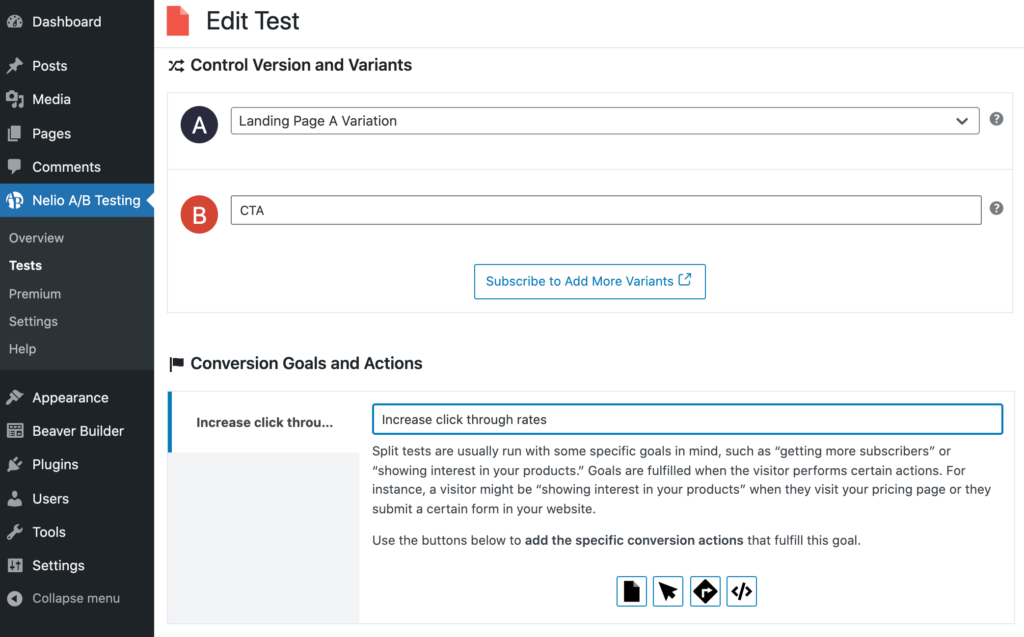
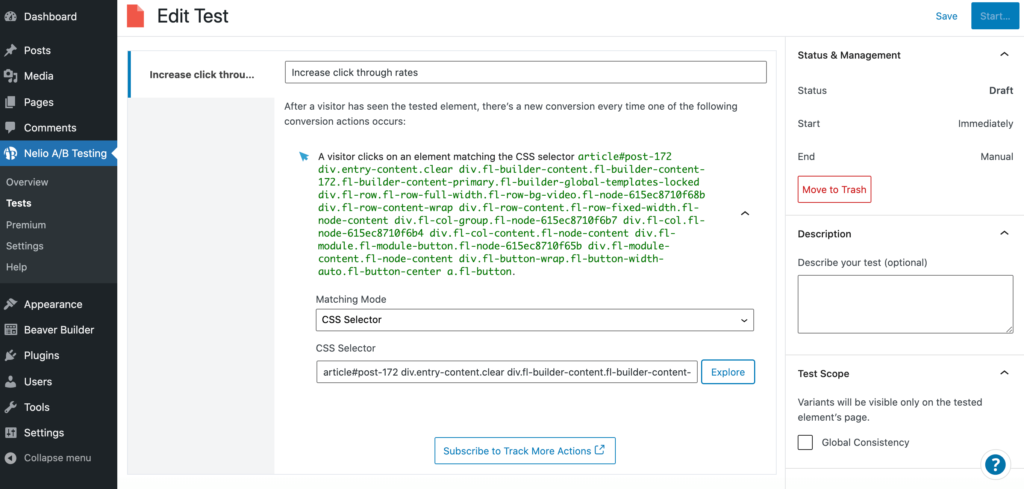
Next, select Add Test > Page. At the top of the page, give your test a descriptive name:
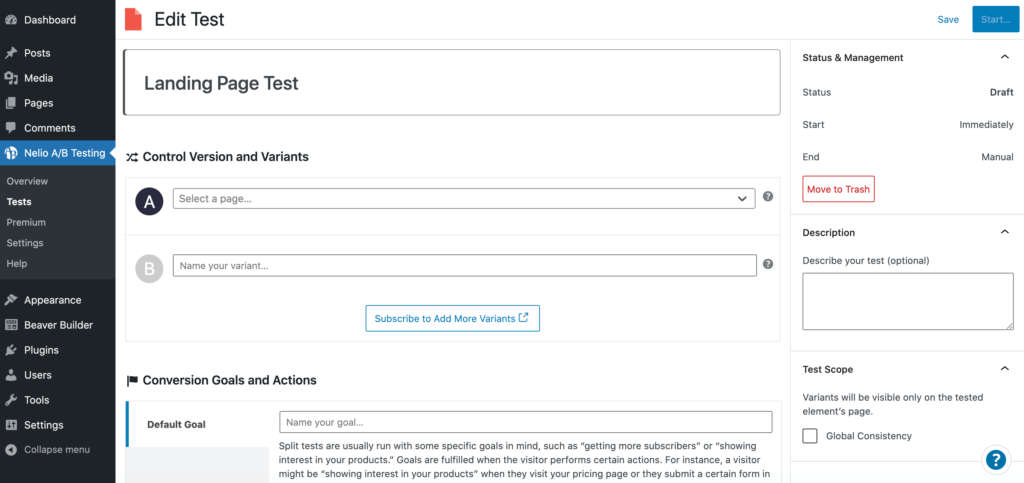
Use the A dropdown to choose the landing page we created in the previous step. In the B field, enter some text that describes the variant you want to test. In our example, we’re testing the CTA button:
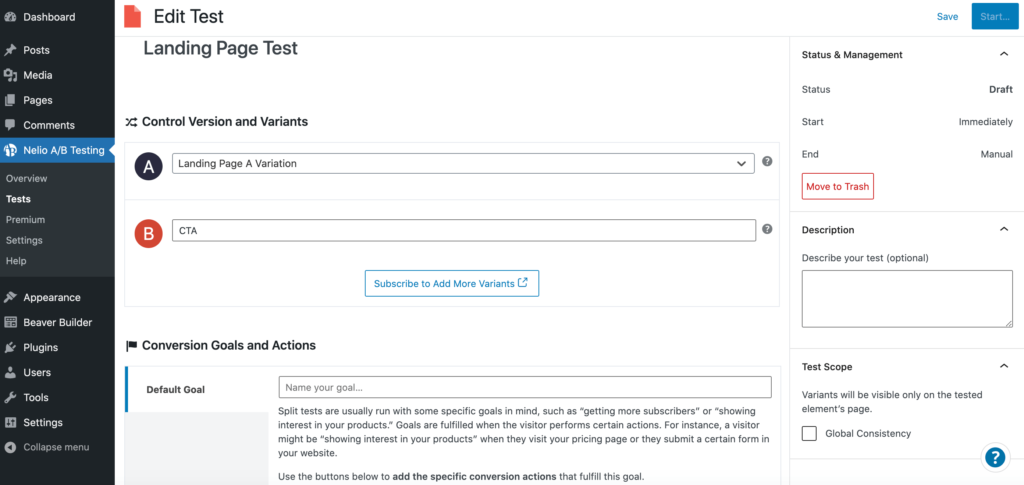
Then, hover over the B field. Select the Edit link when it appears:
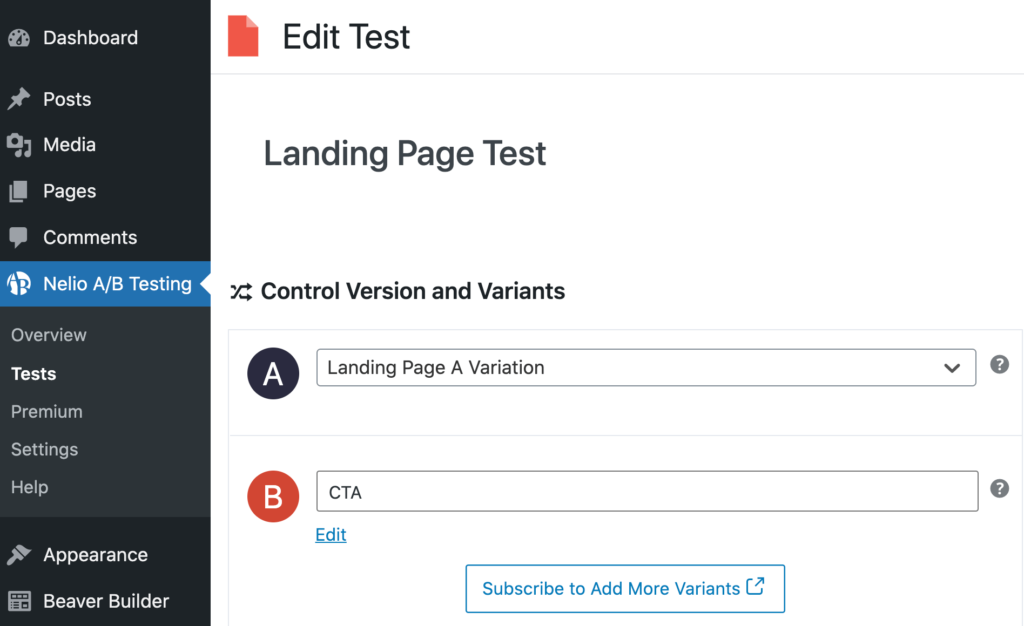
On the subsequent page, click Launch Beaver Builder:
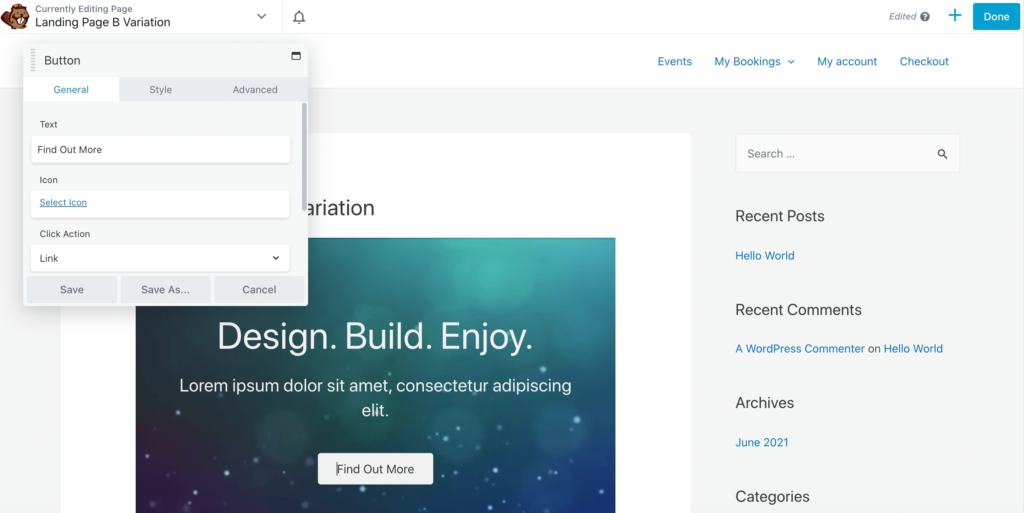
You can now create a second landing page that has the B variant. In our example, this is a different CTA button. To make this change, click the button in the Beaver Builder editor to open the button settings:
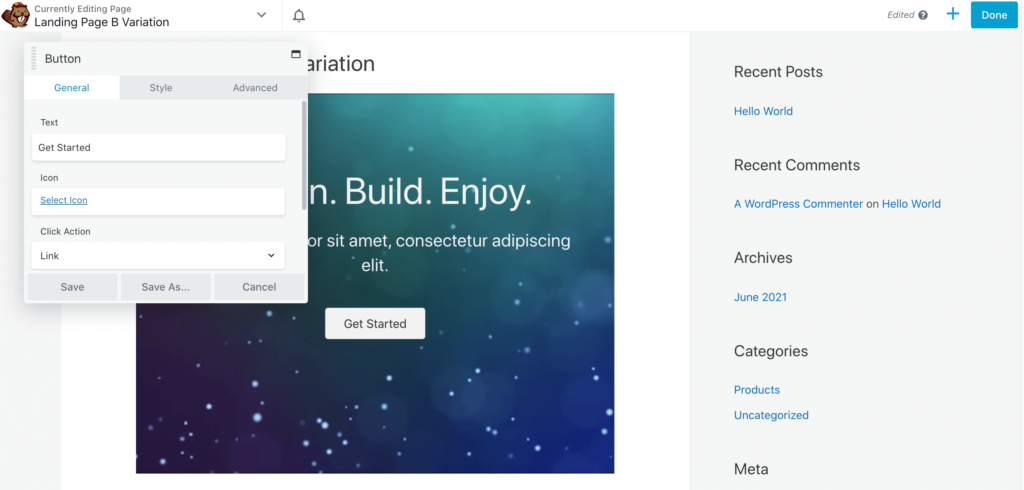
We’re changing the button’s label by editing the Text field. When you’re happy with your changes, click Save to close the popup:
Now, click the Done button in the upper-right corner of the screen. This will return you to the previous Nelio A/B Testing screen.
Next, enter some text that describes the goal you want to achieve. Because we’re testing a CTA, our aim is to generate more click-throughs:
Use the accompanying buttons to add the metrics that will contribute towards this goal. Nelio A/B Testing can track the total page views, clicks, or interactions with external links. In our CTA example, we’re tracking the total number of clicks:
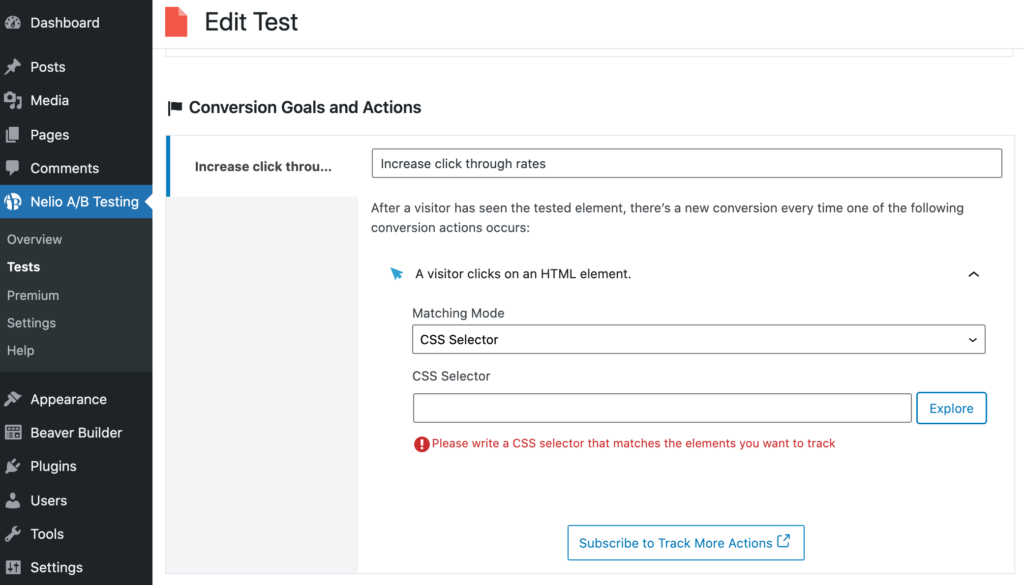
We’re only interested in CTA click-throughs, so we need to let Nelio A/B Testing know which element it should monitor. To achieve this, open the Matching Mode dropdown and click CSS Selector. Nelio A/B Testing provides a user interface where you can extract the CSS selector for any onscreen element.
To examine your landing page’s CSS, click Explore. On the next screen, click the magnifying glass icon:
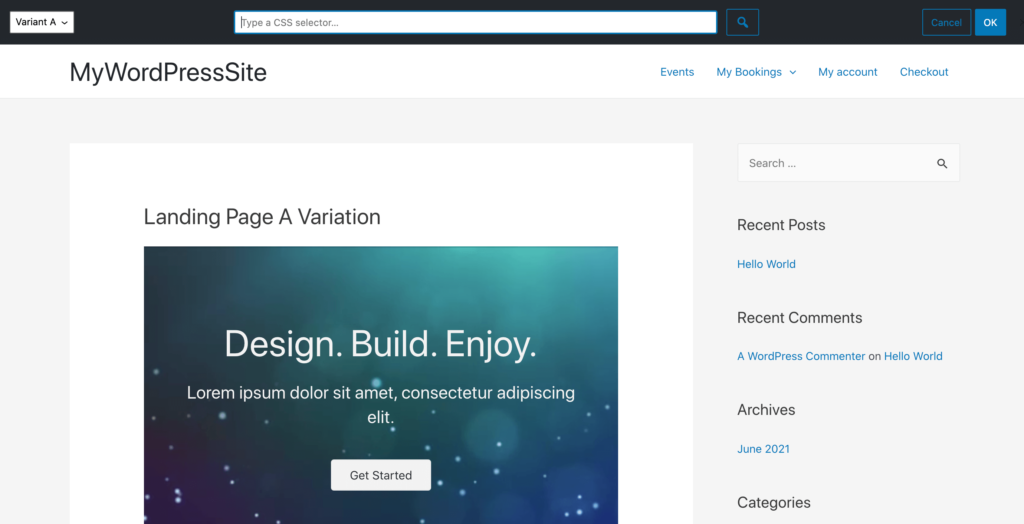
Hover over the element that you want to track, and give it a click. The CSS selector should now appear towards the top of the page:
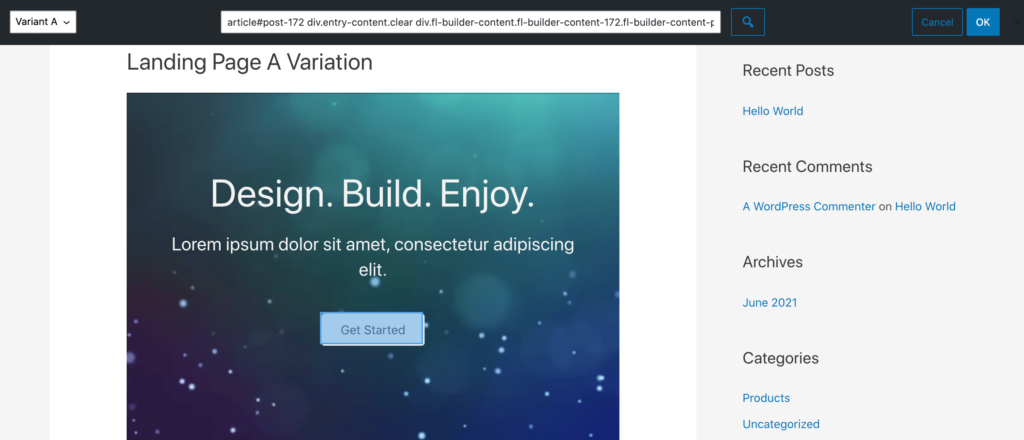
Assuming that you’ve selected the correct element, click OK. The plugin adds this selector to your test:
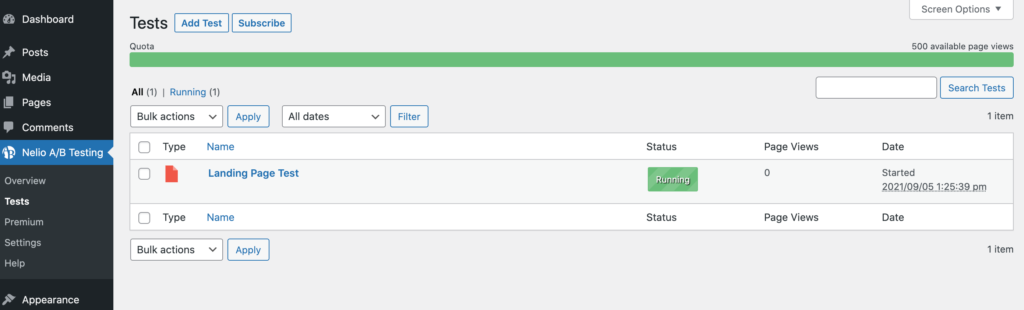
Once you’re happy with the information you’ve entered, click on Start. Your A/B test is now live.
Step 5: Monitor the Performance of Your Content
Nelio A/B Testing records every conversion event. In our example, this is every time a visitor clicks our CTA button, as defined by the CSS selector. While the test is running, it’s a good idea to monitor the incoming data. This can help you identify when you’ve gathered enough information to draw an accurate conclusion.
To check an in-progress test, navigate to Nelio A/B Testing > Tests. Then, hover over the test in question and click View Results when it appears:
On this screen, you’ll find a collection of graphs and charts. This includes an Evolution graph, which displays the conversion rate of the A control version (our original buttons) plus the B variant (the Find Out More button). It also displays the total number of conversions and visits to all the pages that feature in your test:
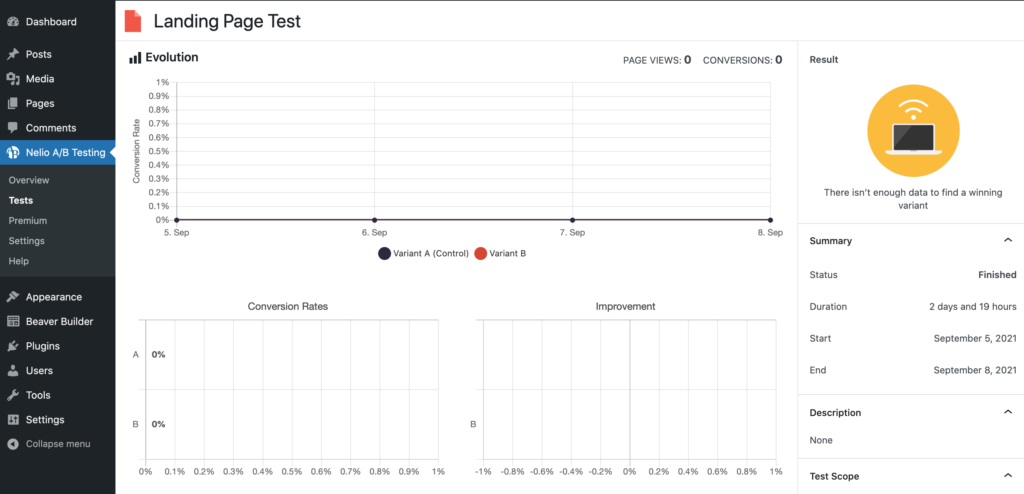
Beneath this are the Conversion Rates and Improvement graphs. These display the total number of visits and conversions to the tested pages.
In the Control Version and Variants section, there’s a graph that displays the conversion rates for each variant. This section also contains a graph that illustrates the degree of improvement over your control version:
At the very bottom of the screen is a summary of the conversion goals and actions you defined for this test. This can be a useful reminder, particularly if you’re running multiple A/B tests for one or more clients.
Step 6: Conclude the Test and Act on the Results
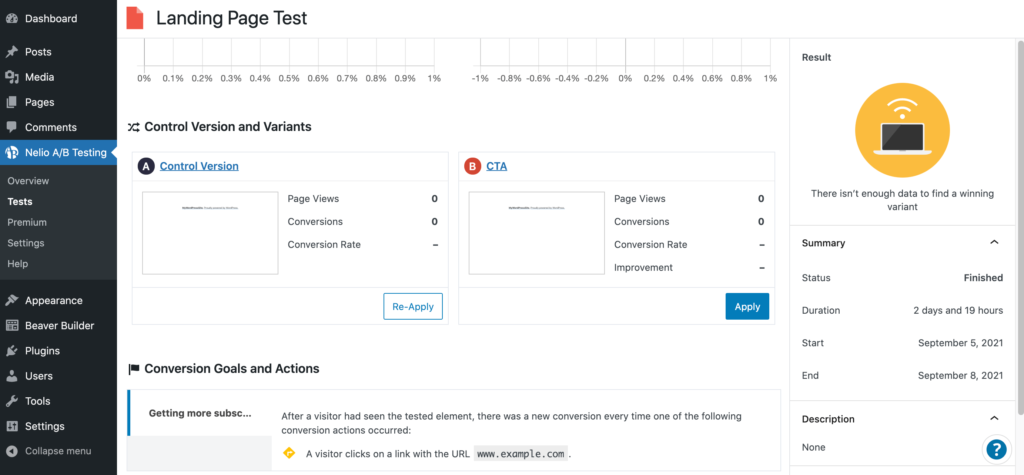
Nelio A/B Testing displays a Summary along the right side of the screen. This includes a Status icon, which you can use to monitor your in-progress test. Initially, this icon is yellow, which indicates there isn’t enough data to determine a winning variant.
As more people visit your landing page, the icon changes to a clock with a heart. This means there is a possible winner, but the plugin would prefer more data in order to improve the accuracy of its results.
As soon as the icon turns green, you have a clear winner. At this point, you can consider stopping the test. To do this, navigate to the Nelio A/B Testing > Tests screen. Once again, hover over the test in question, but this time select Stop.
After stopping your test, you can view the results by navigating to Nelio A/B Testing > Tests. Then, hover over the test in question and select View Results:
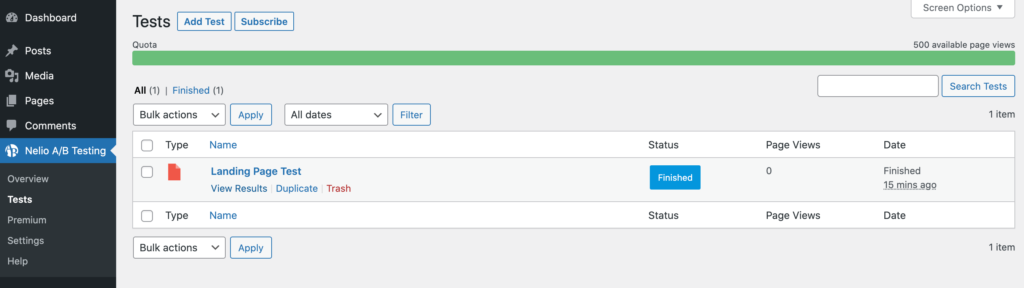
This report contains the same graphs and charts we explored in the previous step. You can share these findings with your client if you want. Alternatively, you can dive straight in and publish the winning landing page by scrolling to the very bottom of this report. Simply click the Apply button that appears alongside the winning page.
Conclusion
Designing a high-converting landing page doesn’t have to feel like guesswork. By conducting A/B split testing for your clients, you’ll get access to the data you need to fine-tune every part of their sites.
In this post, we showed you how to conduct A/B testing for your clients, in six easy steps:
- Decide which elements you want to test.
- Set a deadline for your test.
- Design a compelling landing page with Beaver Builder’s templates.
- Create your B variant and test, using a plugin like Nelio A/B Testing.
- Monitor the performance of your content.
- Conclude the test and act on the results.
Do you have any questions about how to conduct A/B split testing for your clients? Let us know in the comments section below!
5 Comments
Our Newsletter
Our newsletter is personally written and sent out about once a month. It's not the least bit annoying or spammy.
We promise.
Try Beaver Builder Today

Related articles

How Beaver Builder Products Work Together to Build Flexible WordPress Websites
Building a WordPress website often means stitching together a theme from one developer, a page builder from another, and a…
Growing a Facebook Group to 14,000 Members: Community Management Tips with David McCan
David McCan grew the Dynamic WordPress Facebook group to over 14,000 members. We sat down to talk about his moderation...
Why Agencies Are Switching to Beaver Builder: Performance Testing Results
By Chris Smith – HYPEsites.com For WordPress agencies, page builder choice directly impacts the metrics that matter most: project margins,…
Join the community
We're here for you
There's a thriving community of builders and we'd love for you to join us. Come by and show off a project, network, or ask a question.
Since 2014
Build Your Website in Minutes, Not Months
Join Over 1 Million+ Websites Powered By Beaver Builder.
Hey, I absolutely love the article on how to conducting A/B Split testing in effective ways. It would work as a great guide for many small business owner or digial marketing professionals.
I’ll definitely take that for a spin. Thanks for this 🙂
Great article, but you missed the best AB Test option for Beaver Builder!
It’s WAAAY better than Nelio and works INSIDE beaver builder!
https://absplittest.com/
Do I need something extra to create A/B tests with my Pro plan?
You need something like Google Optimize (Free), Nelio (Free, complicated) or AB Split Test (easy & powerful)
Thanks for this outstanding information.You explained everything in detail with proper screenshots and it’s very informative because without testing nobody knows what will work in the end.And the user experience is the most important thing.
So, again thanks a lot!