
Modern tools mean that it’s never been easier to create beautiful media, color palettes, templates, and other resources for your website. However, sharing these resources with your clients and team members or across your own sites isn’t always straightforward.
That’s why we designed the Assistant Pro platform. In this post, we’ll show you how to organize, share, and store all of your web design assets using this convenient cloud platform. Let’s get started!
An Introduction to Assistant Pro (And How It Can Benefit Your Business)
When you’re working collaboratively, it’s essential that you have a quick and easy way to share files. However, even with modern tools, sharing content can quickly become a disorganized and confusing process.
Constantly having to chase down missing documents is time-consuming, and can result in missed deadlines. However, having access to the wrong files can be even more damaging. Without efficient file-sharing tools, it’s easy to get into a situation where coworkers are using different versions of creative assets. This can completely derail a project.
That’s where Assistant Pro comes in. Based on our popular Assistant plugin, this is a cloud-based database that enables you to store design assets in libraries:
Assistant Pro libraries can include the following creative content:
- Posts and archives
- Pages
- Custom post types, including those created by plugins such as WooCommerce
- Beaver Builder saved content (rows, columns, modules, layout templates)
- Beaver Themer layouts
- Gutenberg blocks
- Templates from supported third-party page builders (Elementor, Divi, Visual Composer)
- Images
- Colors
- Customizer settings for your theme
After adding your creative assets to a library, you can share them across your own websites and with collaborators, clients, and, if you have an Assistant Pro Team license, with team members. This lets you share creative assets without having to rely on email or any additional third-party applications.
All of this makes Assistant Pro a must-have productivity tool for web design and development teams. Even if you’re working solo, Assistant Pro can be a valuable way to share resources with your clients.
By uploading assets such as early designs and drafts to Assistant Pro, you can get invaluable client feedback and approval. This can streamline your workflow, which is great news for your productivity and your bottom line.
Assistant Pro is also the perfect tool for organizing all of the assets you create for various projects. By storing and organizing these resources, you can build your own reusable content libraries. This can help you complete future projects faster, and to a higher standard.
How to Connect Assistant Pro With the Assistant Plugin
The Assistant plugin is a productivity tool that enables you to manage your site’s content from the front end. After installing and activating the plugin, you’ll see a new menu on your website. This is only visible when you’re logged into WordPress as an admin:
The Assistant plugin consists of a number of apps that are designed to provide easy access to your most commonly used tools. The plugin helps you perform some of your common tasks without cluttering the front end with lots of complicated settings.
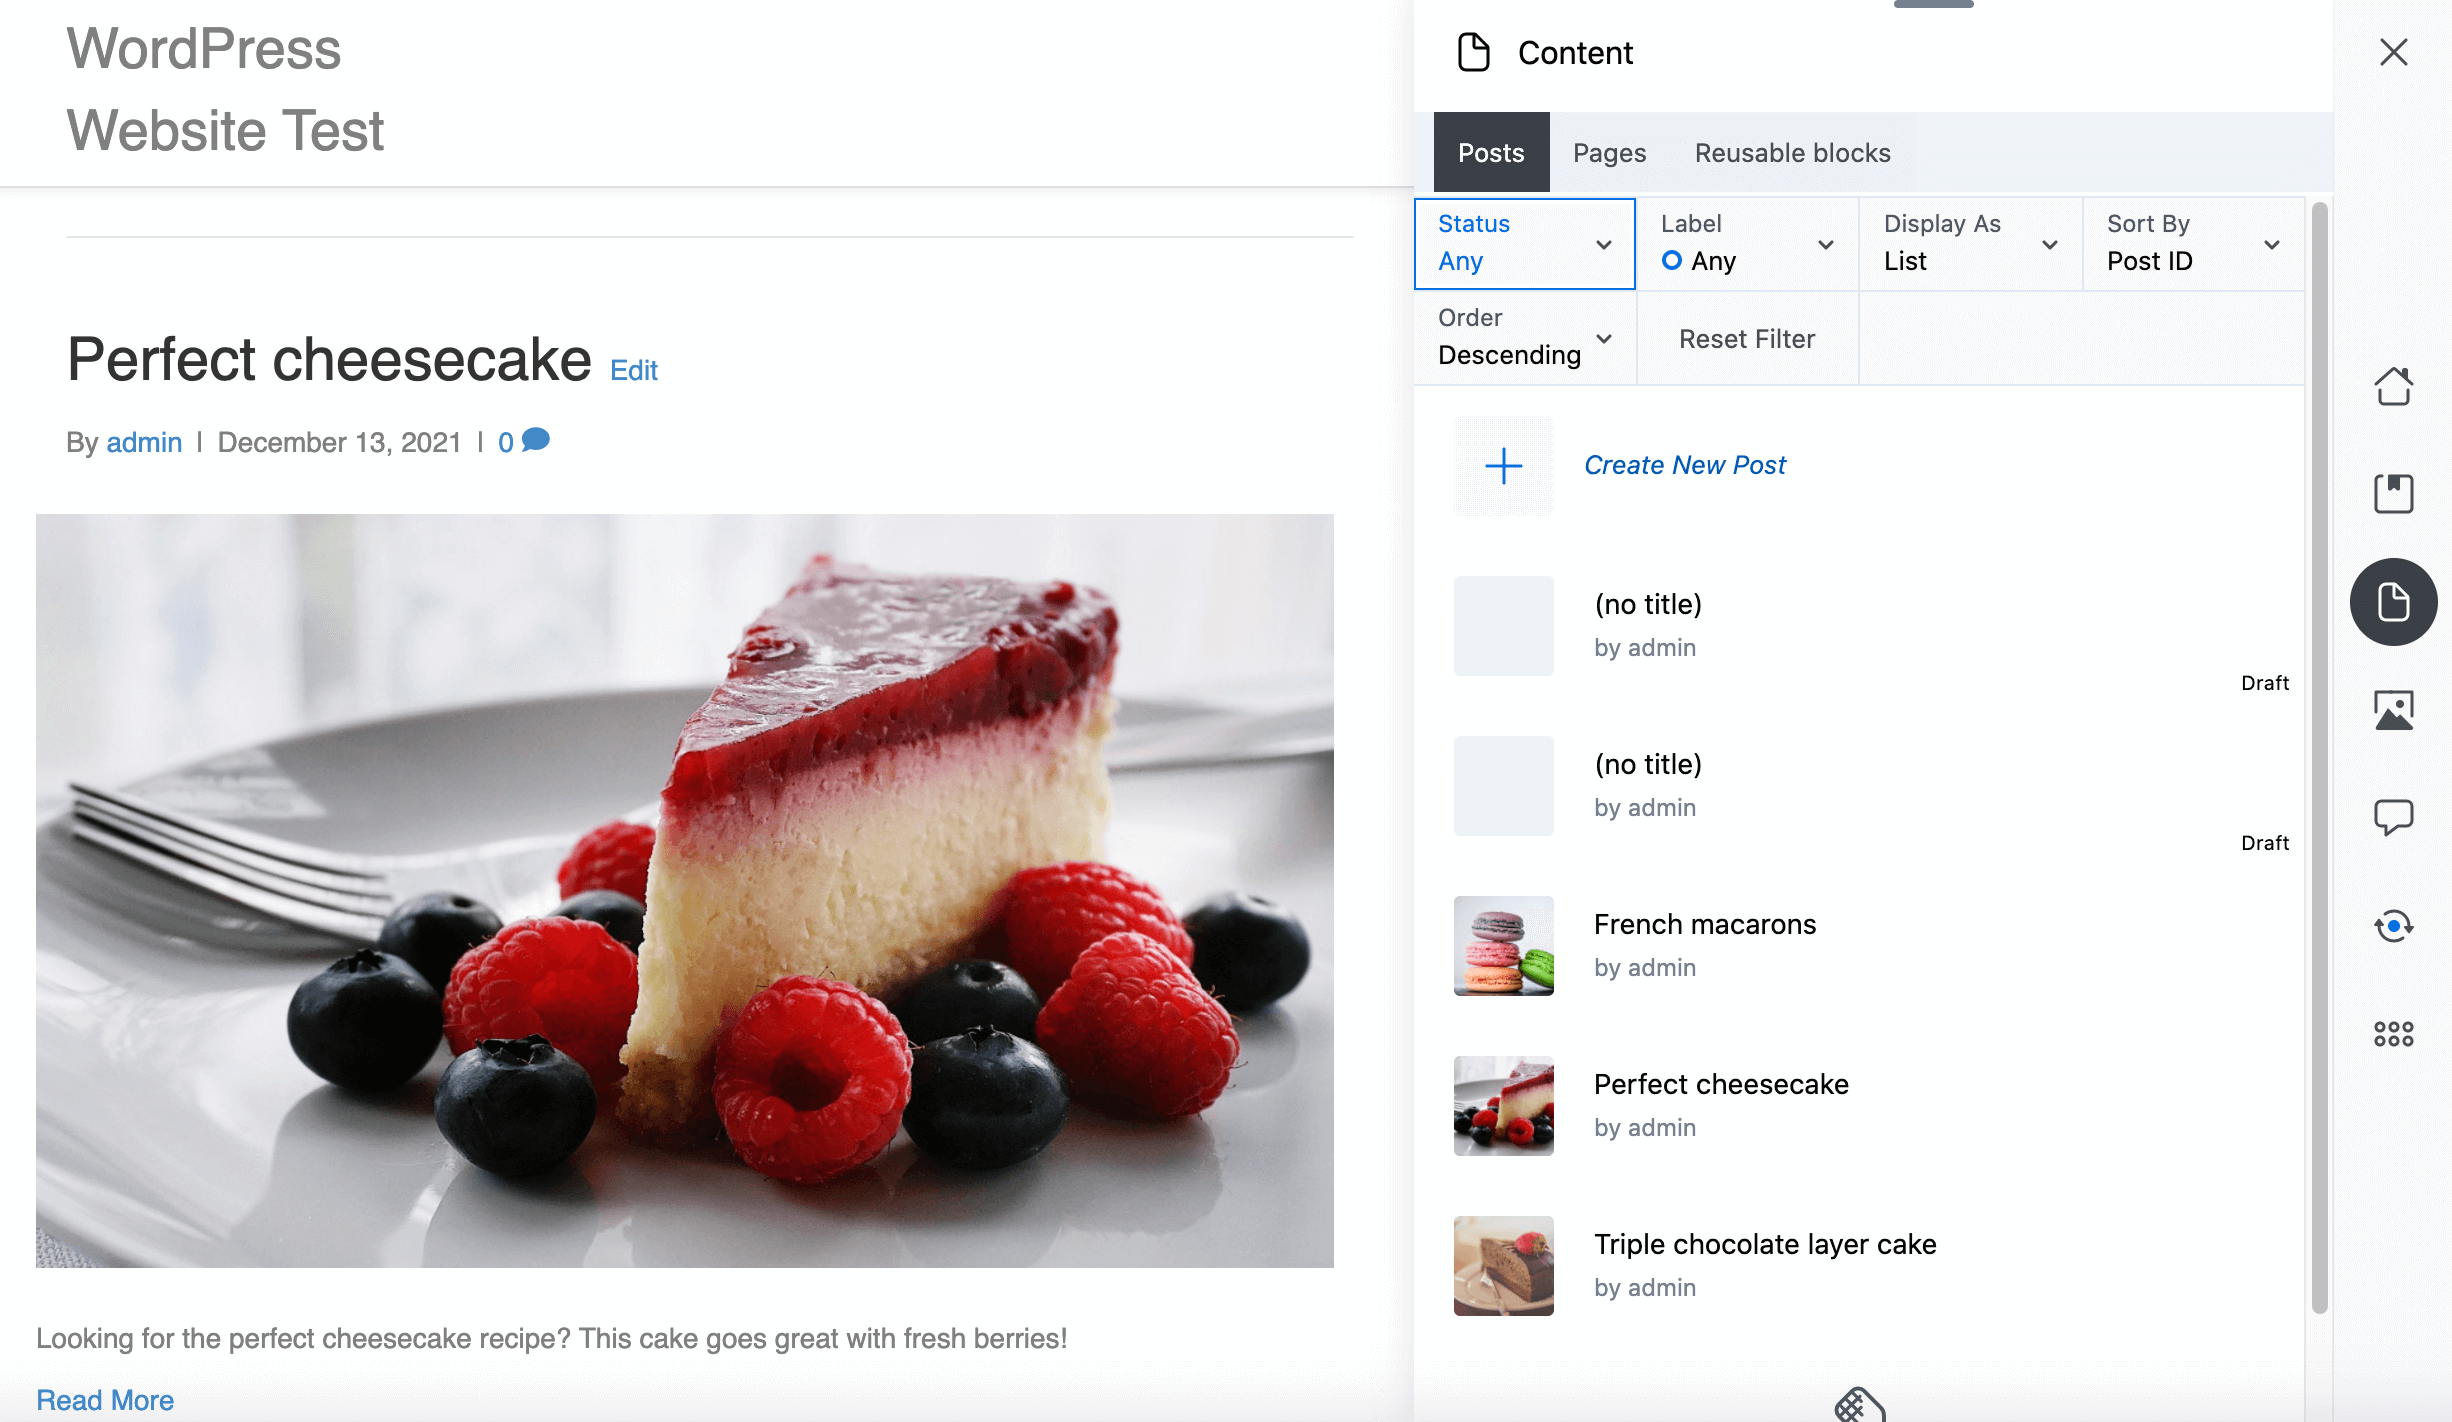
For example, in the Content app you can view and filter the posts on your site and click to open them for editing:
You can use Assistant like this as a standalone plugin. However, the plugin also integrates with the Assistant Pro Cloud platform. In this post we’ll focus on how the Assistant Pro Cloud and Assistant plugin integrate with the Beaver Builder page builder plugin.
You can access the Assistant sidebar within the Beaver Builder editor to add library assets as you work on layouts. With this in mind, we highly recommend linking Beaver Builder, Assistant, and the Assistant Pro platform.
After installing and activating all of these components, you can open any page, post, or template in the Beaver Builder editor. Then, click the Assistant icon in the upper-right corner:
![]()
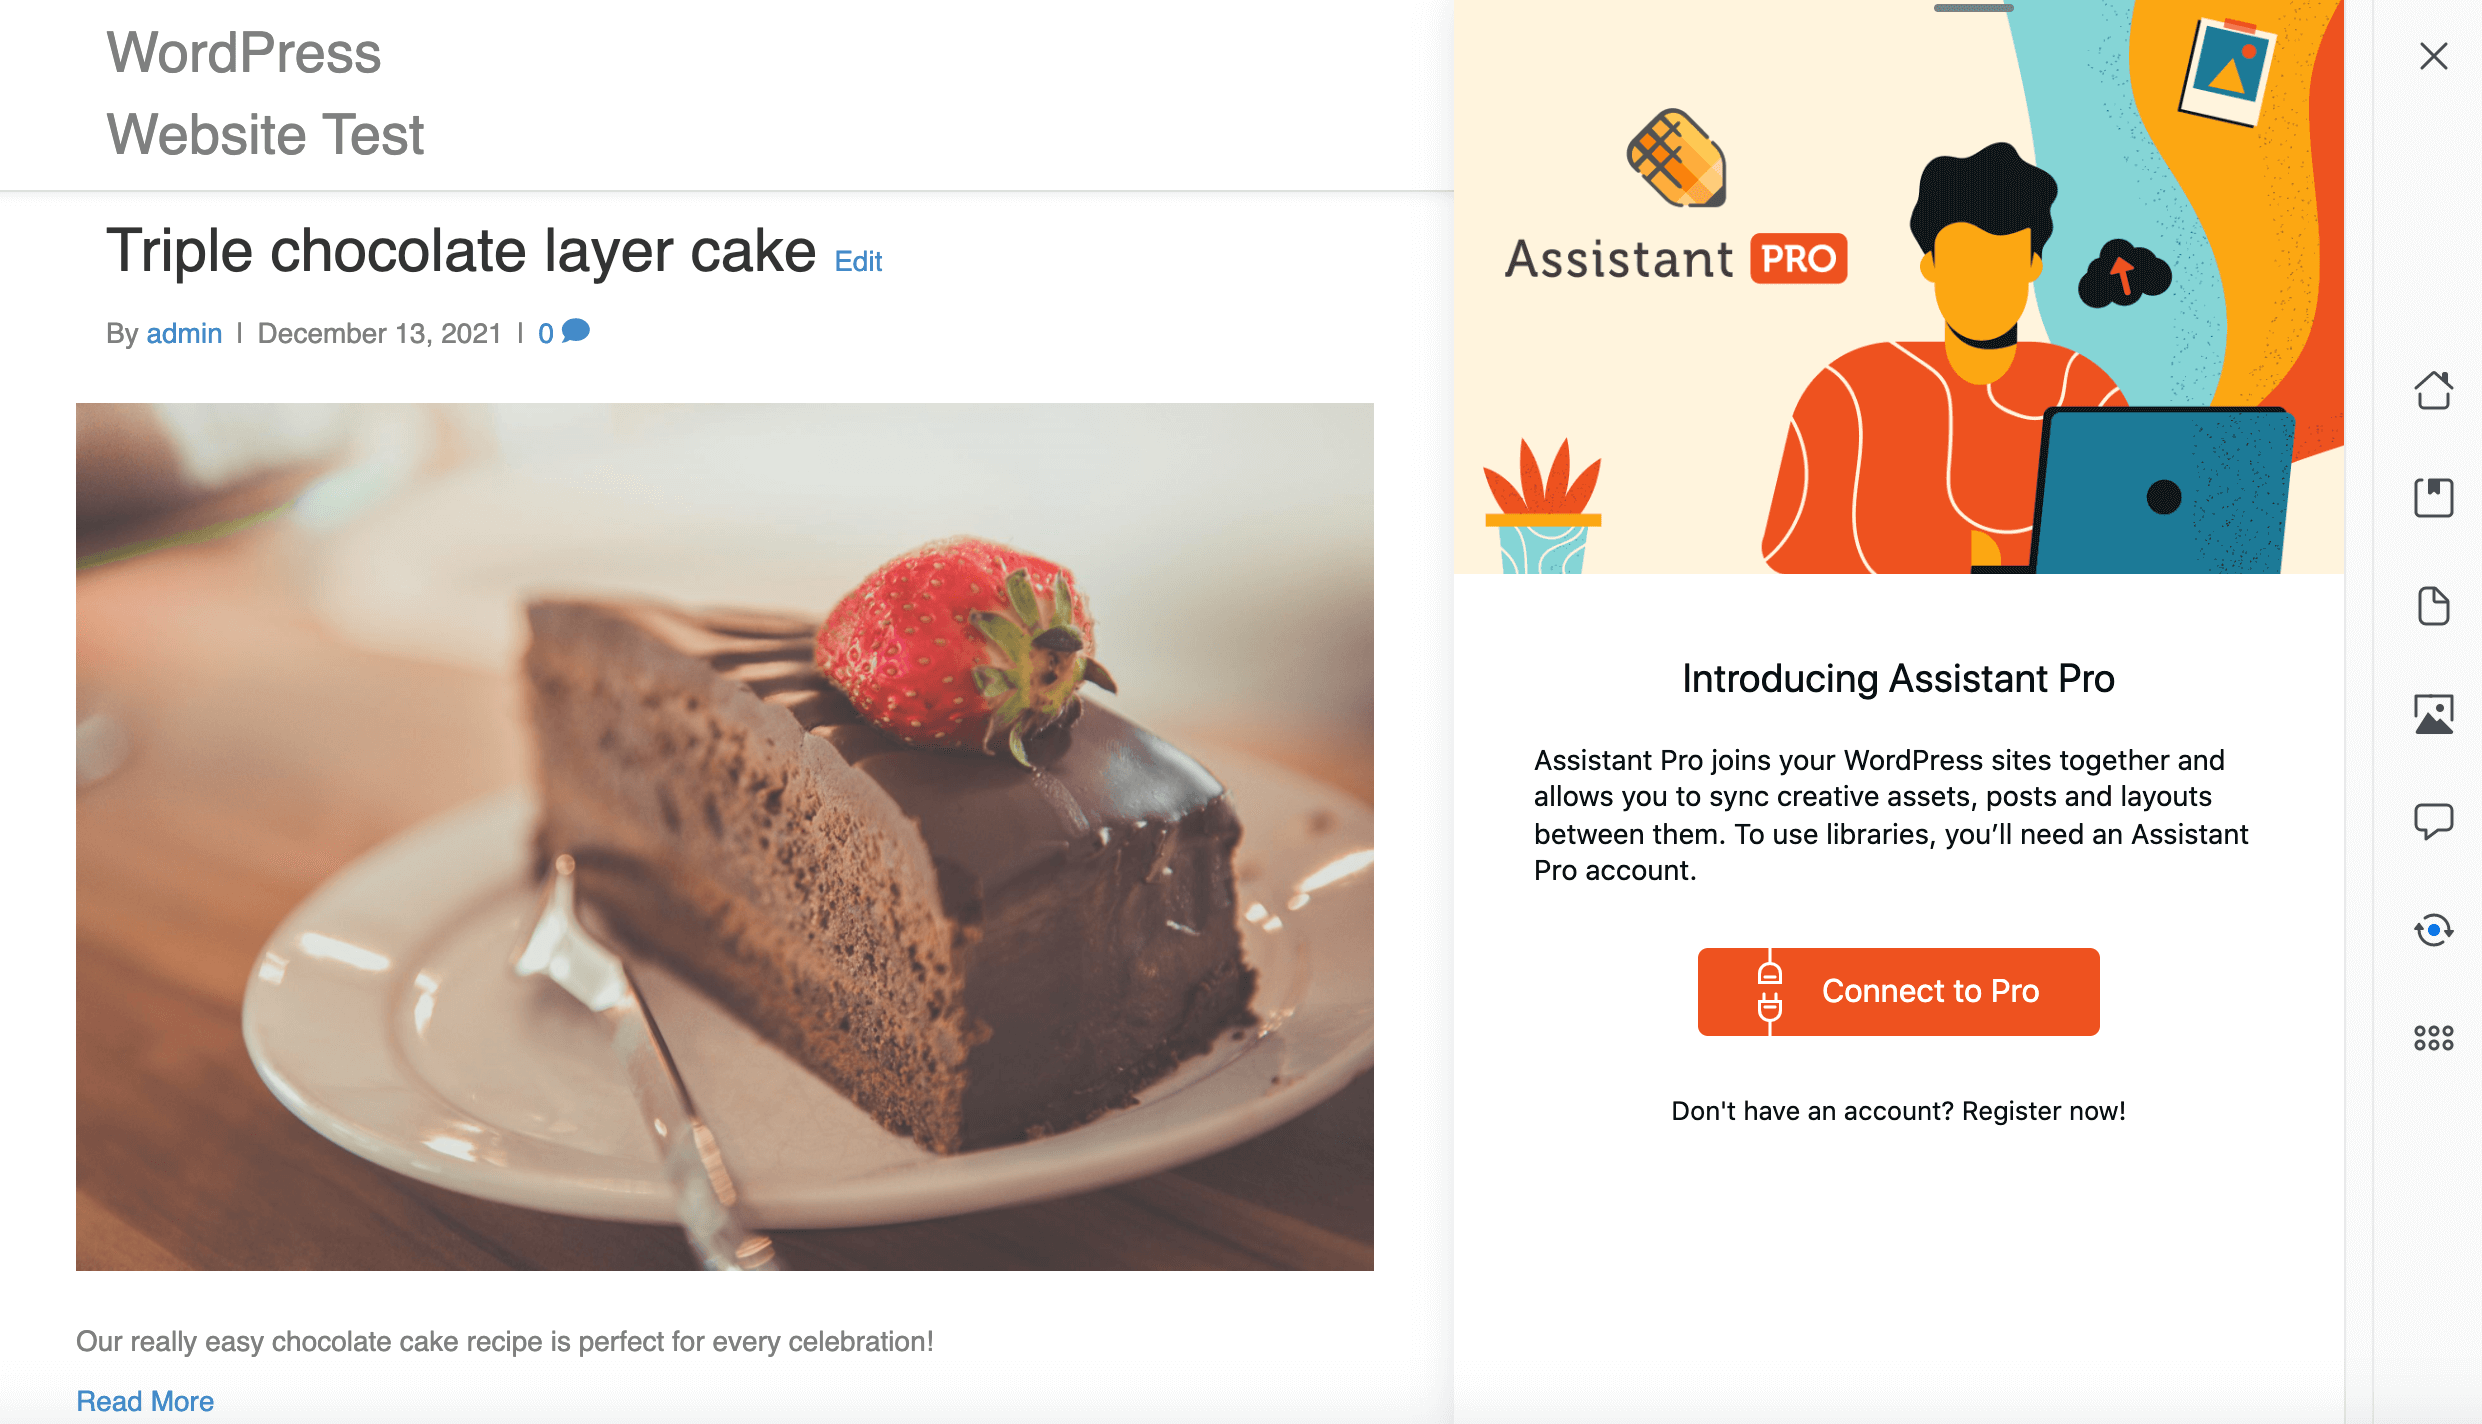
This launches the Assistant sidebar. Click the Libraries icon on the right side:
![]()
Click Connect to Pro. You can either create a new Assistant Pro account (it’s free to sign up) or connect the Assistant plugin to your existing account.
After you’ve connected to your Assistant Pro account, click the Libraries icon on the right-hand side of the Assistant sidebar to display all of your Assistant Pro libraries:
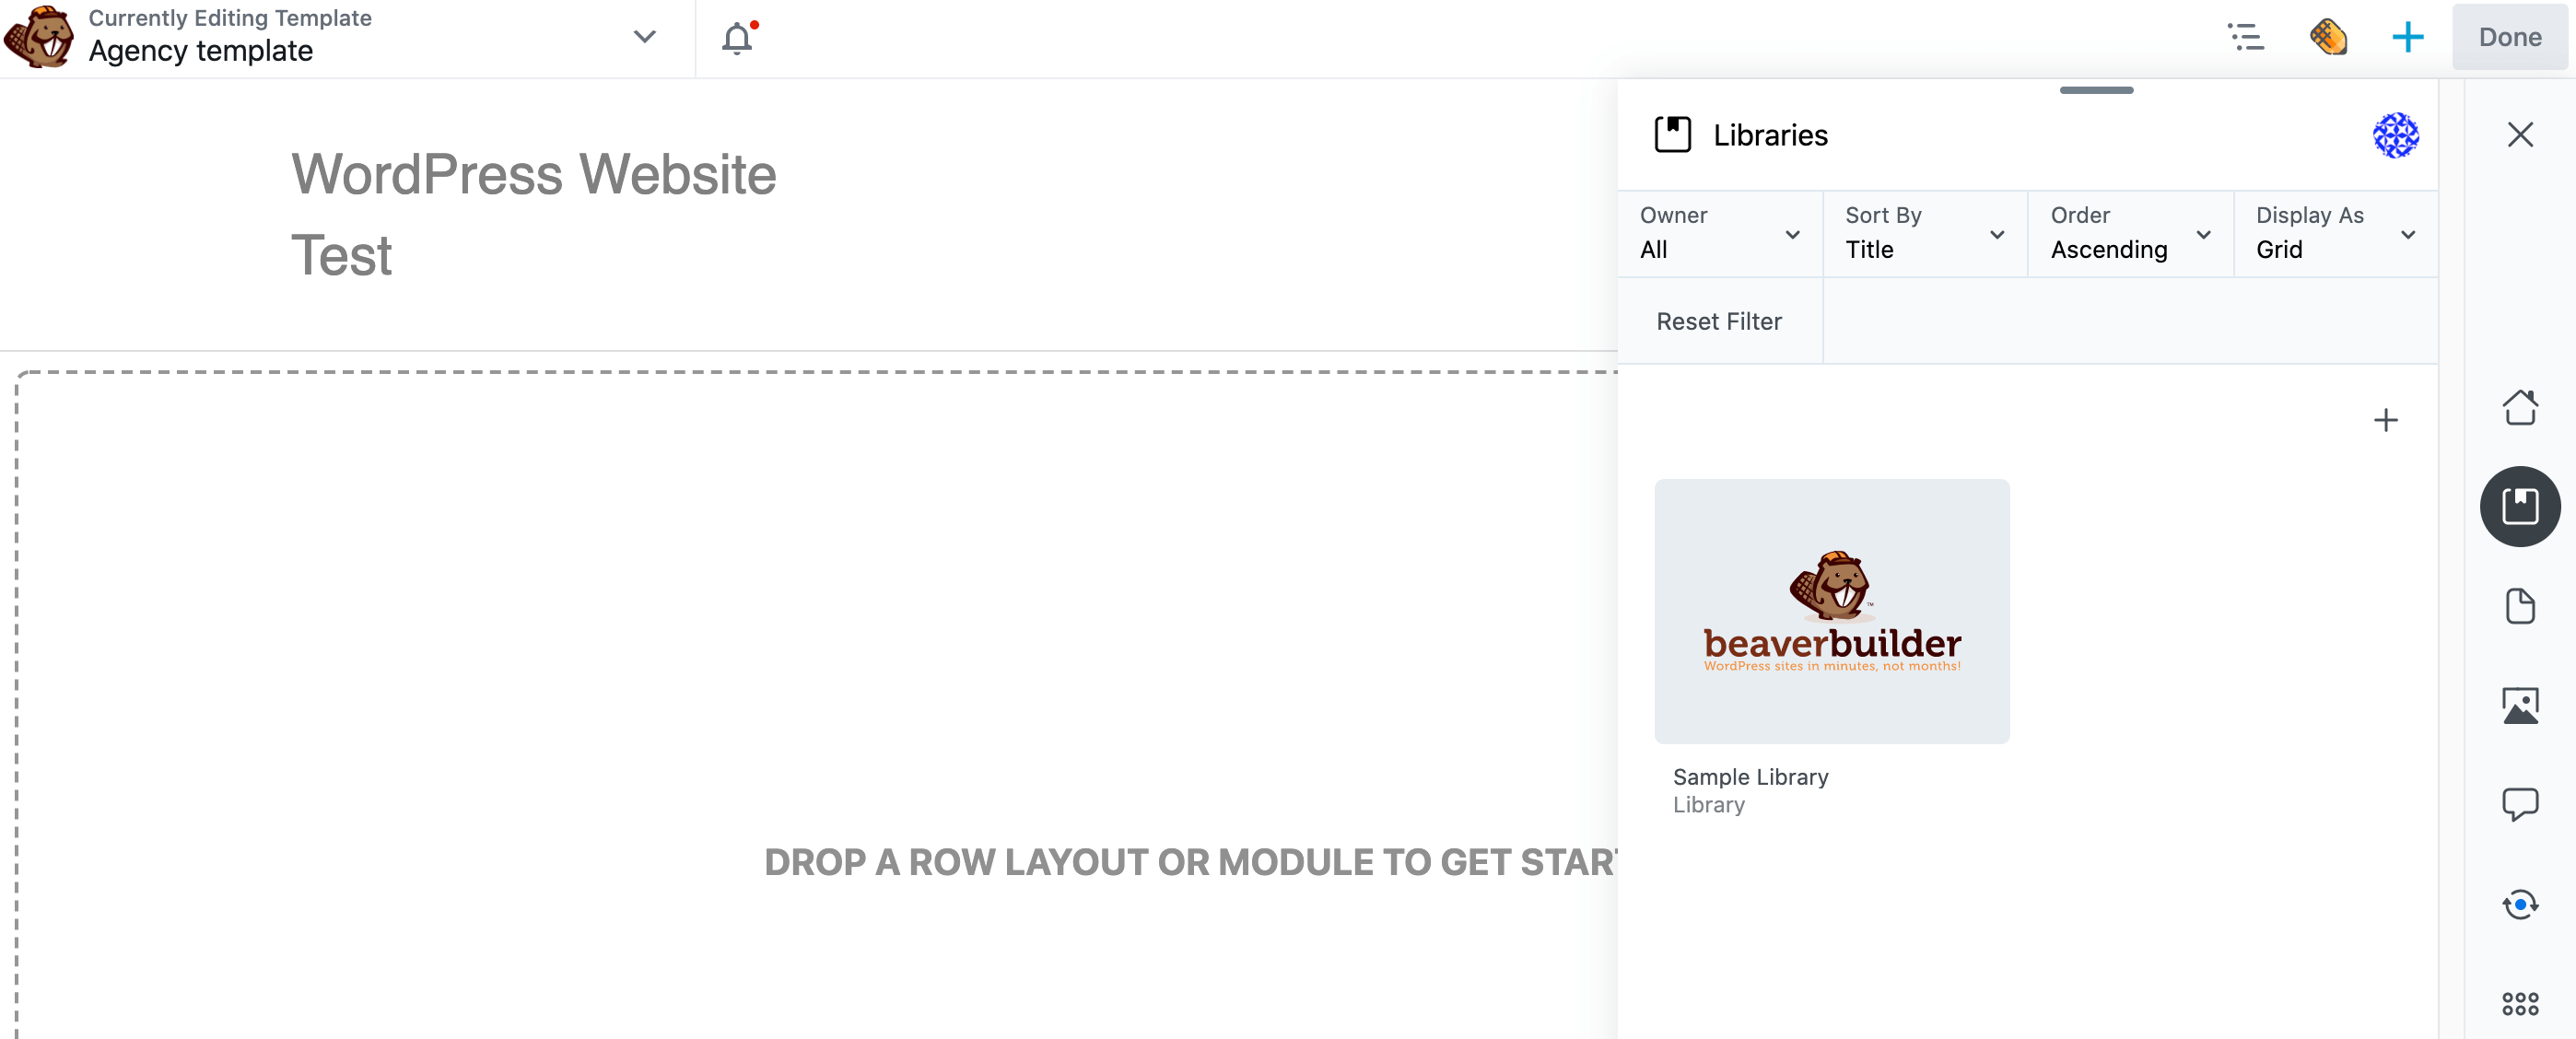
Assistant Pro provides a Sample Library that contains some useful content such as colors and images. You can use any of these assets on your website. However, to get the most out of Assistant Pro, you’ll want to add your own resources.
How to Maximize Your Productivity With Assistant PRO (4 Key Tips)
As a busy web designer or developer, chances are you have a long to-do list. With this in mind, we’re sharing four ways to maximize your productivity with Assistant Pro.
In this section, we’ll show you how to add four different types of creative assets to an Assistant Pro library.
1. Export and Import Media
Humans are inherently visual creatures. In fact, half of the human brain is devoted directly or indirectly to vision. Maybe that explains why beautiful, high-resolution images and video content are the cornerstones of good web design.
By including some relevant media, you can instantly make your content more engaging and appealing. It’s also an effective way to break up text-heavy web pages.
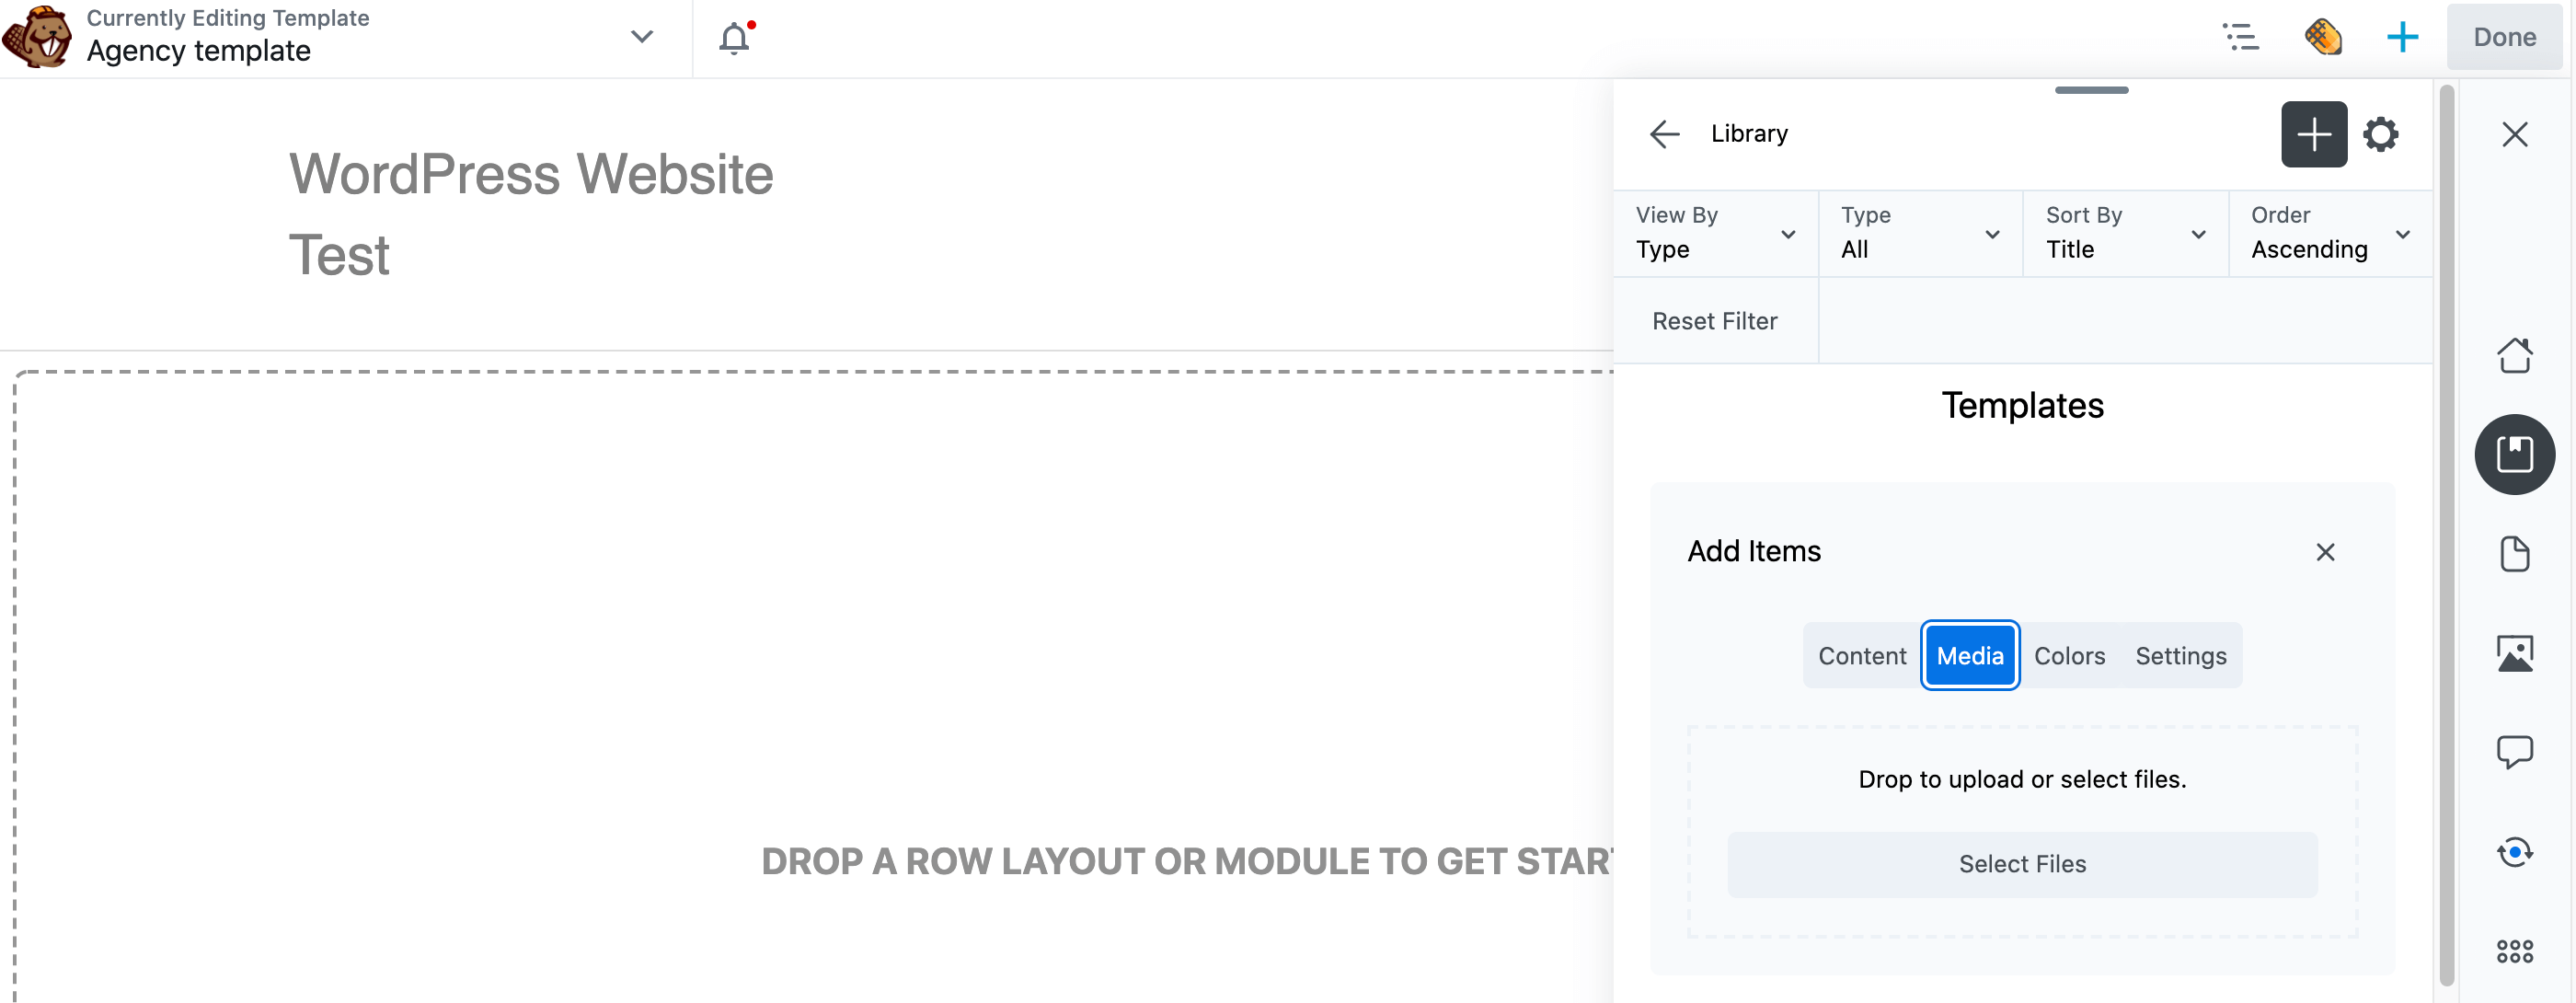
You can use Assistant Pro to store, organize, and share your media. To upload a media asset, open the Assistant sidebar, click the Libraries icon, then click the + icon. In the Add Items section click Media:
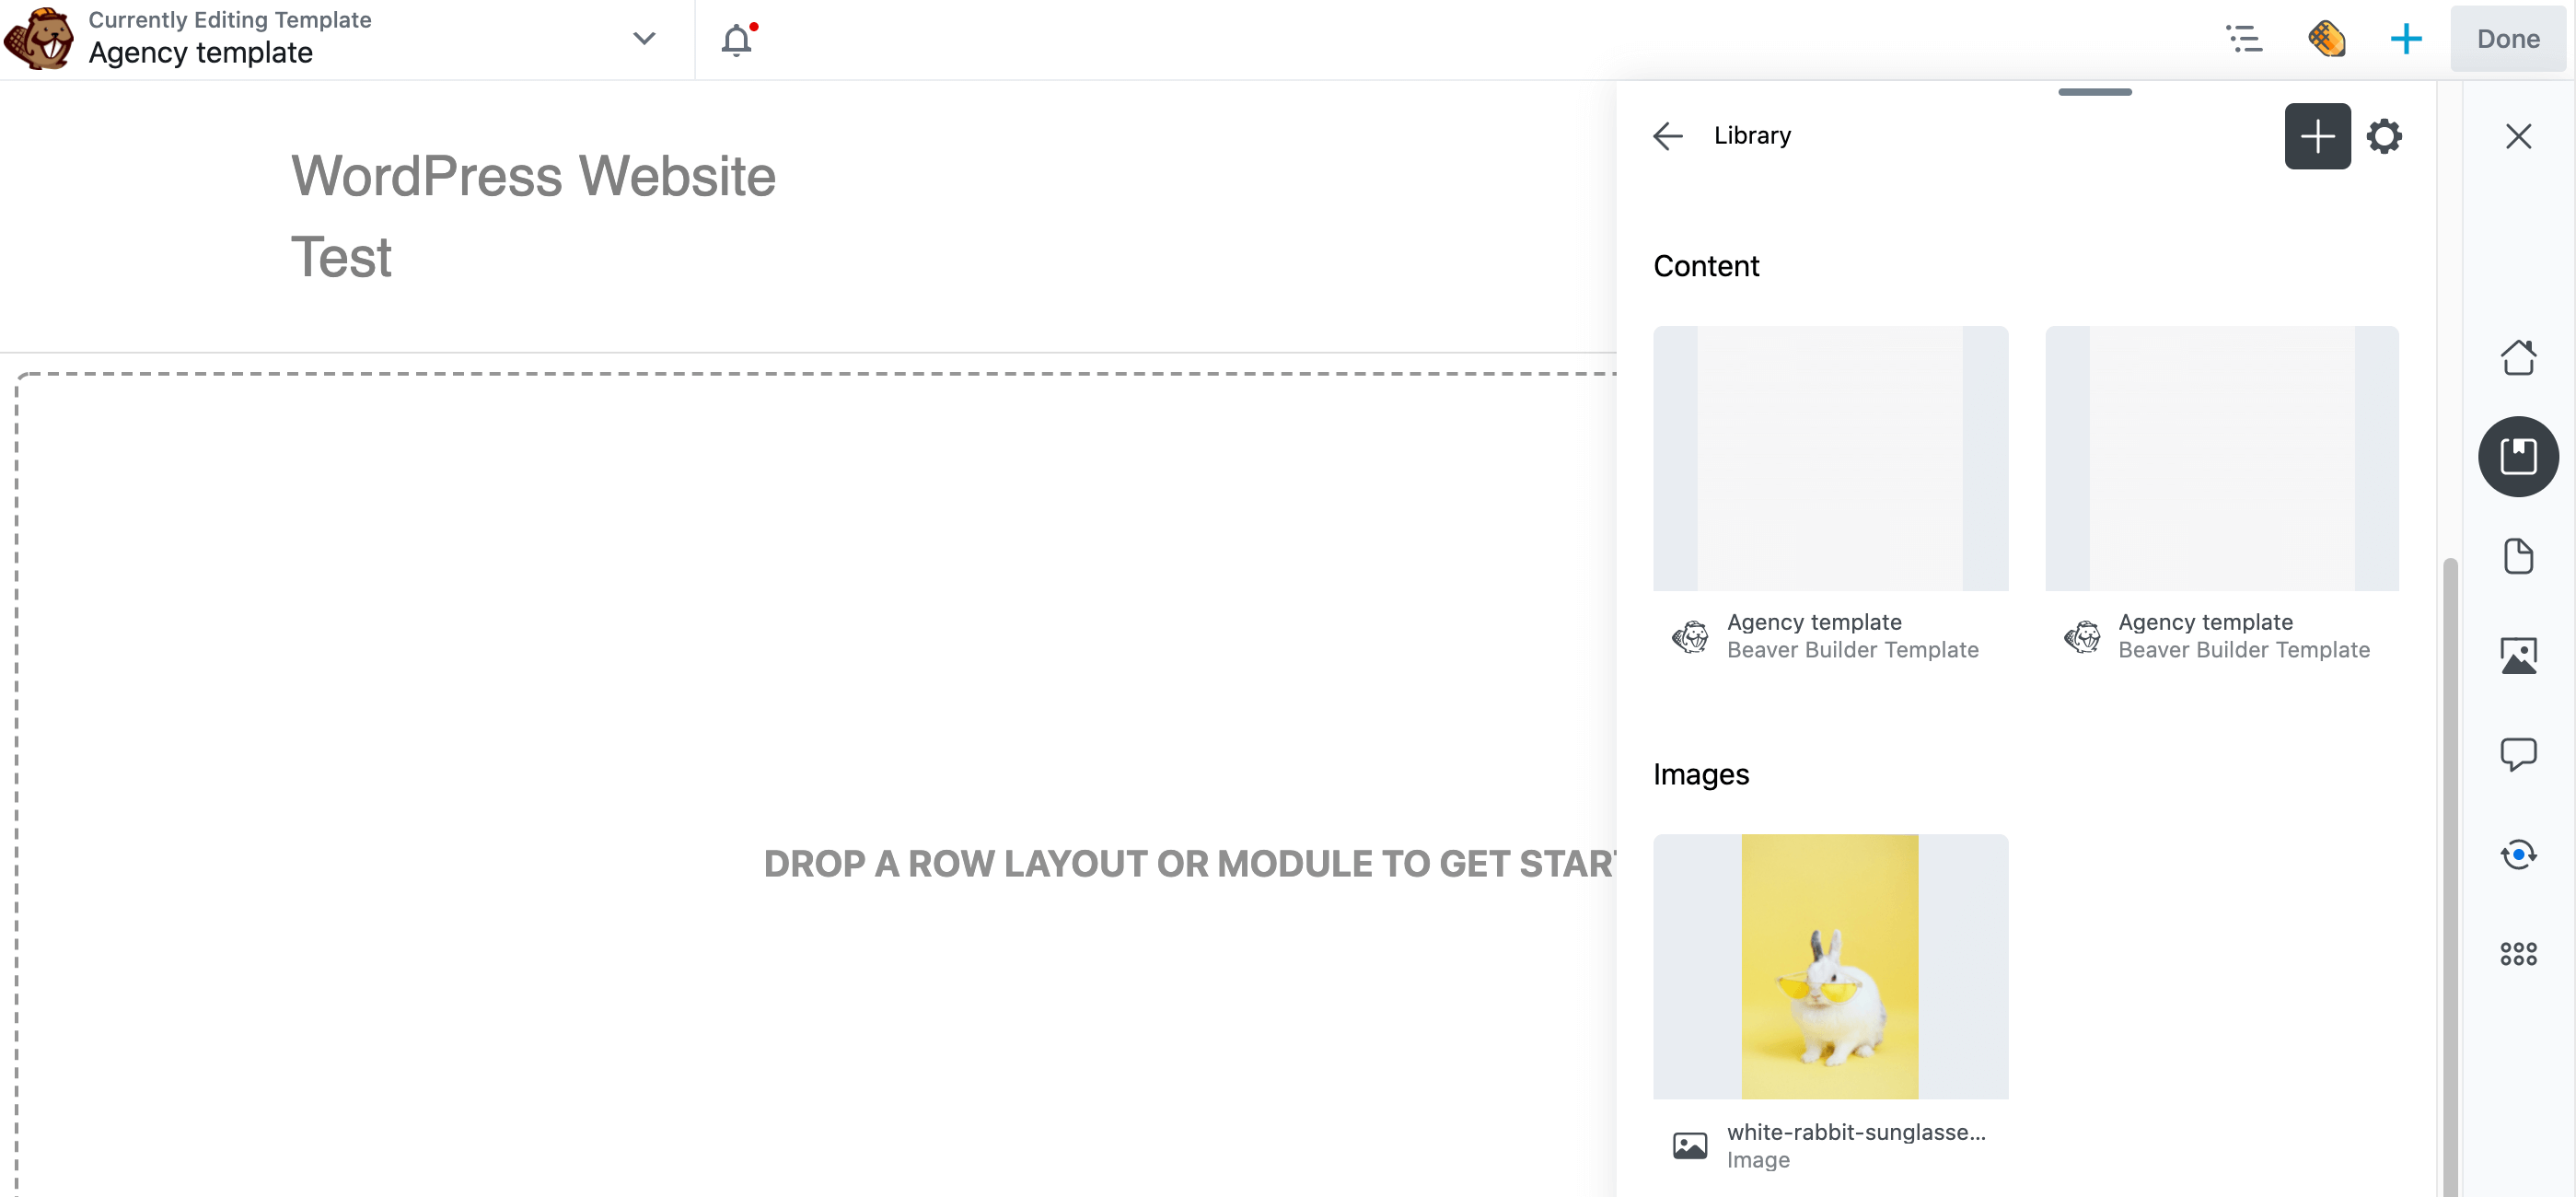
You can now upload any images that you want to store in Assistant Pro. After you add it to the library you want, the content is automatically uploaded to the Assistant Pro Cloud:
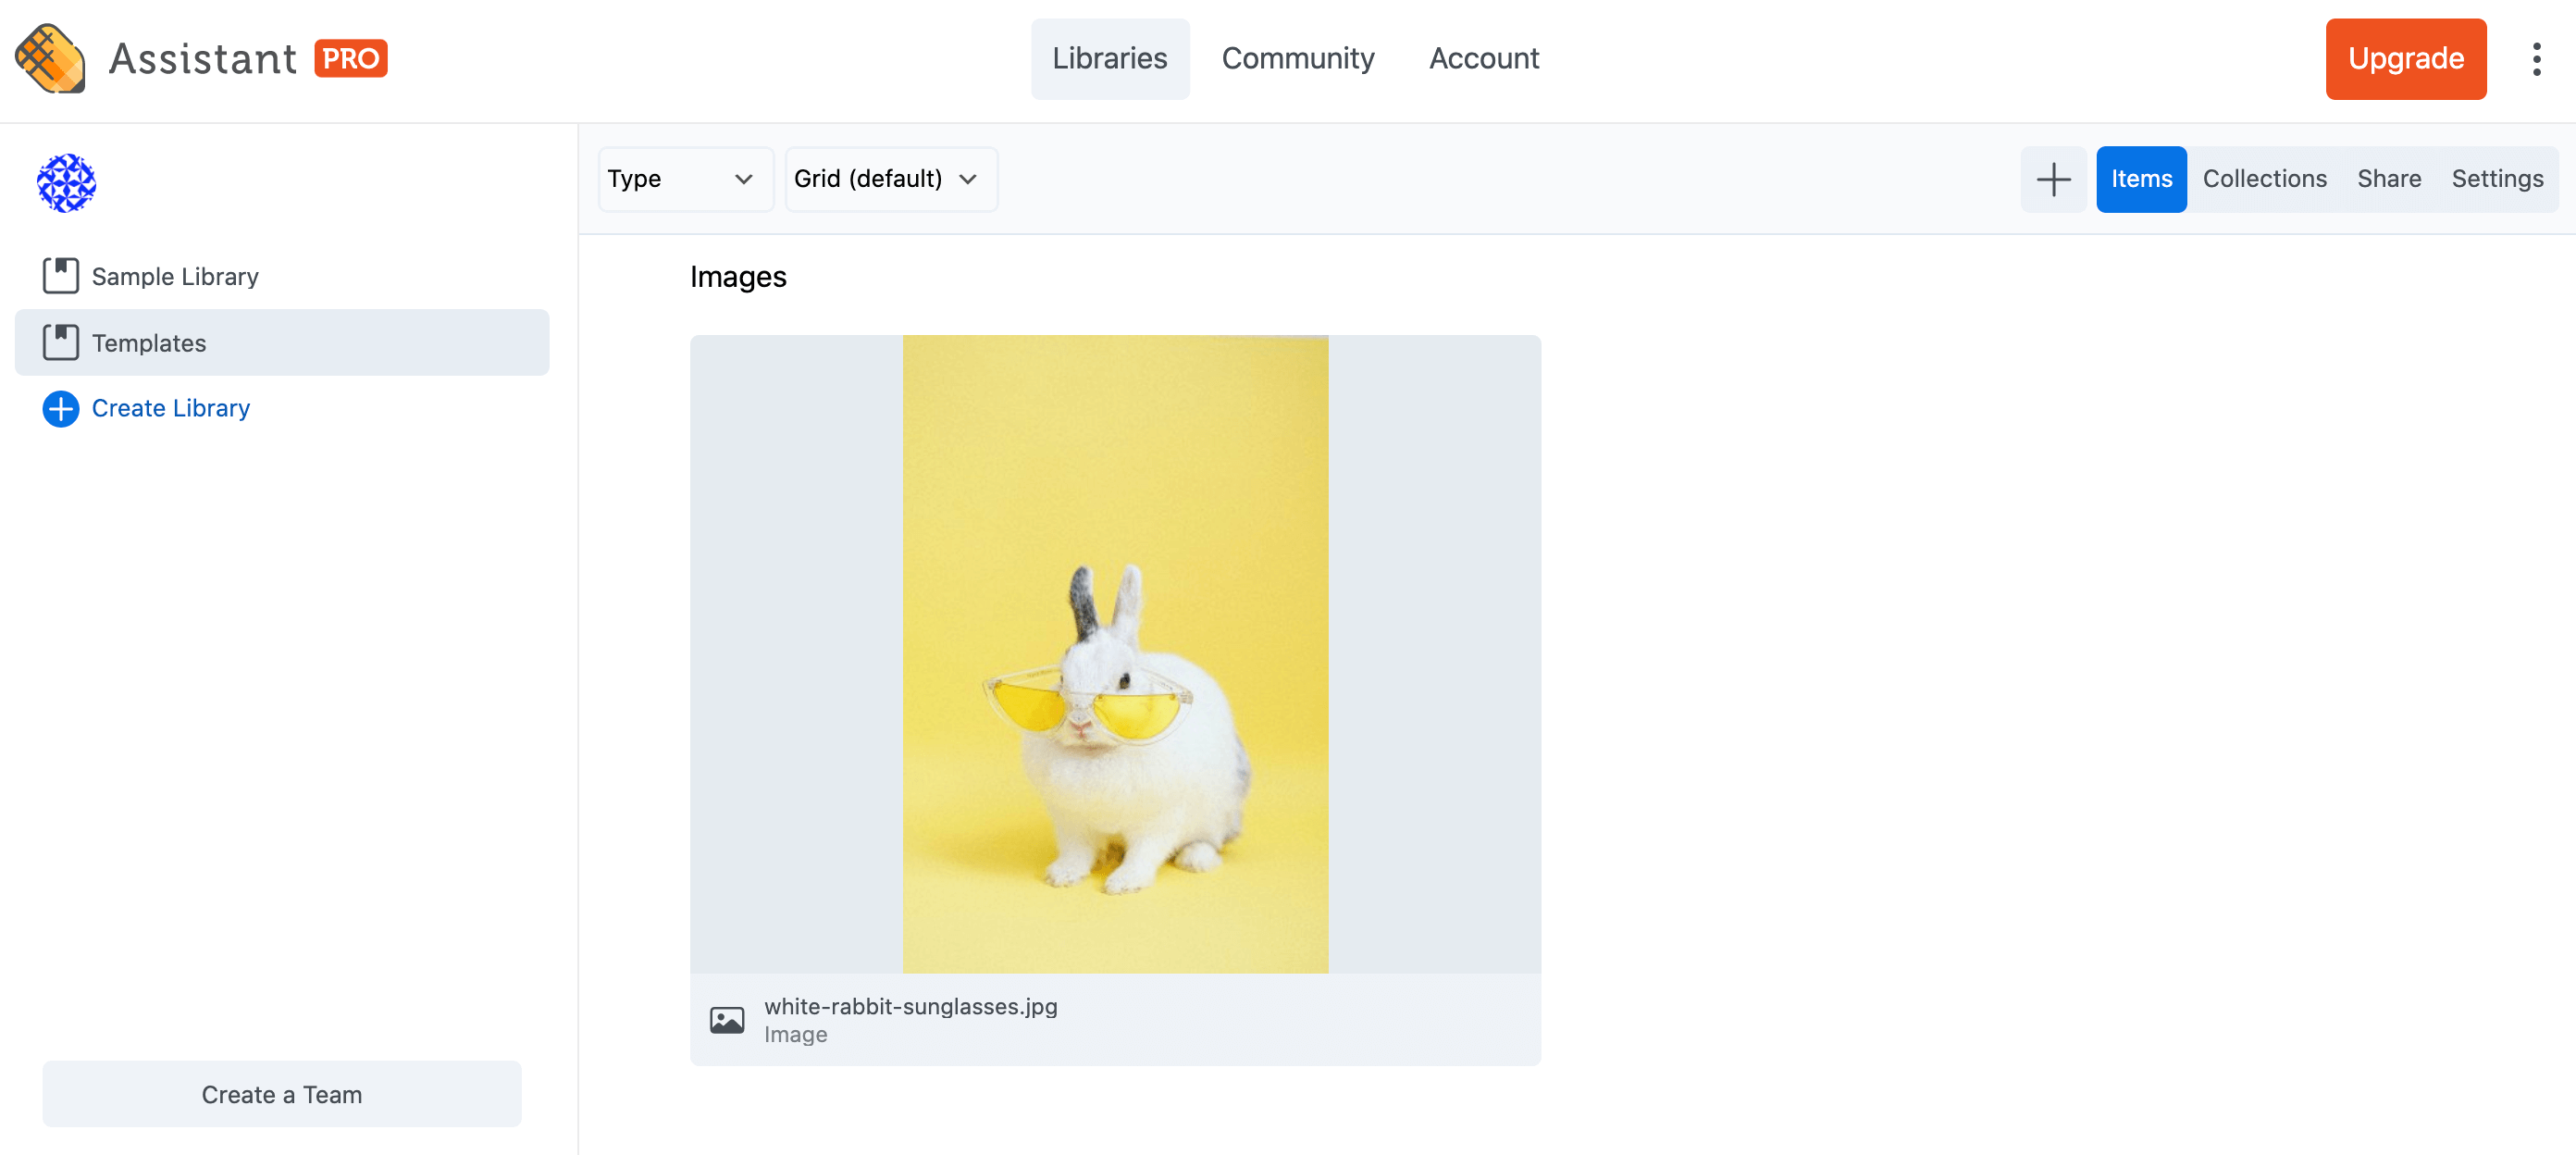
There are a few different ways to access library content. First, you can log into your Assistant Pro account in a web browser. Navigate to the library where you uploaded the content. Creative assets in libraries are divided into content, images, and so on:
Alternatively, you can access your media via the Assistant plugin in any site where it’s installed. You can browse all of your creative assets and import them into your site with just a few clicks.
To import media from your Assistant Pro account, open the Assistant panel and navigate to the library that contains your file, then click on it to view its assets, then scroll down to the Images section and click on the image to open its properties:
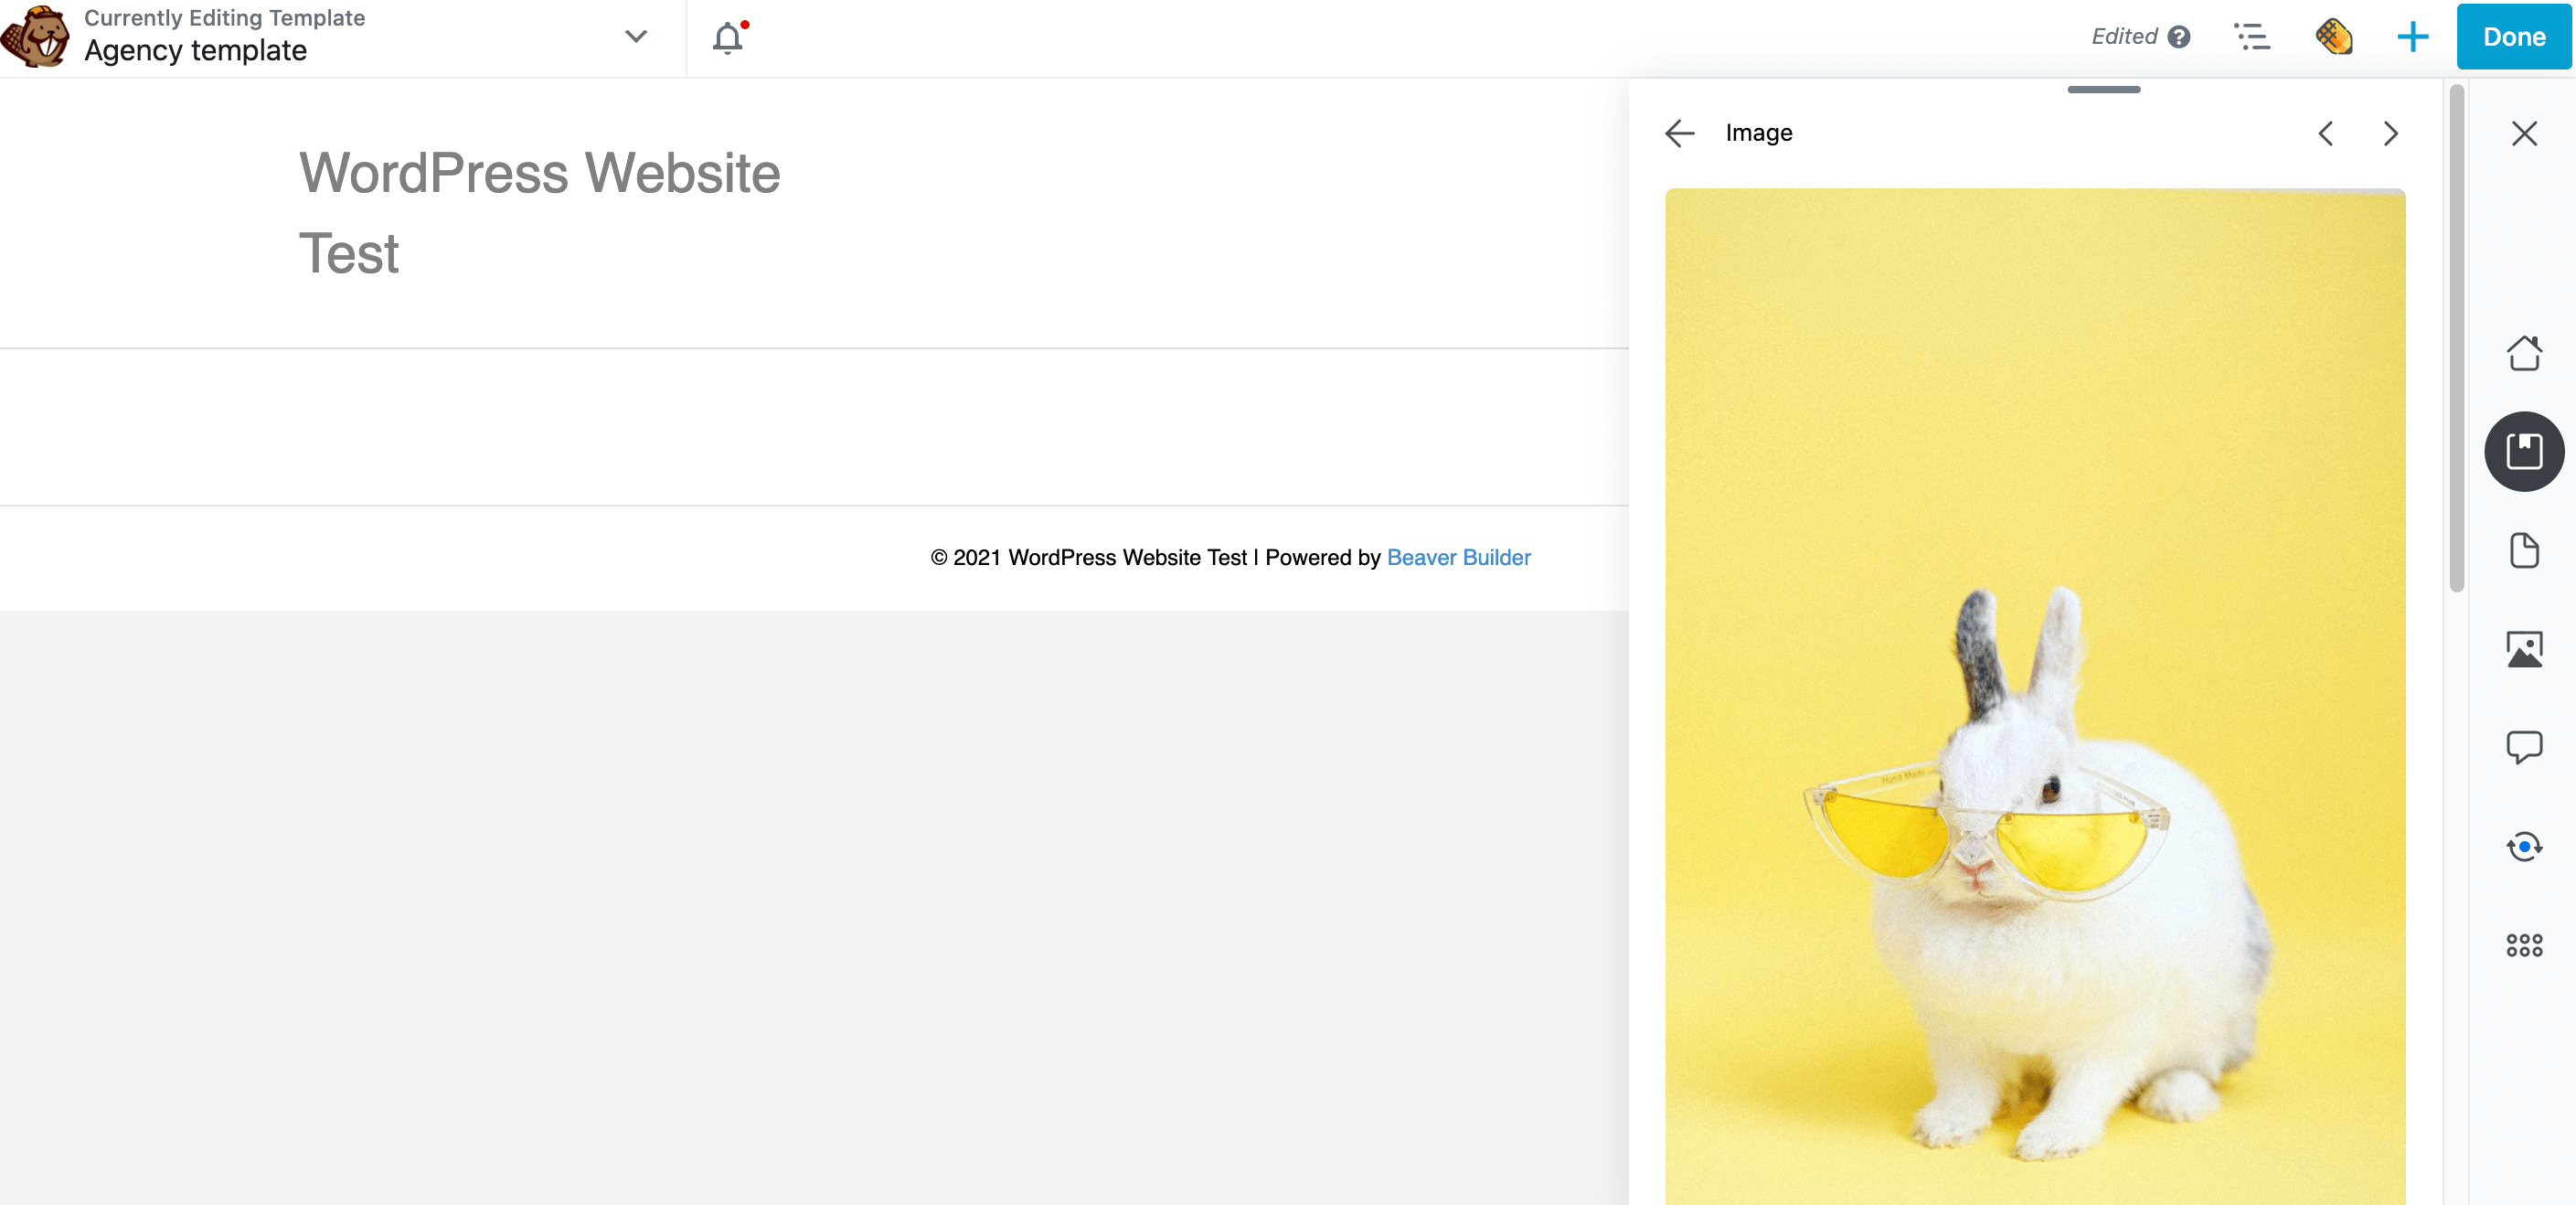
Locate and select the Import button, which adds the image to the WordPress Media Library. After a few moments, you should see an Item Imported notification:
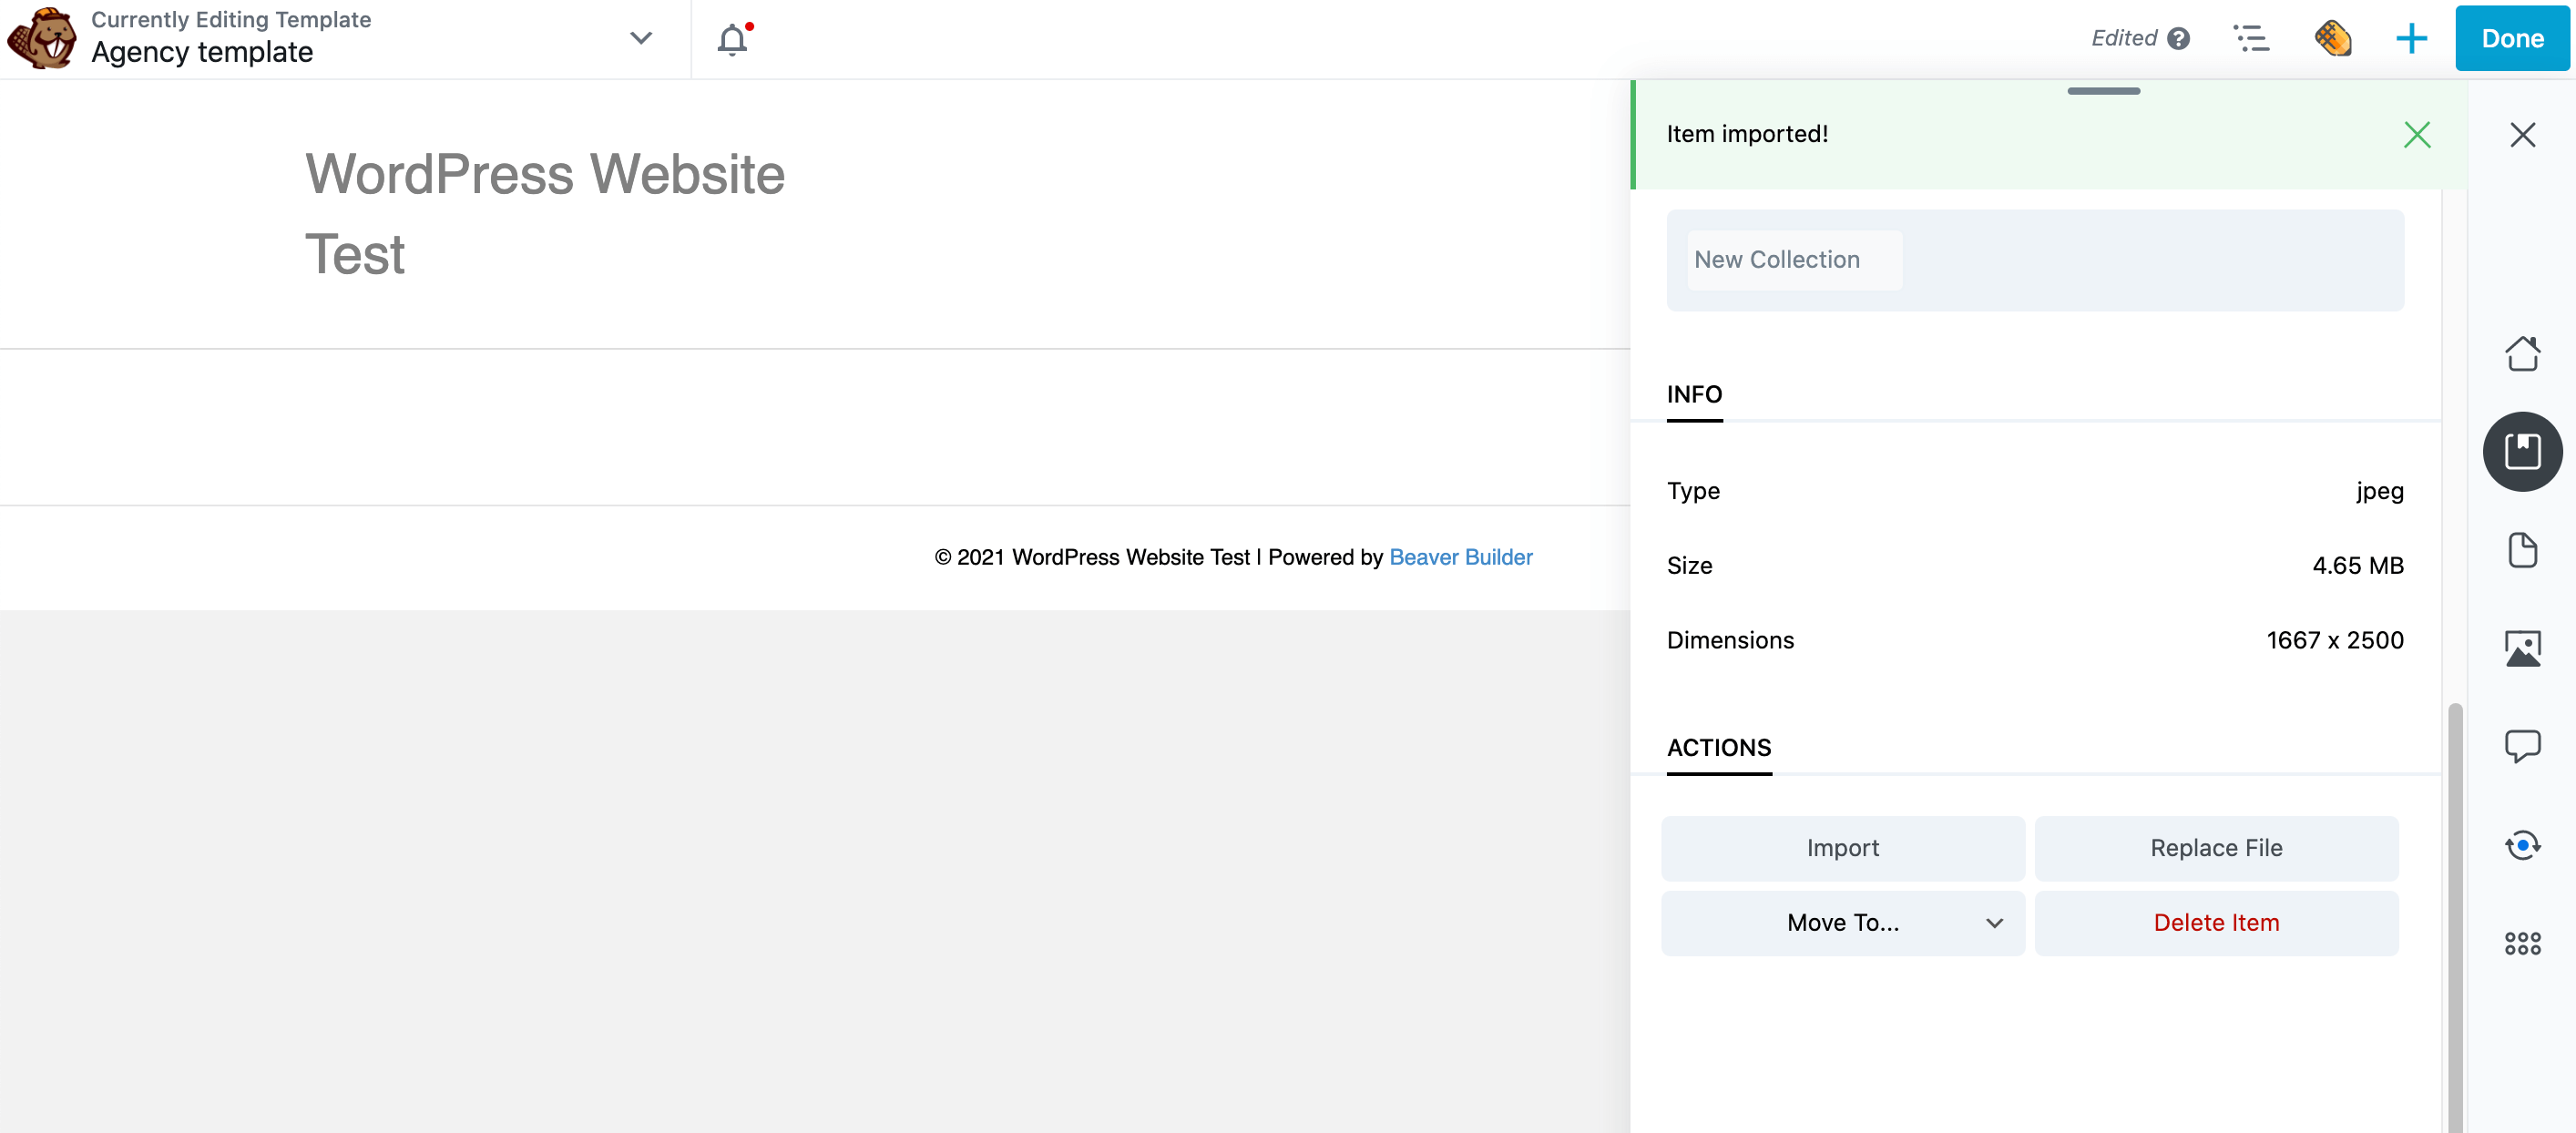
This file will now be added to the standard WordPress media library. You can now use this content in any place you’d normally use images from the Media Library.
2. Create a Color Repository
Colors are a powerful way to reinforce your branding and inspire an emotional response in your visitors. For example, it’s widely accepted that blue is a calming color.
You can also use color to draw the visitor’s attention towards your site’s most important elements. For example, bright colors such as reds are often used for Calls To Action.
However, consistency is key. If you’re constantly switching between different shades, it may result in a website that looks unprofessional.
It can also damage the user experience, as visitors will be missing the subtle cues that are communicated via consistent color. For example, if all of your Calls to Action are different shades, then visitors may struggle to spot them.
With this in mind, you might want to record your most frequently-used colors in Assistant Pro. This way, you don’t have to keep referring to your notes or checking your previous sites in order to ensure consistency.
If you’re collaborating with other designers, recording these colors in Assistant Pro can help you avoid lots of back-and-forth communication to get clarification regarding a client’s approved palette. It can also help you avoid inconsistencies in your design due to miscommunication.
To store a color, open the Assistant sidebar and click the + icon. In the Add Items section, thern click Colors:
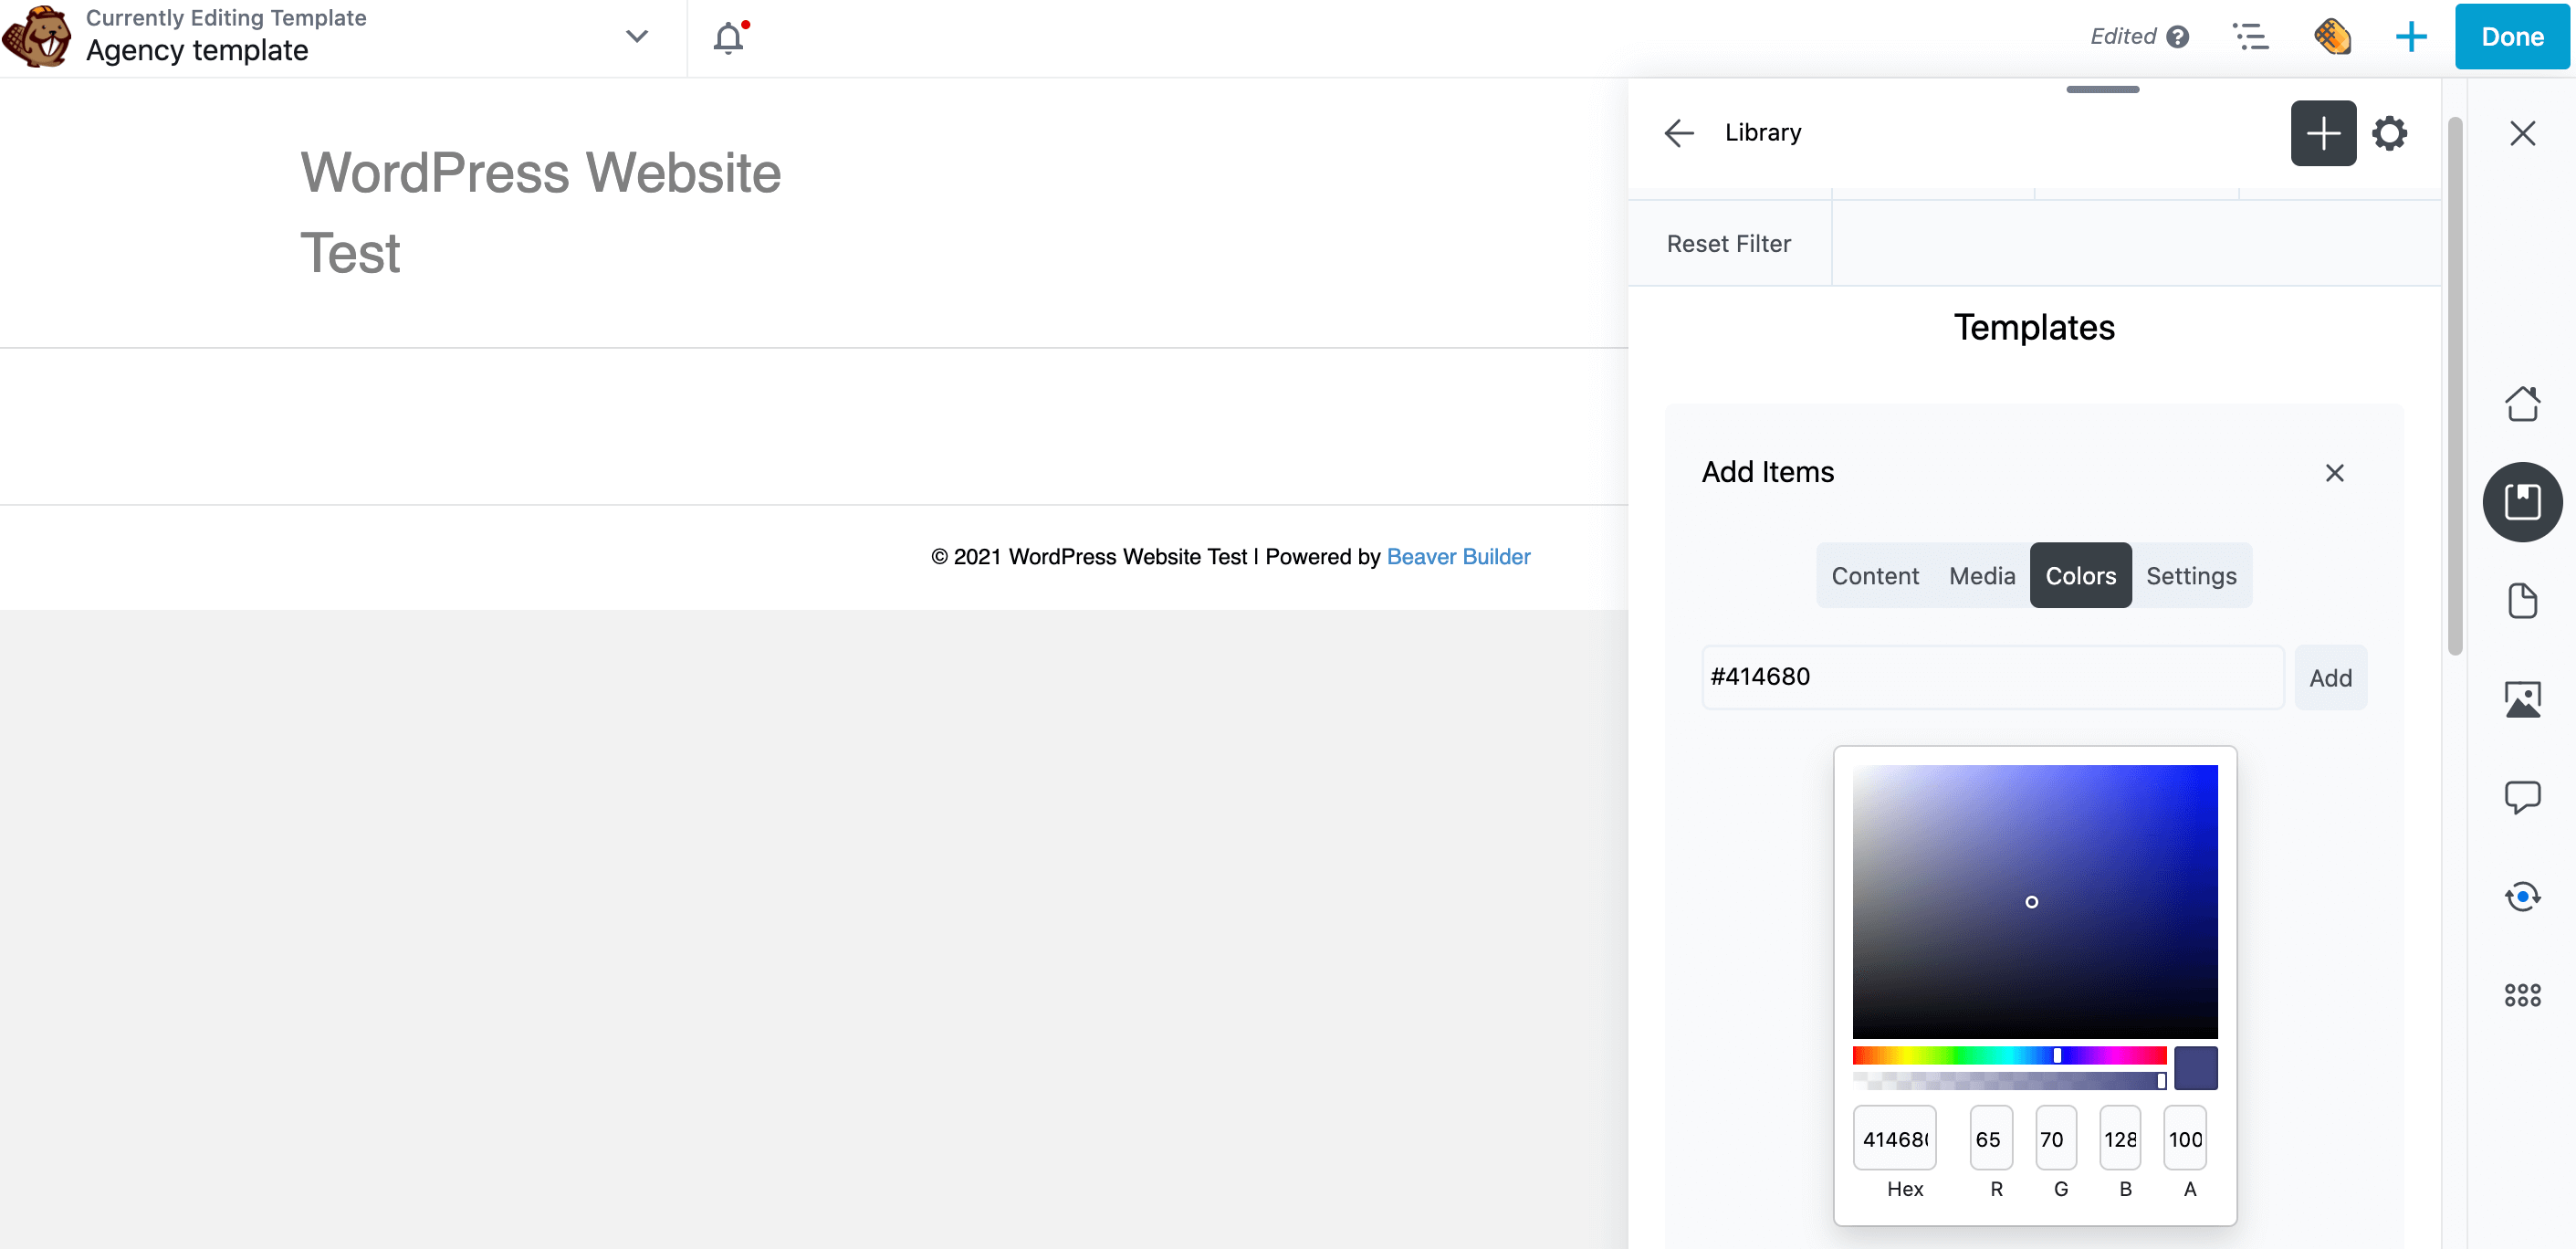
If you already have a hex color code in mind, enter it directly into the popup that appears. Alternatively, you can use the color picker to create your perfect shade.
When you’re happy with your selection, click Add. This shade now appears in a new Colors section within your Assistant Pro library.
3. Share Your Beaver Builder Templates
Every site is unique but there are some elements that appear across a majority of websites. This includes contact forms, an FAQ section, a blog layout, and a 404 error page:
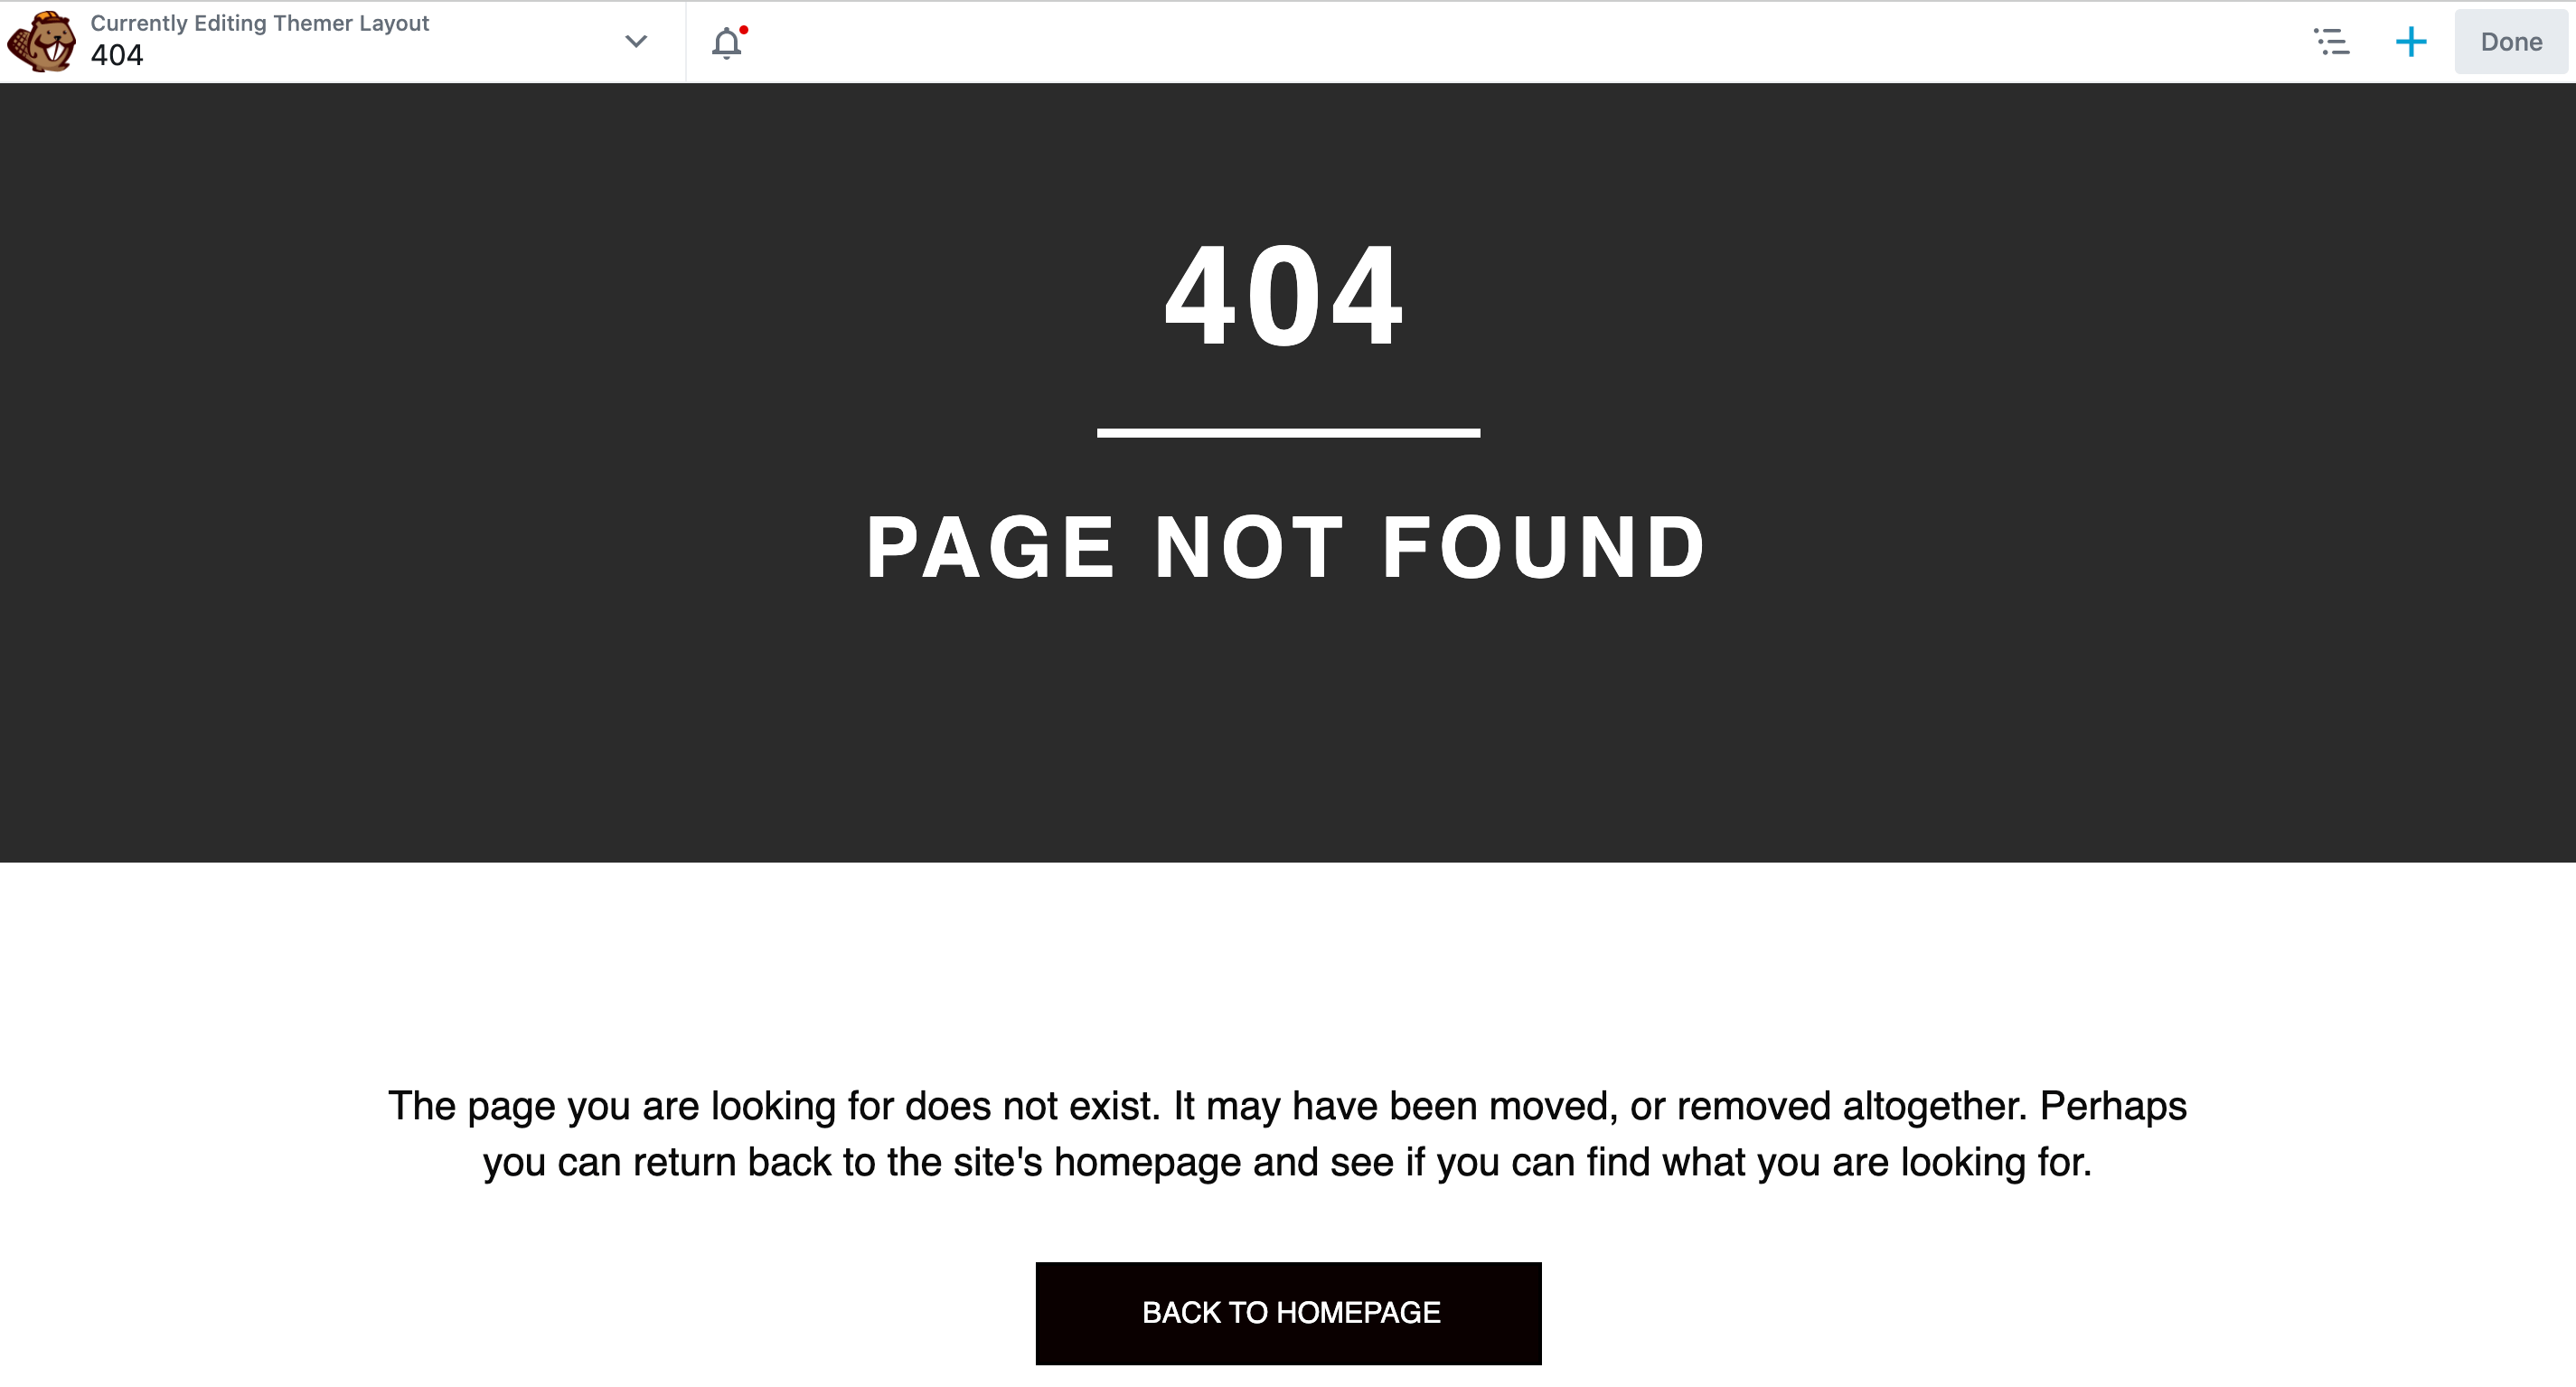
By creating templates, you can reuse the same design across multiple websites. This way, creating a professionally-designed site can be as simple as loading a template, changing a few elements, and adding your own content. This can help boost your productivity.
With Beaver Builder, you can save content area layouts of pages as layout templates. If you have the Beaver Themer add-on plugin, you can save Themer layouts that apply to posts, archives, headers, footers, and 404 pages.
If you’re often using the same layout template on your website, you can upload it to Assistant Pro to keep it within easy reach. If you’re using Beaver Builder as your page builder, then besides a layout template, you can add an entire page, post, or saved row, column, or module as content assets.
If you’re working as part of a team, your coworkers can upload their templates to the same library. This is a quick and easy way to create a centralized library of designs that your entire team can use.
To save a template, open the Assistant sidebar, click the Libraries icon, and click the + icon. In the Add Items section, click Content.
In the search field, start typing the title of the saved layout template, row, column, module, or an entire page or post. Click on the item when it appears to add it:
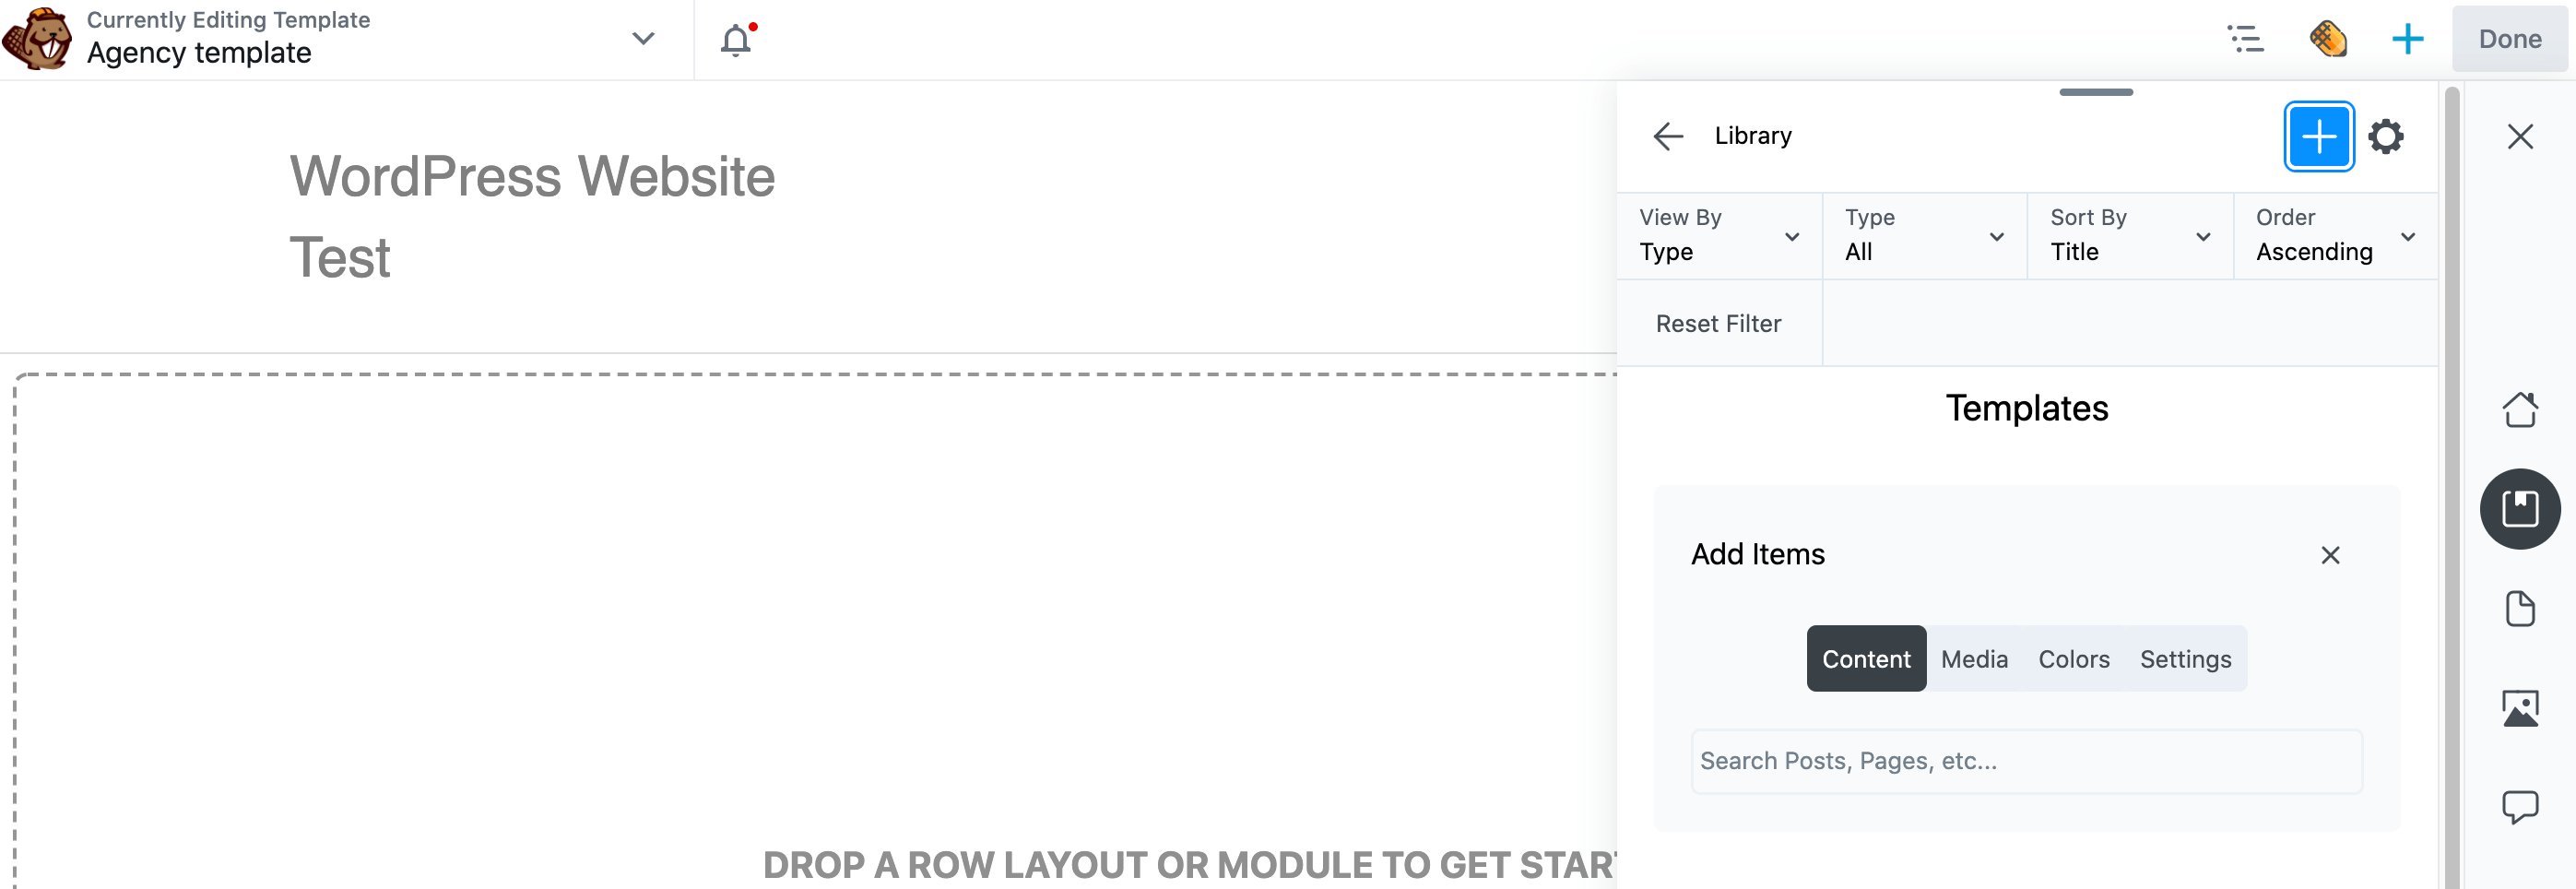
This content is now added to your library. As always, you can either access this content via your Assistant Pro account in a web browser or directly on your website using the Assistant sidebar.
4. Record Your WordPress Theme Settings
The WordPress Customizer lets you customize your chosen theme. This might include adding widgets to the footer, creating menus, or adding a tagline.
If you work with multiple sites, you might find yourself applying the same Customizer settings over and over again. Manually recreating these settings for every single site isn’t the best use of your time. To maximize your productivity, it’s smart to save these settings to Assistant Pro. You can then apply them to any site with just a few clicks.
To start, open the Assistant sidebar and select the Assistant library in which you want to save your current theme settings. Then click the + icon and then click Settings:
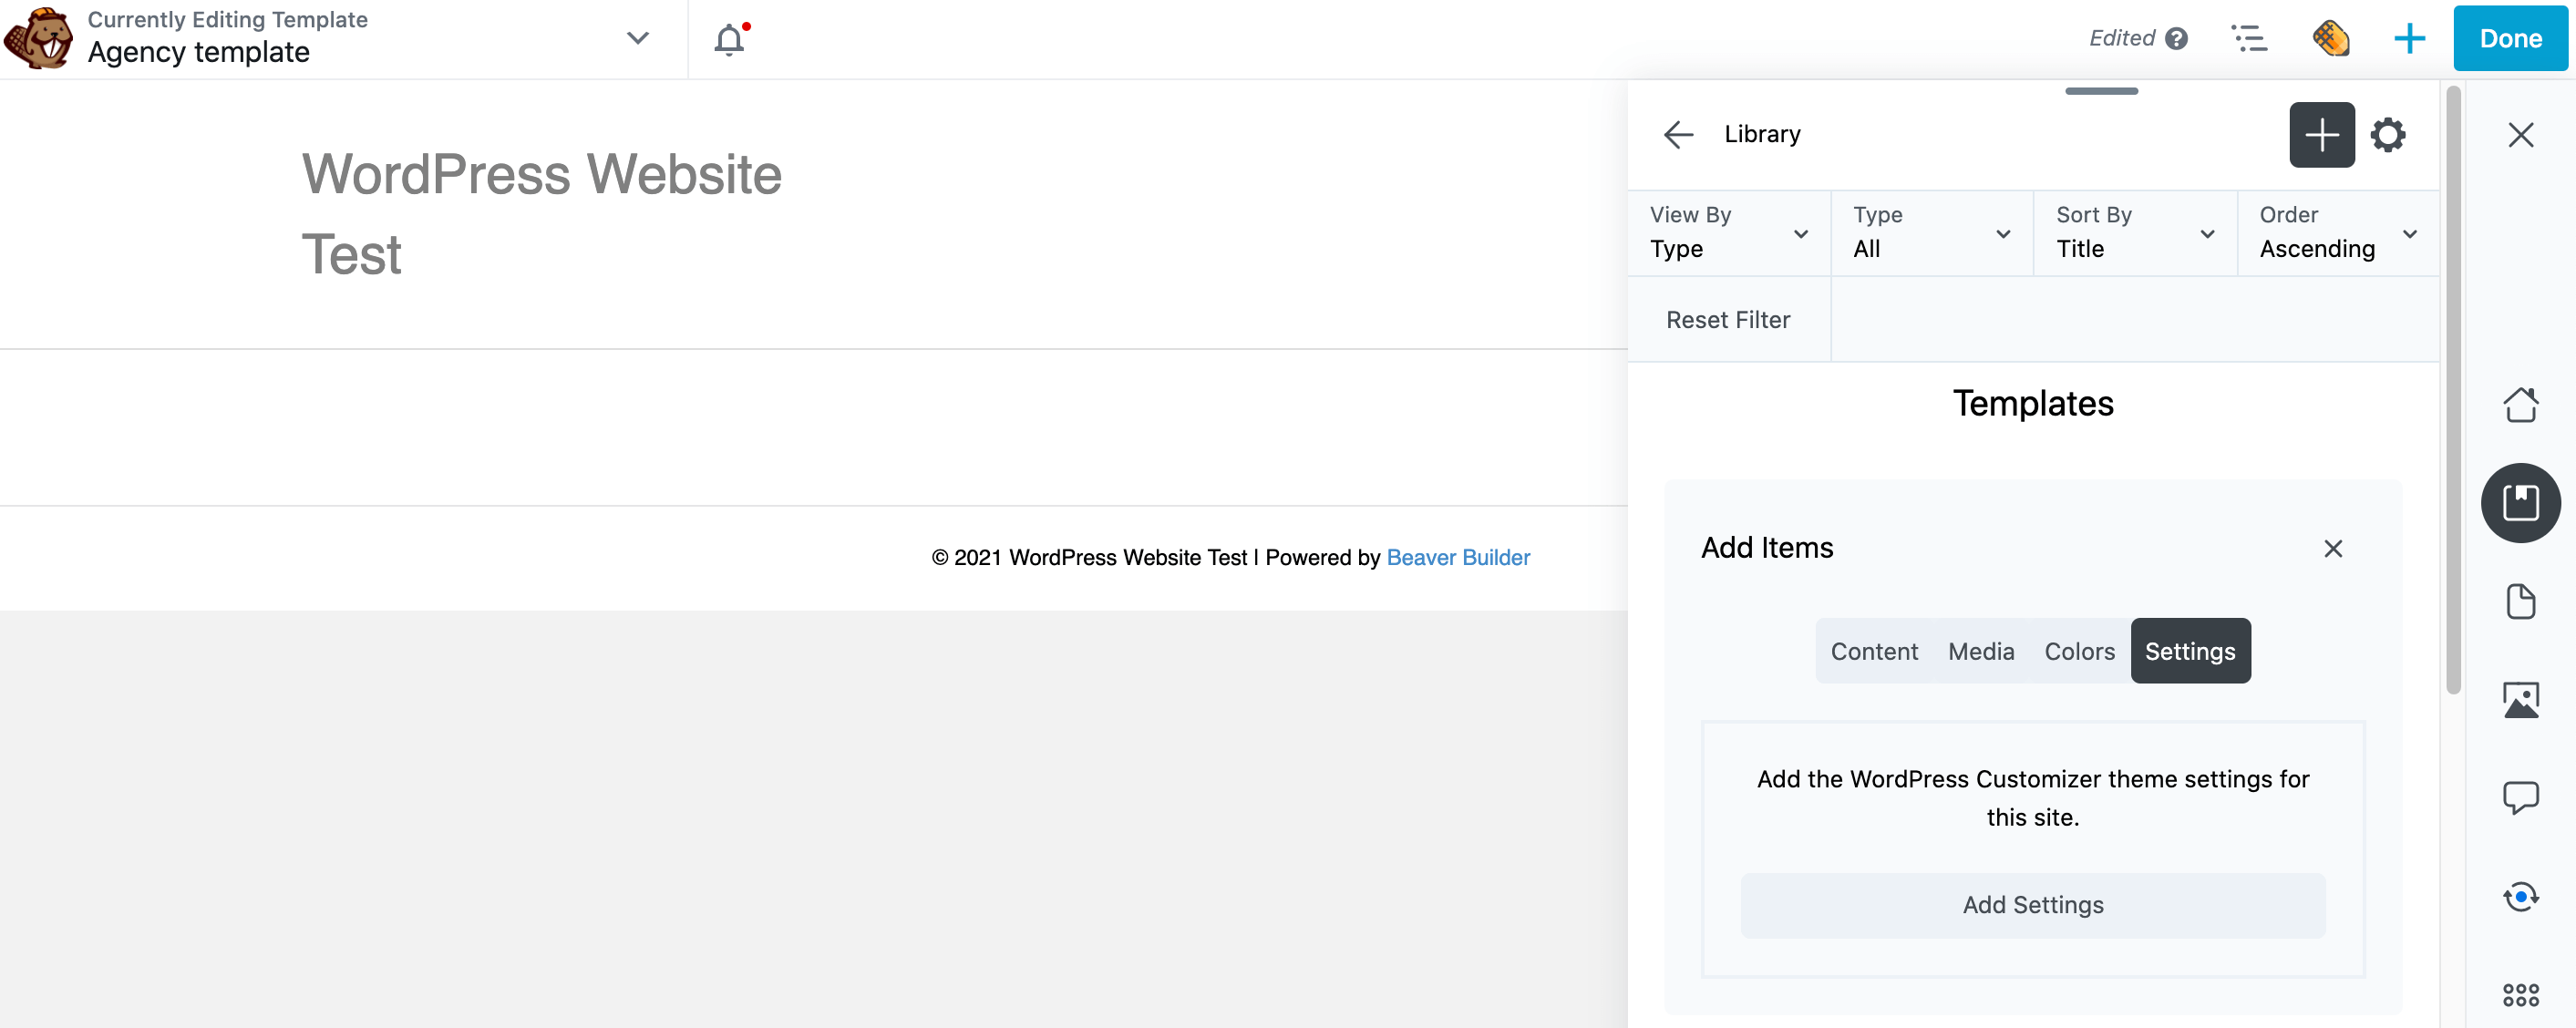
Then, simply give the Add Settings button a click. Your modifications will now be saved under a new Settings subheading within your chosen library:
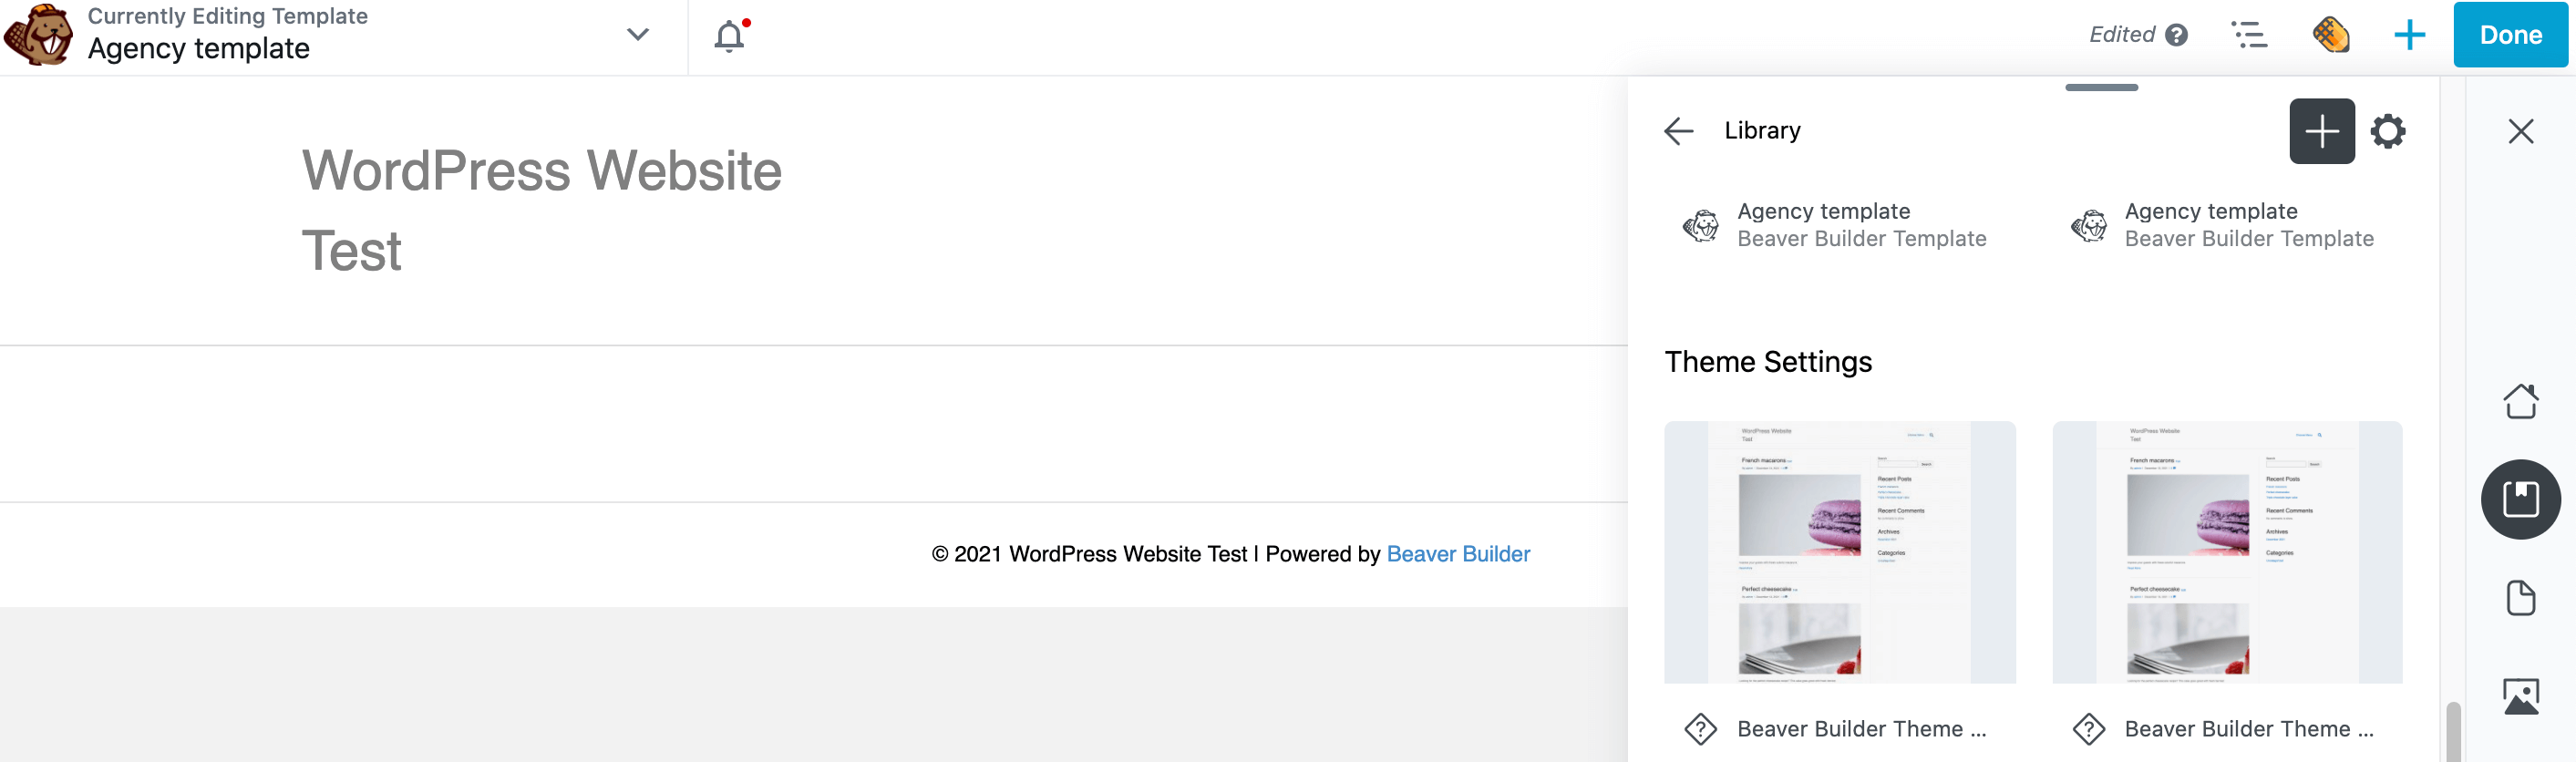
To apply this collection of settings to another site, just click the asset in your library and scroll to the bottom of the subsequent panel. There’s an option to preview your website with these settings applied:
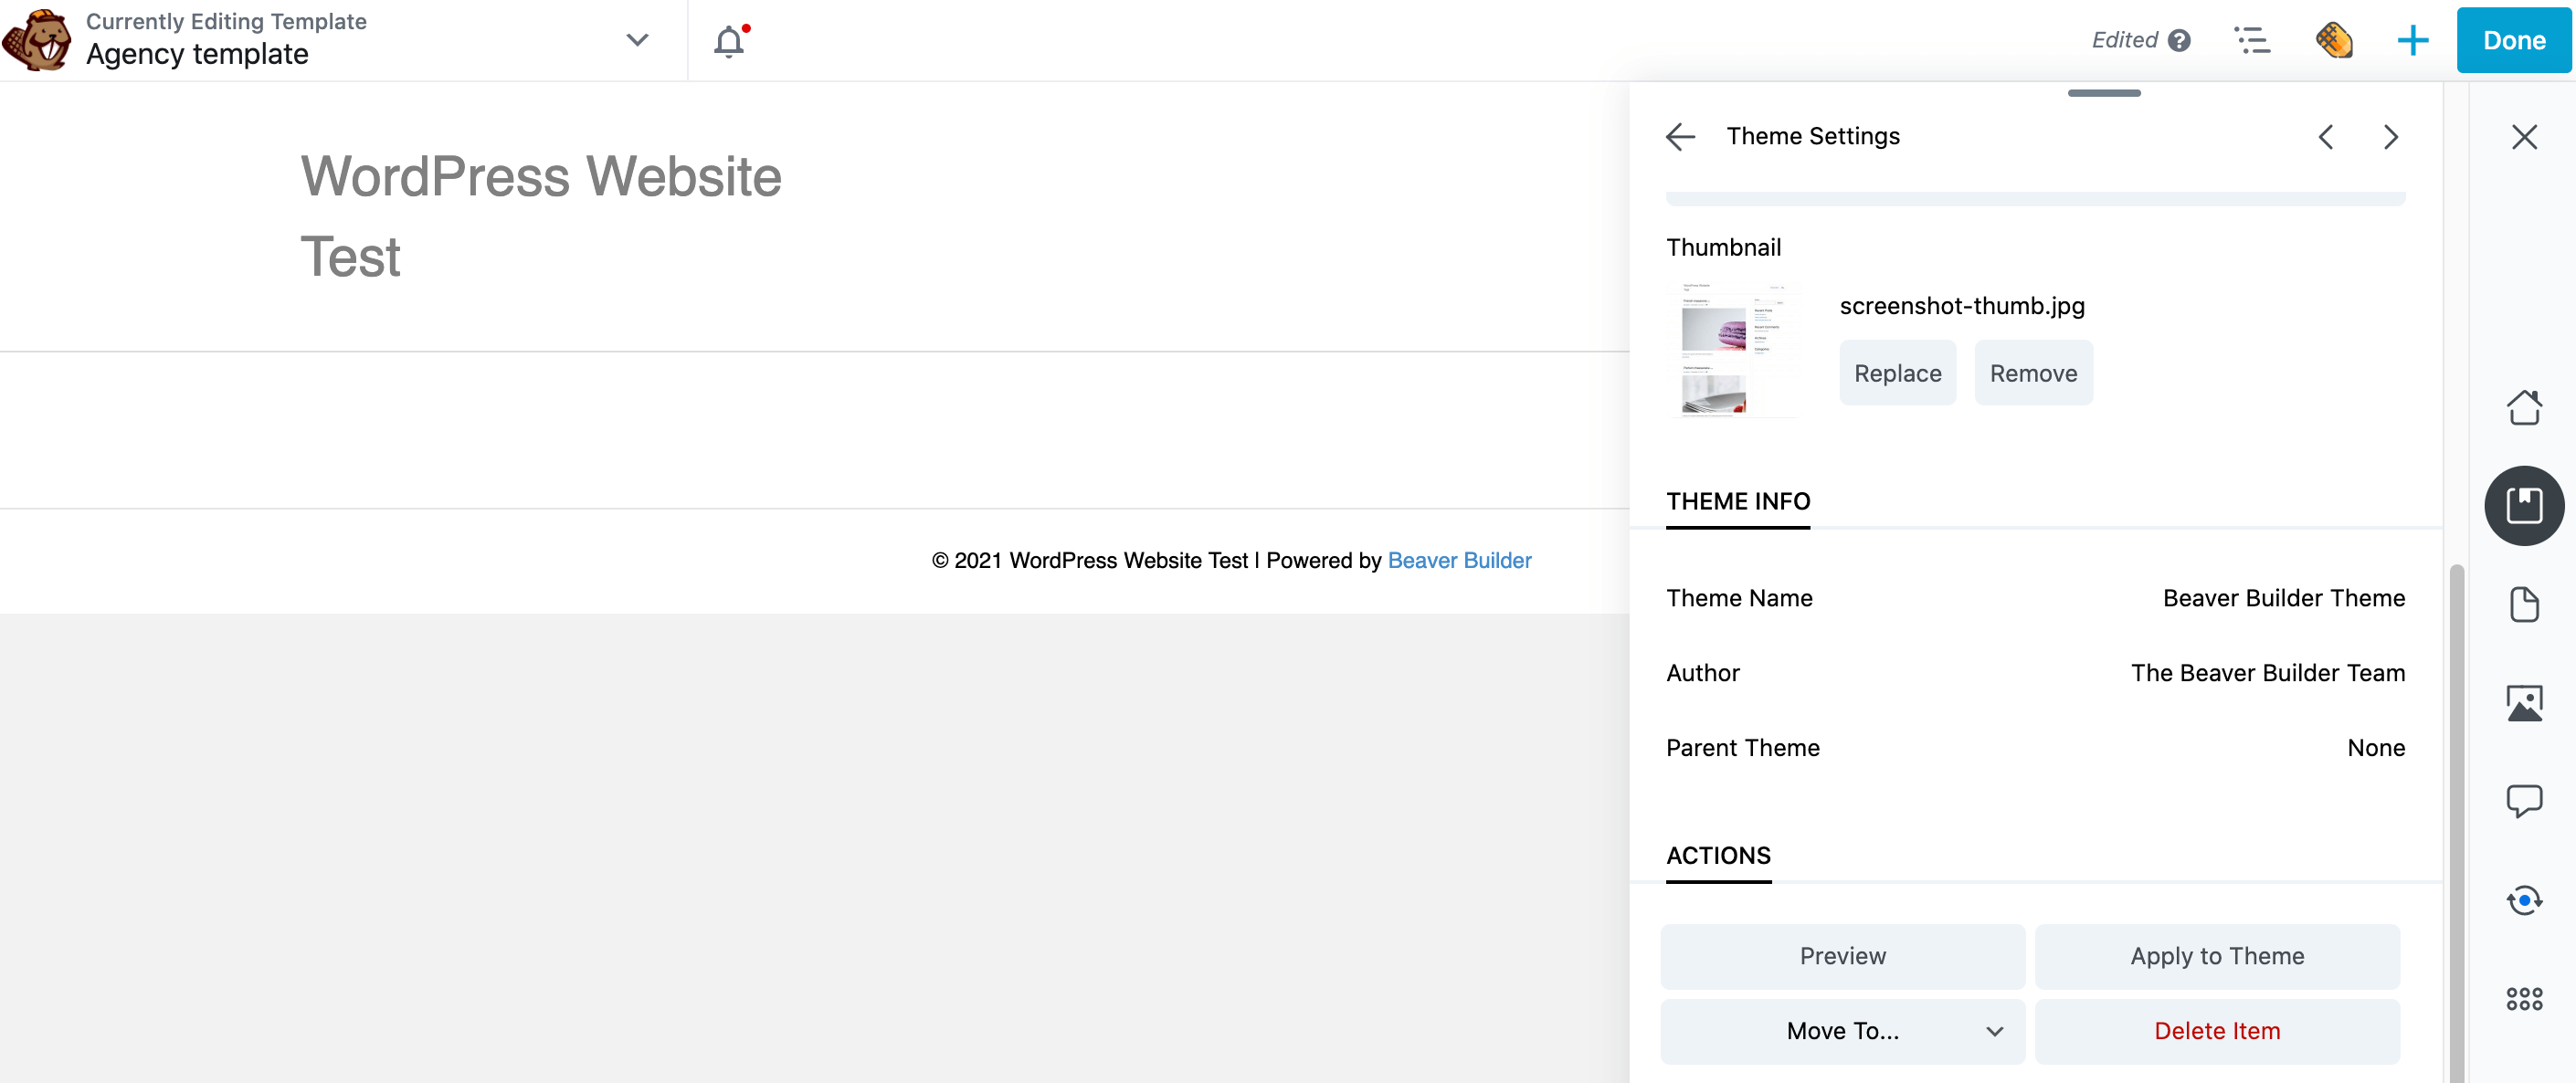
Click Preview. Assistant launches a new browser tab where you can check these changes. If you’re satisfied, switch back to your website browser tab and click Apply to Theme.
Conclusion
If you’re regularly creating beautiful graphics, layouts, and other web design assets, you need a way to efficiently store and share these resources. Even if you’re a solo developer, the right tools can help you catalog all of your creations so they’re always within easy reach.
Let’s quickly recap four ways to maximize your productivity with Assistant Pro:
- Export and import media.
- Create a color repository.
- Share your content for use as a template: posts, pages, custom post types, page builder layout templates, saved rows, columns or modules, and Beaver Themer layouts.
- Record your WordPress theme Customizer settings.
Do you have any questions about how to use Assistant Pro in your WordPress projects? Let us know in the comments section below!
Image credits: Alexander Dummer, Suzy Hazelwood, Arminas Raudys, Anna Shvets.
New Update: Community Template Marketplace
Hey everyone! 🎉 We’re excited to announce the launch of Assistant Pro Community, our new Beaver Builder template marketplace! Access free and premium templates where you can buy, sell, and share designs with ease.
It’s a game-changer for your WordPress projects! 🚀 Check it out now at https://app.assistant.pro/community and let’s make our web design journeys even more amazing together!
1 Comment
Our Newsletter
Our newsletter is personally written and sent out about once a month. It's not the least bit annoying or spammy.
We promise.
Try Beaver Builder Today

Related articles
What Is Assistant Pro? Two Easy Ways to Connect with Beaver Builder
Assistant Pro is a cloud-based platform that helps WordPress users store, organize, and reuse templates, media, and content across multiple…

Link in Bio WordPress Templates: Elevate Your Online Presence
In today’s digital landscape, where attention spans are short and online platforms are teeming with content, it’s crucial to make…

What’s New in Assistant PRO: Smarter Imports, Settings Sync, and Dashboard Notifications
If you’ve been using Assistant PRO to manage WordPress libraries and site configurations, you already know how much time it…
Join the community
We're here for you
There's a thriving community of builders and we'd love for you to join us. Come by and show off a project, network, or ask a question.
Since 2014
Build Your Website in Minutes, Not Months
Join Over 1 Million+ Websites Powered By Beaver Builder.
Wonderful article. Very helpful.