
Maximizing the impact of your site means paying attention to the little details, from the top of the page all the way down to the bottom. The WordPress footer is often overlooked, but it’s actually an important part of your website that can have a major impact on your bounce and conversion rates.
In this article, we’ll cover what you should include in your footer. Then we’ll walk you through how to build a custom WordPress footer step-by-step using Beaver Themer. Let’s dive in!
Why Your Website’s Footer Design Is Important
At this point, you may be wondering, what’s a footer? Essentially, it’s the bottom section of your website. Here’s an example from the Beaver Builder site:
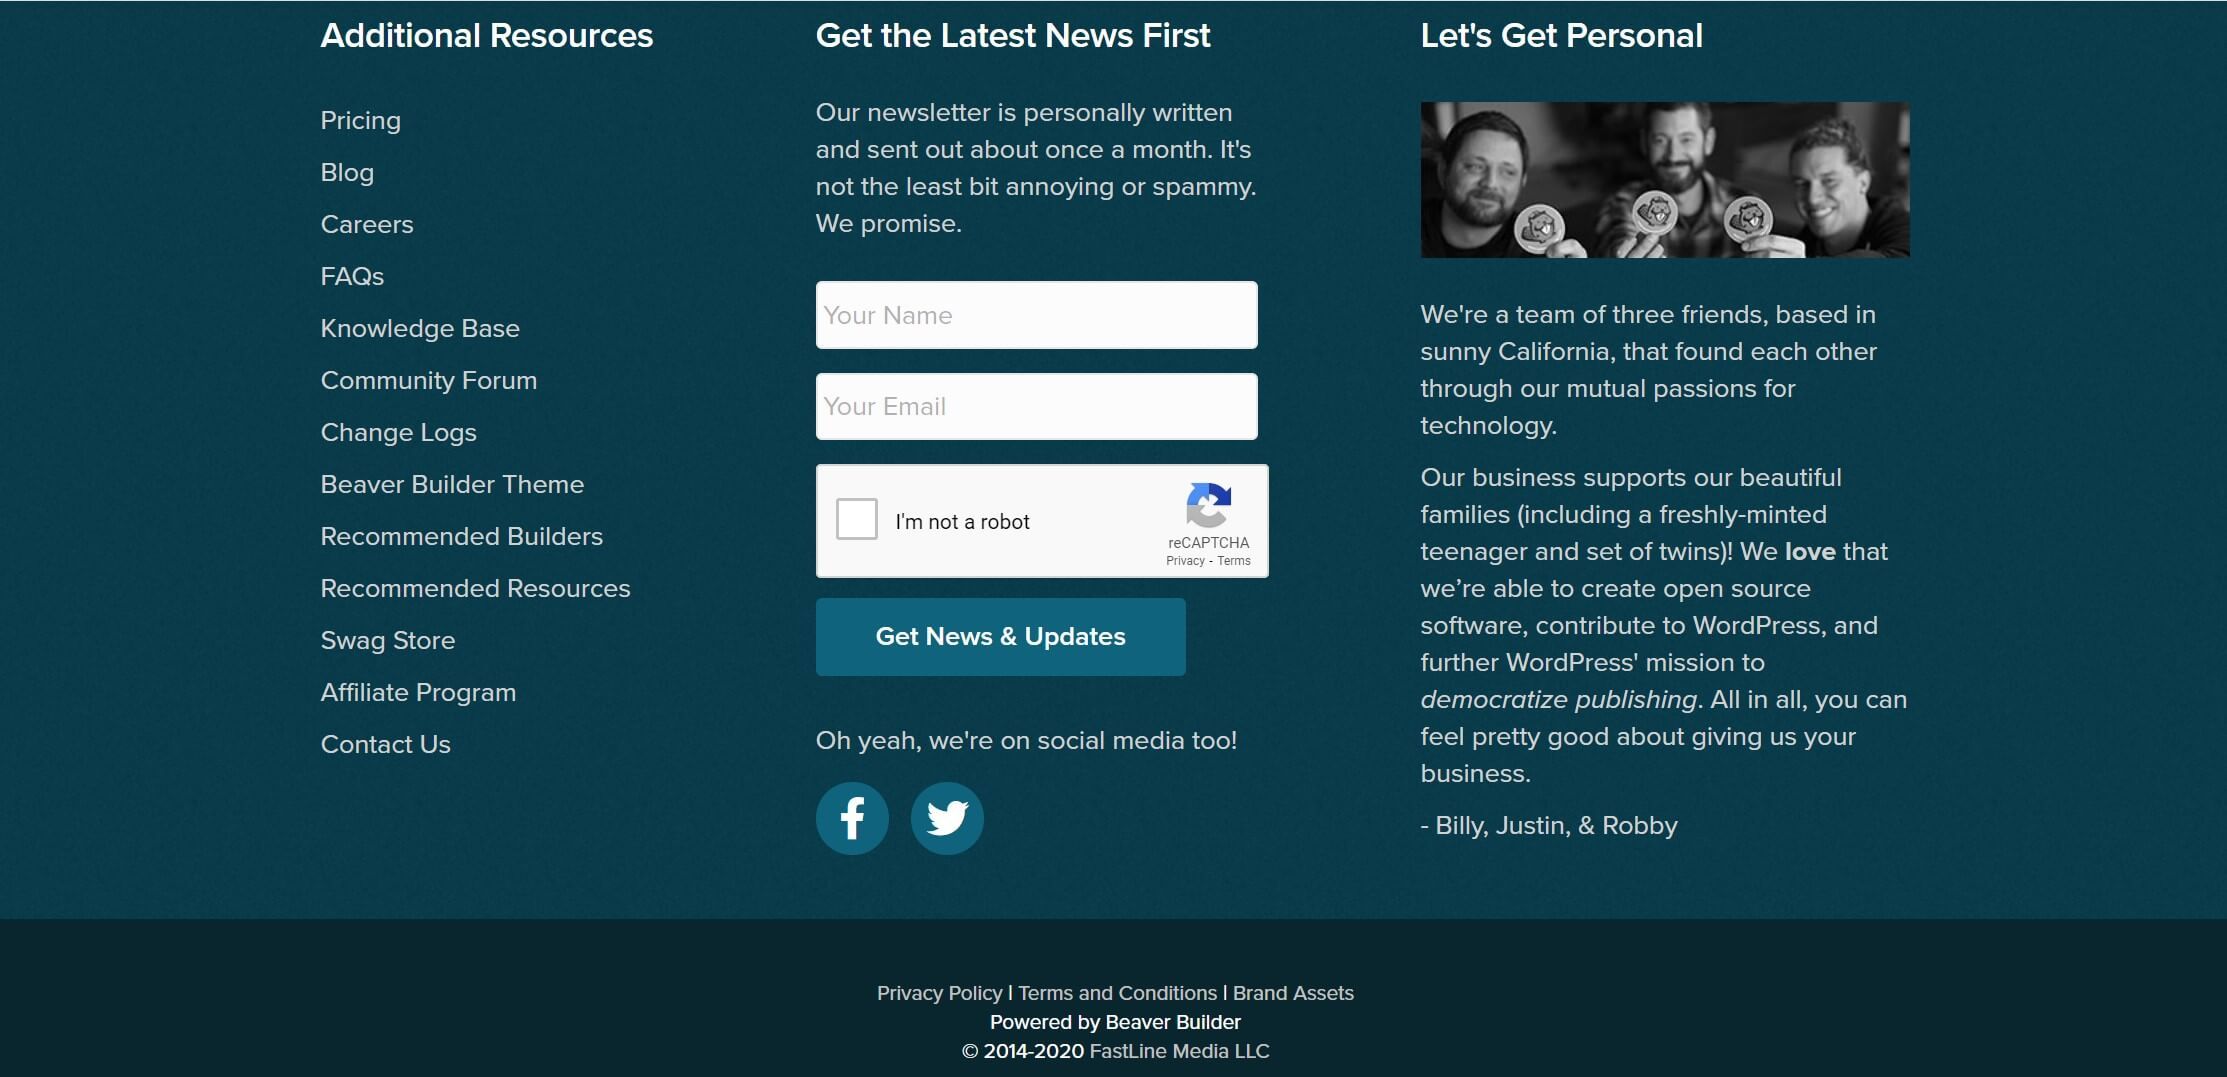
The footer is typically visible on every page and serves several important purposes, such as:
- Your footer is the last stop for visitors on your page who haven’t found what they’re looking for. As such, it could be the difference between a conversion and a bounce.
- Footers make ideal holding places for content that is important, but not necessarily critical to converting visitors. This may include social media links, employee logins, and press kits, for example.
- It’s an excellent spot to add some branding and personality to your site that might not fit with the ‘normal’ content on the page.
Additionally, since it appears across your entire site, your footer serves as a reliable anchor for users. It’s always there, no matter which page they’re on. For these reasons, it’s important to make its content count.
What Your Custom WordPress Footer Should Include
There are elements every footer should incorporate, or at least strongly consider. These include:
- Copyright and trademark information for your business
- Your site’s terms of use and privacy policy
- A sitemap to help search engines index your website
- Contact information or a contact form so visitors can get in touch with you
These elements are essential for nearly every website, but they’re also not typically something you’d want to take up real estate anywhere else on your page (with the possible exception of contact forms).
There are also a few ‘bonus’ elements that you can include in your footer to make life easier for users, or to add a little flair.
Which of these, if any, you include will depend on your business and website’s goals. Some examples might be:
- A site navigation menu
- Social media icons or widgets
- Email subscription forms
- Employee login links or forms
- Your logo and other branding elements
Site navigation is typically found at the top of your page in the main menu. However, including a more robust navigation menu in your footer enables you to keep your main menu clean and focused on key content while still helping users to find what they’re looking for.
Social media links also deserve a special mention. You probably want them on your page, but the fact of the matter is if someone clicks off to a social site, they’re probably not coming back. Putting these links in your footer can help keep users from navigating away from your site before they see your key content.
Finally, a note on Search Engine Optimization (SEO). It’s okay to sneak a few keywords into footer content, such as mission statements or “About us” sections. Just be aware that Google doesn’t put a lot of emphasis on footer keywords, since it’s been an obvious place for keyword stuffing and abuse in the past.
6 Steps for Designing a Fully-Custom WordPress Footer
Now that you know what a footer is and what should be included, it’s time to create a custom WordPress footer tailored to your site’s needs.
Why use Beaver Themer to create a footer?
Beaver Themer allows you to design Beaver Builder layouts in areas typically controlled by your WordPress theme, including the footer. While your theme may offer some layout options, nothing matches the level of customization and flexibility Beaver Themer provides.
With Beaver Themer, creating a custom WordPress footer is straightforward—even for beginners. You can easily build a footer-type Themer layout, create rows and columns, and add the content you need. Then, specify which locations on your site will display your custom footer.
For added versatility, Beaver Themer lets you apply conditional logic. For instance, you can set a footer to only appear for logged-in users—perfect for membership or eCommerce sites.
Let’s walk through the process from beginning to end.
Step 1: Install and Activate Beaver Themer
Before creating your custom footer layout, you’ll need to install and activate the Beaver Themer plugin.
Since Beaver Themer works with the Beaver Builder page builder, you’ll need both plugins installed for everything to function smoothly. We’ll assume you already have the premium page builder plugin installed.
The great news is that any premium Beaver Builder plan includes the premium page builder, Beaver Themer, and the Beaver Builder Theme. Head over to your Beaver Builder account page to download the necessary files.
Once you have what you need, go to your WordPress dashboard, navigate to Plugins > Add New, and click Upload Plugin to begin the installation process.
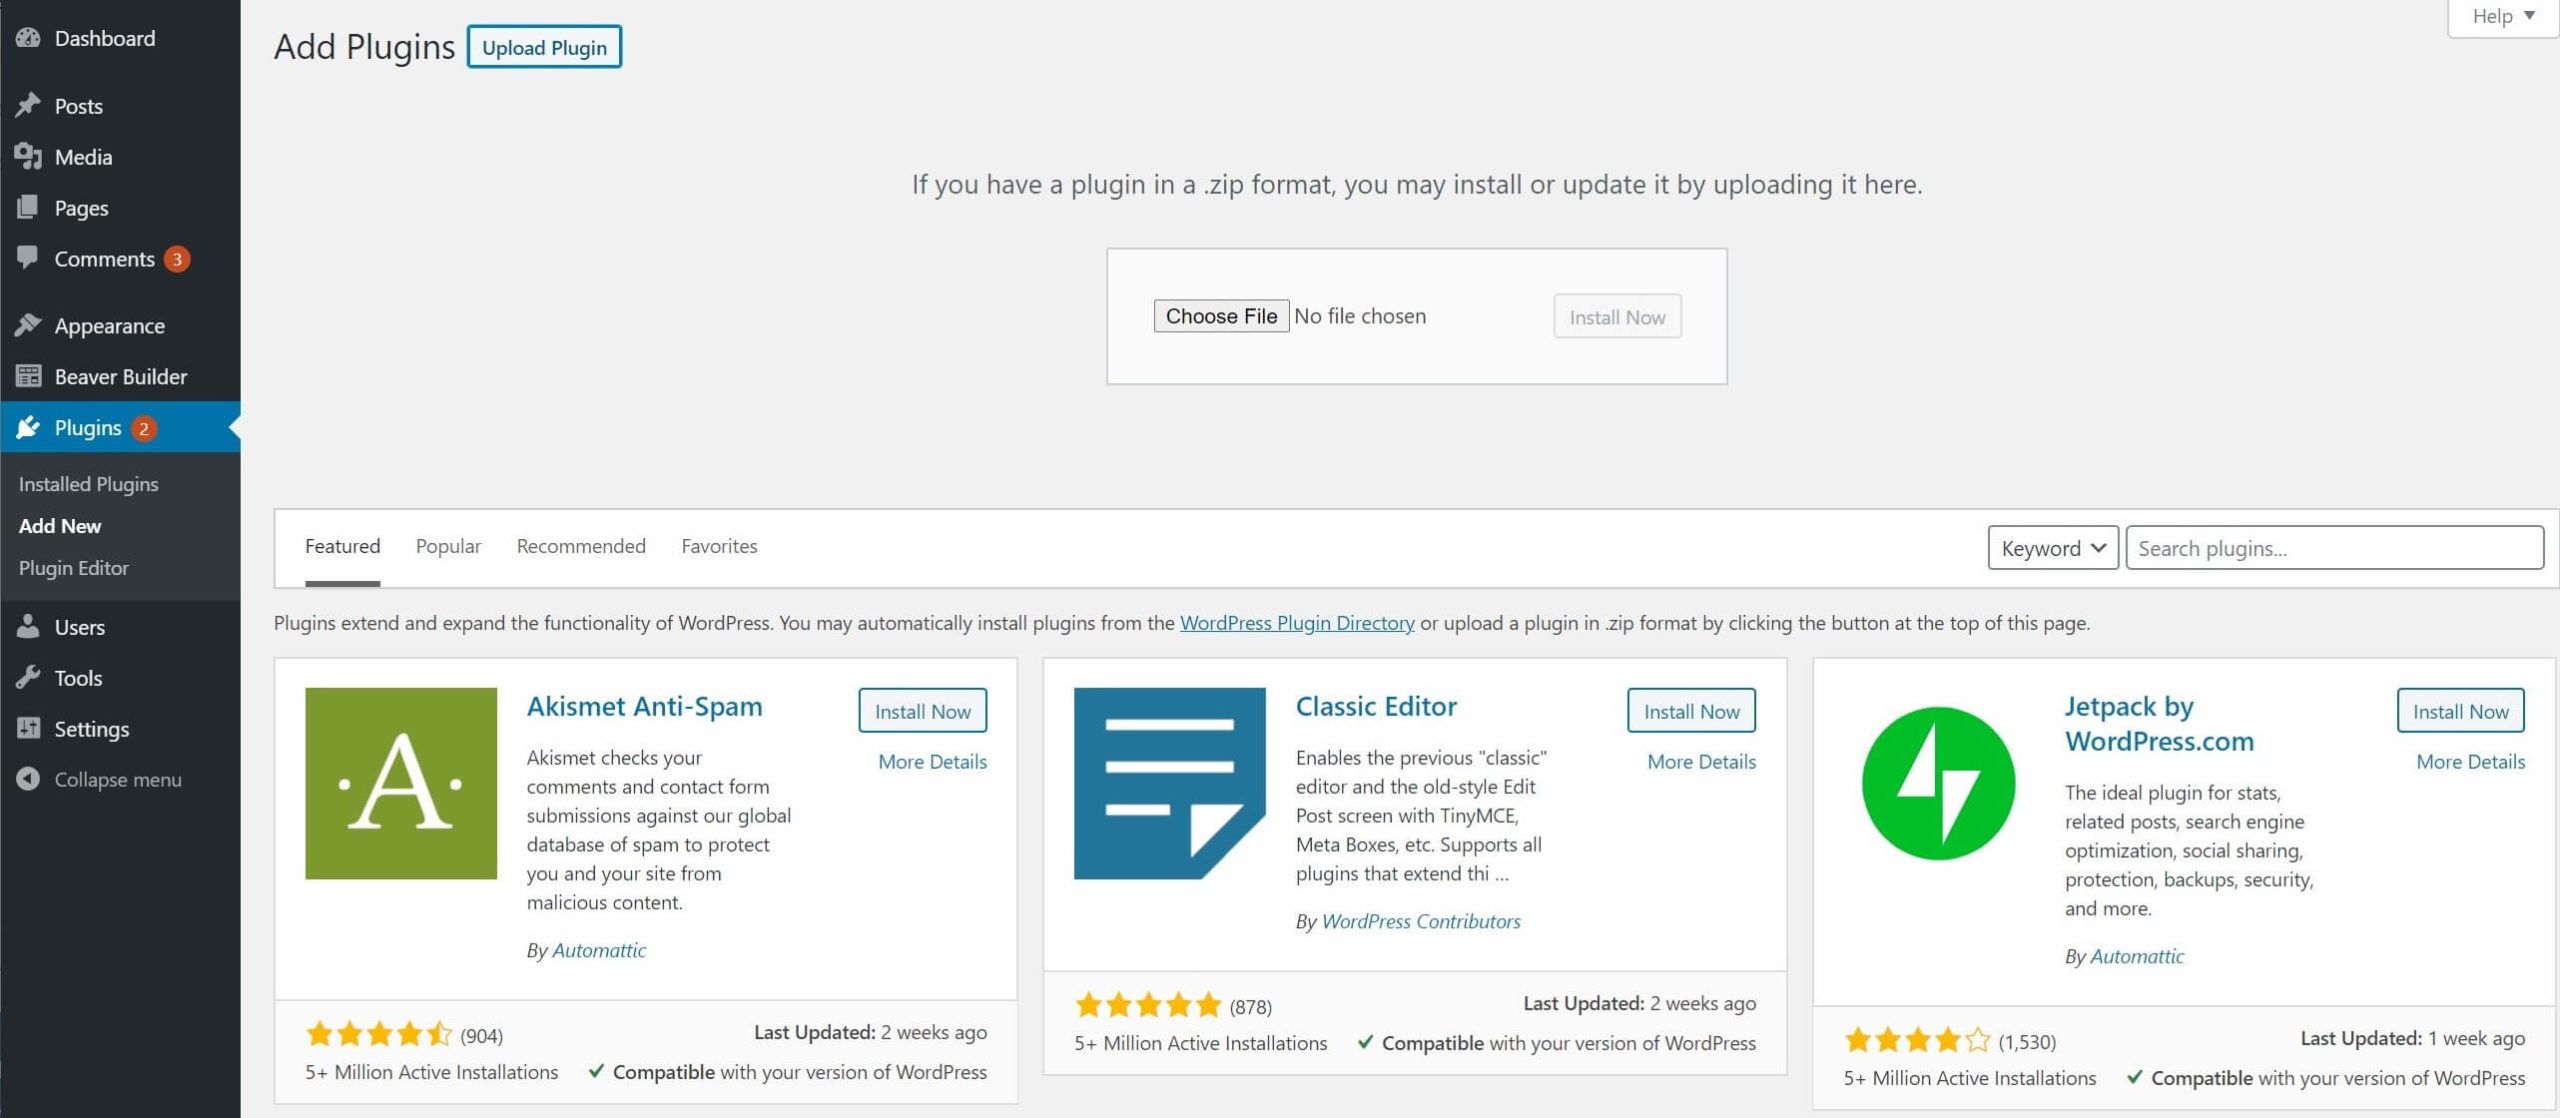
Select the Beaver Themer file from your computer and click on Install Now.
Once the installation is finished, click Activate.
The license number is the same as the one you’re already using for the Beaver Builder page builder, so you don’t need to activate another one.
Step 2: Create a New Themer Layout
With Beaver Themer installed, the next step is to create a new layout.
Head to your WordPress dashboard and click Beaver Builder in the sidebar. This brings you to the Themer Layouts page:
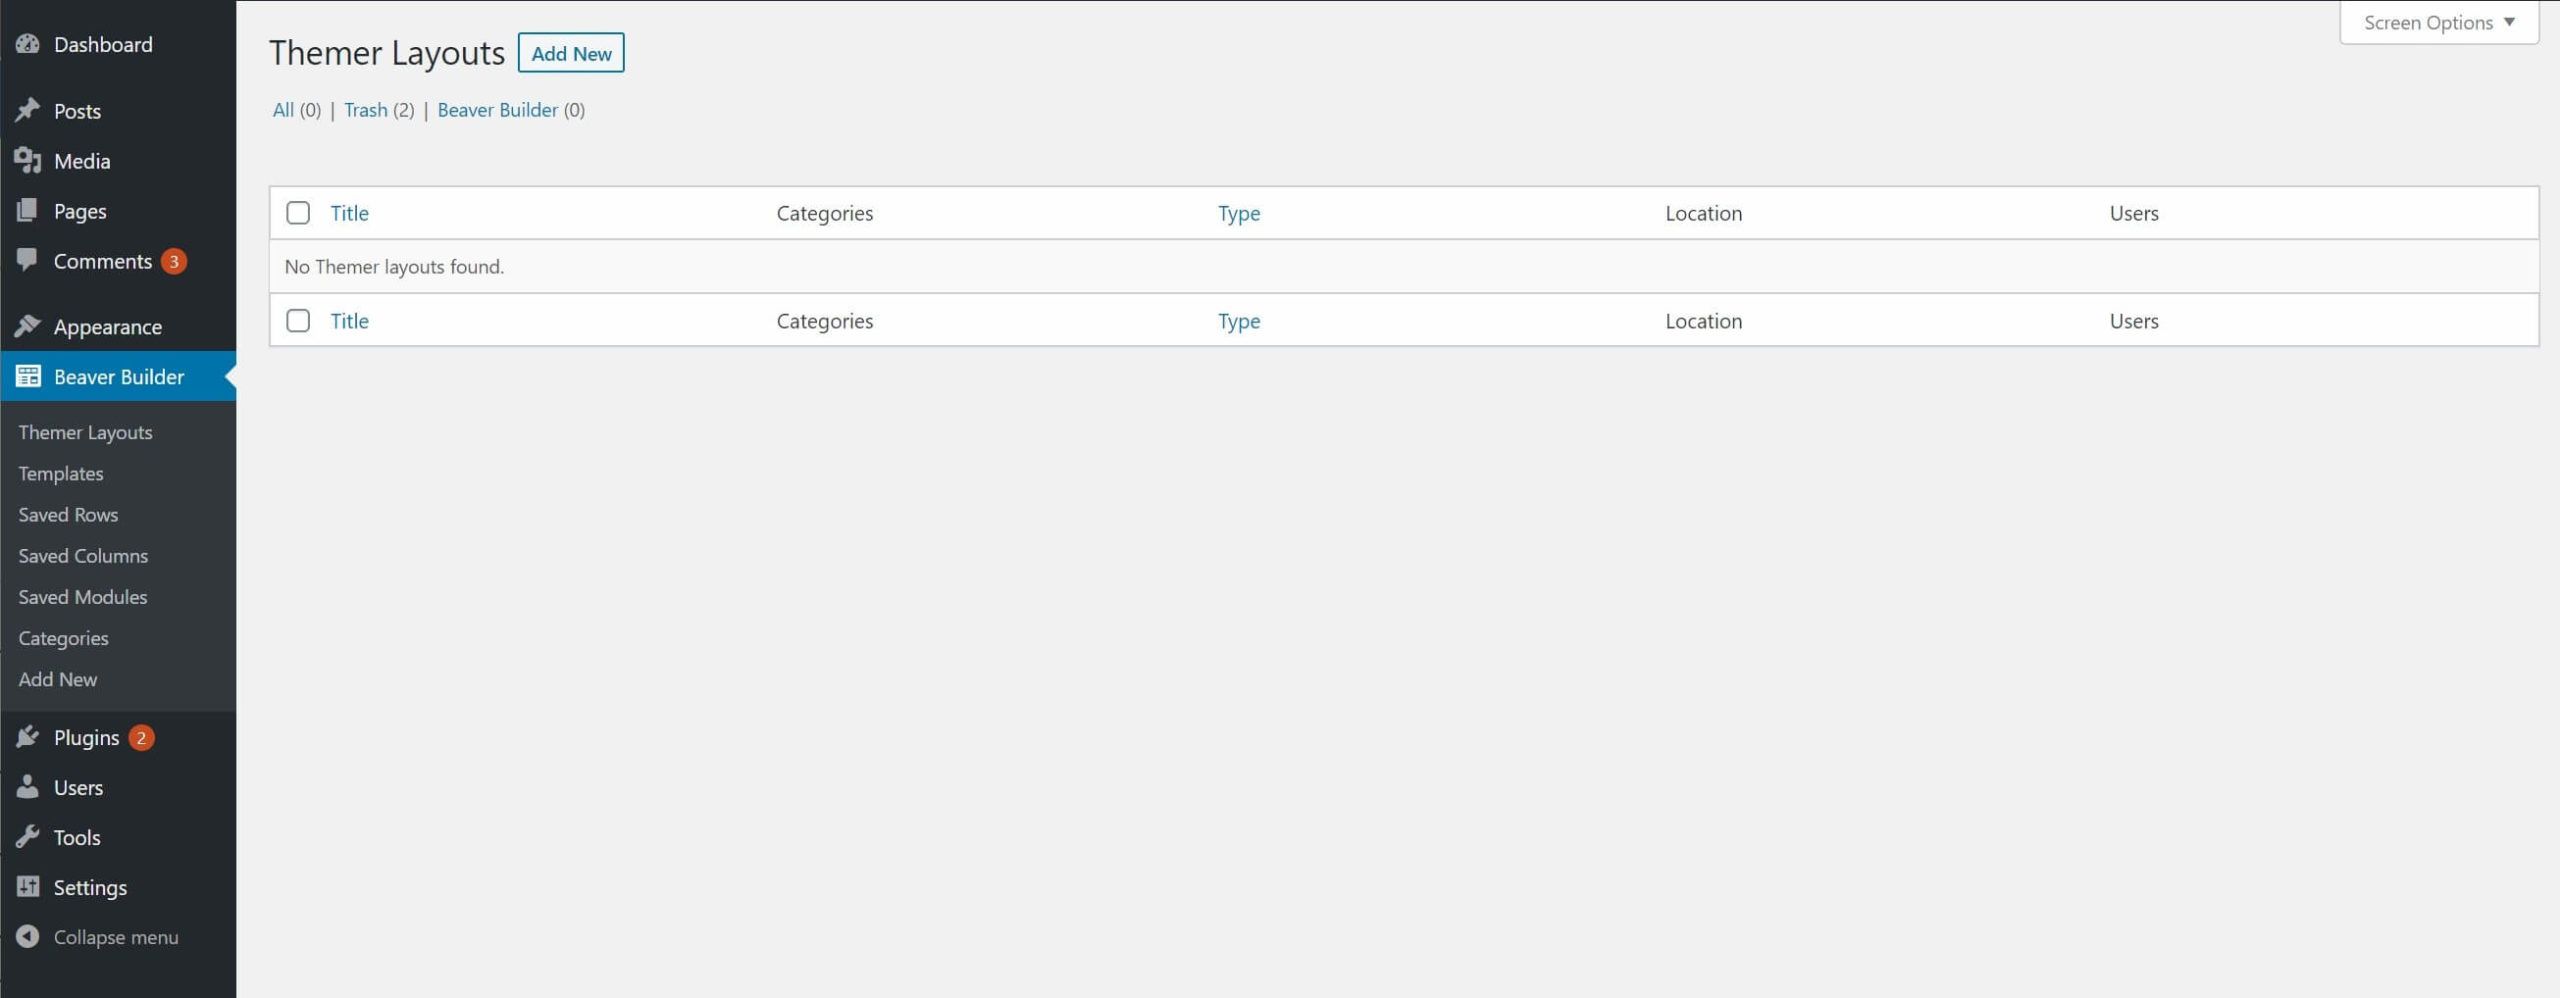
Here, you can create and manage your Beaver Themer layouts. Click the Add New button to create one:
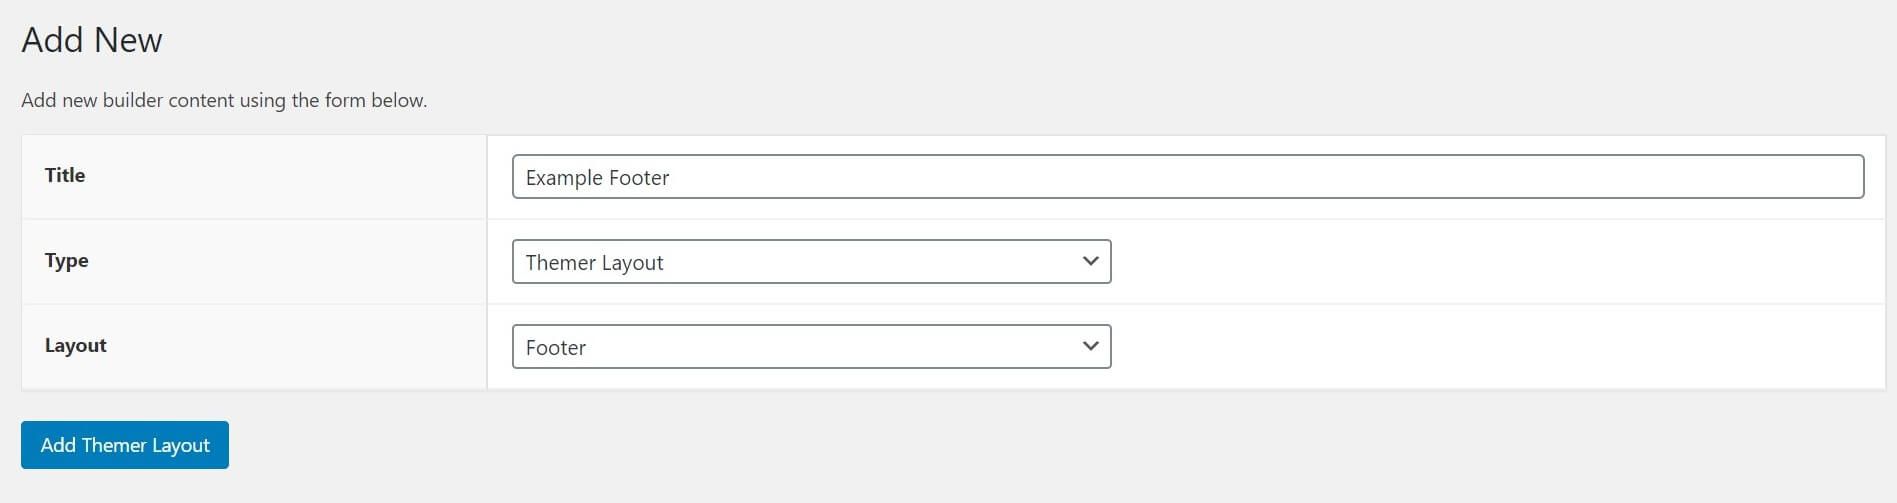
Name your Themer layout whatever you like and change the Layout dropdown to Footer. Then click Add Themer Layout to save your choices.
Step 3: Configure the Layout Settings
When you save the Themer layout, the Edit Themer Layout screen opens automatically.
Here, you can create location rules for where you want your layout to appear. It can be as simple as one rule applying to the whole site or a single page or post, or you can have multiple rules.
You can even set exclusion rules that apply to the rules you’ve set, such as “Apply to the entire site except the page named “Contact Us.”
For this example, we set this footer to appear on pages and then specified All Pages to ensure it’s visible across the entire site:
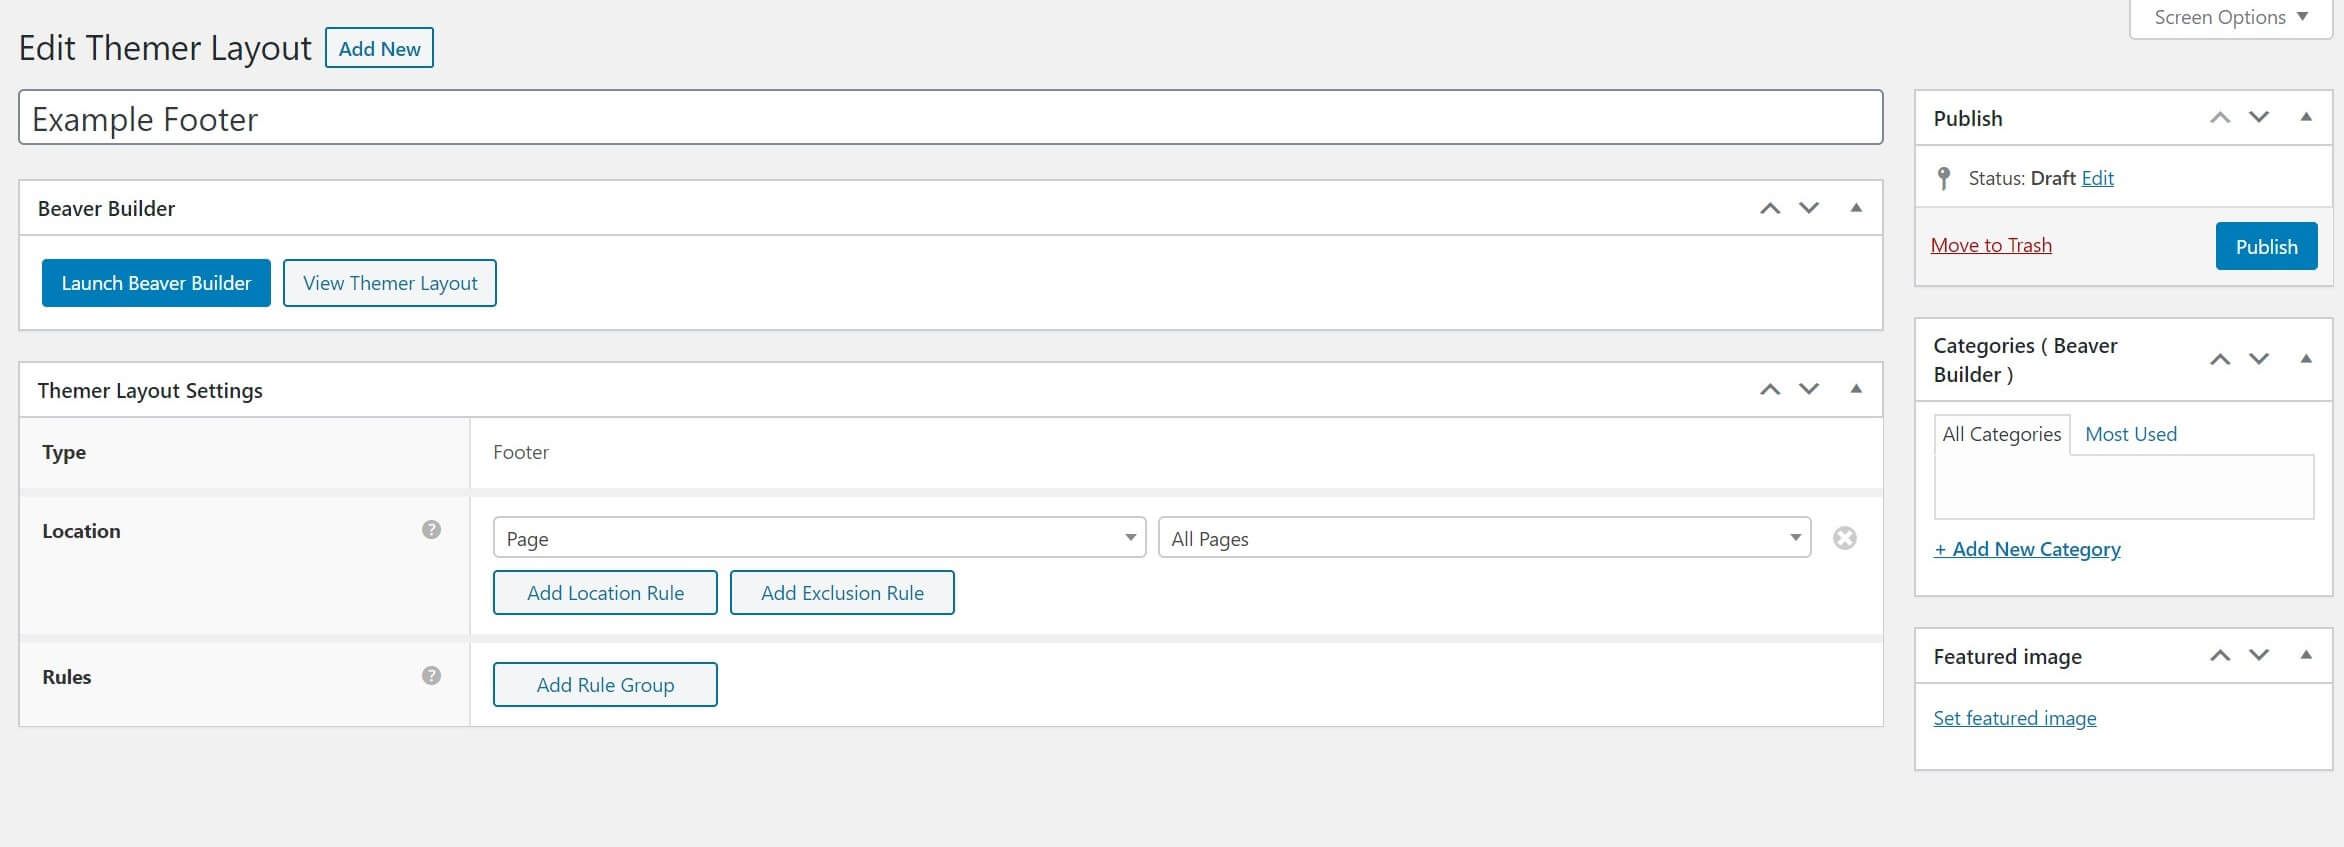
The Rules section lets you set any conditional logic rules, such as appearing only when the viewer is logged in.
When you’re finished, click the Publish button to the right to save your new layout.
Then it’s time to start building your custom WordPress footer layout.
Step 4: Adjust the Modules In Your Footer Layout
With your layout settings configured, click on the Launch Beaver Builder button to open up your new footer in the Builder interface:
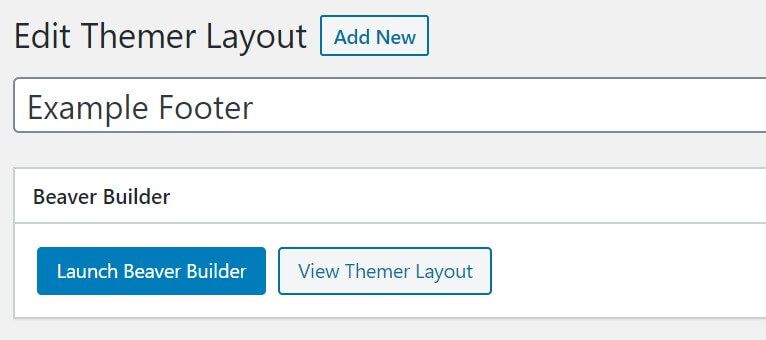
When the builder opens, you’ll be greeted by the default footer layout:

If you mouse over the footer contents, you can see that each is a Beaver Builder module.
You can tweak this initial layout template however you like or just delete the rows and start from scratch.
To move an element, just hover your mouse over it and then click and drag the cross icon in the toolbar that appears to place it where you want.
You can also adjust the settings for each element. Here, we’ve changed the row’s background color to a nice teal:
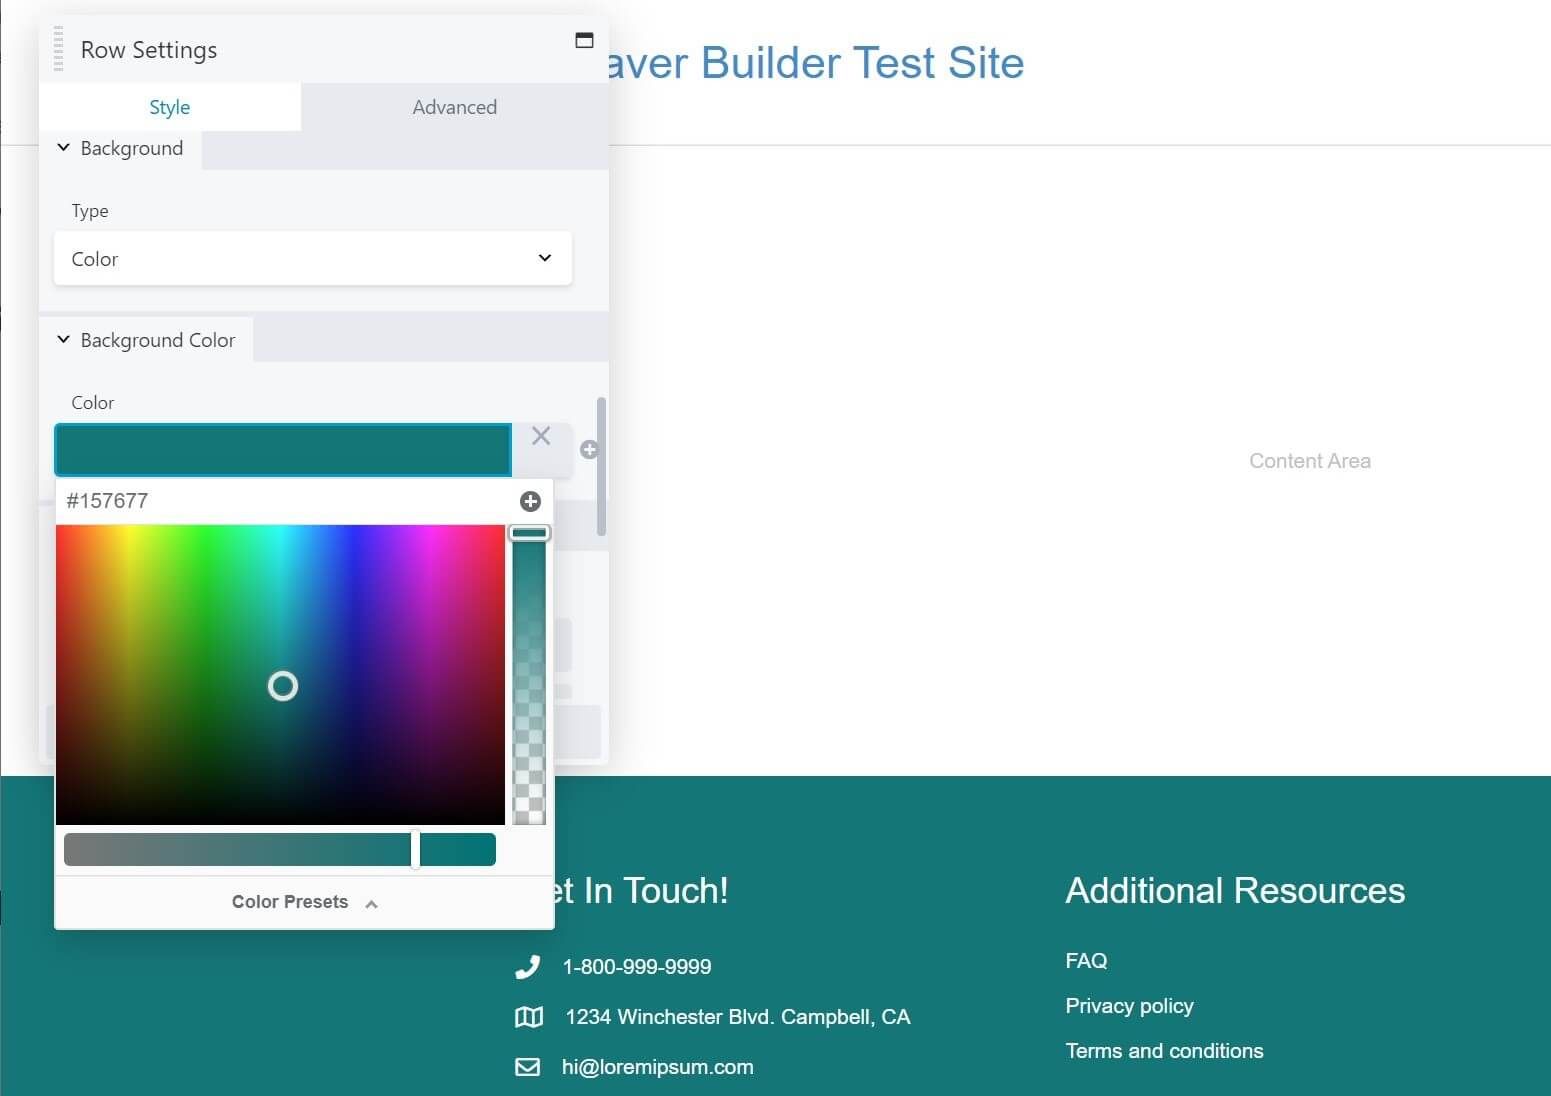
You can access settings for each module by hovering over it and clicking on the wrench icon.
You can tweak settings or add content right now, but we’ll talk more about adding content in the next section.
To access column settings, click the Column Settings icon in any module contained within the column.
To add more modules, click the plus (+) sign in the top right corner of the screen.
Then just drag your desired element from the Modules list over to your footer and place it where you like. In this example, we’ve added a contact form:
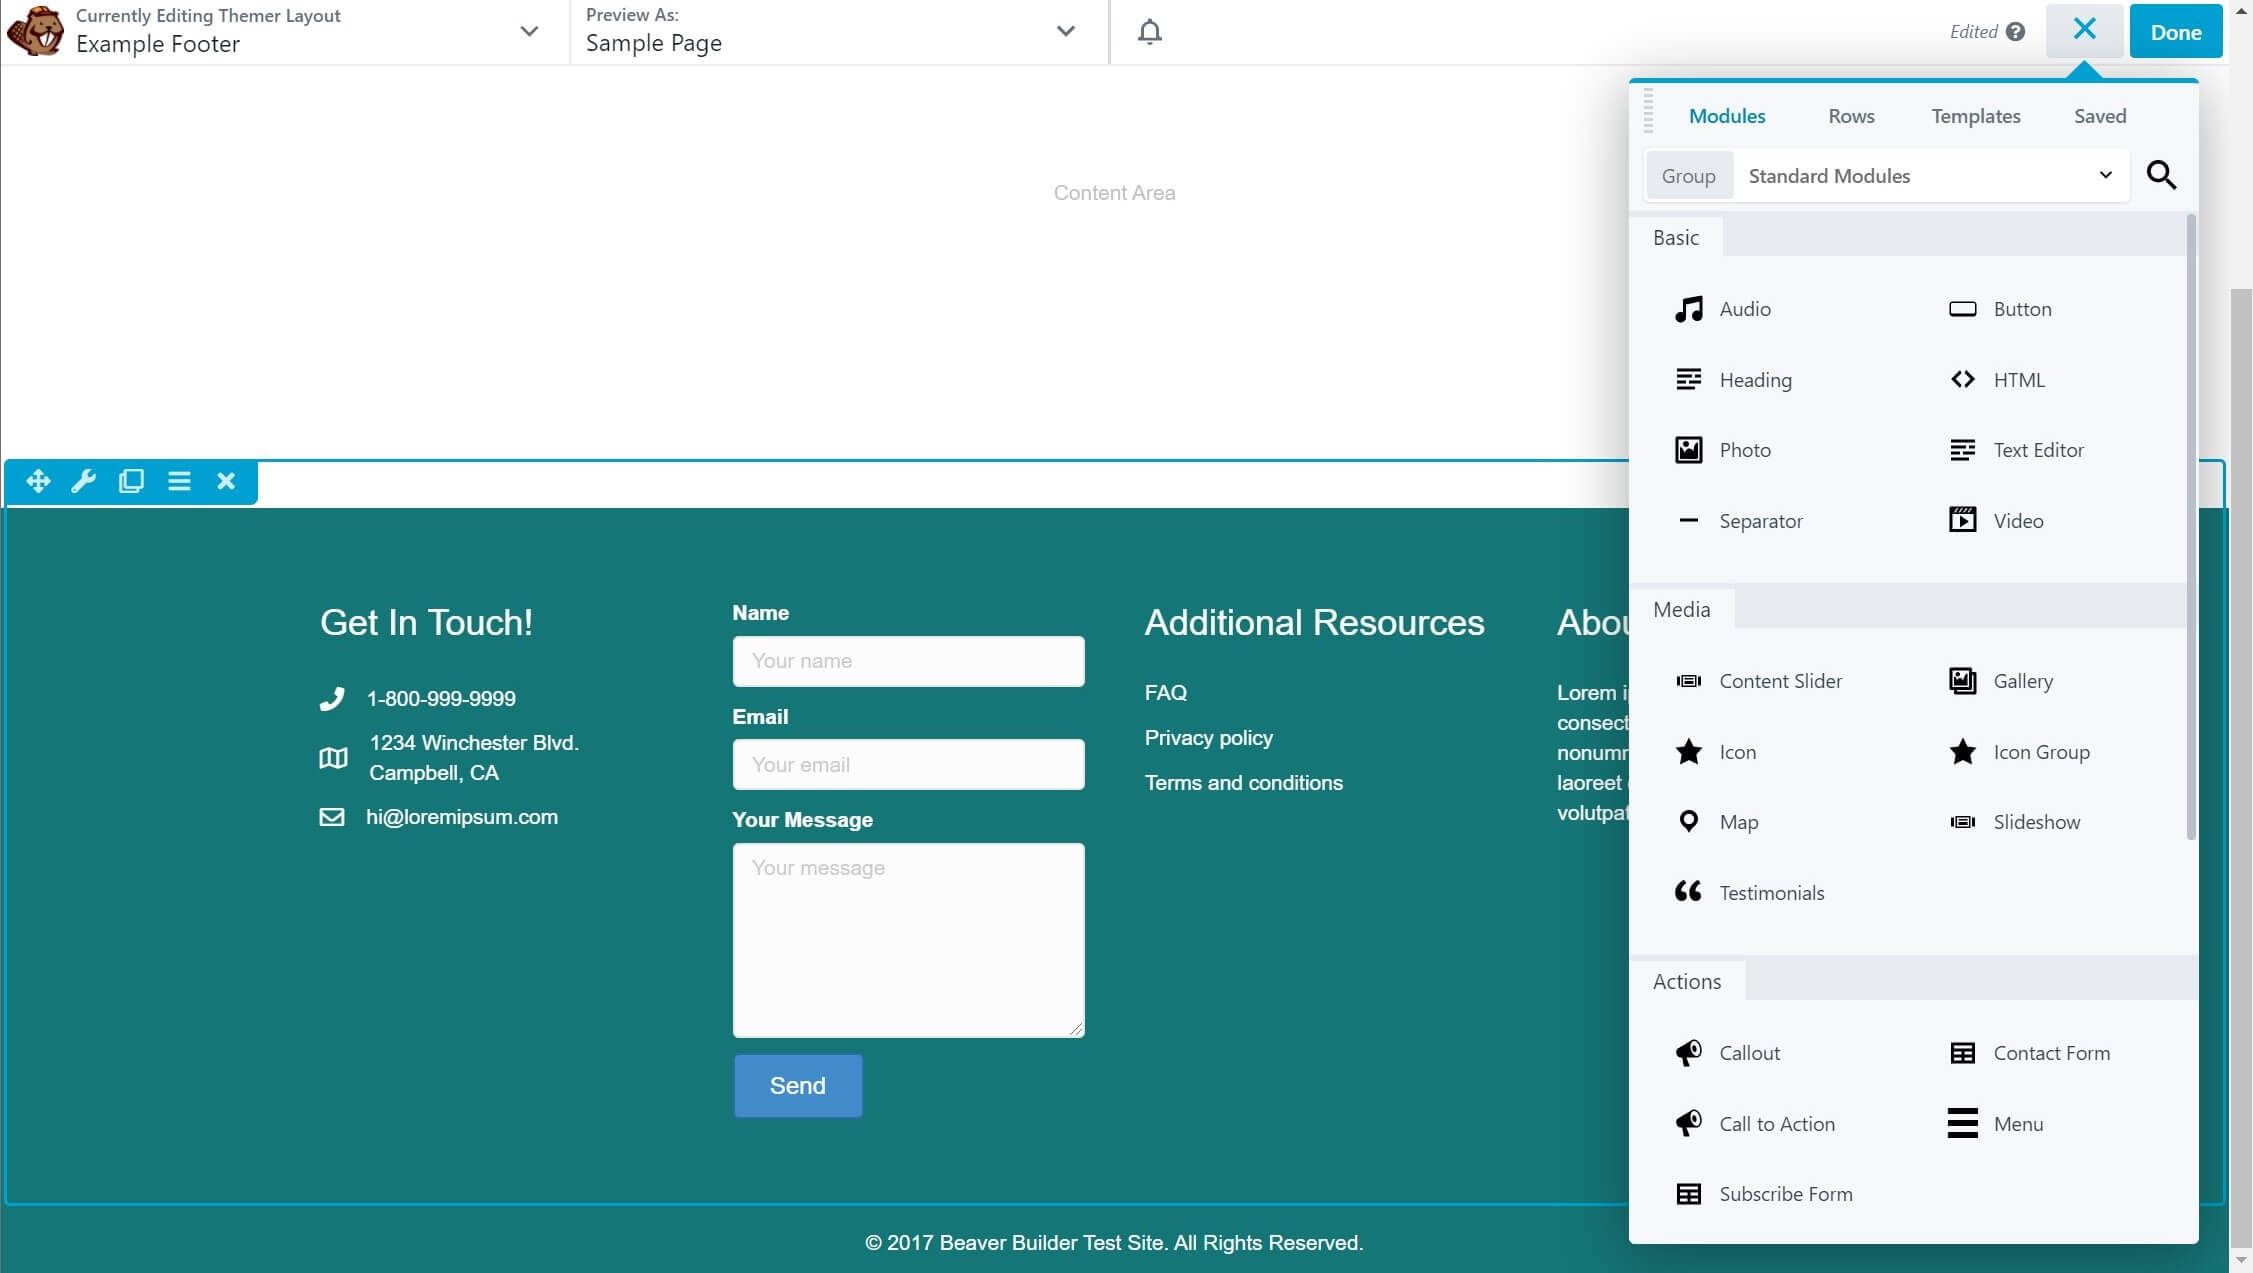
There are over 30 modules to choose from, including icons, text boxes, and photos (perfect for displaying your company logo).
There are additional modules that let you place WordPress widgets into any layout.
At any point, you can change the page that’s featured in your Themer layout preview by clicking the Preview As drop-down at the top of the editor:
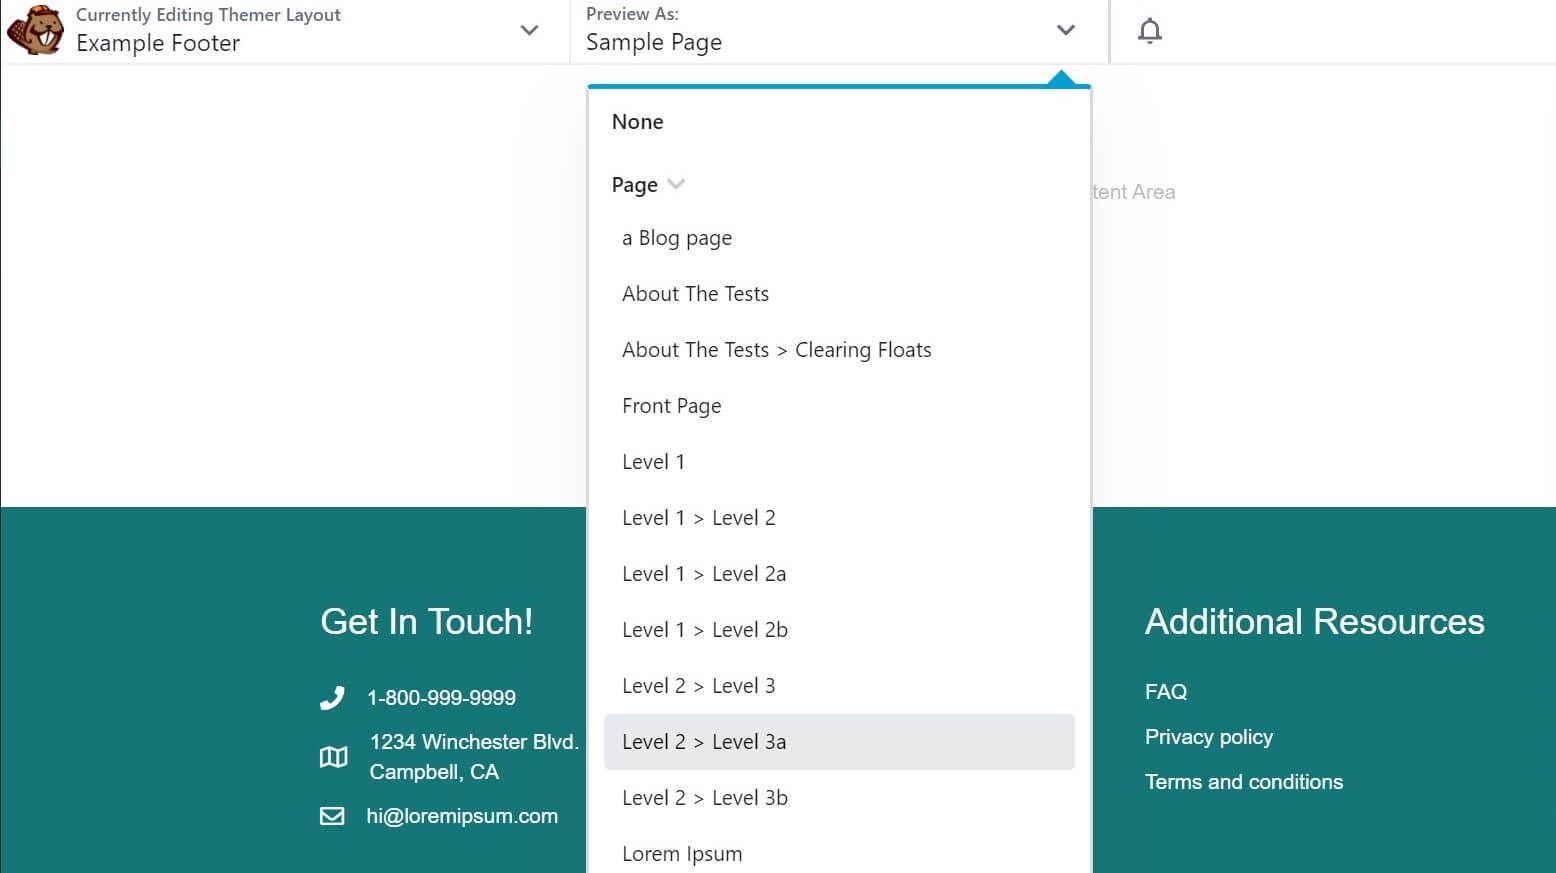
This lets you get a feel for exactly what your layout looks like on other pages of your site.
When you’re finished creating your footer layout, click Done in the top right corner to save your changes. We’d recommend saving it as a draft for now.
Step 5: Add Your Footer Content
With your custom WordPress footer laid out just how you want it, it’s time to change the default placeholder content to match your business’ information.
To do so, just click on any module in your footer.
In the General tab of the popup, you can edit the text, change the icons, add links, and more:
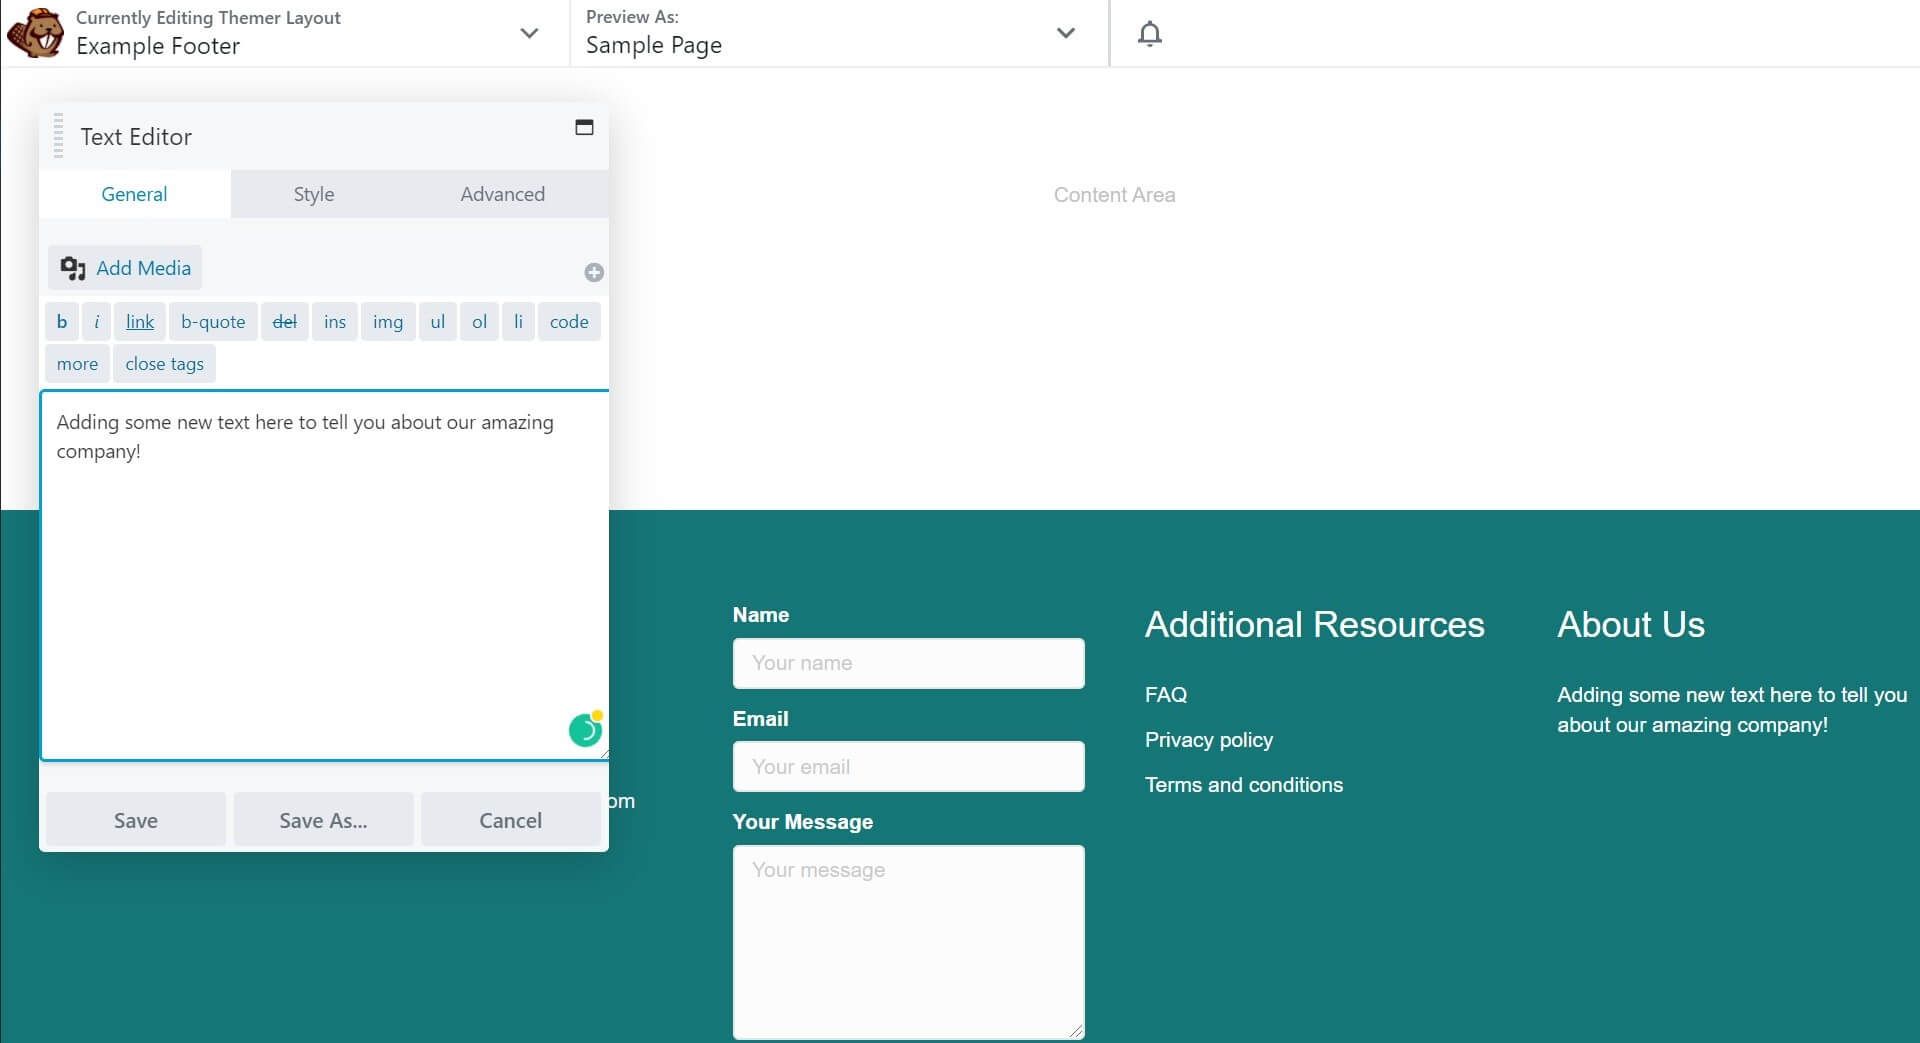
As you make changes, the live preview updates in real-time, so you can always see exactly how your content will look on the front end.
There’s no need to reload the page or open another tab.
When you’re finished adding your content, click Done and Save Draft again to save the changes to your layout without making them public yet.
Step 6: Preview and Publish Your New Footer
With your footer layout and content finished, the only thing left to do is preview it and make sure everything looks and works the way you expect it to.
Spend some time going through your site in the Beaver Builder preview and checking out your new footer on different pages.
While editing your layout, you can click R on the keyboard at any time to preview the layout on tablets and phones.
You can tweak settings for medium and small devices right in the preview.
Once you’re satisfied, click Done. This time, choose Publish to make your footer live.
Conclusion
The footer of your site is your last line of defense to prevent visitors from leaving. It’s also a perfect place to put key information while freeing up crucial space at the top of the page for more conversion-oriented content.
Building a custom WordPress footer is easy with Beaver Themer. Just follow these simple steps:
- Install and activate the Beaver Themer theme builder.
- Create a new footer layout.
- Configure the layout settings.
- Adjust your footer’s layout.
- Add content to your footer.
- Preview and publish your new footer.
Do you have any questions about creating a custom footer layout? Let us know in the comments section below!
5 Comments
Our Newsletter
Our newsletter is personally written and sent out about once a month. It's not the least bit annoying or spammy.
We promise.
Try Beaver Builder Today

Related articles
How to Create Headers and Footers with Beaver Themer
Page builders are great for creating beautiful pages, but they often don’t extend customization to headers and footers. This limitation…
How to Customize WordPress Website Header
Many elements make up a well-designed website. Your WordPress website header is particularly important because it’s the first thing visitors…
How to Use a Header Template in WordPress
Customizing a WordPress header isn’t often an easy process. If you’re not comfortable editing theme files, there aren’t many ways…
Join the community
We're here for you
There's a thriving community of builders and we'd love for you to join us. Come by and show off a project, network, or ask a question.
Since 2014
Ready to build?
The WordPress page builder agencies and freelancers have trusted since 2014.
Instead of an article stating the obvious for ranking purposes, why not design 20 great footer (& header) themer templates for the masses?
Hi Colin that’s great feedback. We may consider doing something like that in the future.
Hi Anthony,
Thank you for the write-up. Quick question, what are the advantages of using Themer for this over “just” a global module?
I use Themer for blog content and such, but usually just disable the standard footer entirely and use a global row instead.
Hi, you can definitely use Global rows. The benefit of using Themer is you can quickly apply custom footers using conditional logic and apply how you see fit. You can read about it here: https://docs.wpbeaverbuilder.com/beaver-themer/conditional-logic/beaver-themer-conditional-logic/
Ah, of course. Thank you, Anthony! I forgot about conditional logic. That’s great.