
There are thousands of WordPress themes available to choose from, and many of them provide a wide variety of customization options.
However, some parts of your site are difficult to edit without help from an additional plugin.
Fortunately, Beaver Themer’s Part layouts let you display features such as banners, forms, and sliders outside of your site’s main content areas.
In this article, we’ll show you how to create a Part layout using Beaver Builder and Beaver Themer.
We’ll then showcase five examples of how you might use this feature to enhance your WordPress site:
- Display sales banners or other notifications
- Add content sliders outside of the standard content areas
- Create contact forms that appear in multiple locations
- Incorporate CTAs to drive conversions and engagement
- Publish subscribe forms to entice visitors to join your mailing list
Why use a Themer Part layout instead of just extending your content layout on a page or using a specialized plugin?
Lots of reasons!
- Create one layout that displays in multiple locations: The Part layout is perfect when you want to display information that appears on more than one page of your site. With Beaver Themer, you can specify multiple locations or set up a general rule and exclude specific locations.
- Display the part on pages, posts, archives: Pages, posts, and archives have different properties in WordPress that might take some special coding, but you can set a single Themer Part layout to appear in any or all of these locations with no special handling.
- Easily turn parts on and off: You can show or hide the Part layout everywhere it’s displayed with a single click. That makes it great for limited time announcements.
- The Themer plugin does it all: In the old days, you’d probably need one plugin for a sales banner and another plugin to display an image slider, but you can create just about any layout and effect you want with Beaver Themer, the same way you create regular Beaver Builder layouts. That makes it easy to use and keeps your plugins to a minimum. Create as many Part layouts as you want for your various purposes.
One item to note: Themer Part layouts are positioned using Beaver Theme hooks. You don’t need to use the Beaver Builder Theme to get support for Themer Parts, but you do need to use one of the themes that support Beaver Themer.
How to Create a Part Layout with Beaver Themer
A Part layout is a type of content that appears outside of the standard WordPress content area. By using the Beaver Builder plugin and the Beaver Themer add-on, you can customize these portions of your site to include a wide range of features.
Note that the Part layout type consists of one or more rows that you position above or below other items on the page. You can’t insert a Part into a column.
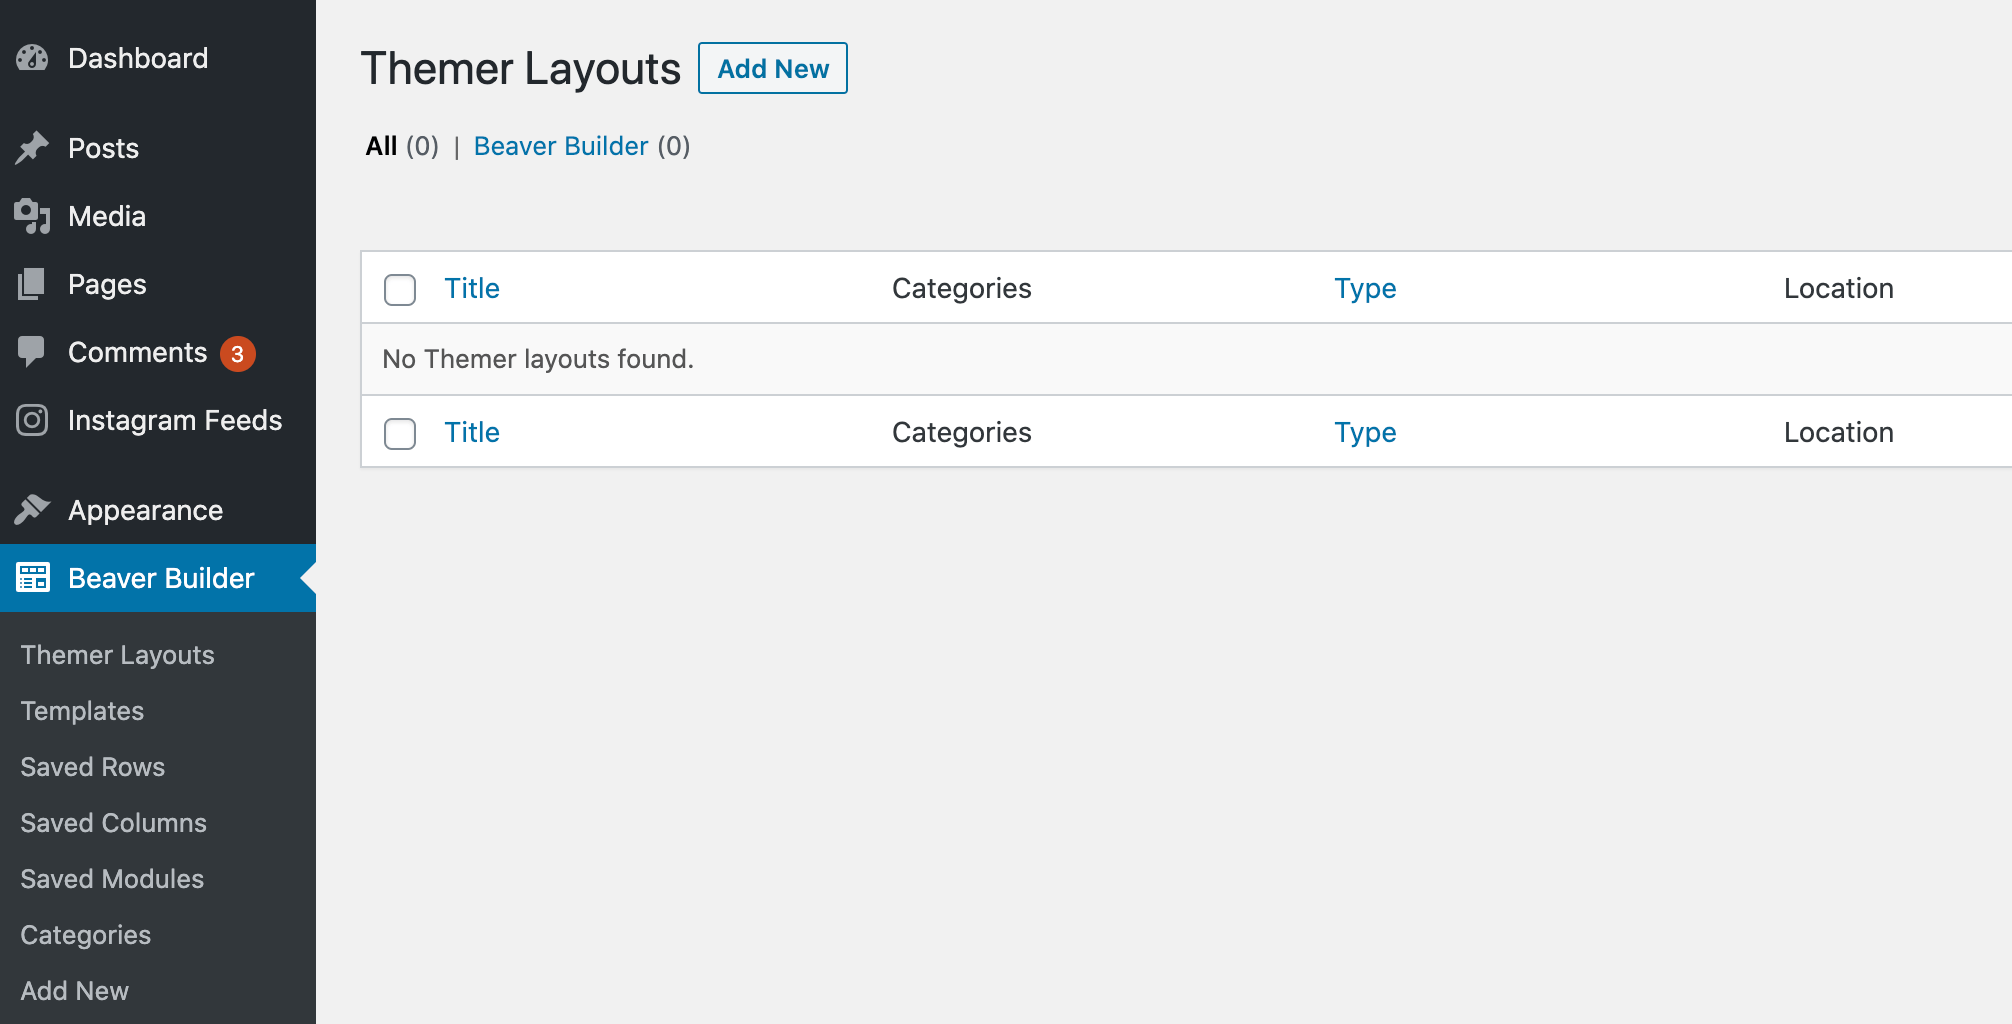
To create a Part layout, first, navigate to Beaver Builder > Add New in your WordPress dashboard:
On the next screen, give your Part layout a descriptive title. Then, select Themer Layout from the Type dropdown and Part from the Layout dropdown:
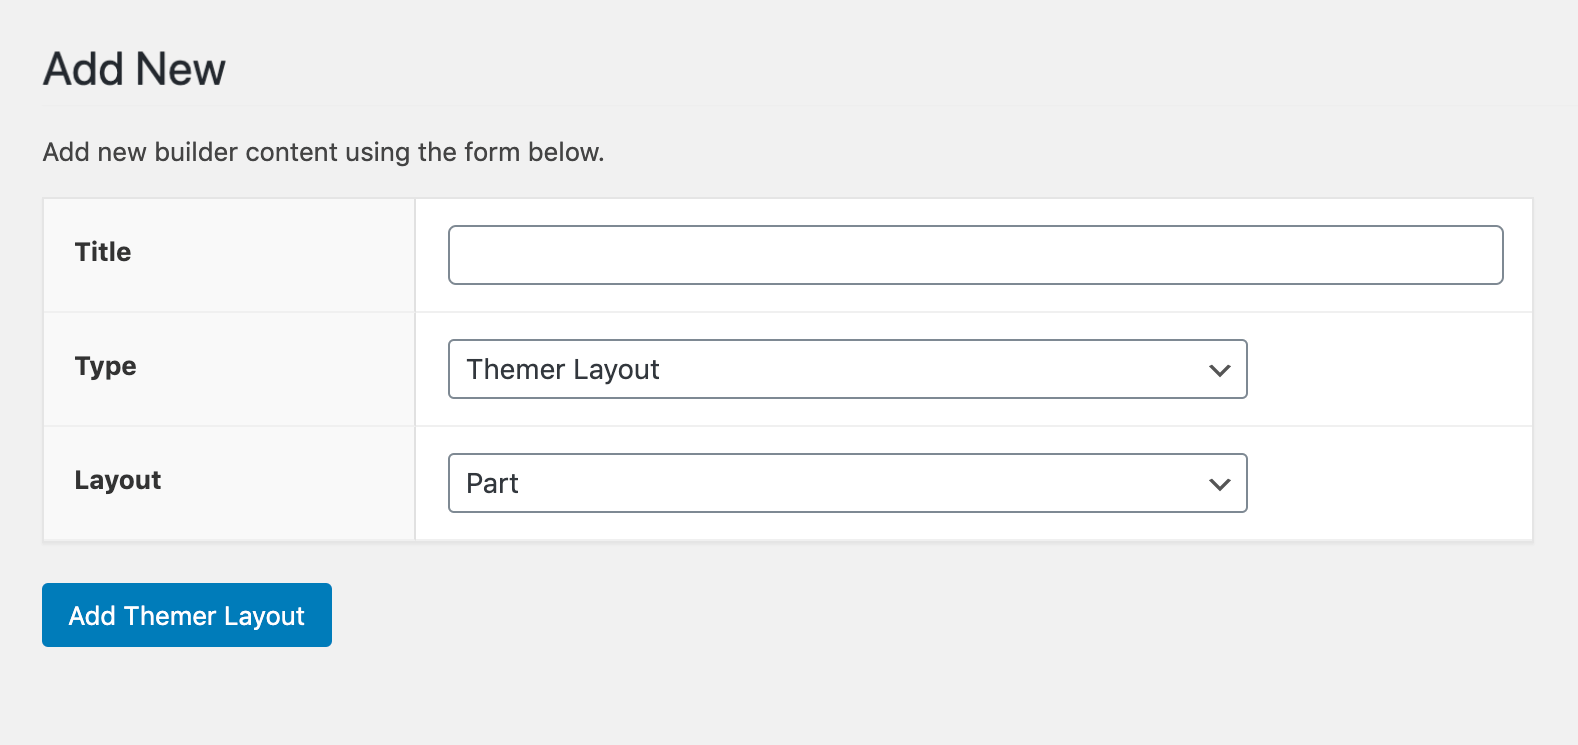
Click Add Themer Layout to save your settings. The Edit Themer Layout screen will then open:
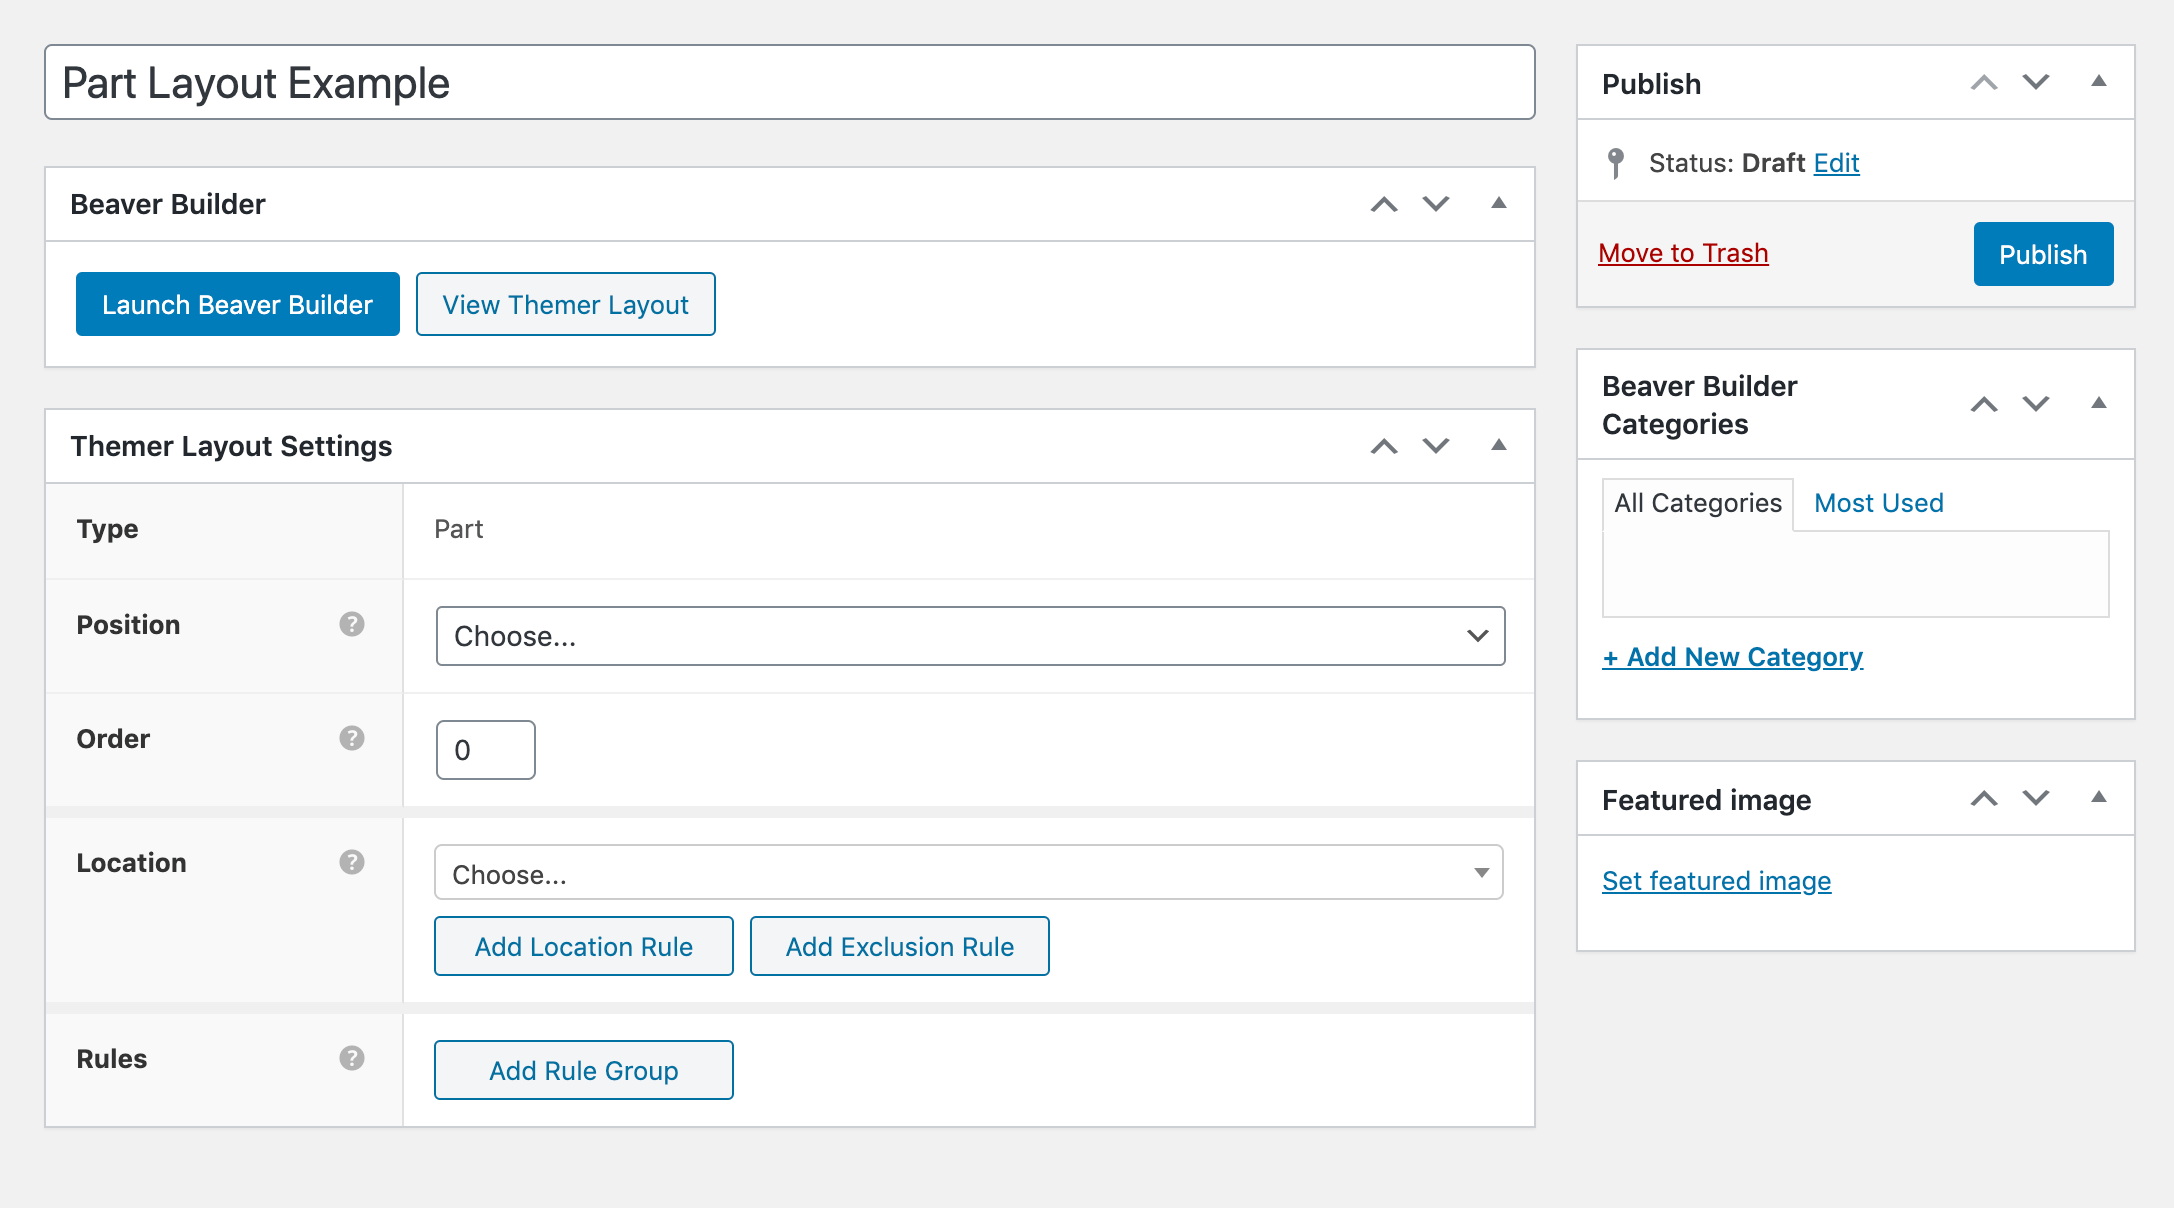
Here, you can specify where this Part layout should appear using the following settings:
- Position. You can use this dropdown to specify where this Part layout should be displayed on the page. If you’re not sure which position to choose, check the documentation for more information about where the positions occur in the rendered pages.
- Order. If you’re using multiple Part layouts in the same position, then you’ll need to specify the order in which they should appear.
- Location. This is where you can define the location(s) where this Part layout should be displayed, including specific pages or across your entire site.
- Rules. In this section, you can create conditional logic rules regarding where this Part layout should appear.
The next step is adding content to your Part layout. You can do so using the familiar Beaver Builder interface. Click the Launch Builder Beaver button to open it.
In Beaver Builder, you can add rows, modules, or even templates to your Part layout using the options in the Content panel:
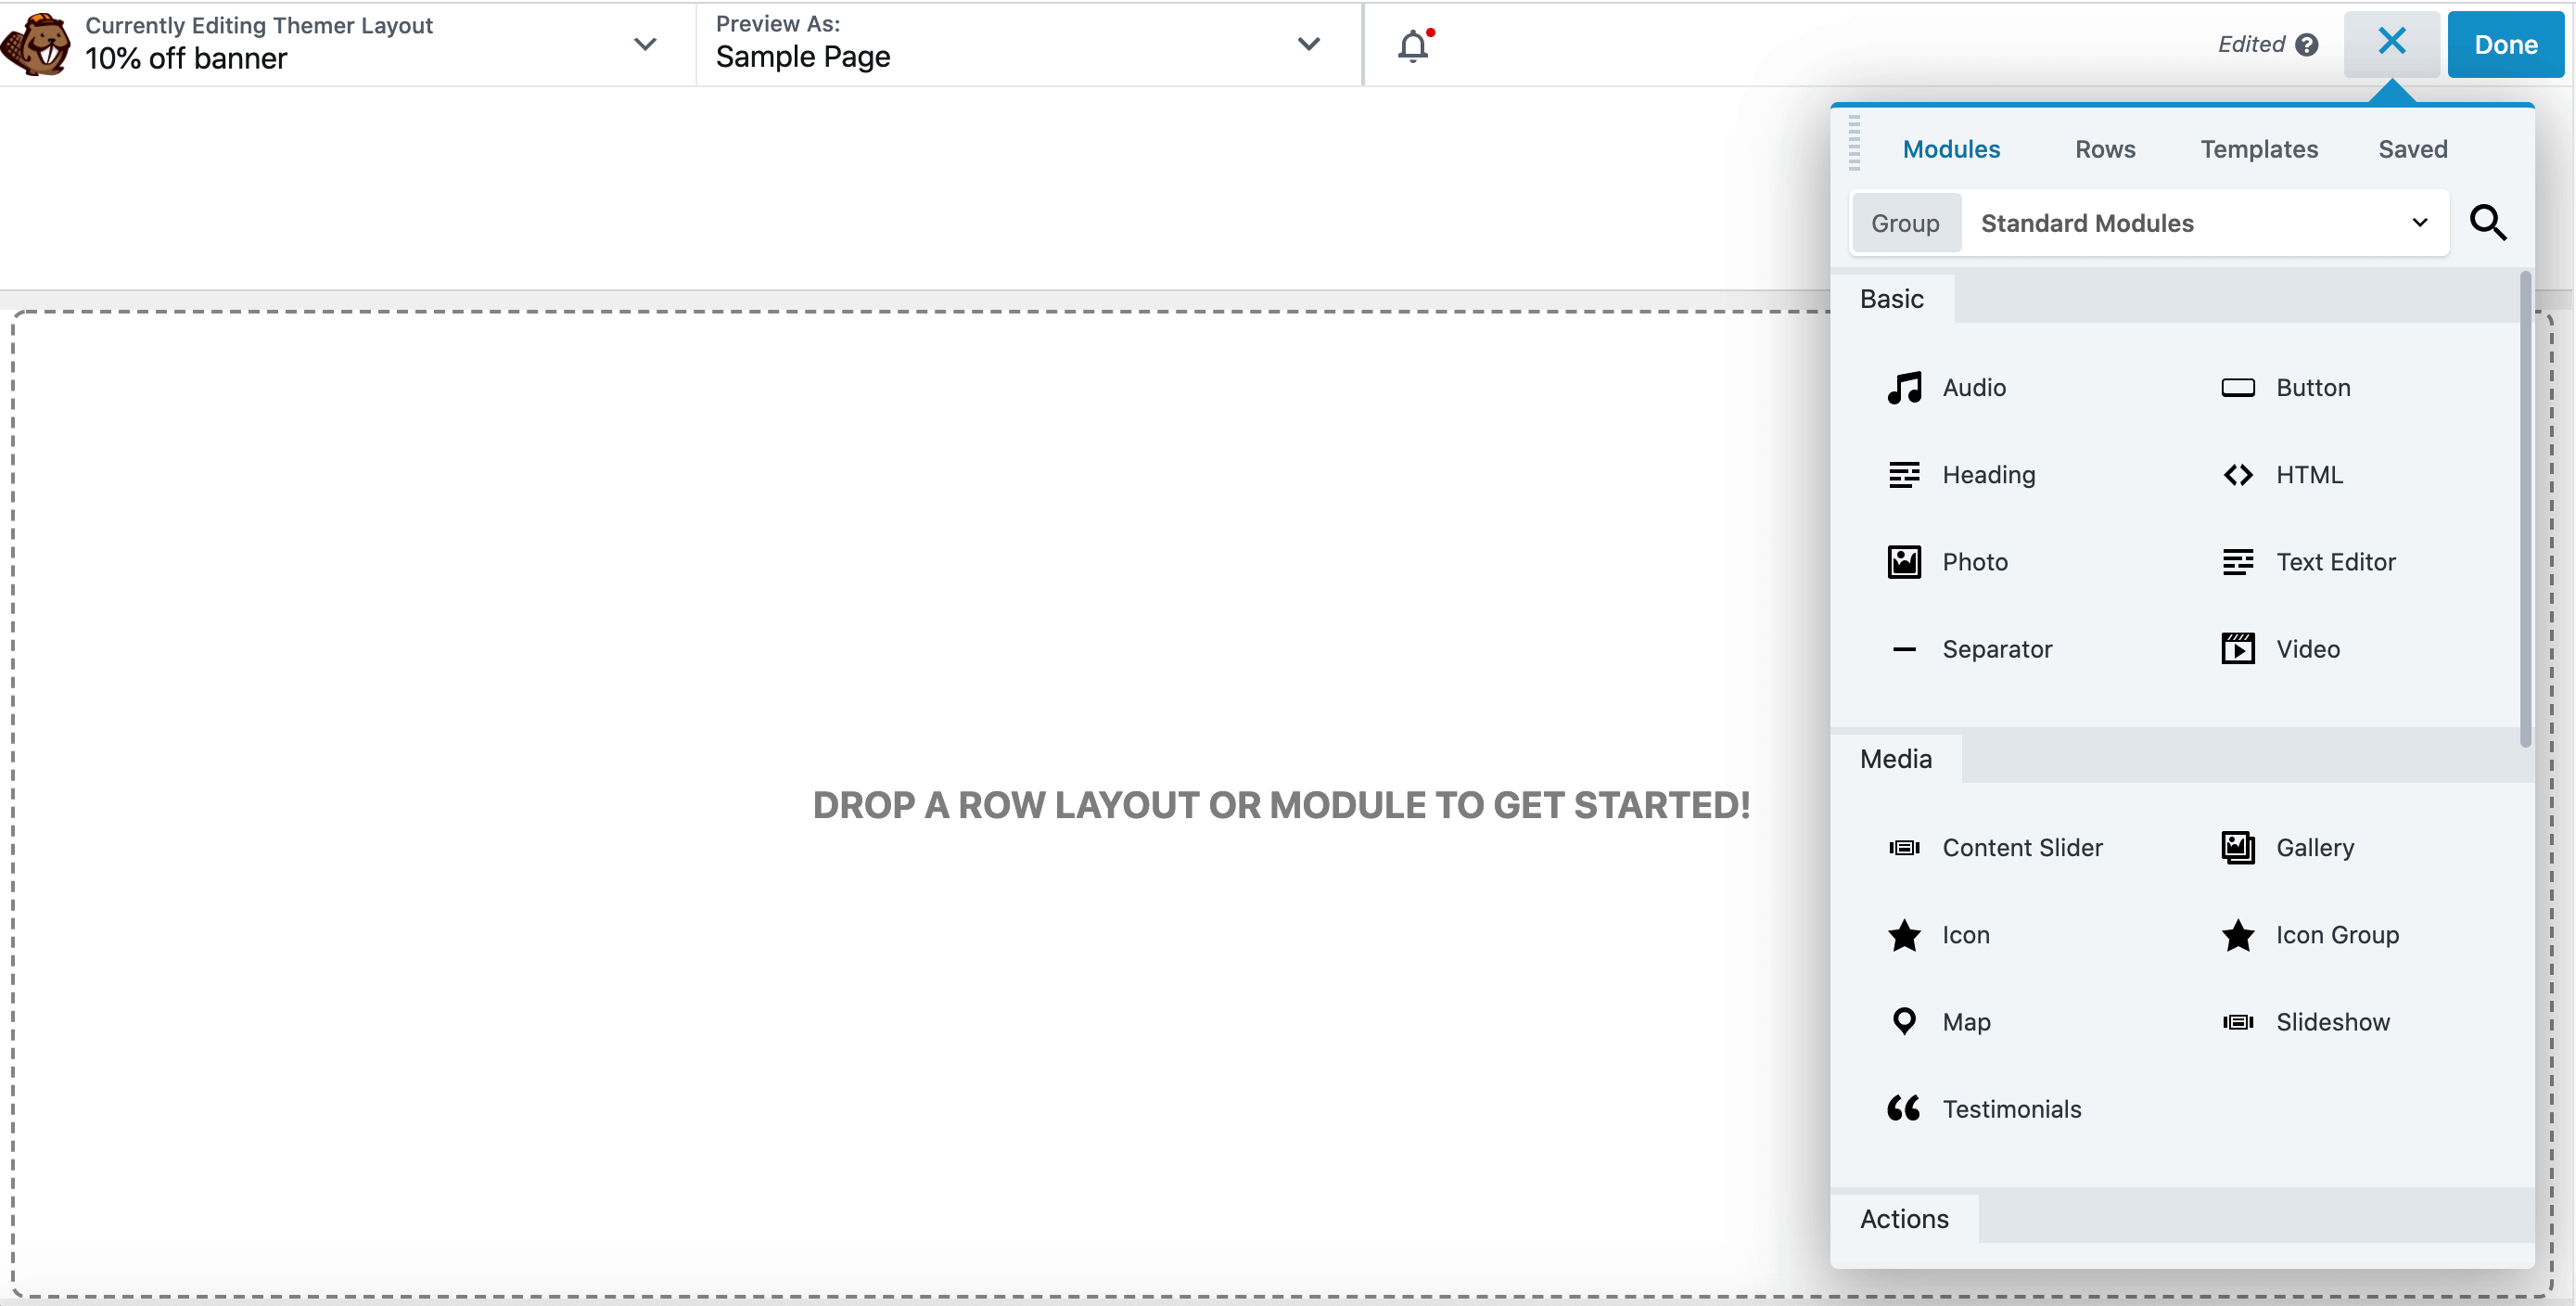
To add a module, simply drag it from the side panel and drop it onto the Beaver Builder editor. You can create the rows and columns by just dragging the module to the right location, or you can have more control over the structure of the layout by clicking the Rows tab in the Content panel and dragging in empty column layouts.
When you’re happy with your Part layout, publish it by clicking Done > Publish.
The part will then appear in the positions and locations you specified.
5 Ways to Use Part Layouts on Your Beaver Builder Site
By following the instructions above, you can generate hundreds of Part layouts and place them practically anywhere on your website. Here are just a few examples of the features you can create using Beaver Builder and Beaver Themer.
1. Display Sales Banners or Other Notifications Across Your Site
Many websites use banners to draw visitors’ attention towards sales, breaking news, new blog posts, upcoming events, and other important announcements.
If you’ve created a banner graphic, then you can add it to your site using Part layouts:
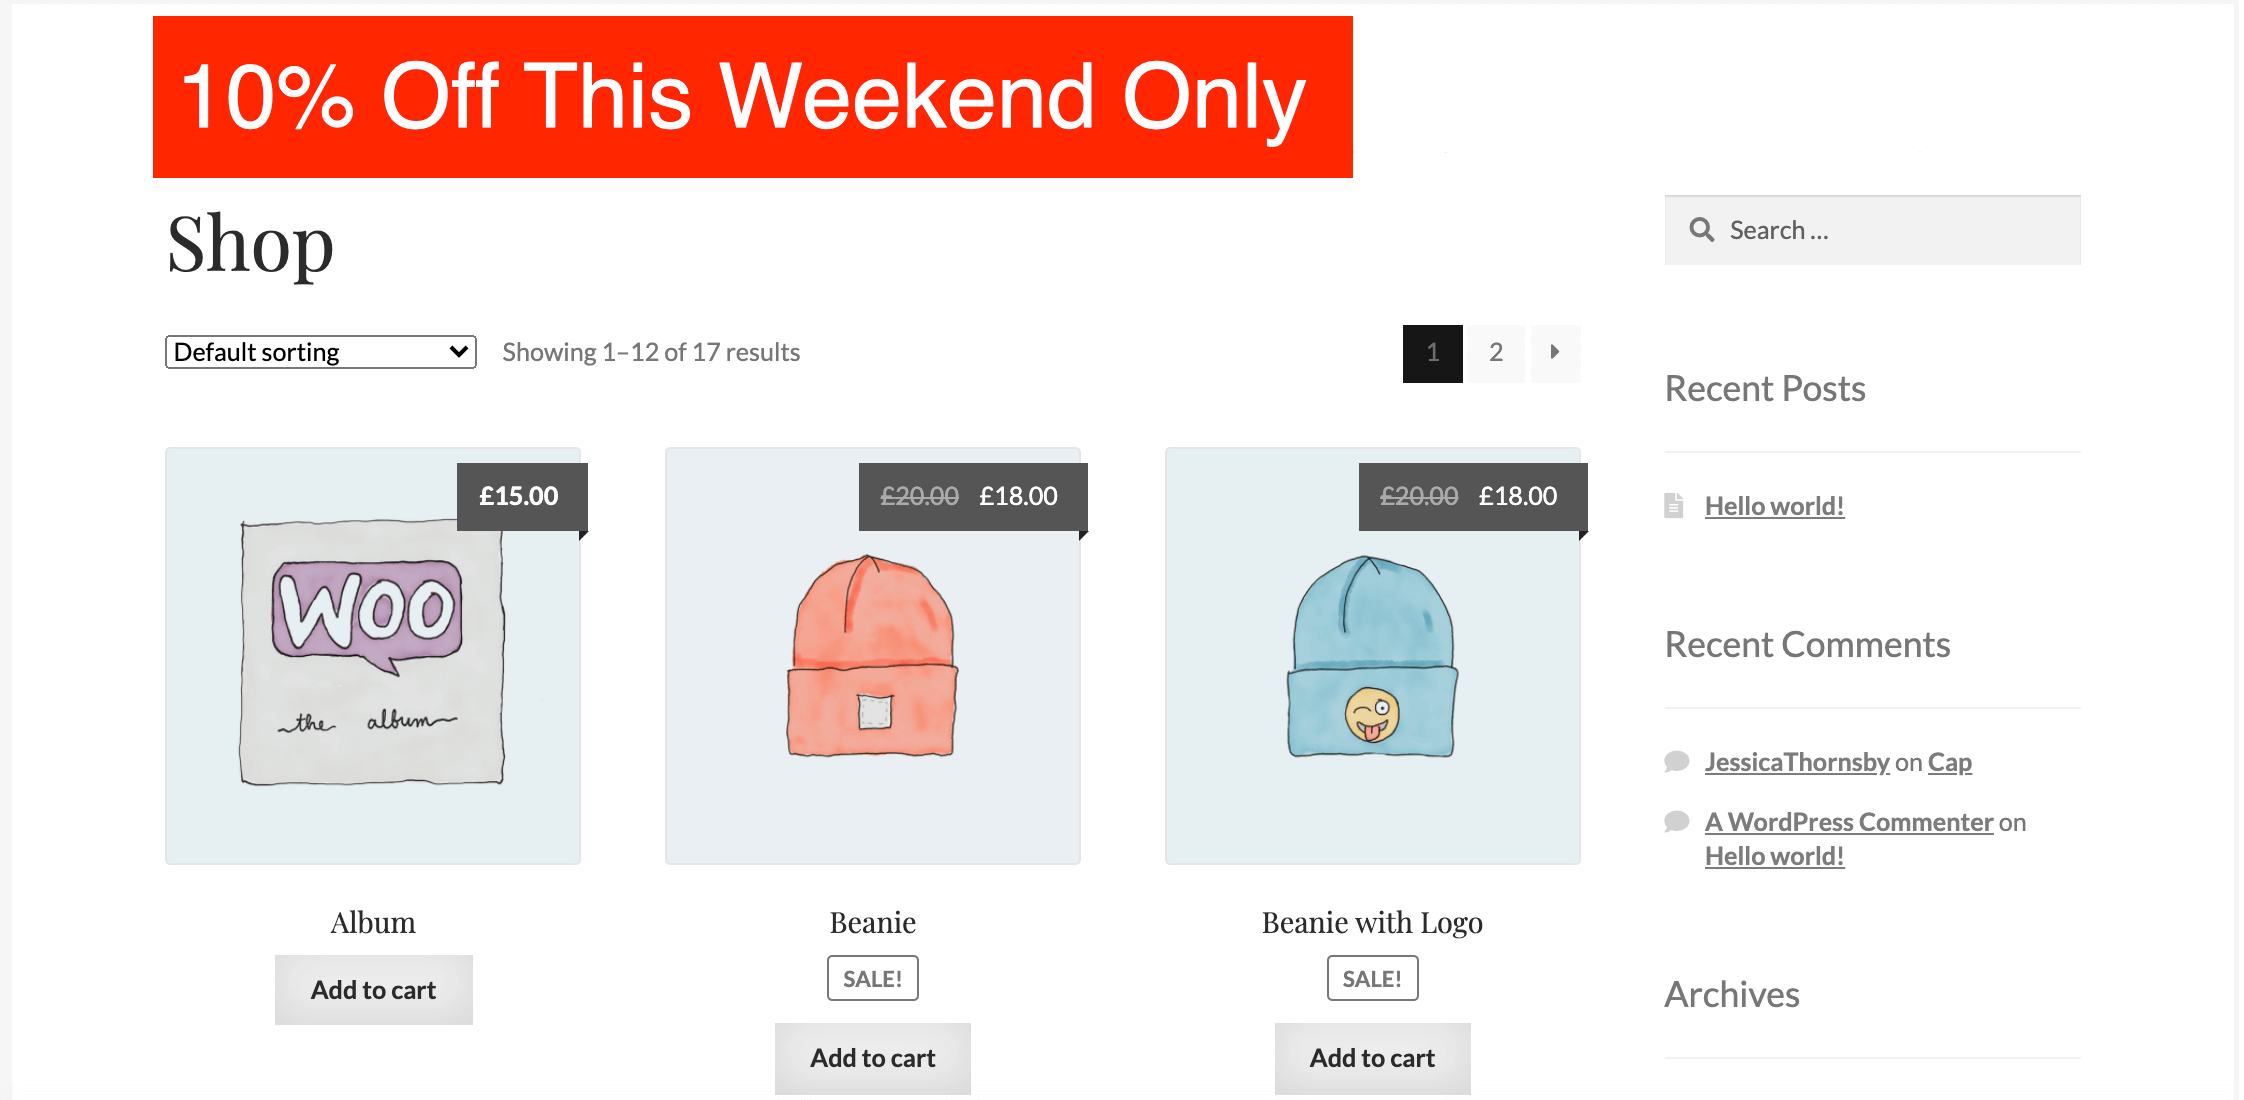
You can even embed a link so that clicking on your sales banner directs visitors towards some related content.
To transform your Part layout into a banner, launch Beaver Builder for your Part layout, find the Photo module, and drop it onto the Beaver Builder canvas. The settings window opens automatically:
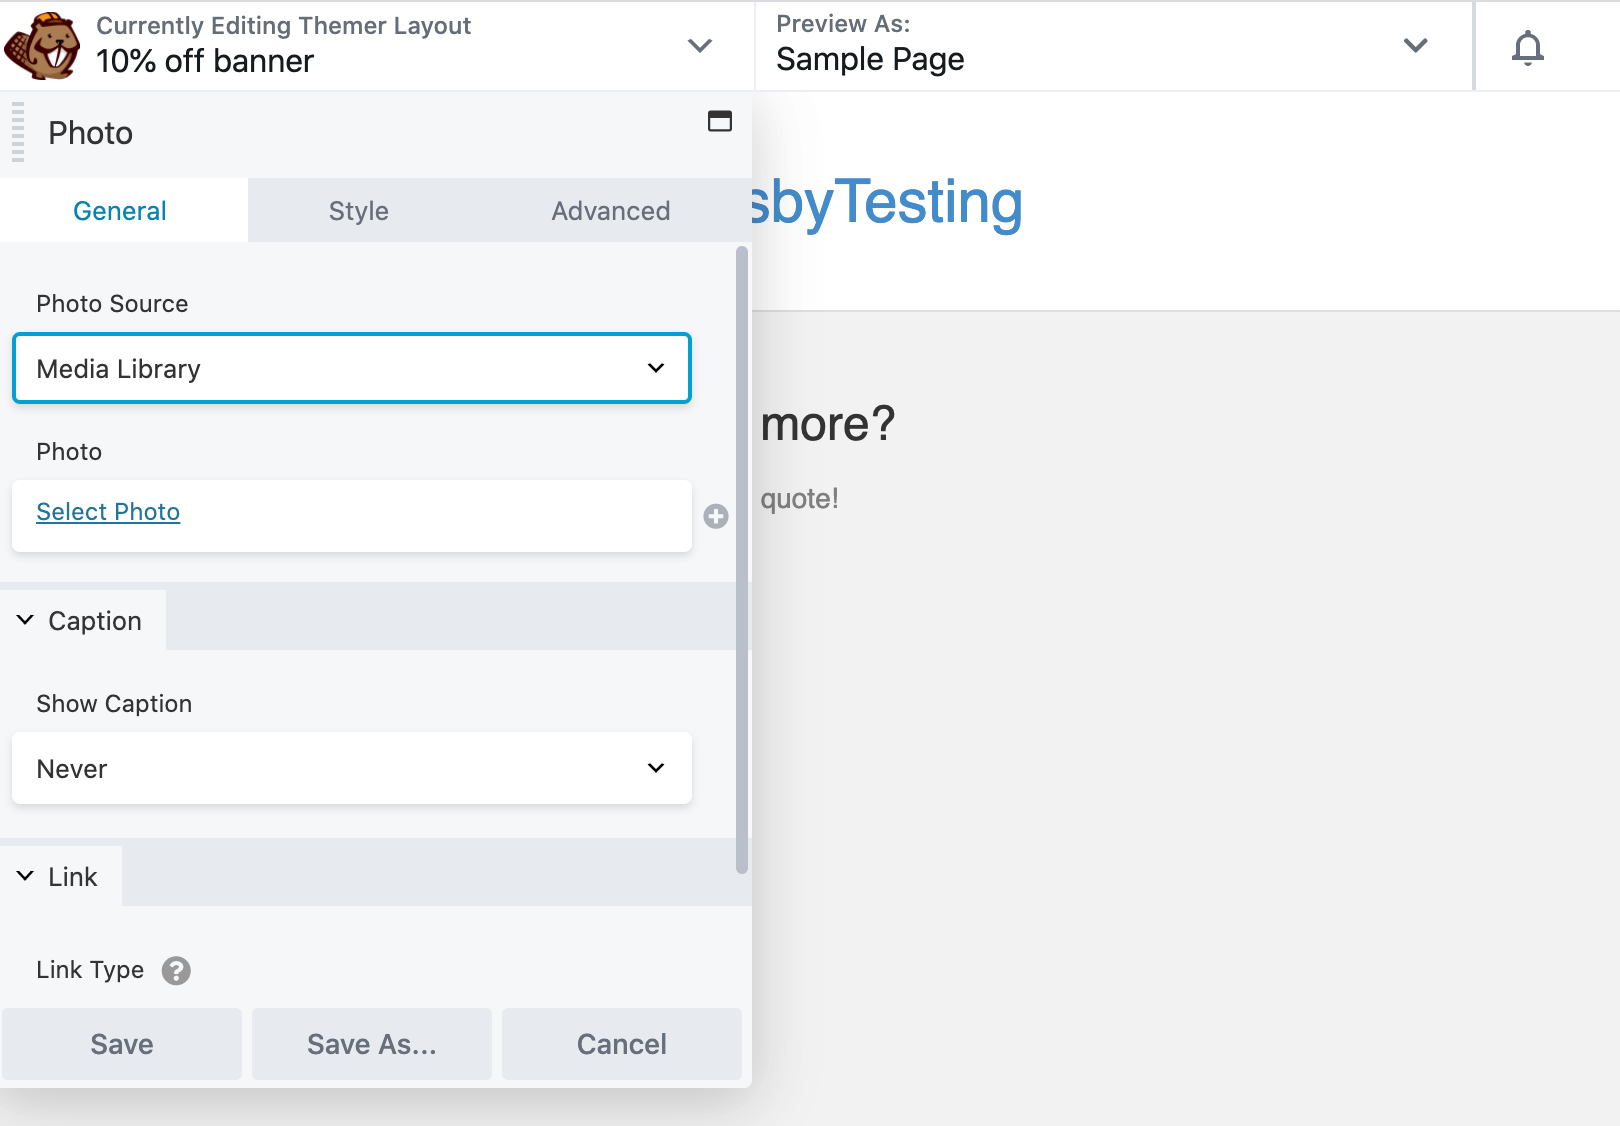
Click Select photo, then either choose your banner’s graphic from your Media Library or upload it from your computer.
To embed a link, in the module settings window, click to expand the Link section:
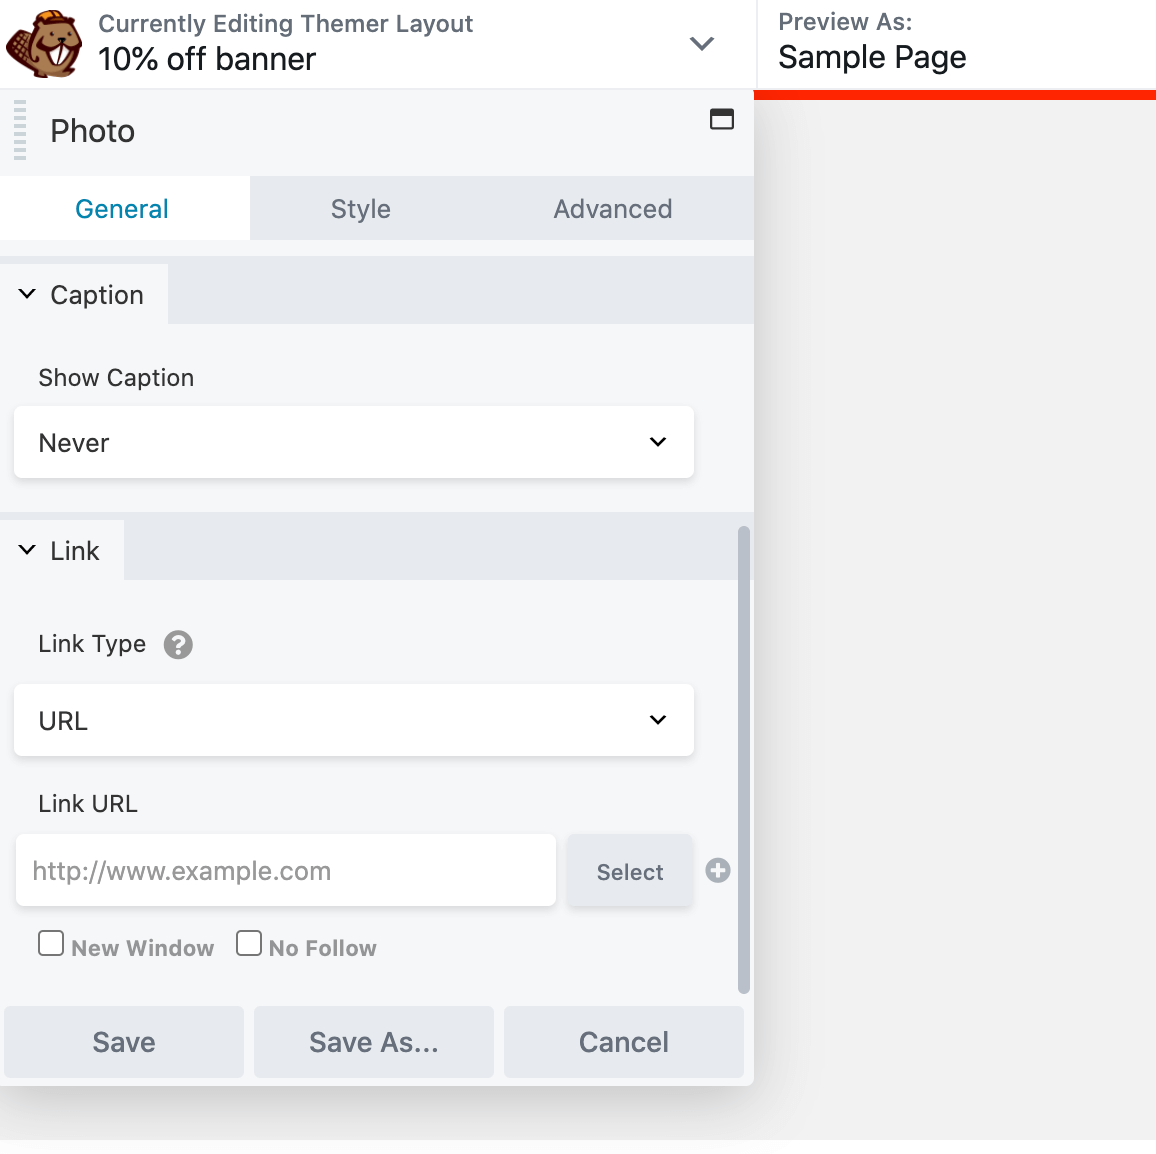
Type or paste a URL in the Link URL field. Then specify whether it should open the destination page in a new window.
Make any other desired edits to your banner. When you’re happy with it, add it to your site by selecting Done > Publish.
2. Add Content Sliders Outside of the Standard Content Areas
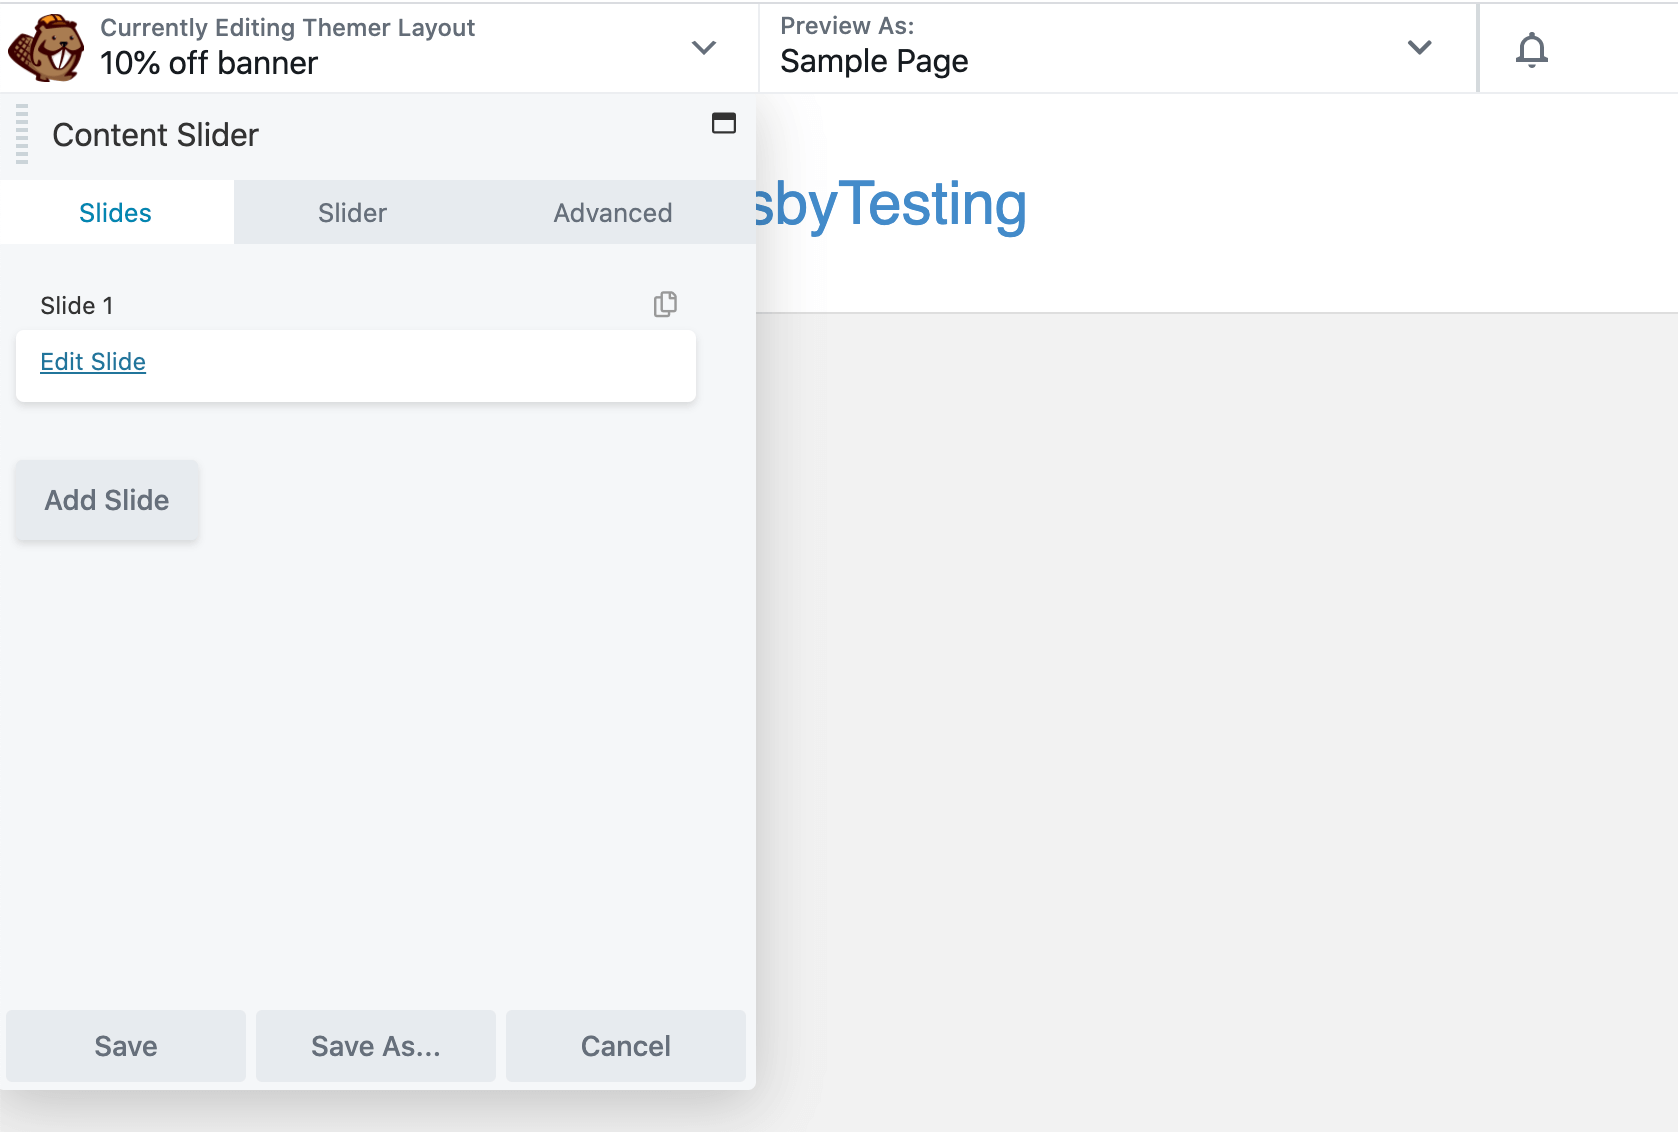
A content slider is ideal for displaying lots of information in a small amount of space. To create one as a Part layout, you can use the Content Slider module.
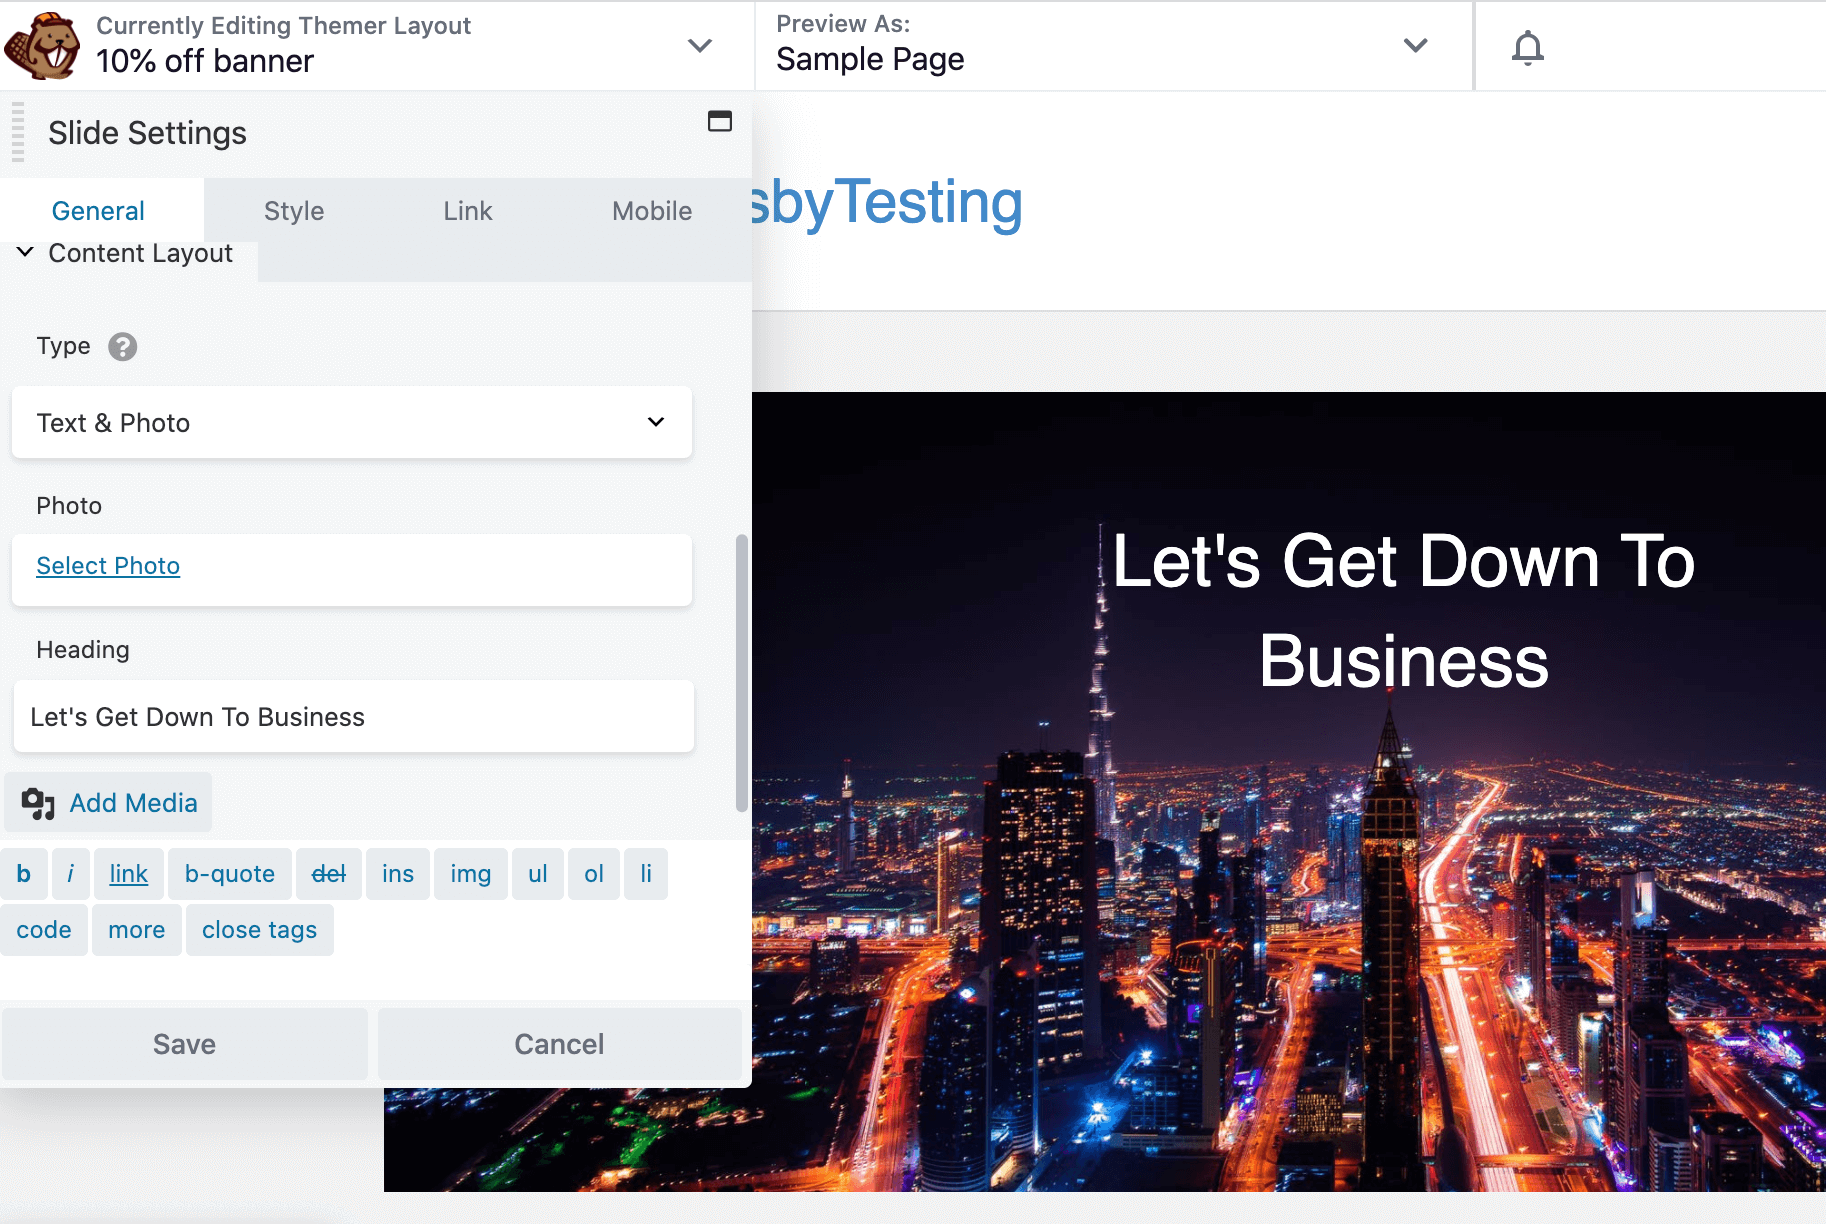
To add a slide to your Content Slider, click Edit Slide in the module’s settings window:
In the Slide Label field, enter a name to identify this particular slide. This name doesn’t appear on the rendered page, it should be something meaningful to you.
Then open the Type dropdown and choose from the available background options (Photo, Video, Color, or None).
Depending on your chosen background, you’ll have access to some additional settings.
For example, if you select Photo, then you can choose an image from your Media Library. If you selected Color, then you’ll have access to the color picker.
You can add text to your slides, such as a slogan or CTA. If so, scroll to the Content Layout section of the settings window.
From the Type dropdown, choose one of the Text options, such as Text & Photo or Text & Video:
Then enter the text that you want to use. You can change its appearance on the Styles tab.
You can embed a link by clicking the Link tab and entering the destination URL. When you’re happy with your slide, click Save.
To add more slides, click the Add Slide button and repeat the above steps. When you’re happy with your slider as a whole, save the module and then click Done > Publish.
3. Create Contact Forms That Appear in Multiple Locations
A contact form gives visitors an easy way to reach you with questions, suggestions, feedback, and anything else they have in mind. It also gives the impression that you’re always available:
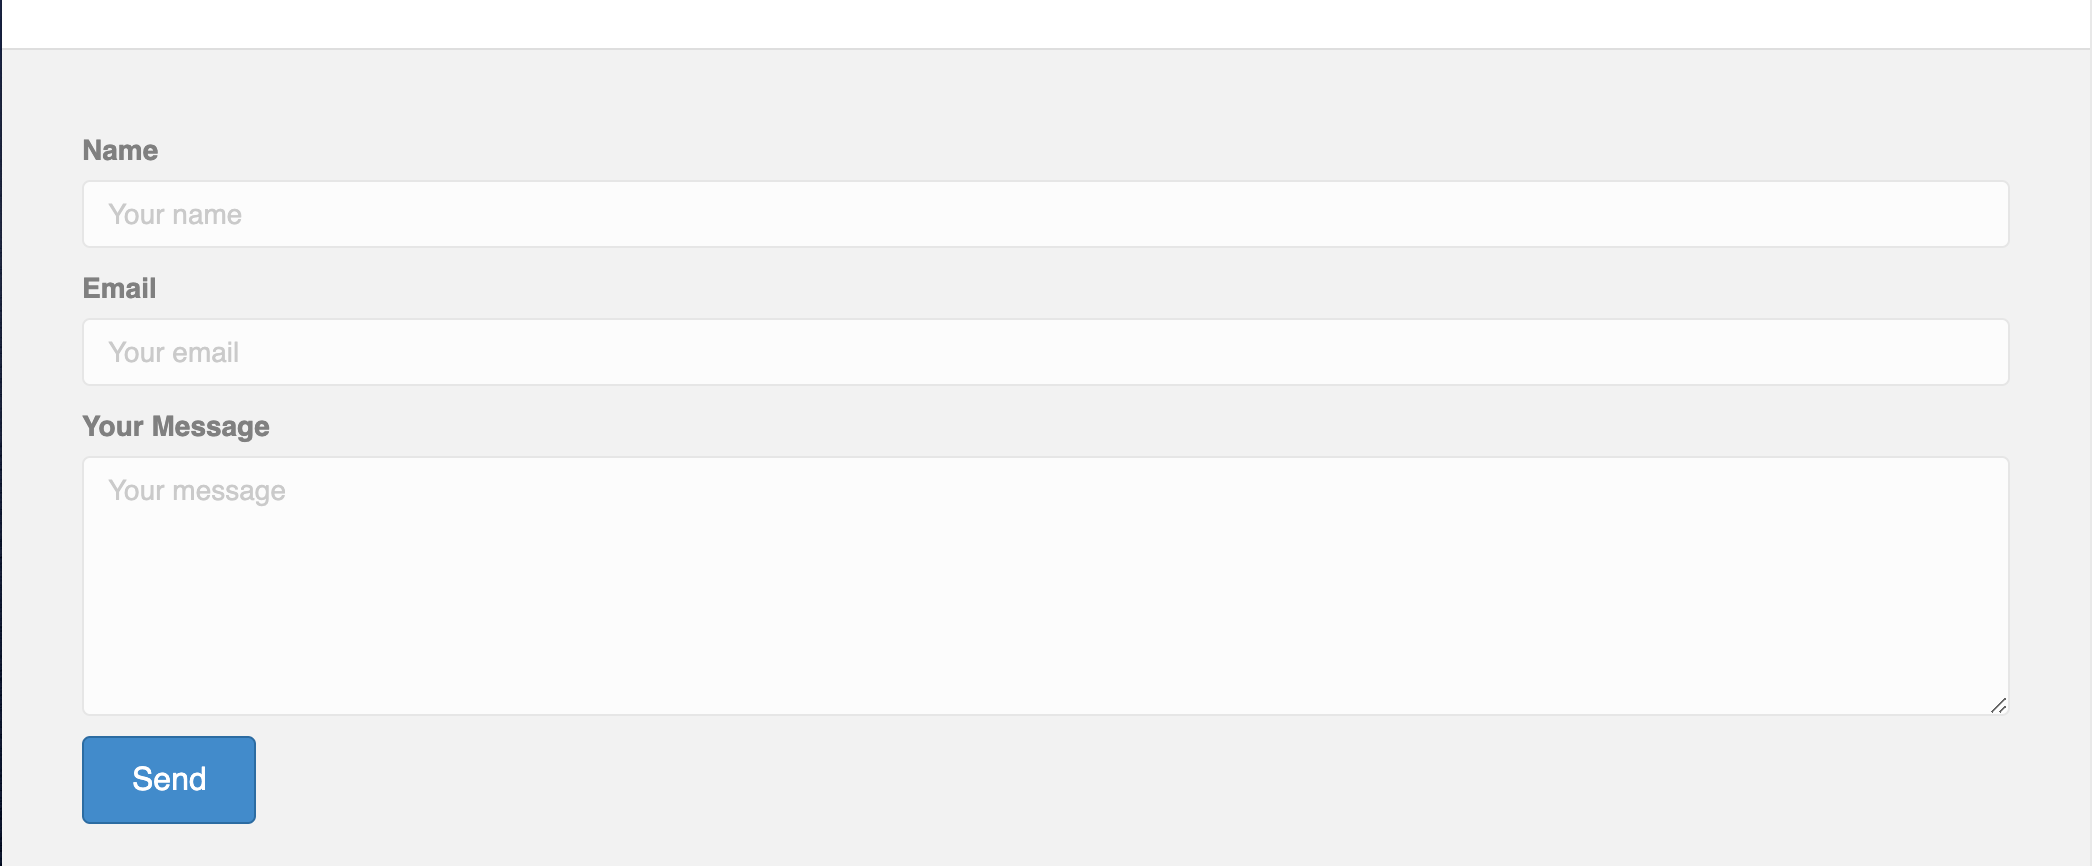
You can quickly and easily create a contact form in a Part layout by dragging and dropping the Contact Form module onto the Beaver Builder canvas and then linking it to your email address.
To do so, open the module’s settings window and head to the General tab:
In the Send To Email field, enter the email address that you want to be notified of contact form submissions.
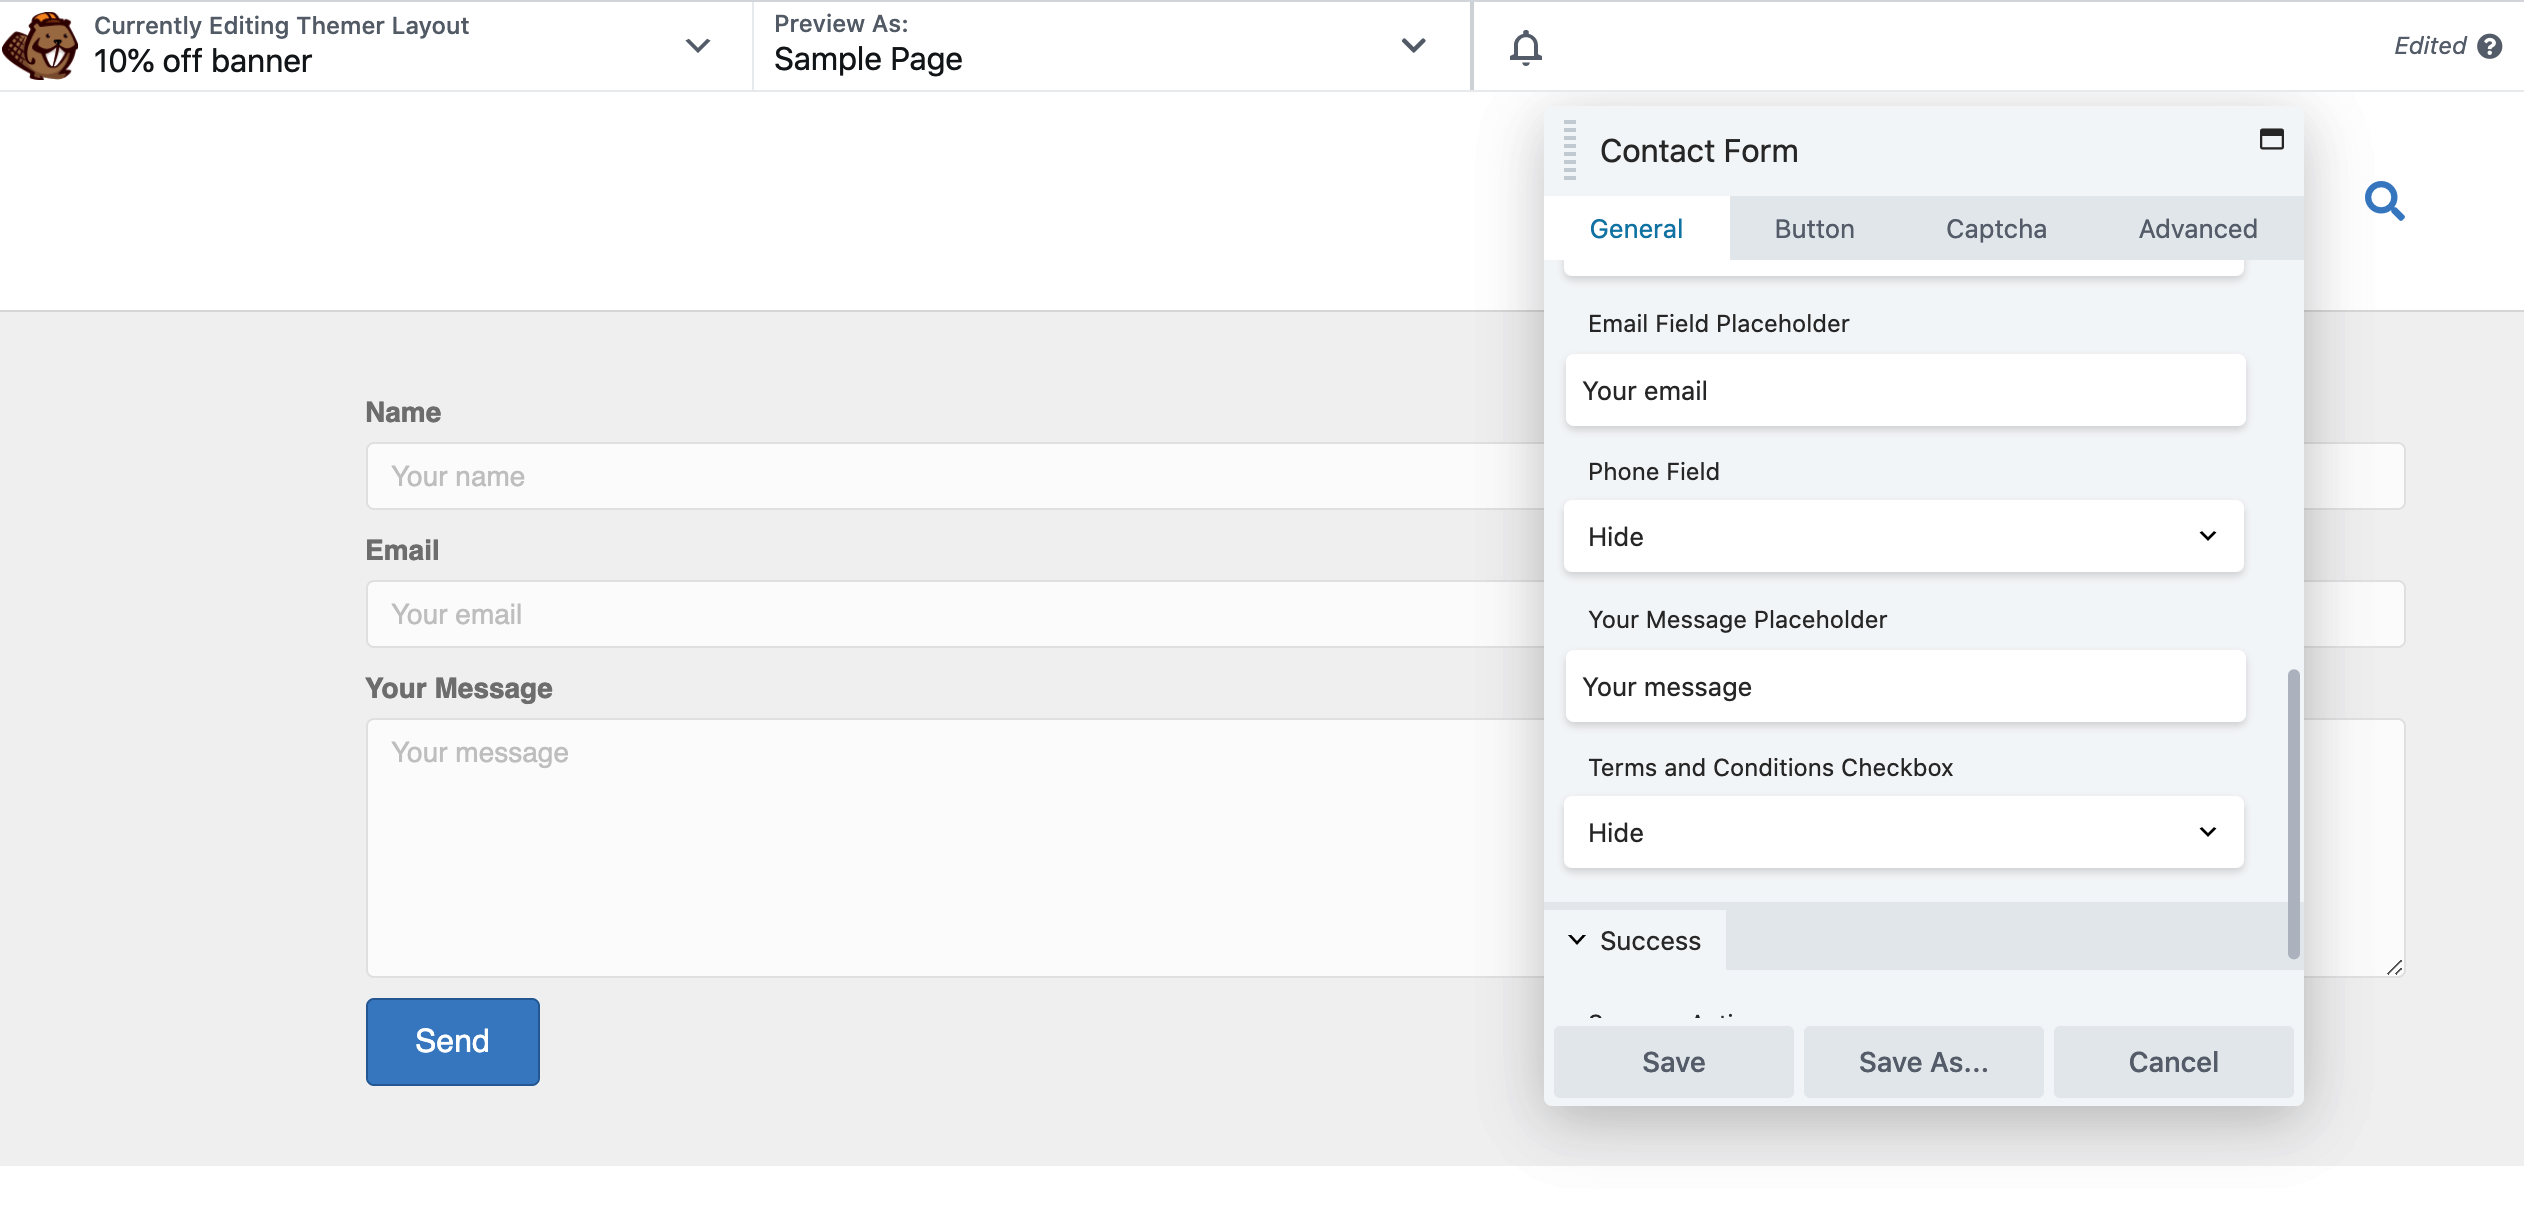
The Fields section lists all the fields that you can display, including Name, Email, and Phone.
You can change settings to add (Show) or remove (Hide) any of these fields from your contact form.
You can also customize the placeholder text that appears in each of your contact form fields and choose to display a Success notification when users submit their messages:
When you’re happy with your contact form, save the module and click Done > Publish. Everyone who visits your website will now have an easy way to get in touch with you through any page on which it’s displayed.
4. Incorporate CTAs to Drive Conversions and Engagement
Calls to Action (CTAs) encourage visitors to perform a positive action, such as subscribing to your newsletter, purchasing a product, or requesting a quote:
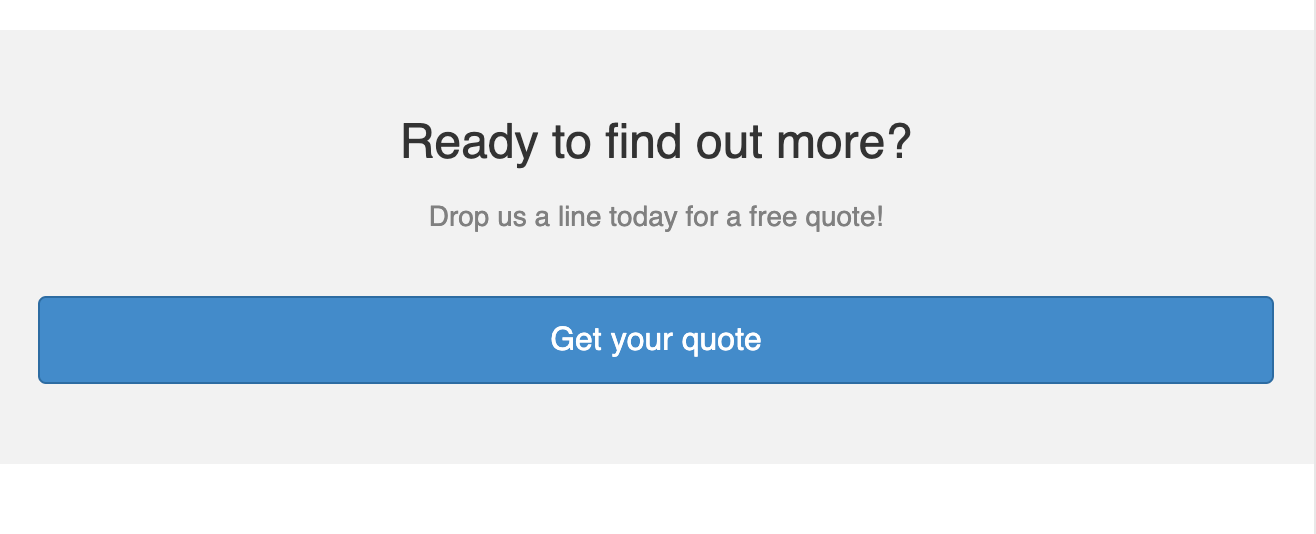
Regardless of the CTA, you have in mind, Beaver Builder has a fully-customizable module that you can add to your Part layout.
In the Call to Action module’s settings window, enter the title text that you want to display as part of your CTA in the Heading field:
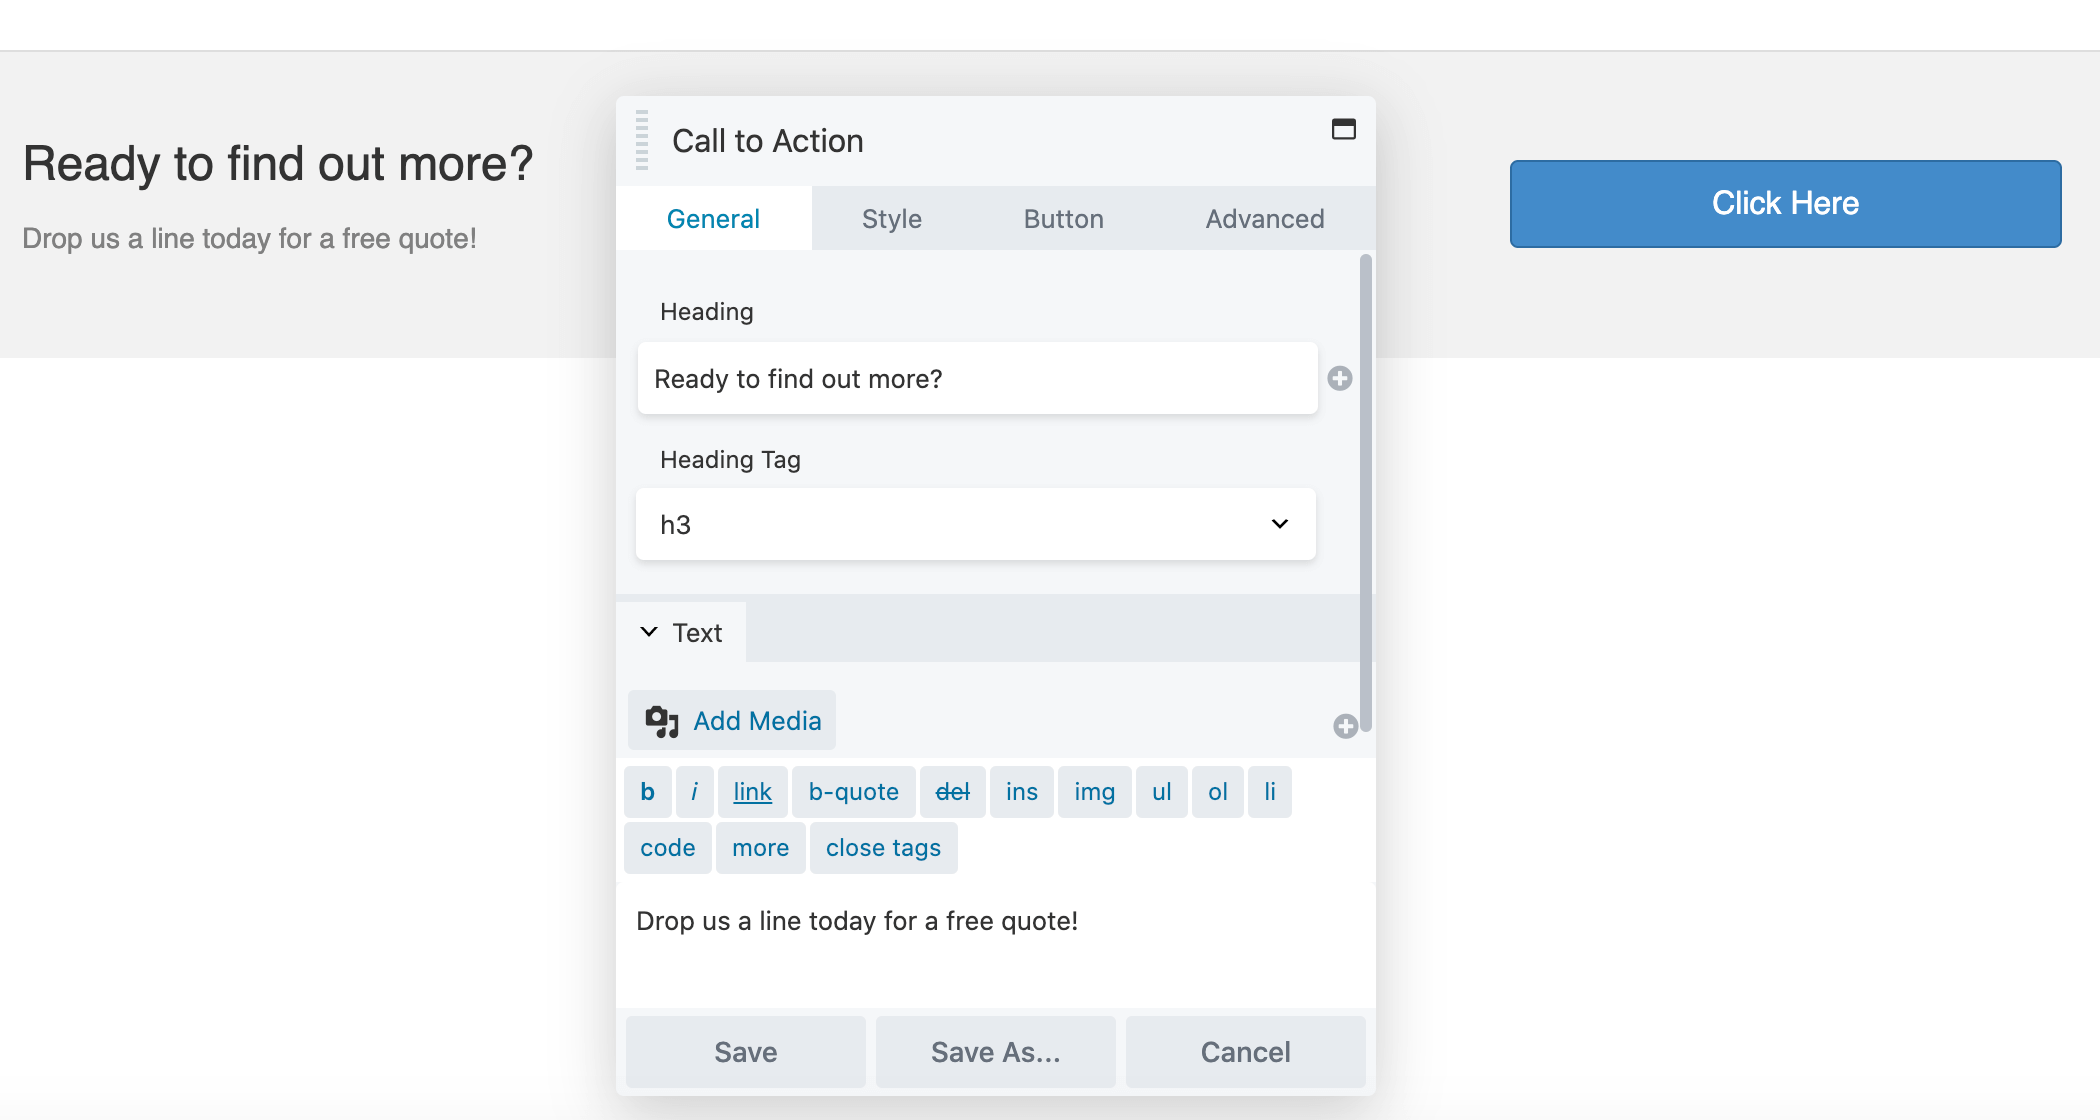
In the Text field, enter the body text that you want to use for your CTA.
By default, the CTA module contains a button. You can edit it by selecting the Button tab in the settings window. Here you can change its text and add a destination link.
When you’re ready, you can add this Part layout to your site by selecting Done > Publish.
5. Publish Subscribe Forms to Enable Visitors to Join Your Mailing List
Newsletters and mailing lists can help you build relationships with your users. Beaver Builder has a Subscribe Form module that you can connect to many popular mailing platforms and services, including MailChimp, SendinBlue, Drip, and AWeber:
To transform your Part layout into a subscription form, drag and drop the Subscribe Form module into the Beaver Builder editor.
You can then use the options in the settings window to construct your form.
First, open the Service dropdown and choose the platform that you’re using to manage your mailing lists.
Alternatively, you can link the Subscribe Form module to a specific email address by selecting Email address as the service and then entering the one that you want to use.
At this point, you may need to enter some additional information to connect the Subscribe Form module to your email platform or service.
Once you’ve done so, click Connect: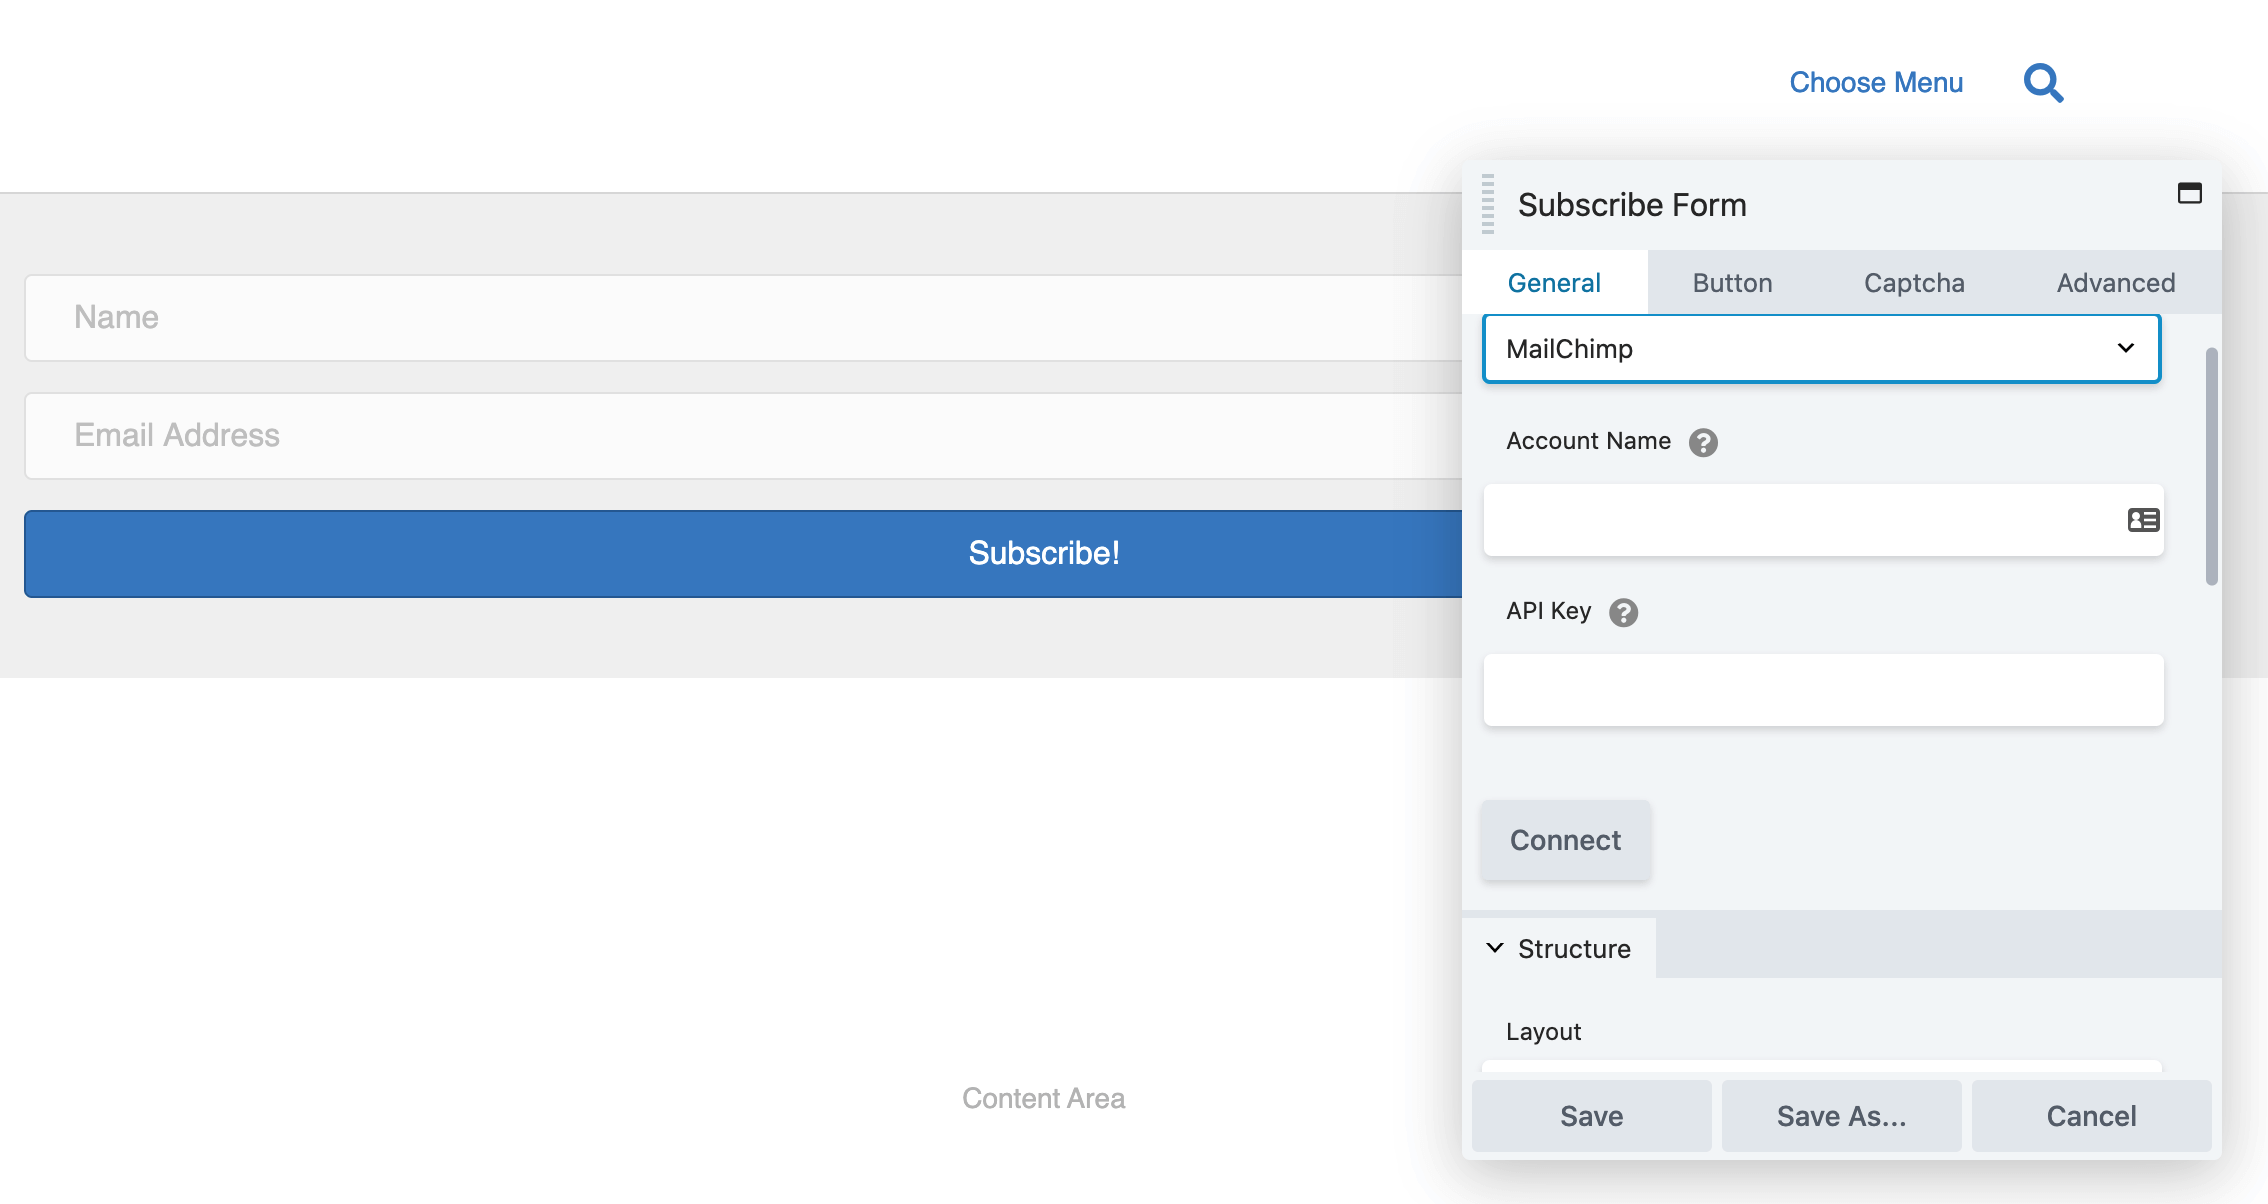
Then open the Layout dropdown and choose between the Stacked and Inline layouts.
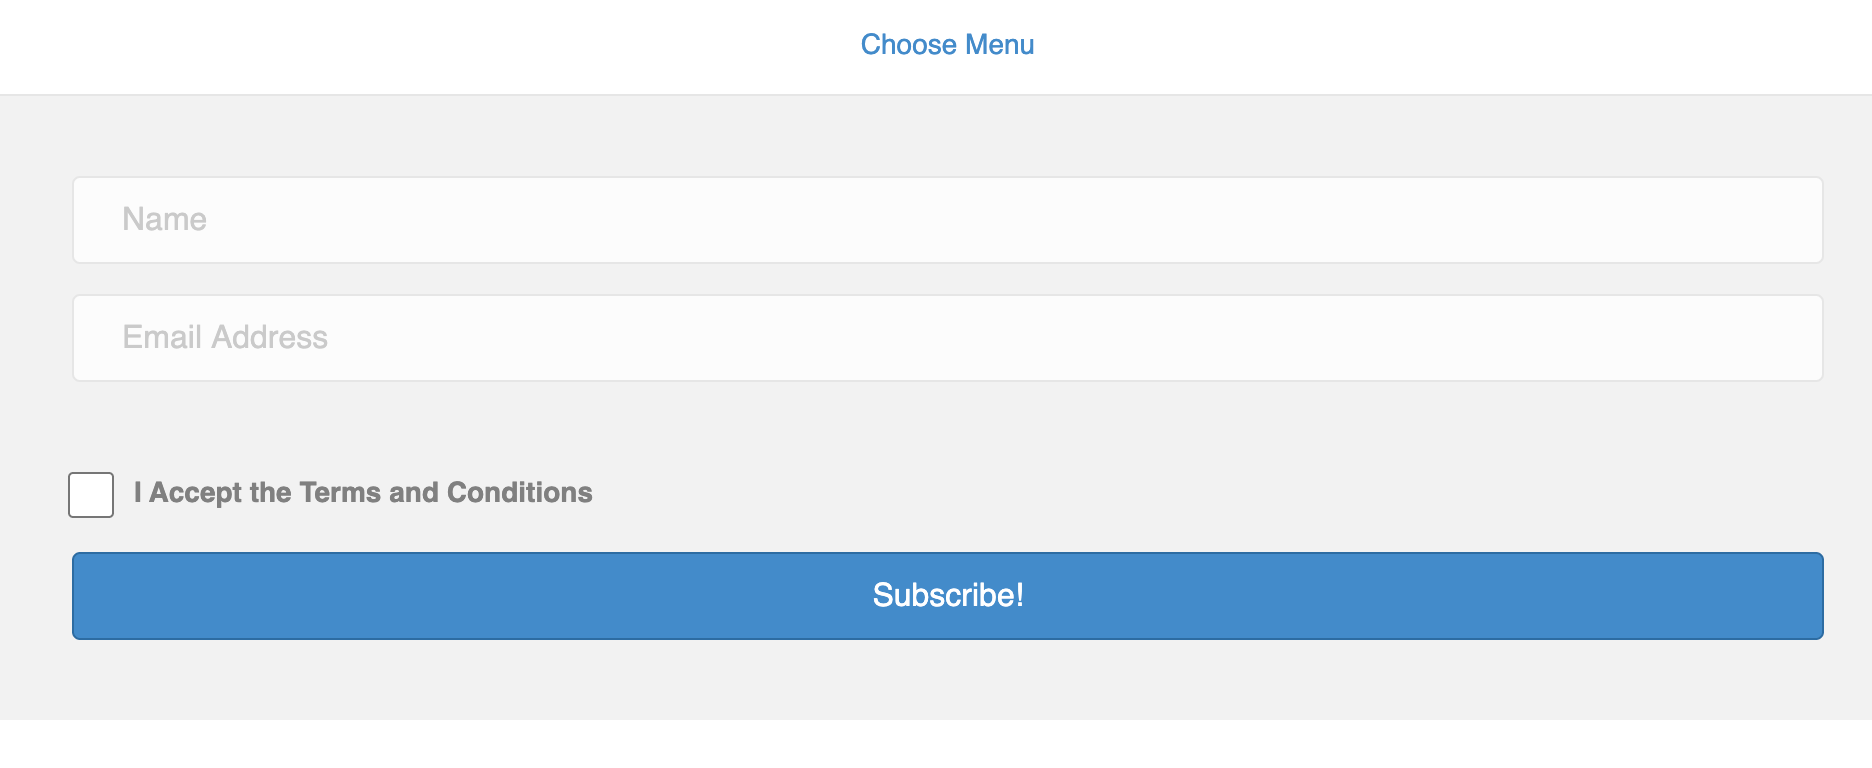
By default, the Subscribe Form features a name and an email address field. If required, you can hide the Name field.
You can also add an optional Accept the Terms and Conditions checkbox by selecting Show from the Terms and Conditions dropdown.
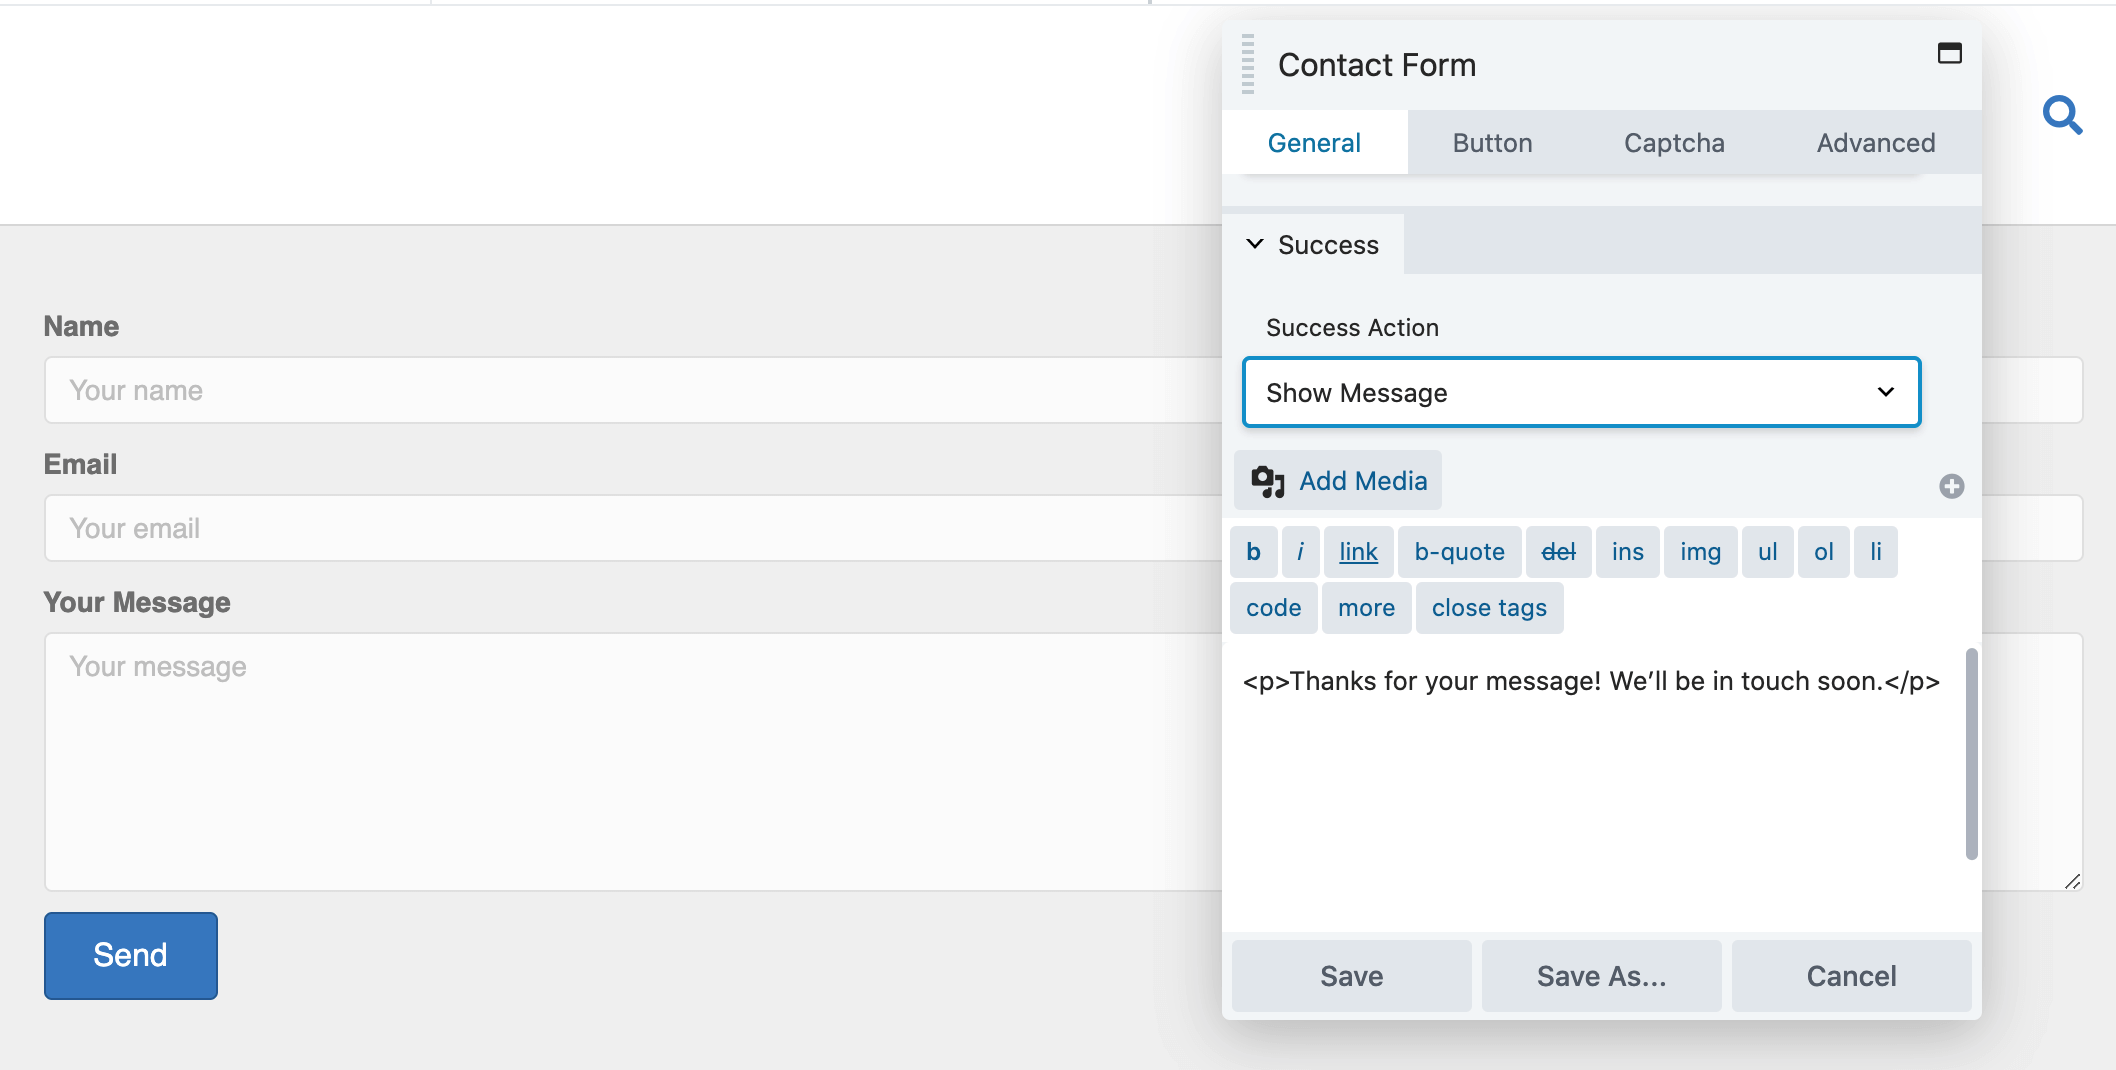
Once a visitor has successfully subscribed, you can either display a message or
To specify this “success behavior,” scroll to the Success section of the settings window and expand the Success Action dropdown. Here, you can choose Show Message or Redirect.
Once you’re happy with your subscribe form, publish it by clicking Done > Publish. Visitors will now be able to easily join your mailing list.
Conclusion
WordPress themes offer their fair share of default customization options. However, adding new elements outside of the standard content areas usually isn’t one of them. Beaver Themer’s Part layouts feature gives you the opportunity to accomplish this.
In this post, we showed you five different examples of how you might use Part layouts on your Beaver Builder site, including:
- Displaying sales banners or other notifications across your site.
- Adding content sliders outside of the standard content areas.
- Creating contact forms so users can reach out to you.
- Incorporating CTAs to drive conversions and engagement.
- Publishing subscribe forms to enable visitors to join your mailing list.
Have you used Beaver Builder to create any useful or interesting Part layouts? Let us know in the comments section below!
1 Comment
Our Newsletter
Our newsletter is personally written and sent out about once a month. It's not the least bit annoying or spammy.
We promise.
Try Beaver Builder Today

Related articles
How to Create Headers and Footers with Beaver Themer
Page builders are great for creating beautiful pages, but they often don’t extend customization to headers and footers. This limitation…
How to Customize WordPress Website Header
Many elements make up a well-designed website. Your WordPress website header is particularly important because it’s the first thing visitors…
How to Use a Header Template in WordPress
Customizing a WordPress header isn’t often an easy process. If you’re not comfortable editing theme files, there aren’t many ways…
Join the community
We're here for you
There's a thriving community of builders and we'd love for you to join us. Come by and show off a project, network, or ask a question.
Since 2014
Build Your Website in Minutes, Not Months
Join Over 1 Million+ Websites Powered By Beaver Builder.
This is awesome, I’ve been looking for more details on how to use Beaver Themer for some of my new employees. This is really helpful, give us more like this!