
Every website is unique, but most sites have a lot of characteristics in common, including footers, headers, and 404 pages. However, it isn’t always easy to customize these elements.
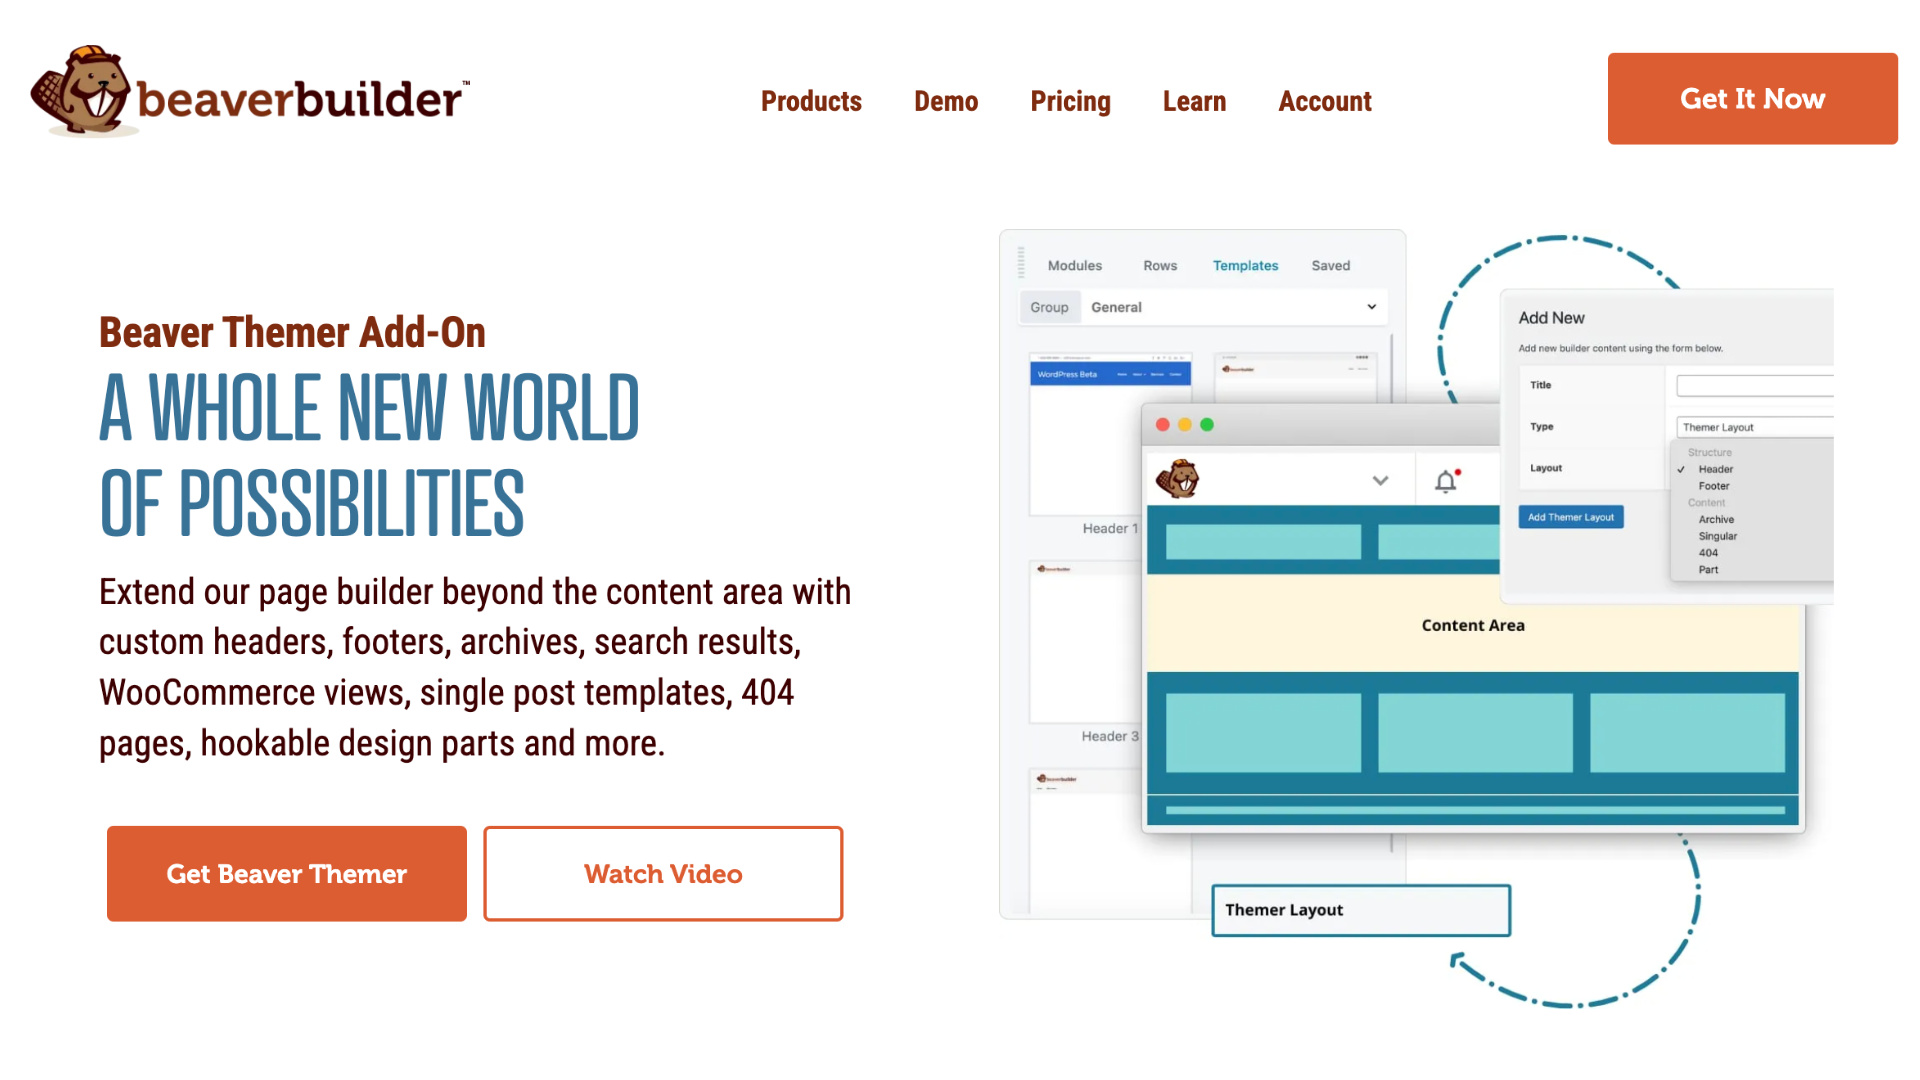
That’s where Beaver Themer can be your secret weapon. This theme builder plugin can give you complete control over these website cornerstones and help ensure that you get the very best out of every web page. In this post, we’ll show you how to build a better site using Beaver Themer. Let’s get started!
An Introduction to Beaver Themer (And How It Can Help You Build a Better Site)
Our Beaver Builder plugin is ideal for designing the content area of single pages and posts . It’s particularly well-suited for creating stand-alone web pages that really capture the visitor’s attention, such as landing pages. You can create layout templates that create consistency in your content design and to keep your branding consistent and avoid confusion.
By using our Beaver Themer plugin, you can create a layout that is applied outside the content area, which is normally controlled by your theme. Examples where a Themer layout works like a template are posts, product pages, custom post types, and archive pages. This makes it easy to achieve that all-important design consistency and build a better site, while still having some degree of flexibility.
Beaver Themer isn’t restricted to full-page designs. This powerful theme builder extends Beaver Builder’s functionality to headers, website footers, announcement bars such as a Call To Action (CTA), and other partial layouts. In this way, you can customize every part of your website outside the content area using Beaver Builder’s familiar drag-and-drop editor:
This includes elements that would usually be defined by your underlying WordPress theme. Without Beaver Themer, you would need to access your theme’s PHP files in order to edit these areas. This requires specialist knowledge, and can be a time-consuming and frustrating process.
After creating these partial layouts, you can apply them across your site. However, we understand that sometimes you may want to bend the rules and change an element that’s consistent across the majority of your website. For example, you might use a different header on your landing page, or create a unique CTA for the footer. With Beaver Themer, you have the flexibility to restrict partial layouts to specific pages only.
Just be aware that not all themes support Beaver Themer’s partial layouts. Currently, Beaver Themer pairs particularly well with the Beaver Builder Theme. It’s also supported by several third-party themes.
4 Ways You Can Build a Better Site Using Beaver Themer
Beaver Themer allows you to use the Beaver Builder page builder to create layouts that you can apply anywhere on the page except the content area, so let’s see it in action! In this section, we’ll show you how to improve four crucial areas of your WordPress website using Beaver Themer.
Before we begin, you will need to be sure that you have both the Beaver Themer and Beaver Builder page builder plugins installed and activated on your WordPress site.
Additionally, bear in mind that we’ll be creating each new design as a Themer Layout. This means that each time you want to create a new layout, simply navigate to Beaver Builder > Themer Layouts > Add New in the WordPress dashboard. Now you’re ready to create any of the layouts listed below.
1. Create an Attention-Grabbing Header
The header is the first thing people see when they visit your site. An effective header will introduce your website and convince visitors that they’re in the right place. It’s also the perfect opportunity to establish your site’s branding.
While powerful in many ways, out-of-the-box WordPress only gives you limited control over your header. Fortunately, Beaver Themer lets you create a completely bespoke header for your WordPress website. You can tailor it just as you would a refined suit.
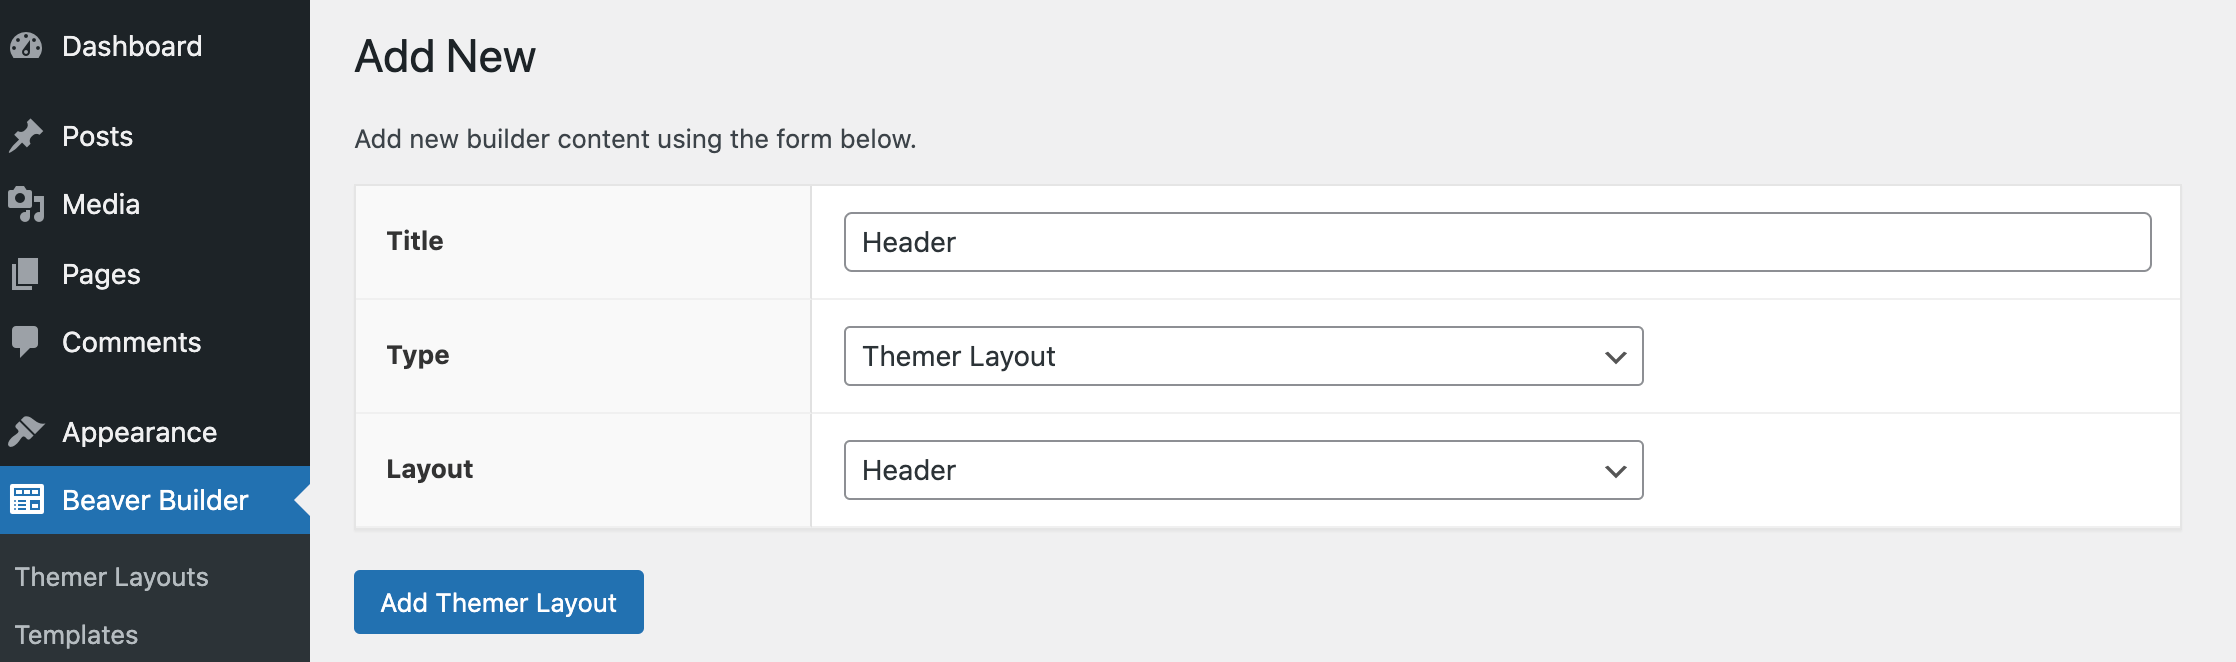
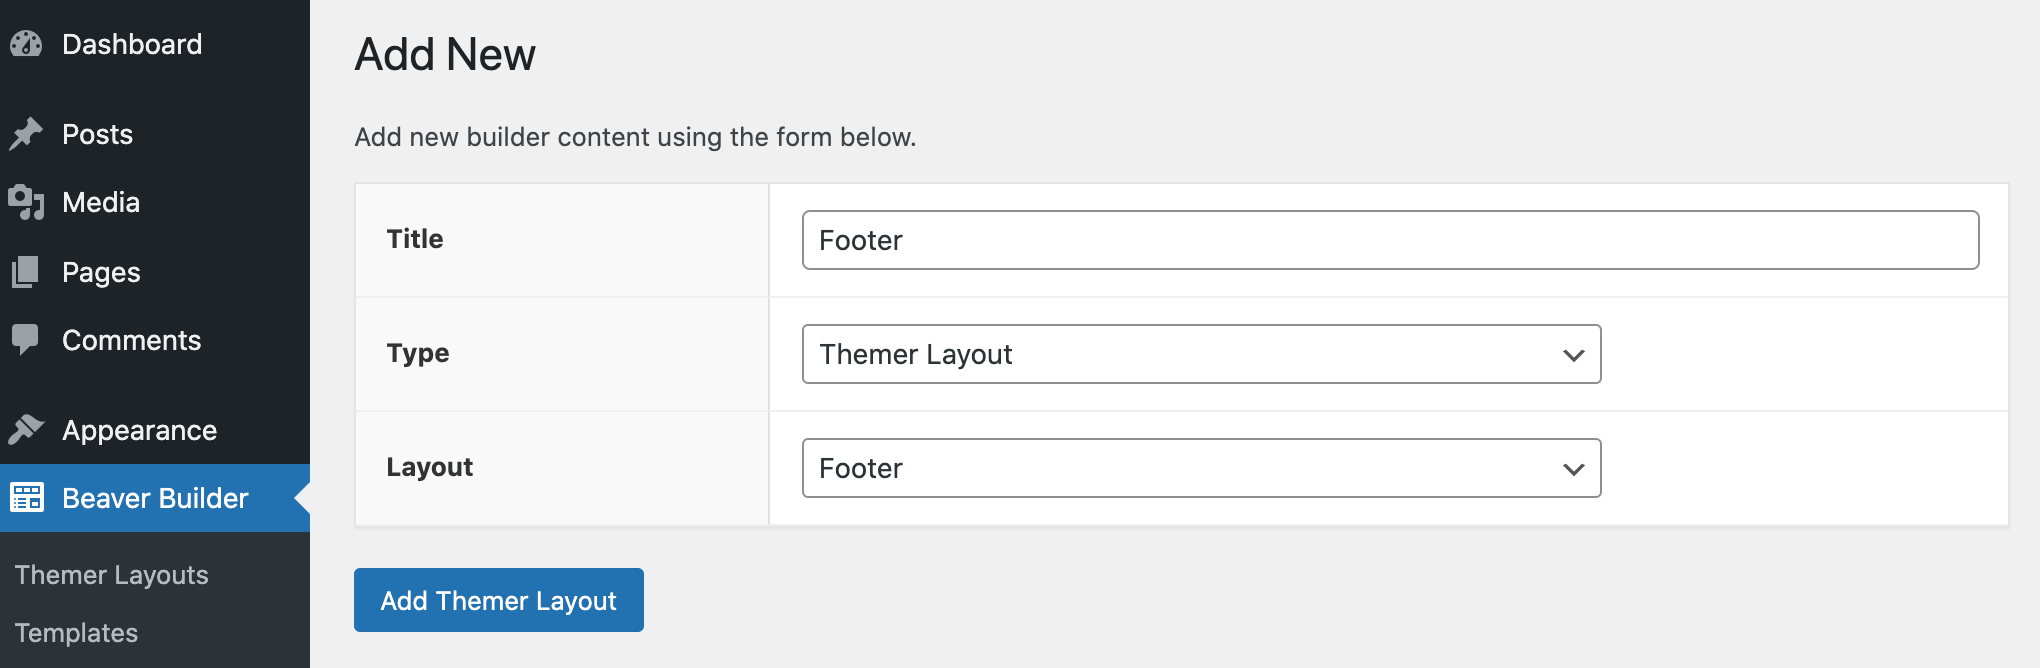
After clicking on Add New, give your layout a descriptive name. Then open the Layout drop-down menu, and choose Header:
Select Add Themer Layout. On the subsequent page, open the Location drop-down menu, and specify whether you want to use this layout across your entire site or restrict it to a single page only:
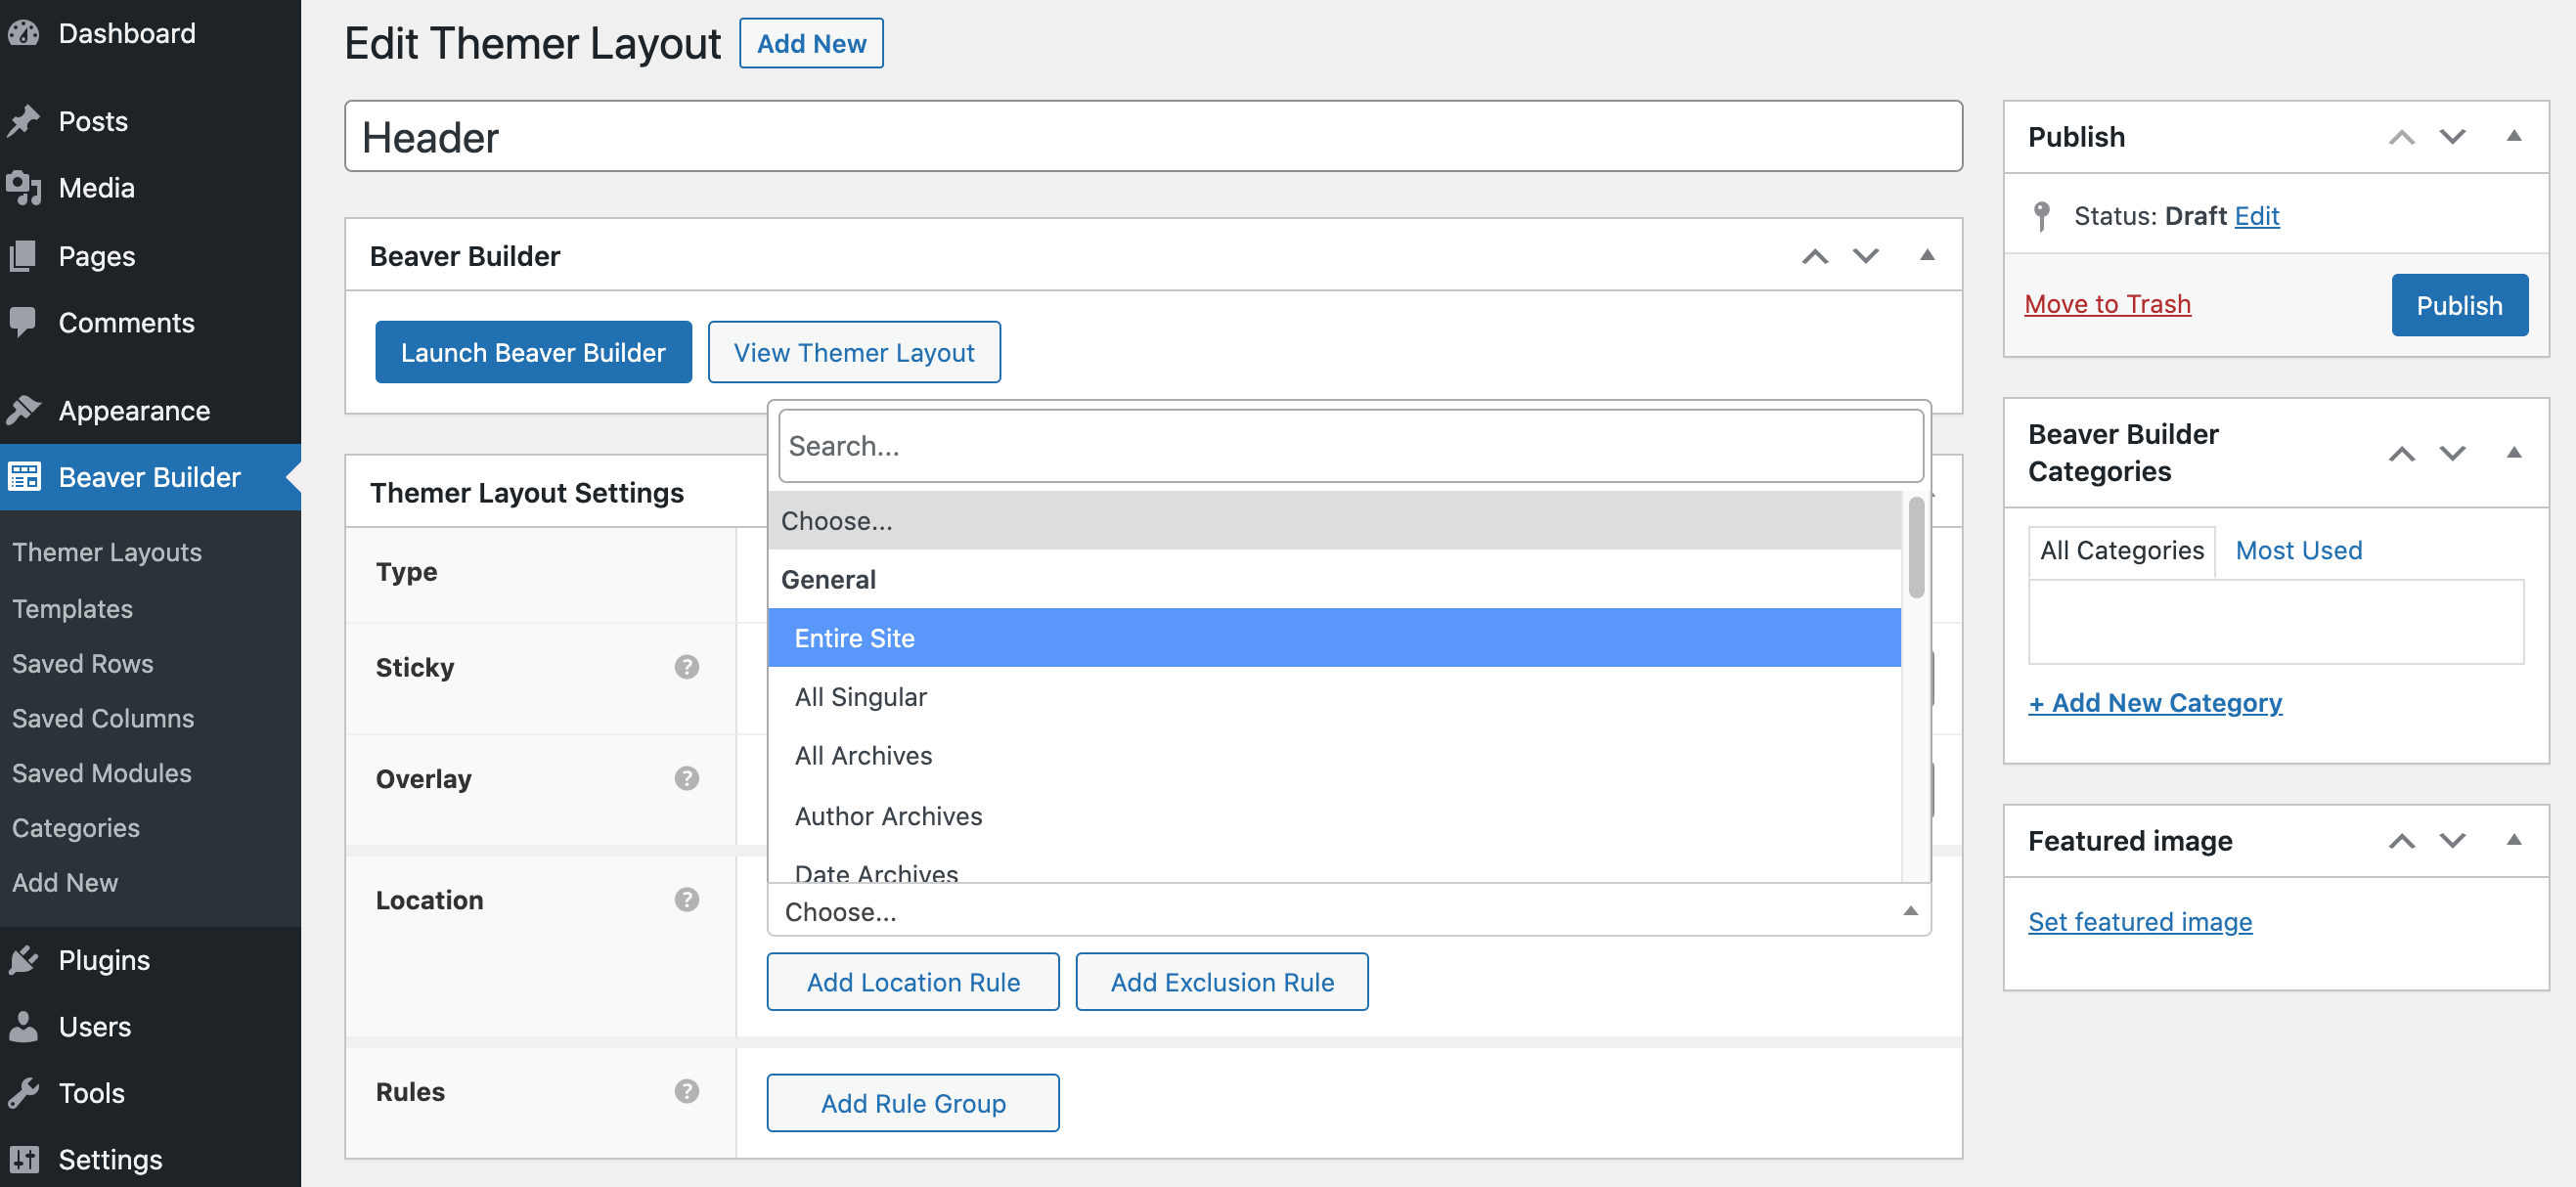
If you want a consistent, site-wide design, then opt for Entire Site. Alternatively, you can link this header to a specific type of page, such as Author Archives.
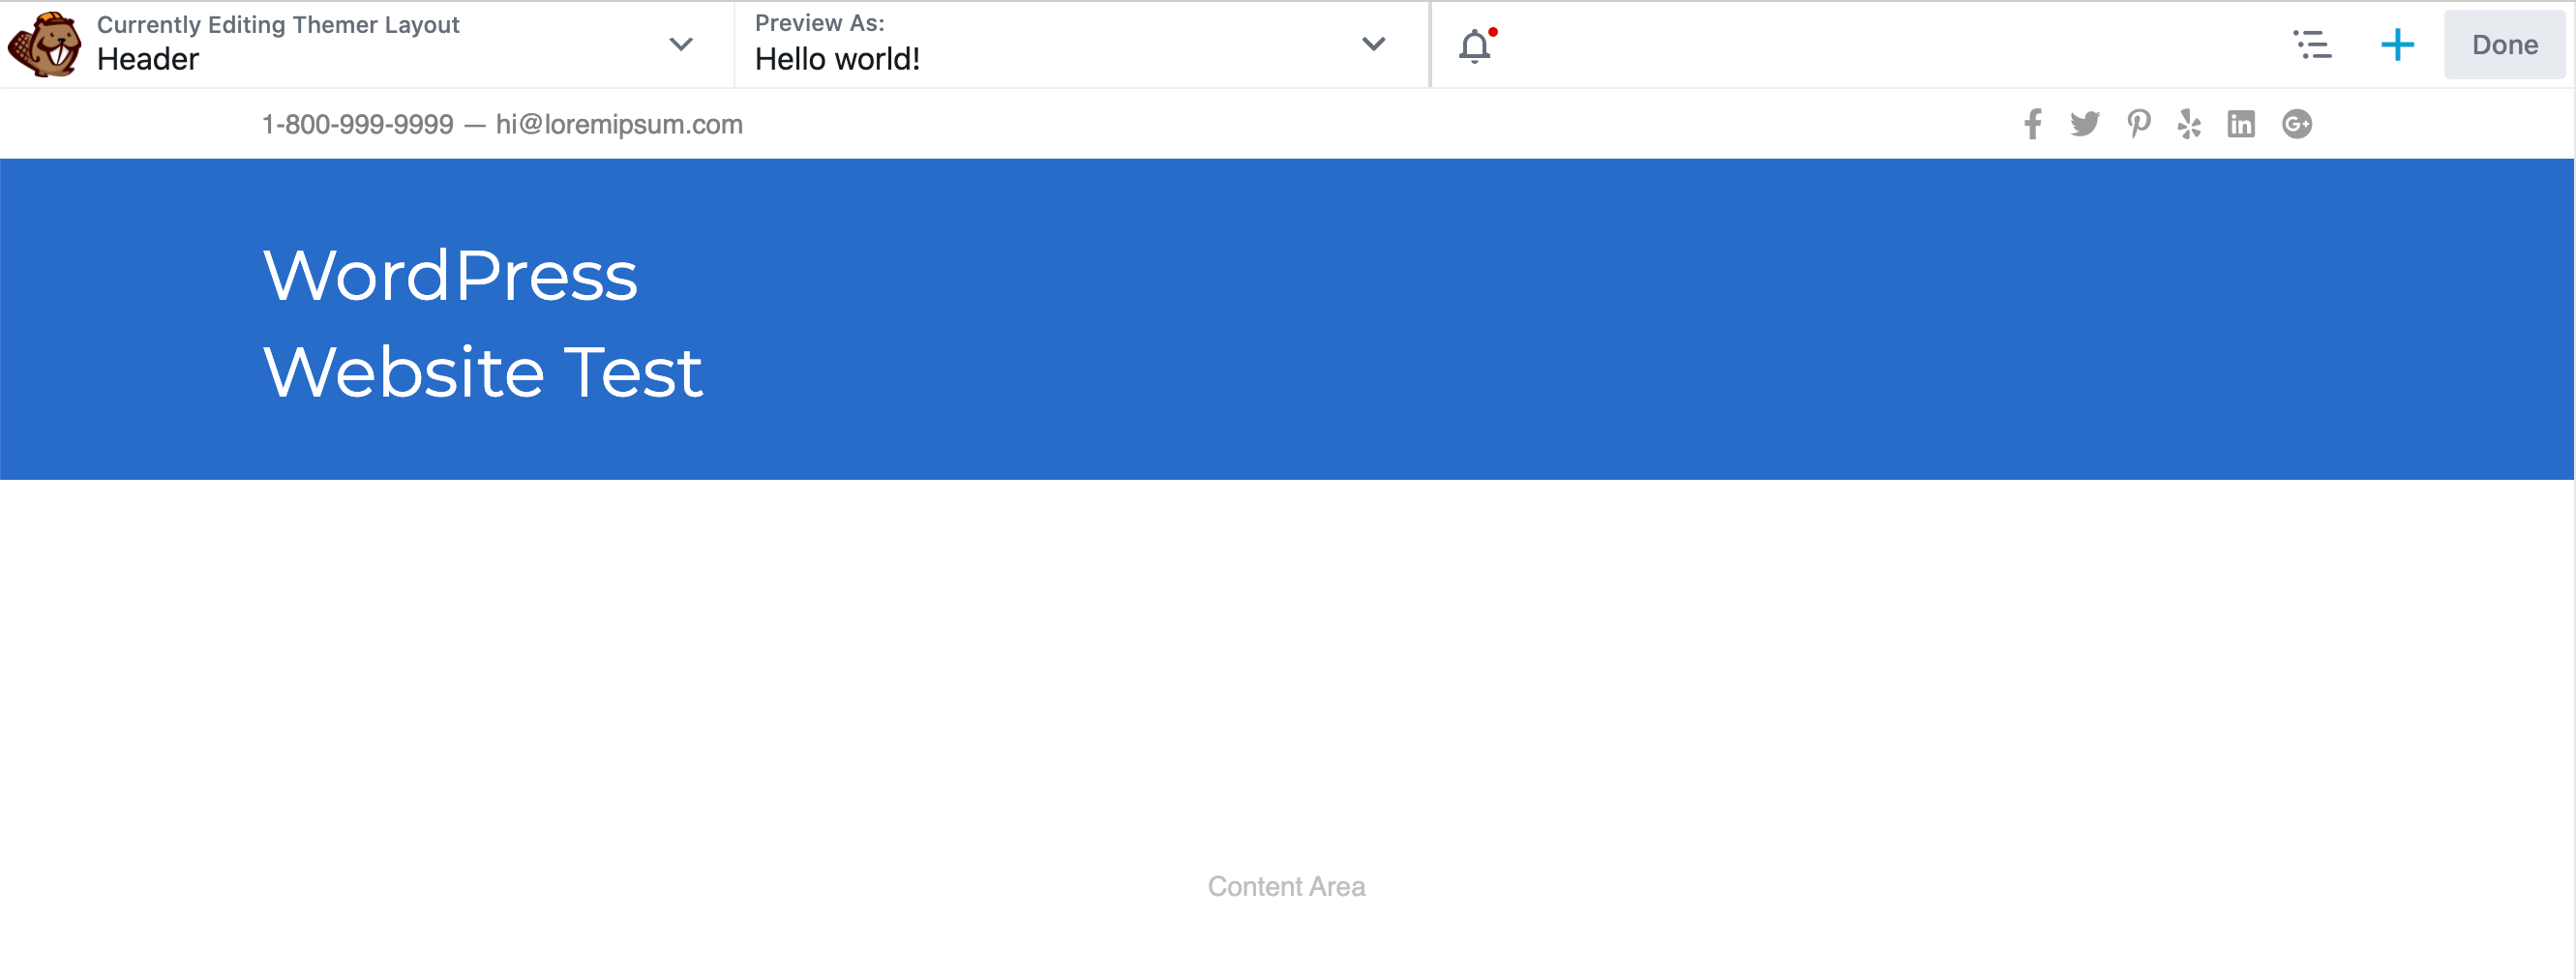
After making your selection, click on Launch Beaver Builder. Also, note that the Beaver Themer templates come with some common field connections built-in. This includes the Site title field connection, which Beaver Builder will replace with your site’s title on the front end:
When designing your header, bear in mind that this is the visitor’s first taste of your website. For this reason, it’s often wise to keep the design simple. This can help avoid overwhelming the visitor with too much information.
You might also want to encourage people to actively engage with your header. Beaver Themer enables you to add a wide variety of interactive elements to it, including social icons, buttons, and search fields:
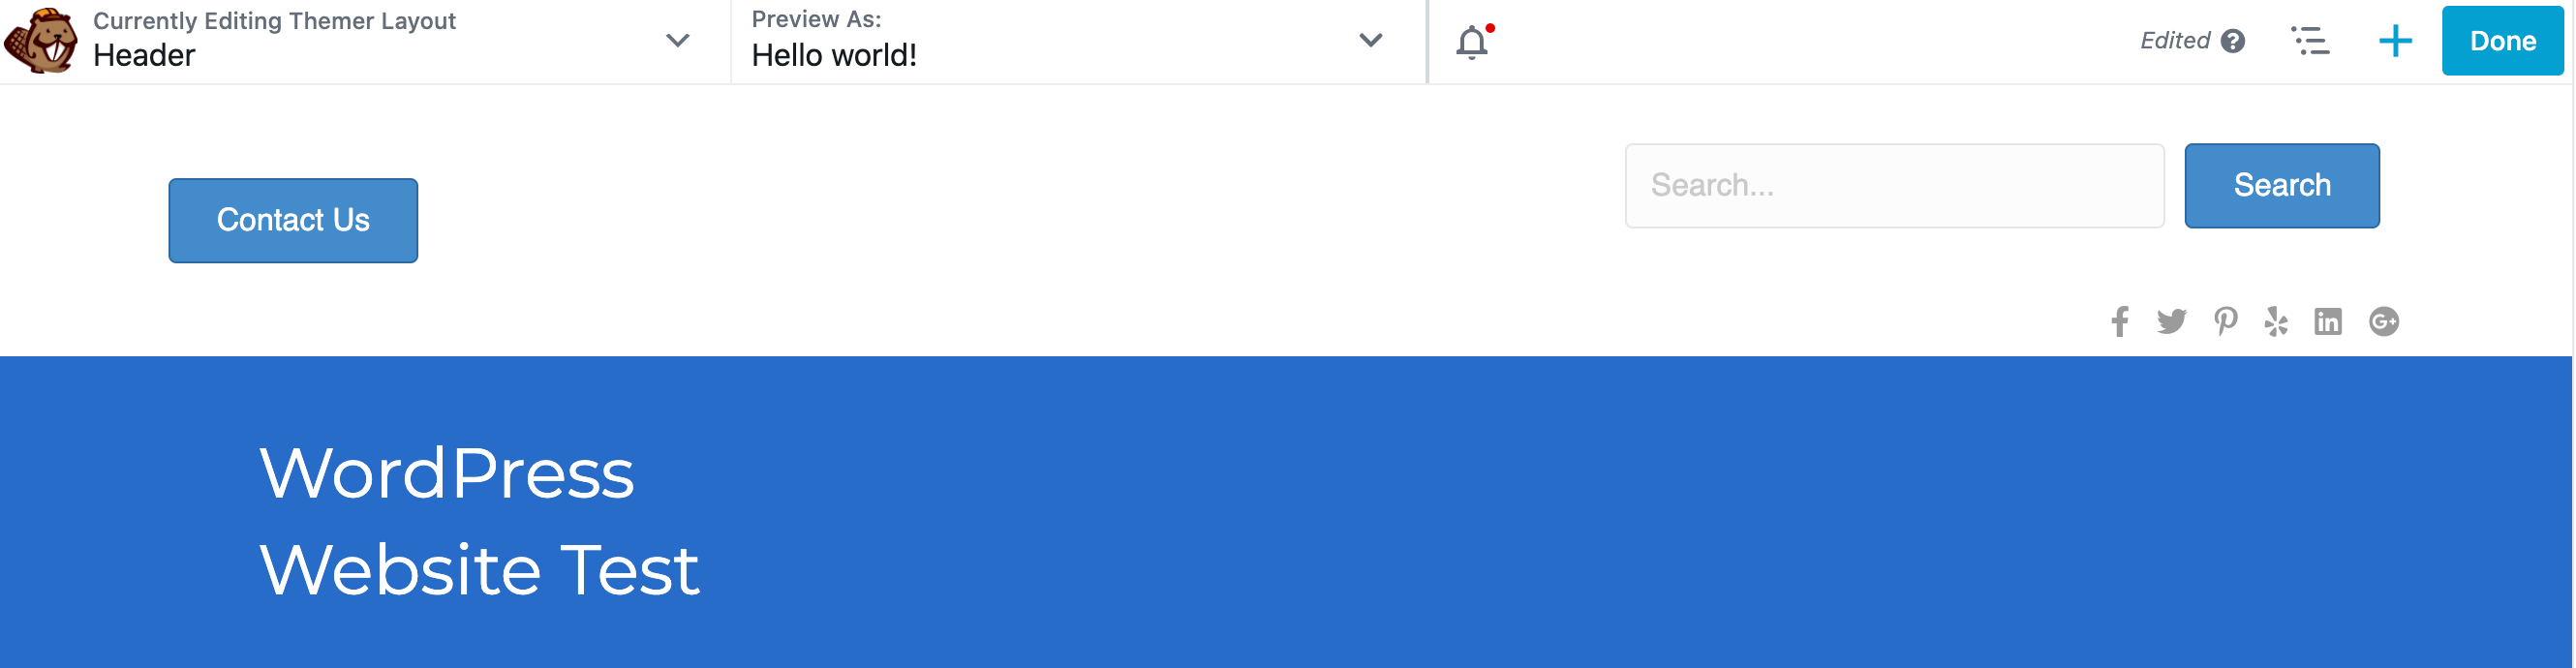
As in the example above, the Contact Us and Search buttons are excellent options. An interactive header can invite visitors to enter your site in a very engaging way. This can also be a great strategy to capture their attention and ensure that they’re not tempted to navigate away from your website.
2. Design a High-Converting Footer
With its position at the very bottom of your page, the footer is easy to overlook. However, it’s the place visitors most frequently refer to for information. If your footer isn’t up to par, you’re almost certainly missing out on conversions.
The good news is that Beaver Themer’s default Footer template already contains placeholders where you can quickly add crucial information about your site. This includes your contact details, an About Us section, and dummy links that you can update with just a few clicks.
After giving your Themer Layout a descriptive name, open the Layout drop-down menu. You can now choose Footer:
Next, click on Add Themer Layout. Now you can specify whether you want to use this template across your entire site, and then click on Launch Beaver Builder:

To edit any of the default blocks, simply click on them. This launches a popup containing all of the settings that you need to edit this placeholder information:
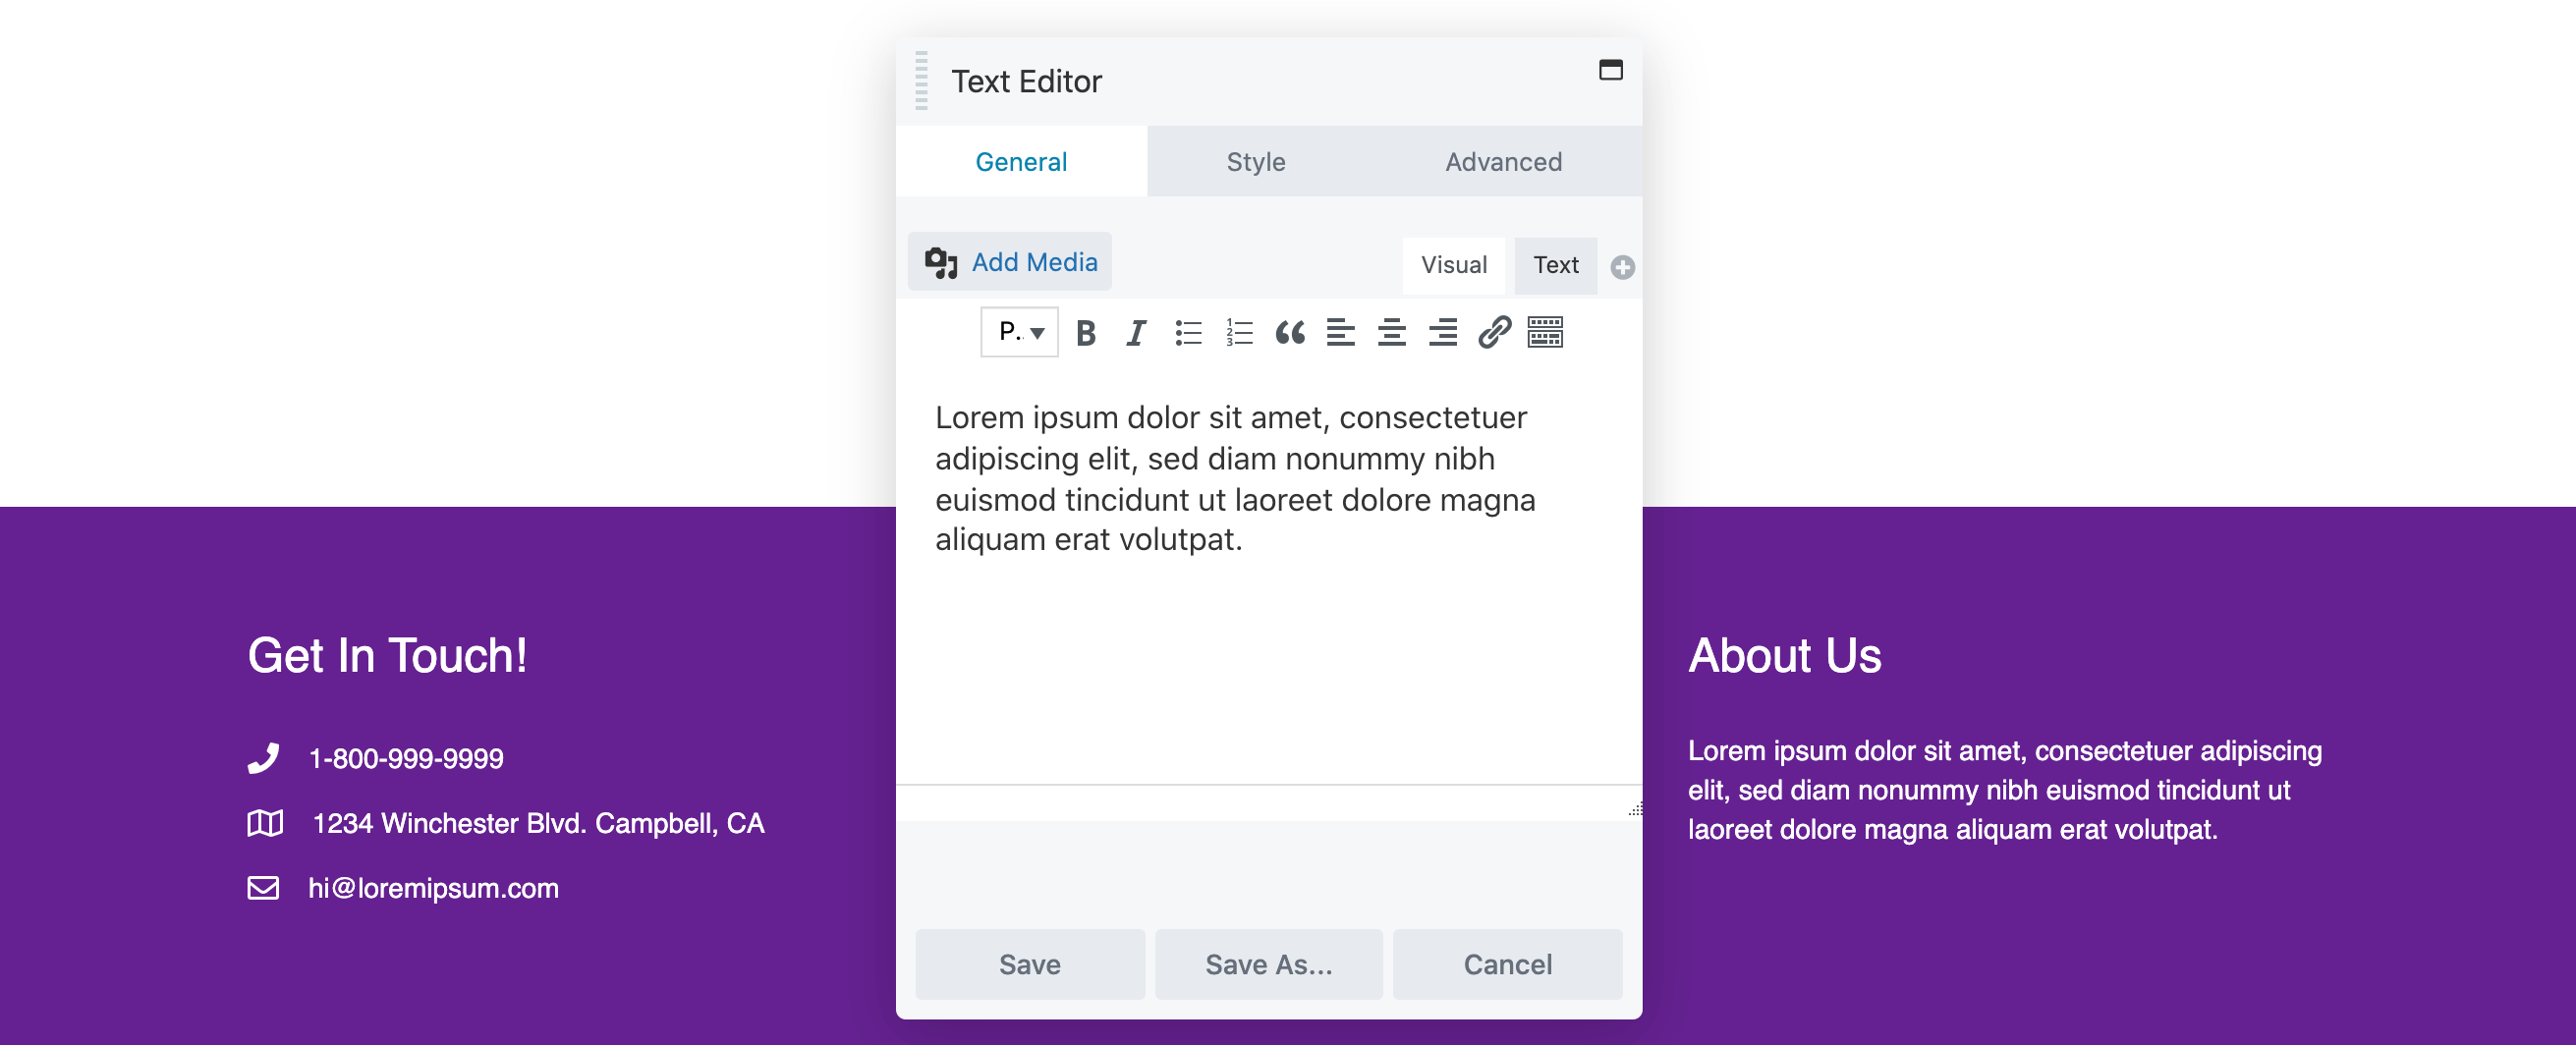
The Additional Resources area already contains a few placeholder links. In this case, they are FAQ, Privacy Policy, and Terms and Conditions. You can either embed your own links in the pre-existing dummy text or replace these URLs entirely.
Alternatively, you may want to consider replacing the single Text Editor module with multiple columns. This can be a great way to display lots of links in an organized way. As in the below example, we have now have link-filled columns for About, Services, and Support:

Typically, visitors will scroll to your footer in order to access practical information, such as your contact details. This suggests that they’re ready to convert, so it also makes sense to include a CTA here. If you’re deploying the same footer across multiple pages, your CTA should represent a particularly high-value action:
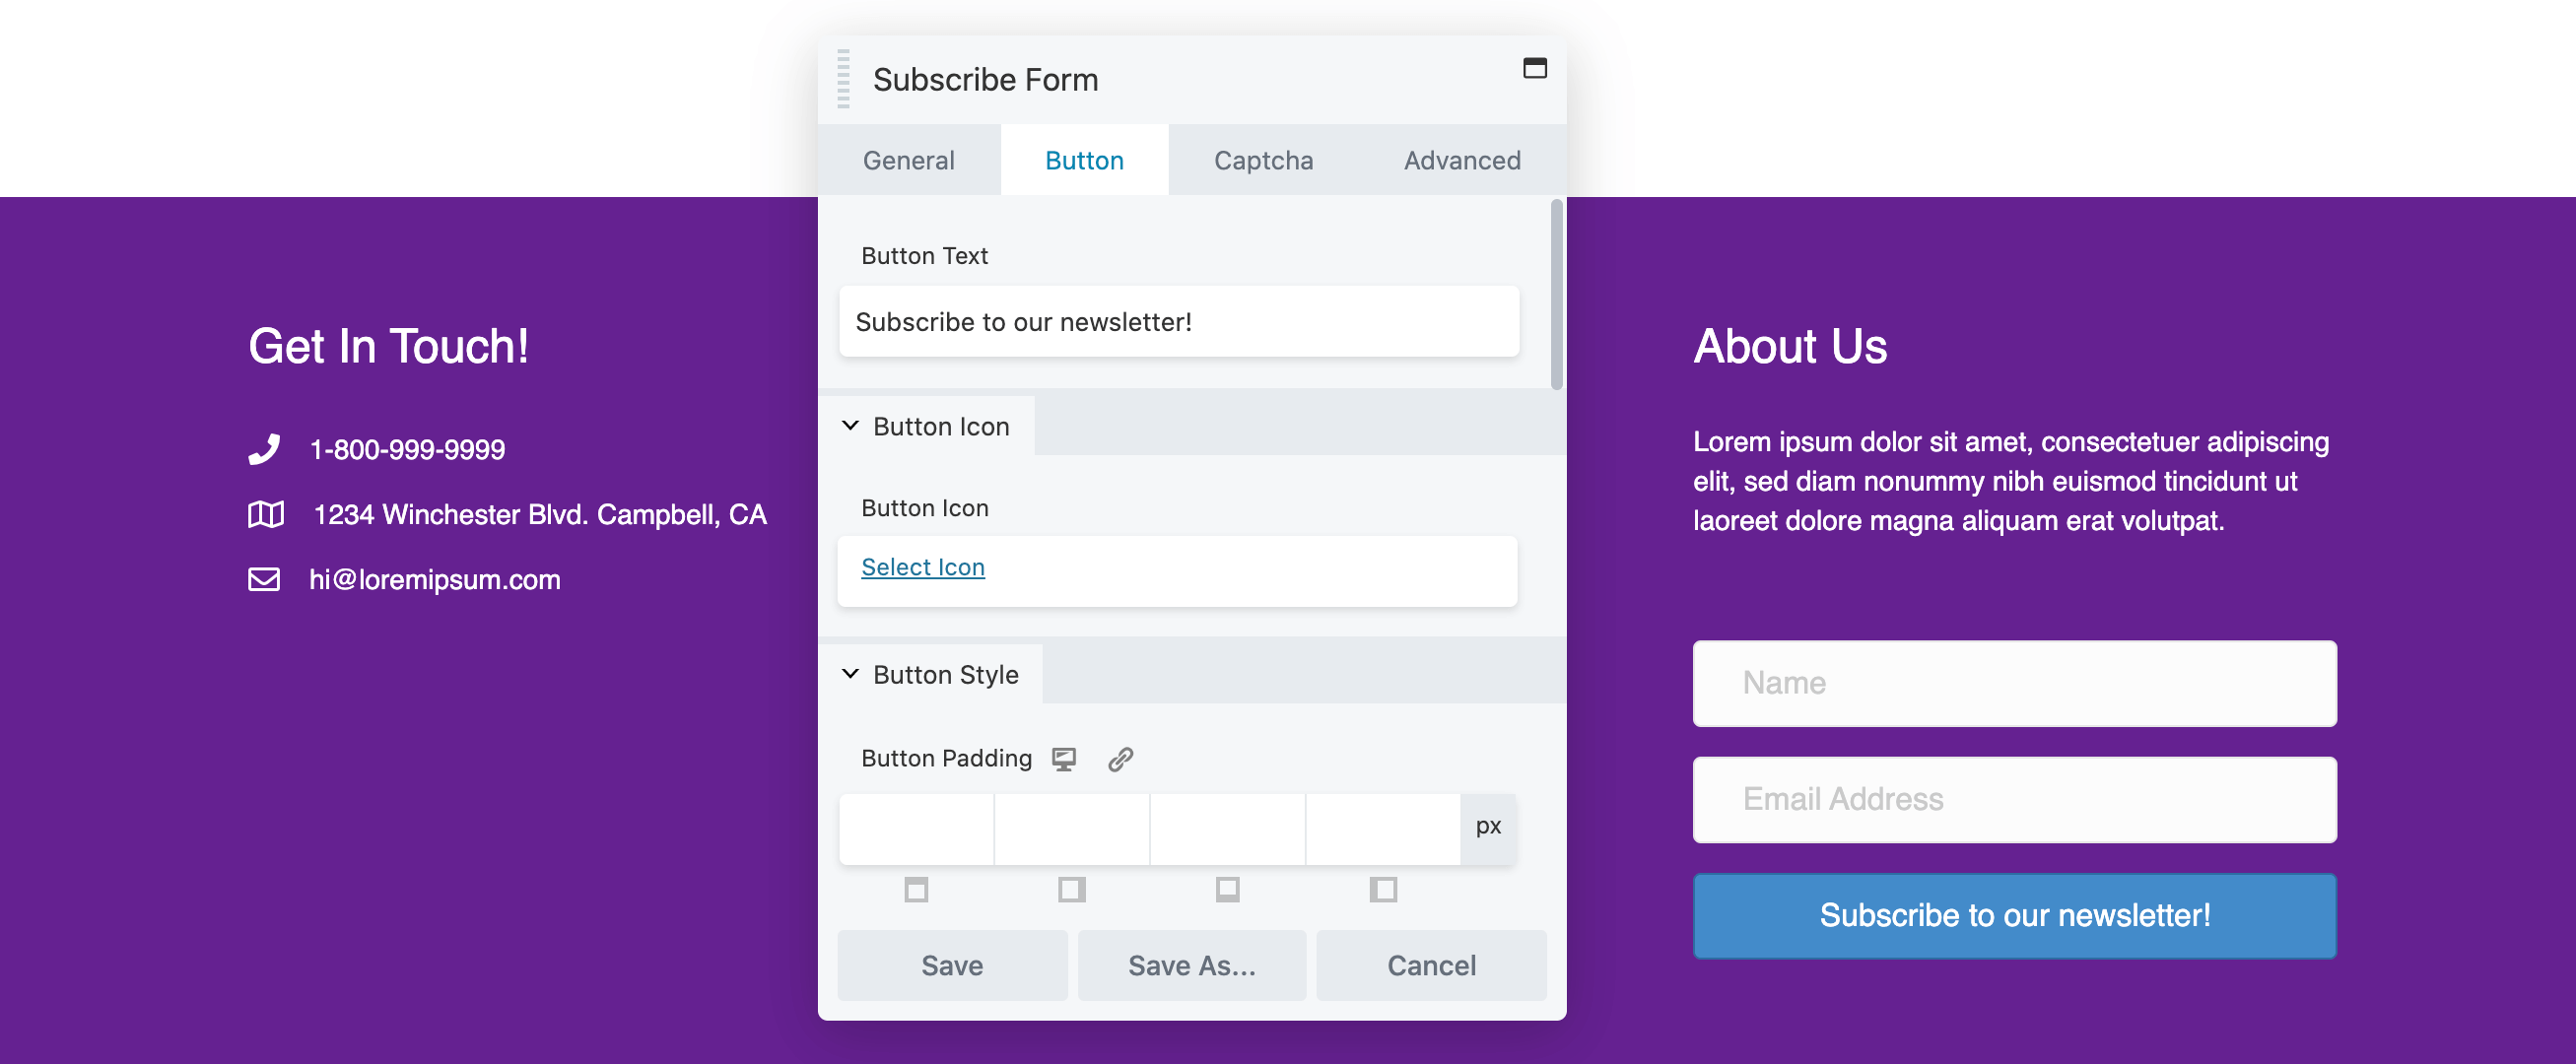
For example, you might want to encourage the visitor to subscribe to your newsletter or request a callback. Many websites use their footer CTAs as lead generation tools.
3. Turn Your 404 Page into a Conversion Opportunity
Whenever the server can’t locate the requested web page, it’ll display a 404 error instead. Out-of-the-box, most WordPress themes provide a default 404 page:
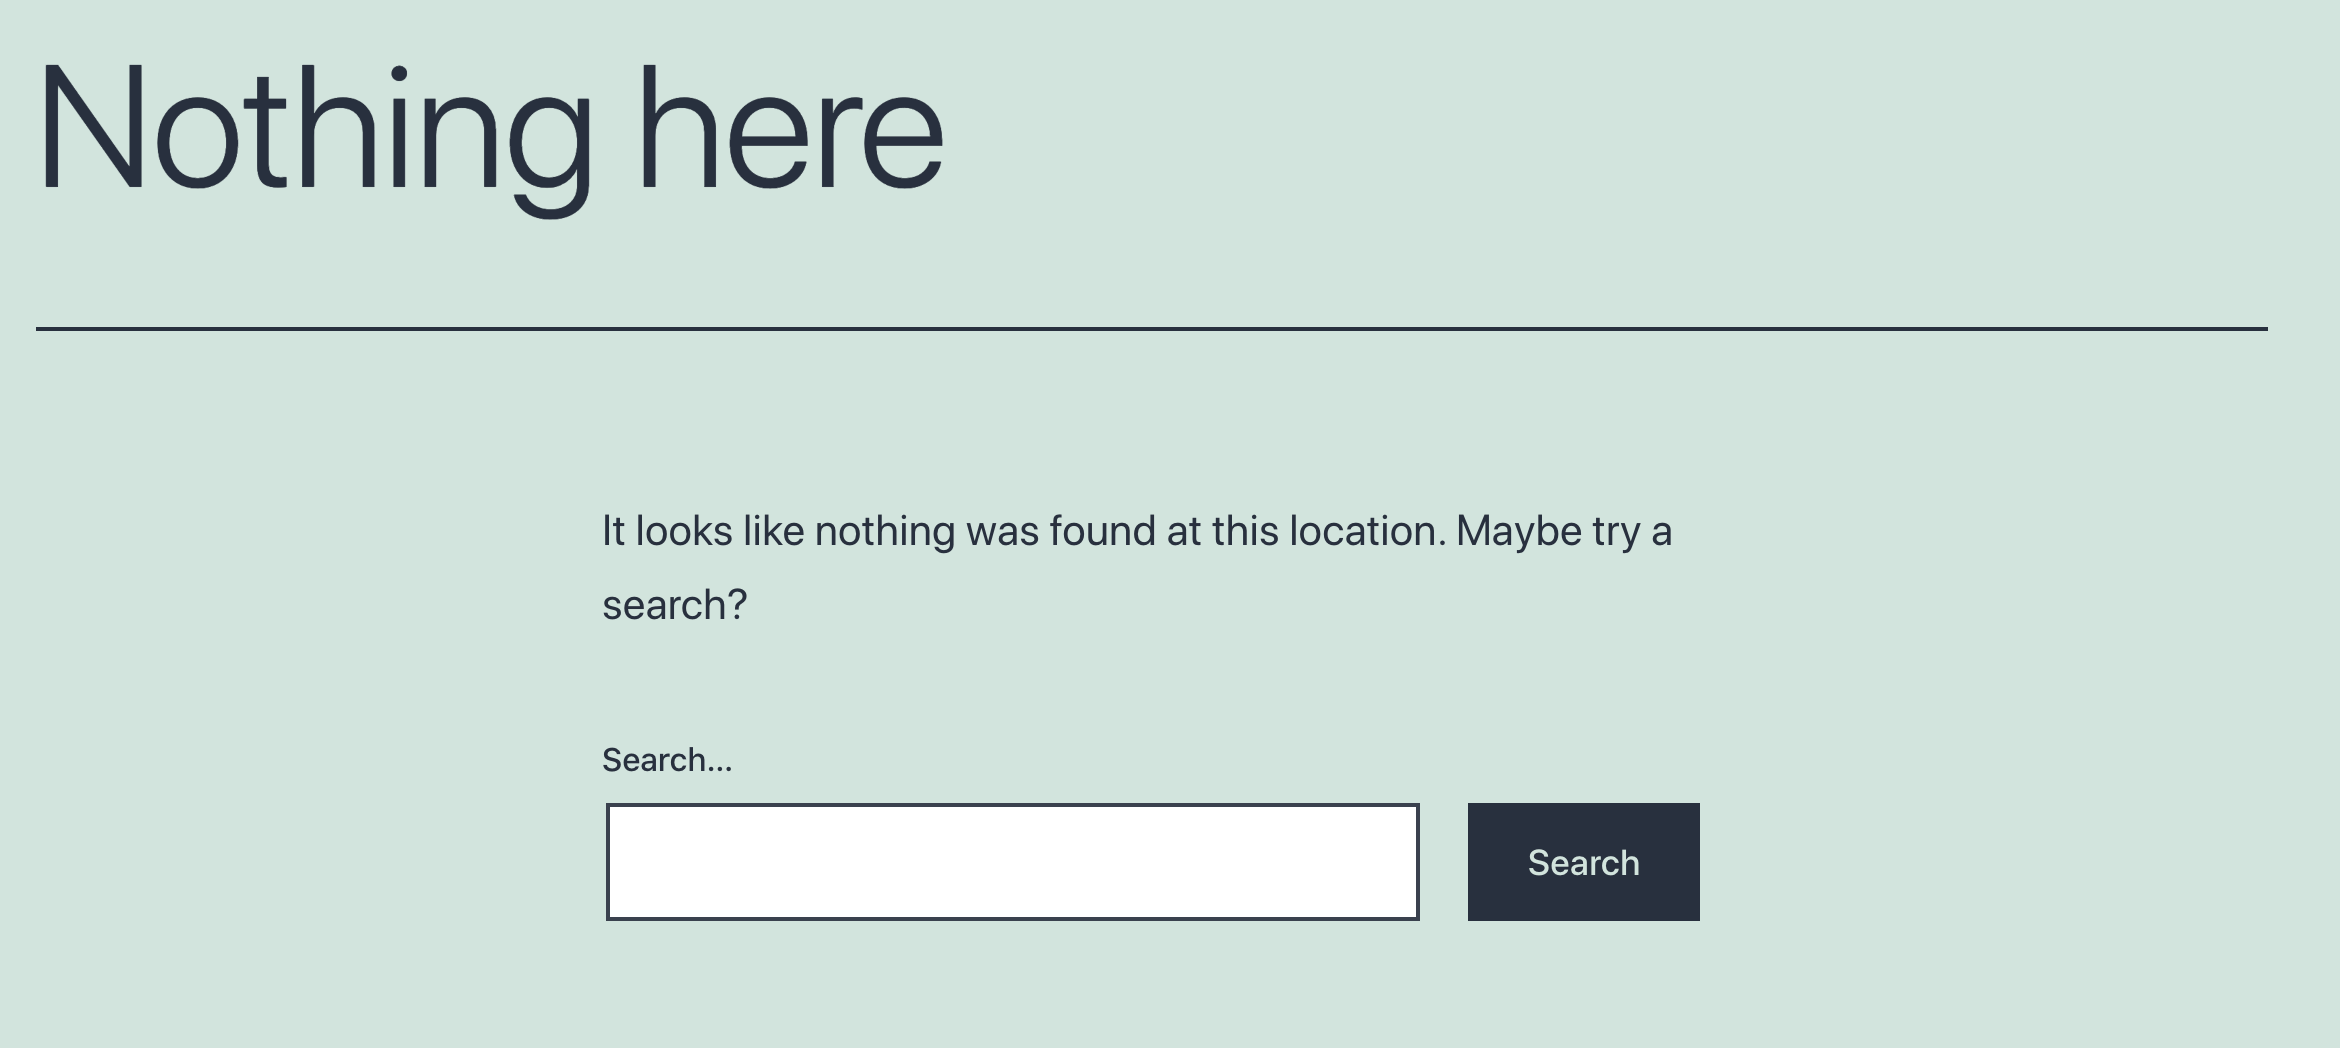
However, if you rely on this stock design then you may be missing out on valuable opportunities. By creating a more useful and informative 404 page, you can even turn this negative situation into something positive.
To help you get started, Beaver Builder provides a 404 template. To use this design, follow our instructions to create a new Themer Layout. You can then give this design a descriptive name, and open the Layout drop-down menu.
When prompted, select 404, and then click on Add Themer Layout > Launch Beaver Builder. The editor will now load with Beaver Builder’s 404 layout type already applied:
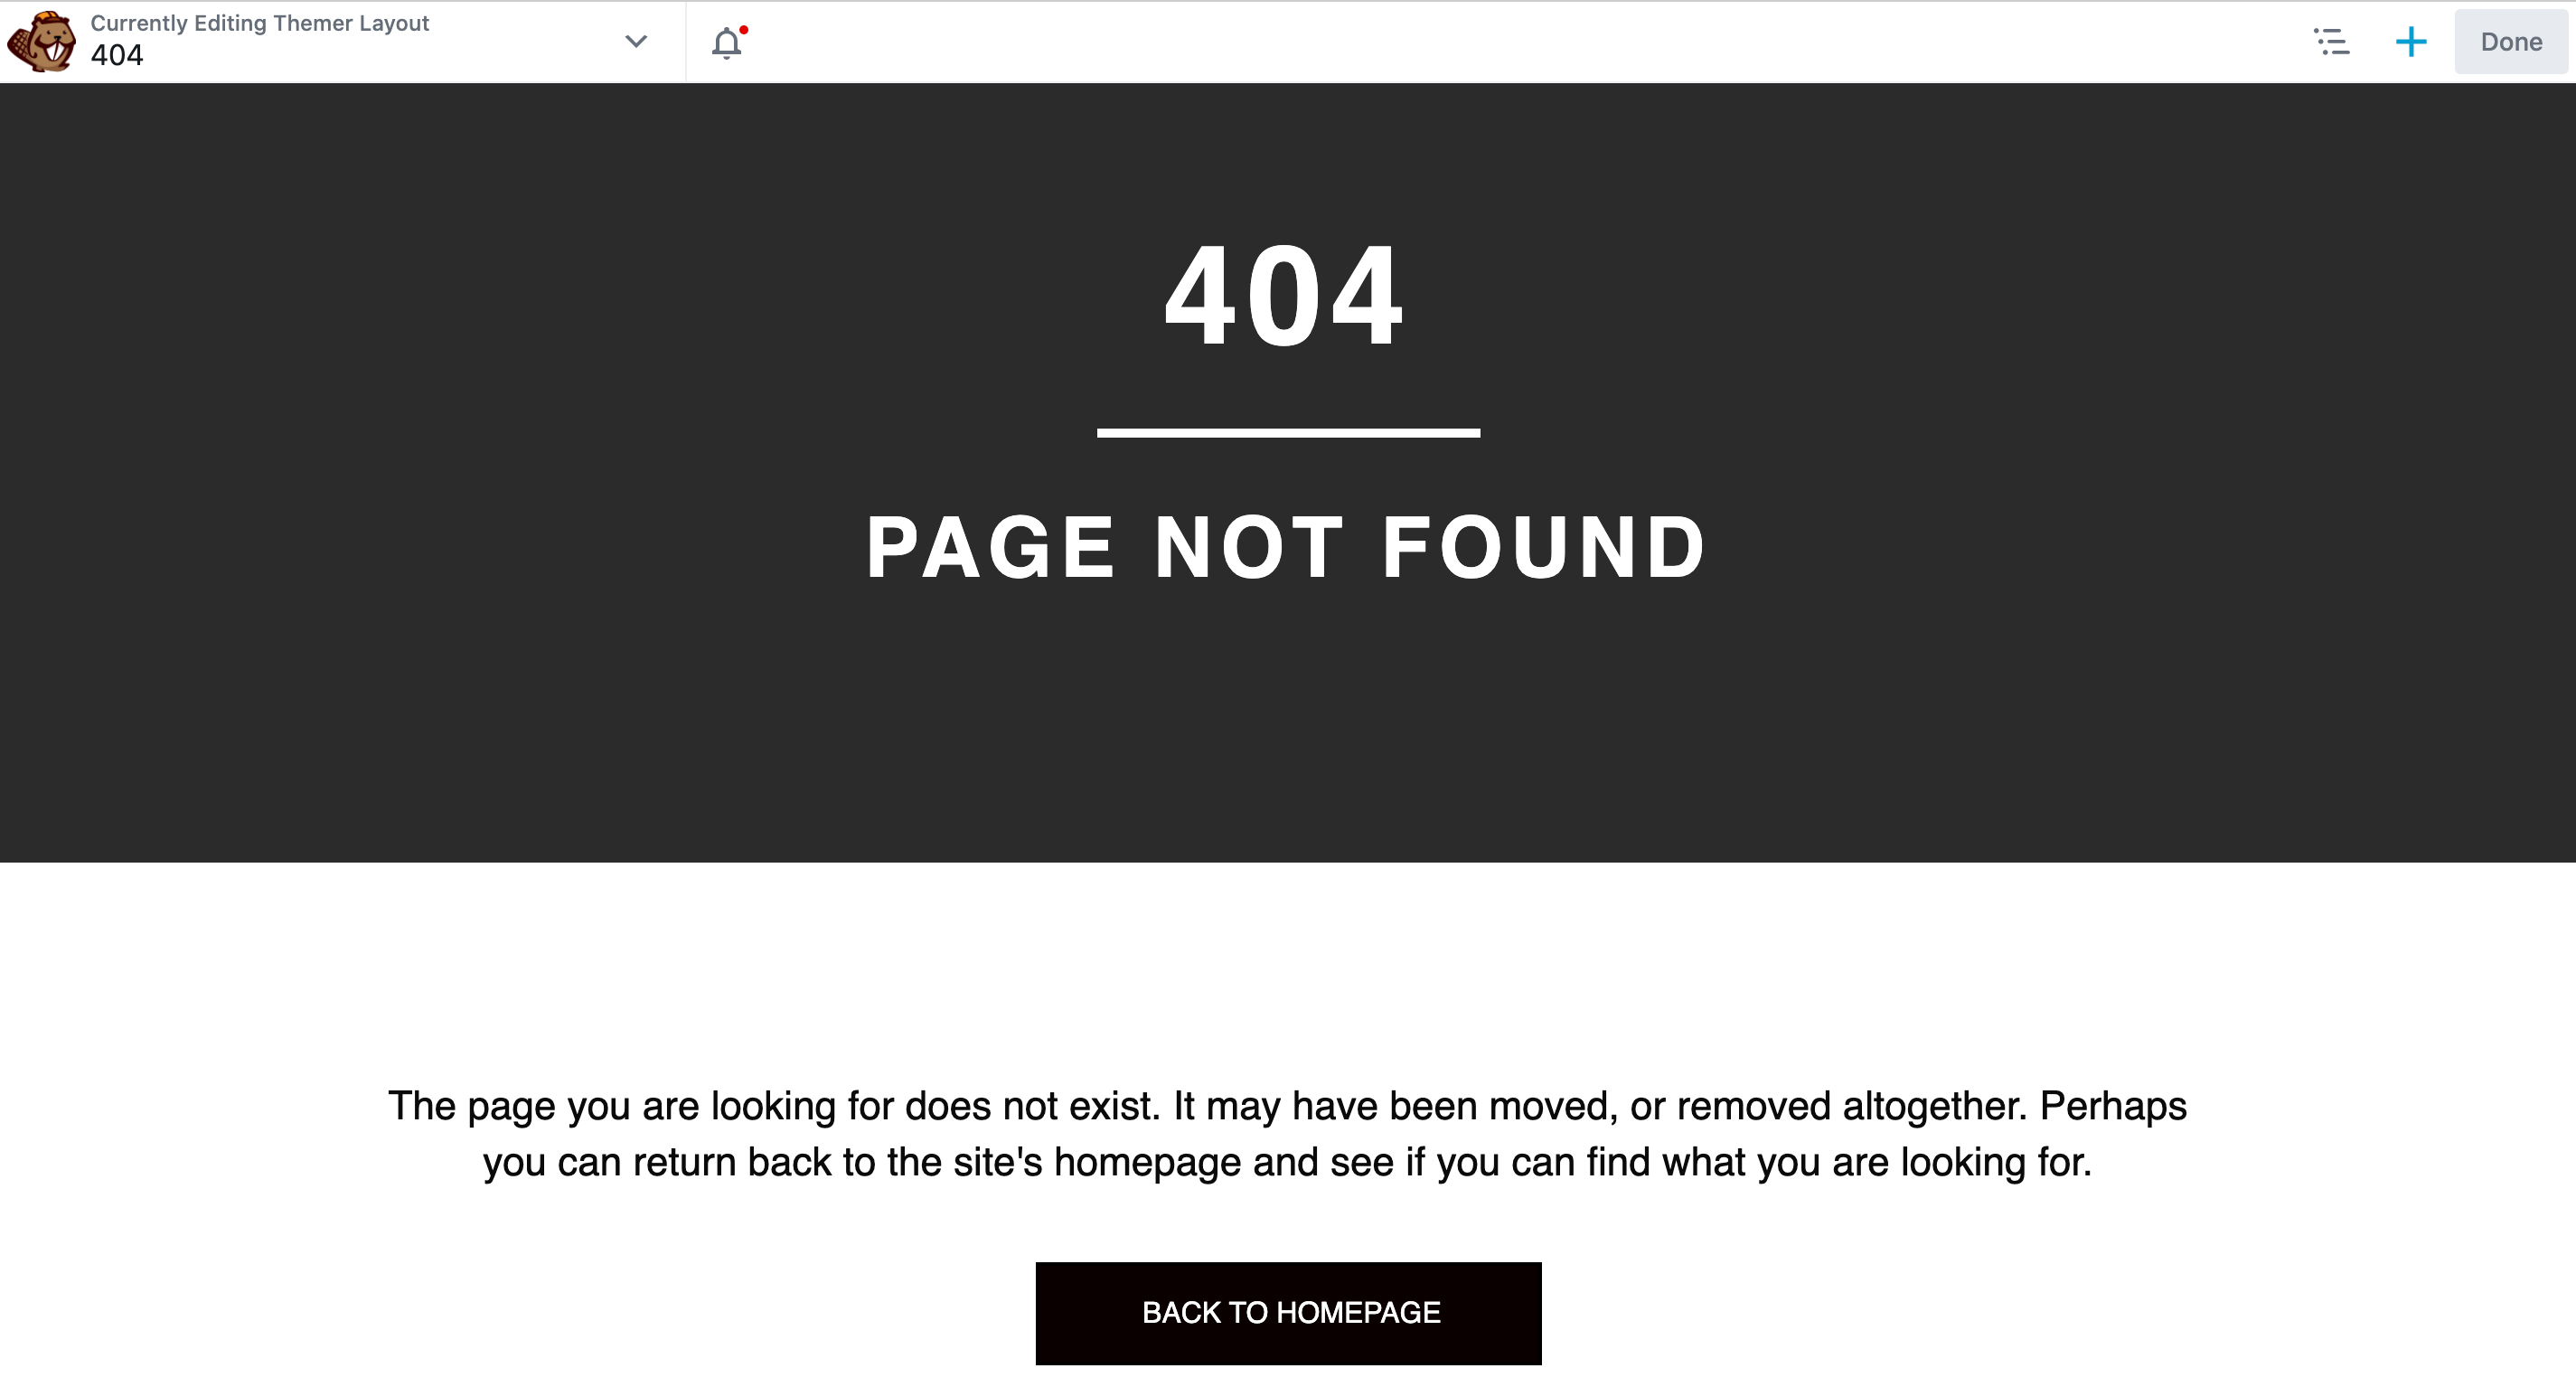
To build a better site, we recommend focusing on reinforcing your branding. This may mean featuring the headers and footers you created in the previous steps in as many locations as possible. You can also display your site’s logo prominently, using our Photo module:
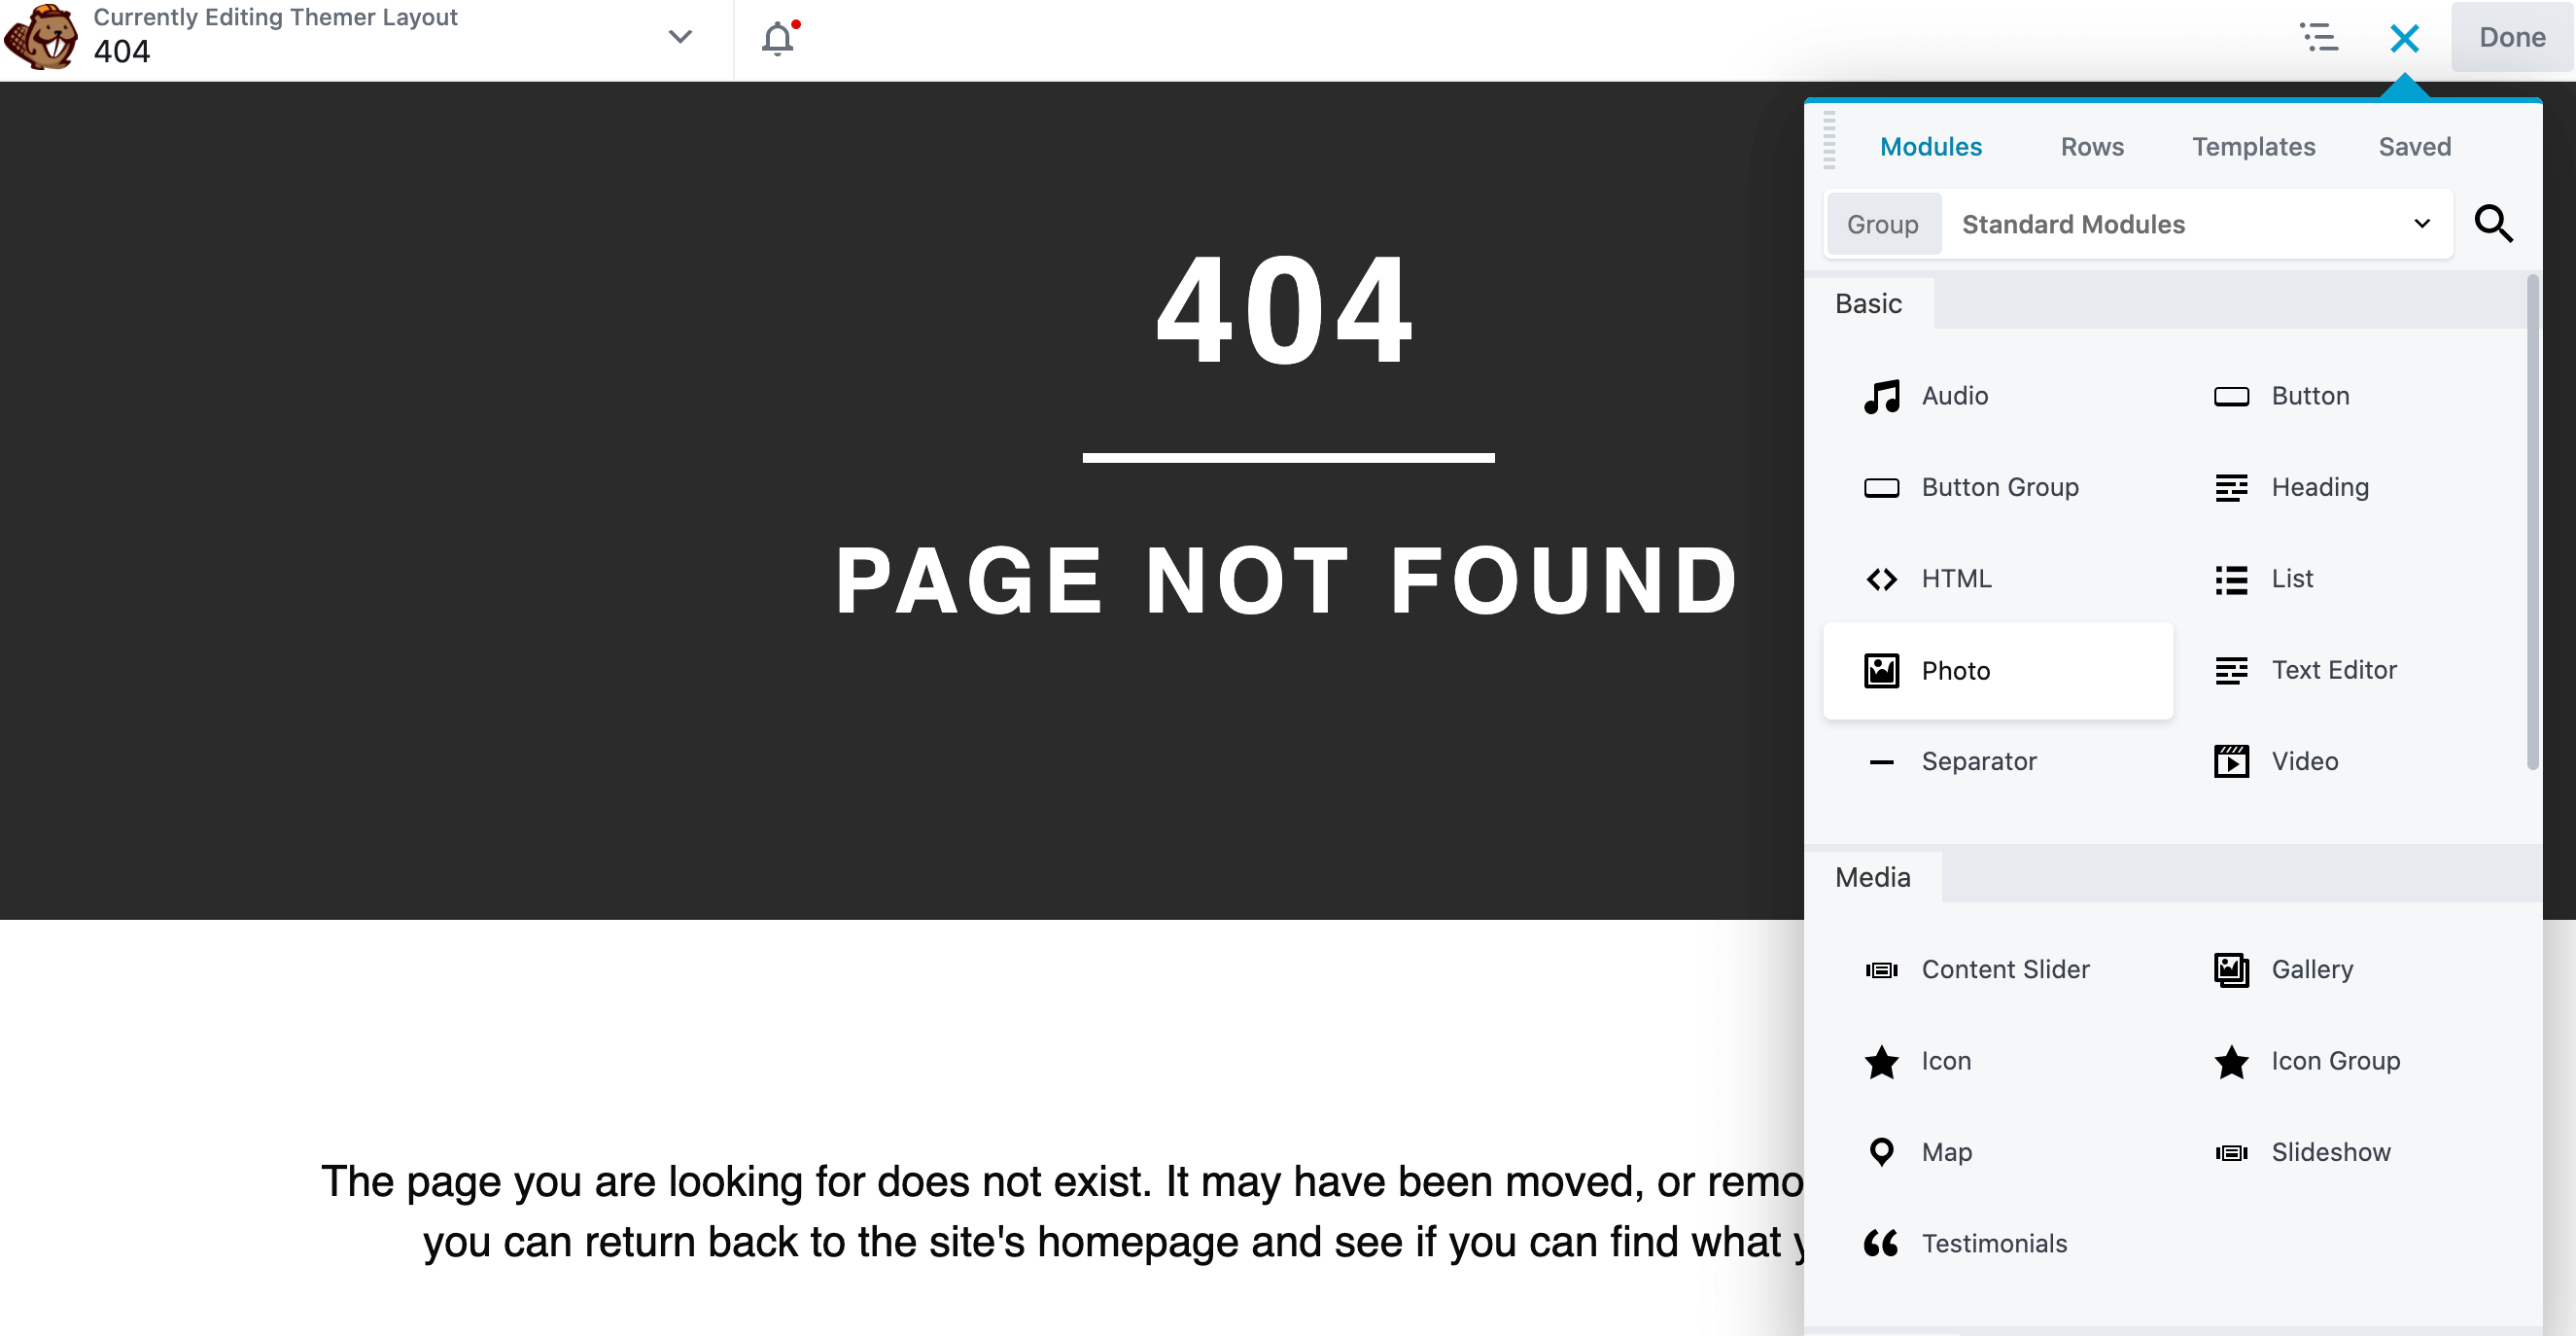
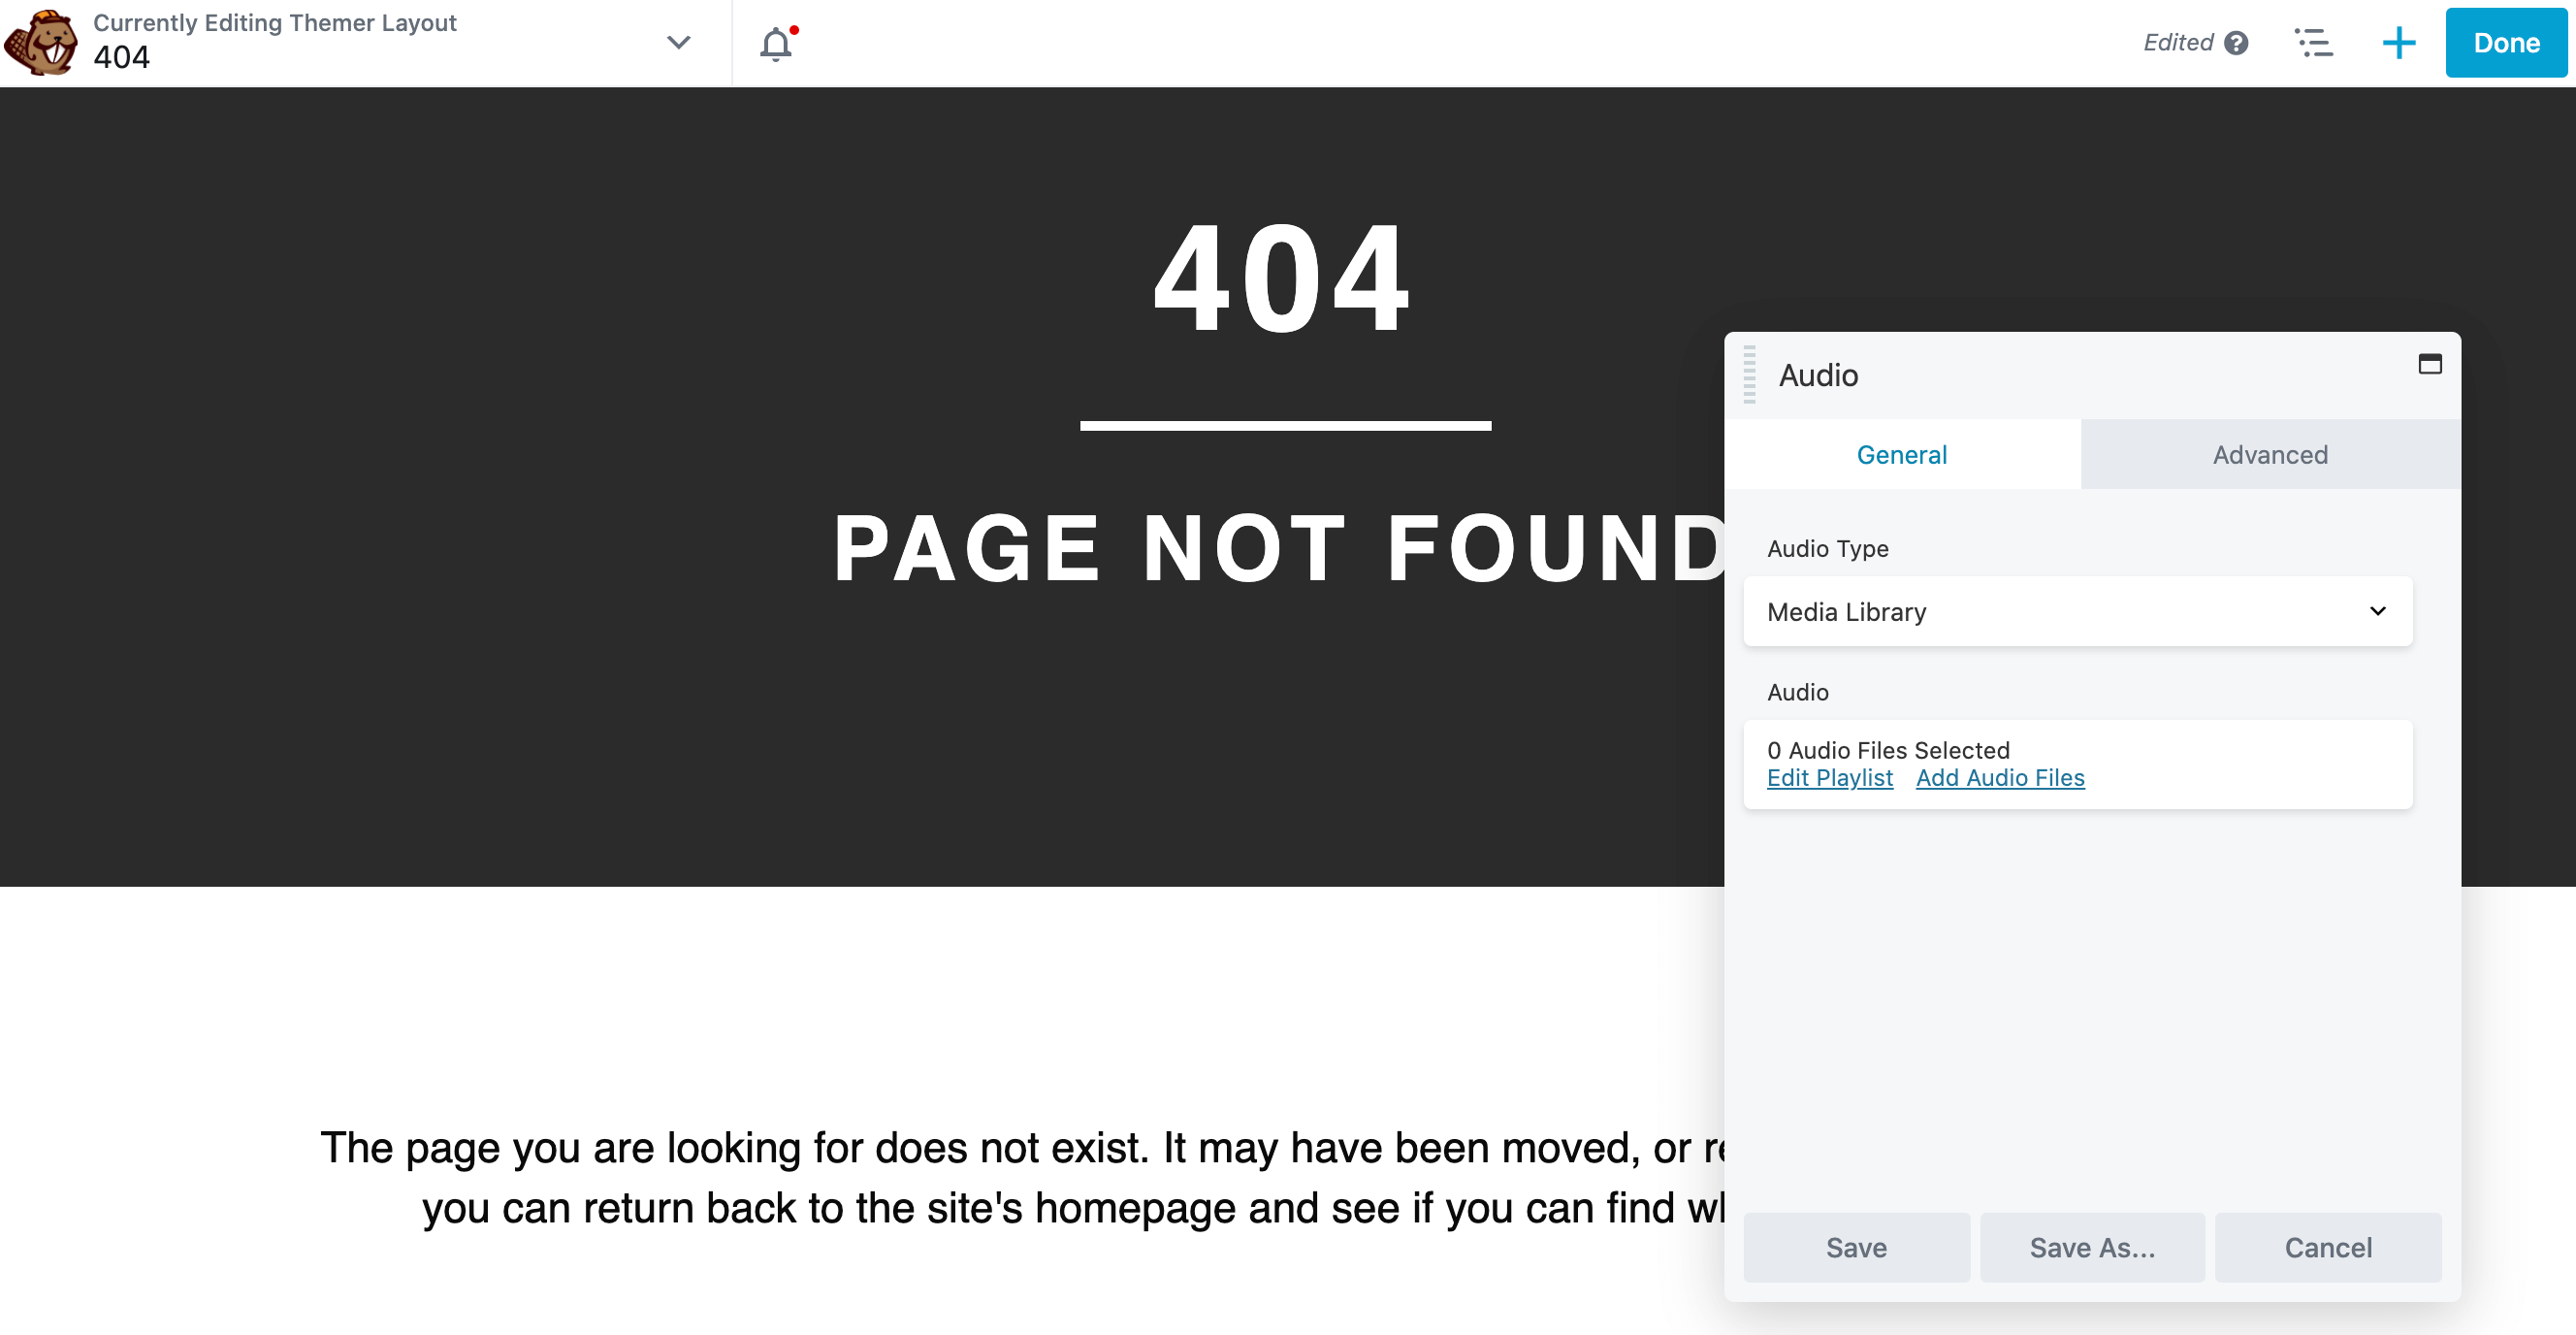
If you want to take your 404 design to the next level, Beaver Themer has no shortage of interactive and engaging blocks. This includes the Video module and the Audio module, which enable you to create a multimedia 404 page:
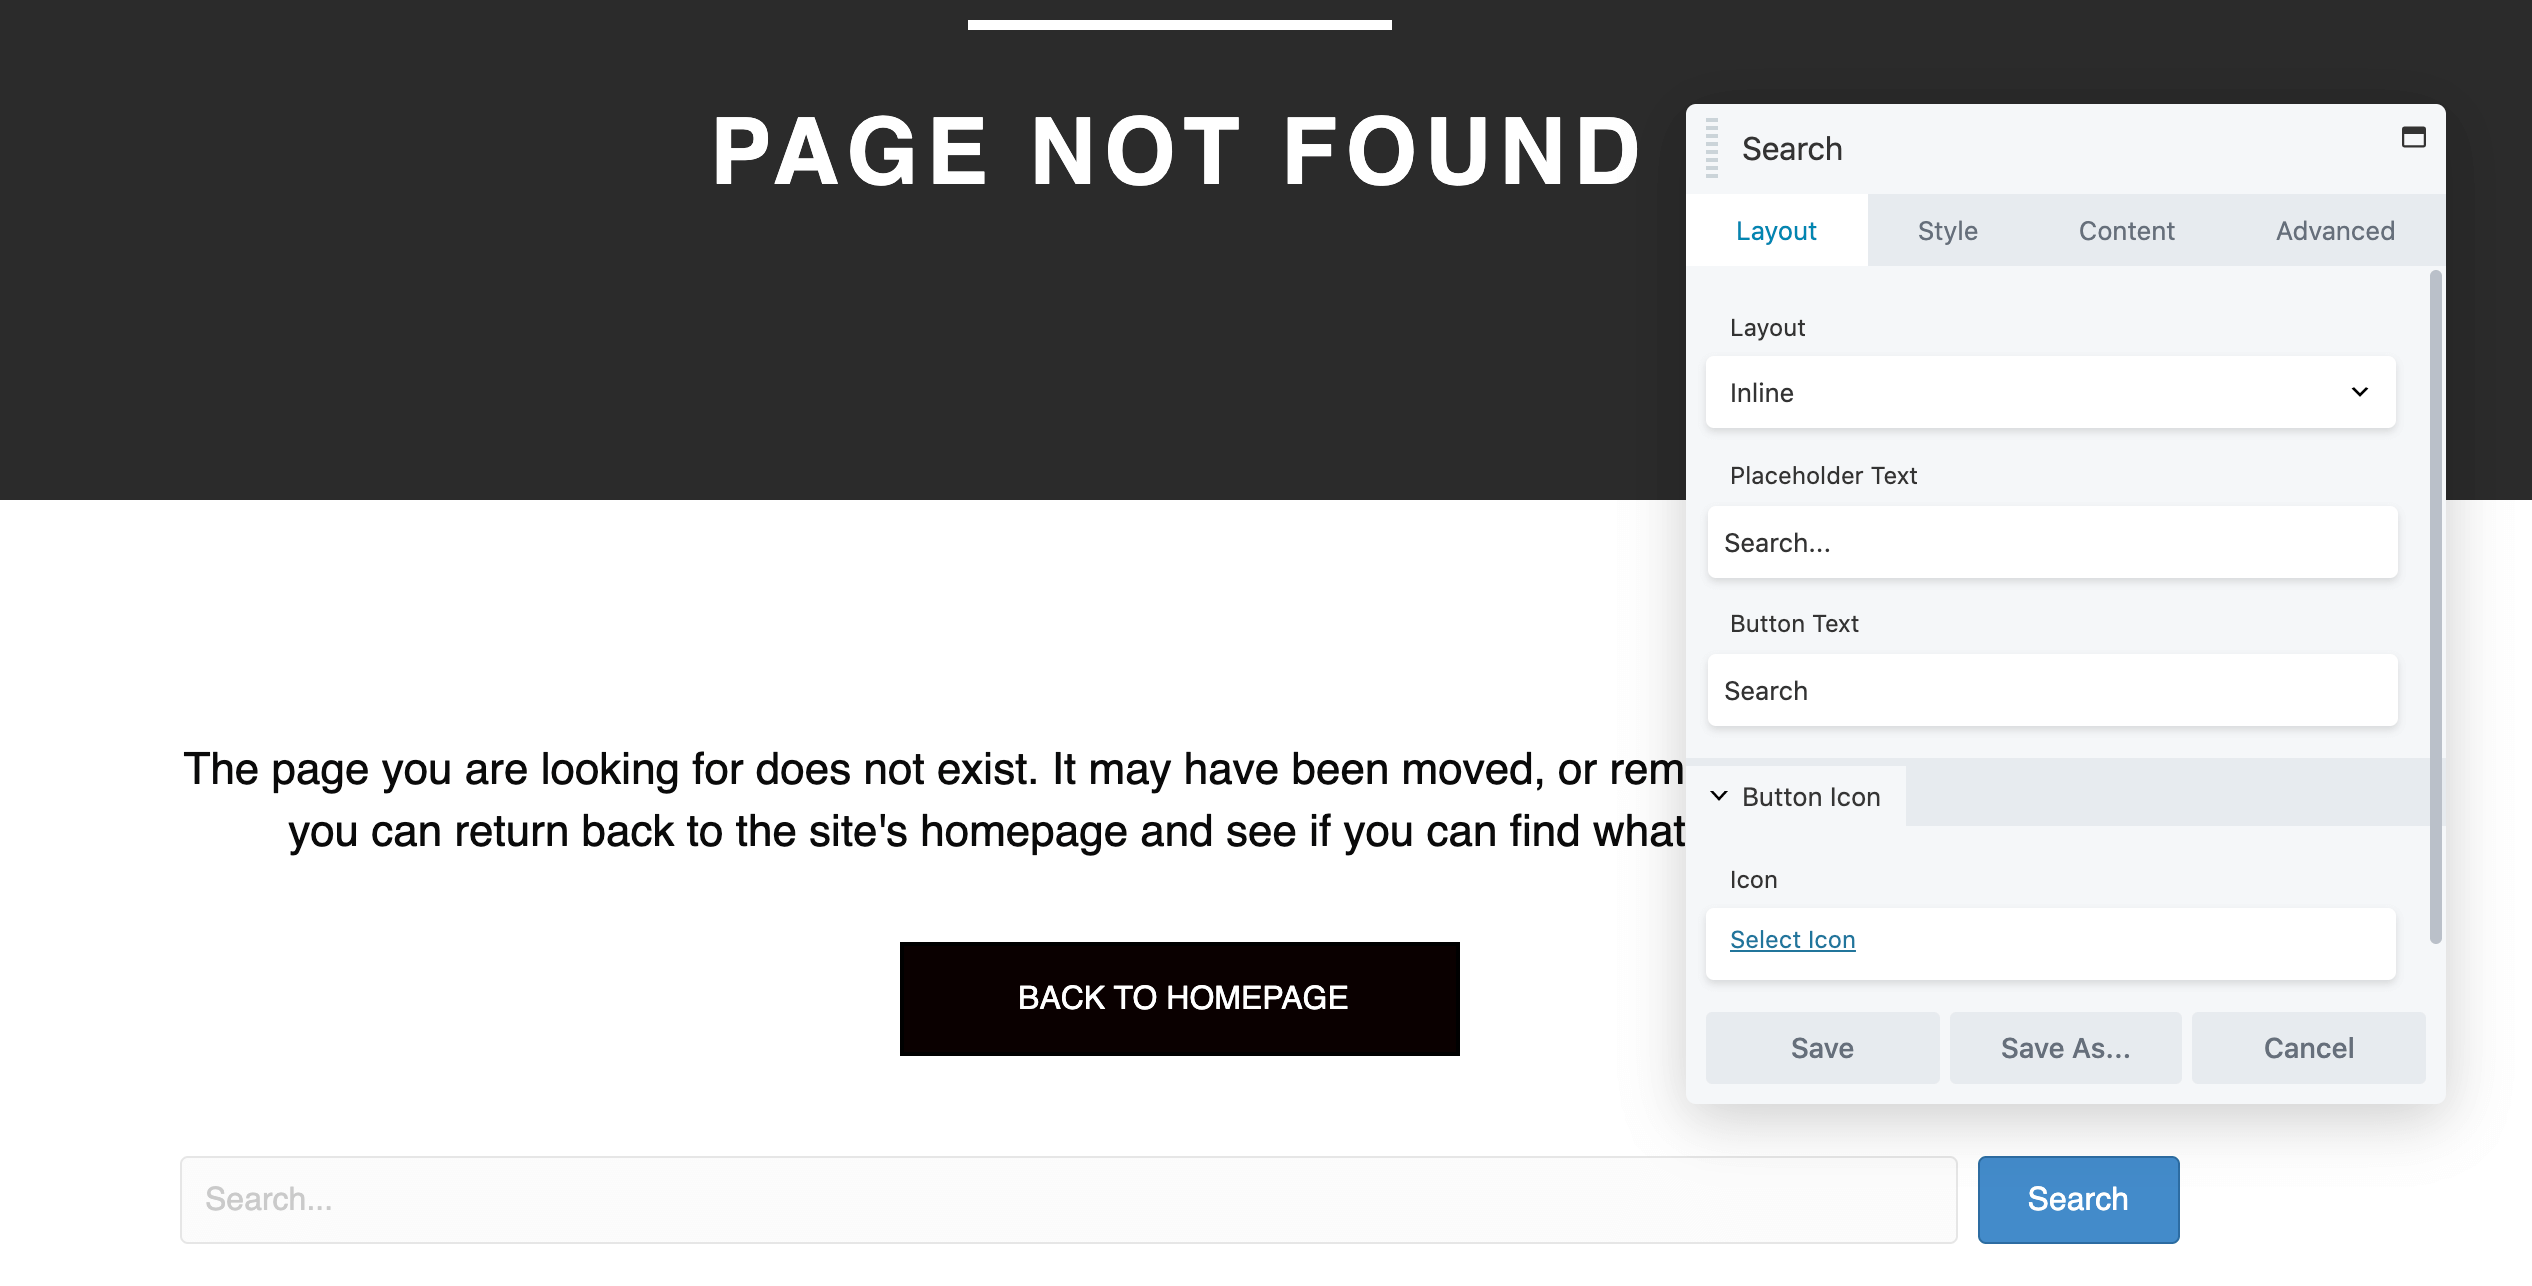
You can also improve the stock 404 design by adding functionality that helps the visitor locate the content they were originally looking for. For example, meany 404 pages include search bars:
Alternatively, you might add a Menu module to your 404 page. This enables visitors to browse through all of the available content, and jump directly to any page that catches their eye.
4. Redesign Your Archive Page
An archive is a list of your previously-published content. WordPress automatically generates an archive for all posts that fall under a specific post type, category, or tag. If you installed a theme or plugin that supports custom post types, then WordPress will also create an archive for these custom types.
A well-designed archive can help visitors easily navigate through months or even years of content. With this in mind, you may want to optimize this important page using Beaver Themer.
As always, give your new Themer Layout a descriptive name. You can then open the Layout drop-down menu, and choose our Archive template. Next, click on Add Themer Layout > Launch Beaver Builder:
This layout template comes with the Archive Title module, which simply displays the title, such as Posts for a standard Posts archive, or Category for a category archive.
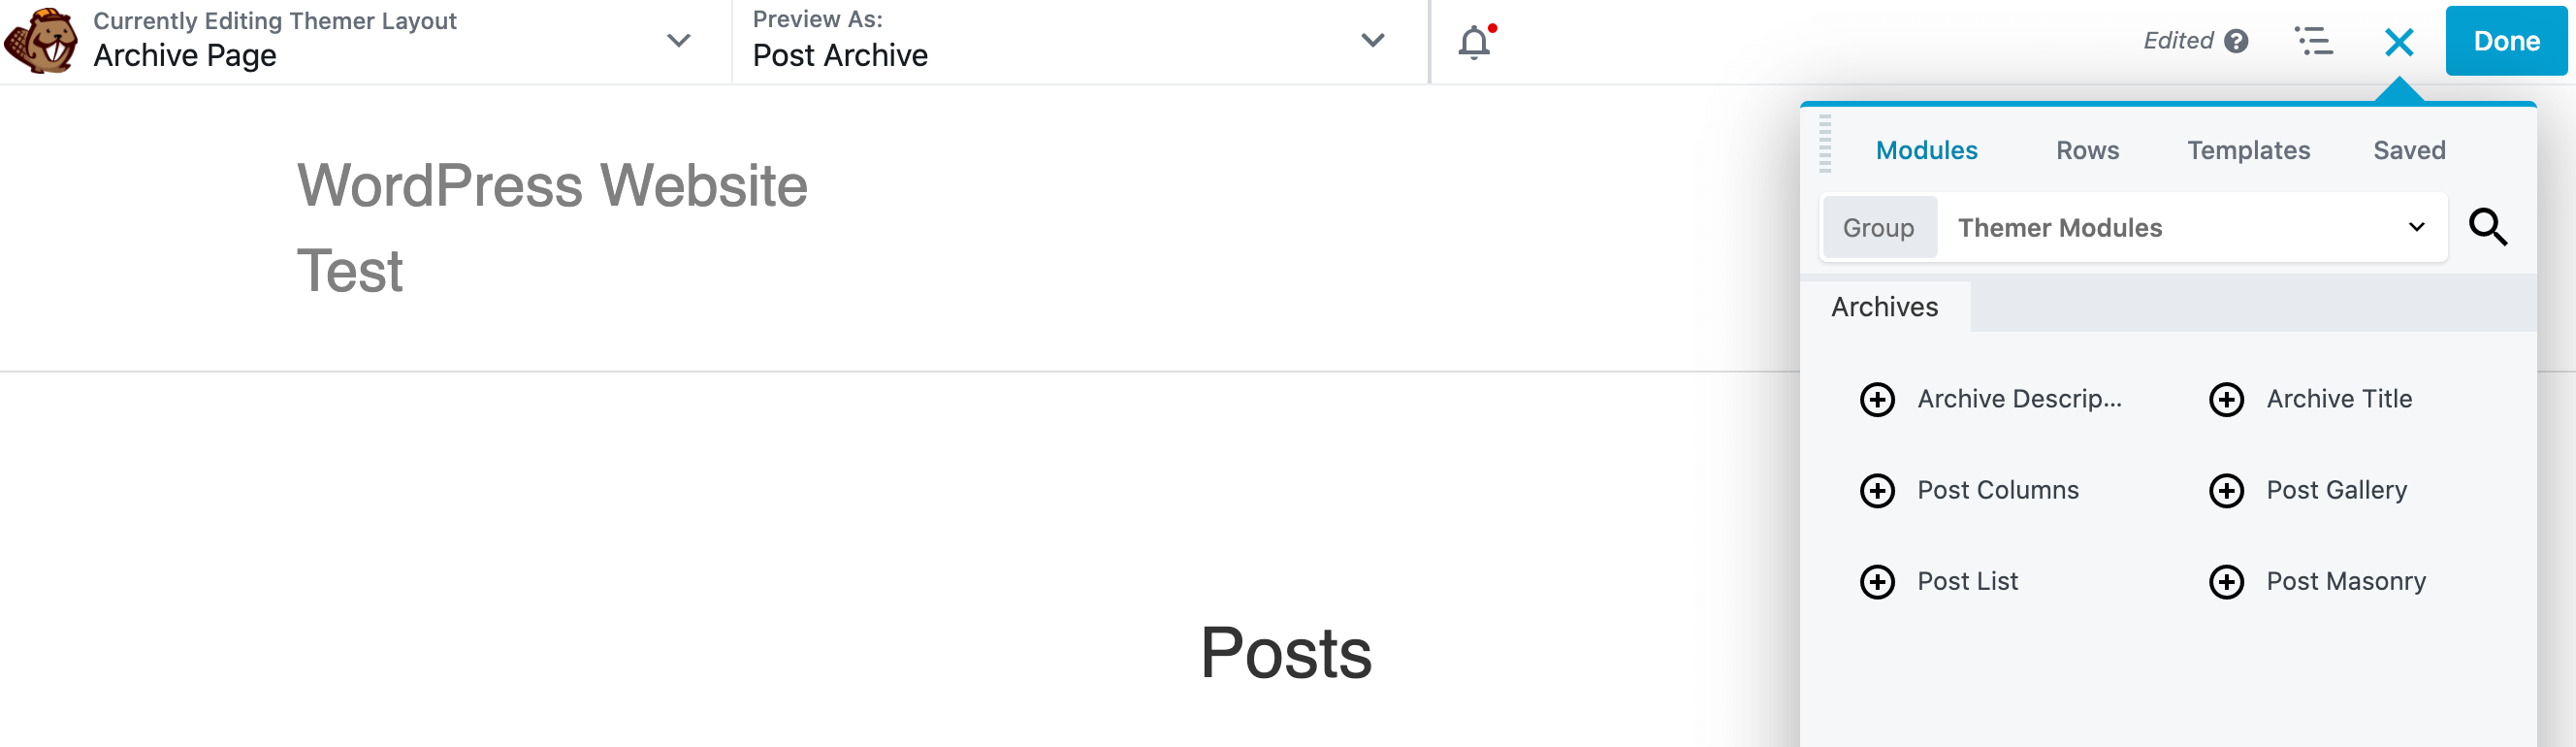
There are several archive-specific modules that can help you build a better website. To view these modules, click on the + icon in the upper-right corner. Then, open the Group drop-down menu and select Themer Modules:
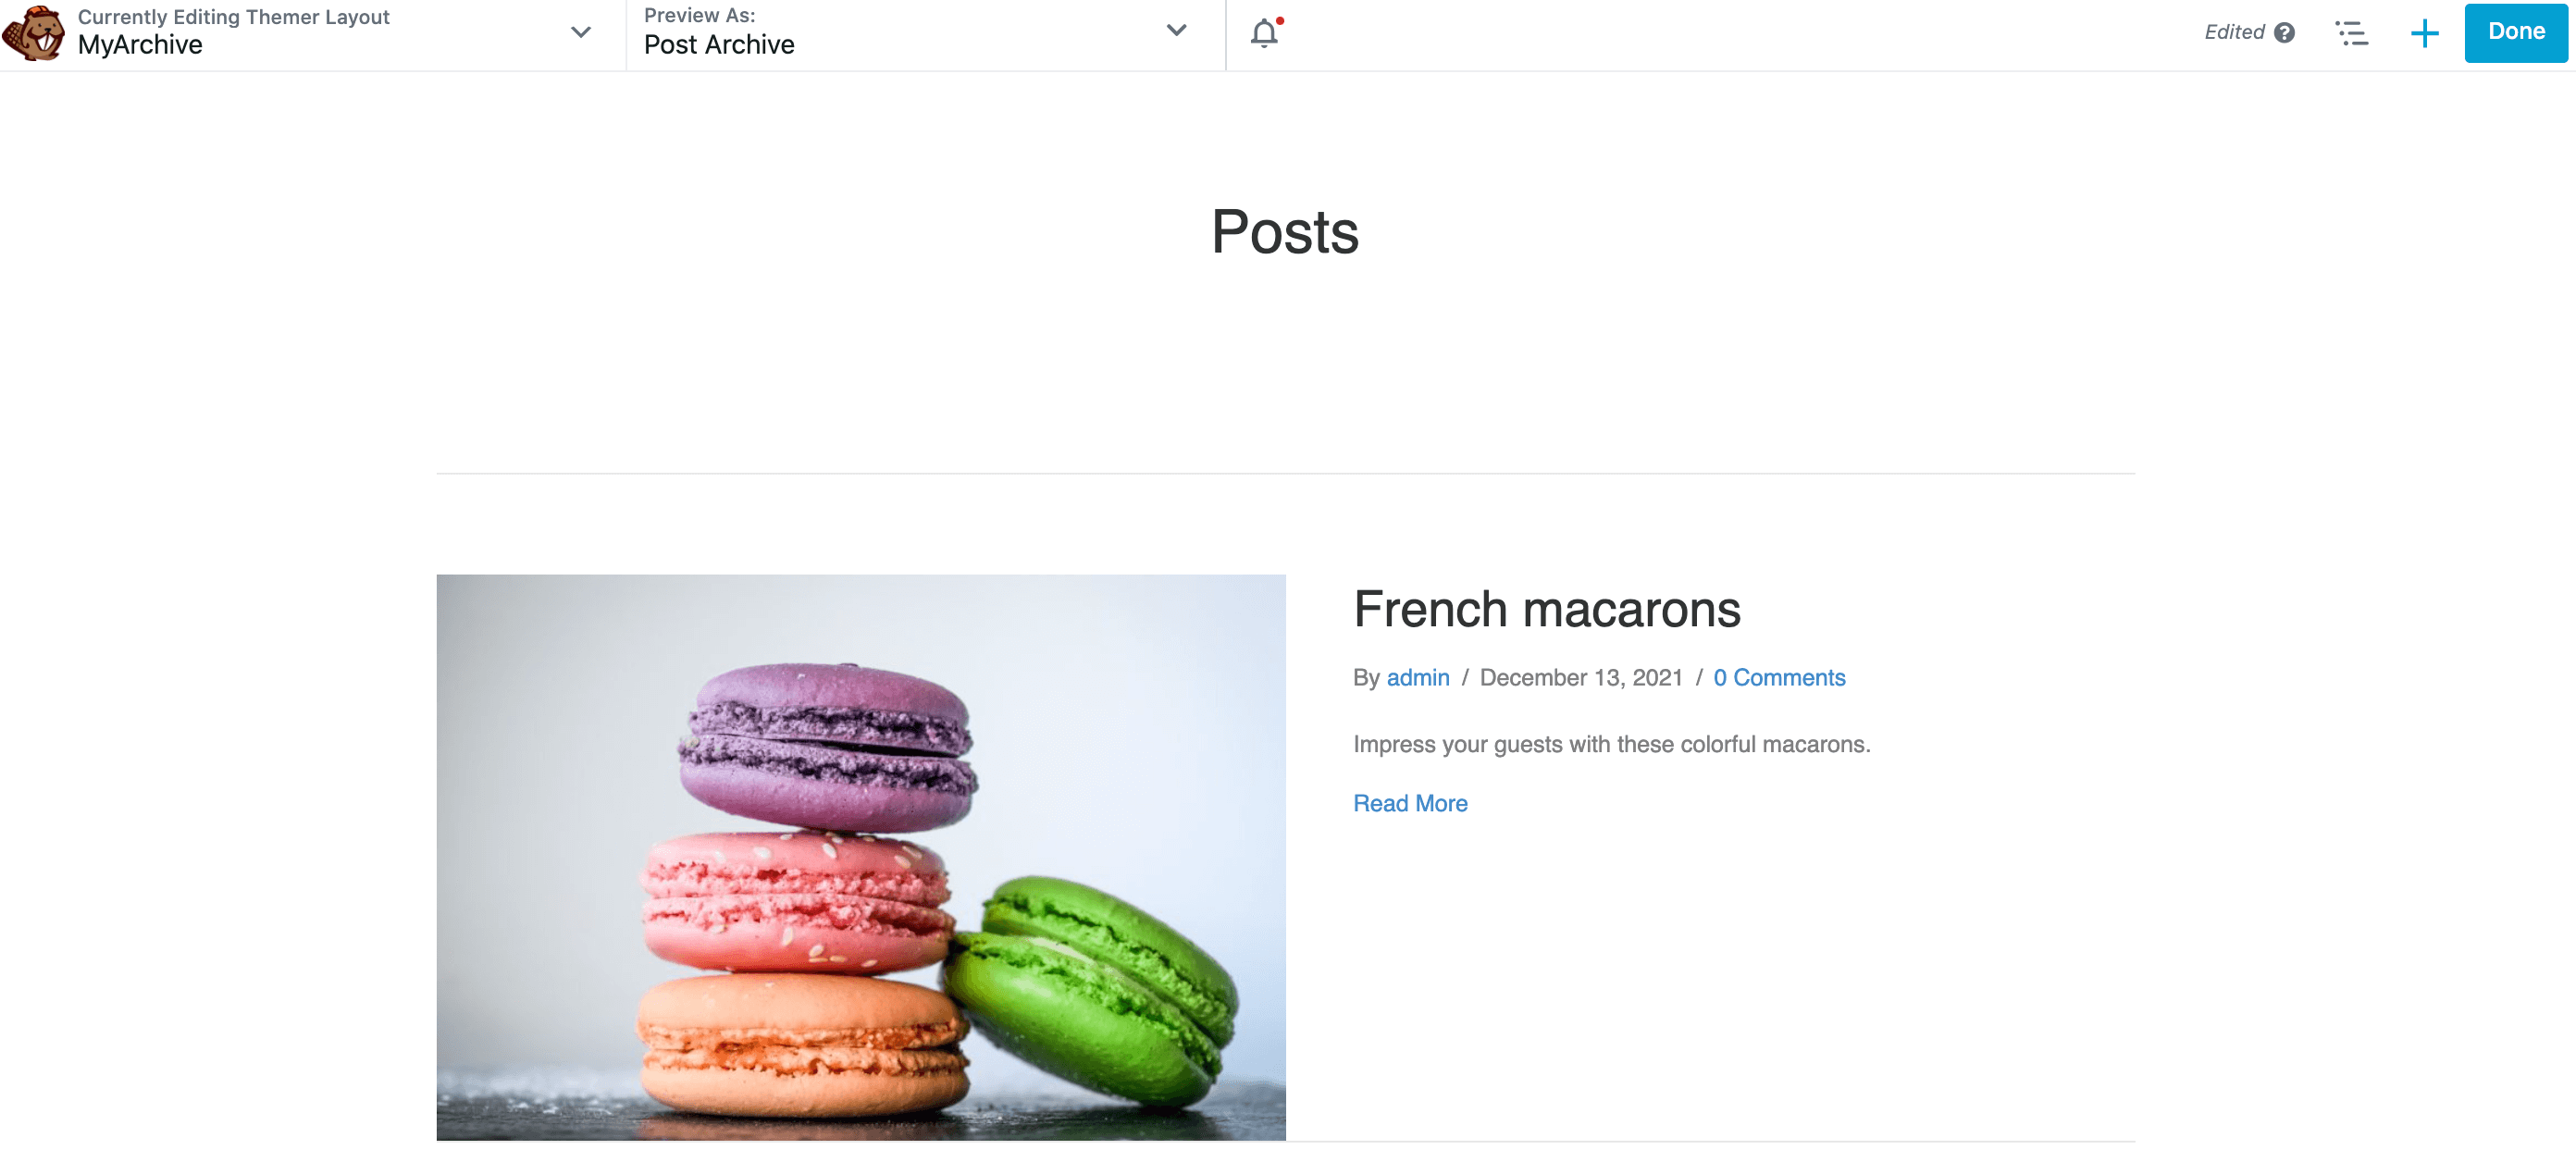
Archive Descriptions will pull content from the Description field of a post category. There are also several layouts that you can use. As the name suggests, List displays your posts vertically in a single column.
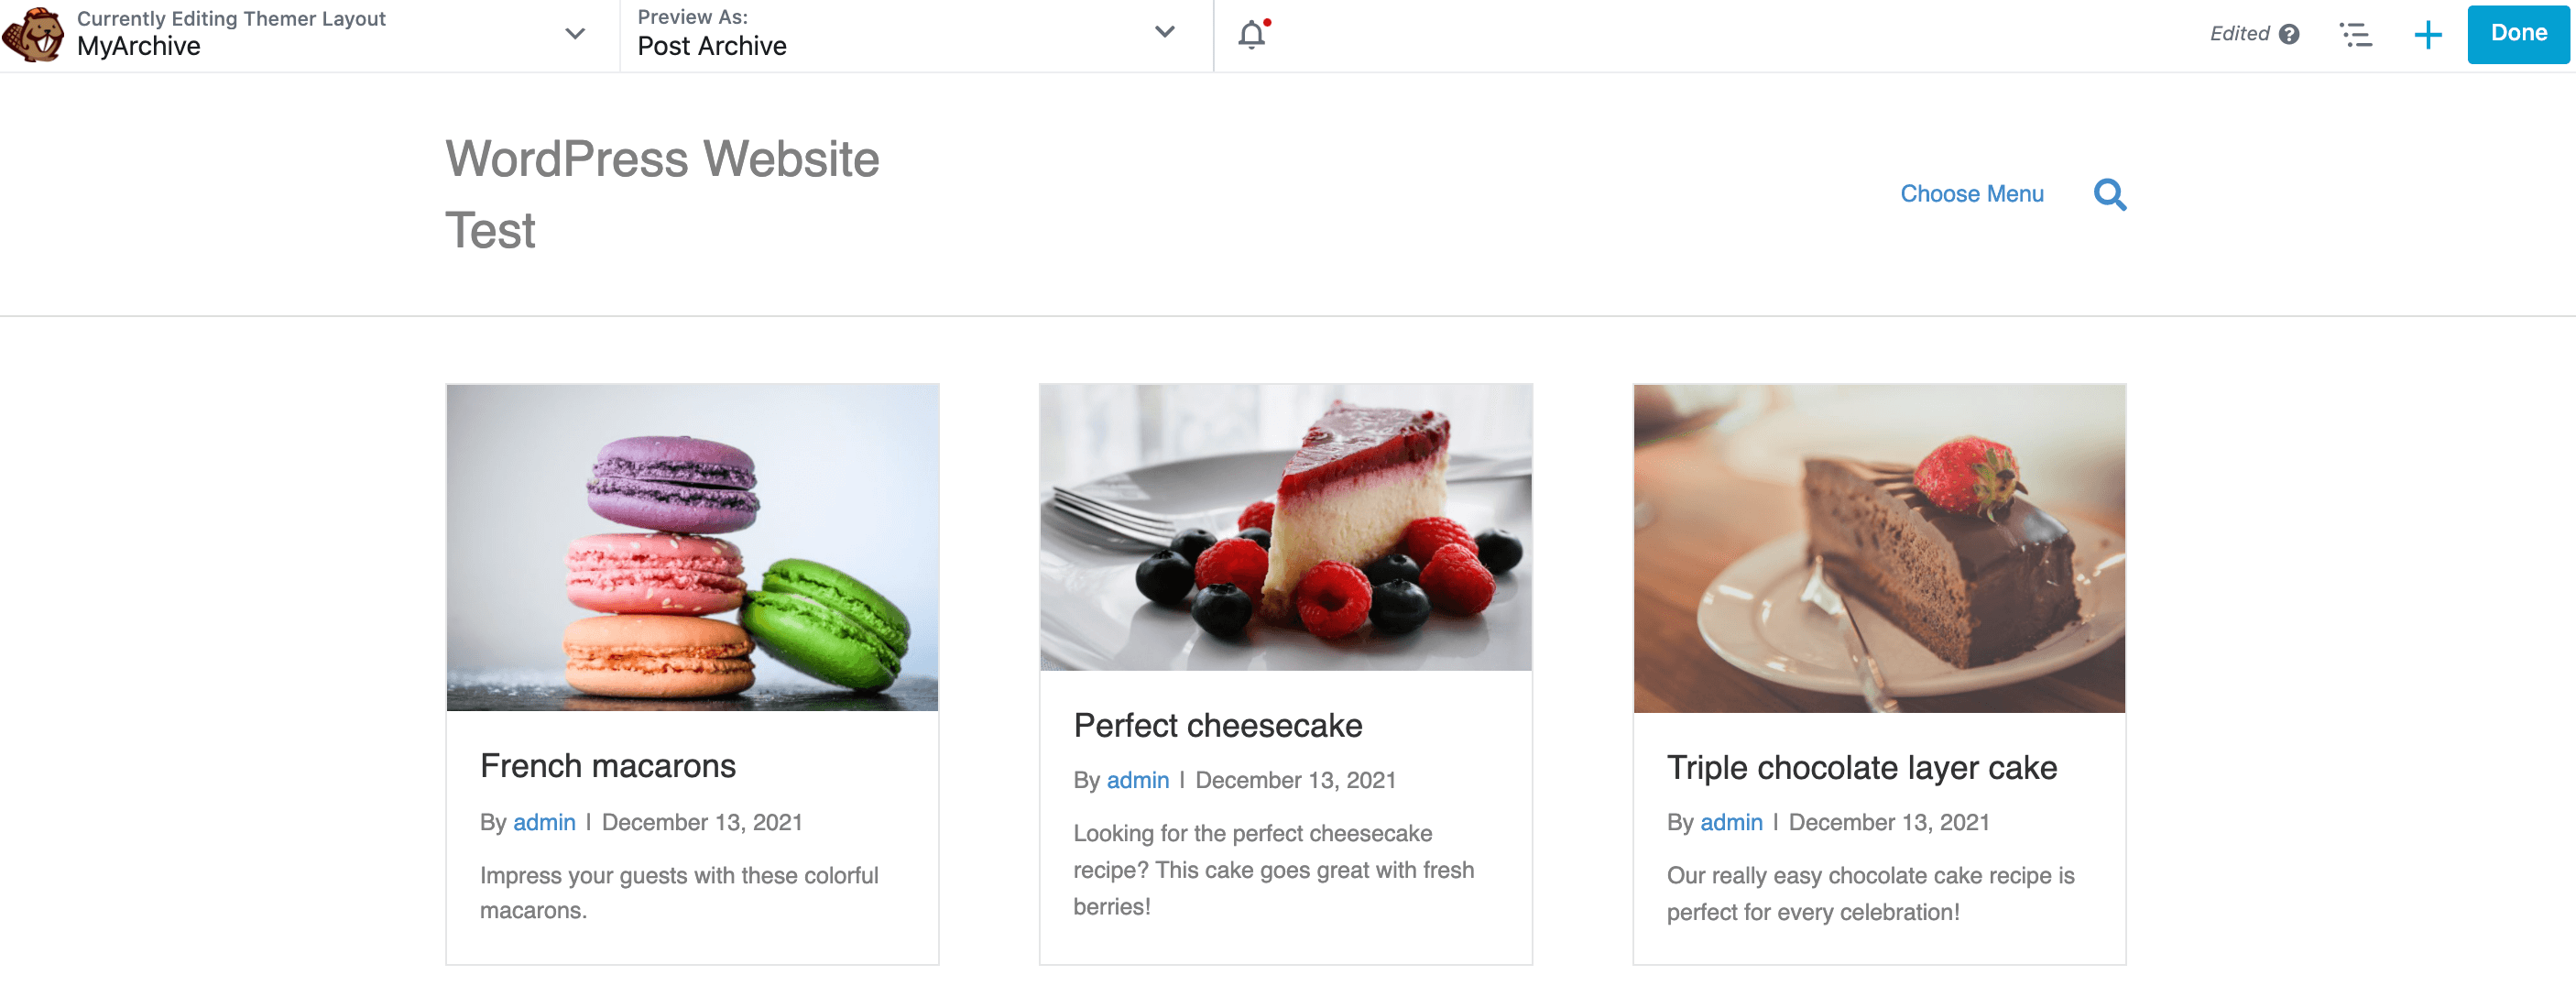
Alternatively, you can divide your content into multiple columns by selecting the Columns module. This can be useful for displaying lots of content in a smaller space:
Meanwhile, the Masonry module displays your posts in columns. You can choose the width of each post in pixels, which makes this a highly-customizable layout:
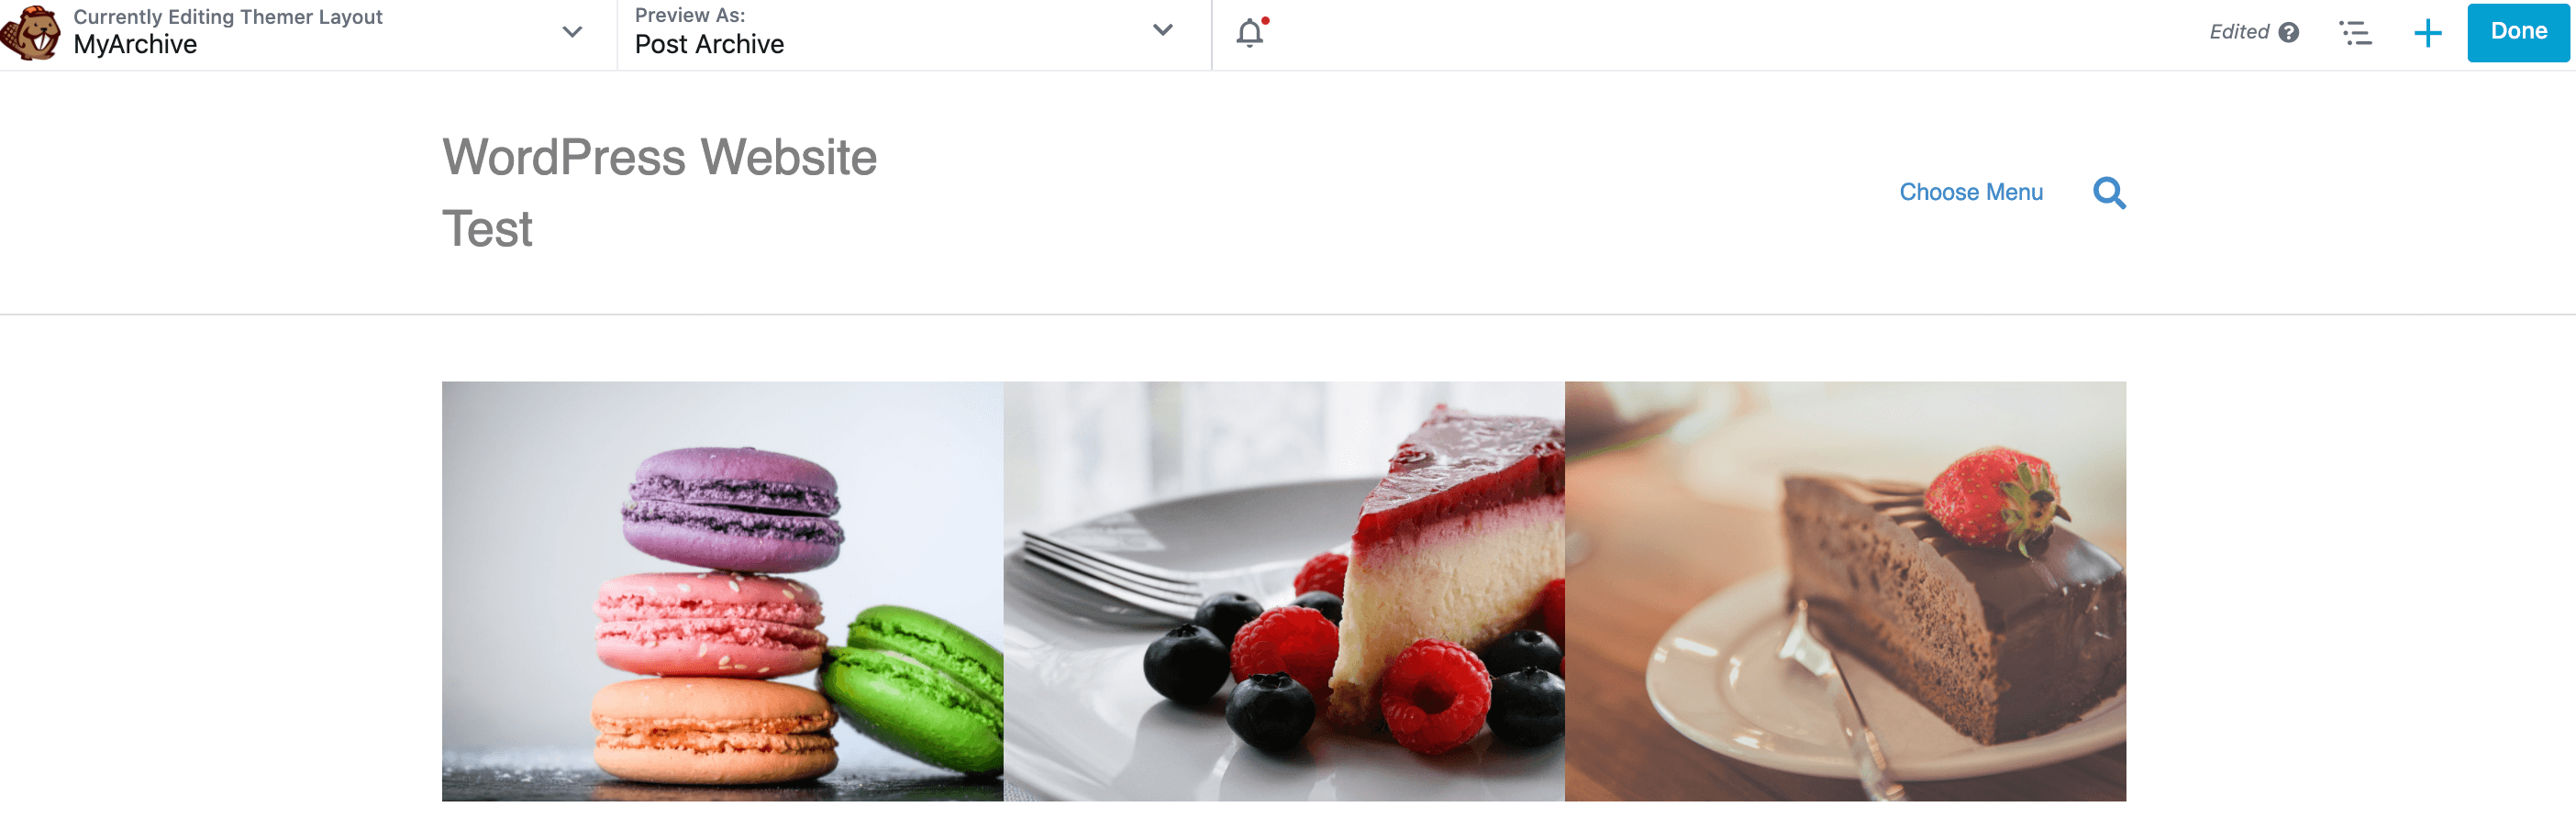
If you opt for Gallery, then the post title and metadata are overlaid on the featured image. This is a good choice if your posts feature particularly eye-catching visuals.
Conclusion
Most websites have various elements and pages in common. Although WordPress does provide most of this content out of the box, if you don’t optimize these default designs then you’re likely to miss out on conversions.
Let’s quickly recap four ways that you can build a better site using Beaver Themer:
- Create an attention-grabbing header.
- Design a high-converting footer.
- Turn your 404 page into a conversion opportunity.
- Redesign your archive page.
Do you have any questions about how to build a better site using Beaver Themer? Let us know in the comments section below!
Image credits: Arminas Raudys, Alexander Dummer, Suzy Hazelwood.
1 Comment
Our Newsletter
Our newsletter is personally written and sent out about once a month. It's not the least bit annoying or spammy.
We promise.
Try Beaver Builder Today

Related articles
How to Create Headers and Footers with Beaver Themer
Page builders are great for creating beautiful pages, but they often don’t extend customization to headers and footers. This limitation…
How to Customize WordPress Website Header
Many elements make up a well-designed website. Your WordPress website header is particularly important because it’s the first thing visitors…
How to Use a Header Template in WordPress
Customizing a WordPress header isn’t often an easy process. If you’re not comfortable editing theme files, there aren’t many ways…
Join the community
We're here for you
There's a thriving community of builders and we'd love for you to join us. Come by and show off a project, network, or ask a question.
Since 2014
Build Your Website in Minutes, Not Months
Join Over 1 Million+ Websites Powered By Beaver Builder.
Absolutely loving Beaver Builder. I use it on a few of my WordPress sites and can build them much faster 🙂