
How to Customize a WooCommerce Product Page Using Beaver Themer
Kicking off a new business or putting your products online can be both exciting and intimidating. WooCommerce has likely made managing your inventory and shopping carts much easier, but unless you’re an expert programmer, you might be wondering how to further customize your product pages to better suit your needs.
In this article, we’ll introduce you to the Beaver Themer add-on for Beaver Builder, discuss why it pairs well with WooCommerce, and describe what features it offers that go beyond the capabilities of the Beaver Builder plugin and Beaver Builder Theme. Then we’ll walk through the steps to create a custom WooCommerce product page with Beaver Themer that will wow your customers with beautiful product pages and theme designs.
An Introduction to Beaver Themer
Beaver Themer adds great power to the Beaver Builder page builder in several different ways.
First, it extends Beaver Builder’s layout options to apply to pages or parts of pages that are normally controlled by your theme. These include:
- Pages generated by WordPress, such as blog archives and your Shop page
- Single post information outside the content area, such as post title, featured image, post metadata, related articles, and post navigation.
WooCommerce single product pages are a type of single post. - Headers, footers, 404 pages, search results.
Having complete control over the layouts of these areas is like having a theme developer in your pocket.
Second, Beaver Themer effectively creates “theme templates” that you can apply across your site or to particular locations. This means that you can create one layout (header, footer, banner, and so on) that applies to multiple posts, pages, or WooCommerce products.
Third, Beaver Themer adds two important features to Beaver Builder: field connections and conditional logic, both of which include special WooCommerce settings.
- With field connections, in your row, column, or module settings you can create dynamic connections to database fields, so the content changes depending on which page you’re viewing. Field connections are what turn Themer layouts into templates that work on every page they’re displayed, but you’ll have this same functionality in standard Beaver Builder layouts. For example, field connections on static pages let you display custom fields in your layouts. This means you can add or edit custom content in the back end without worrying about how it’s going to be displayed.
- With conditional logic, you have fine-grained control of the visibility of Themer layouts rows, columns, and modules, depending on the conditions you create. For example, you could display a banner to users with $75 in their cart that says they’ve earned a free gift and another banner to users with under $75 in their cart that they get free shipping with $75. Or you could display a special Themer header that is only seen by repeat customers after they log in to their account.
Fourth, Beaver Themer has a number of WooCommerce-specific modules that give you full WooCommerce functionality in WooCommerce layouts. We’ll describe those later.
Finally, you’ll be able to accomplish all of this using the familiar and user-friendly drag-and-drop Beaver Builder interface. Best of all, you won’t have to touch a line of your theme’s code. When paired with a supported theme, such as the Beaver Builder Theme, Beaver Themer provides you with a huge range of modification options for your website.
The good new is that Beaver Themer is included with the purchase of any premium plan:
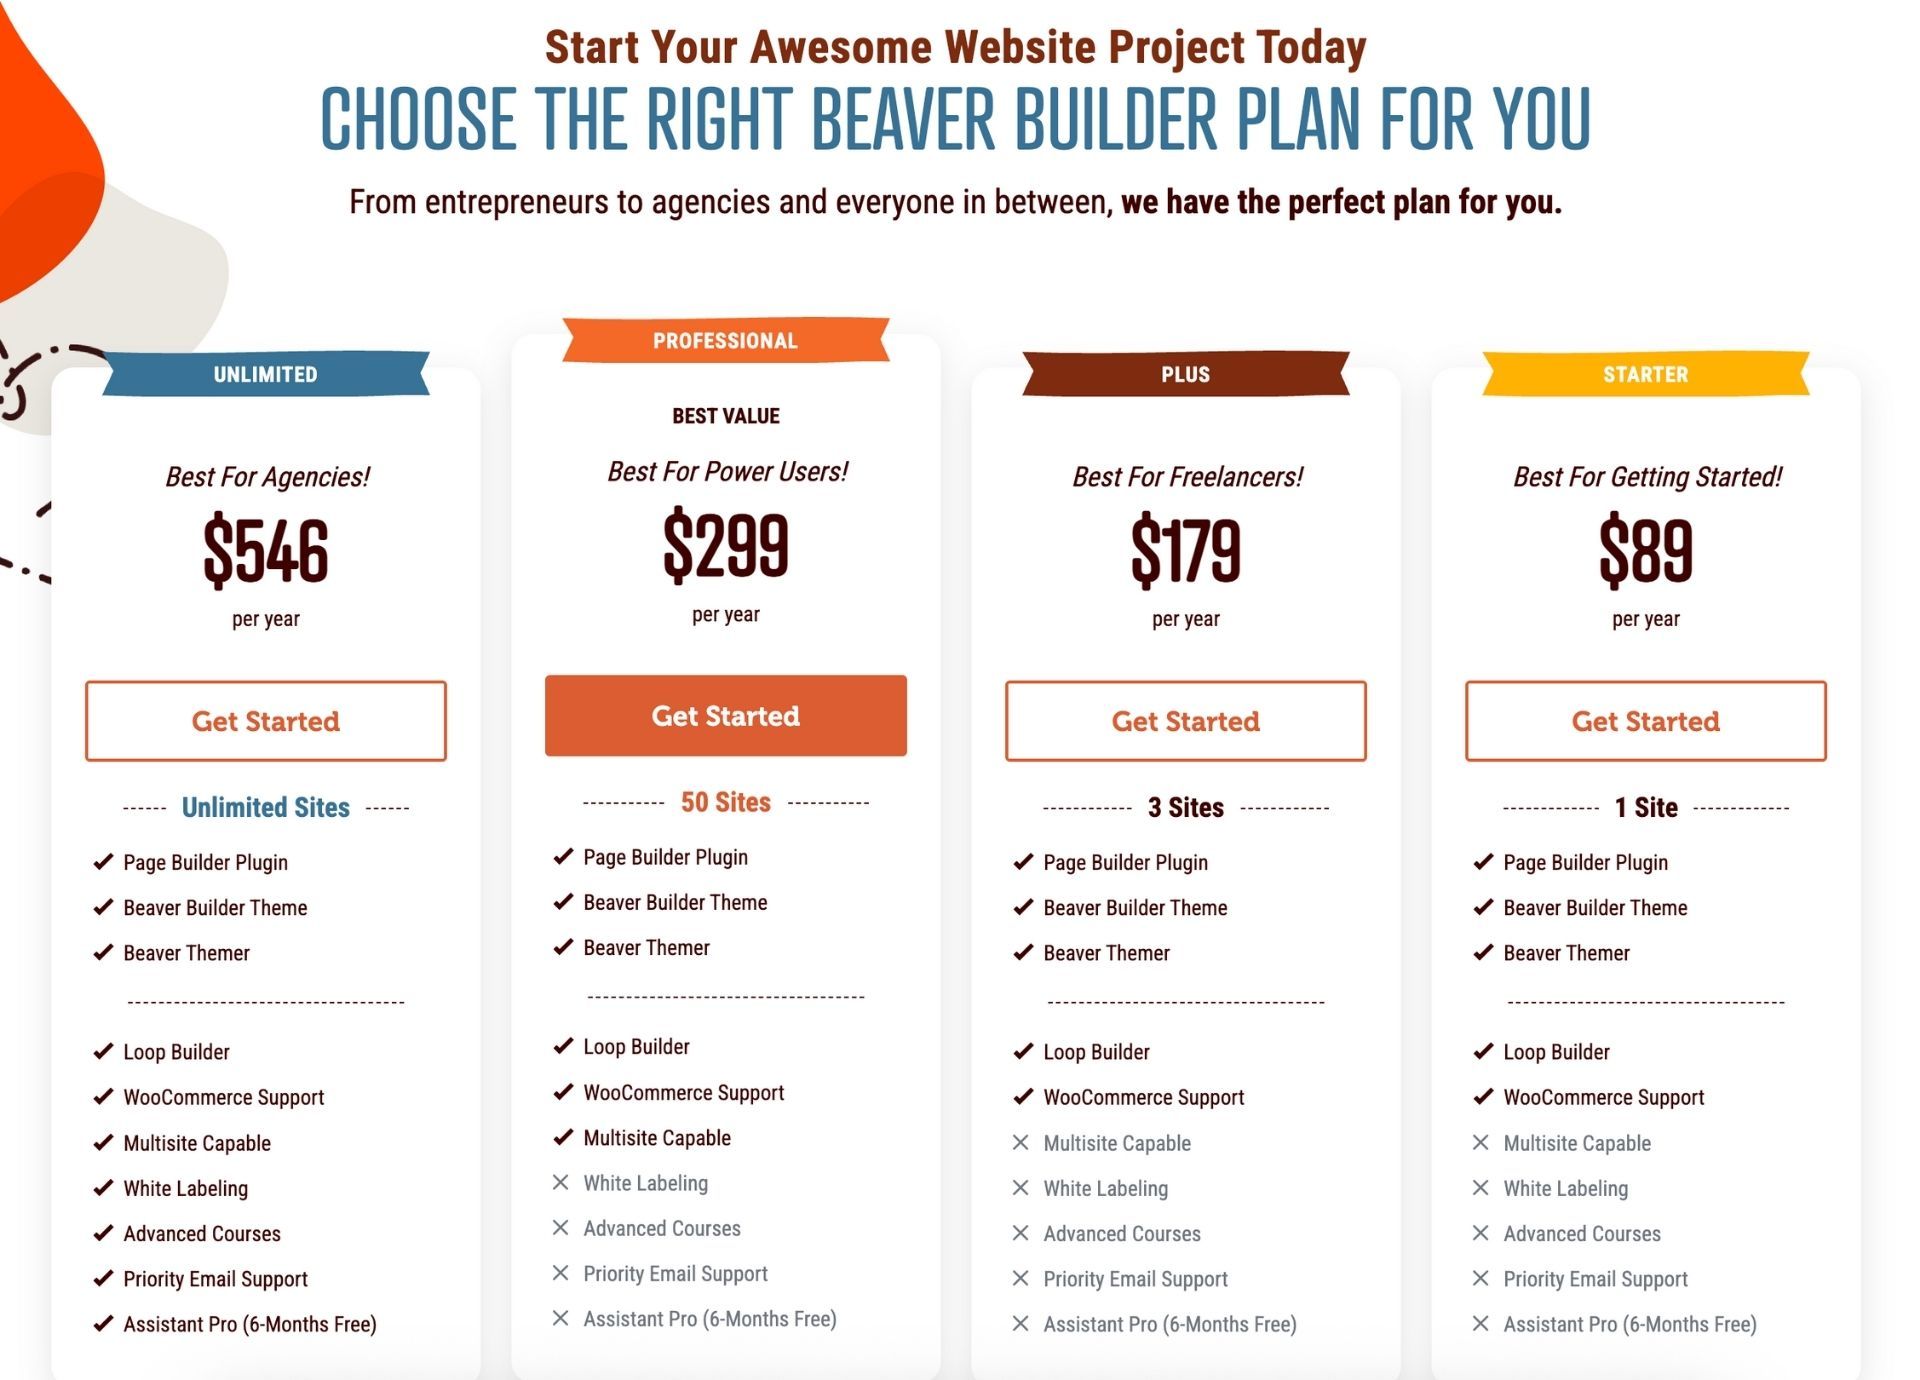
Note that Beaver Themer requires a premium version of the Beaver Builder page builder in order to function.
Here’s a breakdown of the Beaver Builder pricing plans:
- Starter: $89 per year for a single site. Includes the Beaver Builder Page Builder Plugin, Beaver Builder Theme, Beaver Themer theme builder, premium modules, and templates.
- Plus: $179 per year for up to 3 sites. Includes everything in Starter.
- Professional: $299 per year for up to 50 sites. Includes everything in Plus, plus Multisite Support.
- Unlimited: $546 per year for unlimited sites. Includes everything in Professional, plus White Labeling and six months of free access to Assistant Pro.
WooCommerce Integrations in the Beaver Builder plugin and Theme (and How Beaver Themer is Different)
The Beaver Builder plugin and Beaver Builder Theme have several WooCommerce integrations.
First, in standard Beaver Builder layouts, you can list WooCommerce products with a Posts module. Here’s a screenshot showing all products in the category of Accessories. You can filter products by listing or excluding product categories or product tags, or you can display only specific products. The Posts module is great for displaying WooCommerce products on a static page, but to get the WooCommerce functionality of a Shop page that ties into the shopping cart and checkout pages, you need Beaver Themer.
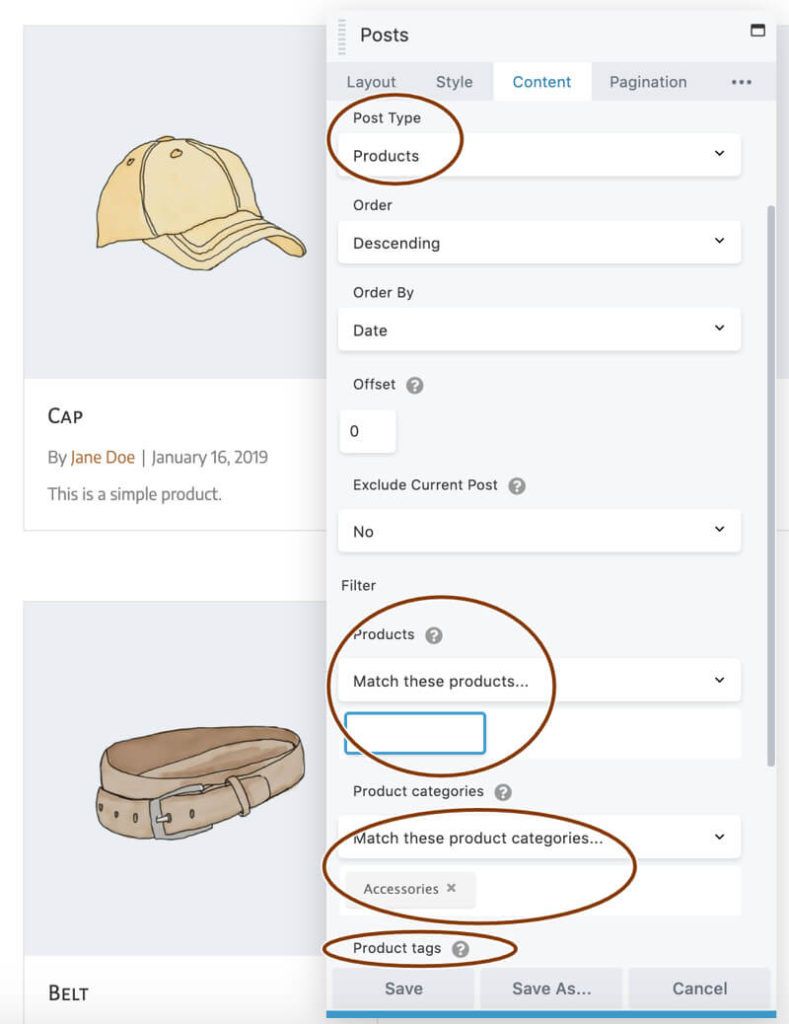
This module is great for manually building parts of WooCommerce displays in static pages or post content layouts, but even if you save it as a layout template and reuse it, you might have to make changes on each page. With Beaver Themer’s templating ability, you can set up field connections that display the data you want on each page.
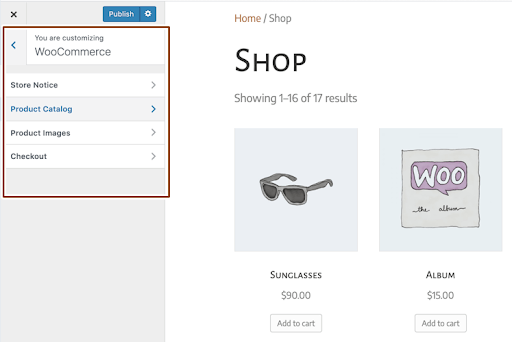
Third, the Beaver Builder Theme has a variety of settings for WooCommerce Shop and product pages, as shown in this screenshot. Just like with any theme, no matter how many settings there are you can’t tweak the layout to appear exactly the way you want it, but with Beaver Themer you can achieve a truly custom layout, and you can add any custom fields to your layout to make your Shop and product pages unique.
How to Customize a WooCommerce Product Page With Beaver Themer (In 5 Steps)
We have a great step-by-step video tutorial that demonstrates how you can use Beaver Themer to customize your WooCommerce product pages or Shop page. Watch the video below:
Here’s how to create a custom Themer product page layout in just five steps.
Step 1: Set up your Beaver Builder/Beaver Themer/WooCommerce environment
This tutorial requires that the WooCommerce plugin, any premium version of the Beaver Builder plugin, and the Beaver Themer plugin are installed.
If you don’t yet have products in WooCommerce, create some in the normal fashion, or to make it easier, you can import the WooCommerce sample data. Having a basic set of products helps you to preview the Themer layouts as you’re building them.
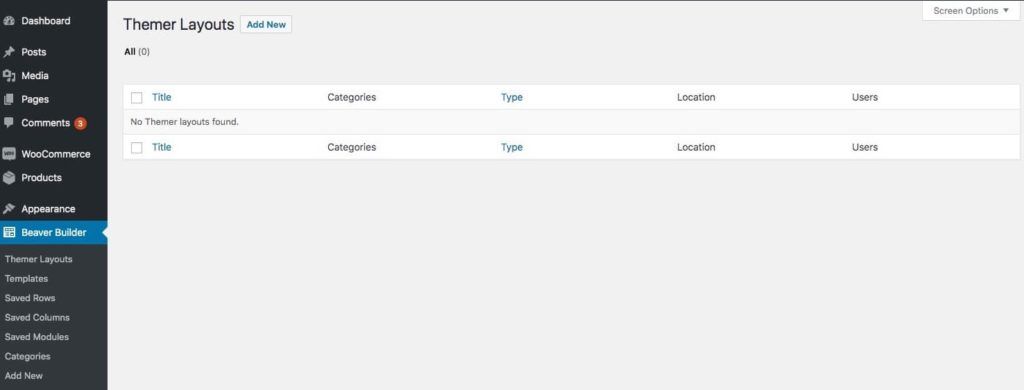
Step 2: Add a New Themer Layout
Now the fun starts! Let’s create a Themer layout to display a single product.
In the WordPress admin sidebar, click Beaver Builder > Themer Layouts and then click the Add New button at the top of the screen:
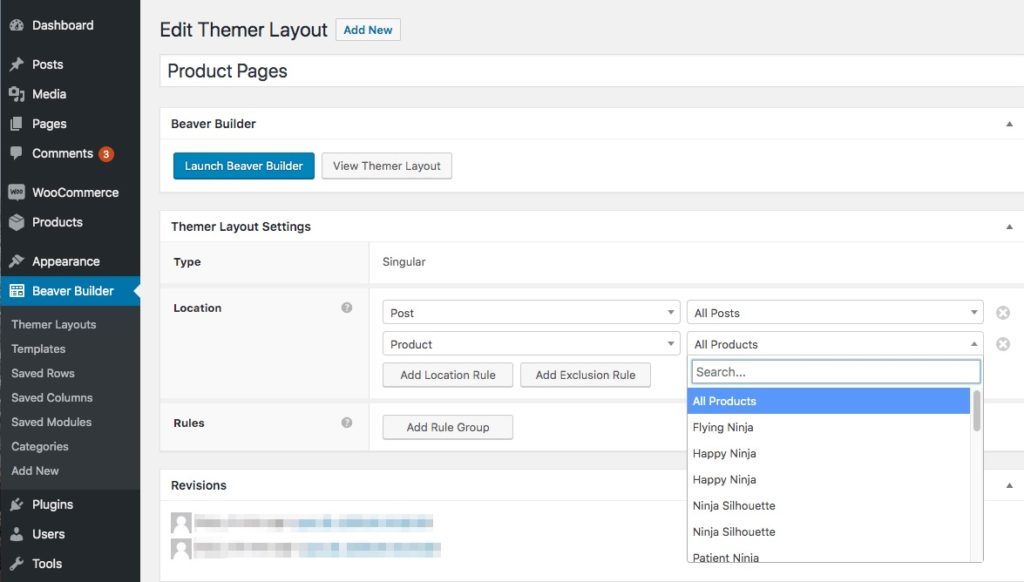
Name your layout and select Singular in the Layout field, which applies to any type of single post. Click Add Themer Layout:

Let’s apply this layout to each product page. For Location, choose Product and then All Products:
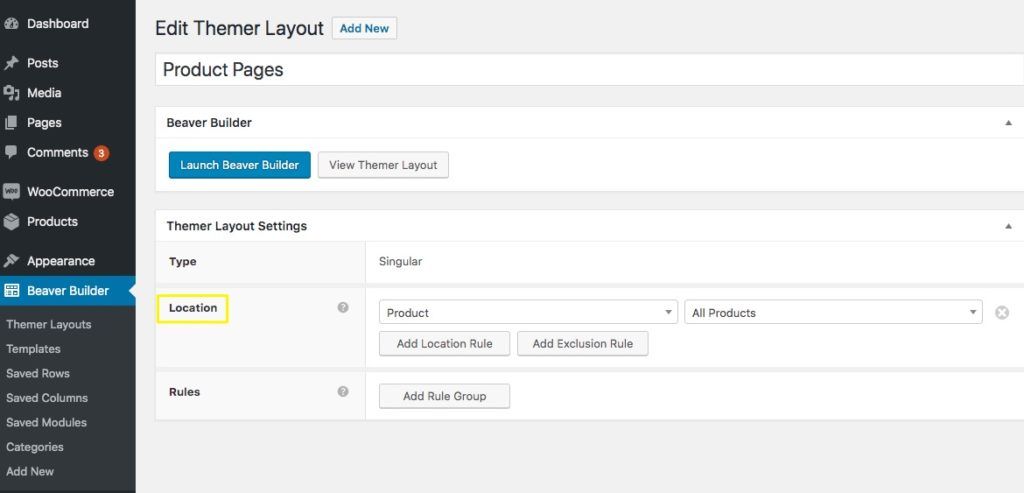
Click Update when you’re done selecting the location.
Step 3: Select the Template option from the Themer Menu
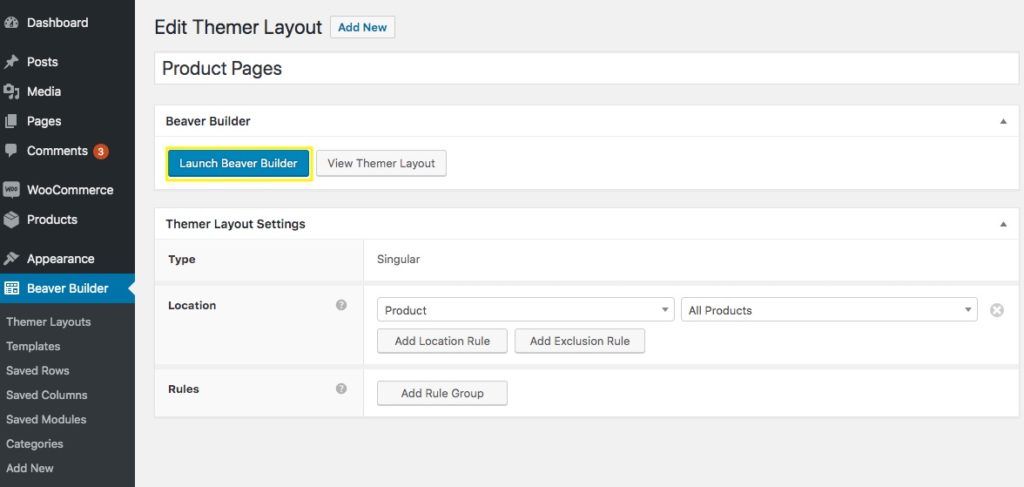
Click Launch Beaver Builder in order to open your layout in Beaver Builder:
The initial layout is more geared towards a post than a product page. To change this, open the Content panel by clicking on the plus (+) symbol in the upper right-hand corner of the page.
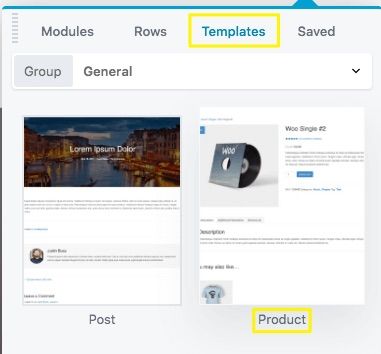
Select Templates, choose the Product template: and choose the option to replace the current template.
You can click Preview in the top bar of the editor to choose a specific product page to preview as you work on your layout.

The template may not look exactly like what you had in mind, but many of the special Themer WooCommerce modules are already included in the template with their field connections in place, so you can rearrange and style the modules on the page rather than constructing a layout from scratch.
Step 4: Customize Your Product Page Layout
Now that you have something to work off, you can start moving, deleting, and adding rows, columns, and modules in your layout. As you can see in this screenshot, in the Themer modules group there are many WooCommerce-specific modules to choose from:

Many of these modules are already included in the Product template, and you can mouse over any module’s Wrench icon to see which module it is:

To make the most out of this powerhouse of design tools, there are a few WooCommerce modules you might want to test out on your site, including:
- Product Rating. This module is a nice addition that displays the average customer rating and the number of reviews for a given product. It’s already in the Product template, and if there aren’t any product ratings yet, you’ll see a code placeholder:

- Add to Cart Button. In WooCommerce, the Add to Cart section includes product variations and quantities, so the Add to Cart Button module also has those settings.
- Related Products. Cross-selling is an effective way to increase revenue, and the Related Products module lets you use this technique. Using standard WooCommerce functionality, it displays a feed of products that share the same tags and categories as a given item.
- Product Upsells. If you’ve configured products as ‘upsells’ in your WooCommerce product settings, the Product Upsells module displays them under the heading You may also like…. This is a simple way to display more expensive products your customers might be interested in instead of the item they’re viewing, resulting in more income for you.
You can use other WooCommerce modules in the Themer modules group to display description, image, price, title, and other details about your merchandise. You can reference the Beaver Themer Knowledge Base to learn more specifics about the available WooCommerce modules.
Of course, you aren’t limited to WooCommerce modules. You can also use any of the Beaver Builder modules in either the Standard modules group or the Themer modules group.
Step 5: Save and Publish Your Page Layout
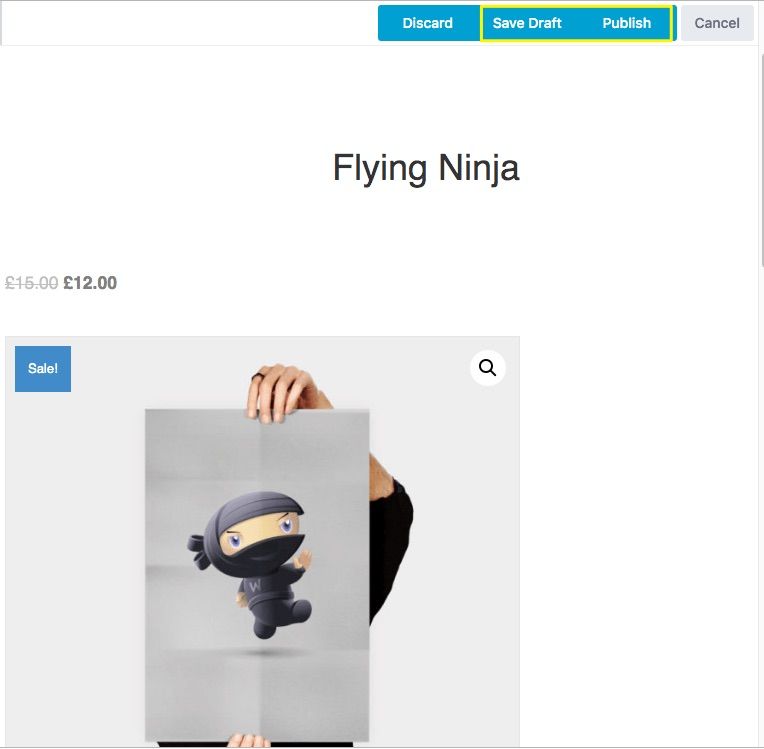
Once you’ve made all the edits and adjustments you want, click the Done button. You can then either save your layout as a draft or publish it to apply it to your product pages:
You can also revisit your Beaver Builder > Themer Layouts menu at any time and adjust the settings for your new layout. If you decide you want to apply it to only a few items instead of all your products, this is where you’ll make the change:
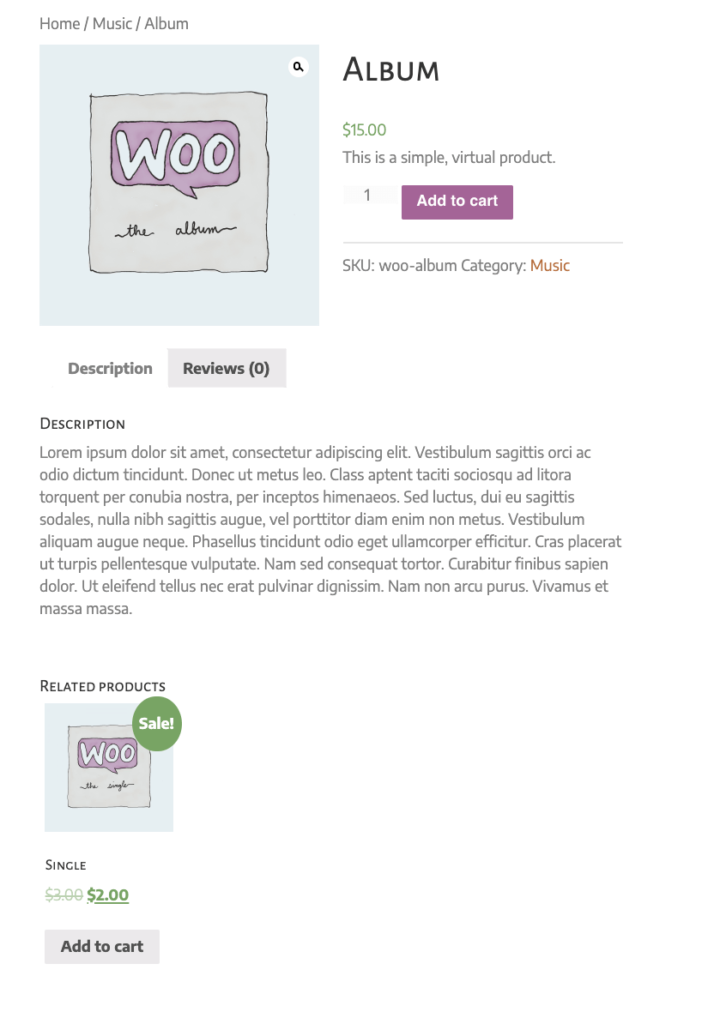
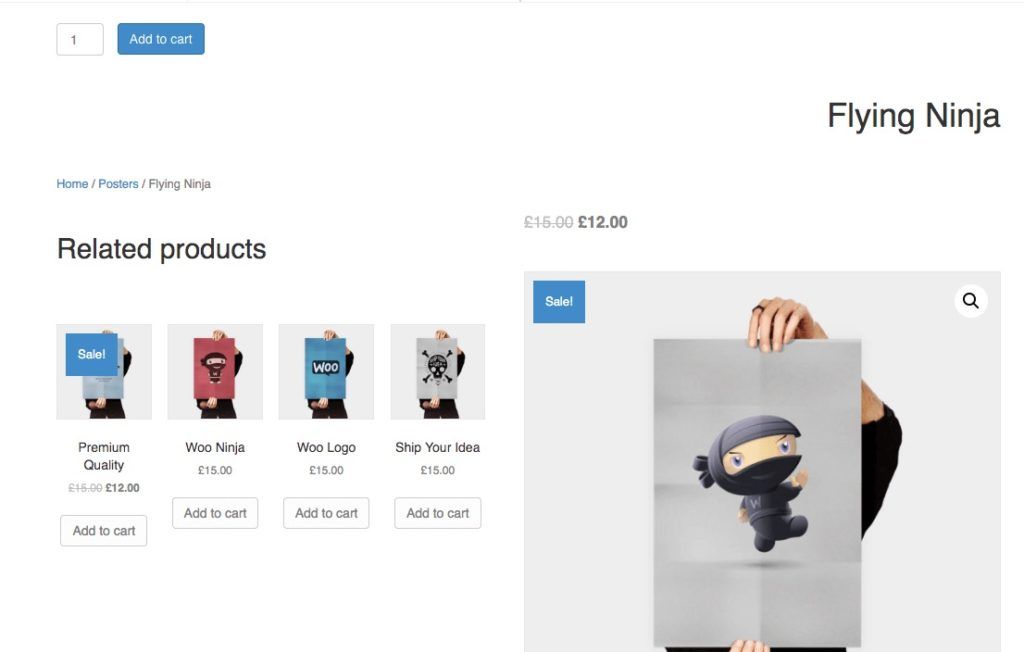
If you recall the Product template we started with, you can see how just a few drag-and-drop adjustments with Beaver Themer can make a huge difference in a product page’s layout:
Time to admire your work!
That’s it, you’ve created a custom Themer layout for single products! And you can see that it won’t be hard to produce a page that really looks great and is easy to maintain and modify in the future.
The procedure is very similar to customizing Shop pages. Just start with an Archive-type Themer layout and go from there.
Conclusion
The Beaver Builder plugin offers several ways to display subsets of WooCommerce products on static pages and in post-content layouts. The Beaver Builder Theme has a number of Customizer settings for WooCommerce Shop and product pages.
But Beaver Themer gives you the power to customize your Shop and product pages exactly how you want them and apply these layouts dynamically wherever you choose. By utilizing the available WooCommerce modules, you can take your product pages to a whole new level.
Creating a custom product page with Beaver Themer is quick and easy if you follow these five steps:
- Purchase, download, and install Beaver Themer.
- Create a new singular layout.
- Select the product template option.
- Customize your new layout with modules.
- Save and publish your page layout.
Do you have questions about the Beaver Themer add-on for Beaver Builder? Share them with us in the comments section below!
8 Comments
Our Newsletter
Our newsletter is personally written and sent out about once a month. It's not the least bit annoying or spammy.
We promise.
Try Beaver Builder Today

Related articles

How to Create a Mobile-First WooCommerce Store Using Beaver Builder
In today’s digital age, mobile shopping dominates online behavior. Recent studies show that over 70% of ecommerce traffic comes from…
How to Speed Up Your WooCommerce Store Built with Beaver Builder
Imagine a customer landing on your store, ready to buy, only to hit the back button because the page takes…
How to Create Headers and Footers with Beaver Themer
Page builders are great for creating beautiful pages, but they often don’t extend customization to headers and footers. This limitation…
Join the community
We're here for you
There's a thriving community of builders and we'd love for you to join us. Come by and show off a project, network, or ask a question.
Since 2014
Ready to build?
The WordPress page builder agencies and freelancers have trusted since 2014.
Hi, there is a big limitation regarding the long product description area. It is not possible to add full rows and/or other BB modules in it. You have to use standard wp design elements.
Any Cyber Monday deals coming up for this? 🙂
We haven’t made any announcements yet, but in years past we have participated in Cyber Monday 😉
I have a related question. WooCommerce offers “notifications” when certain events are triggered on a product page. As an example, when you add a product to your cart, you get the notification “Product A has been added to your cart. View Cart.”
Unfortunately, I have not found a way to position these notifications on a Beaver Themer Layout. Is this possible? I’ve built custom layouts for specific categories of products that include a full-width featured hero image per a client’s request. Those notifications are not visible due to the hero image’s placement. Any thoughts?
(I found a solution that puts the notifications in a popup, but it’s not working right.)
Hi Steve, this is a question that has been asked by other people as well. If you submit a support ticket one of our team members can assist you.
I would really like and I am certain other users would also appreciate a themer demo or in a separate themer your WooCommerce Integrations in the Beaver Builder plugin and Theme please
Hi Brian, we actually do offer a free live demo of Beaver Themer. You can try it out here… http://demo.wpbeaverbuilder.com/?new=themer and we have info about the WooCommerce integrations available for Beaver Builder plugin here… https://docs.wpbeaverbuilder.com/article/79-woocommerce-module-overview Hope that helps =)
This is a great tool with awesome potential. Quick question, I want to create a product page users can filter through, do I need to create a themer layout for each category that I want to be filterable?