
As you’re developing a website, you’ll likely want to display some featured content on your main pages. With a slider, you can show important images, videos, and posts in moving slides. This is an easy way to keep visitors engaged and draw their attention to key information about events, promotions, and more.
In this post, we’ll explain why you might consider adding content sliders to your WordPress website. Then, we’ll show you how to do this with Beaver Builder. Let’s get started!
Table of Contents:
- Why You Might Want to Add Content Sliders to Your Website
- Common Ways to Use Content Sliders
- How to Add a Content Slider in WordPress (In 5 Steps)
- Step 1: Install Beaver Builder
- Step 2: Insert a Content Slider Module
- Step 3: Add New Slides
- Step 4: Customize Your Slider Settings
- Alternate Method: Use the Posts Slider Module
- Conclusion
- People Also Ask
Why You Might Want to Add Content Sliders to Your Website
To put it simply, a slider is a useful tool that displays multiple images or videos and helps deliver more information to website visitors in a smaller space. Often, content sliders automatically change after a few seconds. Alternatively, visitors may have to click arrow buttons to view the next piece of media:

Here are some basic components you may see on each page of a slider:
- A background that displays a solid color, photo, or video
- An overlay of text, text + photo, or text + video
- A button with text or a link
If you have a media-rich site, a content slider can be an effective way to consolidate space. Instead of creating long pages that require users to scroll, you can allow them to view multiple items in a slider. Plus, using the right tools, you can easily place a slider anywhere on your website.
Moreover, sliders can provide a better user experience. Essentially, with an automated transition, a slider can draw attention to important content that visitors may have missed otherwise. This can also be more engaging than static images, videos, or text.
If you design sliders with buttons, you can also encourage visitors to click on your content. As they view additional images in the slider, they’ll likely stay on your website for longer periods. Meaning, by simply creating a well-designed slider, you can reduce your bounce rate.
Common Ways to Use Content Sliders
Now that you know about the potential benefits content sliders can provide, you may be wondering how to use them on your website. First of all, a slider is a great way to introduce your content. On a home page, sliders can immediately engage new visitors:

This can be especially useful for e-commerce sites. That’s because you can promote new discounts or special offers using a slider. When placed on a landing page, sliders can also drive more click-throughs and conversions.
Alternatively, you can use a content slider as a portfolio. This can display your skills in a more interactive format than a simple grid:

Since sliders are so dynamic, you can use them for more than just photos and videos. For instance, if you run a blog, you can use this design element to feature new posts. This can be an effective way to update your long-term readers.
There’s virtually no limit to what you can do with content sliders. Regardless of your site niche, sliders can be an important design element to keep your visitors informed and engaged.
How to Add a Content Slider in WordPress (In 5 Steps)
Content sliders can be a simple yet highly functional design touch on your website. To help you maximize their benefits, let’s discuss how you can create your first slider in WordPress.
Step 1: Install Beaver Builder
Once you decide to start including content sliders on your website, you might struggle to find the right design tools for this process. You could install a plugin designed specifically for sliders, but it’s often best to minimize the number of plugins you use.
At Beaver Builder, we created a page builder with a comprehensive set of web design tools, featuring elements for multiple types of sliders. Using our drag-and-drop editor and a large selection of modules, you can easily create pages that suit your unique needs:

Beaver Builder is also responsive with lightweight coding. When you create sliders, you may worry about slowing down your website with heavy images, videos, or motion effects. However, since Beaver Builder is optimized for speed, all your designs will be too.
Although Beaver Builder is available as a free WordPress plugin, you’ll need to purchase a subscription to access our premium modules, Beaver Builder Theme, and Beaver Themer plugin. This will enable you to easily create content sliders, forms, maps, pricing tables, and many other useful elements. After you buy a plan, installing Beaver Builder only takes a few minutes.
Step 2: Insert a Content Slider Module
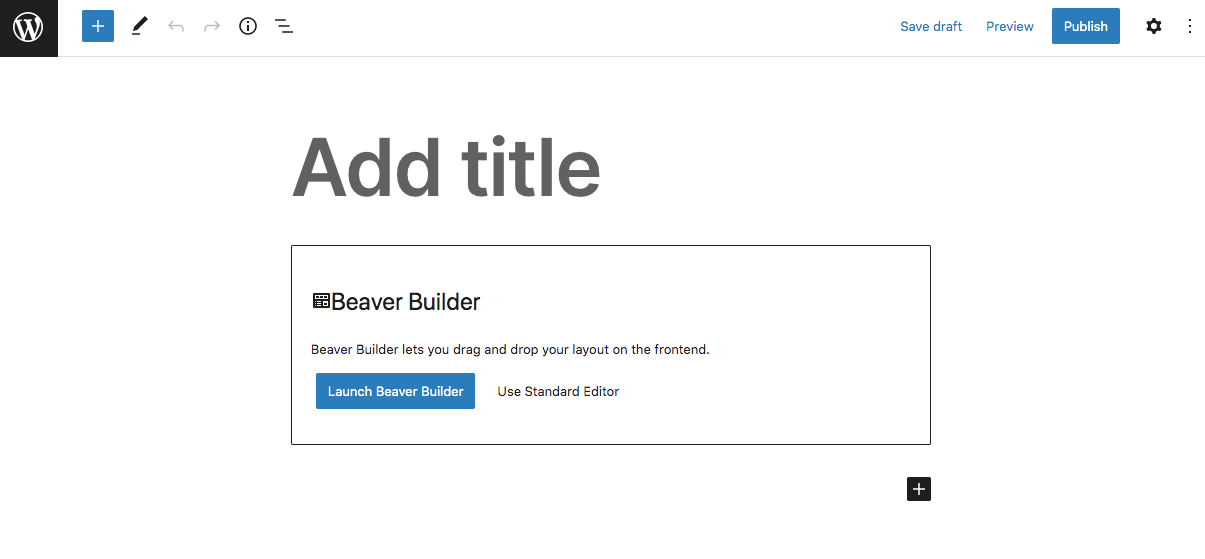
Once you’ve installed and activated Beaver Builder in WordPress, start by adding a new post or page to your site. When the Block Editor opens, click on Launch Beaver Builder:
To easily format the page, you can select one of the pre-designed page templates. Simply click the blue plus icon in the upper right corner. Navigate to the Templates tab and click on one to automatically implement it:

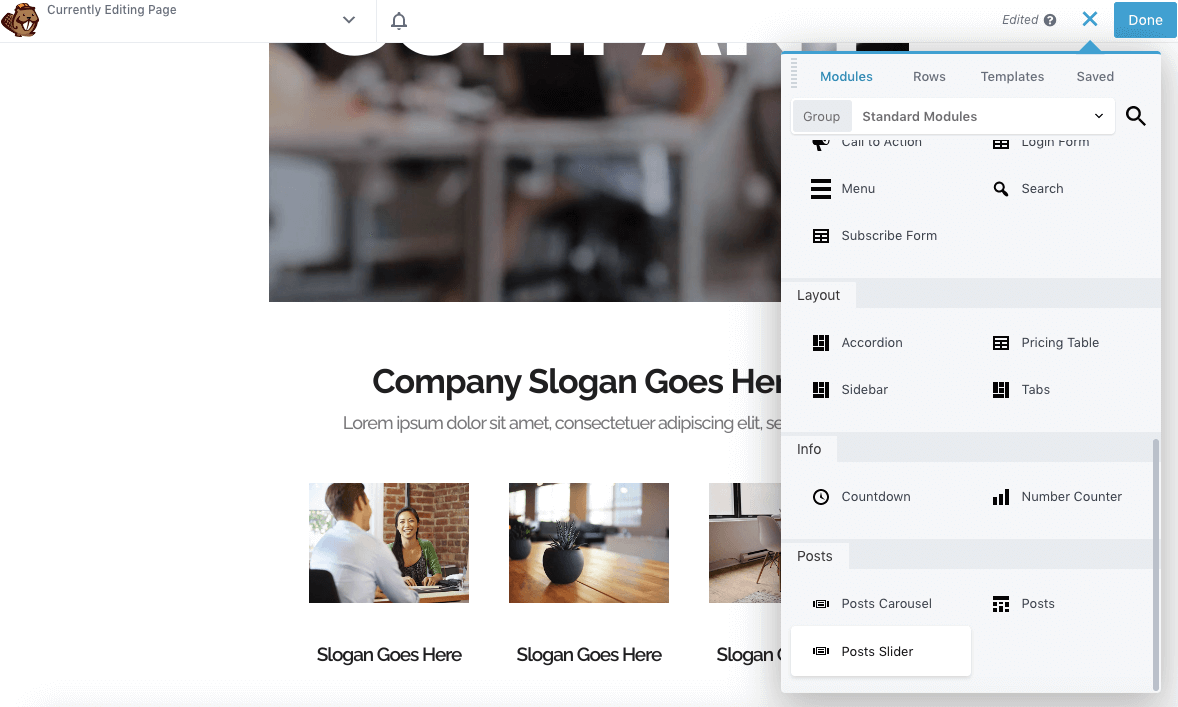
Alternatively, you can always open a pre-existing page using Beaver Builder. Then, go to the Modules tab. Here, scroll down to the Media section and find the Content Slider module. You can drag and drop this element anywhere on the page:

Now you can continue to customize the content in your new slider!
Step 3: Add New Slides
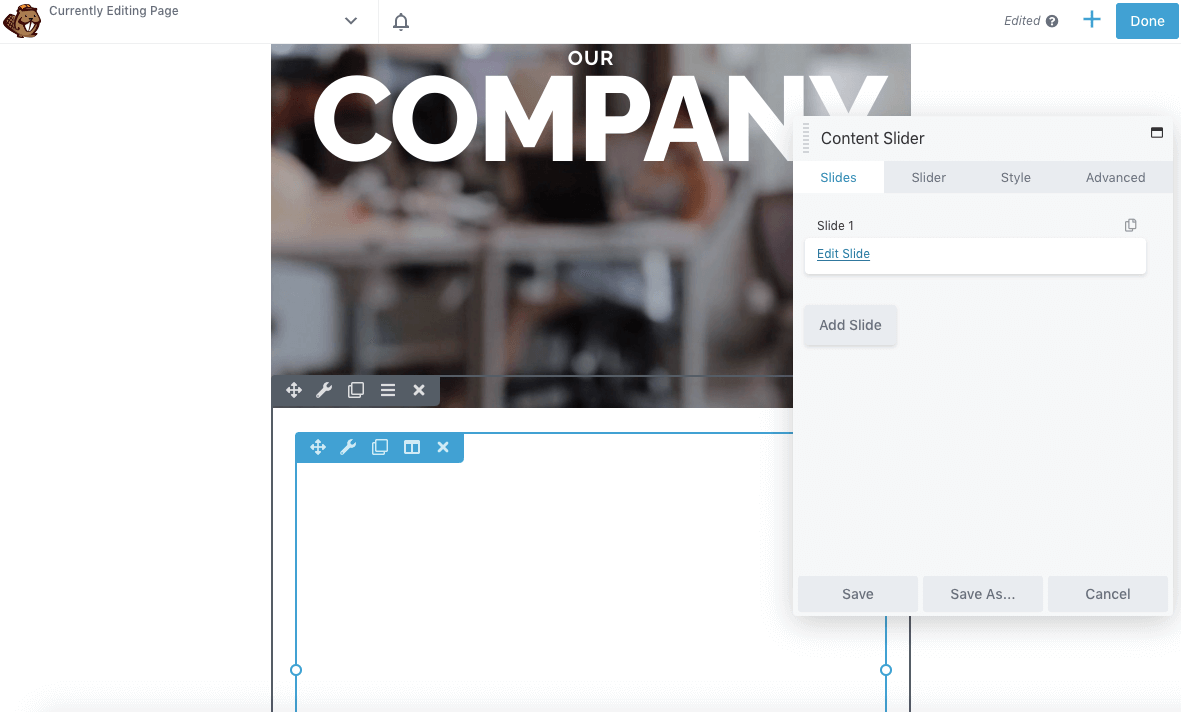
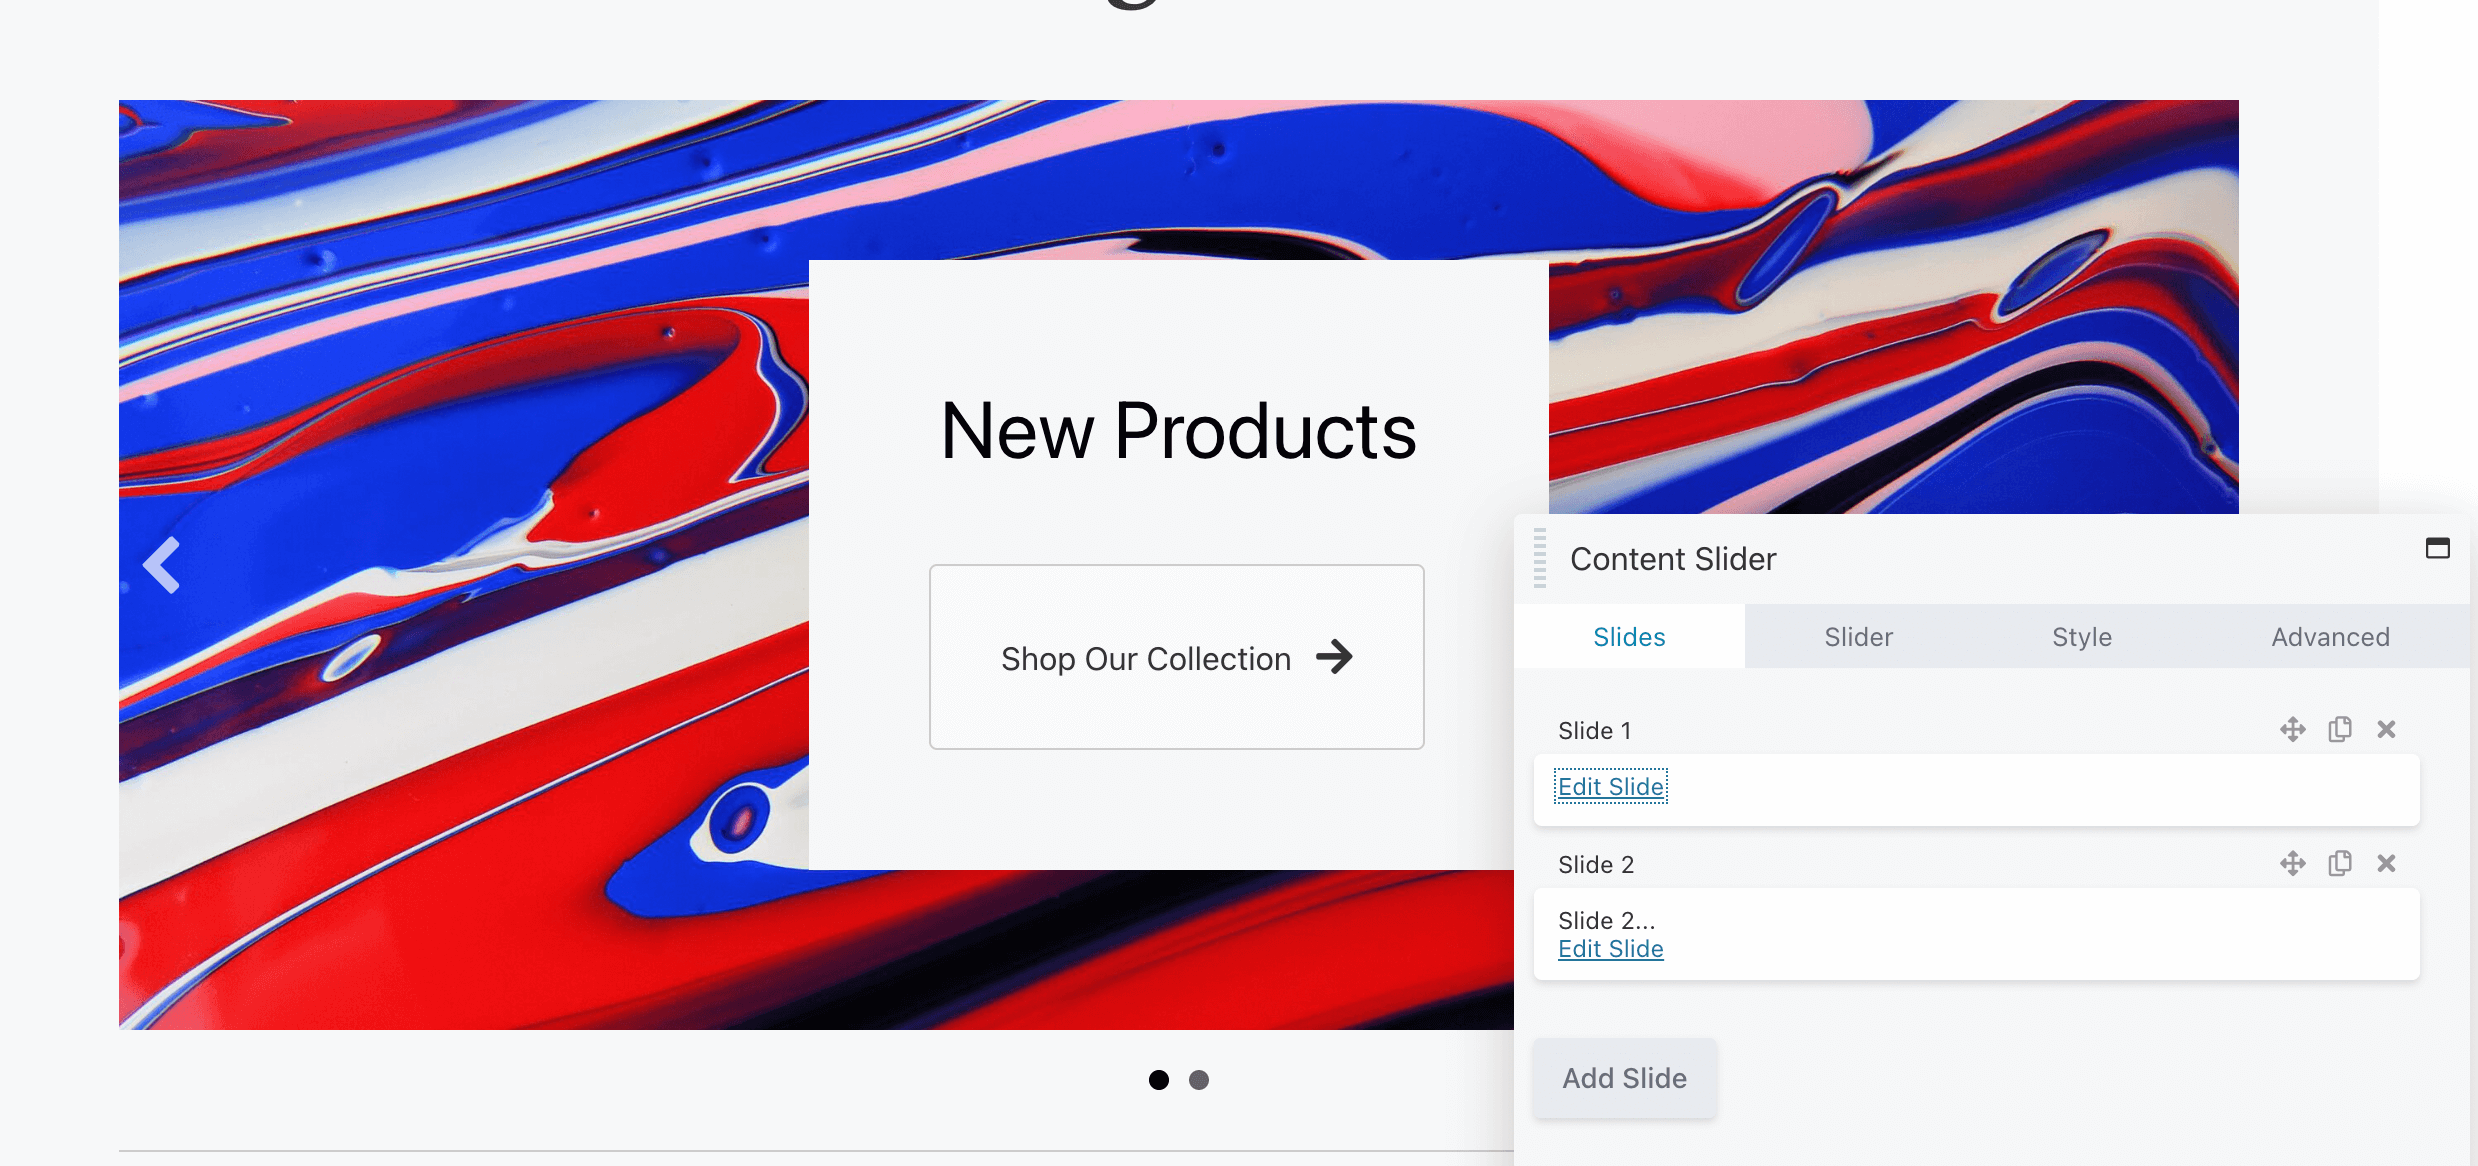
Once you add a content module to your page or post, it will generate a blank slide. To edit this, open the module settings and navigate to the Slides tab:
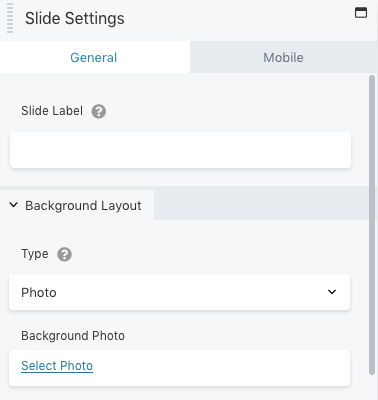
Then, click on Edit Slide. In the Slide Settings, add a label to identify that specific slide. Next, you can choose an image, video, or solid color for the background:
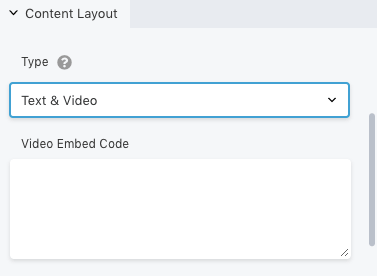
At the bottom of the settings pop-up, you’ll need to set a content layout. You can either include just text, text and a photo, or text and a video:
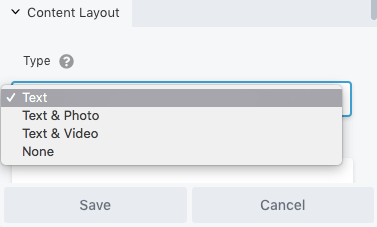
Based on the option you choose, new fields will appear. For instance, selecting Text & Video will allow you to paste a video embed code:
To customize how the text appears, you can go to the Style tab. This will provide options for editing position, spacing, and color:
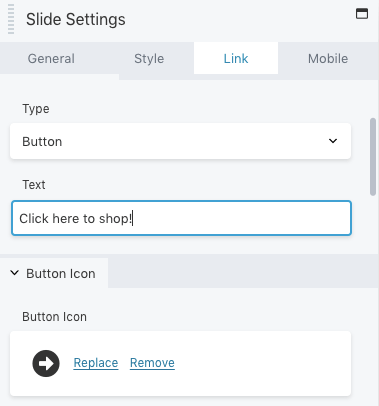
If you want to direct users to another web page, click on Link. Here, paste the URL. Then you can add a call-to-action button and customize how it looks:
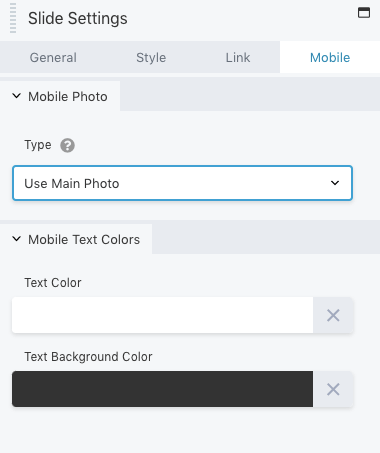
You can also edit the way the slide appears for mobile users. Just head to the Mobile tab to modify the photo and text:
Once you’re happy with these changes, save the slide. You can click on the content slider again and add more slides:
Simply repeat the same process to customize each slide. Once you’re happy with the visual results, continue to the next step.
Step 4: Customize Your Slider Settings
After you’ve edited each slide, it’s time to customize the slider itself. To do this, click on the Slider tab. At the top, you can choose to automatically move the slides or not. This will determine whether visitors can simply watch the animation or click through the slides themselves:
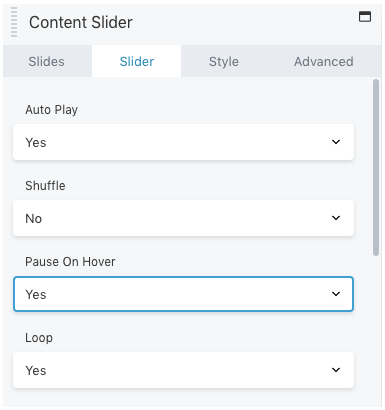
Additionally, you can set the slides to shuffle and make the motion pause when a mouse hovers over them. You can also display slides on a loop.
Further down, you can create a delay and choose a transition speed. Keep in mind that the transition speed needs to be shorter than the delay. This will avoid skipping images that haven’t finished transitioning before the next slide:
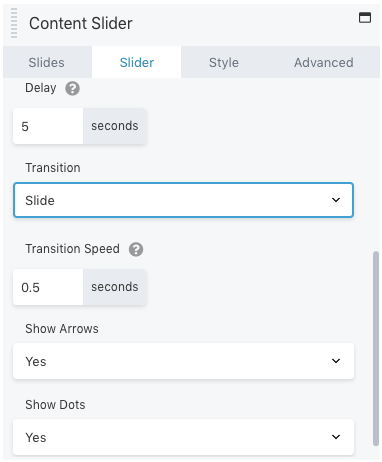
You can also customize the display of the slider by adding arrows and dots for navigation. This will enable visitors to click through the slider and see the total number of slides.
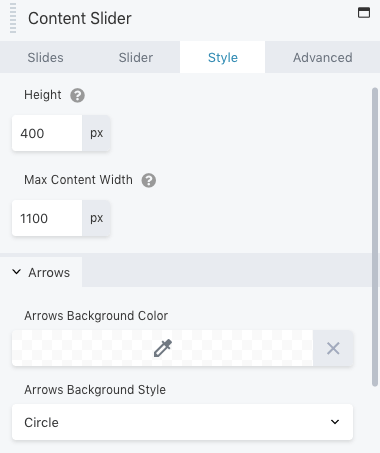
Under Style, you can adjust the height and width of the content slider. Additionally, you can edit the arrows’ color and style:

Similar to any other Beaver Builder module, there are advanced options for margins, animations, and visibility. You can modify these settings in the Advanced tab before you save and publish your changes.
That’s it! Now you should be able to use the Content Slider module. However, Beaver Builder offers another option.
Alternate Method: Use the Posts Slider Module
If you want to display sliding videos or images, a content slider can be an effective option. However, you may need to include your recent blog posts. As we mentioned earlier, this can be a great way to promote new articles.
Rather than having to edit a content slider from scratch, you can insert a Posts Slider module. To do this, open the Beaver Builder editor and find the Posts Slider option:
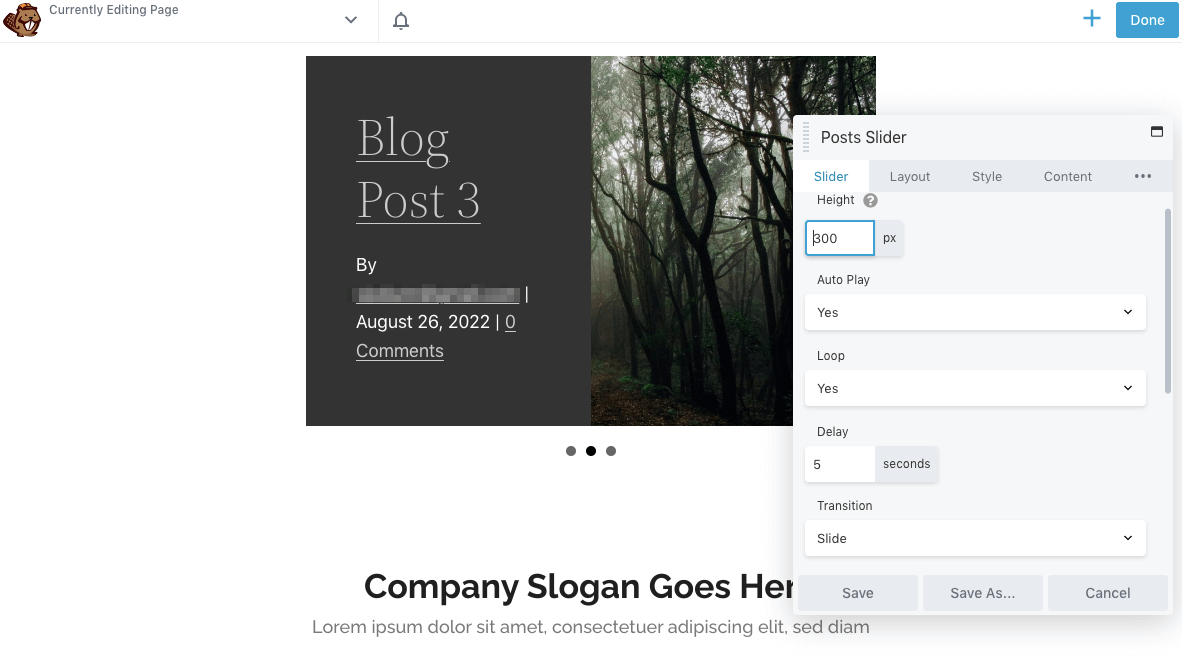
Once you drag and drop this module onto a page, it will automatically set up a default slider for your recent posts. In the editor, you can customize its height in pixels and decide whether it will automatically play. You can also set a loop, delay, and custom transition:
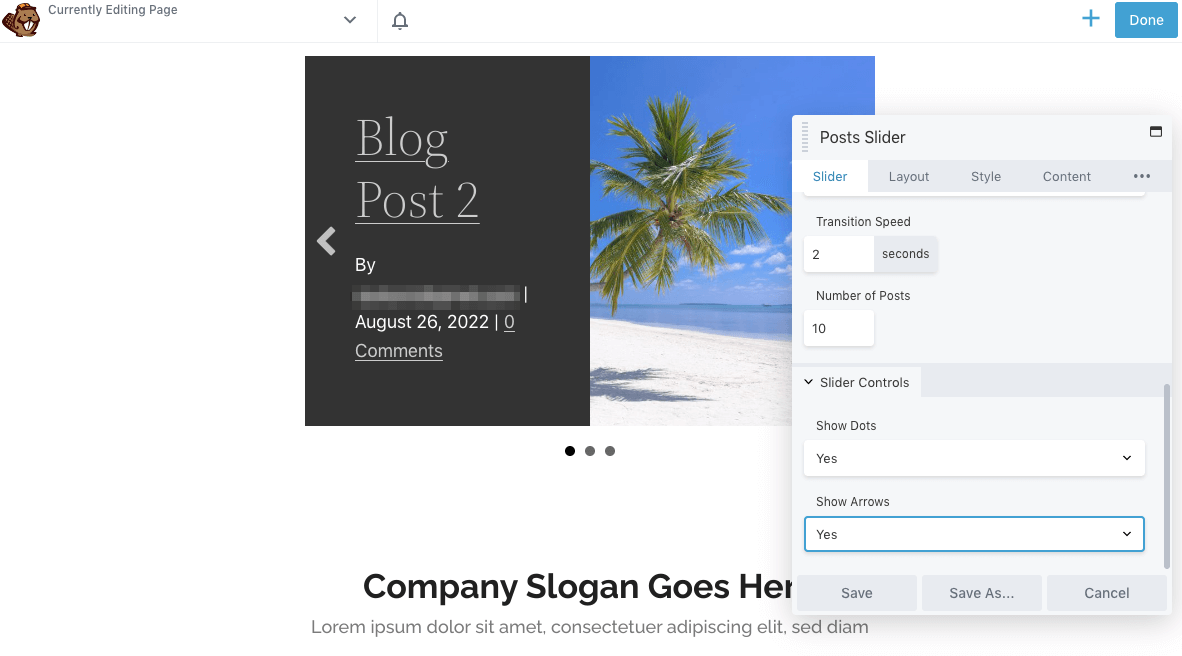
As you scroll down, you can set a transition speed and the number of posts in the slider. Then, choose whether to display dots and arrows:
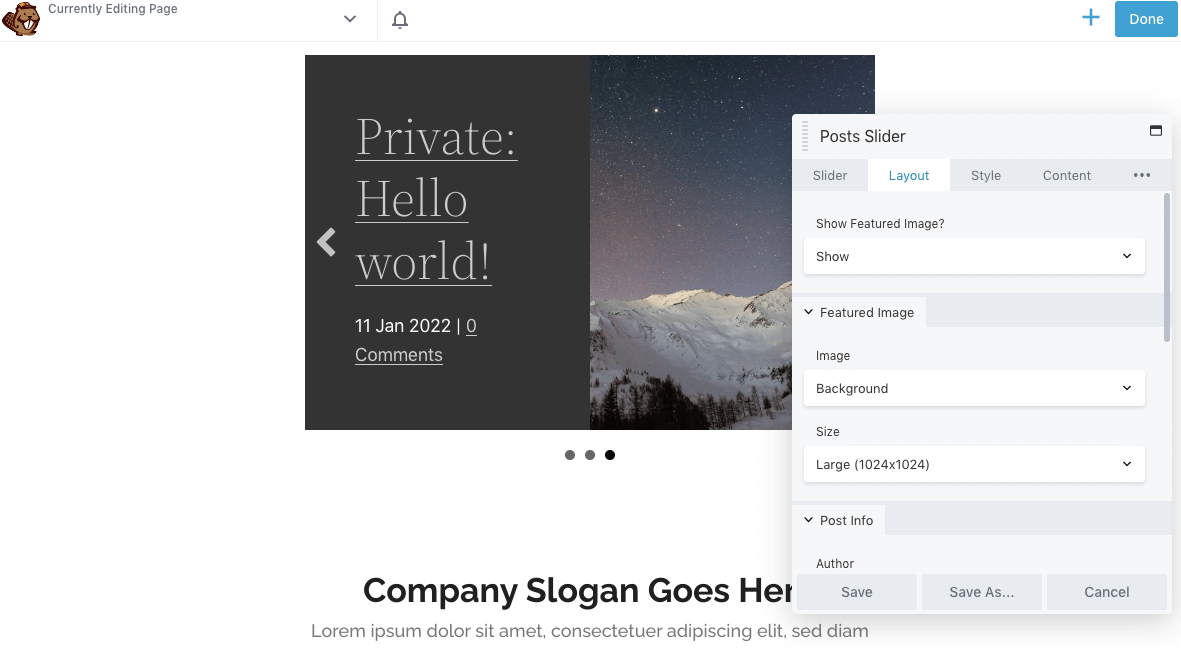
By default, Beaver Builder will include the post’s featured image in the slider. In the Layout tab, you can edit the size of this image or remove it altogether:
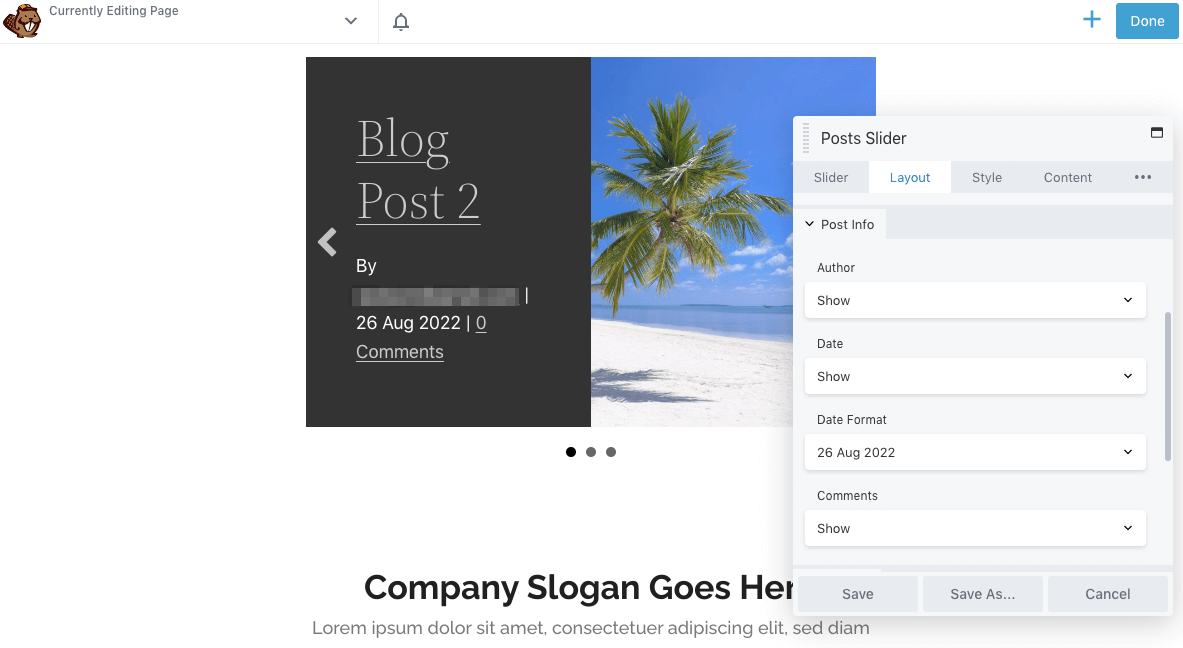
Under Post info, you can choose how to display each blog post. You’re able to include a custom date format along with the author’s name and the number of comments:
To encourage visitors to click on the blog posts, you can even add a call to action. In the Content section, consider including a More Link:

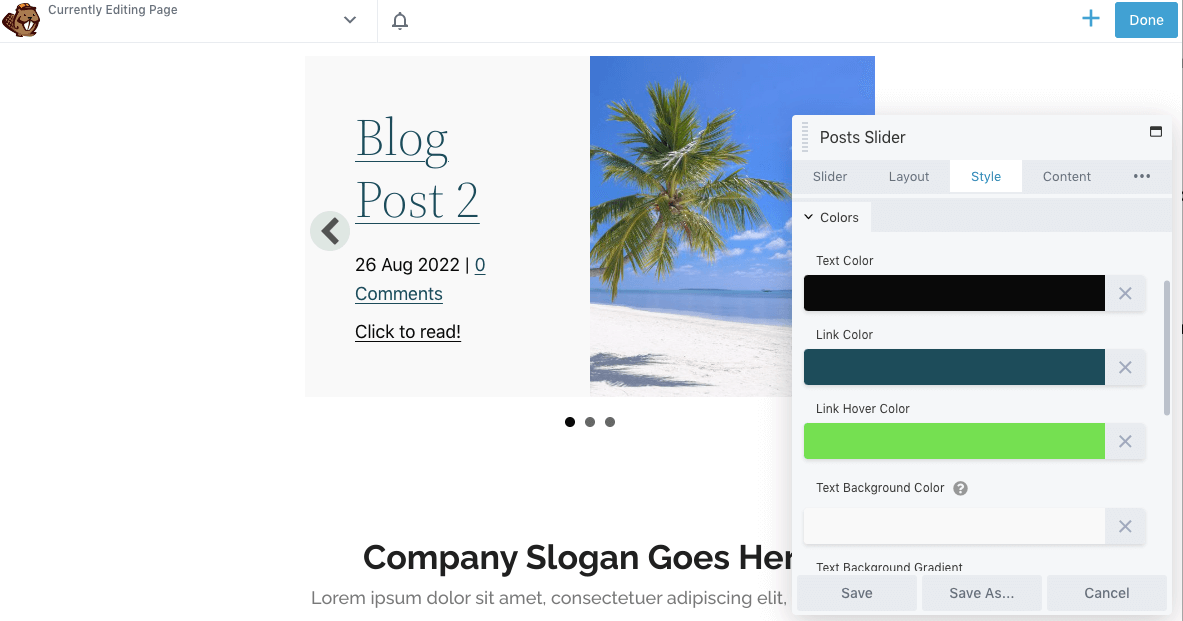
Then, click on the Style tab to edit the text sizing and position. You may also want to change the colors of the text, background, links, and arrows:
When you’re happy with how the post slider looks, save your changes. Finally, you can publish the page!
Conclusion
Rather than displaying a full page of static media, you can start using content sliders. This simple design element can be eye-catching and engaging for new visitors while also saving space on your website.
To review, here’s how you can use Beaver Builder to add a content slider in WordPress:
- Install Beaver Builder.
- Insert a Content Slider module.
- Add new slides.
- Customize your slider settings.
- Alternate method: use the Posts Slider module.
Related Questions
What other animations can I add to my website?
Content sliders are not the only engaging element you can include on your website. With Beaver Builder, you can add an animation to any row, column, or module. This supports fading, zooming, bouncing, sliding, rotating, and much more.
How can I make static images more engaging?
To make static images more engaging, Beaver Builder enables you to place images in a slider, gallery, or slideshow. These modules can provide a well-designed layout for photos. In addition, you can add entrance animation to any Beaver Builder row, column or module when it becomes visible for the first time on a page. Meanwhile, more advanced users can configure CSS to add interesting elements like hover effects.
Our Newsletter
Our newsletter is personally written and sent out about once a month. It's not the least bit annoying or spammy.
We promise.
Try Beaver Builder Today

Related articles

Beaver Builder AI: Build WordPress Layouts with AI (Now in Alpha)
Hey everyone! Big news. After a long time of building behind the scenes, Beaver Builder AI is here. The alpha…

How Beaver Builder Products Work Together to Build Flexible WordPress Websites
Building a WordPress website often means stitching together a theme from one developer, a page builder from another, and a…

From Azeroth to WordPress: How Warcraft Tavern Uses Beaver Builder
Since releasing Beaver Builder 12 years ago, a feeling will come up from time to time that just never gets…
Join the community
We're here for you
There's a thriving community of builders and we'd love for you to join us. Come by and show off a project, network, or ask a question.
Since 2014
Build Your Website in Minutes, Not Months
Join Over 1 Million+ Websites Powered By Beaver Builder.