
Creating fantastic websites is only the first step to becoming a successful developer, designer, or web agency. Another key element is building a strong brand – one that’s memorable, unique, and professional. An often-overlooked stage in that process is ‘white labeling’ your WordPress websites that you build for your clients so they see your brand whenever they edit their website.
In this post, we’re going to take a close look at what white labeling is and why you might want to make it an important part of your development process. Then we’ll walk you through how to get the job done. Let’s jump right in!
The Problem With Ignoring Your Client Websites’ Admin Areas
When building a website for a client, you’ll put a lot of thought into what it looks like and how it works on the front end. This includes enhancing its functionality with key plugins, creating a unique design and layout via your page builder, and incorporating the client’s branding (such as colors, fonts, and imagery).
However, many developers and agencies that get this part right leave the back ends of their client websites untouched. While the front end of the site may look like this:

…the back end appears just like every other WordPress site out there:
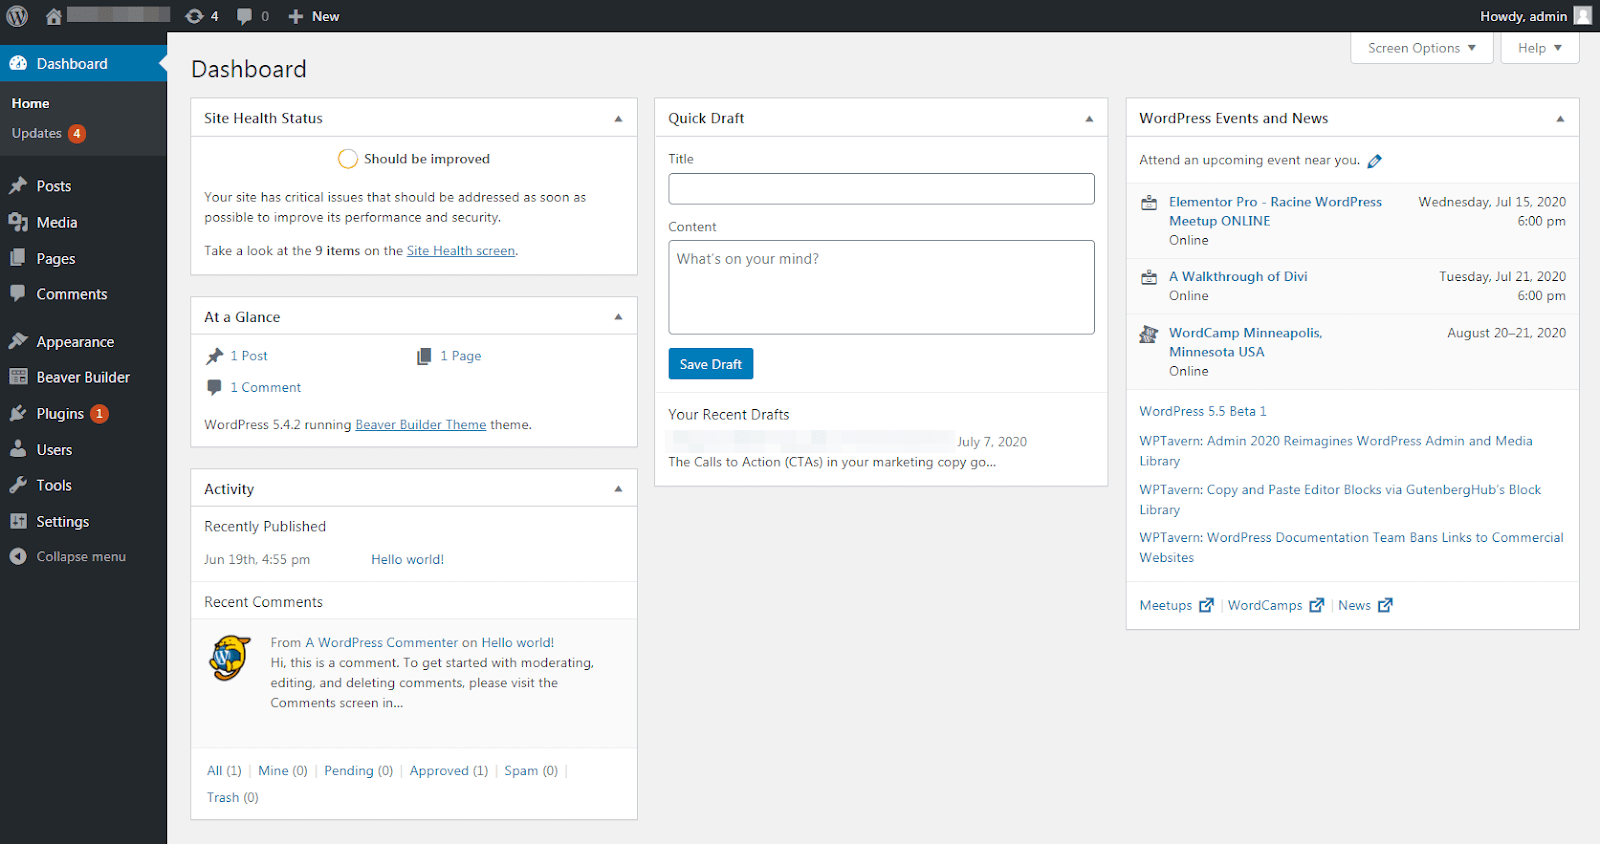
This has several downsides. For starters, it creates a disconnect between the front and back ends of the site and makes the admin area feel generic and dull.
Plus, your site’s back end will likely be full of branding from not only WordPress itself, but also your chosen theme and all the various plugins you’ve installed. This isn’t necessarily the best look to offer your clients. It risks burying your own brand – making you a lot less memorable.
Understanding White Labeling and Its Key Benefits
Fortunately, there is a solution. ‘White labeling’ is the process of modifying a site’s back end to match your branding and better serve your clients’ needs. By paying just as much attention to a site’s client-facing side as you do the visitor-facing side, you can deliver a product that boosts your business just as much as your client’s.
For a deeper dive on how to build personalized websites for clients, you might enjoy this webinar:
If you’re not yet convinced, here are a few of the key benefits white labeling offers:
- You’ll be making the back end of the website more pleasant to look at and use, enhancing the User Experience (UX) for your client.
- You can deliver a stronger product by making the admin area as unique as the part of the website visitors will see.
- You get the opportunity to remove some third-party branding and incorporate your own instead. That way, you make sure your clients remember who built their sites (and can more easily recommend you to others).
- You’re presenting a more professional face to your client (and to anyone new who might work on or adopt the site in the future).
- You’ll have the chance to tweak your site’s back end to better serve your client’s unique needs.
That last point is particularly important. One common misconception when it comes to white labeling is that it’s all about looks and branding. While those are important elements, the process of white labeling a site can include functional changes to how the admin area works. Let’s delve into that concept in a little more detail.
Why White Labeling Is About More Than Looks
White labeling your websites helps you appear more professional and enhances your brand. And it’s just as valuable to your clients.
For example, you can avoid confusion by displaying your company branding in the admin area. Many of your clients will be nontechnical users who have no experience running a website. Seeing WordPress and third-party logos and notifications, as in the following screenshot, might make it more difficult for them to know who to reach out to for help and support.
A key part of white labeling a website is understanding the individual client and their needs. If you know how they will be managing the website and how much technical experience they have access to, you can customize the WordPress admin area accordingly.
Consider a client with an experienced WordPress user on their team, who will be responsible for performing updates and handling general maintenance and security. In this scenario, you can maintain a light touch with your white labeling, keeping all areas of the back end open and accessible.
However, what if you’re designing a website for a company without a dedicated IT team, where they need to log in to perform certain tasks but you or some third-party service handle more technical tasks for them? for them?
Inexperienced users with an Administrator role might find themselves on the Plugins page and deactivate a security plugin or caching tool. They could wander into the Settings area and accidentally change their permalink structure.
When you hide these admin areas from view, nontechnical clients are less confused by the simpler user interface and you have eliminated some potential emergencies. It’s a win-win for you and your clients.
How to White Label Your WordPress Website (4 Tips and Tools)
Want to learn how to white-label your WordPress theme manually? This is typically done by adding custom code to your theme’s functions.php file. The WordPress Codex has a handy tutorial on customizing the login form, for example, and finding (and modifying) other aspects of the platform’s branding. You can even create your own unique admin theme.
That said, as with most WordPress tasks, there are simpler ways to approach this process. We’ll look at four ways you can white-label your websites to present a more professional look for your clients and improve their experience.
1. Customize the Admin Login Page
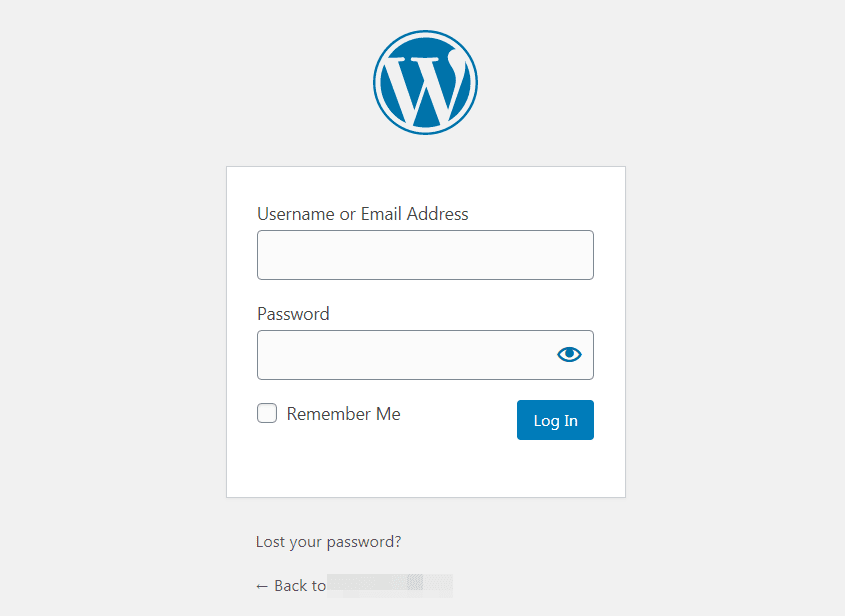
Clients who have access to the back end see the login page repeatedly. Unfortunately, the default WordPress login page is extremely bland and generic.
That makes the login page the perfect place to introduce some design tweaks and incorporate your own style. There are plugins built specifically to help you do this, such as Custom Login Page Customizer:
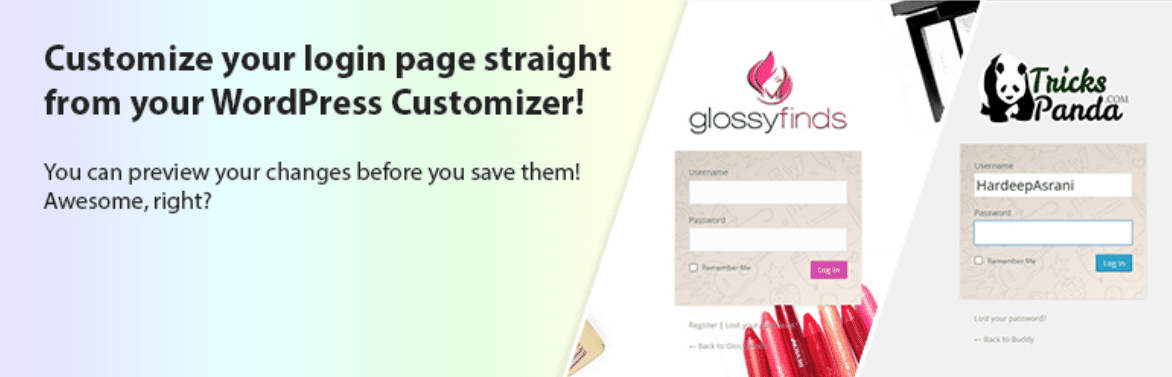
This plugin does exactly what it says on the tin. After installing and activating it, you can head over to LoginPress > Customizer:
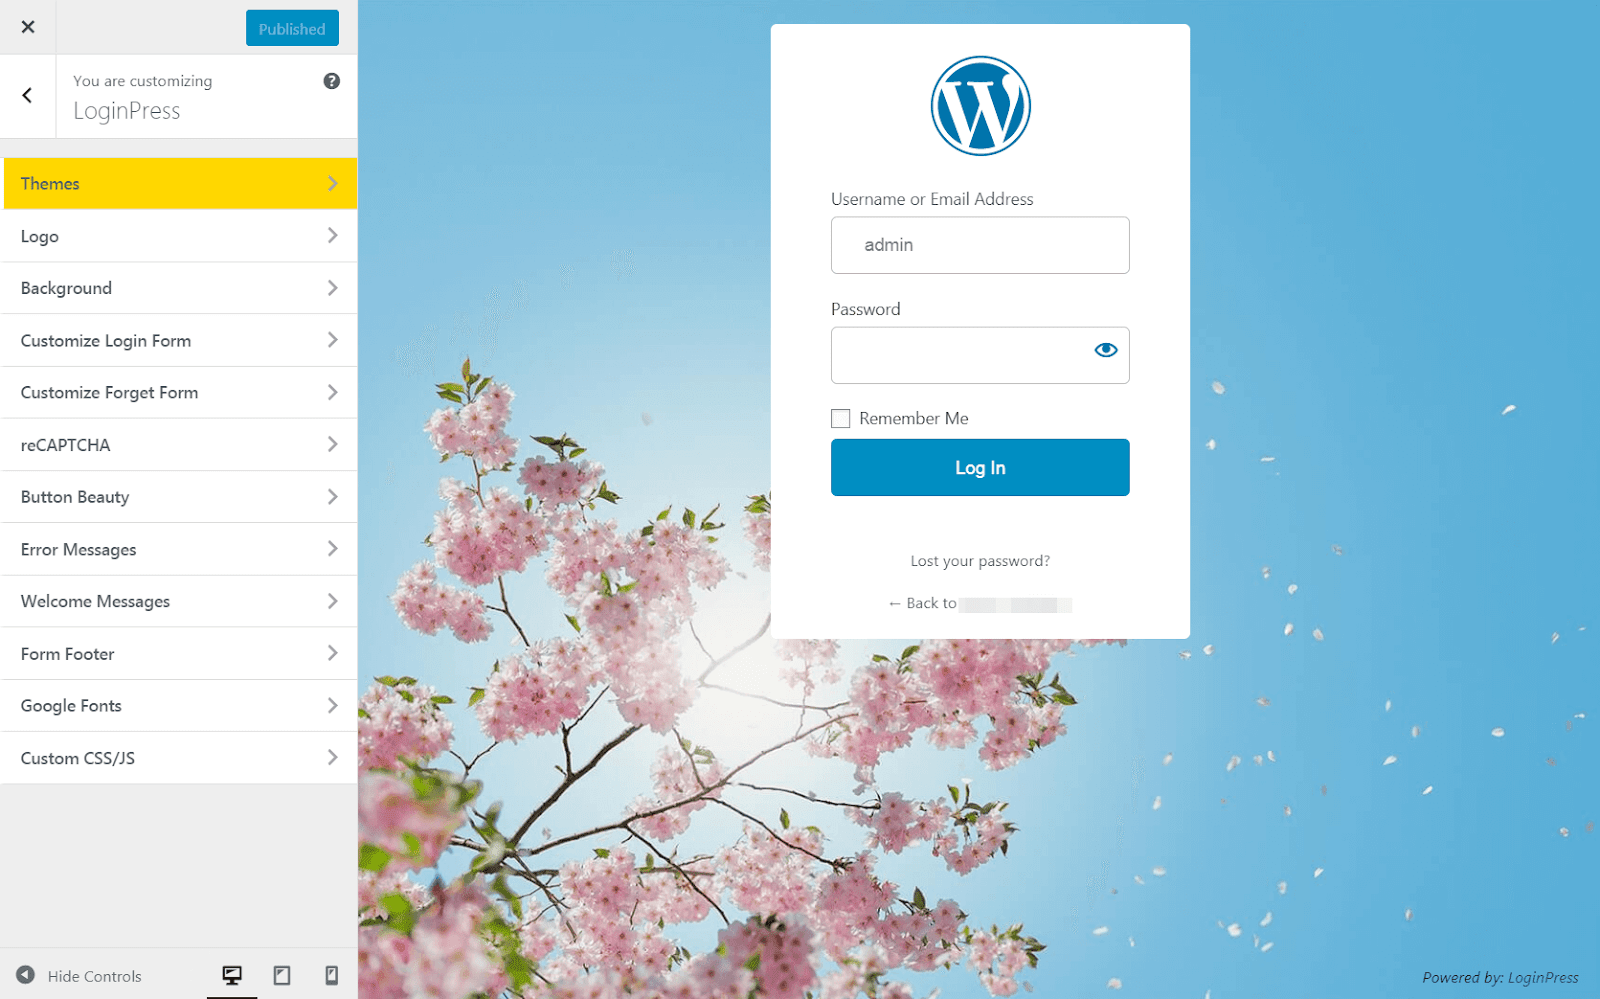
Here, you can use the default WordPress Customizer to modify your login area. You can add a logo and background, tweak the button’s design, and change just about every element of this page.
2. Tweak the Admin Area’s Options and Permissions
As we discussed earlier, a key part of white labeling is editing what’s available in the WordPress admin area. It’s possible to make the back end simpler for your clients to understand and keep them from accidentally changing important settings.
Let’s look at two tools that can help you do this. First up, we have Admin Menu Editor. This plugin enables you to reorder the dashboard menu, hide or display specific items, and even change menu titles.
After the plugin is installed, you’ll have access to new options under Settings > Menu Editor:
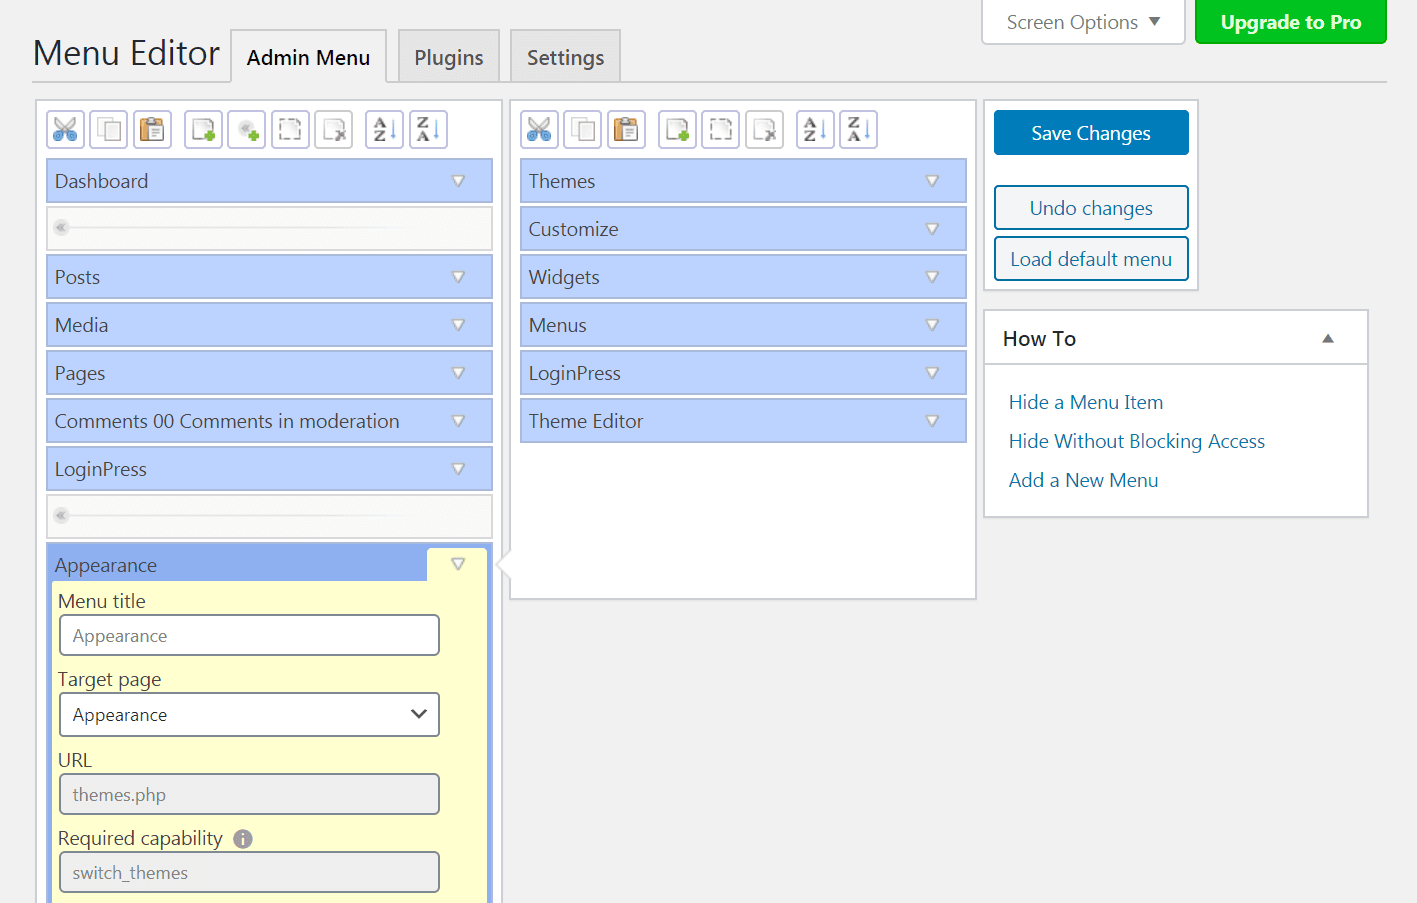
This is where you can go and customize the admin area to your heart’s content. For example, if you think the default Settings category names are confusing, you can change them. Or you can hide certain settings altogether – it’s up to you and what you feel is best for the website’s end-user.
If you don’t want to reorganize the back end, but you want more control over your site’s permissions, User Role Editor is another handy tool:
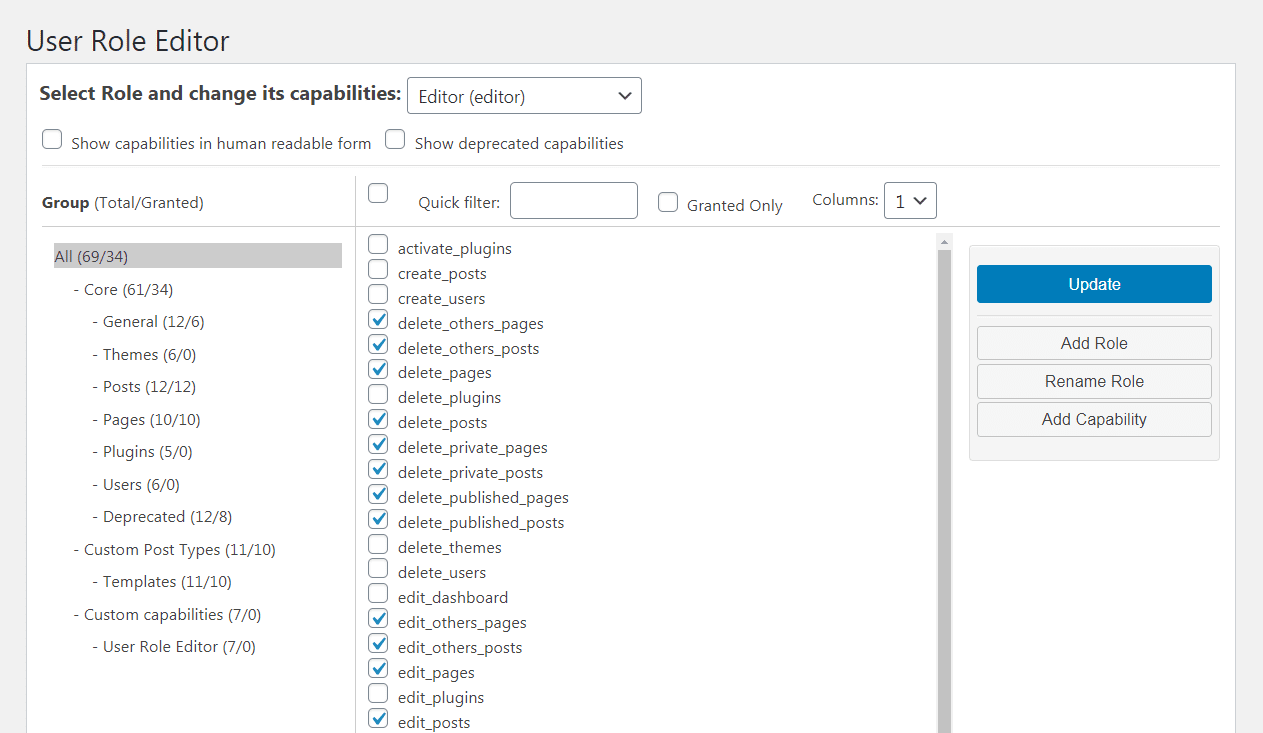
With this plugin, you can set up custom user roles and determine exactly what each one has access to. This lets you create a role specifically for your client (or individuals on your client’s team), and hide any non-essential or mission-critical parts of their admin area.
3. Personalize Your Page Builder
Just about any theme or plugin includes its own branding. By replacing those elements with your logo and styling wherever possible, you can create a more unified, professional experience for the site’s users.
Unfortunately, not all themes and plugins provide these kinds of options out of the box. However, it’s worth checking to see which ones offer white labeling functionality. This is especially important when it comes to your page builder, as it has a significant presence and effect on your website.
That’s one of the reasons Beaver Builder is such a popular pick for developers and web design agencies. The Unlimited Plan comes with white labeling options, making your job a lot easier. You can find them under Settings > Beaver Builder > Branding:
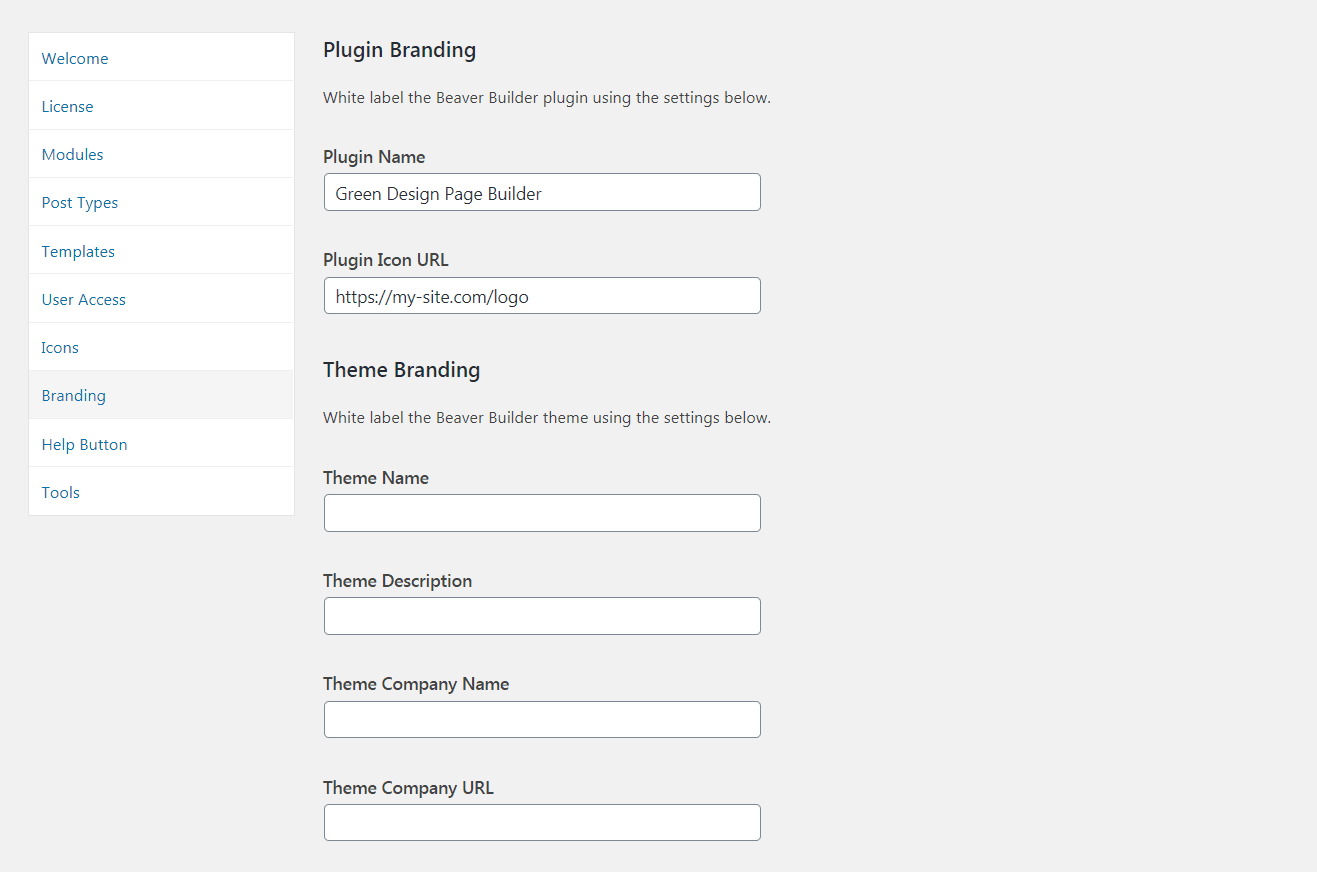
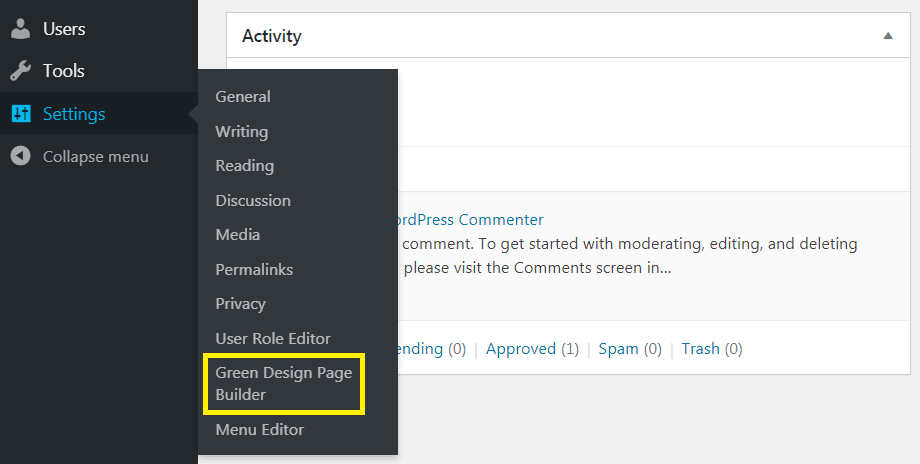
You can replace all instances of the plugin’s name with your own chosen moniker. For instance, if you run the Green Design Web Agency, you can enter something like “Green Design Page Builder” into the Plugin Name field. This change will even take effect in the main Settings menu:
The same applies to the page and post editors:
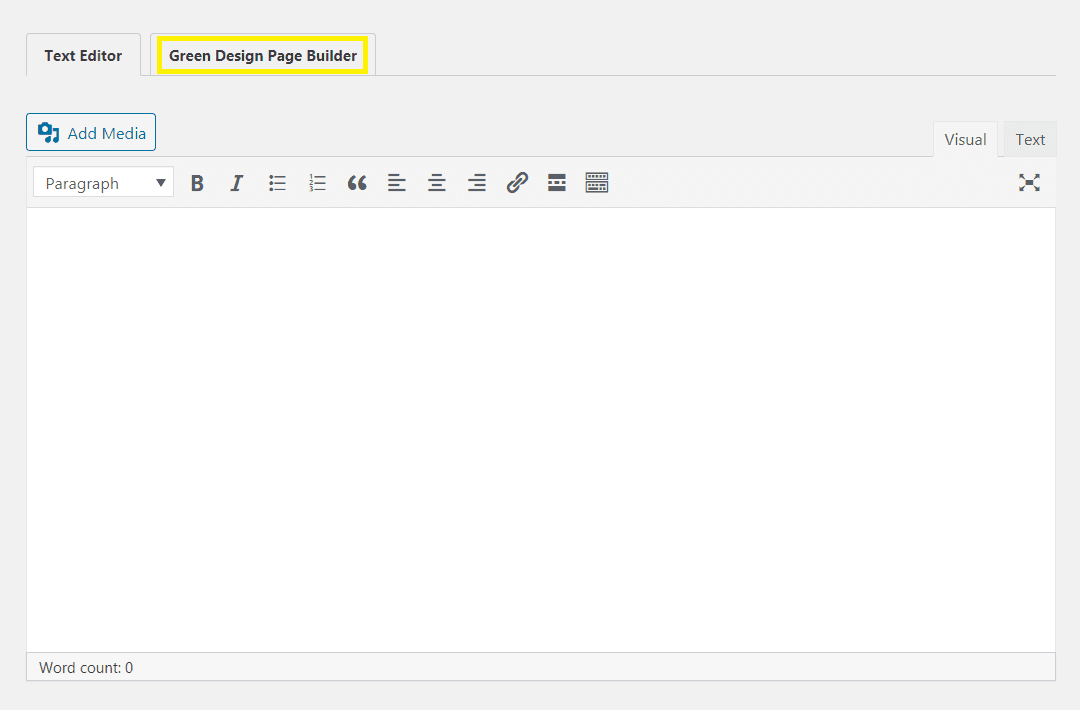
You can upload your logo or another custom image to use in place of the default Beaver Builder icon. The screenshot above shows that there are also options for white labeling the Beaver Builder Theme, which is included in all Beaver Builder premium plans.
These simple options will do a lot to help you present your sites as products you’ve designed and they’ll keep your name and branding in front of users. We’d suggest checking out any other plugins you might be using, to see if they offer similar settings.
4. Pick Up a Complete White Labeling Solution
So far, we’ve been looking at ways to white label bits and pieces of the WordPress admin area. These techniques can be useful in helping you build a custom solution for each website.
However, you can also pick up a dedicated white labeling plugin and use it on some or all of the sites you build. This kind of tool can give you access to an entire set of features and options for customizing much of the WordPress dashboard.
There are plenty of plugins worth checking out, both free and premium. A few of the best include:
- White Label CMS: An easy-to-use free option that enables you to customize the login page, dashboard, menus, and more.
- Absolutely Glamorous Custom Admin: Another free plugin that makes it easy to add custom branding and improve the back end’s UX.
- Branda Pro: WPMU DEV’s white labeling tool that comes with some handy extra features, such as ‘maintenance mode’ and ‘coming soon’ pages.
- Cusmin: The premium version of Absolutely Glamorous Custom Admin, which comes with a wider set of options and more fine-tuned customization potential.
Especially when combined with plugin-specific white labeling features, such as those offered in Beaver Builder, a solution like this can provide you near-total control over each site’s login page and admin area. One of the premium options might be a smart investment if you intend to white label client sites regularly.
Conclusion
It’s easy to get so caught up perfecting your website’s front-end appearance that you completely neglect the back end. To provide a complete package for your clients, it’s vital to make sure their experience managing their site is effortless and reflects well on your business.
To do that, remember these four key tips:
- Customize the admin login page.
- Tweak the admin area’s options and permissions.
- Personalize your page builder.
- Pick up a complete white labeling solution.
Do you have any questions about white labeling your clients’ sites effectively? Ask away in the comments section below!
6 Comments
Our Newsletter
Our newsletter is personally written and sent out about once a month. It's not the least bit annoying or spammy.
We promise.
Try Beaver Builder Today

Related articles
Growing a Facebook Group to 14,000 Members: Community Management Tips with David McCan
David McCan grew the Dynamic WordPress Facebook group to over 14,000 members. We sat down to talk about his moderation...
Why Agencies Are Switching to Beaver Builder: Performance Testing Results
By Chris Smith – HYPEsites.com For WordPress agencies, page builder choice directly impacts the metrics that matter most: project margins,…

Best WordPress Black Friday Deals (2025)
Hey Beaver Builders! Are you looking for WordPress deals for this holiday season and Black Friday? Here are some great…
Join the community
We're here for you
There's a thriving community of builders and we'd love for you to join us. Come by and show off a project, network, or ask a question.
Since 2014
Build Your Website in Minutes, Not Months
Join Over 1 Million+ Websites Powered By Beaver Builder.
Cusmin seems pretty awesome! Thanks for this discovery. Some clients will be happy to see this 🙂
Becoming increasingly interested in this. Thanks for the post!
So with the agency pack, white labeling will be done on the parent themes backend as well? Because I’ve read about the white labeling of BB in older forum posts where it wasn’t possible.
I see it says white labeling can be done on parent themes in the knowledge base, just wondering if that will cover all aspects of white labeling.. or however you should describe it (i’m a noob)
Cheers mate
White labeling only applies to the WordPress admin area. Any mentions of Beaver Builder or any of our product branding will be modified. It does not affect the backend code, though.
What about all the actual area in “plugins”.
When a client goes there they still see the name
Our white labeling settings will change the name of the plugin in the plugins section of the WordPress admin panel. 🙂 There are also other plugins out there that enable you to customize and hide certain areas of the WordPress admin from your clients.
White labelling WordPress backend is a big but one-time task. If you’re an agency and want to give a unique experience to your clients, it’s well worth spending some time and creating your own custom plugin or putting the code in your custom theme to so that as soon its activated, it does it’s magic!