
How to Customize Your WooCommerce Cart Page with Beaver Builder (In 5 Steps)
If you have a WooCommerce store, chances are you’ve done your fair share of research on improving your sales. However, knowing how to provide a good customer checkout experience can be tricky. In this article, you will learn how to customize your WooCommerce cart page using our Beaver Builder plugin and the WooPack add-on for an optimal User Experience (UX) from start to finish.
This post will discuss the importance of a smooth checkout process. Then, we’ll offer tips for customizing a WooCommerce cart page that can help boost conversions using Beaver Builder, WooCommerce, and WooPack. Let’s get started!
Table of Contents
- How the Cart Page Affects Conversion Rates
- How to Create an Optimized Cart Page
- An Introduction to WooPack and Beaver Builder
- How to Customize Your Cart Page with Beaver Builder (In 5 Steps)
- Step 1: Add the Cart Module to Your Page
- Step 2: Modify Your Cart Table and Totals
- Step 3: Customize the Buttons
- Step 4: Edit the Typography
- Step 5: Configure Additional Settings and Publish Your Cart Page
- Conclusion
How the Cart Page Affects Conversion Rates
Online shoppers often browse e-commerce stores, occasionally adding products to their carts. Ideally, your buyers will follow all the way through to complete their purchases:
However, many people don’t proceed to checkout. When your site visitors leave items in their carts without buying anything, this is known as cart abandonment. Unfortunately, the average cart abandonment rate across all industries is around 70 percent.
Cart abandonment can happen for many reasons. For instance, when customers have to jump through hoops to get from start to finish, they’ll often stop halfway.
A checkout process that isn’t optimized for simplicity and UX can result in lost sales. Some main reasons for cart abandonment include slow delivery times, high shipping costs, and being forced to create an account.
By simplifying the checkout process, you can encourage users to complete an order – and potentially return to your store for additional purchases! You can start by creating a clean and optimized cart page.
Our Beaver Builder plugin and WooPack add-on enable you to customize the cart page on your WooCommerce store so that it matches your branding. You can also make the design more user-friendly to encourage users to proceed to checkout.
How to Create an Optimized Cart Page
An optimized cart page can simplify the buying process for your customers and encourage them to complete their purchases.
To create an optimized cart experience, try using these tips:
- Present items in a neat list.
- Include all important information, including the price, size, and quantity.
- Give users the option to modify their preferences (e.g., size or color), so they won’t have to leave the cart page to update the product.
- Avoid surprise costs by listing all prices up-front.
- Use large product images so that users can easily check that they selected the right item.
Additionally, you’ll also want to display the total in the user’s cart. This should include additional fees, like taxes and shipping costs. The page should also have a button that takes users to the checkout page.
An Introduction to WooPack and Beaver Builder
WooPack is a premium add-on plugin developed by PowerPack that offers additional WooCommerce modules that you can customize to match your brand, including colors, fonts, and elements. Plus, the add-on is compatible with our Beaver Builder page builder. Together, this duo can help you tailor every aspect of your WooCommerce store and build responsive layouts quickly and easily.
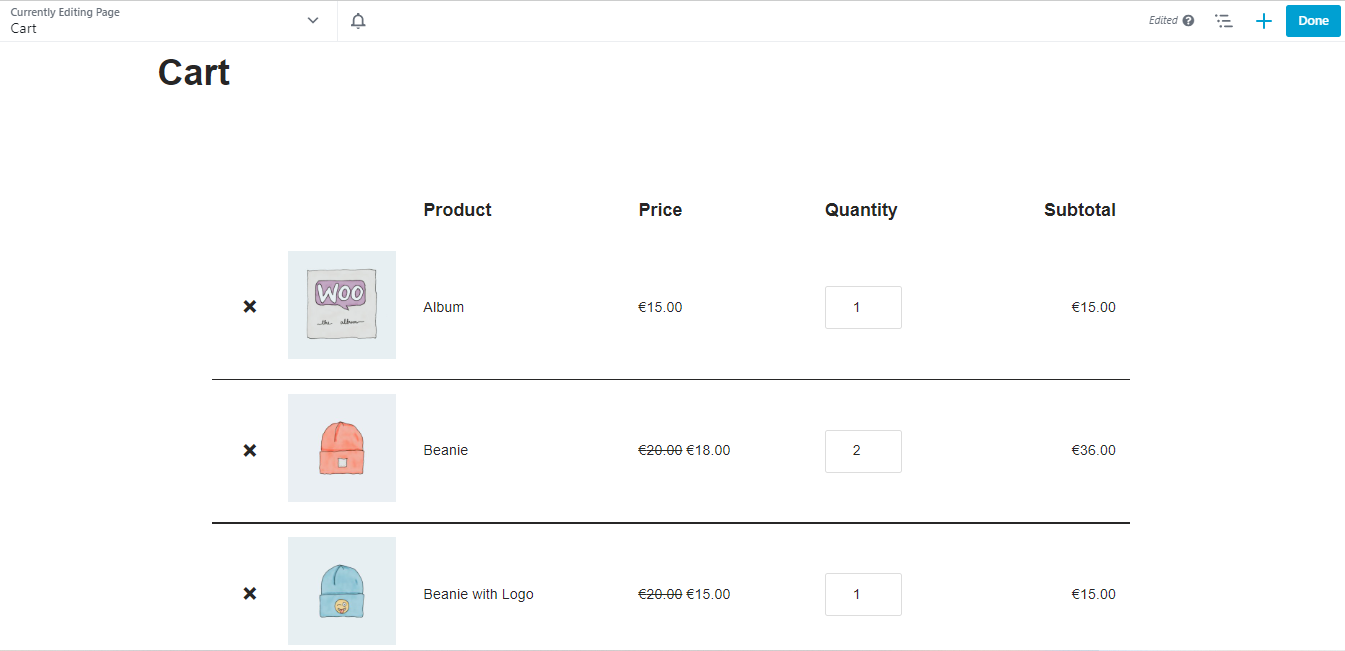
Using Beaver Builder, you can build and customize pages using pre-made templates and unique modules:
Our plugin gives you the power to create your page on the front end. This viewpoint allows you to see what the final product will look like without jumping between previews.
Additionally, you won’t need any coding or developer experience to use Beaver Builder. This means you’ll save time and money that you can put towards other areas of your e-commerce business.
How to Customize Your WooCommerce Cart Page with Beaver Builder (In 5 Steps)
Now, let’s look at how to customize your cart page. For this tutorial, you’ll need Beaver Builder, WooCommerce, and the WooPack add-on installed and activated on your site.
Step 1: Add the Cart Module to Your Page
To start, navigate to Pages in your WordPress dashboard. WooCommerce will have created a default cart page when you set it up. Hover over Cart and select Beaver Builder to open the page in the editor:
Here, you’ll see the default WooCommerce cart page. If you want to create your own, you can go ahead and delete the existing elements from the page.
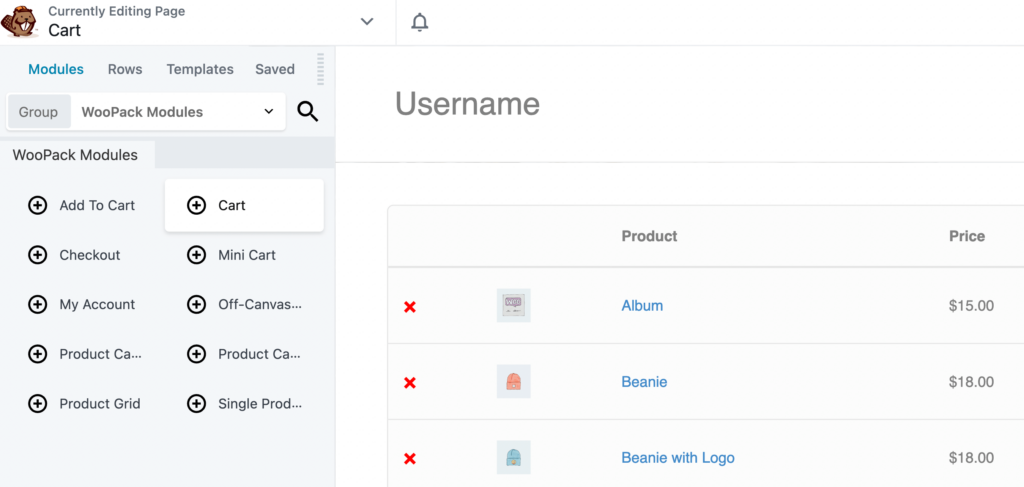
Then, click on the plus (+) sign near the top-right corner of the screen. In the Modules tab, click on the Group field and select WooPack Modules:
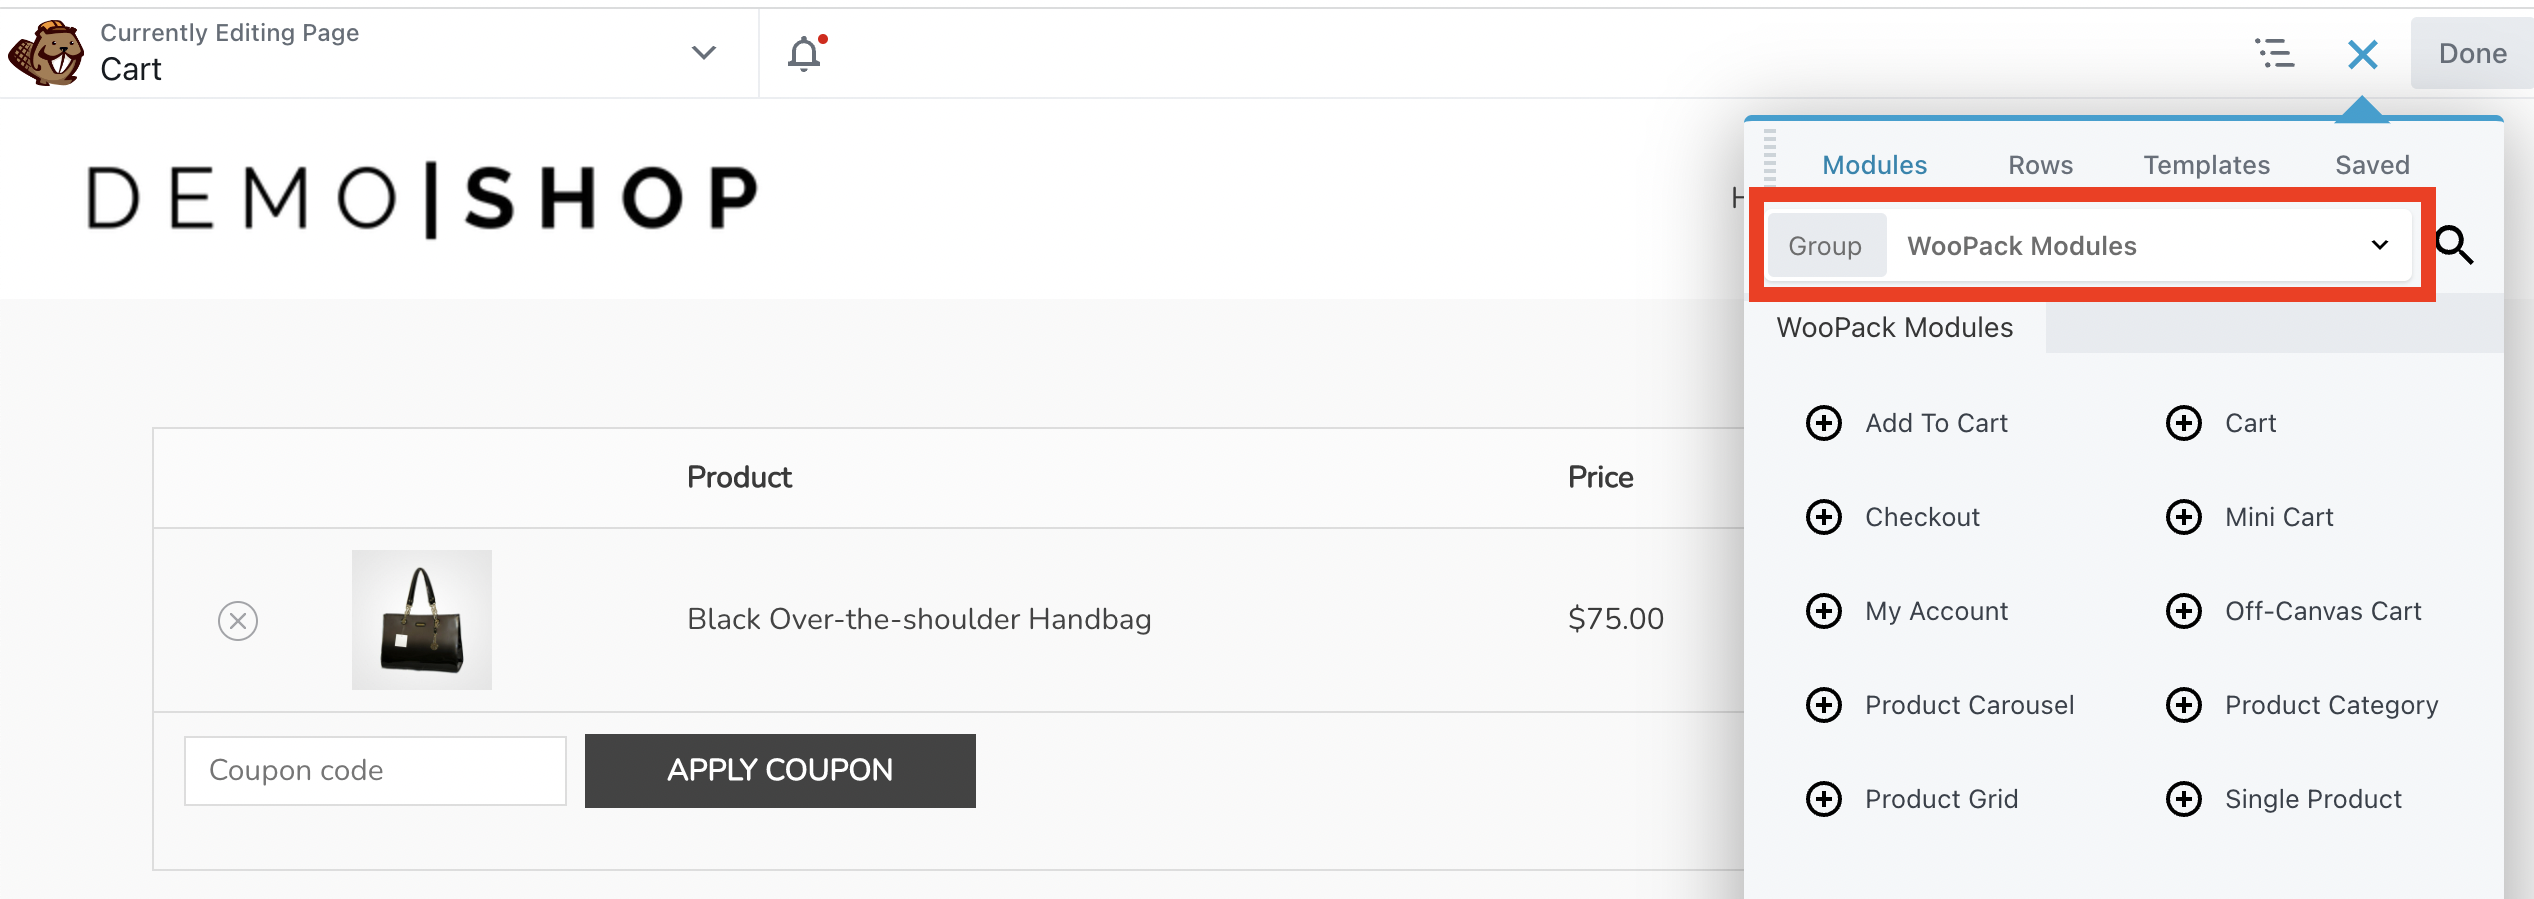
Next, locate the Cart module and drag it onto your page:
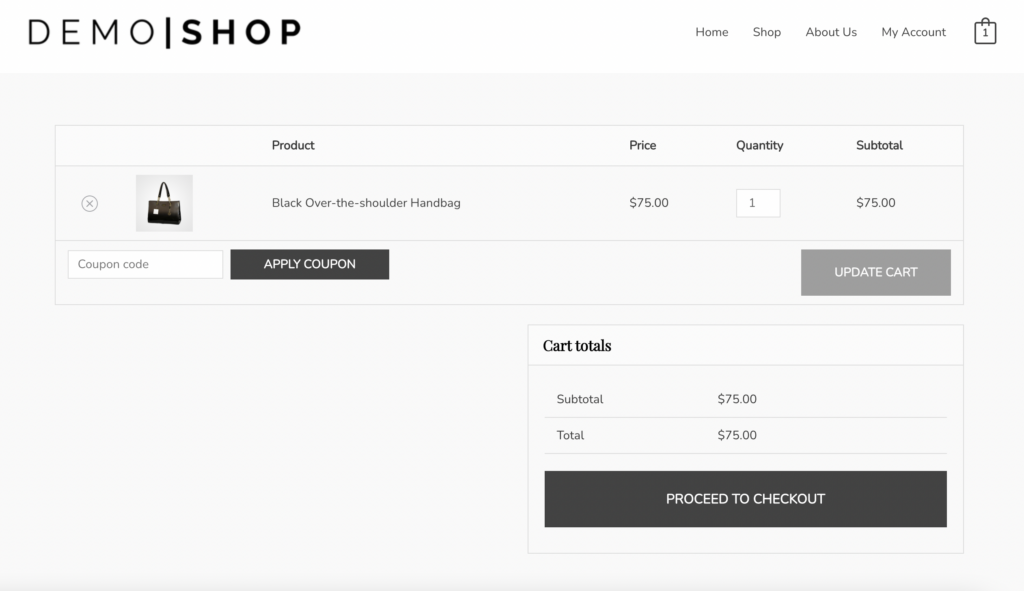
This will display all the items in the user’s cart. You’ll also see the option to proceed to checkout. Let’s look at how to customize these elements on the page.
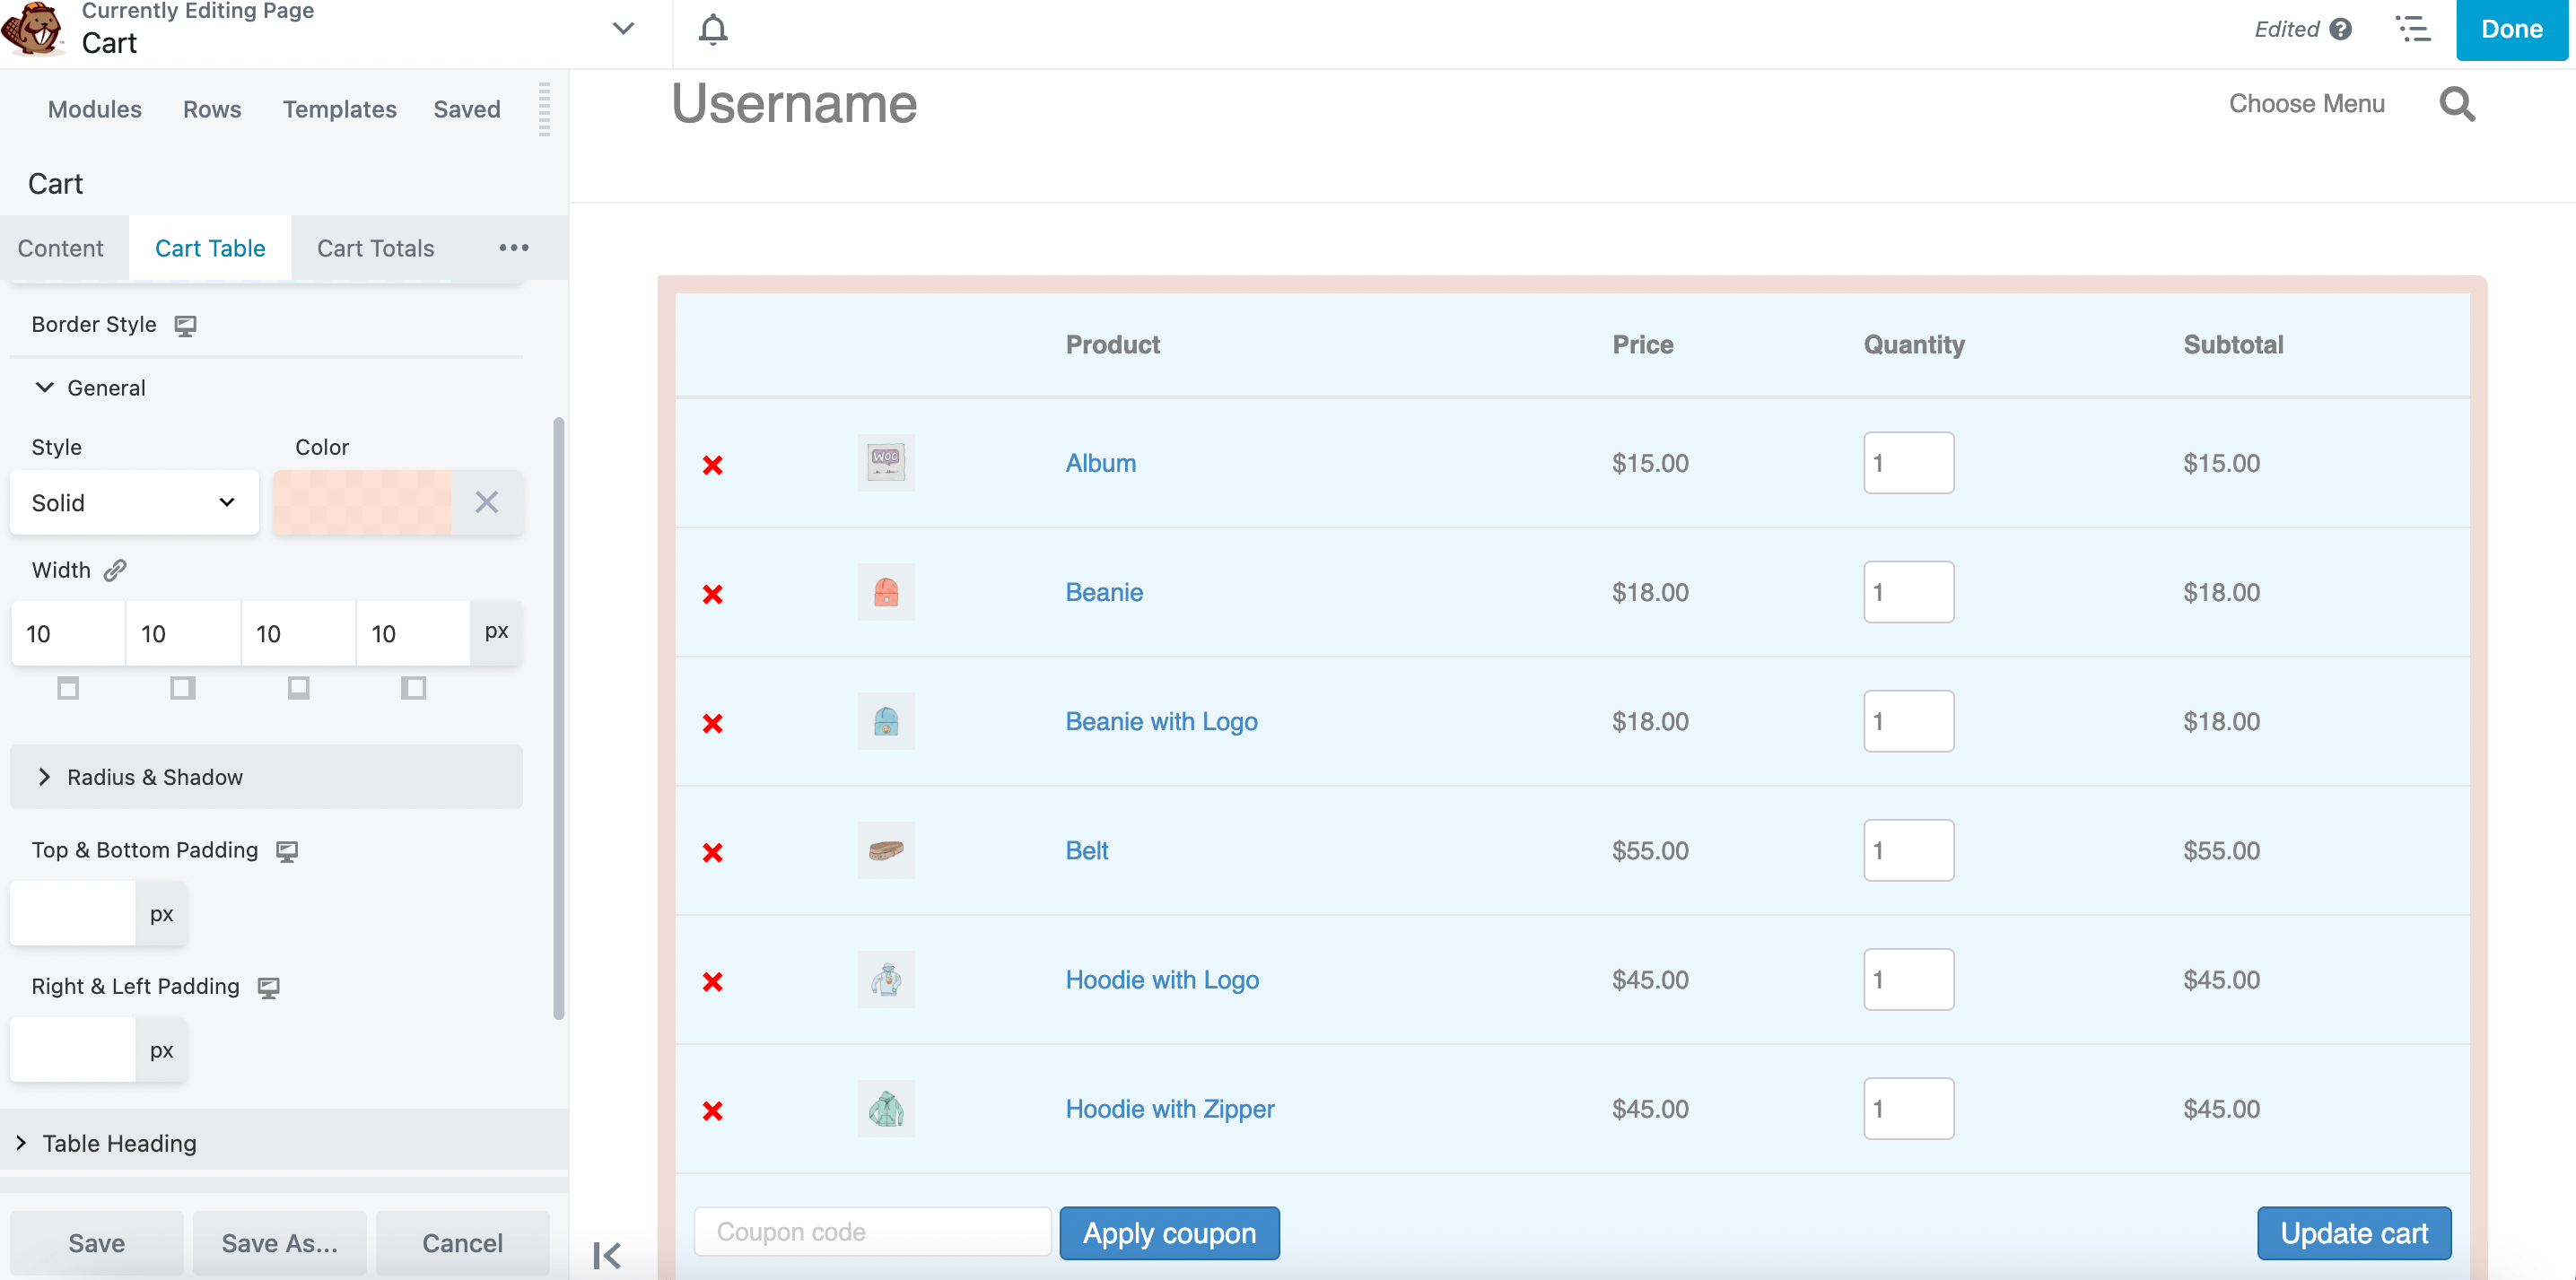
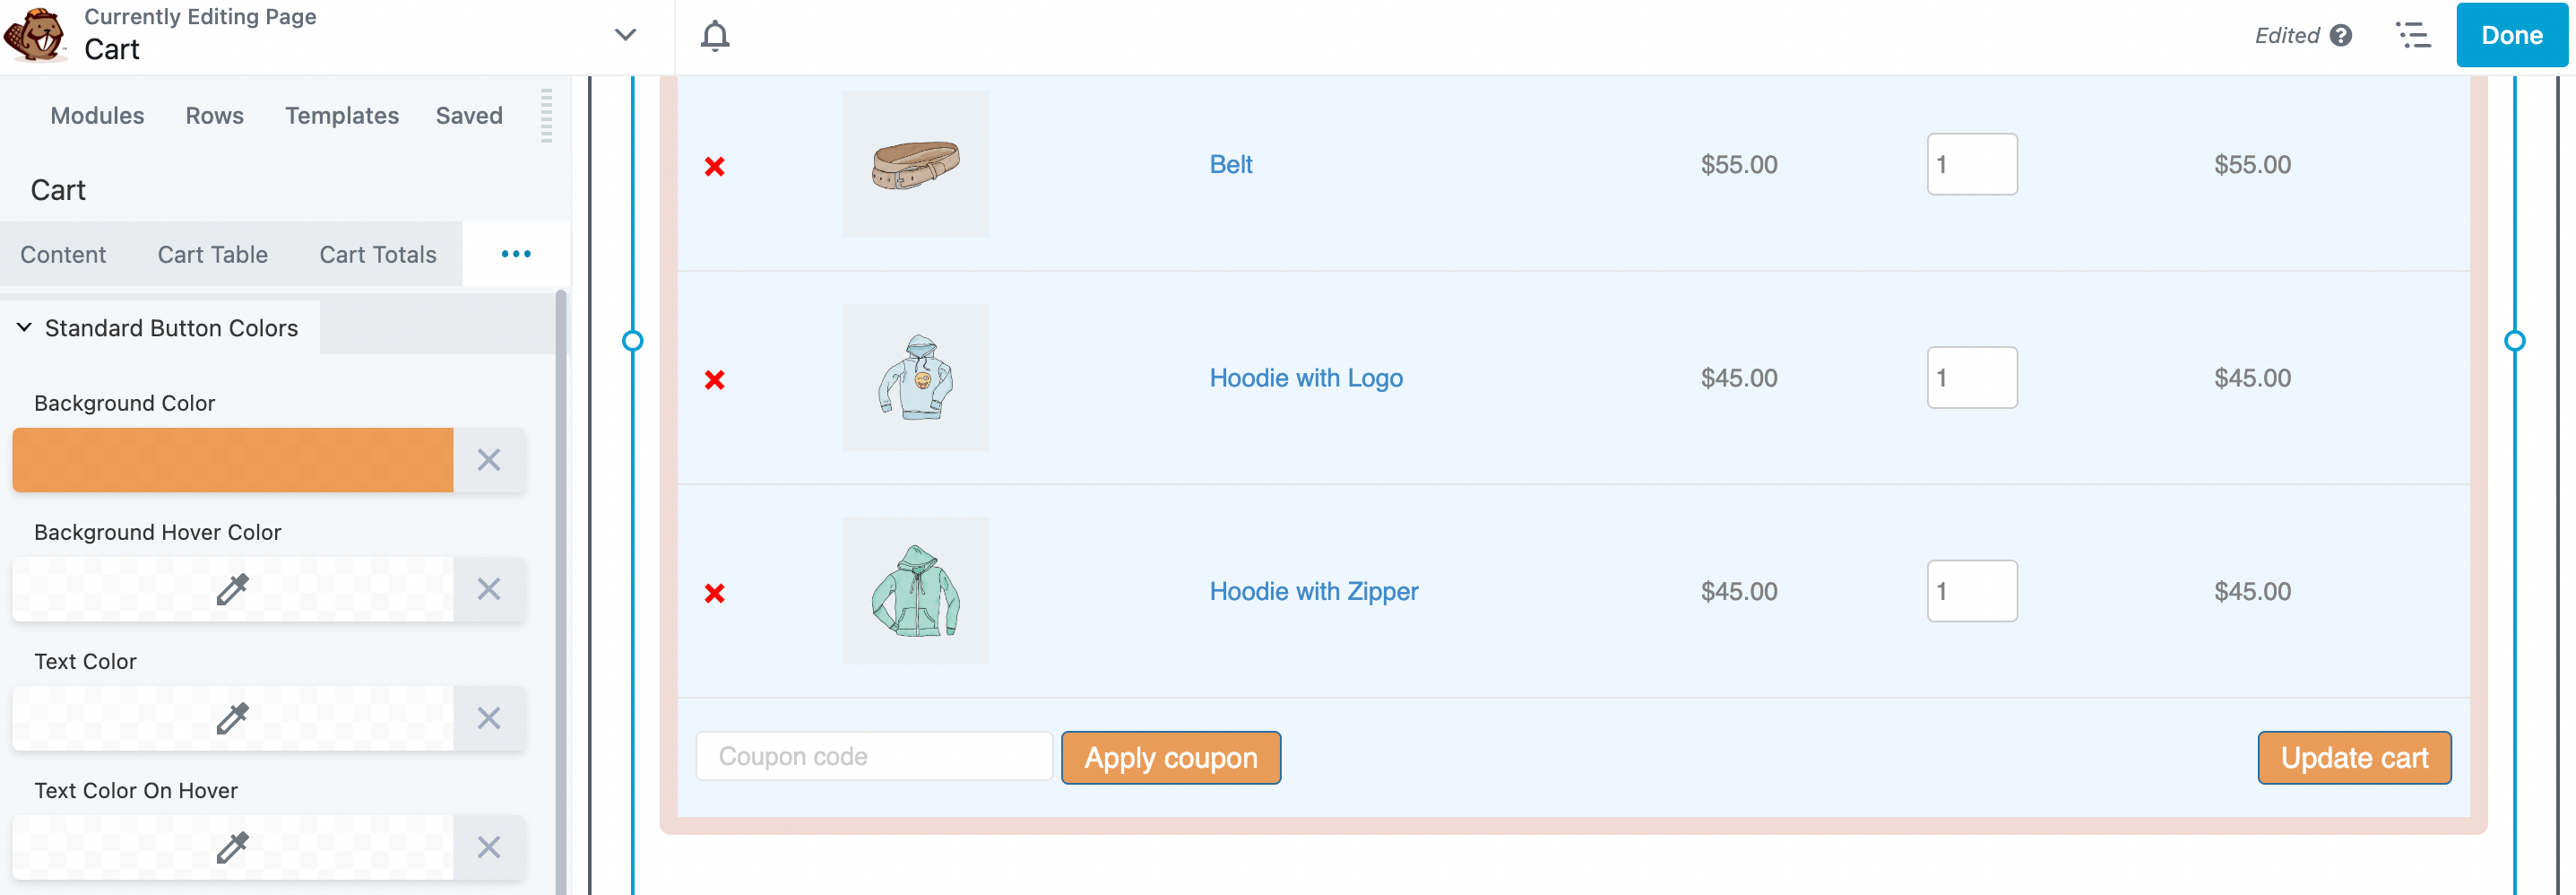
Step 2: Modify Your Cart Table and Totals
In the settings panel on the left, select the Cart Table tab. Here, you can customize the design element that displays the products in the cart. For example, you can change the background color, add a border, modify the width, and more:
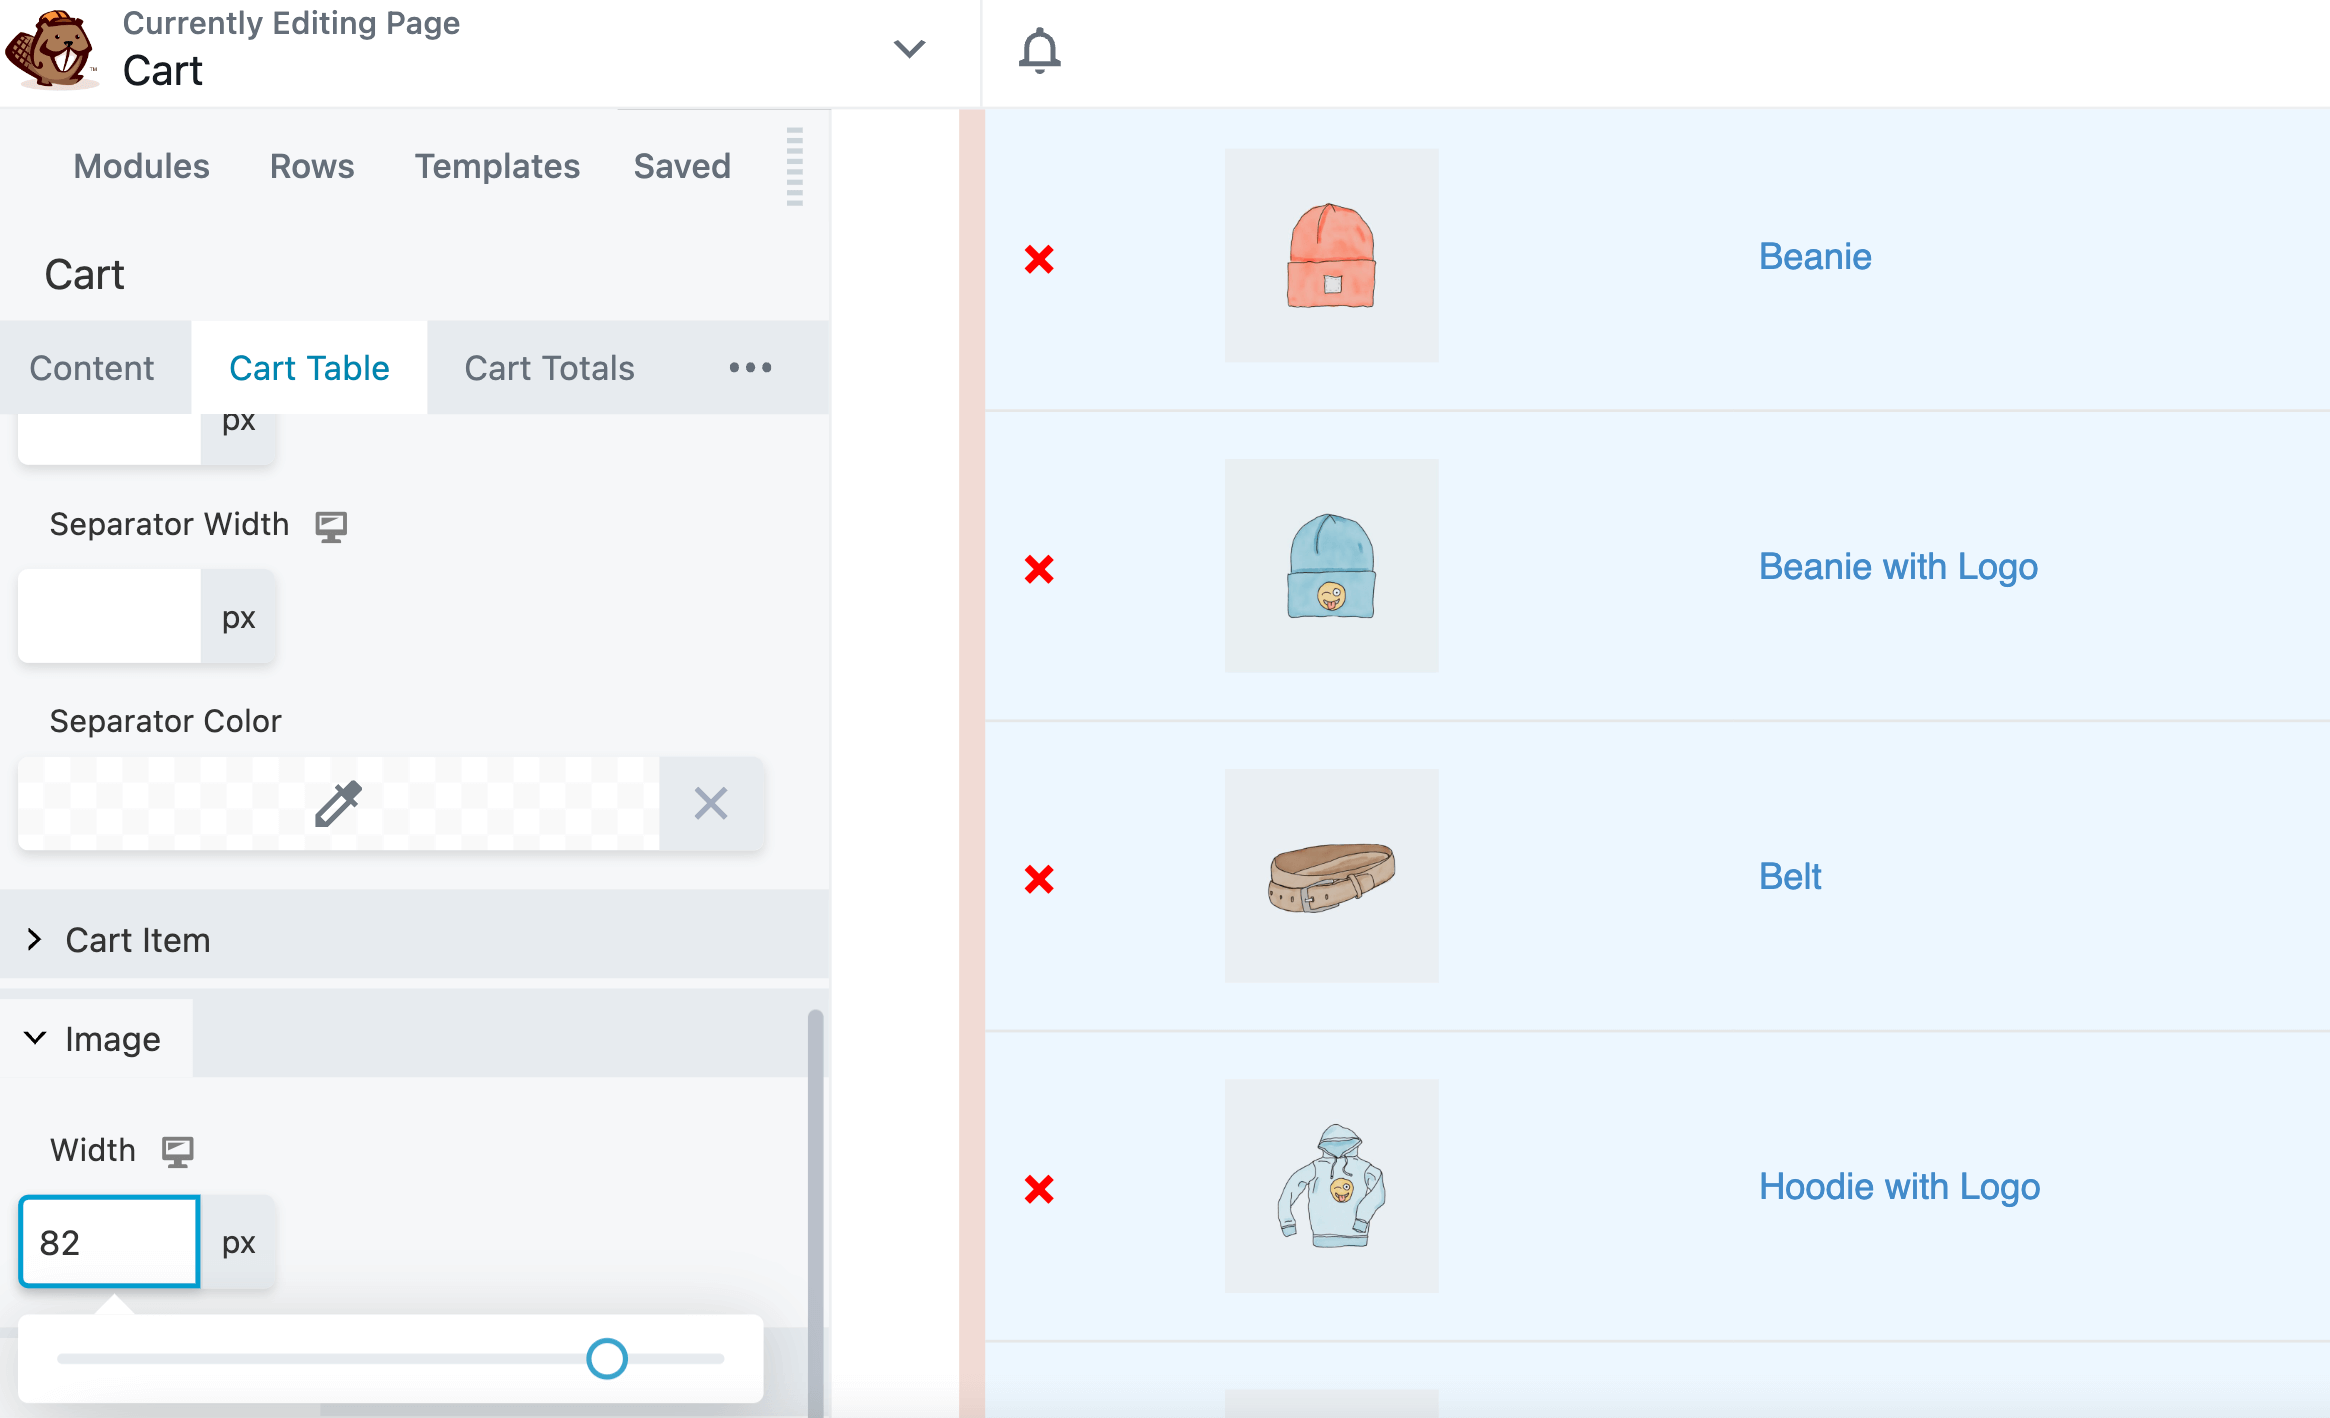
You can also change the product image size. To do this, navigate to the Image section and adjust the width of the images:
Next, click on the Cart Totals tab. Here, you can customize different aspects of the cart total display, such as color, border, and separator width:
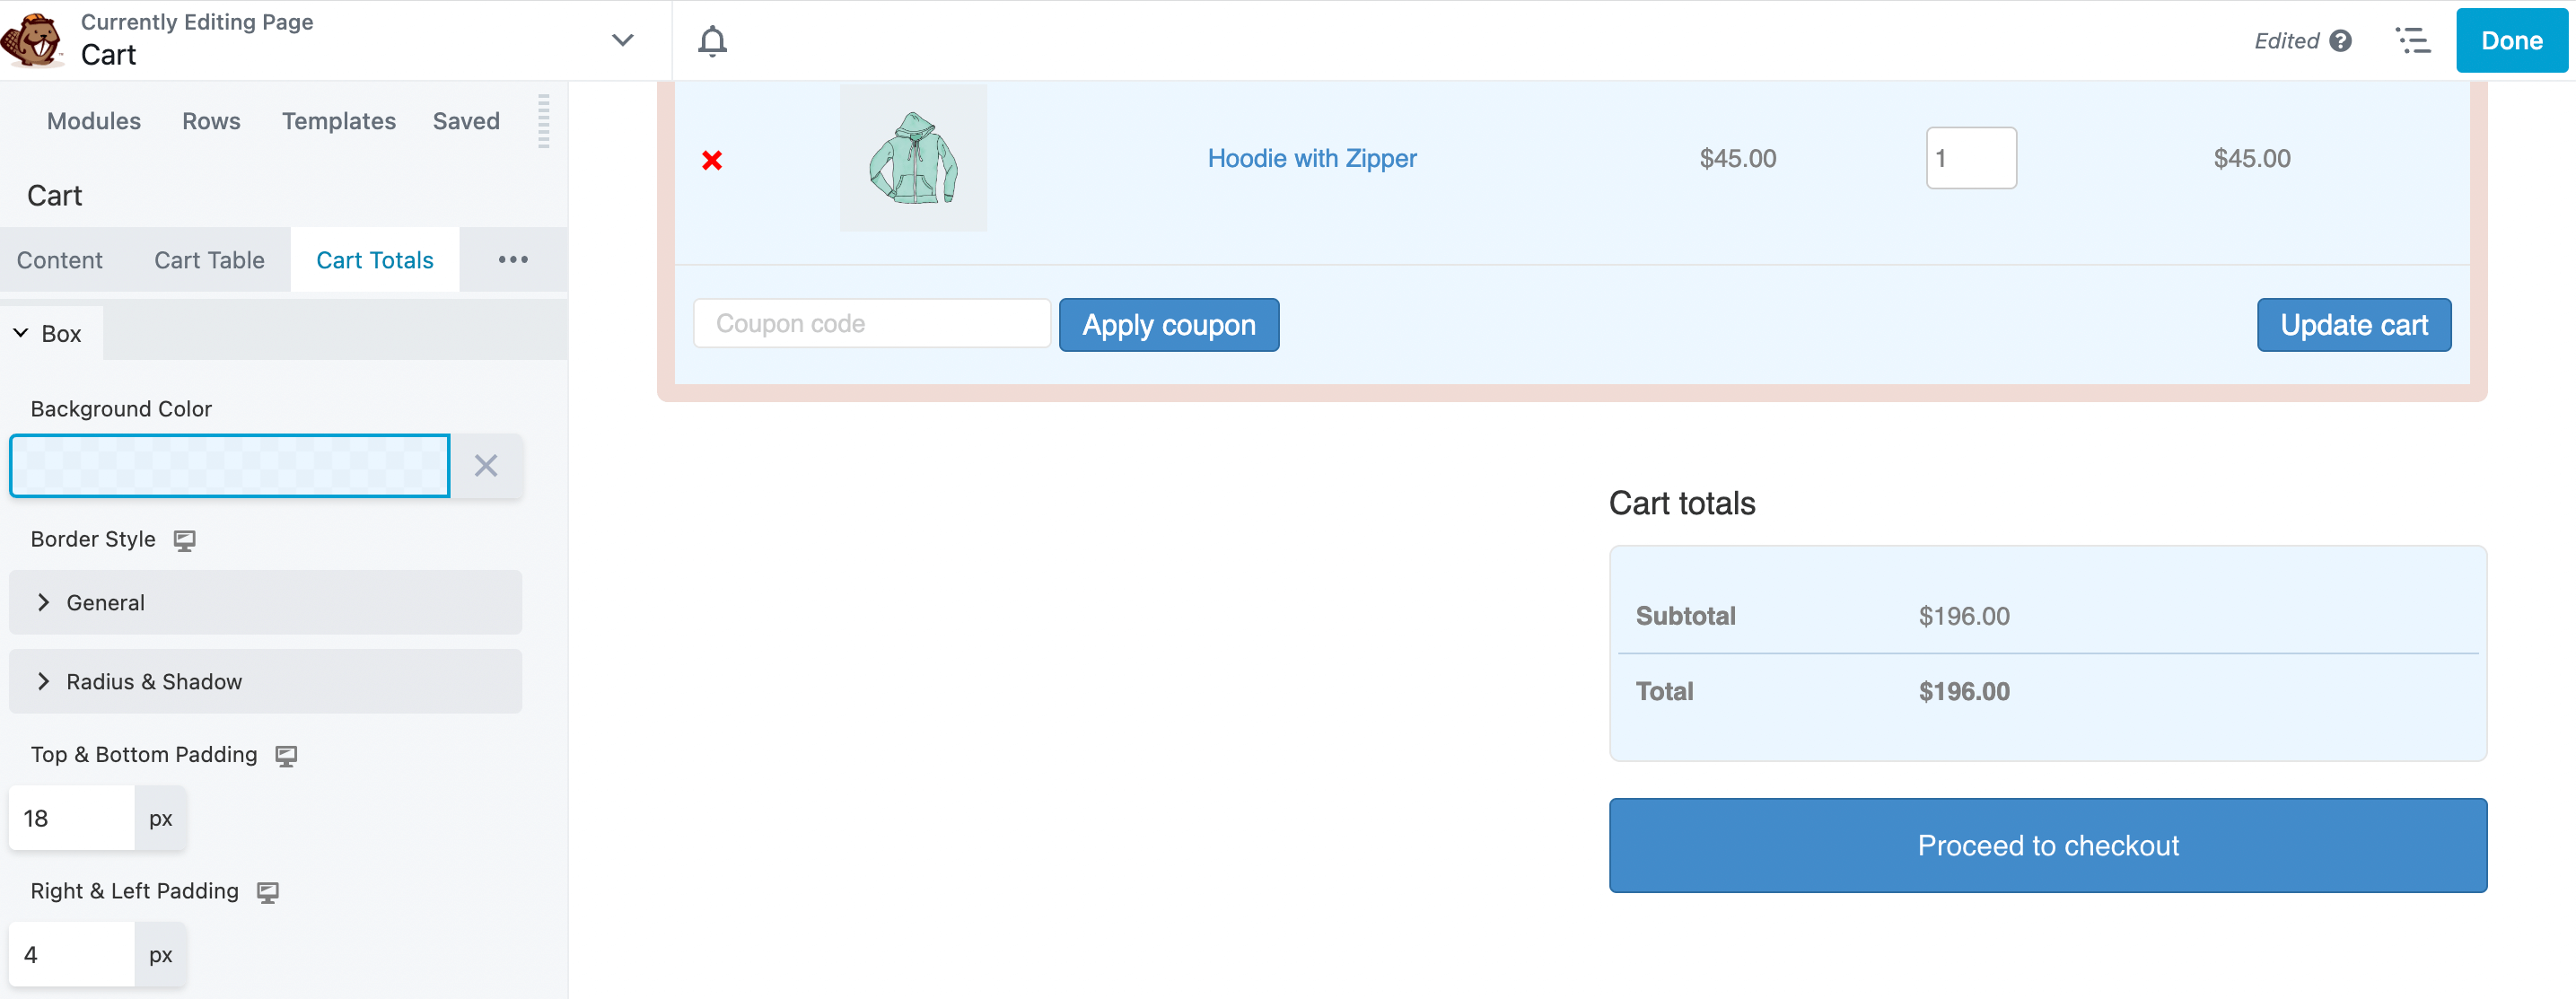
In addition, you can add padding and spacing to the box.
Step 3: Customize the Buttons
The next step is to customize the buttons that appear on the cart page. To do this, click the Buttons tab from the Cart module popup:
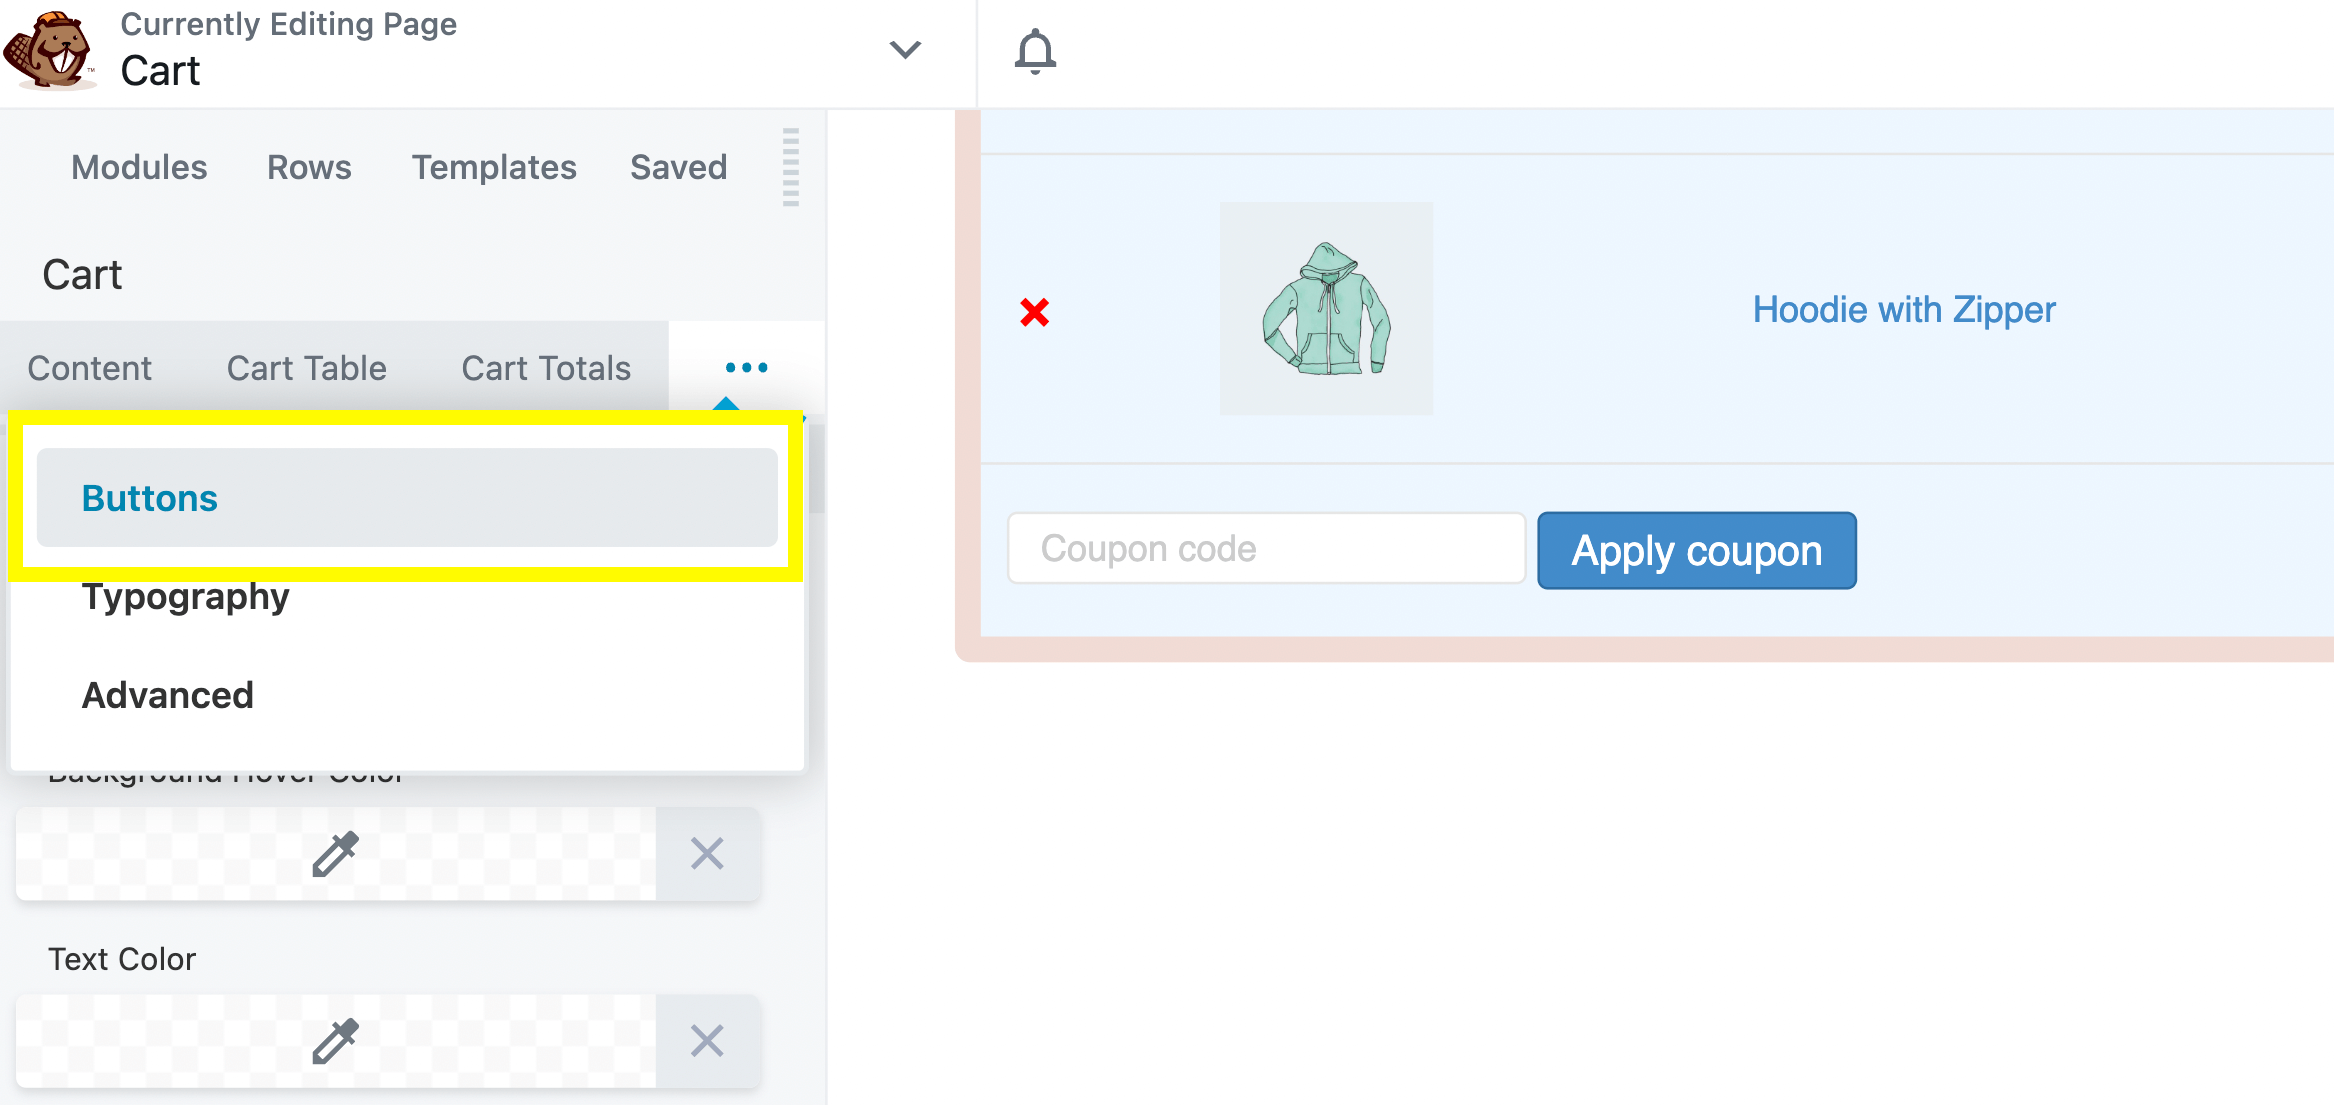
Here is where you can change the color of the button background and text:
Feel free to explore the other customization options for the buttons. When you’re done, go ahead and save your changes.
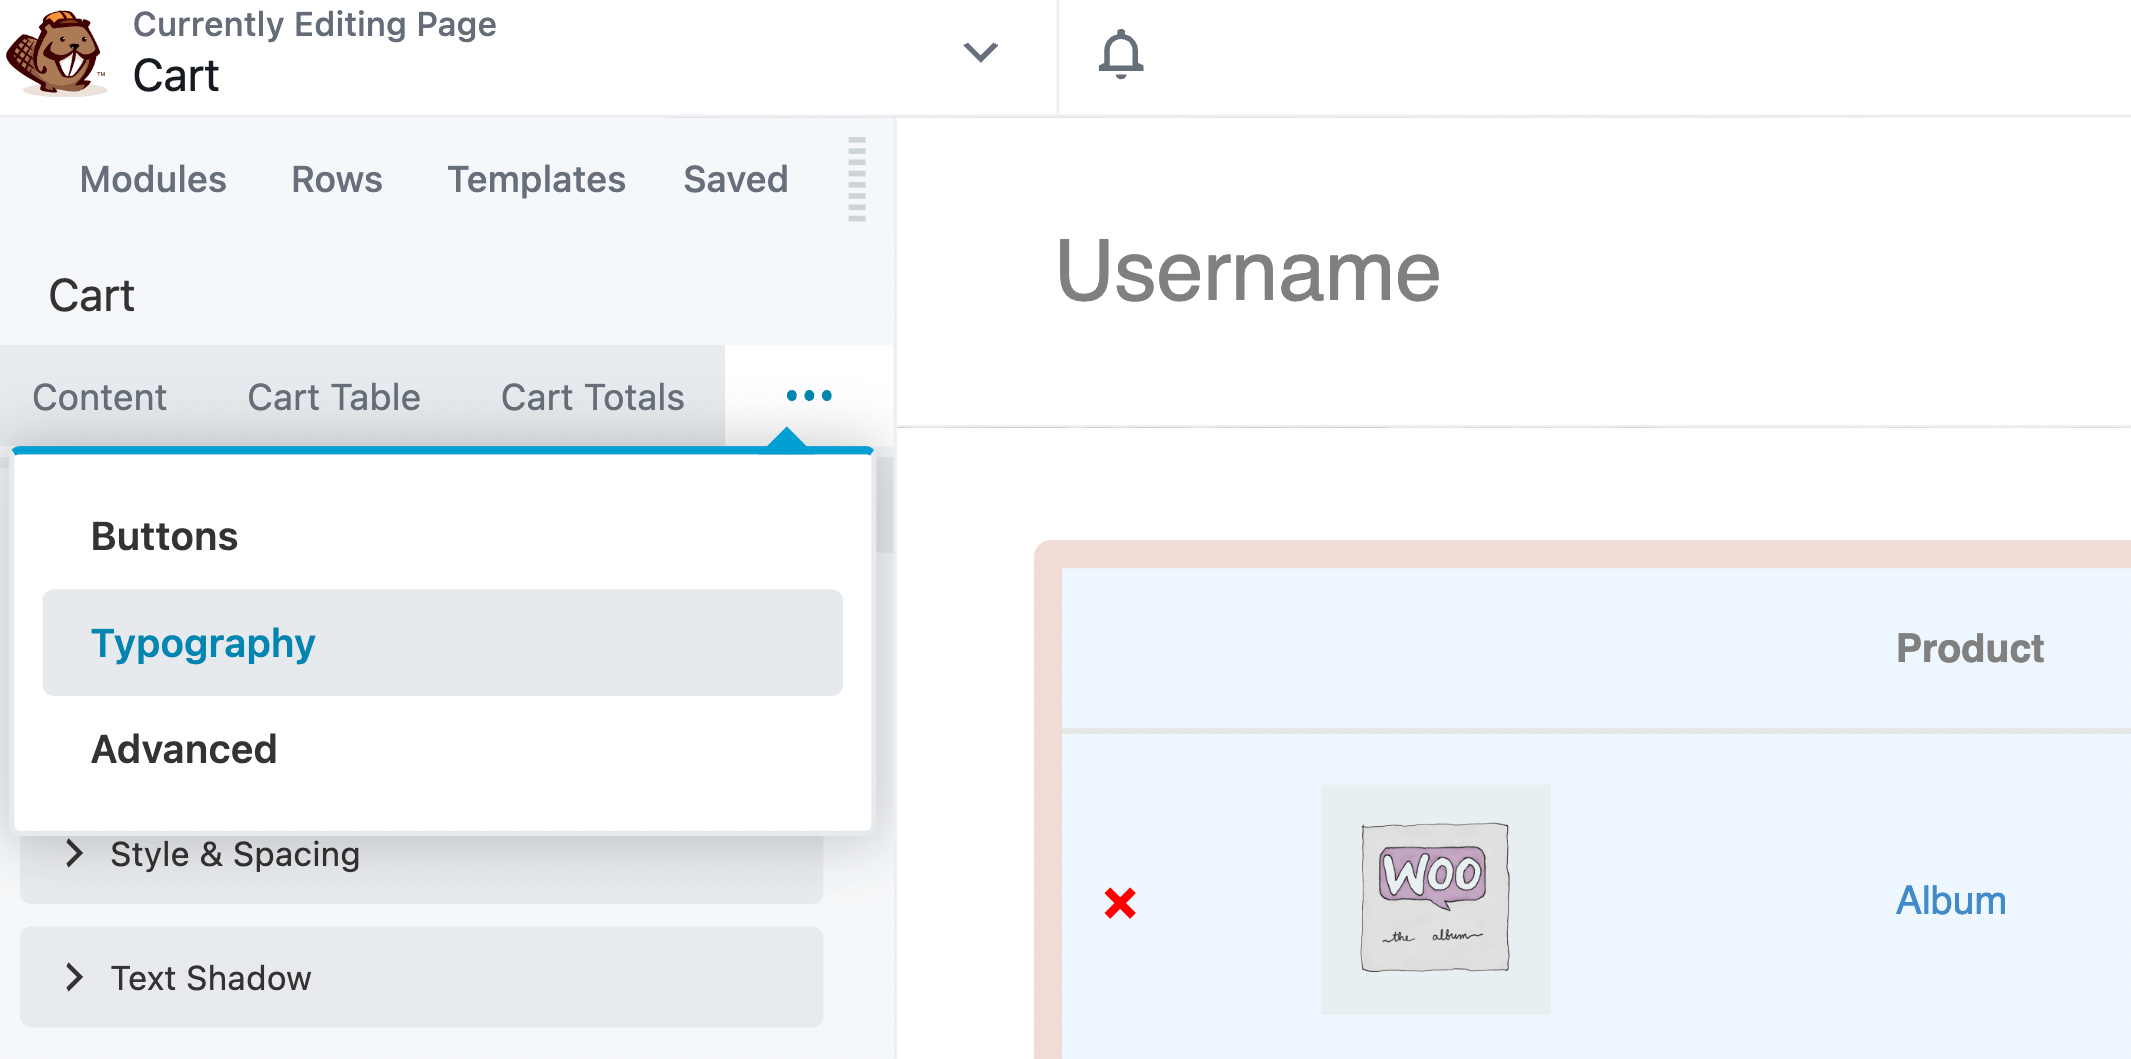
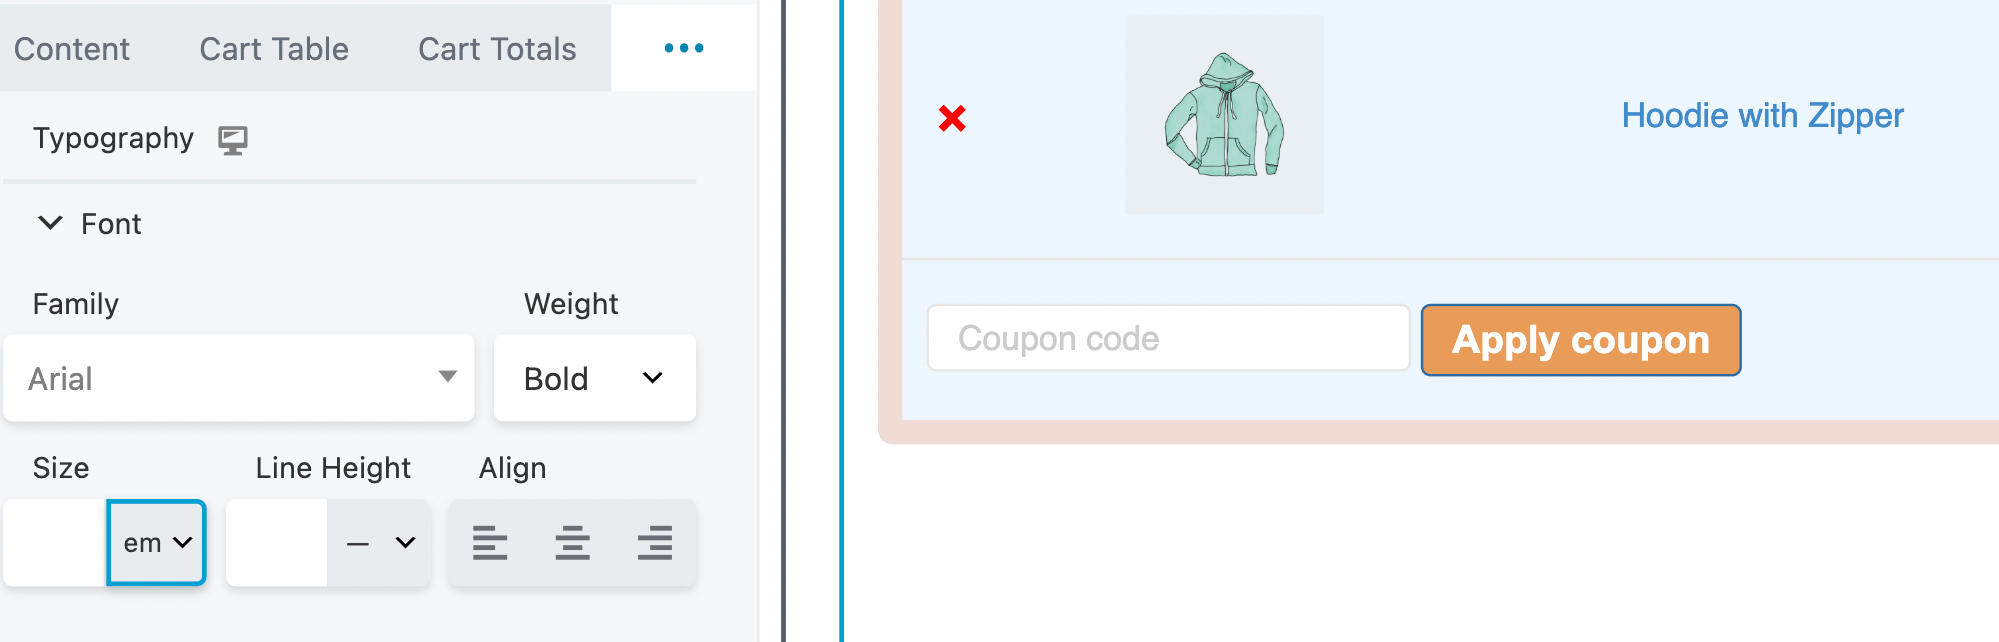
Step 4: Edit the Typography
Now, it’s time to modify the text on your cart page. From the Cart module popup, click the Typography tab. Note that you may need to click the three dots if the tab is hidden as shown here:
From here, you can change the font family, weight, style, and more:
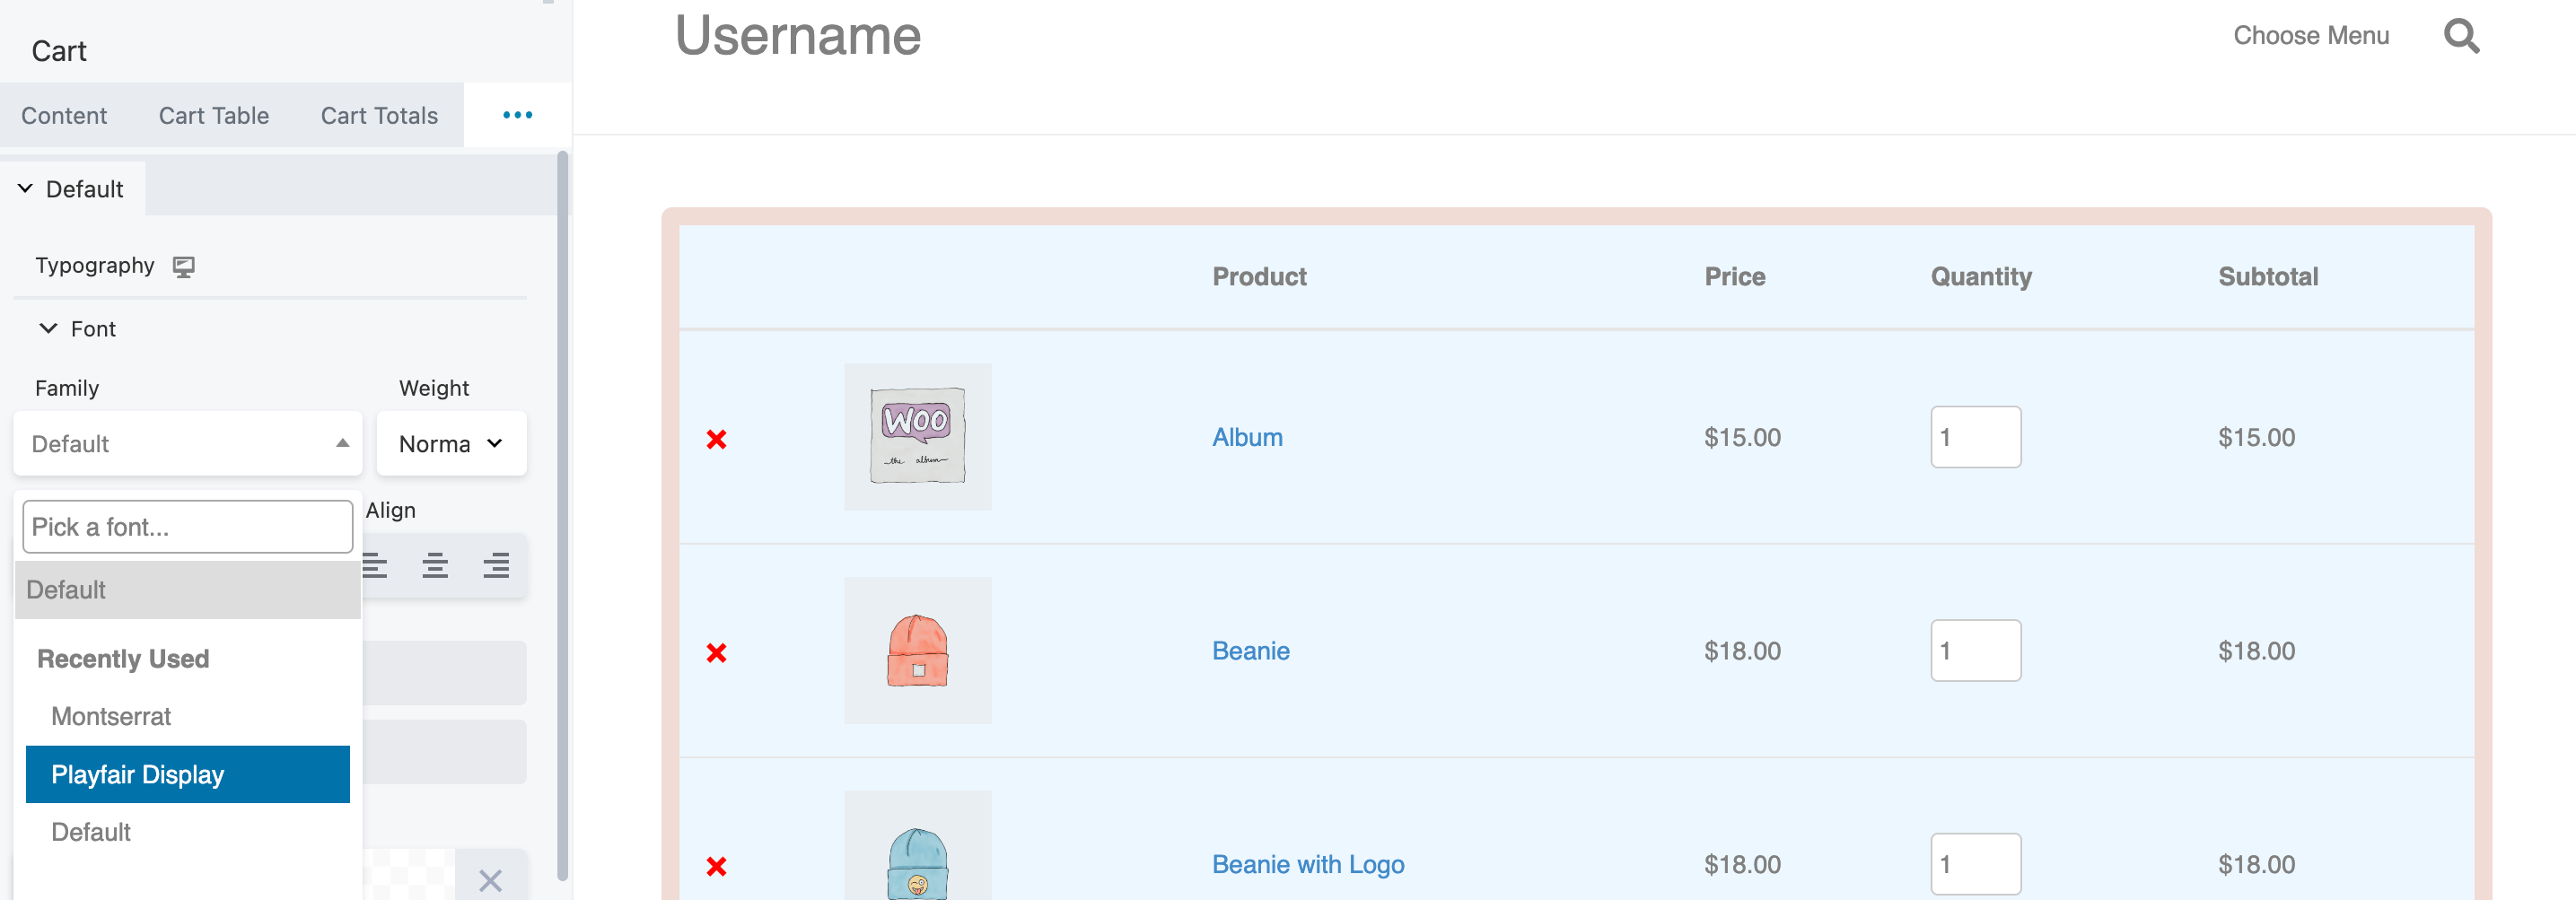
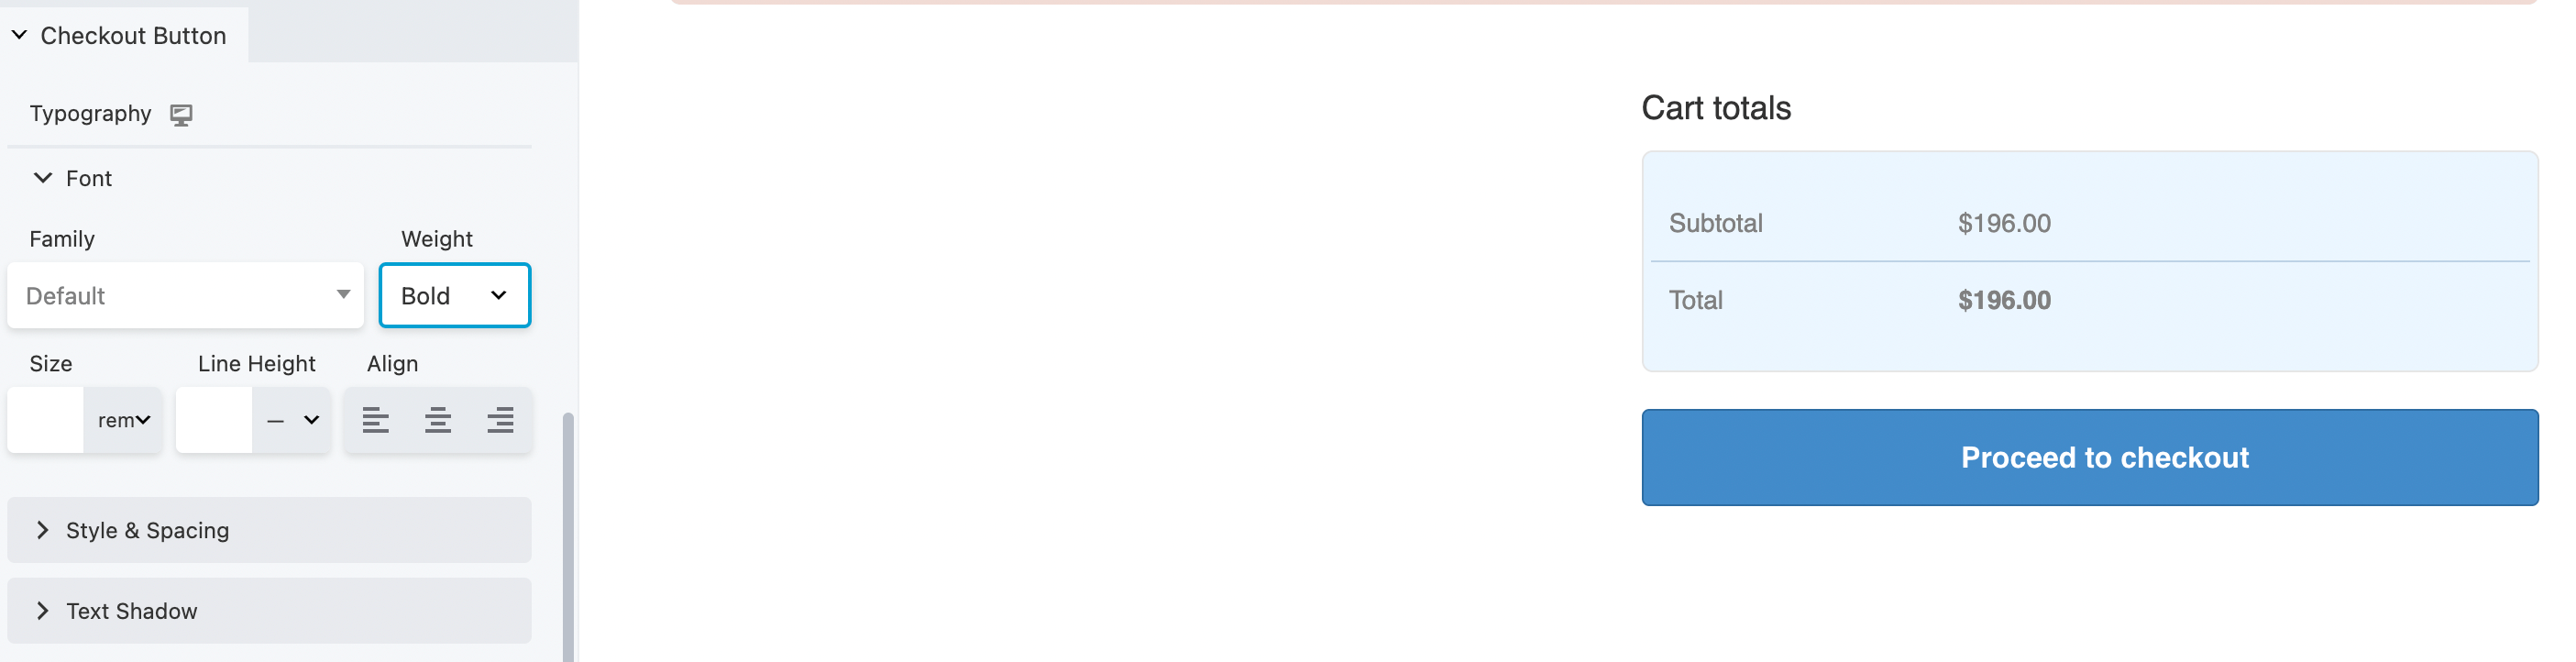
You can also change the color of the product text and the button typography. Note that you can modify the font family within the buttons without affecting the other fonts on the page:
This applies to the weight, size, and line height as well. To make your checkout button pop, try bolding the text or use a font that varies from the rest of the typography on the page:
As always, make sure to save your changes. Once everything looks as it should, you can move on to the final step.
Step 5: Configure Additional Settings and Publish Your Cart Page
If you want to make further changes to your cart page, click on the Advanced option:
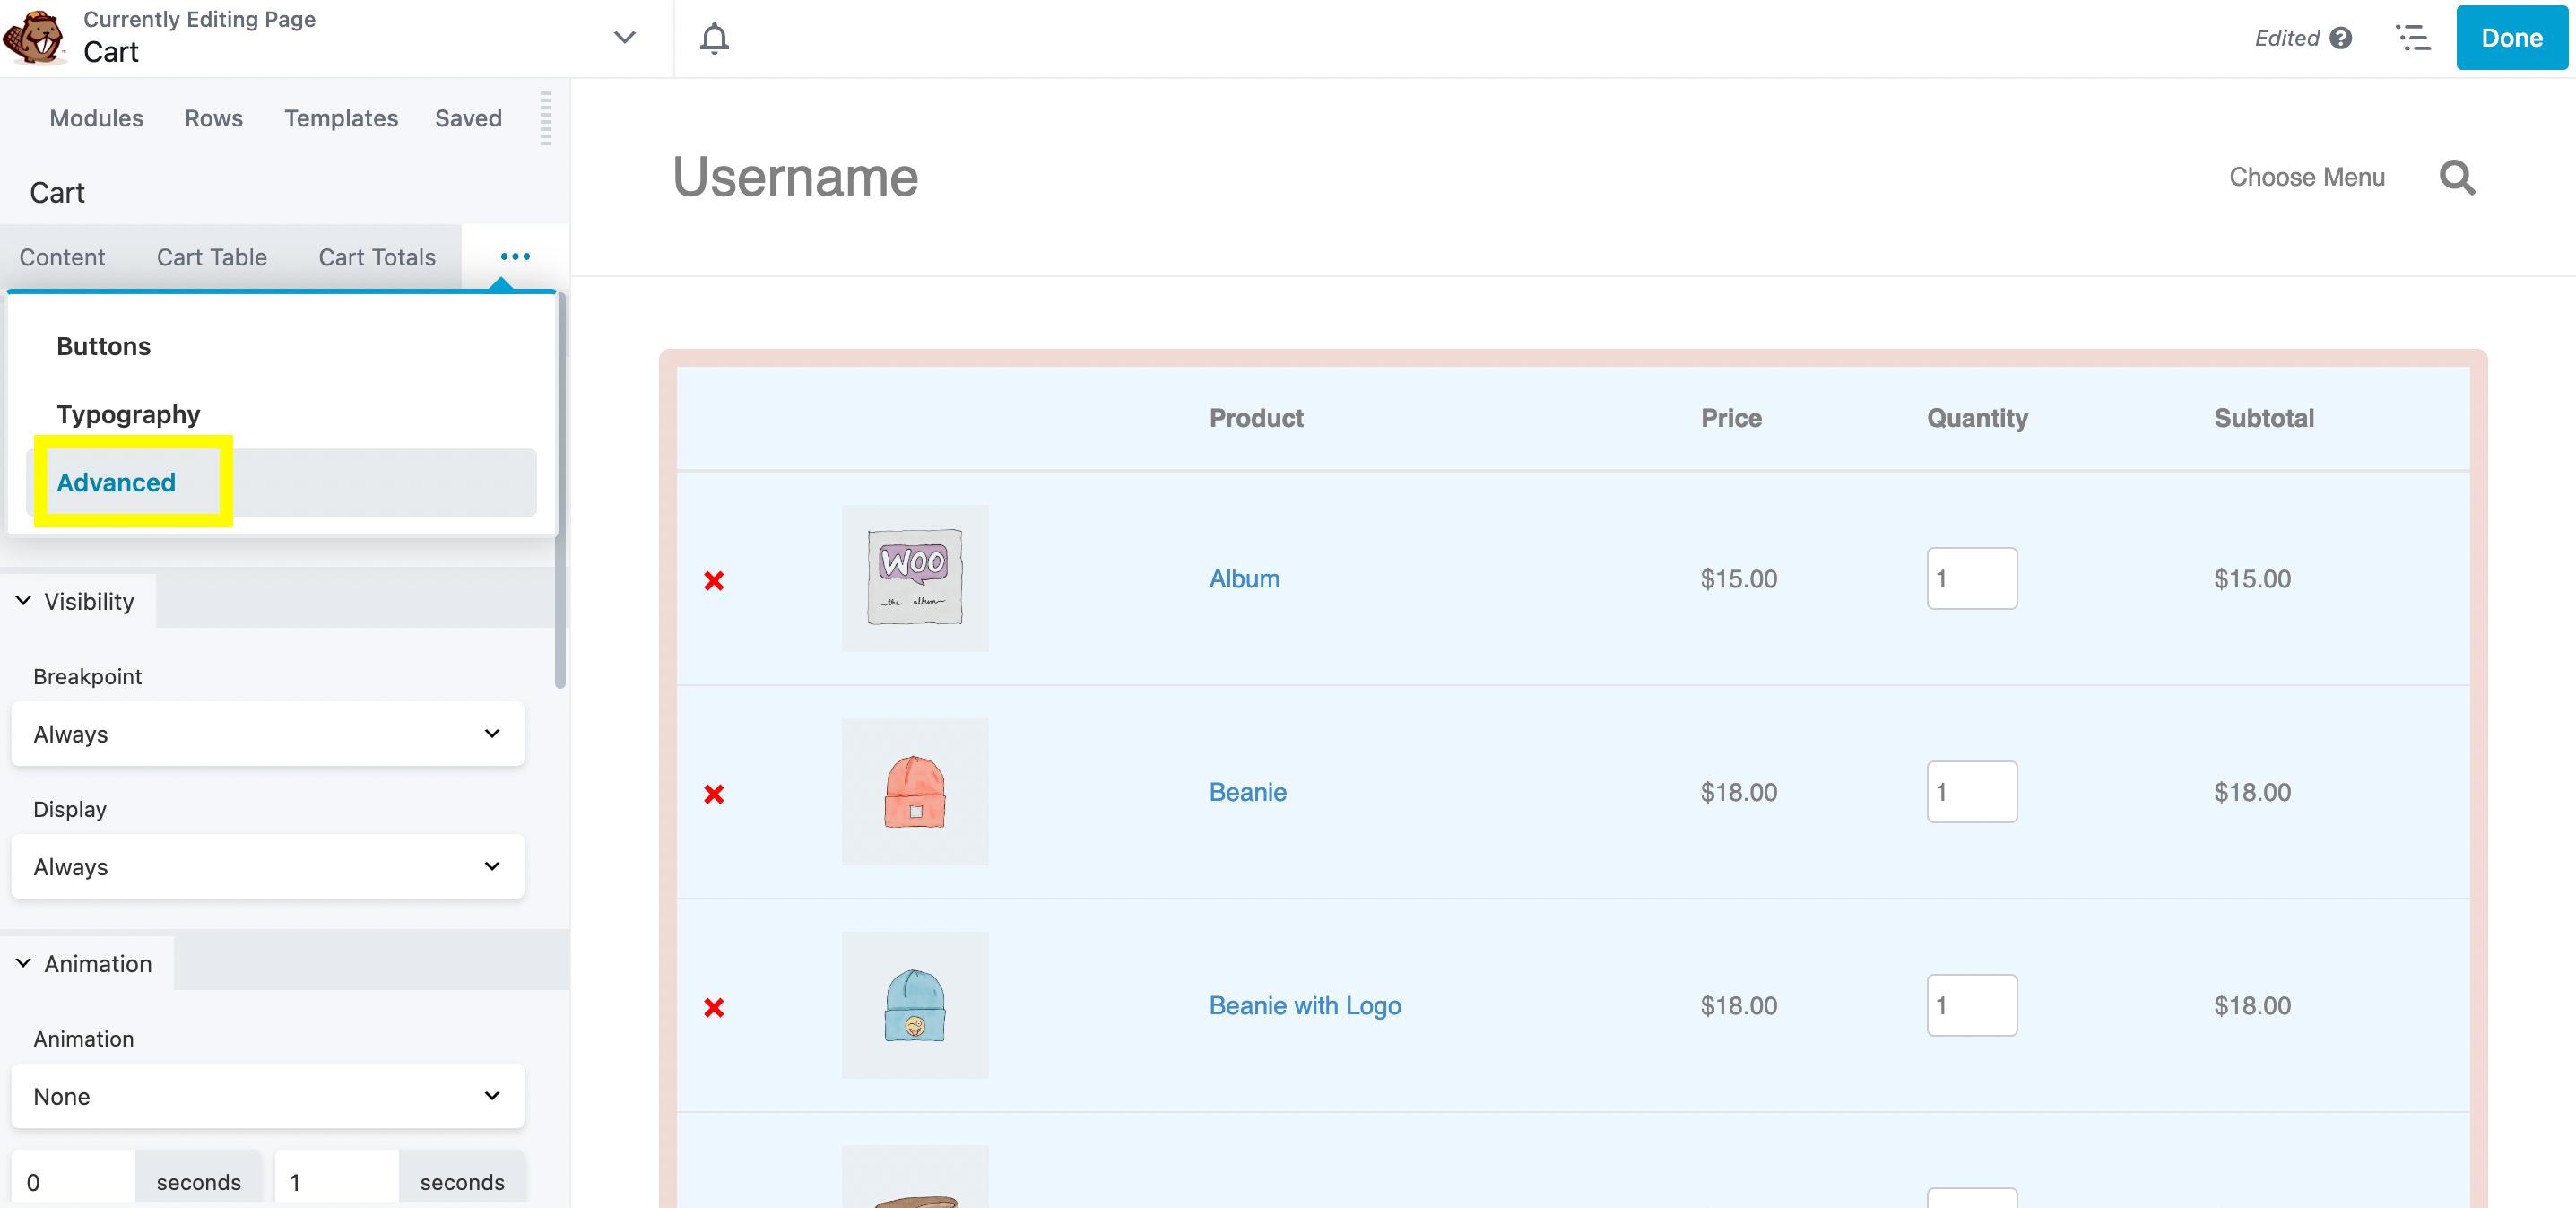
These settings enable you to decide when to display the cart page. For example, you might set up conditional logic, or only make it accessible to logged-in users:
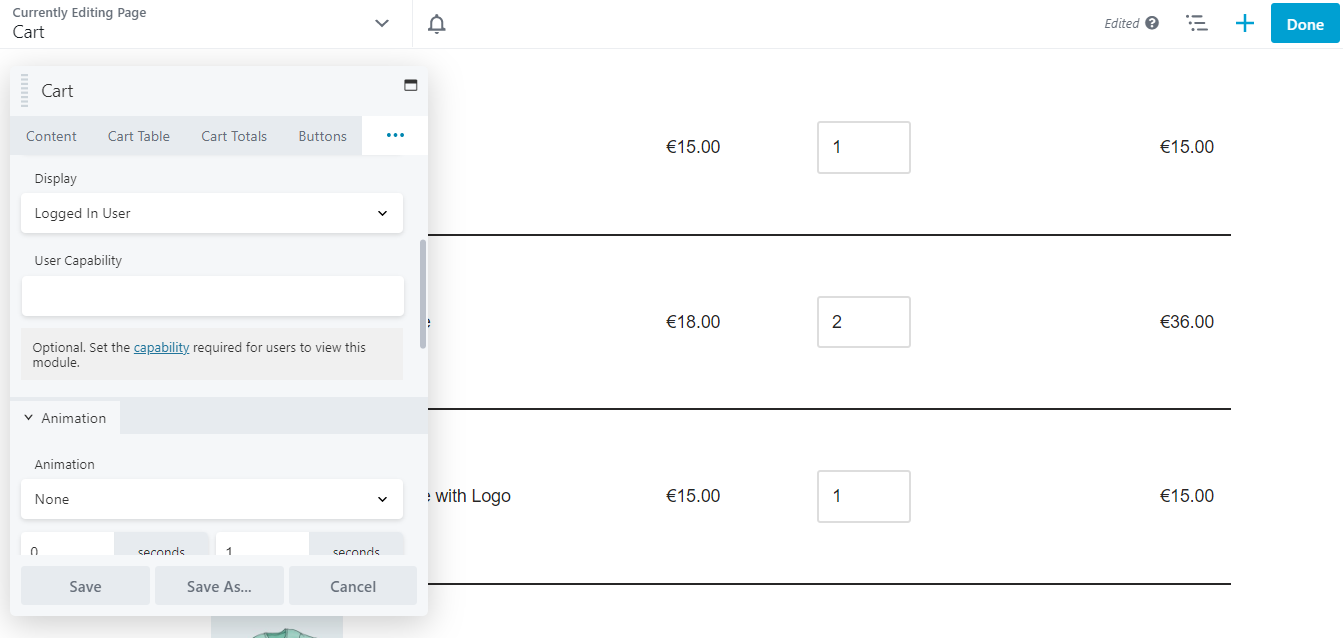
You can further customize your content with HTML elements and animations. Once you have made all your changes, click on Save. If you’re satisfied with the results, click Done > Publish:
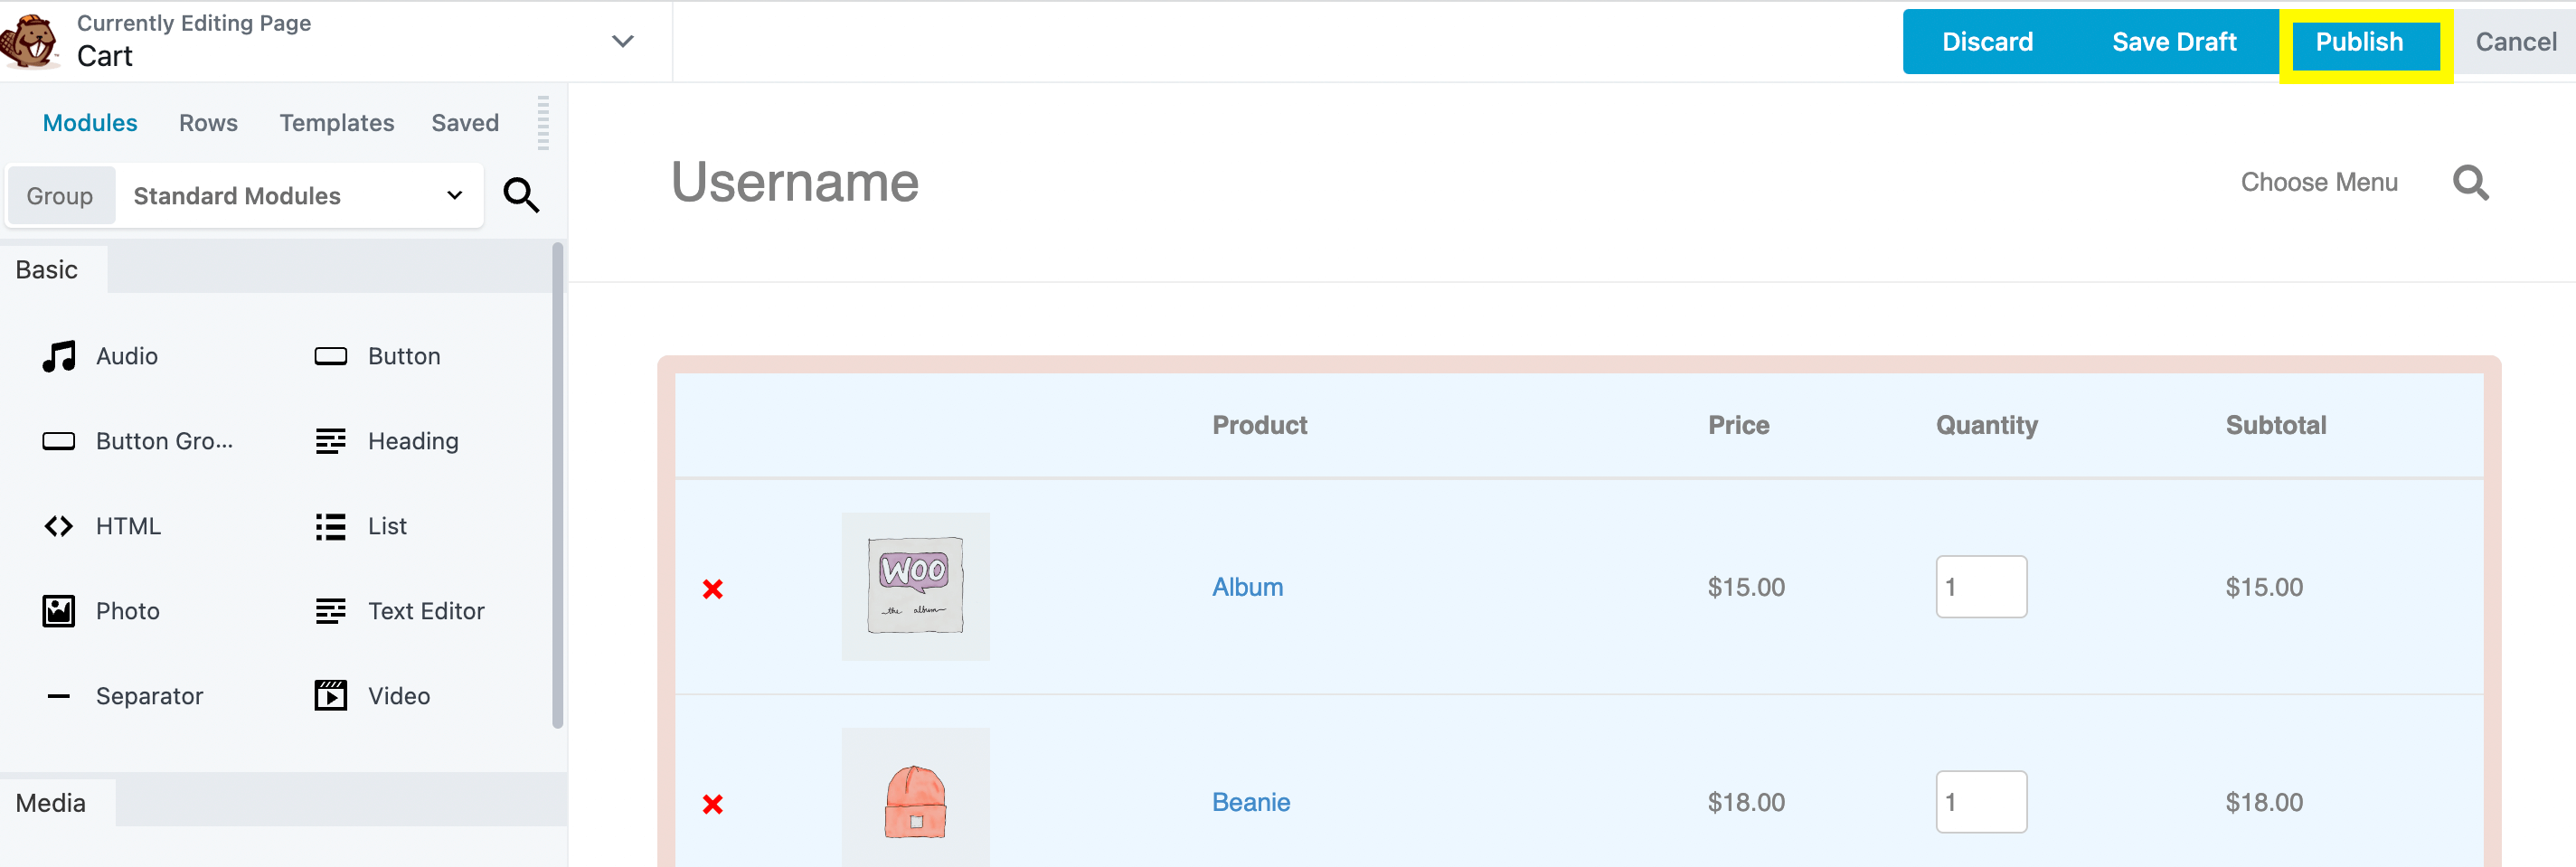
That’s it – you now have a fully functional and optimized cart page that matches your branding!
Conclusion
Increasing sales for your e-commerce business isn’t always easy. Fortunately, you can customize your WooCommerce cart page to provide a more seamless checkout experience and potentially boost your conversions.
To summarize, here’s how to create a customized cart page using Beaver Builder and WooPack:
- Add the Cart module to your page.
- Modify your cart table and totals.
- Customize the buttons on the page.
- Edit the typography of your content.
- Configure additional settings and publish your cart page.
Related Questions
What Do I Need to Create a Custom Cart Page?
You can use a page builder plugin like Beaver Builder to customize your WooCommerce cart page. In addition, the WooPack add-on plugin by PowerPack adds a number of additional WooCommerce specific Beaver Builder modules for even more custom options.
Is the Cart Page Different From the Checkout Page?
By default, WooCommerce generates a cart page that displays the products that are currently in the user’s cart, as well as a checkout page that enables users to complete an order. The cart page allows users to make changes to their selections (e.g., they might remove a product or change the size) and proceed to checkout. Meanwhile, the checkout page contains different payment and delivery options, and users might have to enter their personal details. Both pages can easily be customized with Beaver Builder and WooPack.
Our Newsletter
Our newsletter is personally written and sent out about once a month. It's not the least bit annoying or spammy.
We promise.
Try Beaver Builder Today

Related articles

Beaver Builder Maintenance Mode: How to Set It Up
Beaver Builder Maintenance Mode helps you keep your website looking professional while you work behind the scenes. Whether you’re redesigning…
Beaver Builder 2.11: Popup Module, Maintenance Mode, and Settings Snapshots
Beaver Builder 2.11, also known as Kariba, is now available and delivers some exciting updates: a new Popup Module for…

Beaver Builder AI: Build WordPress Layouts with AI (Now in Alpha)
Hey everyone! Big news. After a long time of building behind the scenes, Beaver Builder AI is here. The alpha…
Join the community
We're here for you
There's a thriving community of builders and we'd love for you to join us. Come by and show off a project, network, or ask a question.
Since 2014
Build Your Website in Minutes, Not Months
Join Over 1 Million+ Websites Powered By Beaver Builder.