
If you’re going to be performing extensive updates on your WordPress website, you might be wondering how to create a maintenance mode page in WordPress. This can be an effective way to keep your audience informed. Additionally, it can generate buzz about upcoming content.
In this post, we’ll explain what maintenance mode pages are and why you might want to use them on your WordPress website. Then, we’ll show you how to set one up using Beaver Builder. Let’s get started!
- An Introduction to Maintenance Mode in WordPress
- Why You Might Want to Design a Maintenance Mode Page for Your WordPress Website
- How to Create a Maintenance Mode Page in WordPress (In 4 Steps)
- Conclusion
An Introduction to Maintenance Mode in WordPress
When making major changes to your website, it’s a good idea to enable maintenance mode. This notice tells your visitors that your site (or certain pages) are currently offline.
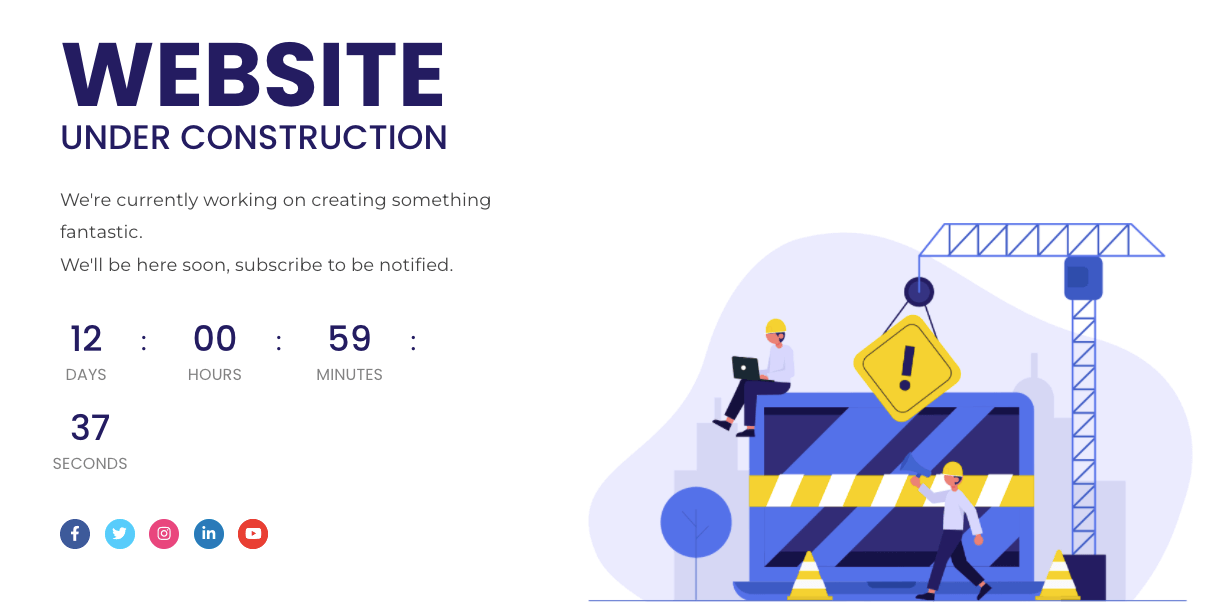
Generally, maintenance mode pages give information about why your content is unavailable. Although your audience can’t view a specific page, you can tell them when it will be back up:
Editing themes and plugins on a live site display error pages to users. When this happens, visitors won’t be able to immediately find the content they’re looking for. Ultimately, error pages can hurt your credibility and increase bounce rates.
Although accidental error pages can be harmful, you could create a custom 404 error page to re-engage visitors. However, maintenance mode pages are often better options.
With a maintenance mode page, you can inform your audience when they can return to your website and access information. Additionally, these pages can contain lead capture forms, enabling you to contact users even after leaving.
Why You Might Want to Design a Maintenance Mode Page for Your WordPress Website
Websites often need routine maintenance, such as deleting spam comments or performing backups. For these smaller tasks, your site won’t experience any downtime. However, it’s important to know how to create a maintenance mode page when fixing larger functional issues.
You should consider making a maintenance mode page when:
- Configuring new plugins
- Customizing your theme
- Removing insecure/spammy links
These changes can cause serious problems such as 404 error pages or the White Screen of Death on a live website. After encountering these functional issues, visitors could potentially become frustrated and leave your site.
This is when a maintenance mode page can be useful. It can make your website look more professional. Furthermore, this page can tell your audience that you’re actively updating your site to create a better experience for them.
Even though users won’t find the content they came for, maintenance mode pages can tell them when it will become available. This information can be more encouraging for first-time visitors than a 404 error page. Plus, many maintenance mode pages contain an email sign-up form where users can subscribe for more updates.
You might also use a maintenance mode page to promote new product launches or a website redesign. By creating a coming soon landing page, you can generate a buzz before your launch date.
How to Create a Maintenance Mode Page in WordPress (4 Steps)
We recommend using our Beaver Builder plugin to create your first maintenance mode page. You can easily create a custom design with our drag and drop page builder. If you prefer to dedicate less time to design, you can access a pre-designed maintenance mode page layout.
If you need more advanced customization, you can also download the PowerPack Beaver Builder Addon. It comes with a professionally designed Template Library, including maintenance mode and coming soon pages.
Step 1: Add a New Page
For the first part of this tutorial, we’ll be using the free Beaver Builder plugin. Later on, we’ll show you how our premium tool can take your maintenance mode page even further. If you already have a premium version of Beaver Builder installed then you are all set.
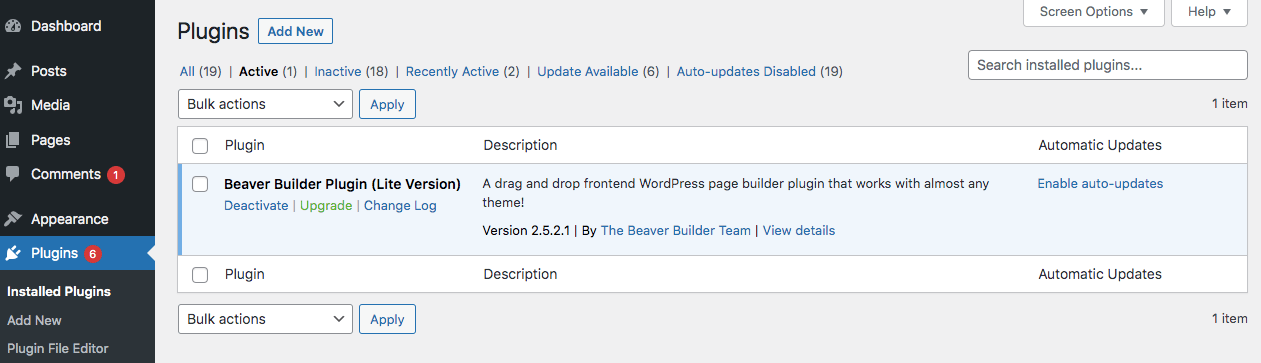
First, go to the Plugins page in your WordPress dashboard. Click on Add New and search for “Beaver Builder Lite”. Then, install and activate it:
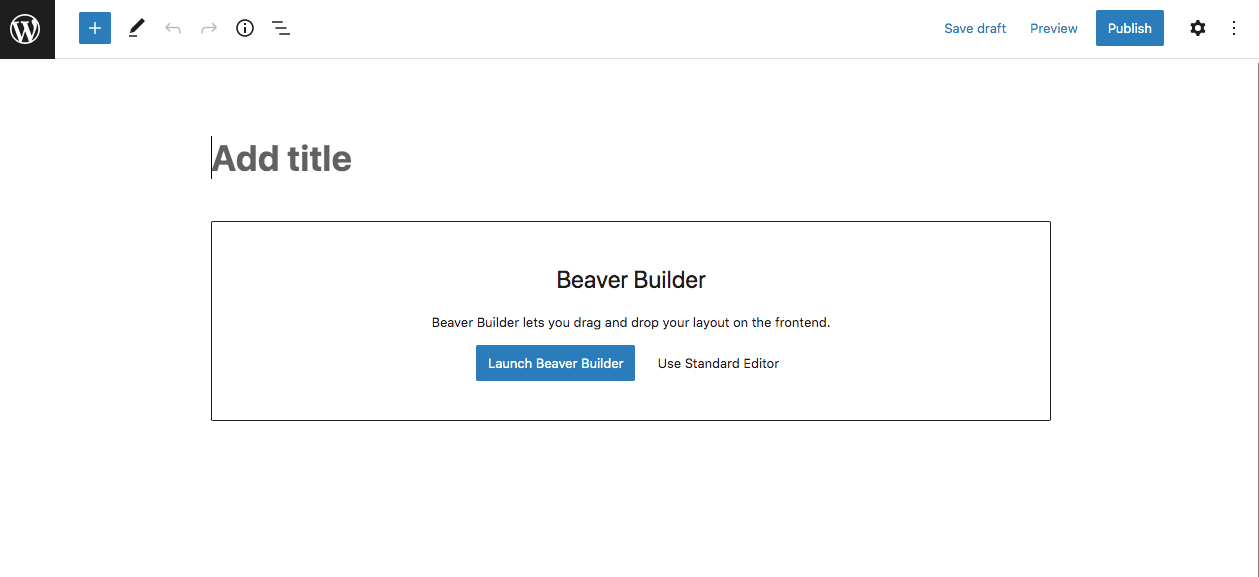
To create a maintenance mode page, select Pages > Add New. Now give your page a title. Next, click on Launch Beaver Builder:
This will open the Beaver Builder editor, where you can start customizing your maintenance mode page.
Step 2: Choose the Maintenance Template
Even using Beaver Builder Lite, you’ll be able to access pre-made page templates. These include a simple maintenance mode page that you can customize to fit your website.
On your new page, click on the + icon in the upper right-hand corner. Here, you can drag and drop specific modules to create a custom page.
Alternatively, you can save time by navigating to the Templates tab:
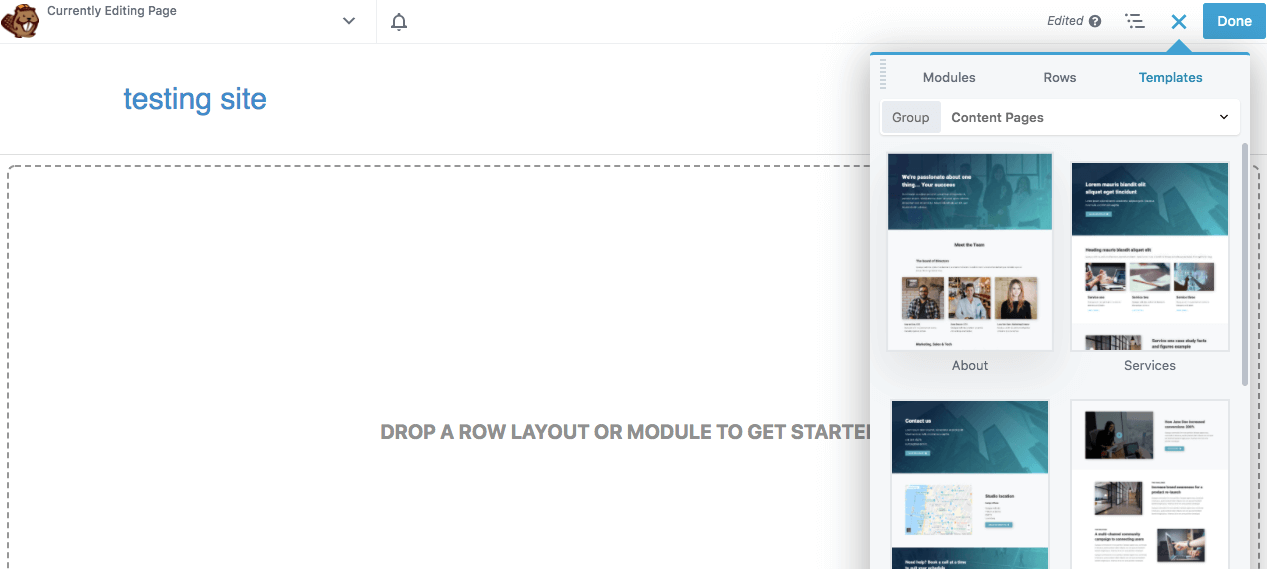
In the Group dropdown menu, select Landing Pages. Then, you’ll see an option labeled Maintenance:
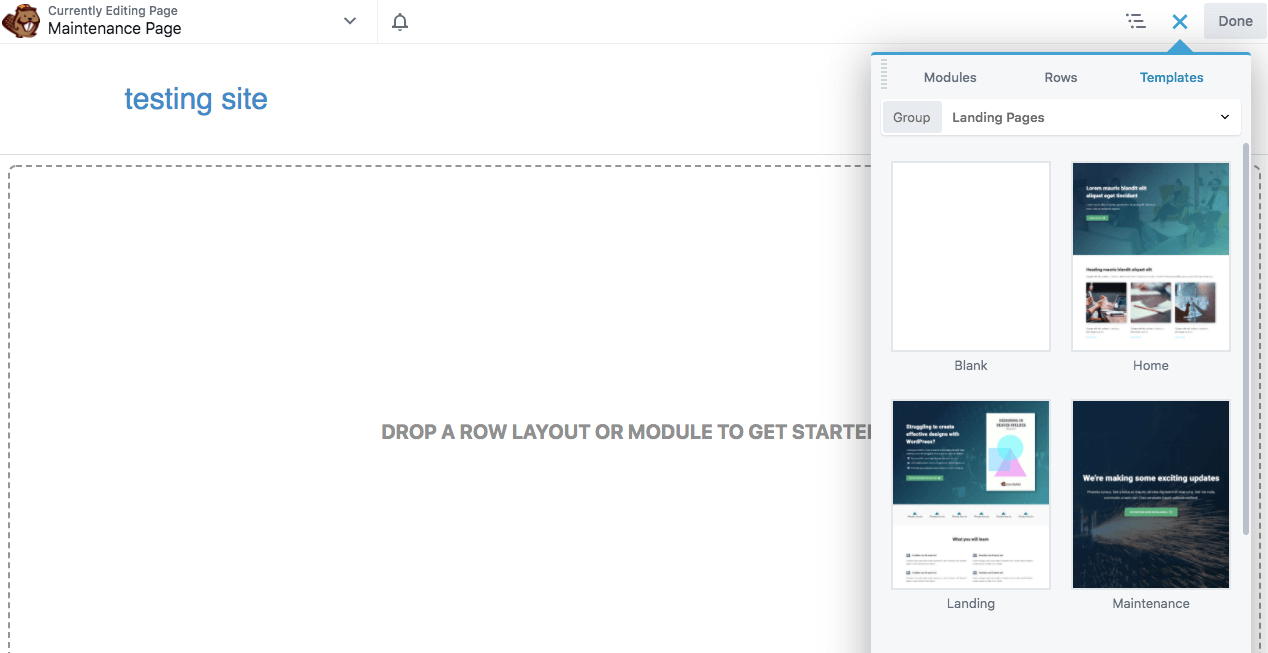
Click on and drag this template to add it to your page.
Step 3: Customize the Images and Text
After inserting the Maintenance template, you’ll need to customize it and add relevant information to your website. If you’d like to change the background image, hover over it and click on the wrench icon to open up the Row Settings:
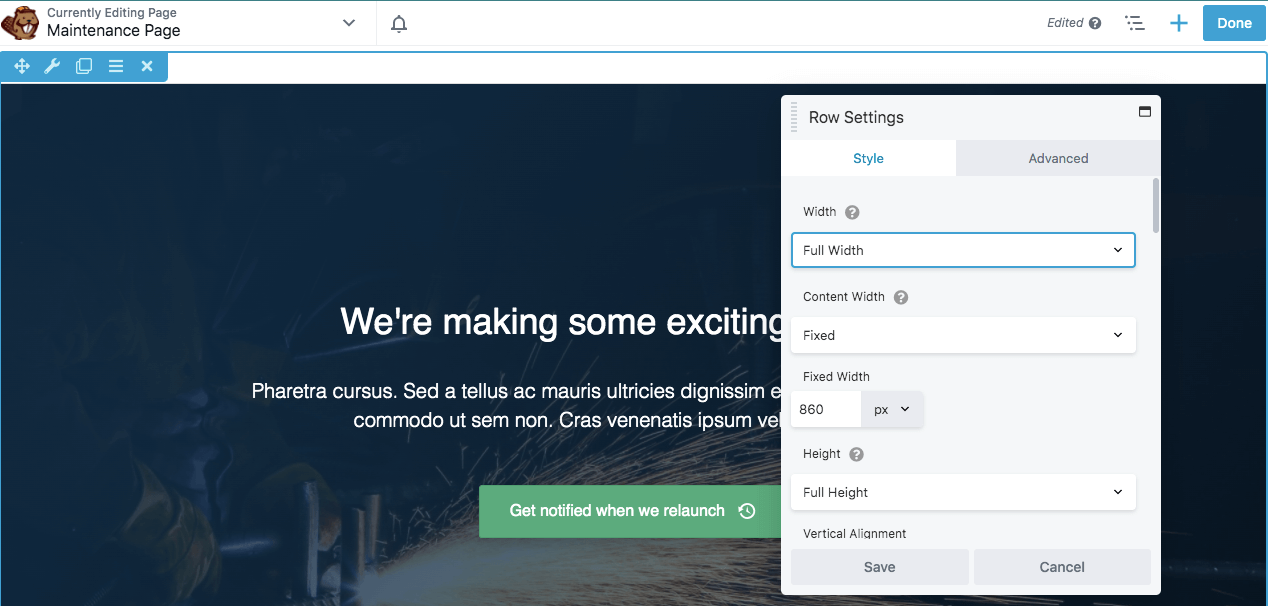
In the Style tab, scroll down to Background Photo and click on Remove. Then, you can insert an image from the Media Library or upload a new file:
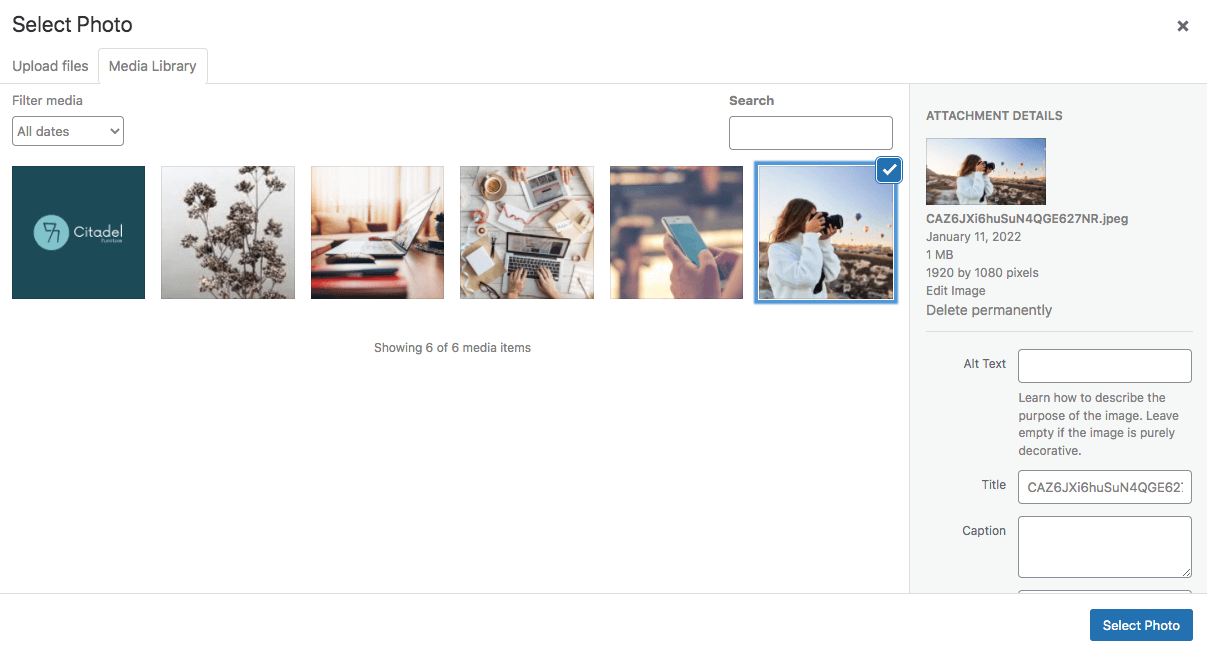
Once you’ve found the right image, click on Select Photo. If you like the way it looks in the background of your maintenance page, save your changes.
You also might want to customize the default text. Start by hovering over the heading and clicking on its settings:
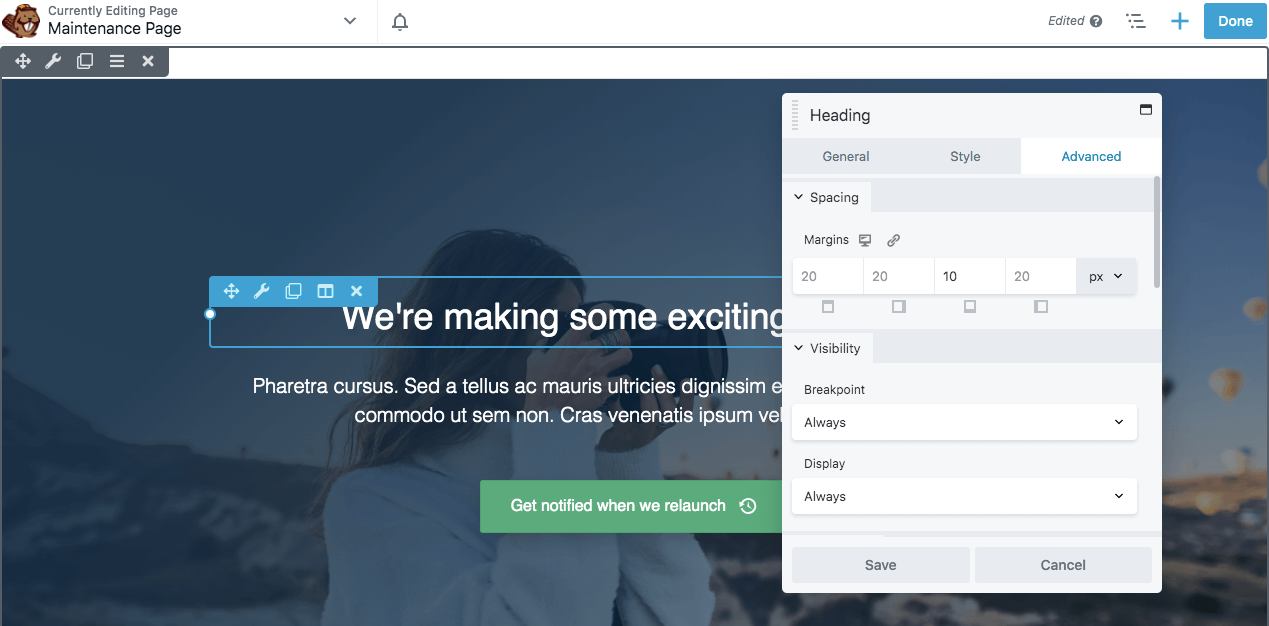
To edit the text, go to the General tab. Under the Heading section, add your own text:
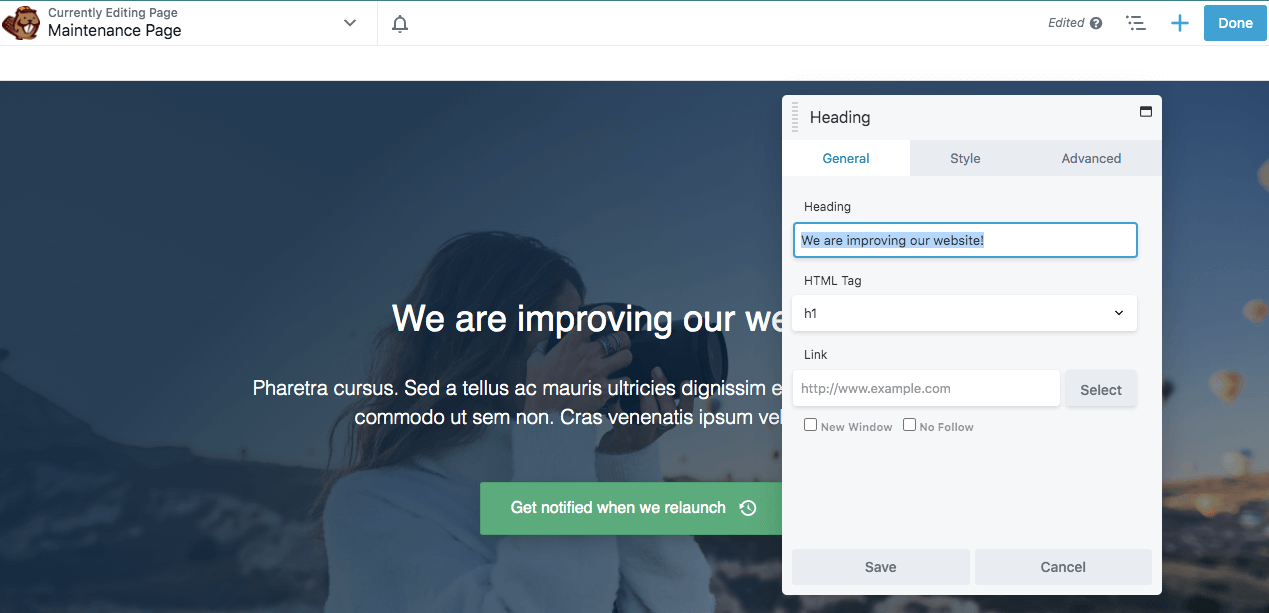
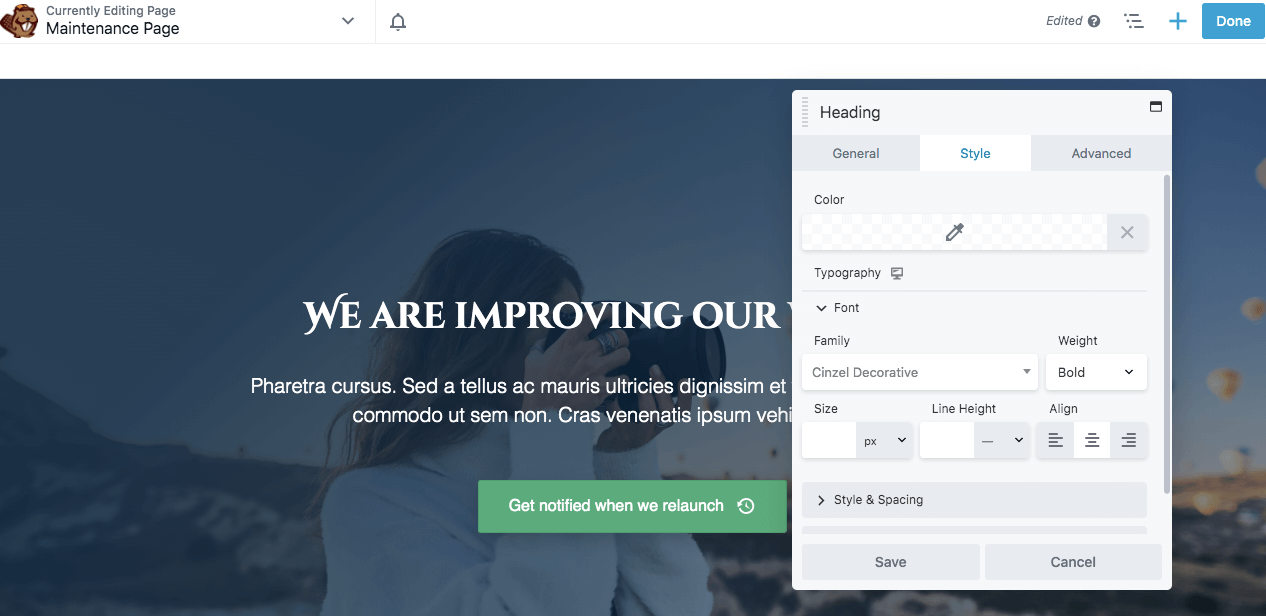
You can also change the font, color, and heading size in the Style tab. Once you’ve made your edits, click on Save:
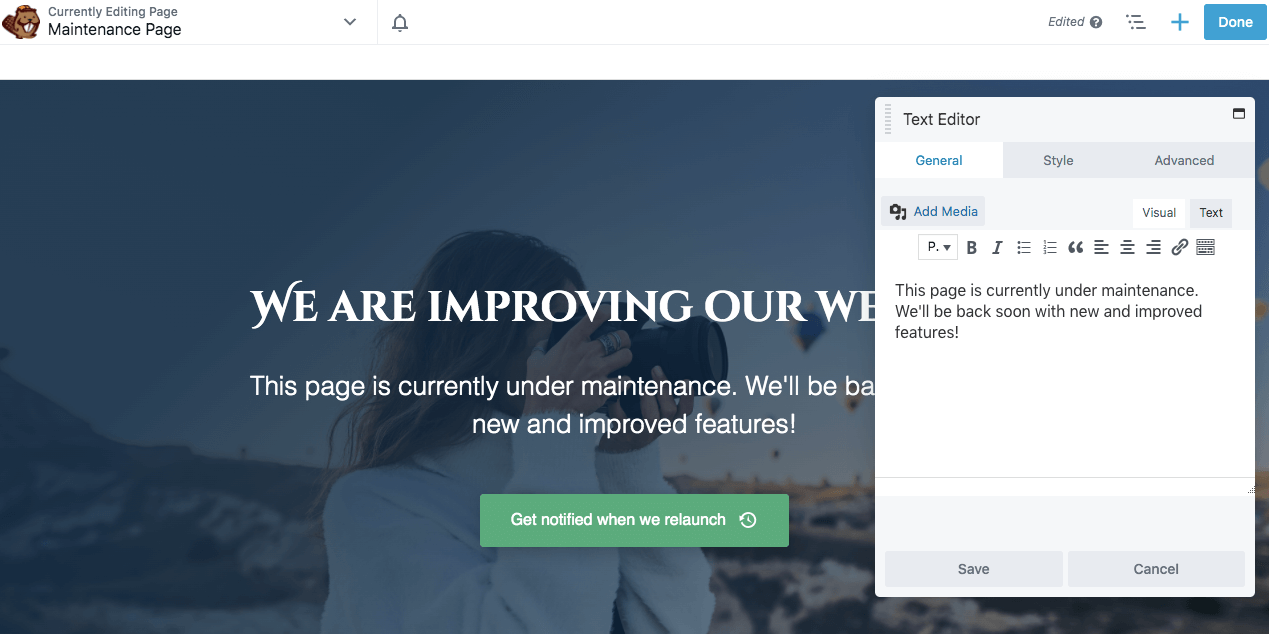
You can go through the same editing process for the main body of the text. Add custom text in the General tab, then adjust the font as needed:
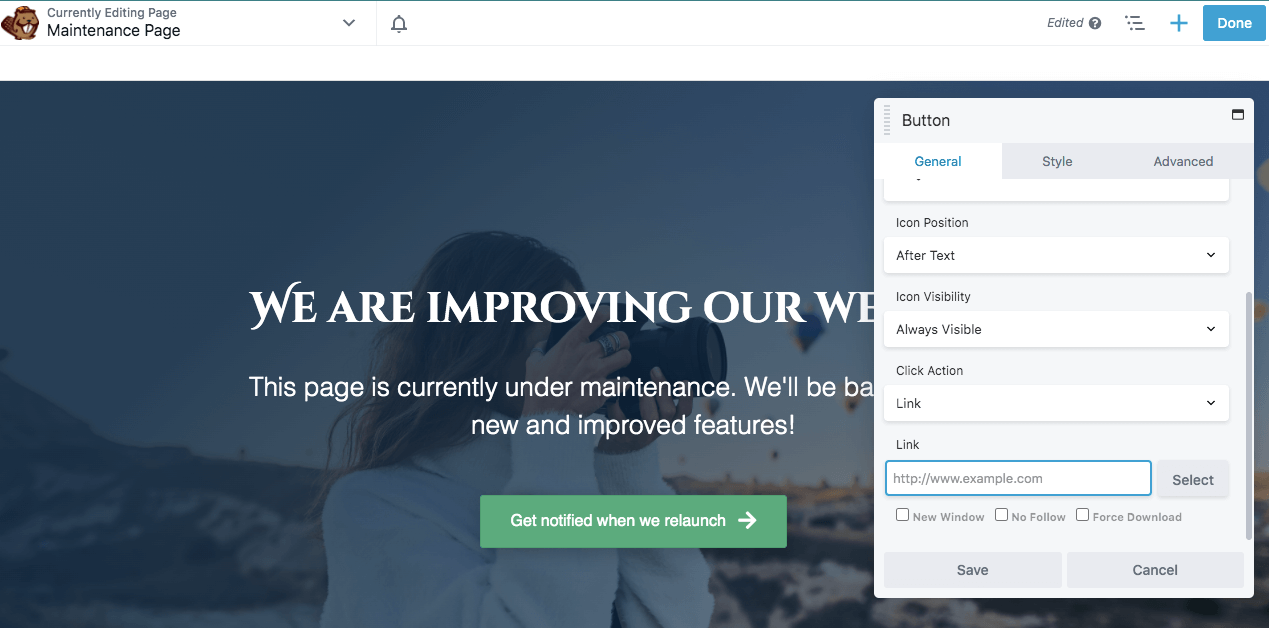
The last feature in this default template is the Call to Action (CTA) button. You can click on its settings to edit the text and add a custom icon:
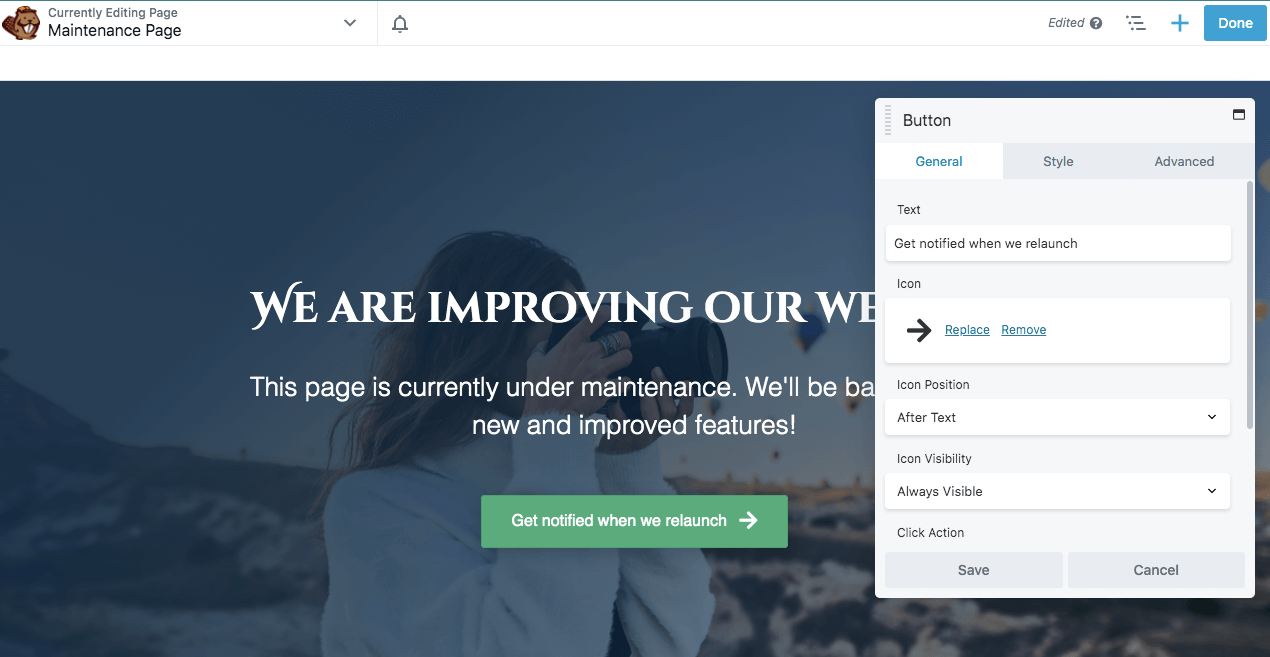
At the bottom of the General tab, paste a link where you want the button to lead. This could be another website page with similar information or a landing page to capture email addresses:
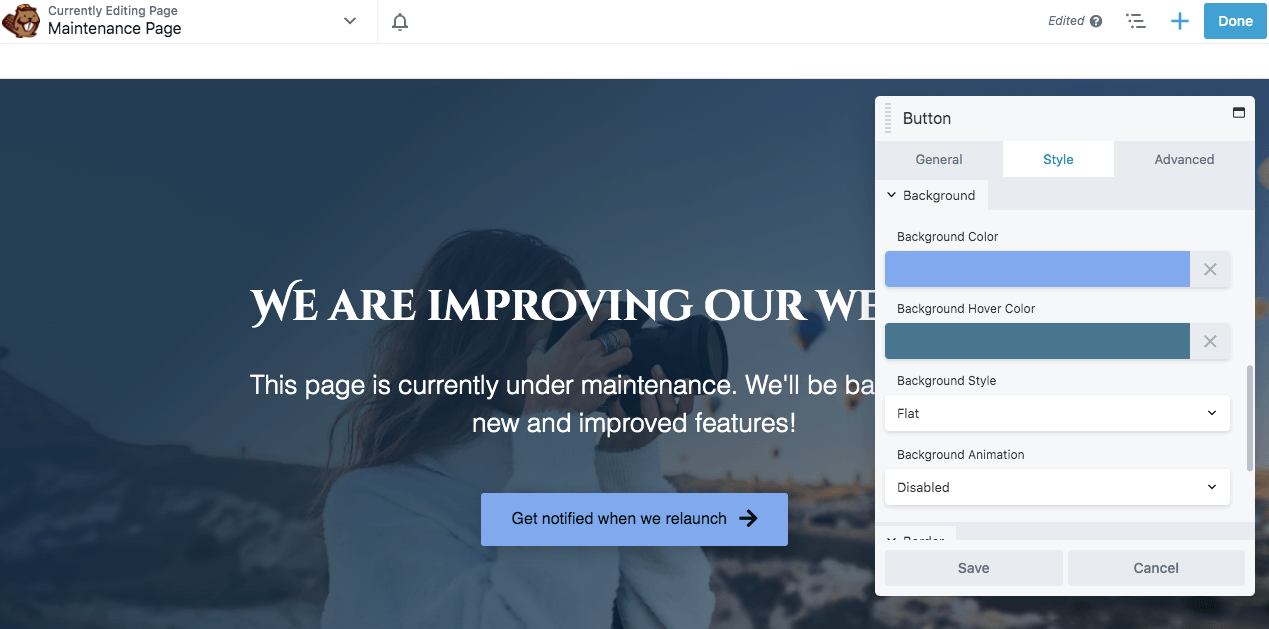
Then, go to the Style tab to edit the button color and its hover color. Here, you can also change the text color and font:
Once you like the way the page looks, click on Save and then Publish. If there are any links that might become broken during your website maintenance, consider redirecting them to this page.
Step 4: Add Extra Features
Beaver Builder Lite gives you everything you need to complete the above steps. This tool can be effective for building a simple maintenance page. However, you’ll need our premium plugin to access more advanced features such as a countdown timer or lead capture form.
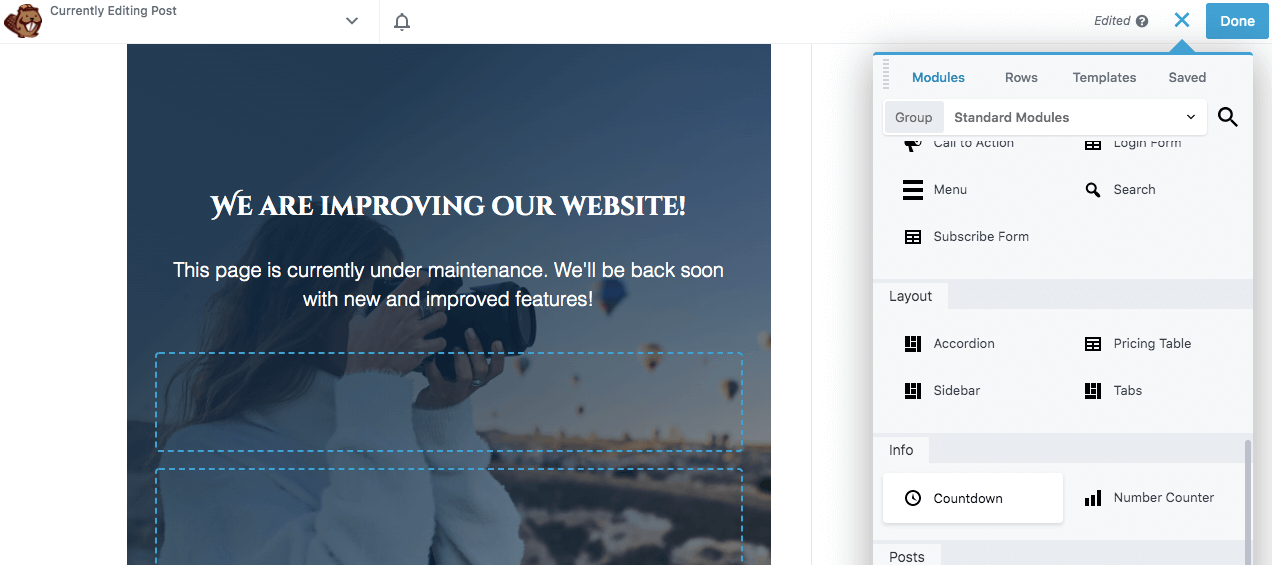
Using Beaver Builder Pro, you can add a new maintenance page and edit it using the same process as the Lite plugin. However, you can now add extra modules to make your maintenance page more interactive.
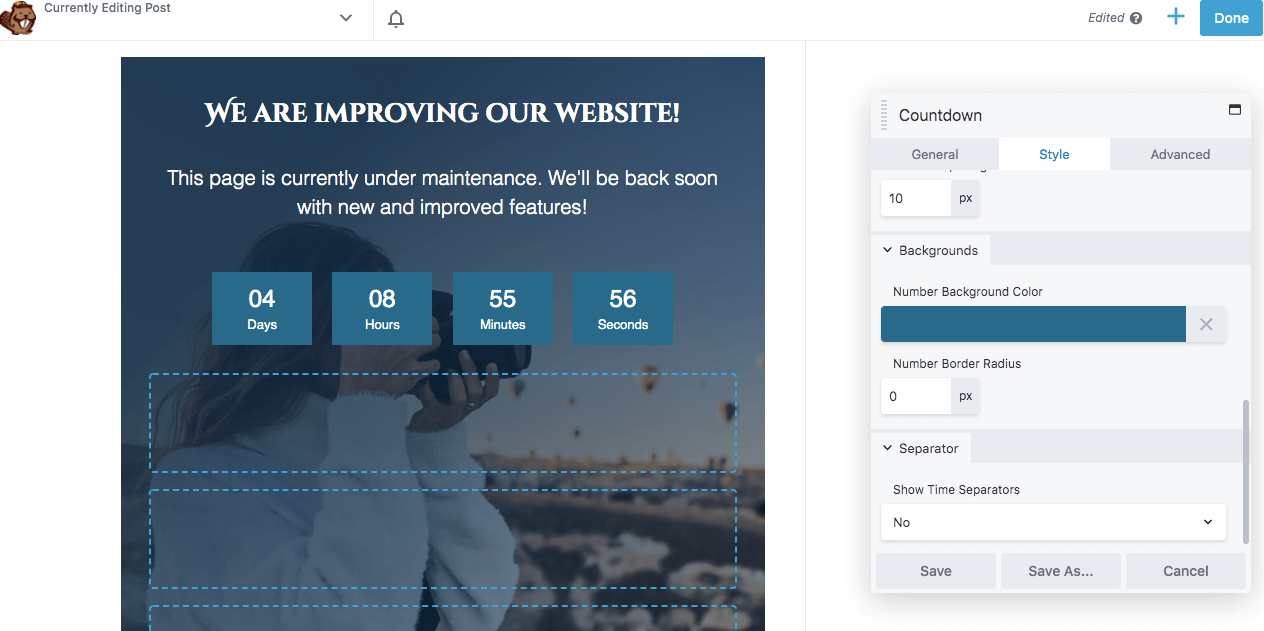
For example, in Modules, you can drag and drop a countdown timer onto the page. It can inform visitors when your site will be live again:
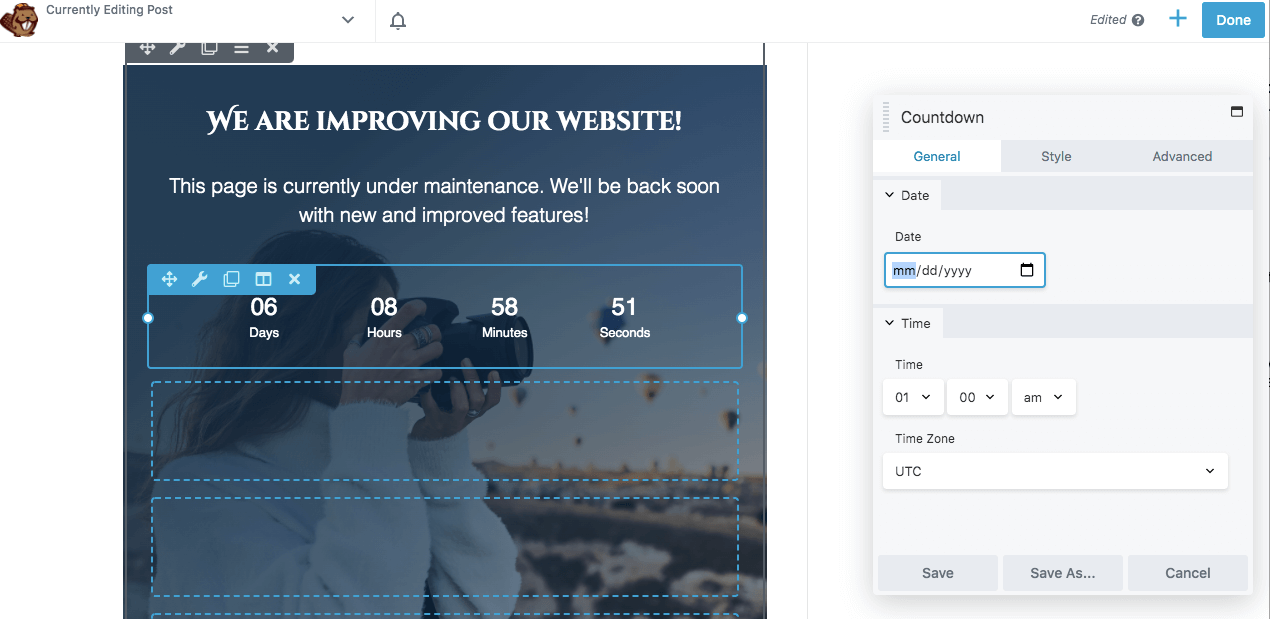
With this module, you can add your launch date in the General tab. Be sure to specify the time zone as well:
Under Style, you can edit the color and size of the numbers. Then, add a background color if needed:
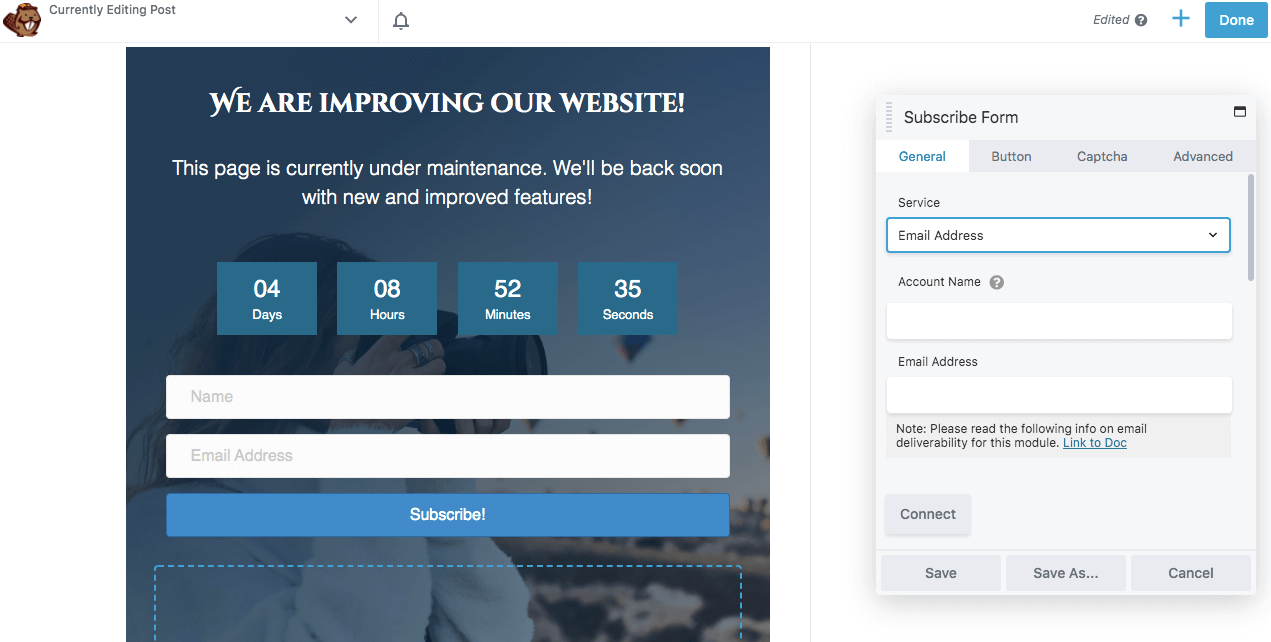
You might also want to capture leads using your maintenance mode page. This way, users can sign up for your newsletter and learn about planned updates.
To start capturing leads, drag and drop a subscribe form module anywhere you’d like. Then, connect the email marketing service that you’ll use to monitor responses:
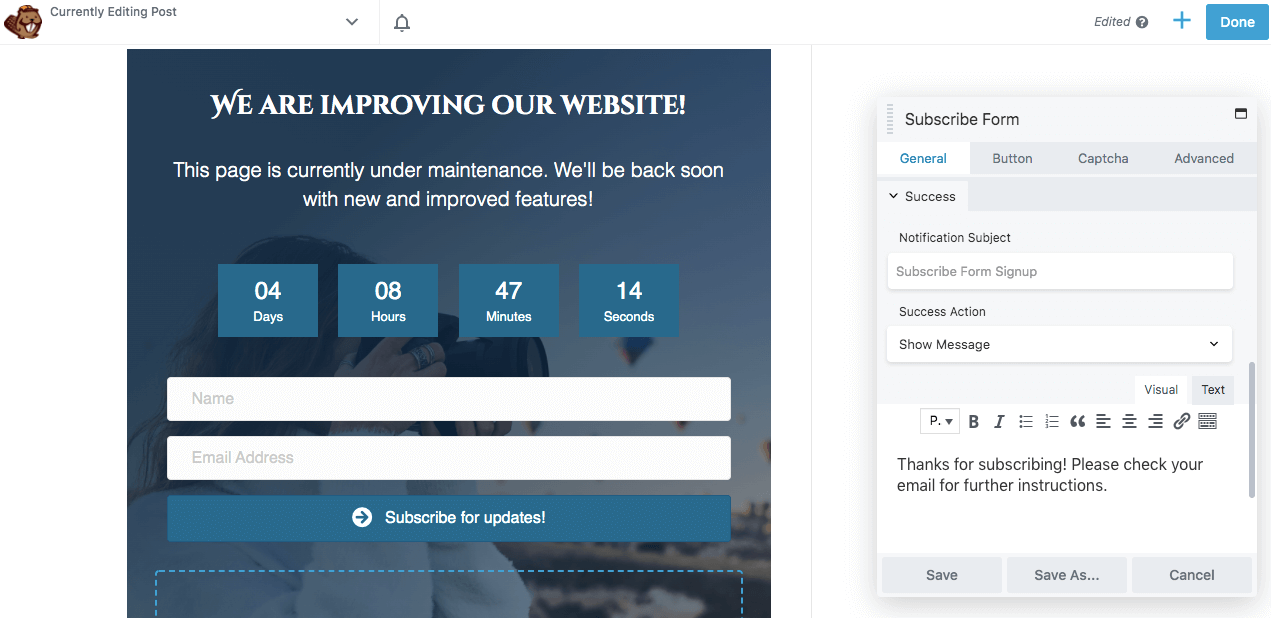
You can add a custom message at the bottom of the General tab. This is what users will see after they sign up:
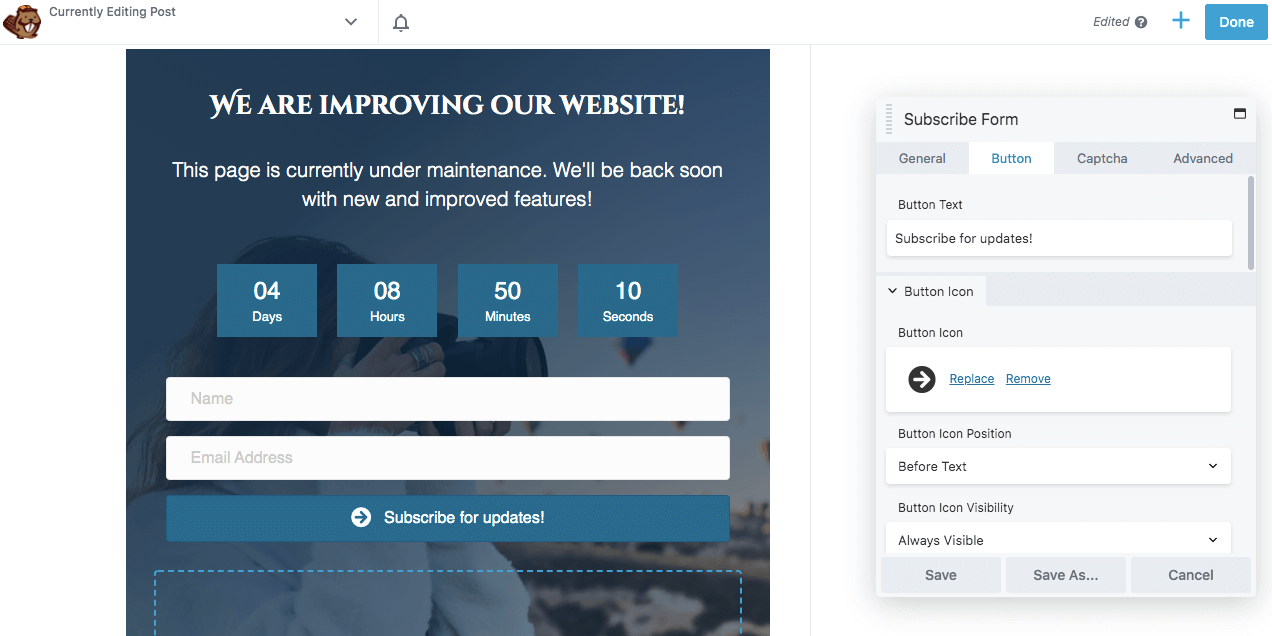
You can also edit the subscribe button in the Button tab. Here, you can add custom text and an icon. At the bottom of the section, you can also choose a background color:
If needed, you can even insert a Google reCAPTCHA checkbox. This feature can block spam and ensure that you only receive valid leads:

Once you like how your maintenance page looks, save your draft or hit Publish. Now you can use a plugin such as PowerPack to automatically
Conclusion
To keep your website updated and functioning properly, you might need to customize your theme or configure new plugins. Although website maintenance is important, it can often cause error pages that negatively impact user experience. By creating a maintenance mode page, you can inform visitors about unavailable pages and when they’ll go back online.
When using our Beaver Builder tool, there are four simple steps to create a maintenance mode page:
- Add a new page.
- Choose the maintenance template.
- Customize the images and text.
- Add extra features with Beaver Builder Pro.
Do you have any questions about creating a custom maintenance mode page for your website? Let us know in the comments section below!
7 Comments
Our Newsletter
Our newsletter is personally written and sent out about once a month. It's not the least bit annoying or spammy.
We promise.
Try Beaver Builder Today

Related articles
Beaver Builder Maintenance Mode: How to Set It Up
Beaver Builder Maintenance Mode helps you keep your website looking professional while you work behind the scenes. Whether you’re redesigning…
Beaver Builder 2.11: Popup Module, Maintenance Mode, and Settings Snapshots
Beaver Builder 2.11, also known as Kariba, is now available and delivers some exciting updates: a new Popup Module for…

Beaver Builder AI: Build WordPress Layouts with AI (Now in Alpha)
Hey everyone! Big news. After a long time of building behind the scenes, Beaver Builder AI is here. The alpha…
Join the community
We're here for you
There's a thriving community of builders and we'd love for you to join us. Come by and show off a project, network, or ask a question.
Since 2014
Build Your Website in Minutes, Not Months
Join Over 1 Million+ Websites Powered By Beaver Builder.
Ummm… interesting… but… If my site is offline for maintenance, wouldn’t my new Maintenance Mode page also be offline? Seems like there should be some mechanism for causing it to appear even when the rest of the pages don’t appear.
What am I missing?
Ed
Hi Ed – You can use a plugin such as PowerPack for Beaver Builder or Restricted Site Access plugin to automatically redirect visitors to your new maintenance mode page. Here’s how: https://www.youtube.com/watch?v=sEzBnYT96RI&t=298s
This is an excellent article! I learn a lot from it. I’ll give it a shot on my website. Thanks!
This tutorial was very helpful!
Having a maintenance mode template in Themer would be great.
Thank you for the tutorial !
Thank you for the tutorial!