
WP Grid Builder is a powerful tool that lets you build sophisticated grid layouts with faceted search for your website. This allows users to narrow down search results by applying multiple filter criteria. Using its intuitive interface, you can query and showcase WordPress content from different taxonomies, posts, and users.
In this post, we’ll introduce you to WP Grid Builder and provide instructions on how to integrate it with Beaver Builder using the add-on. We’ll also show you how to use the new modules that WP Grid Builder adds to Beaver Builder. Let’s jump in!
Table of Contents
- An Overview of WP Grid Builder
- How to Integrate Beaver Builder with WP Grid Builder (In 6 Steps)
- 1. Purchase and Install the WP Grid Plugin
- 2. Add the Beaver Builder Add-On
- 3. Create Your Grid Layout
- 4. Launch Your Page in Beaver Builder and Insert Your Grid
- 5. Add a Facet to Your Grid or Module
- 6. Save and Publish Your Page
- Conclusion
An Overview of WP Grid Builder
WP Grid Builder is a premium WordPress plugin that helps you create responsive grid-based layouts for your posts and pages:
With this tool, you can quickly and easily build beautiful, advanced grids that look great on all devices. WP Grid Builder is also extremely easy to use, thanks to its simple drag-and-drop interface.
Plus, the plugin comes with a number of pre-built templates and layouts so you can get started right away. If you need more customization options, WP Grid Builder offers advanced features like custom CSS and JavaScript editors.
WP Grid Builder can be an ideal tool for e-commerce shops, portfolio sites, blogs, and more. Its key features include:
- Advanced filtering system
- Faceted search
- Over 20 facet types
- Custom Fields integration
- Built-in lightbox
- Card builder
- Drag-and-drop builder
- Social sharing support
Recently, WP Grid Builder released a Beaver Builder add-on. This enables you to add and customize sophisticated grid layouts via our page builder. You can even use the add-on to add grids that display results from Beaver Themer archive layouts.
How to Integrate Beaver Builder with WP Grid Builder (In 6 Steps)
Now, let’s look at how to integrate WP Grid Builder with Beaver Builder. In this tutorial, we’ll assume you already have Beaver Builder installed and activated on your website.
Step 1: Purchase and Install the WP Grid Builder Plugin
The first step is to install the WP Grid Builder plugin. You can purchase a plan from the plugin’s website:
All packages include the WP Grid Builder add-ons. In addition to Beaver Builder, you can install extensions for LearnDash, Map Facet, and more.
After you purchase the plugin, you can download the .zip file and upload it to your WordPress site from the Plugins page. Then, click on Install Now followed by Activate Plugin. A Gridbuilder item will be added to your WordPress menu.
Step 2: Add the Beaver Builder Add-On
The next step is to add the Beaver Builder add-on. In your WordPress dashboard, navigate to Gridbuilder > Addons. Here, you can find a list of all available add-ons, including several page builder options.
Simply select the add-on for Beaver Builder. Alternatively, you can download the Beaver Builder add-on from your Grid Builder account, then upload it to your WordPress site.
Note that you will not be able to install any add-ons unless your WP Grid Builder license is active.
Step 3: Create Your Grid Layout
Once you have WP Grid Builder and the Beaver Builder add-on installed, you can start creating your grid. Navigate to Gridbuilder > All Grids, then select Create A Grid:
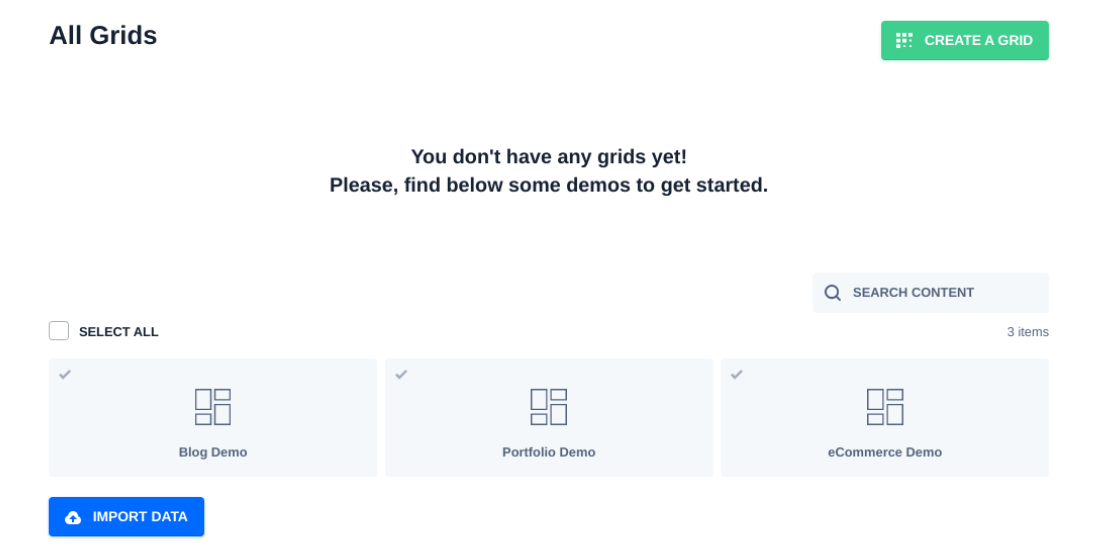
Alternatively, you can choose one of the three demos available: Blog, Portfolio, and eCommerce. Next, you’ll need to configure the settings for your grid:
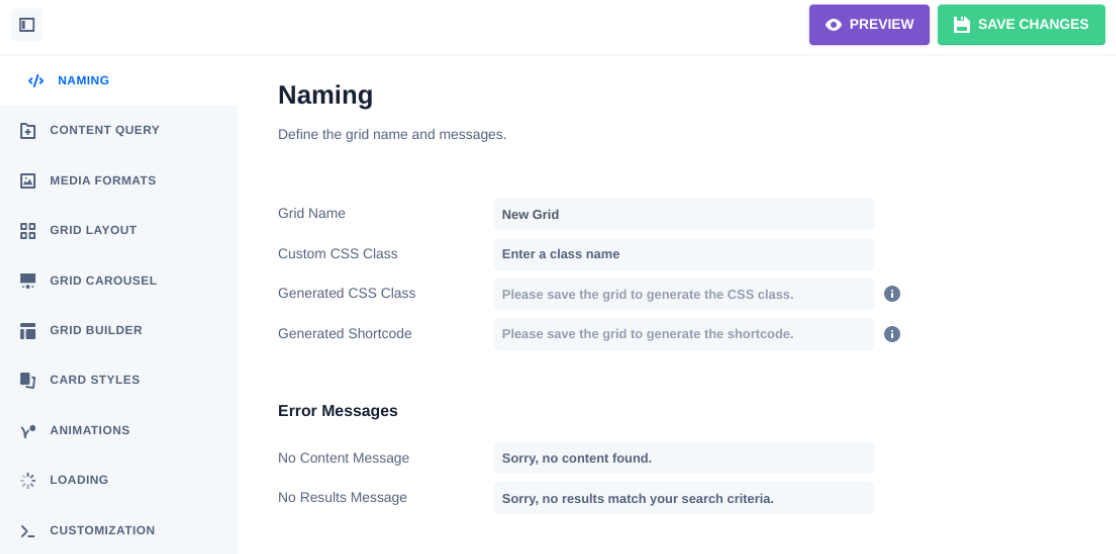
You can start by creating a name for it. Under Content Query, you can select the content type (posts, terms, or users). You can also choose the number of items to display and in what order.
Under Grid Layout, you can select a layout type and whether the grid is full-width or not. You can click on the rest of the tabs to further customize your grid, such as by adding animation and entering custom CSS or JavaScript.
If you want to create a facet, you can navigate to Gridbuilder > All Facets:
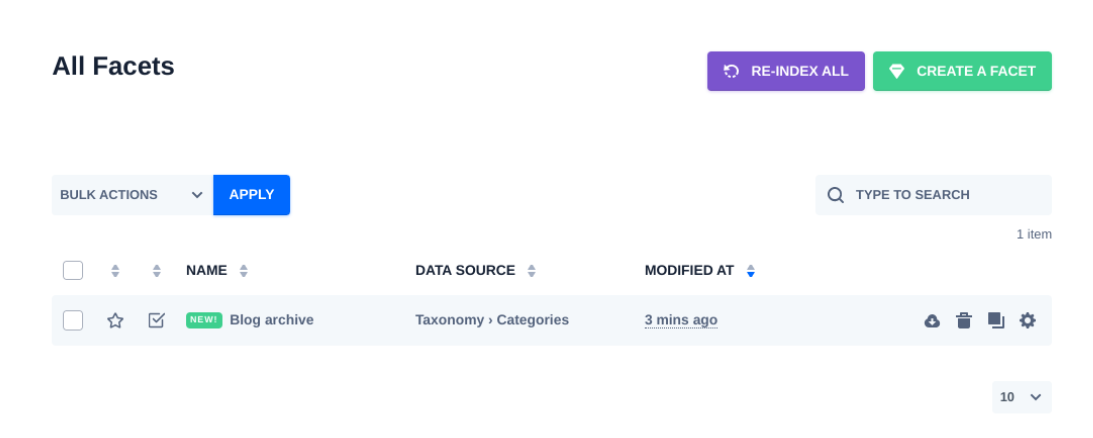
Here, you can view your existing facets and add a new one by selecting Create A Facet. After you name your facet, you can select the Behavior tab and choose one of the following actions:
- Filter
- Load
- Sort
- Apply
- Reset
For each option, you can choose the type of feature. For example, for the Filter action, you can choose from Checkboxes, Dropdown, Buttons, etc. If you select this option, the facet will automatically be added to the grid anytime you insert the module on a page.
You can also add facets to other modules in Beaver Builder (without the accompanying grid). We’ll take a closer look at this method in a moment.
When you’re done, click on the Save Changes button in the top right-hand corner.
Step 4: Launch Your Page in Beaver Builder and Insert Your Grid
After you add the Beaver Builder add-on, WP Grid Builder will automatically add two new modules to the page builder. You can use these modules to quickly add grids and facets within the Beaver Builder editor.
To access these modules, navigate to the page or post where you want to add a grid layout, then select Launch Beaver Builder:
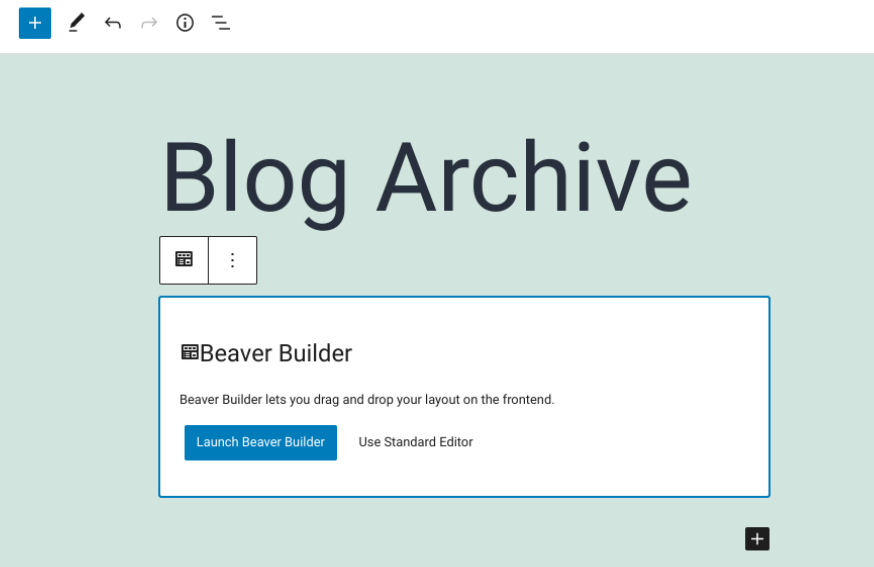
This will open the Beaver Builder interface. In the right-hand panel, you can find the two modules under the WP Grid Builder tab:
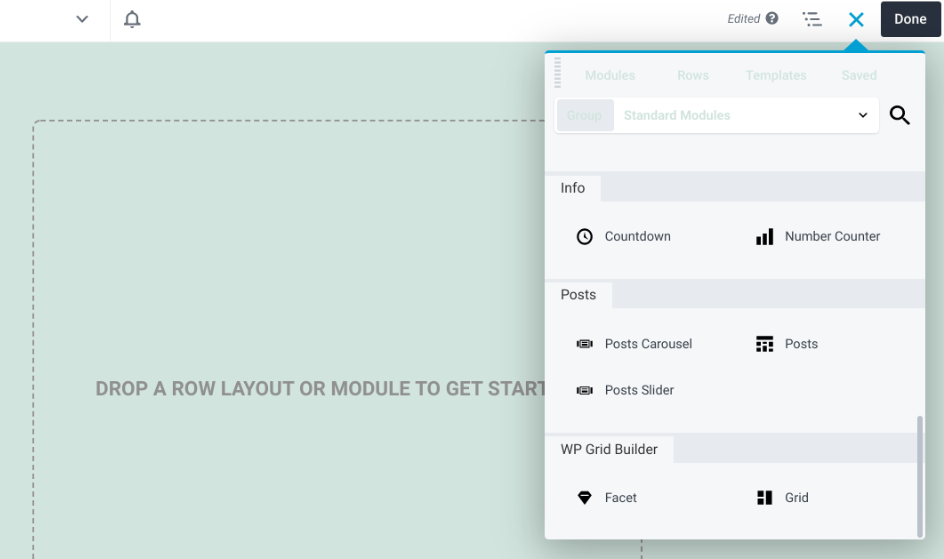
You can select the module you want to use. For example, you can drag and drop the Grid module to your page, then click on the dropdown menu to choose the grid you’ve just created with WP Grid Builder:
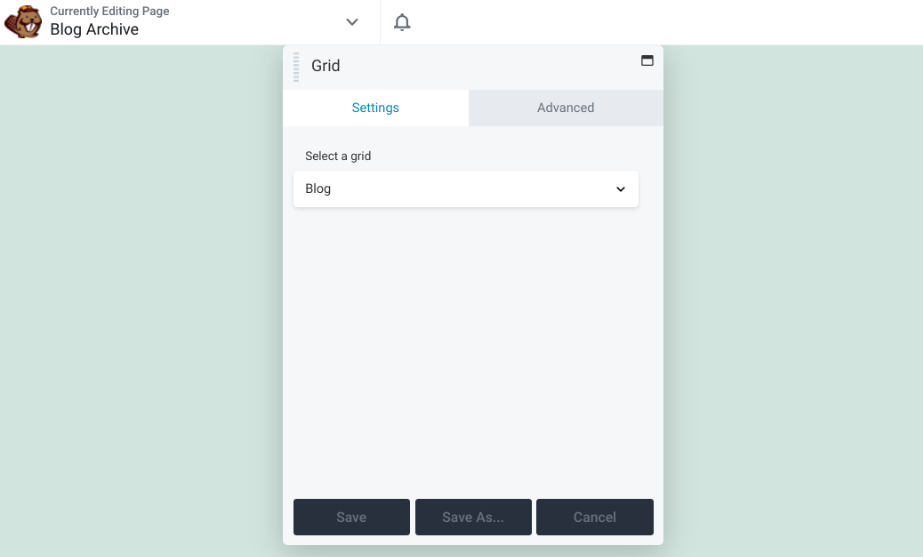
The settings and customization options will vary depending on which options you choose. For example, when you’re using Beaver Themer, you can also integrate the grid with the Archive Template.
Step 5: Add a Facet to Your Grid or Module
Facets let you filter several modules from our page builder. These include:
- Posts Grid
- Posts Slider
- WooCommerce
- Posts Carousel
- PP Content Grid module (PowerPack for Beaver Builder plugin)
- WooPack Product Grid module (WooPack for Beaver Builder plugin)
Let’s look at how to filter a Beaver Builder module from the page builder. Under Modules, navigate to WP Grid Builder and drag and drop the Facet module where you want it placed on the page:
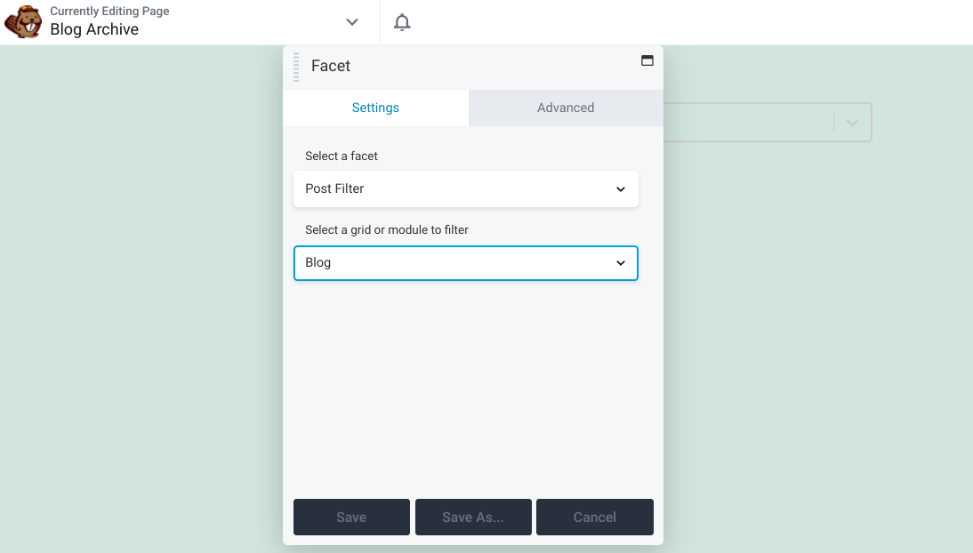
In the above example, we used the Facet module to apply a post filter above the grid. From the Select a grid or module to filter dropdown menu, we selected Blog. Now, users will be able to select the category of posts to display on the archive page.
Note that WP Grid Builder does not support the scroll or “load more” pagination styles. However, it’s possible to load more content on click or scroll using a facet. You can select this option from the facet actions:

Additionally, you can use a pagination facet over the pagination feature included in Beaver Builder modules. Simply select Pagination from the Loading Type options.
Step 6: Save and Publish Your Page
When you’re happy with your changes, you can save and publish your work. Click on DONE, followed by SAVE DRAFT or PUBLISH.

That’s it! You can also preview your grid to see what it will look like live.
Conclusion
Beaver Builder is a robust tool for building and creating stunning pages. However, if you want to incorporate sophisticated grid layouts, you can use the WP Grid Builder plugin and its Beaver Builder add-on.
As we discussed in this post, you can integrate Beaver Builder with WP Grid Builder in six simple steps:
- Purchase and install the WP Grid Builder plugin.
- Add the Beaver Builder add-on.
- Create your grid layout.
- Launch your page in Beaver Builder and insert your grid.
- Add facets to your grid or modules.
- Save and publish your page.
Do you have any questions about using WP Grid Builder with our page builder plugin? Let us know in the comments section below!
1 Comment
Our Newsletter
Our newsletter is personally written and sent out about once a month. It's not the least bit annoying or spammy.
We promise.
Try Beaver Builder Today

Related articles
How to Build an Animated WordPress Website with AI Using Beaver Builder
What if you could take an advanced, interactive website design and use AI to build a working WordPress page with…
How to Fix Spacing Issues (Beaver Builder Box Module)
How to fix inconsistent spacing in Beaver Builder's Box Module? Go to Global Settings and enable "Apply to Box." This...
Beaver Builder Maintenance Mode: How to Set It Up
Beaver Builder Maintenance Mode helps you keep your website looking professional while you work behind the scenes. Whether you’re redesigning…
Join the community
We're here for you
There's a thriving community of builders and we'd love for you to join us. Come by and show off a project, network, or ask a question.
Since 2014
Ready to build?
The WordPress page builder agencies and freelancers have trusted since 2014.
Amazing! This couldn’t have come at a more perfect time! Thank you!