
Wondering how to restrict content in Beaver Builder? If you run an online business built around premium content or educational materials, you’ll need to restrict parts of your website to users that meet specific requirements. For instance, you might want to make it accessible only to members, subscribers, or a certain type of user.
Fortunately, using Beaver Builder and a quality membership plugin, you can implement these types of restrictions on your WordPress site. You’ll be able to decide what content is open to the public and what can only be accessed by specific users. Even better, this can be as simple as toggling a setting.
In this article, we’ll share a few scenarios where implementing content restrictions makes sense. Then, we’ll show you how to add content restriction in Beaver Builder with the ARMember plugin in three simple steps. Let’s get to it!
When to Use Content Restriction on Your Website
There are a lot of scenarios where it makes sense to restrict some (or most) of the content on your site. How those restrictions work and when to implement them will depend on what tool you use. In any case, here are some of the most common scenarios:
- Membership or subscription sites. Membership sites tend to offer restricted content. For example, streaming websites or online magazines are membership sites based on subscriptions. Without an active subscription, you can’t get access to their content.
- Websites with early-release content. If you subscribe to any content creators from platforms such as YouTube, you’ll know it’s relatively common for them to restrict content to paying users. In these cases, you can get access to videos and other forms of content before they are released to the public.
- Online learning websites. Educational websites are a fantastic example of effectively using a paywall. With a lot of these sites, you can’t access their exclusive courses until you’re a member. Typically you’ll also need to choose one of multiple membership tiers.
- Regional or location-based restrictions. This is a very specific scenario, but one that you might have to consider depending on where your site’s audience is located. If your website shares copyrighted content, you might need to restrict its availability depending on the user’s location.
- Restrict specific parts of a page or a post. In some cases, you might want to restrict the content of a page or post so that only members can see it. For instance, you may offer a tutorial blog post for free, but restrict the embedded video that accompanies it to paying users.
Note that these aren’t the only scenarios where it makes sense to restrict content on your website. You’re free to set up members-only or private sections on any kind of website.
If you’re interested in implementing any kind of content restriction, you’ll want to use a plugin that works with Beaver Builder. That way, you’ll be able to build your website using the Beaver Builder plugin while also choosing what parts of it won’t be accessible to the public.
How to Add Content Restriction in Beaver Builder (3 Steps)
If you use Beaver Builder, you know it can help you with almost any kind of project you need. In many cases, if you can’t find a feature or module that you’re looking for, there are plugins that can integrate it into the builder.
In this tutorial, we’ll show you how to use Beaver Builder with the ARMember plugin to implement content restriction in WordPress.
Step 1: Create a Page or Post Using Beaver Builder
If you’re not familiar with how Beaver Builder works, the page builder offers a drag-and-drop experience. It enables you to design pages and posts using a row and column system.
You can decide how many columns each row (or section) will include and add one or more modules within each of them:
There are tons of Beaver Builder modules to choose from. These include larger elements like sidebars and videos, as well as smaller design features like buttons and icons.
If you want to kickstart the website building process, Beaver Builder also includes a selection of modern WordPress templates. These are pre-designed pages you can use as the foundation for new designs:
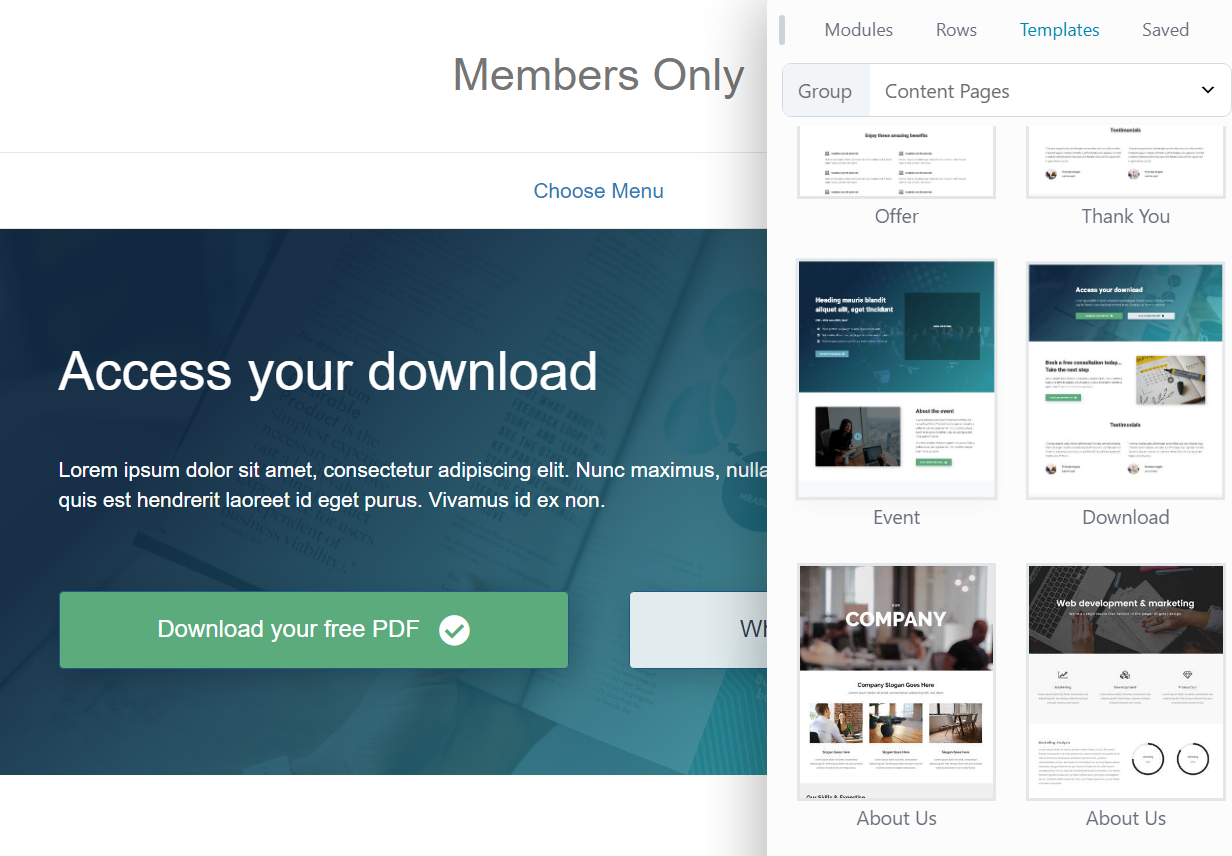
When you select a template, you can modify any aspect of it. That includes the layout, which modules it includes, as well as their individual settings:
Once you have the foundation of your page or post in place, you’ll need to create an element that will be restricted for certain users. We’ll explore this in the next step.
Step 2: Add Members-Only Content to the Page
Now, we’re going to show you an example of adding members-only content to a page. We’ll set up a simple landing page that includes a button to download a PDF. This button will only appear for the users you choose.
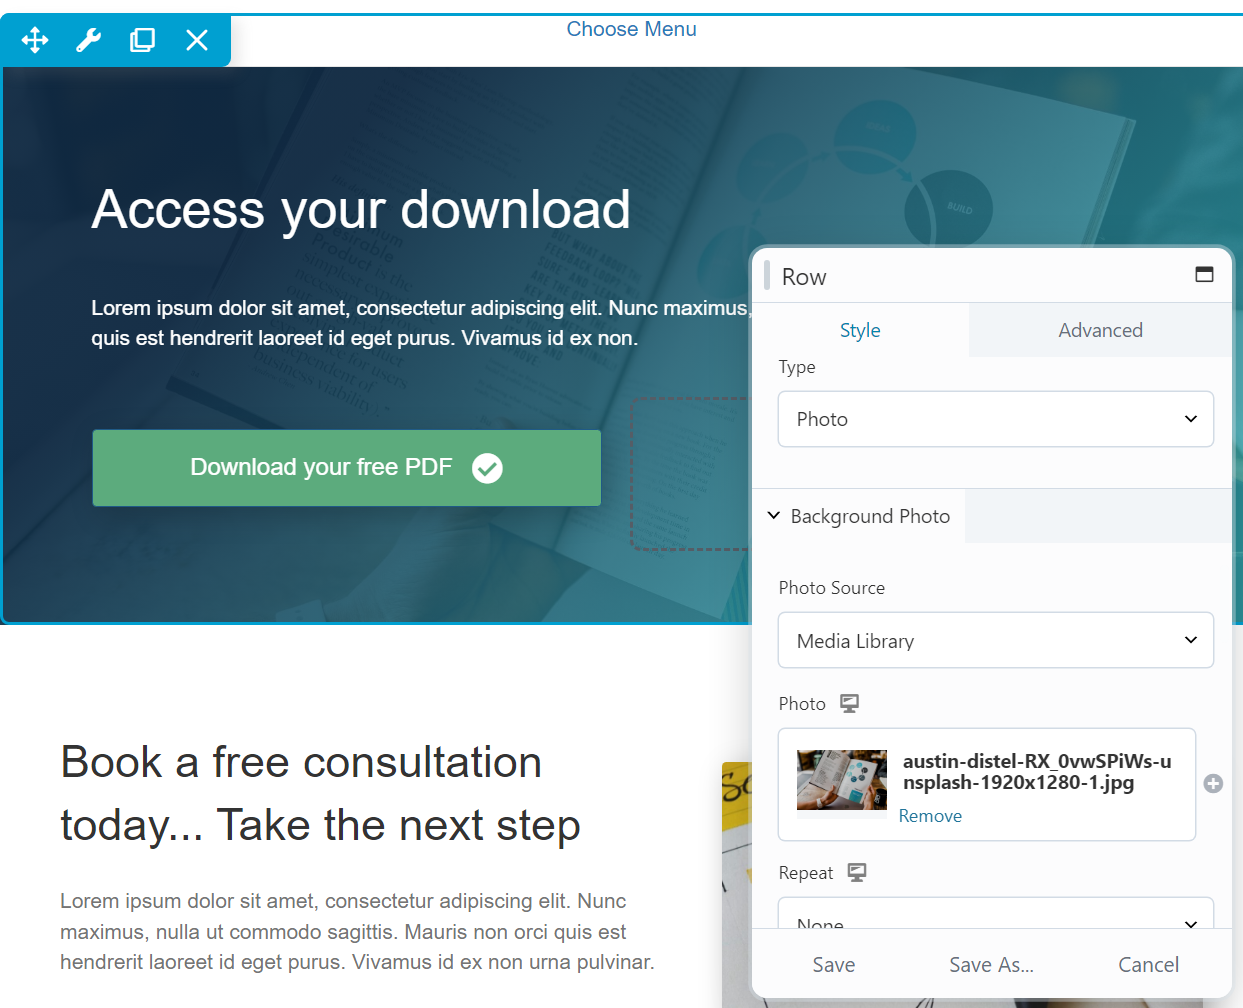
To start, we set up a large hero section with an image background. This is a simple full-width row using the Background Photo option that you can access if you click on the element to modify its settings:
Next up, we’ll add a Call-to-Action (CTA) using the Heading module. In our case, we’re using a simple prompt that says “Access your download”:
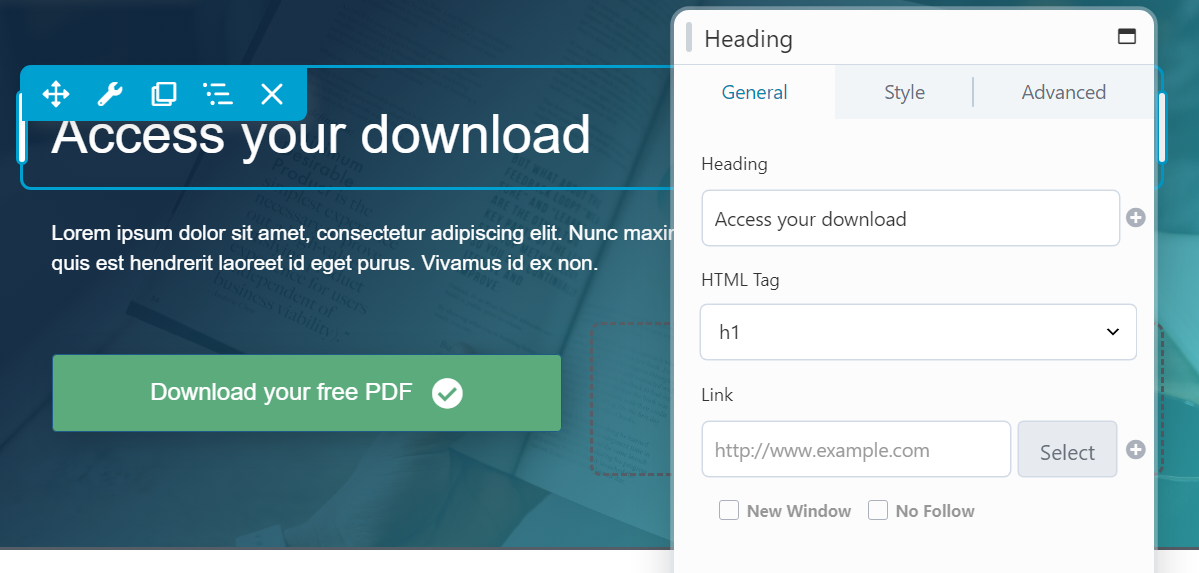
Note that every module in Beaver Builder comes with unique settings. The Heading module, for instance, enables you to choose what level of heading you want to use. You can also modify the heading’s style, including its font, color, size, spacing, and more.
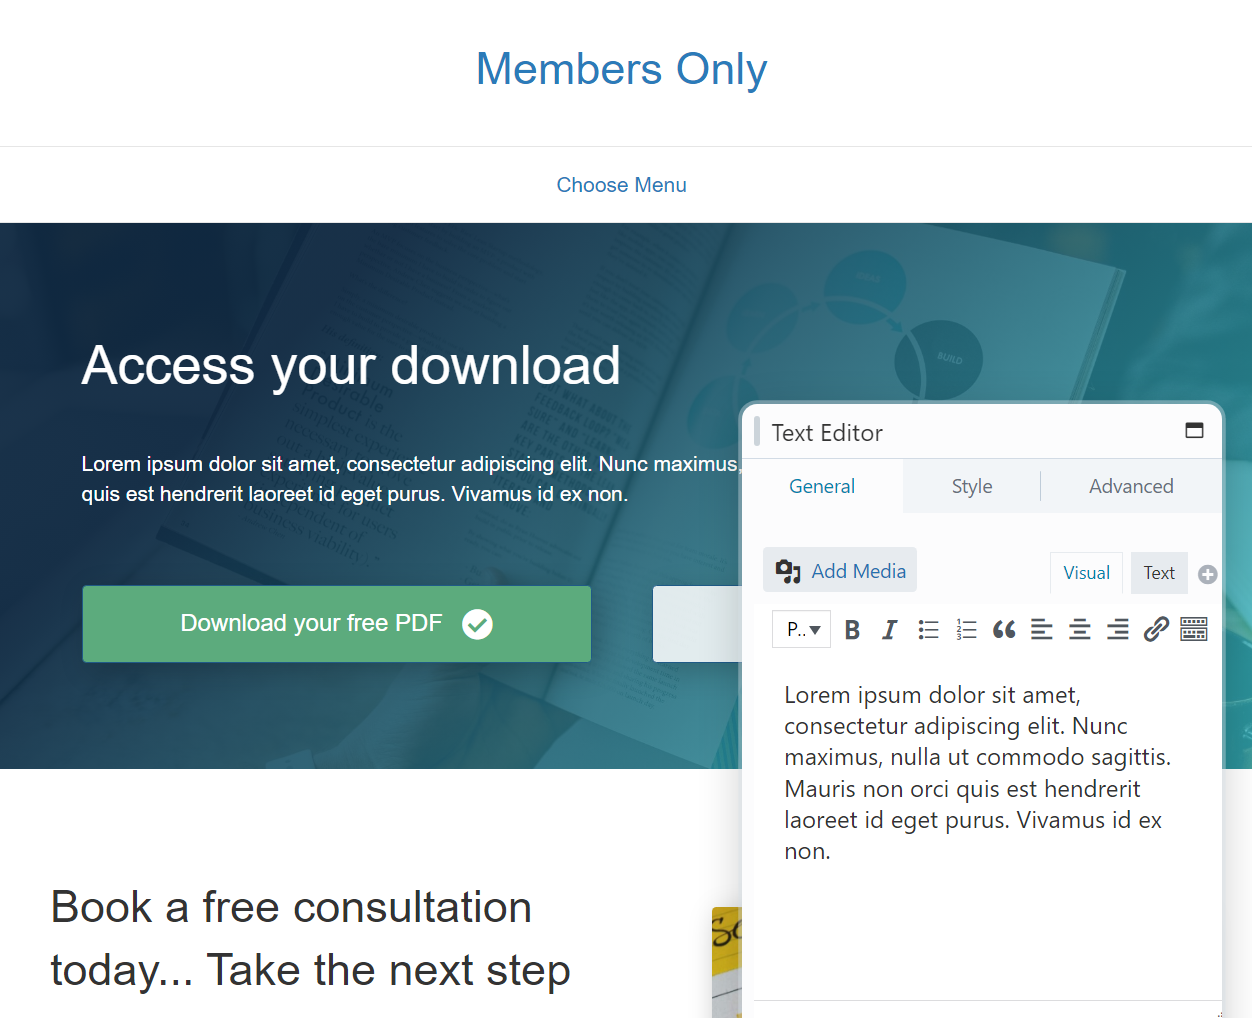
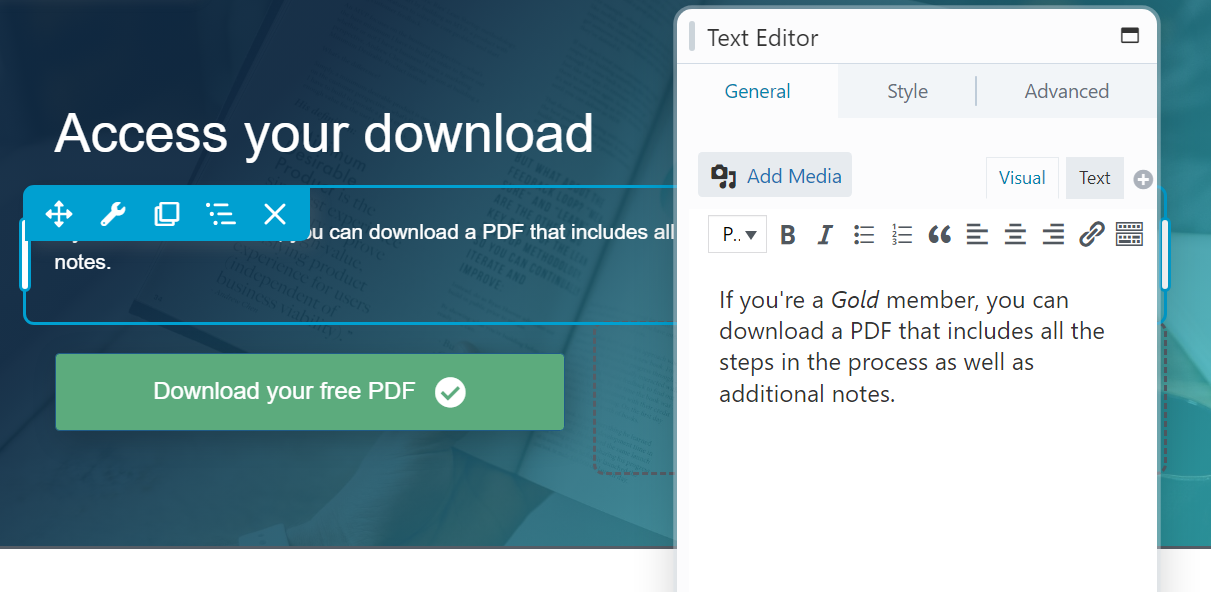
With the heading in place, let’s move on to some simple description text above the download button. For this, we’re going to use the Text Editor module:
Next up, we have the actual download button. The Beaver Builder Button module enables you to customize the style of the element. You can even include an icon inside the button:
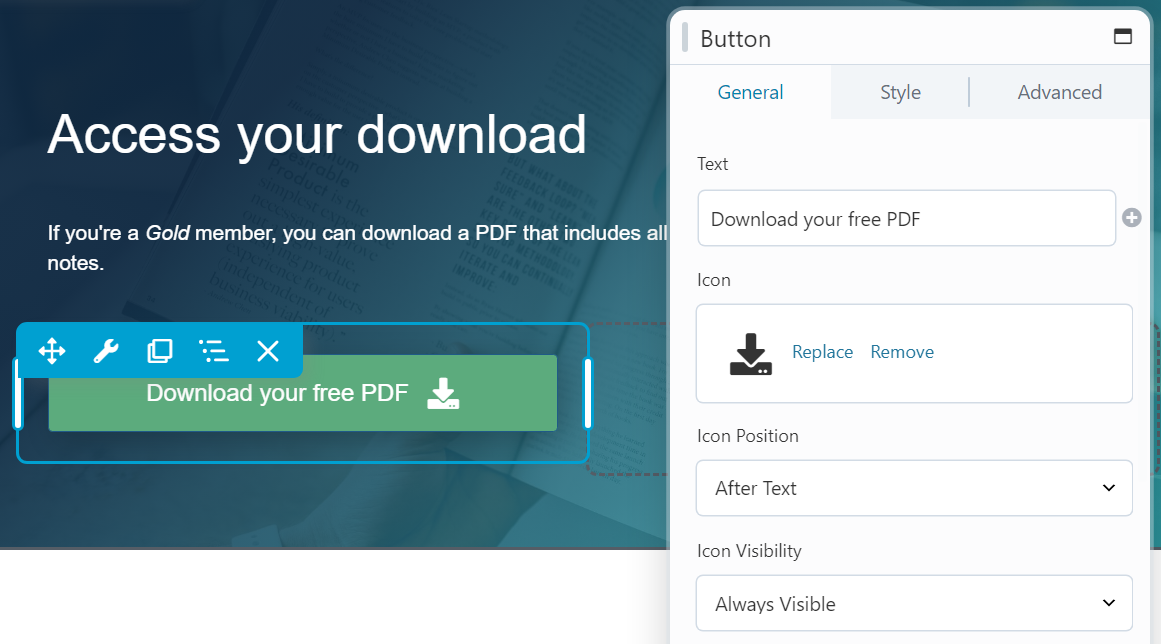
Beaver Builder provides you with a selection of simple icons. For this example, we’re using one that reflects a download so there’s no confusion about what the button does.
Note that this entire row won’t be visible to most users depending on what kind of content restriction you set up. With that in mind, it’s important to also include non-restricted content on the page.
That way, users that don’t have access to the restricted content will still be able to see something. For this tutorial, we set up a simple section that explains non-members don’t have access to the downloadable content:
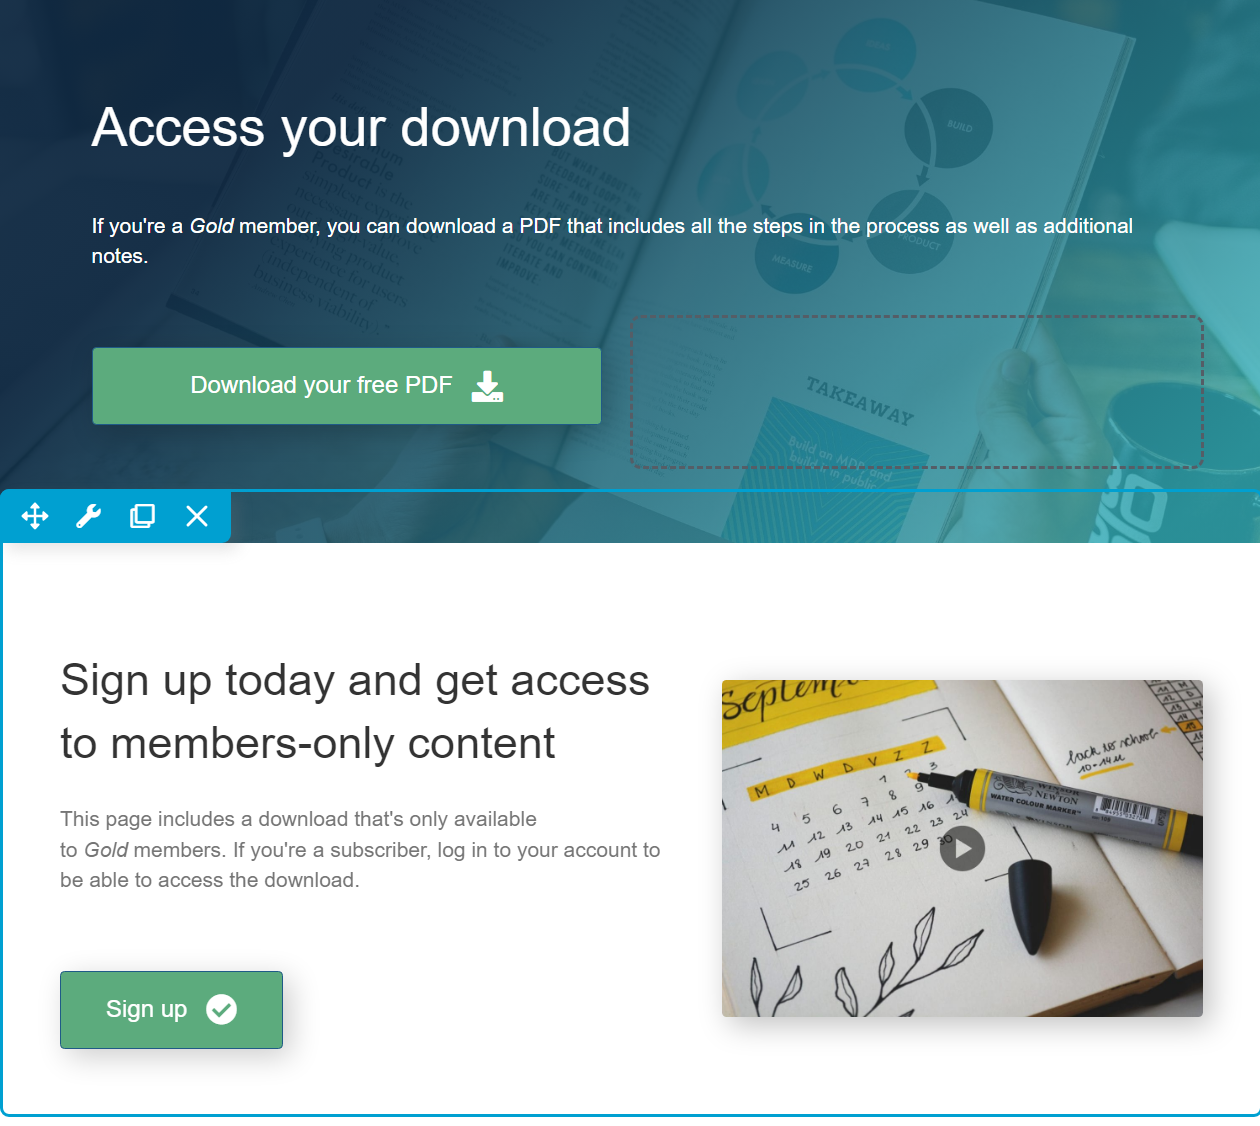
With the method of content restriction we’ll use, non-members will only be able to see the bottom section. The part of the page that includes the downloadable content won’t show up for visitors, and you can decide exactly which WordPress user roles will have access to it.
It’s important to note that this functionality isn’t part of Beaver Builder. To add content restriction as an option, we’ll use a WordPress membership plugin.
Step 3: Restrict Access to the Module or Row
To enable content restriction in Beaver Builder, we’ll use the ARMember plugin, which comes in both a premium and a free version. This tool is ideal due to the built-in ARMember integration with Beaver Builder, which adds new options to module settings when using the page builder.

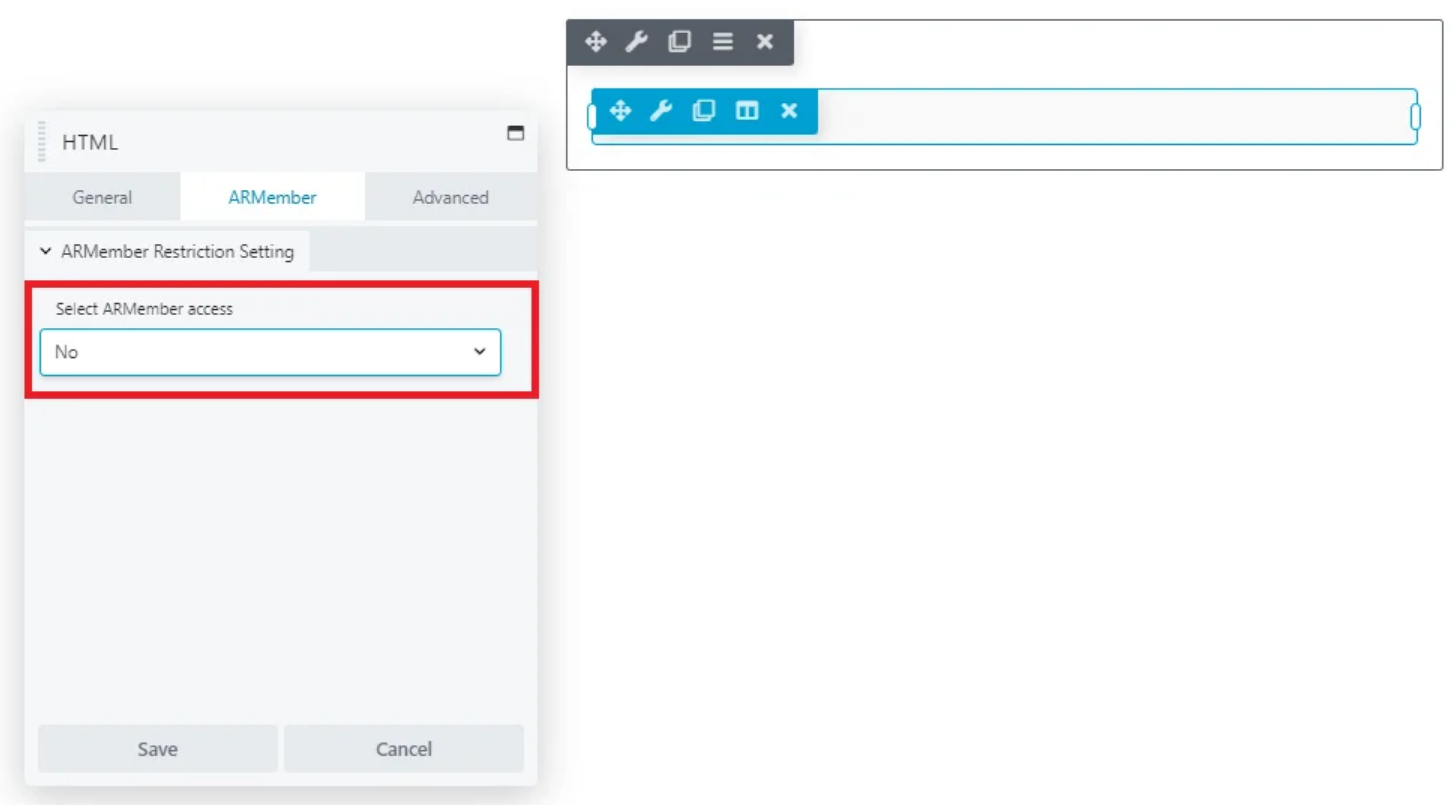
You can see these options by selecting a module, going to its settings window, and navigating to the ARMember tab. This tab will give you the option to restrict content for specific sets of users in WordPress:
Click on Select ARMember access and then select Yes. This will open a new menu where you can select who has access to or who can see the module:
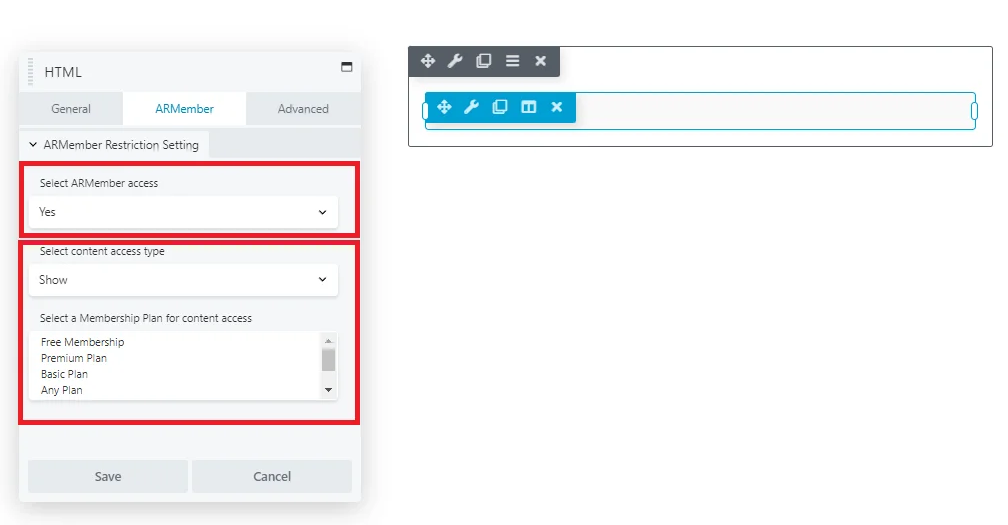
You can select either a specific user role or a more broad option, such as logged-in users. Note that you can configure different ARMember content restriction settings for several blocks, which gives you a great deal of control over who gets to see restricted content.
The ARMember integration also adds content restriction options for rows. This means you can choose to restrict entire rows, which is perfect for the example we showed you earlier. In our case, we can configure the row’s settings to hide all the modules it contains except for a specific membership or subscription plan.
When you’re happy with the changes you’ve made, save them and close the Beaver Builder editor. Now, you can check out your site and test the content restriction settings in action!
Conclusion
Restricting content on your website can be a great way to make money or grow your business. You can paywall premium material like online courses, or simply encourage people to sign up for a membership to get access to freebies.
If you use Beaver Builder, you can restrict content with the ARMember plugin. Here’s a brief recap of how this process works:
- Create a page or post using Beaver Builder.
- Add members-only content to the page.
- Restrict access to the module or row using the ARMember integration with Beaver Builder.
Do you have any questions about how to restrict content in Beaver Builder? Let’s talk about them in the comments section below!
Our Newsletter
Our newsletter is personally written and sent out about once a month. It's not the least bit annoying or spammy.
We promise.
Try Beaver Builder Today

Related articles

Beaver Builder Maintenance Mode: How to Set It Up
Beaver Builder Maintenance Mode helps you keep your website looking professional while you work behind the scenes. Whether you’re redesigning…
Beaver Builder 2.11: Popup Module, Maintenance Mode, and Settings Snapshots
Beaver Builder 2.11, also known as Kariba, is now available and delivers some exciting updates: a new Popup Module for…

Beaver Builder AI: Build WordPress Layouts with AI (Now in Alpha)
Hey everyone! Big news. After a long time of building behind the scenes, Beaver Builder AI is here. The alpha…
Join the community
We're here for you
There's a thriving community of builders and we'd love for you to join us. Come by and show off a project, network, or ask a question.
Since 2014
Build Your Website in Minutes, Not Months
Join Over 1 Million+ Websites Powered By Beaver Builder.