
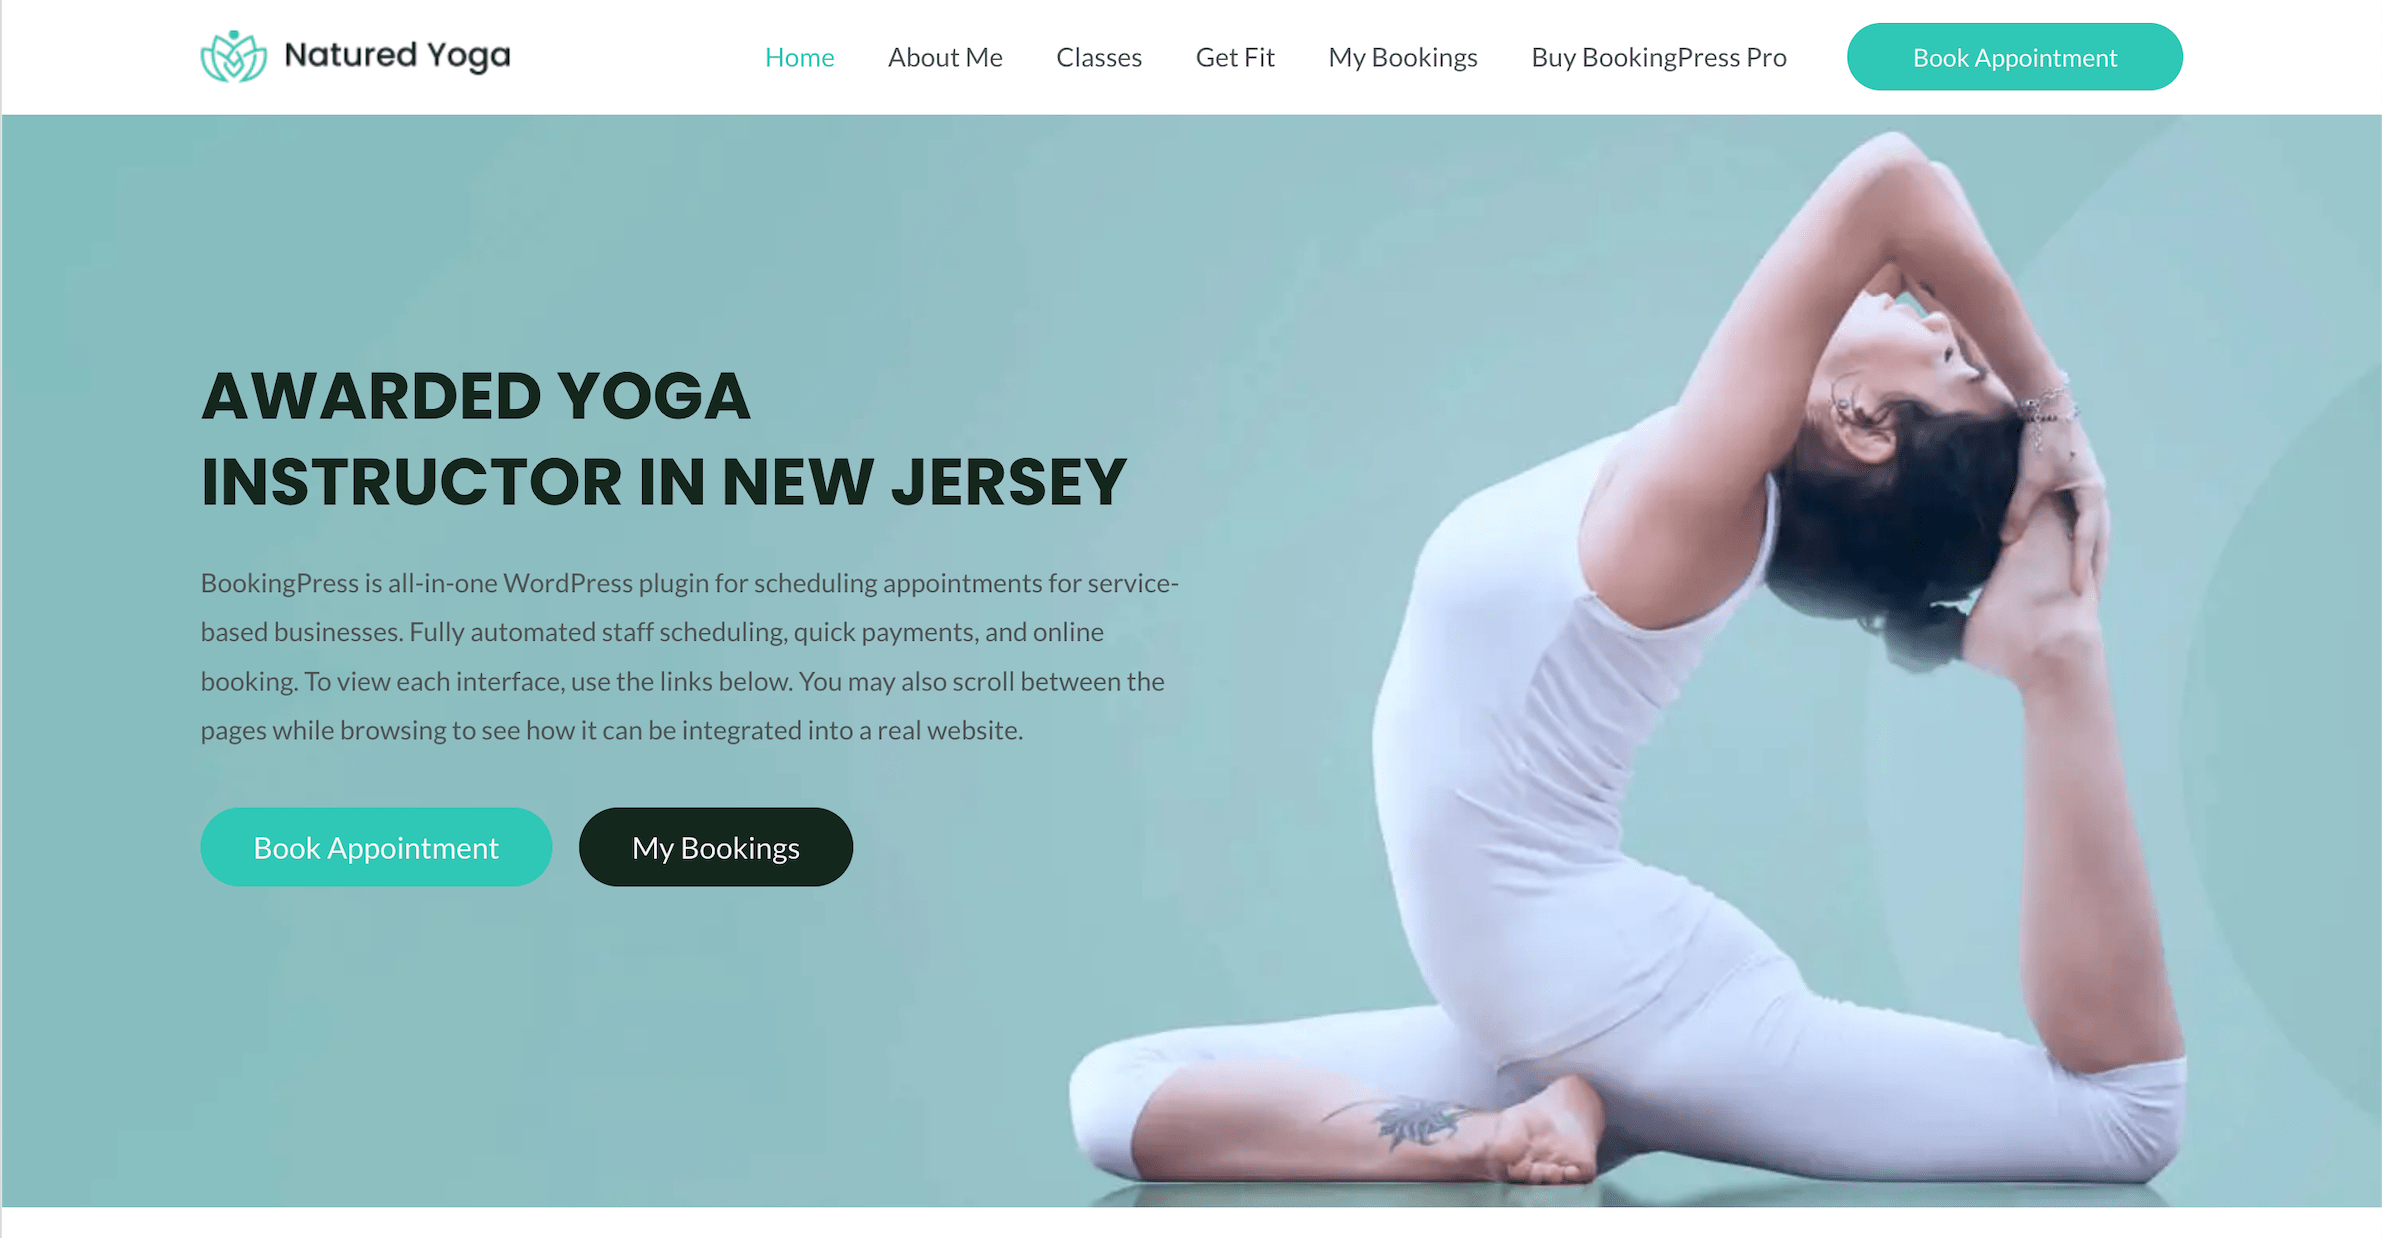
Wondering how to add appointment booking to your Beaver Builder site? For any business that relies on appointments, such as salons, spas, and personal trainers, it’s vital to provide customers with an easy way to book those appointments. The more difficult that process is, the less likely visitors are to convert.
If you’re creating a website for this type of business, you need a robust built-in booking system. Fortunately, this is simple to do if you’re using the right tools. In just a few minutes, you can set up a form that enables current and potential customers to reserve the times they want.
In this post, we’ll discuss the advantages of a built-in booking system. Then we’ll show you how to build a website that offers this feature, using Beaver Builder and the BookingPress plugin. Let’s get started!
The Advantages of a Built-in Booking System
Service-based businesses both large and small deal with appointment booking on a daily basis. As your client base grows, this daily task can become unmanageable. The problem is compounded if multiple employees or team members need to book clients at different times.
Too much disorganization can result in miscommunication and missed appointments. Alternately, the booking process might be too complex, scaring potential clients away and impacting the bottom line.
Whether you have an appointment-based business, or you’re building a website for a client that does, a built-in booking system can help eliminate these problems:
With this user-friendly feature, the business can book more appointments and increase profits. Plus, this is an excellent way to boost customer loyalty, especially if you make it easy to purchase and reserve multiple sessions at a time.
As a designer, developer, or agency building this type of site, you’ll be setting your client up for success. Meeting their unique needs is the perfect way to go above and beyond.
Sites That Can Benefit From Built-in Booking Systems
Still not sure if the site you’re building would benefit from a built-in booking system? Here are some types of businesses that might need one:
- Beauty, hair, and nail salons
- Wellness spas
- Private fitness centers, personal trainers
- Yoga studios
- Private clinics (dental, veterinary, etc.)
Of course, these are just a few examples. Just about any business that provides a session-based service can benefit from an online booking system.
How to Build a Beaver Builder Website with a Built-in Booking System (In 3 Steps)
For this tutorial, we’ll be using WordPress, Beaver Builder, and the BookingPress plugin. If you already have your Beaver Builder website up and running, you can skip ahead to Step 2. Otherwise, let’s get your site set up first.
1. Set Up Your Beaver Builder Website
WordPress is a powerful yet easy-to-use Content Management System (CMS), which makes it ideal for both beginners and developers. Plus, it’s free! However, you’ll still need a web host to provide you with the necessary server resources.
That means choosing a hosting provider should be your first order of business. If you’re not sure how to select the right one, you may want to check our recommended resources.
After that, you’ll need to install WordPress on your site. Most web hosts provide you with an easy way to do this. Then you’ll require a theme to determine the look and layout of your site. There are plenty of excellent free options in the WordPress Theme Directory.
If you’re interested in a premium theme with advanced functionality and customization options, you might want to check out our Beaver Builder Theme which is included in our Pro, Agency and Ultimate plans:
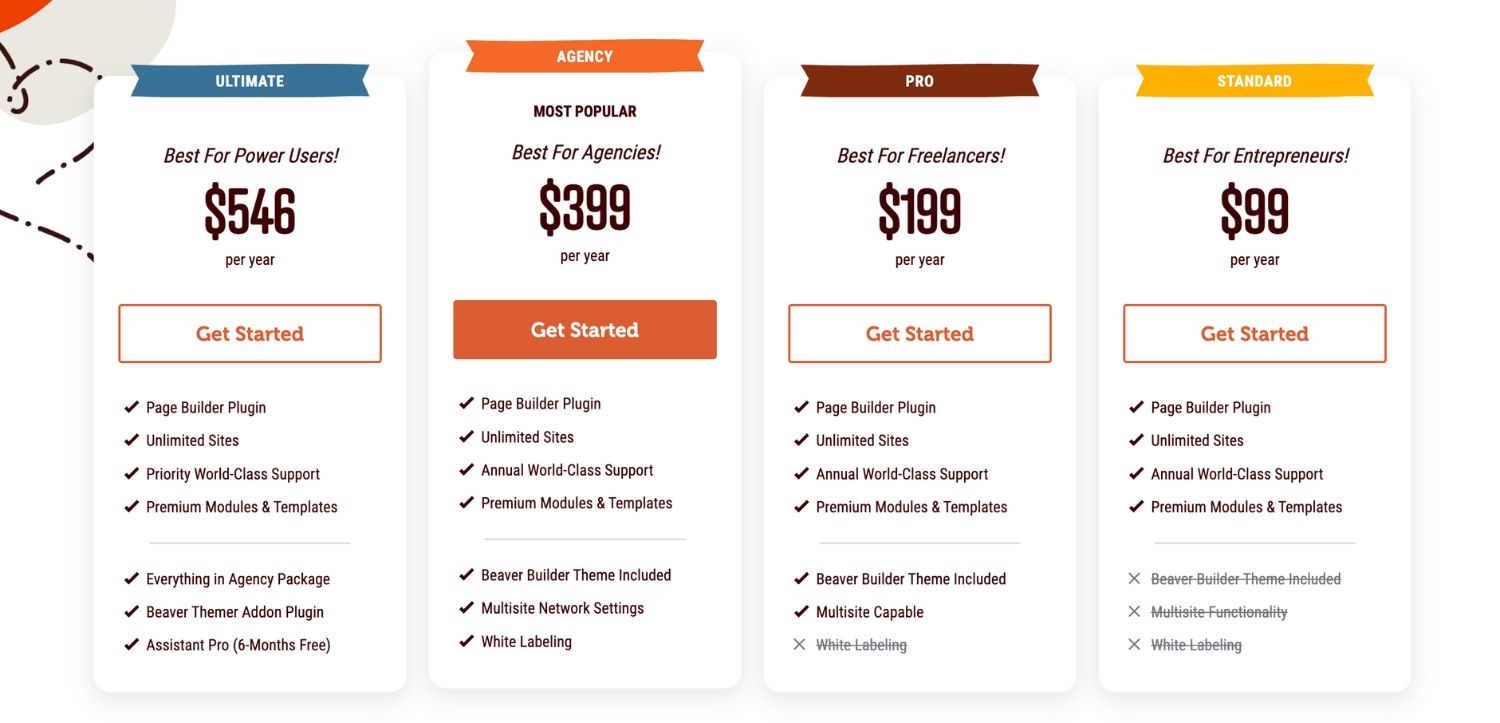
Our theme is built to run alongside the Beaver Builder plugin, and provides a minimalist base for just about any type of website. It’s an especially powerful tool in the hands of designers and developers looking to create something unique.
2. Create Your Booking Page (And Other Key Pages)
After you’ve installed the Beaver Builder Theme (or another theme of your choice), you’ll need to create your booking website’s primary pages. To simplify the site-building process and gain more control over your design, we recommend installing Beaver Builder:
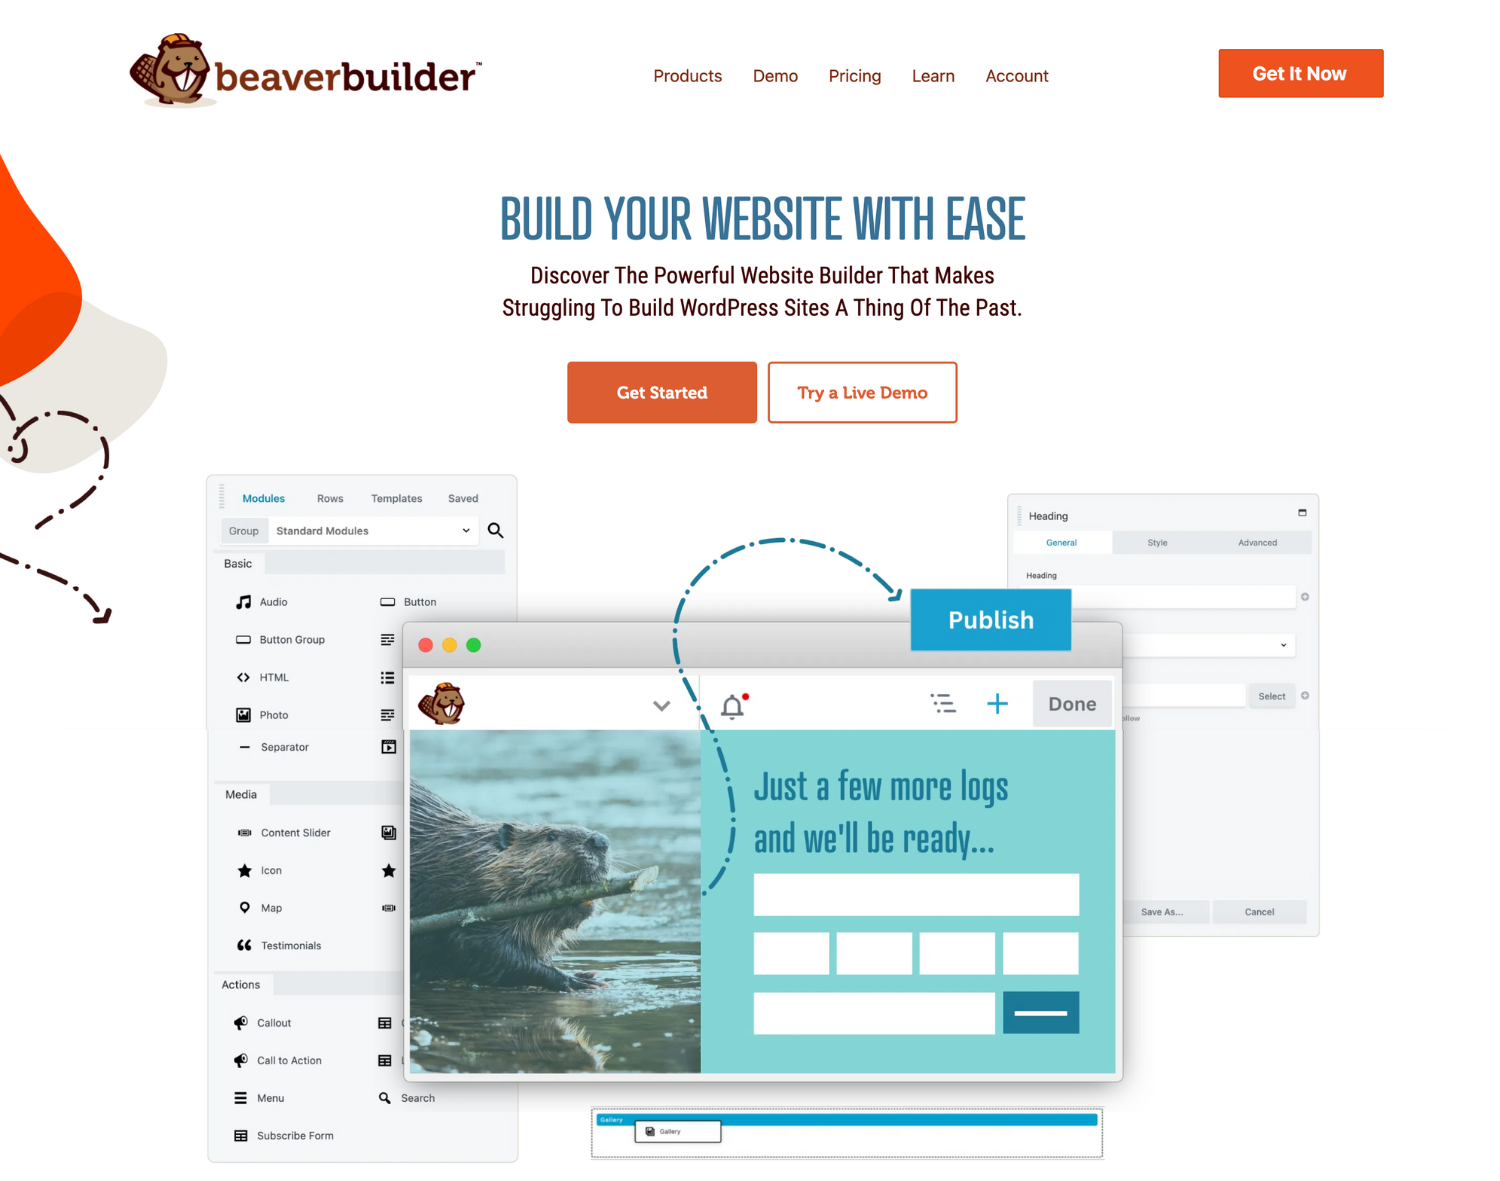
Our plugin enables you to use drag-and-drop functionality to build fast, mobile-friendly websites. It offers far more flexibility and features than the default WordPress Block Editor, all presented in a streamlined and user-friendly way.
Once you’ve installed and activated the plugin, go to Pages > Add New and hit Launch Beaver Builder. You’ll see your editor screen where you can drag and drop modules, rows, templates, and more:
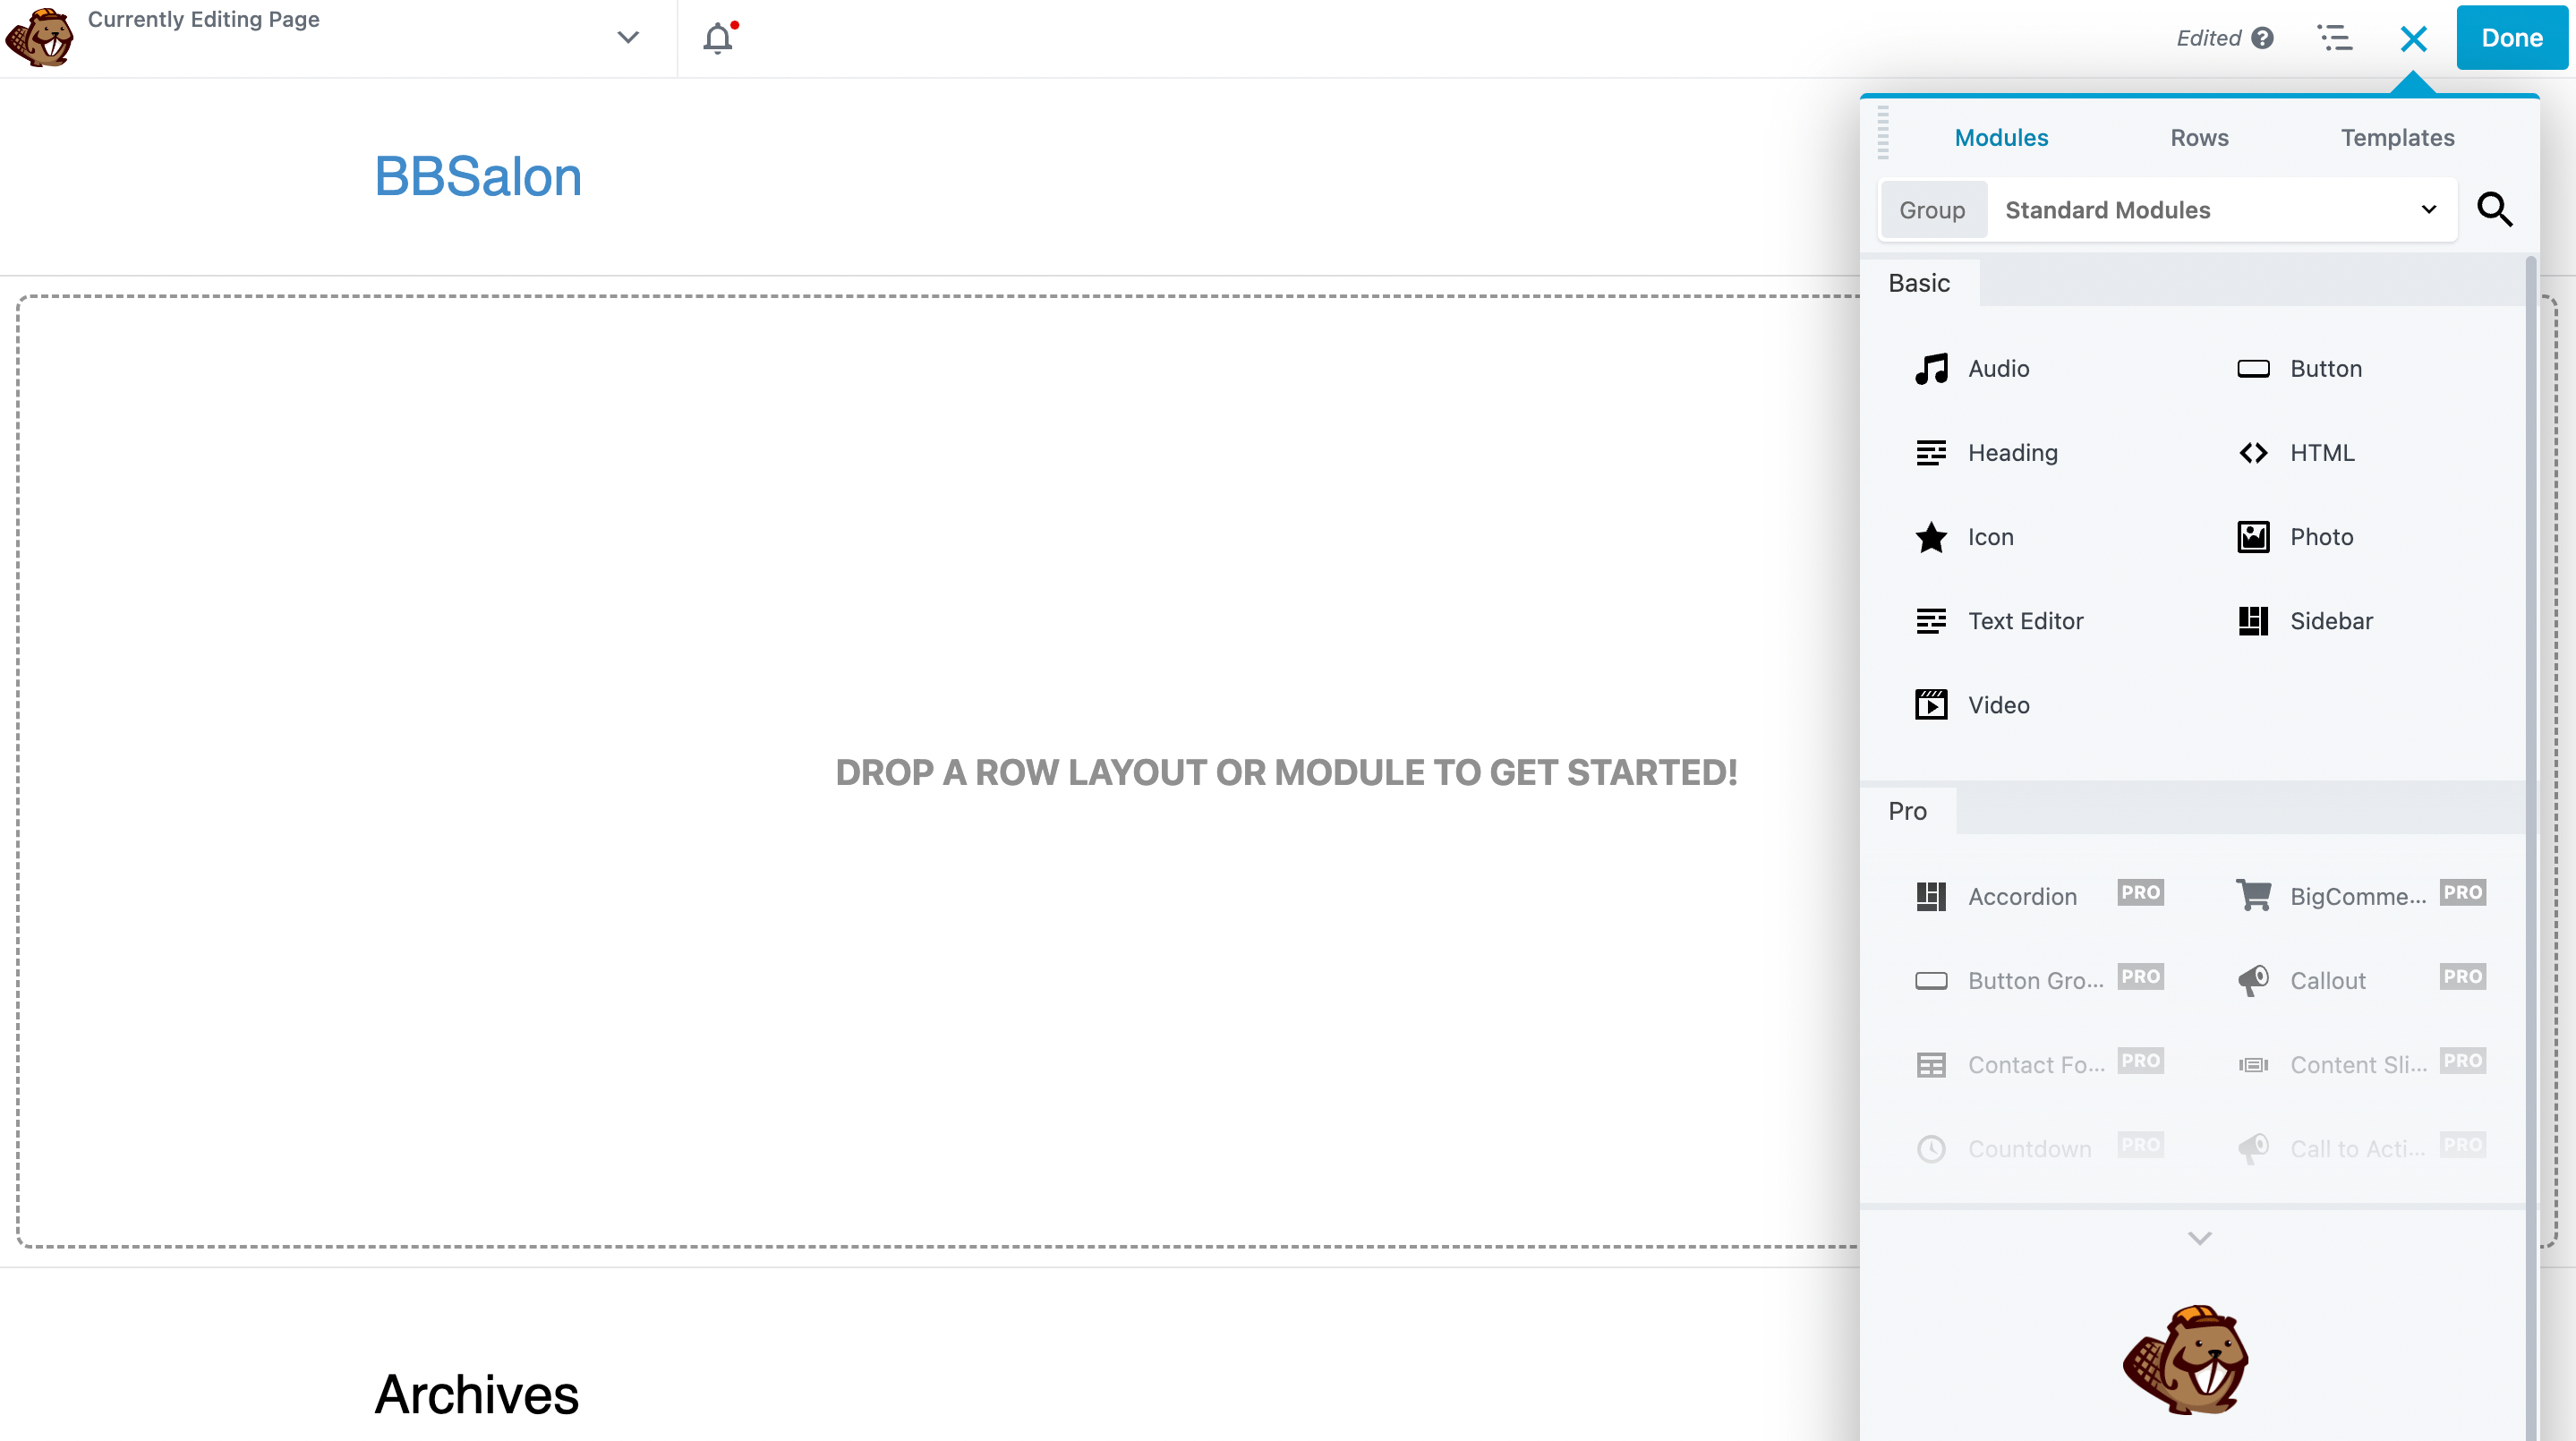
You’ll want to start by creating the website’s most important page – the booking page. You can do this however you’d like, but to keep things simple, begin by adding a Heading module with some descriptive text (such as “Book an Appointment”):

This is all you’ll need for now, since you’ll be adding the actual booking functionality in the next step. However, feel free to include additional modules with whatever information and imagery you like (or that your client has requested).
At this point, you may also want to create a few more essential pages. At a minimum, you’ll probably need an about page, a services page, a contact page, and a home page. Then you’ll need to build a navigation menu, so current and potential customers can easily make their way around the site.
As you design these pages, don’t forget to incorporate elements of the company’s visual brand, such as its logo or unique color palette. This can help boost credibility with clients and make the booking site appear more professional.
3. Add Your Booking System
Now it’s time to add a booking system to your Beaver Builder site. We’re going to do this with BookingPress.
This plugin helps streamline the booking process. It comes with many useful features, such as custom email notifications, calendar views, and more. It even integrates with 17+ payment gateways, including PayPal, Stripe, and Square.
We’ll be using the premium version for this tutorial. However, if you’re budget-conscious there’s a free version as well.
After you sign up for a BookingPress plan, install and activate the plugin. Next, navigate to the new BookingPress tab in the left-hand menu. This leads you to the “getting started” wizard:
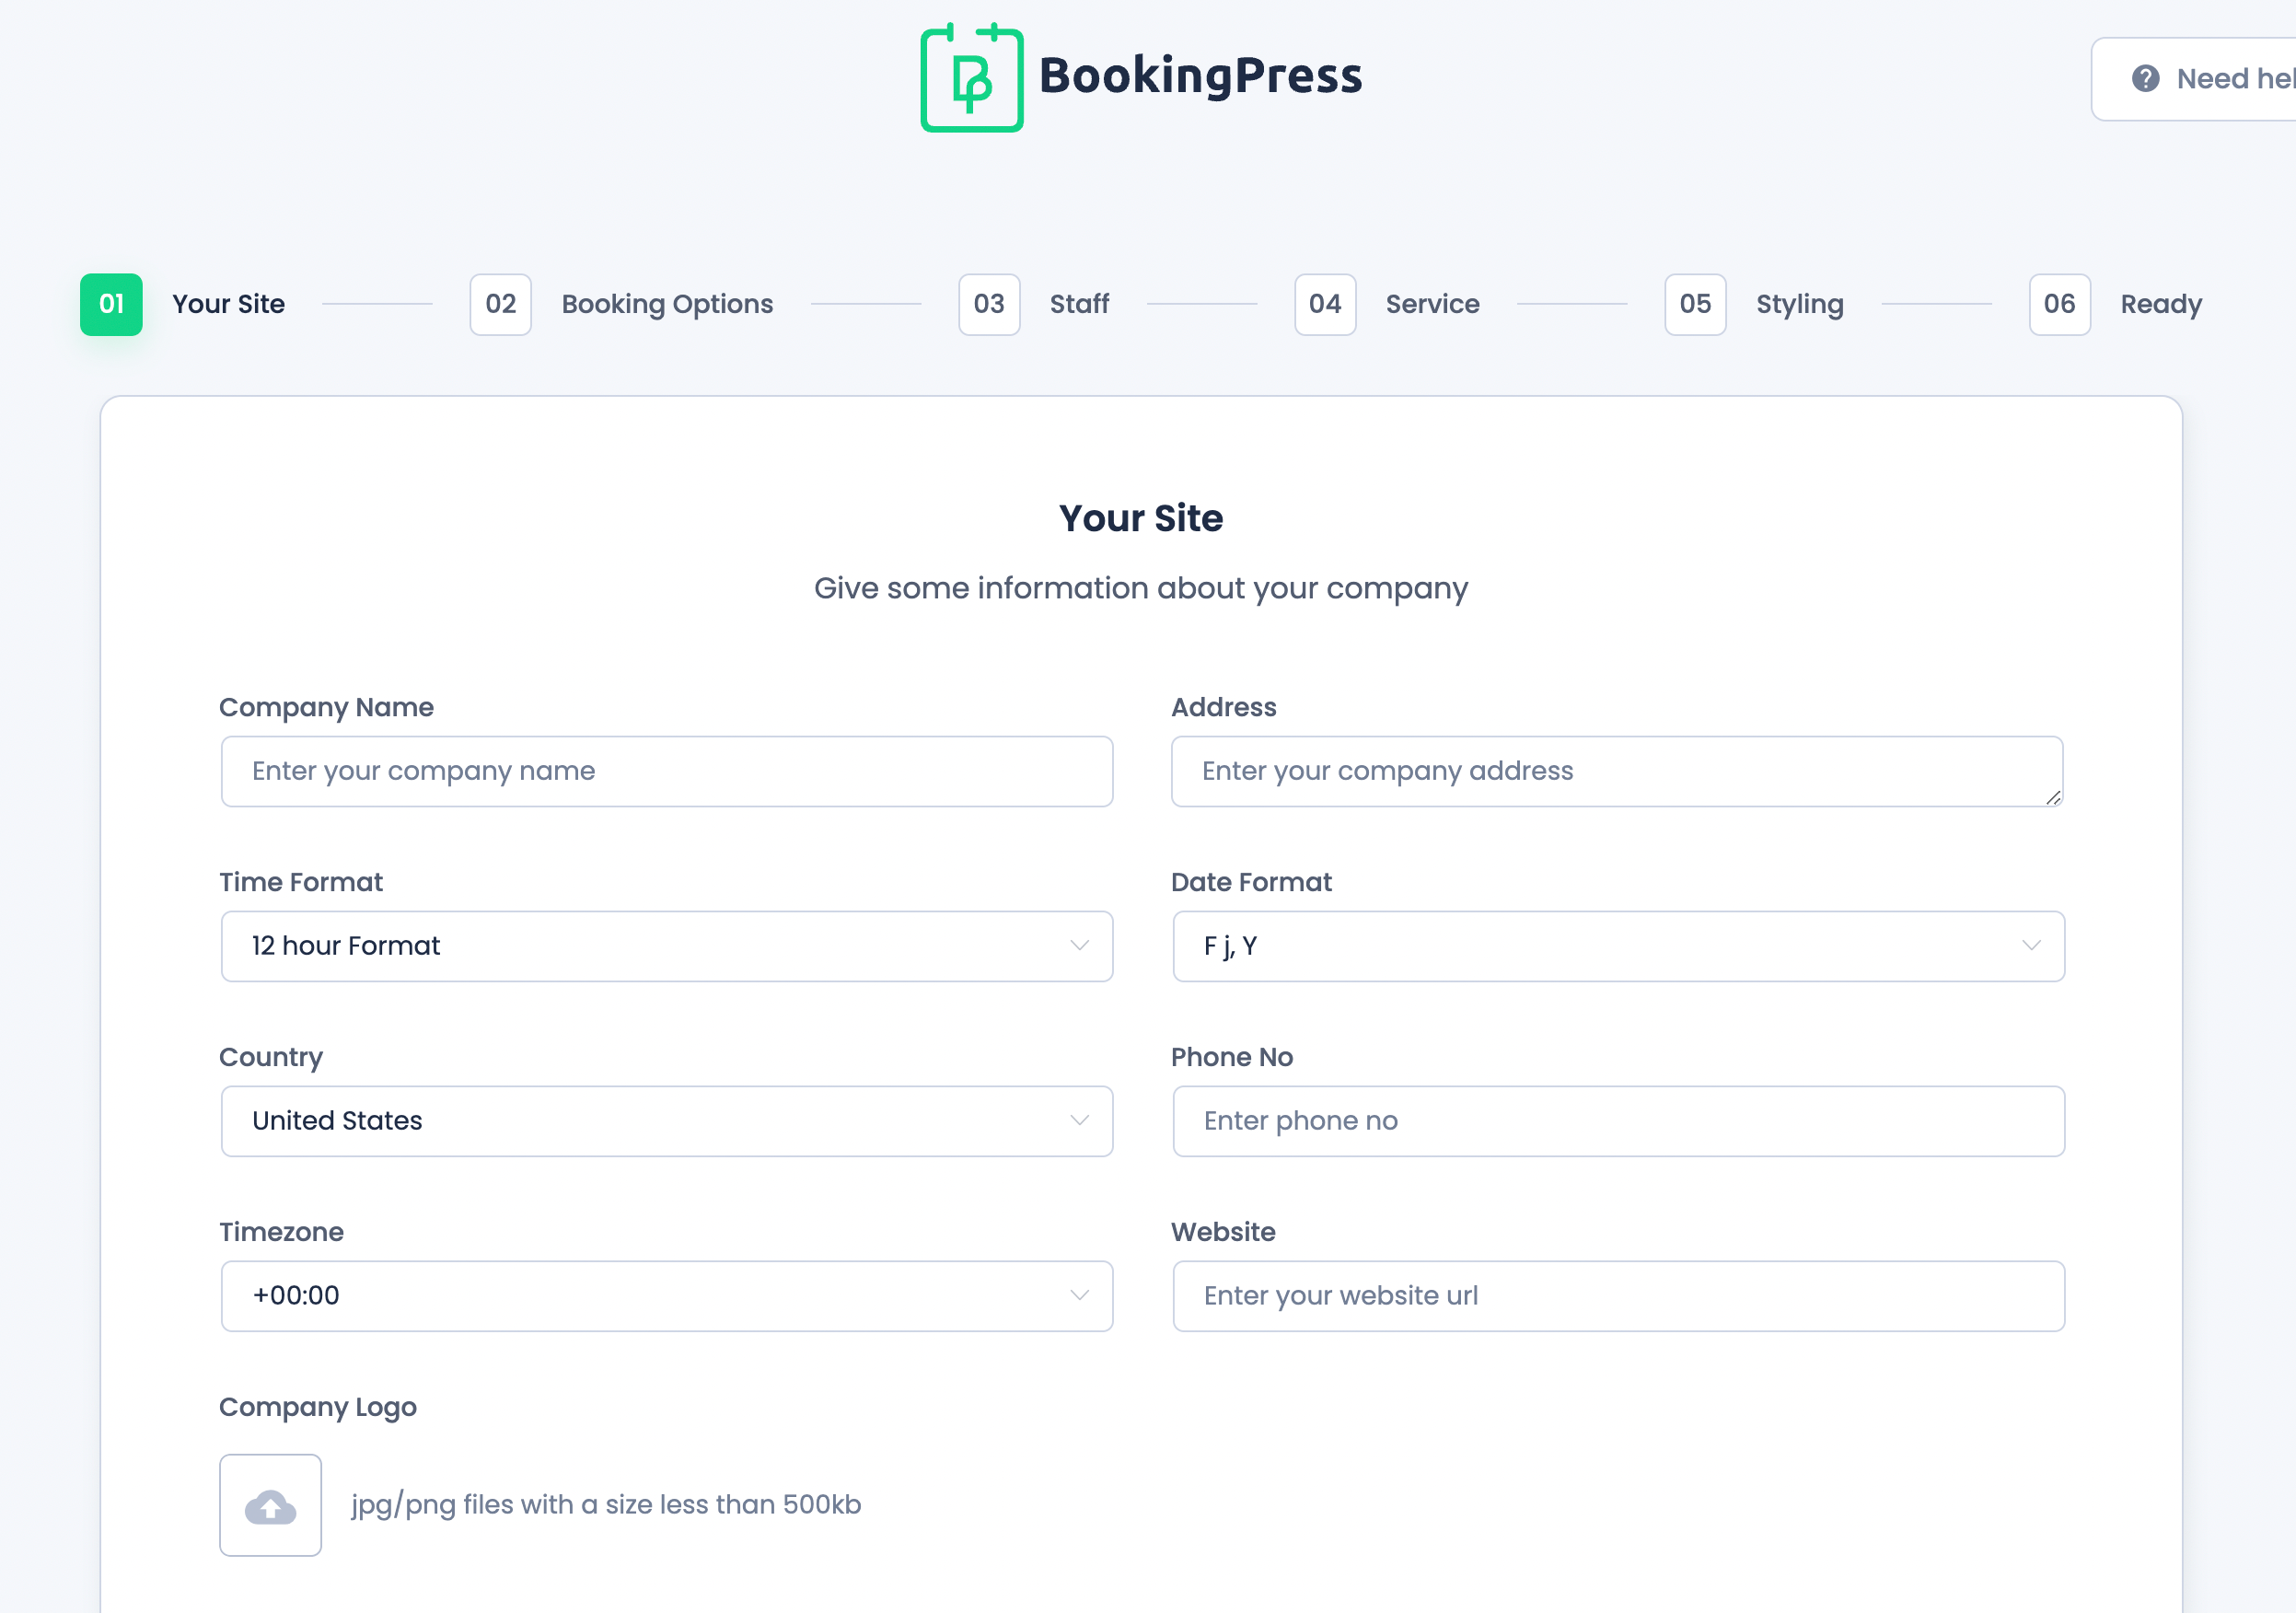
On this page, you’ll need to enter some basic information, such as the company name and address. You’ll also select some important details, including the correct time format and timezone.
After that, you can add the company logo, website URL, and any other additional details you’d like to include. If you’re using the premium BookingPress plugin, you can indicate whether multiple team members will be using the booking system.
When you’re finished, hit Next to go to the Booking Options page and customize the team’s availability:
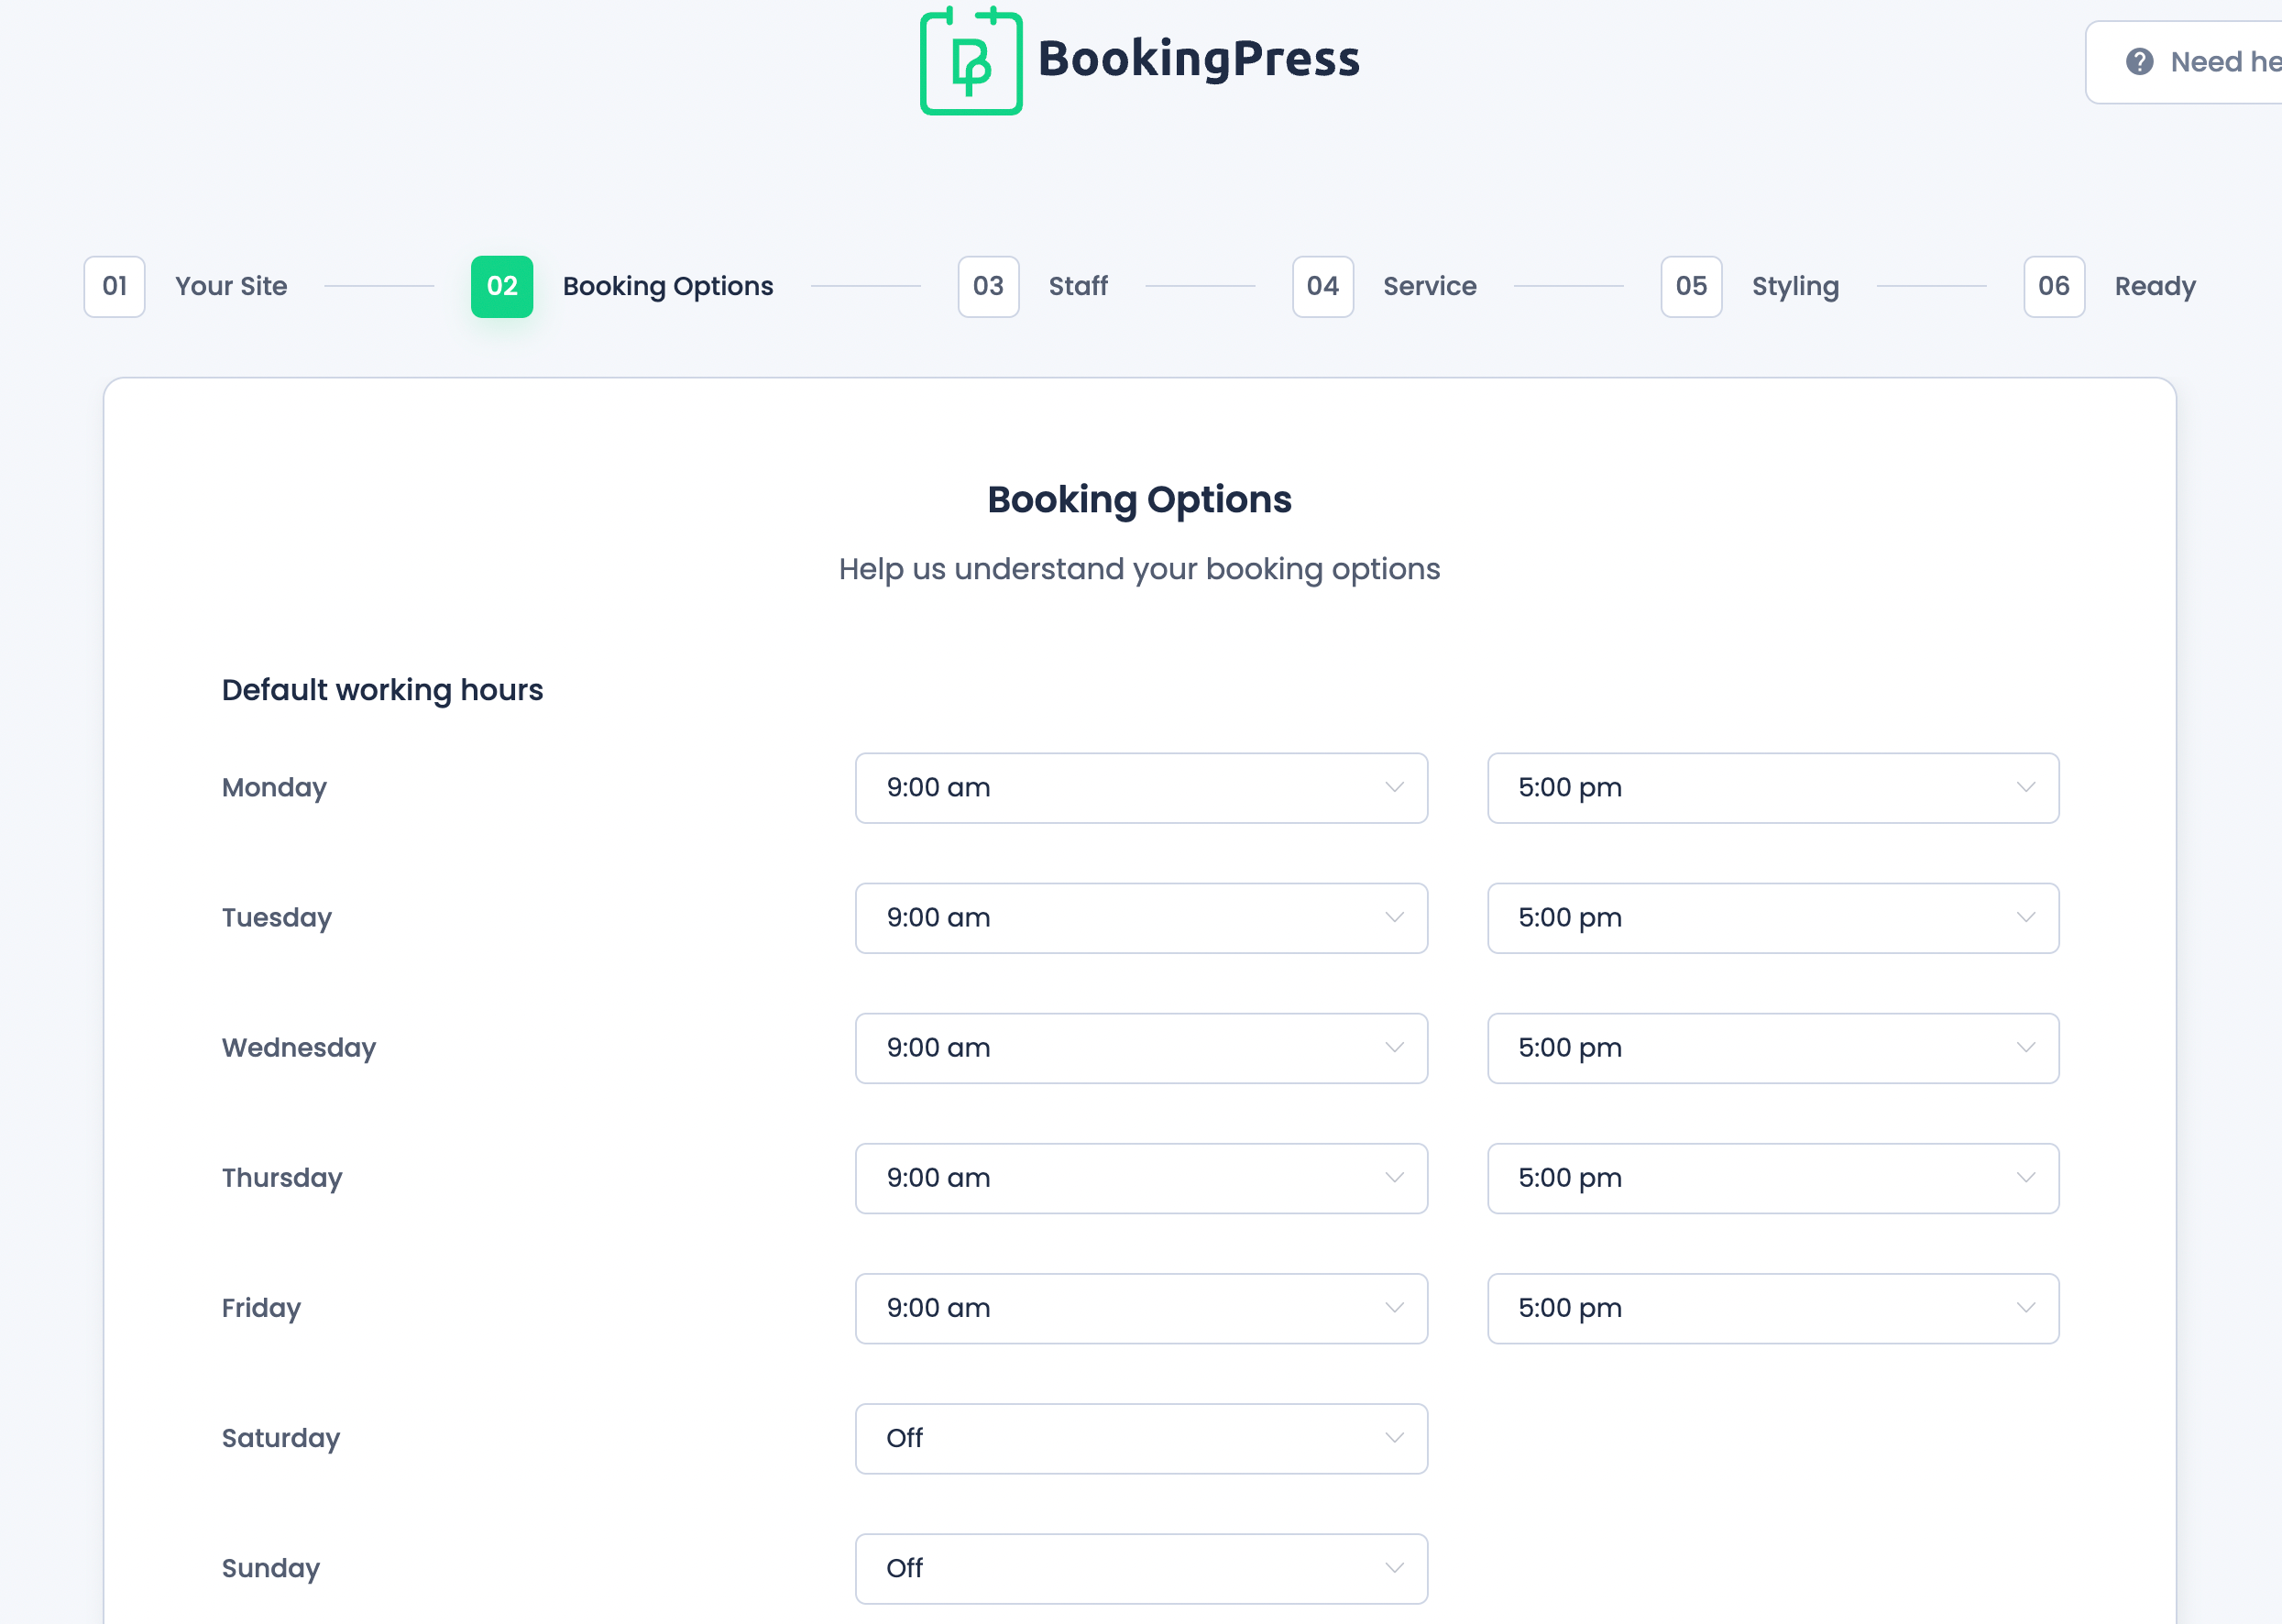
If you want to set a dynamic price based on dates and times, you can pick up the Happy Hours Pricing extension (which is one of 35+ BookingPress addons).
With the premium version of the plugin you’ll be able to add multiple staff members to the following page:

Employees will be able to access a separate staff member dashboard to manage their appointments. This feature can drastically simplify workflows and reduce unnecessary back-and-forth for scheduling.
Next, you’ll describe the services you or your client offer, and set the price and duration for the sessions:
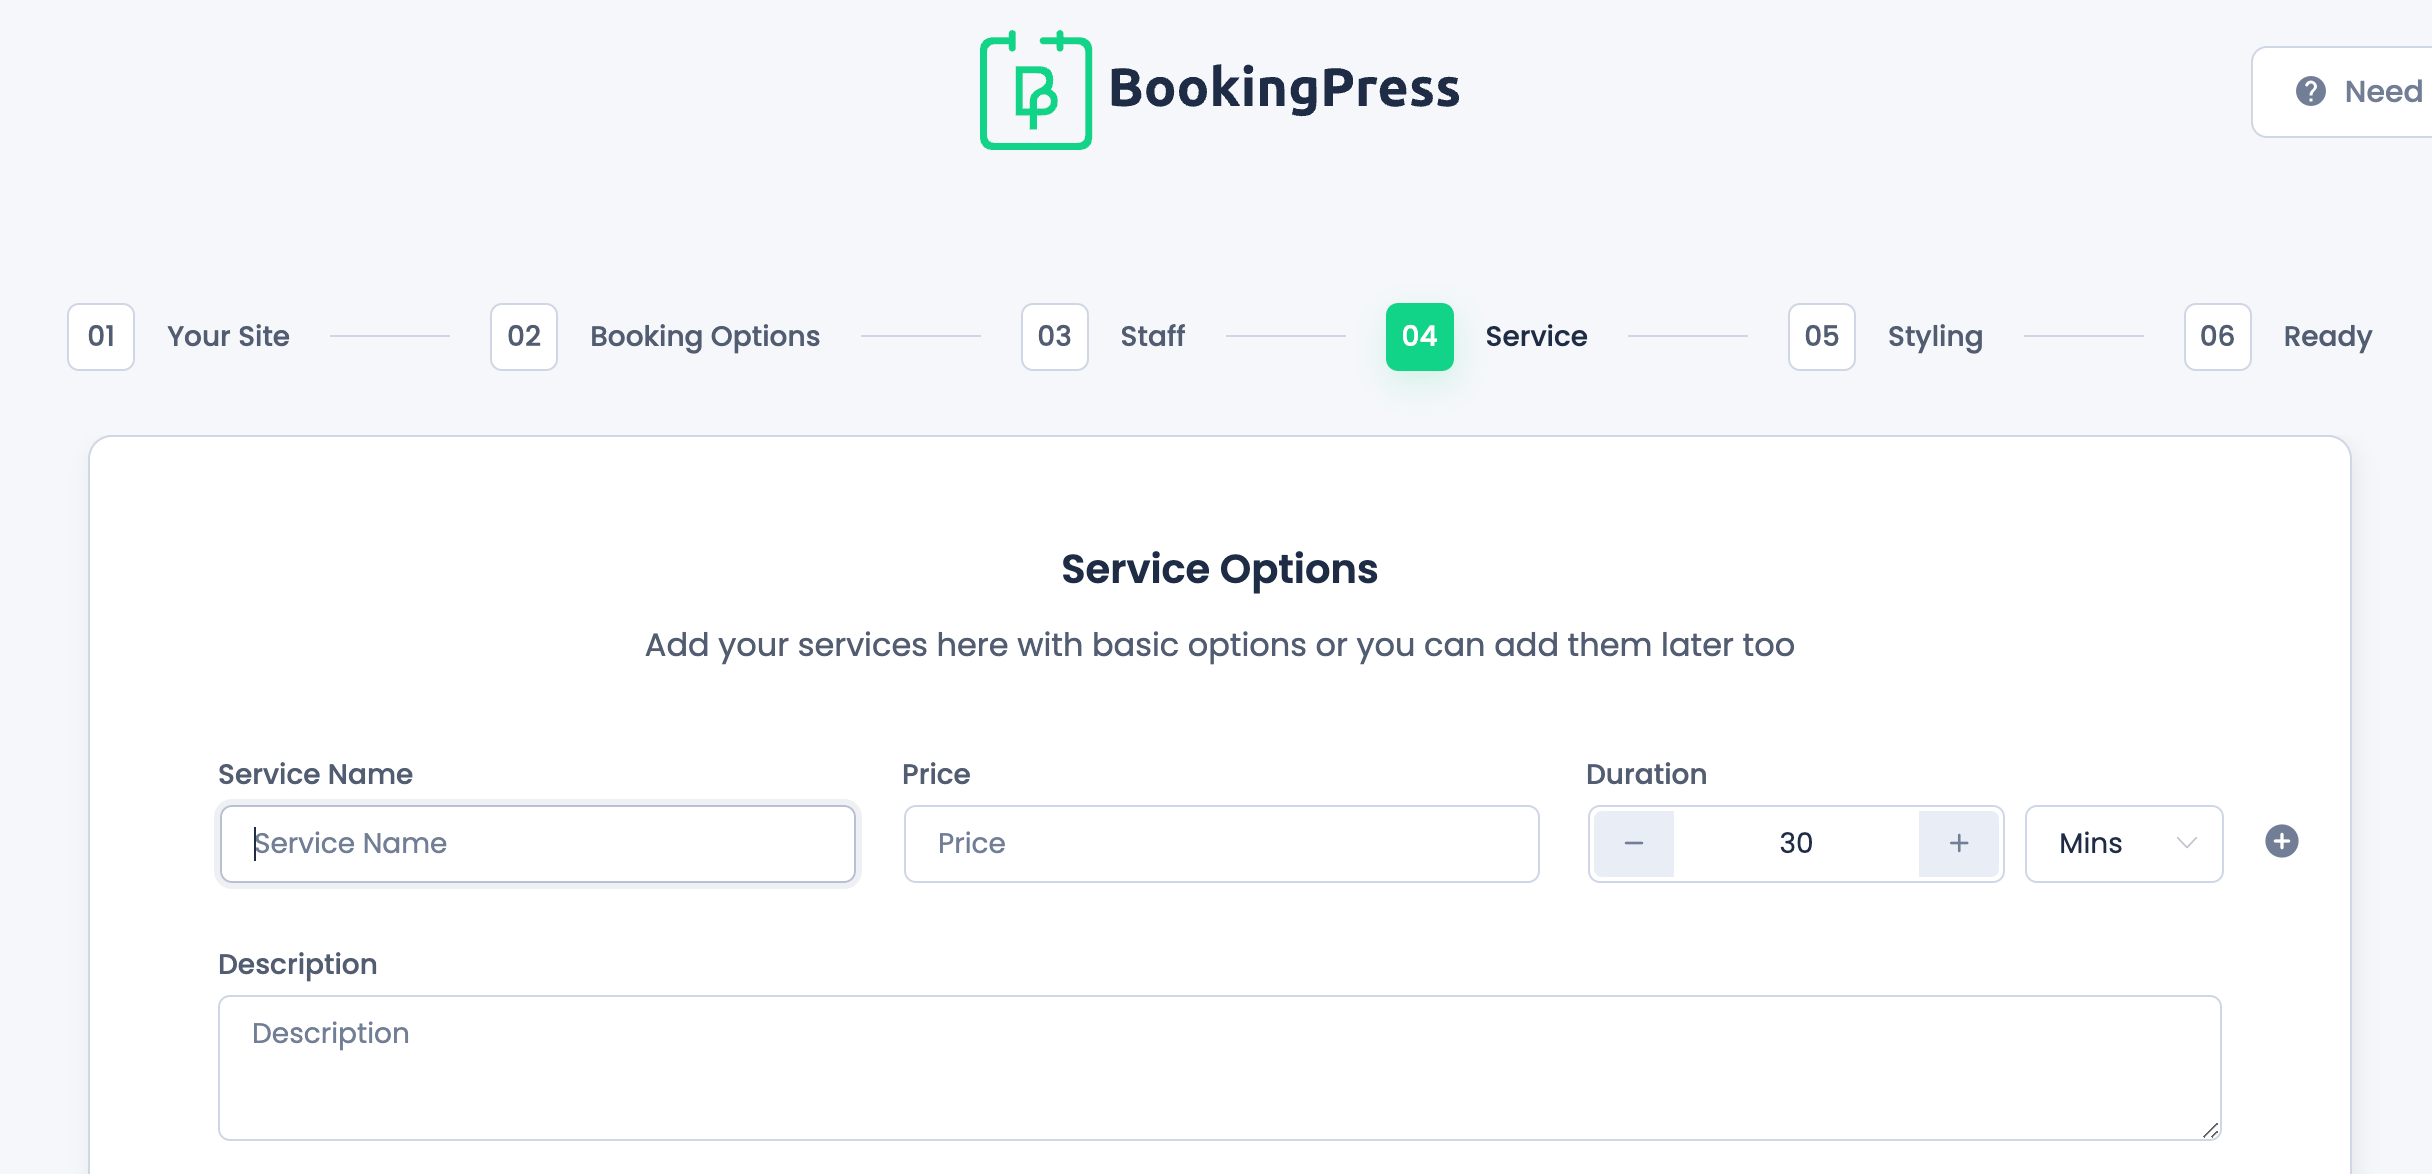
If needed, click on the plus symbol to add another service:

You can also use the Cart Addon if you want to let customers select multiple services.
When you’ve finished adding all the relevant services, hit the Next button to continue with Styling. Now, you’ll be able to customize your booking form:
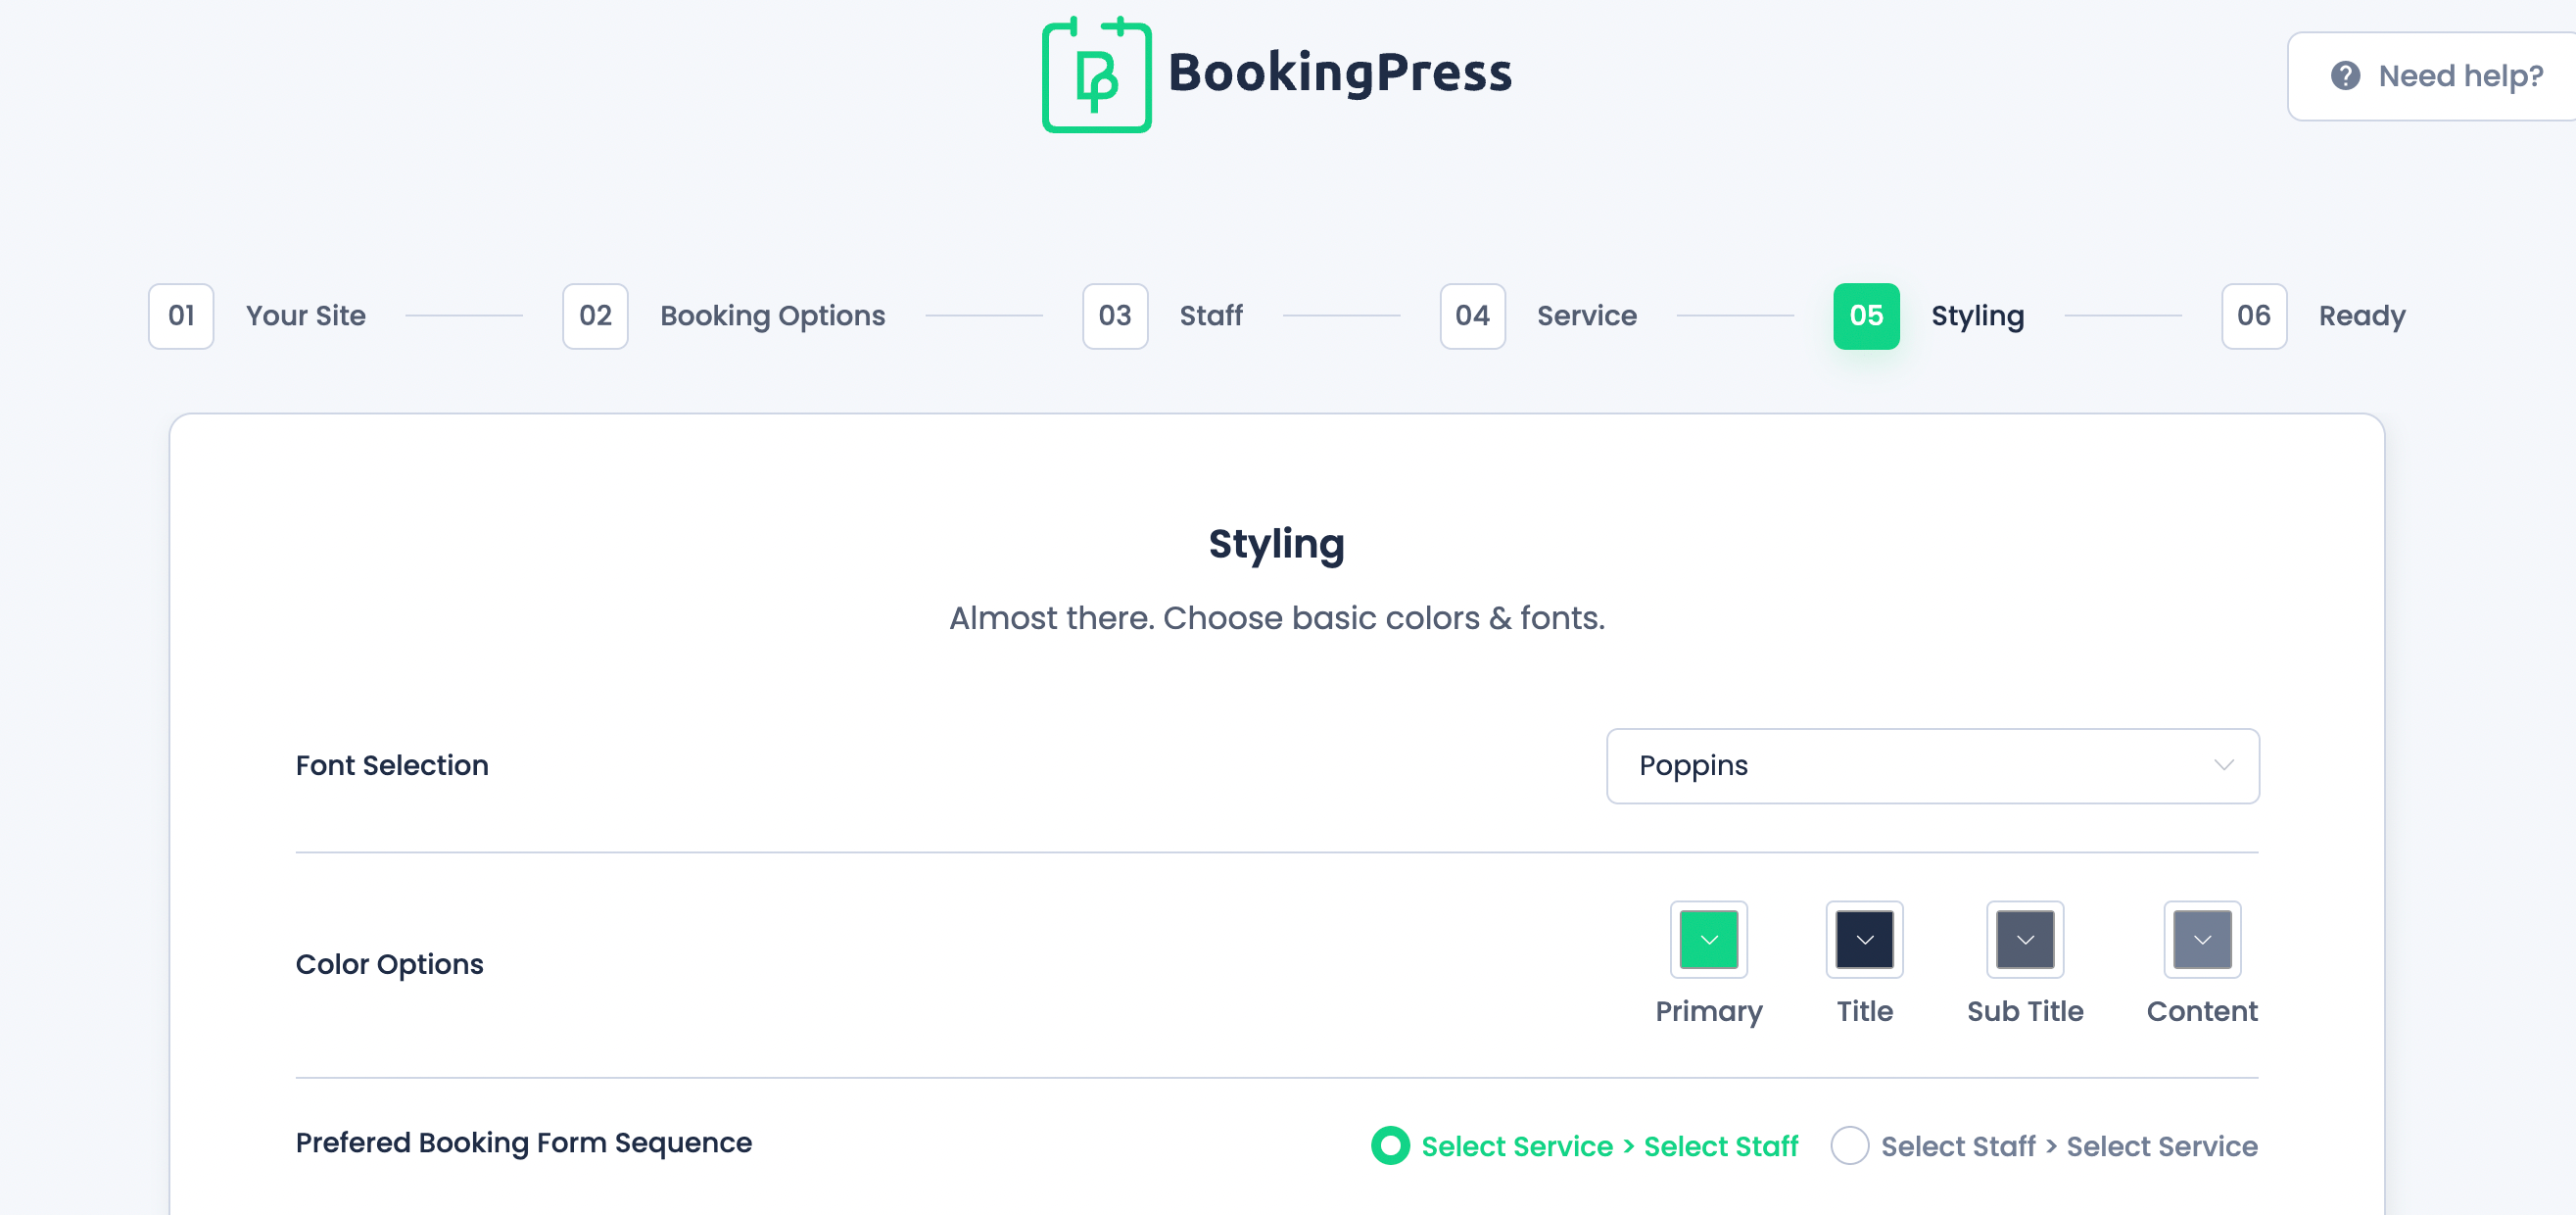
You can select your font and the color of different design elements on your booking page. If you’re setting the system up for multiple team members, you can also choose a preferred booking form sequence.
When you’re done, select Finish! This will give you a shortcode for your booking form:
Copy the shortcode and navigate to the Booking page you made earlier. Pasting the code into Beaver Builder’s HTML module will add your fully-customized booking form to that page:
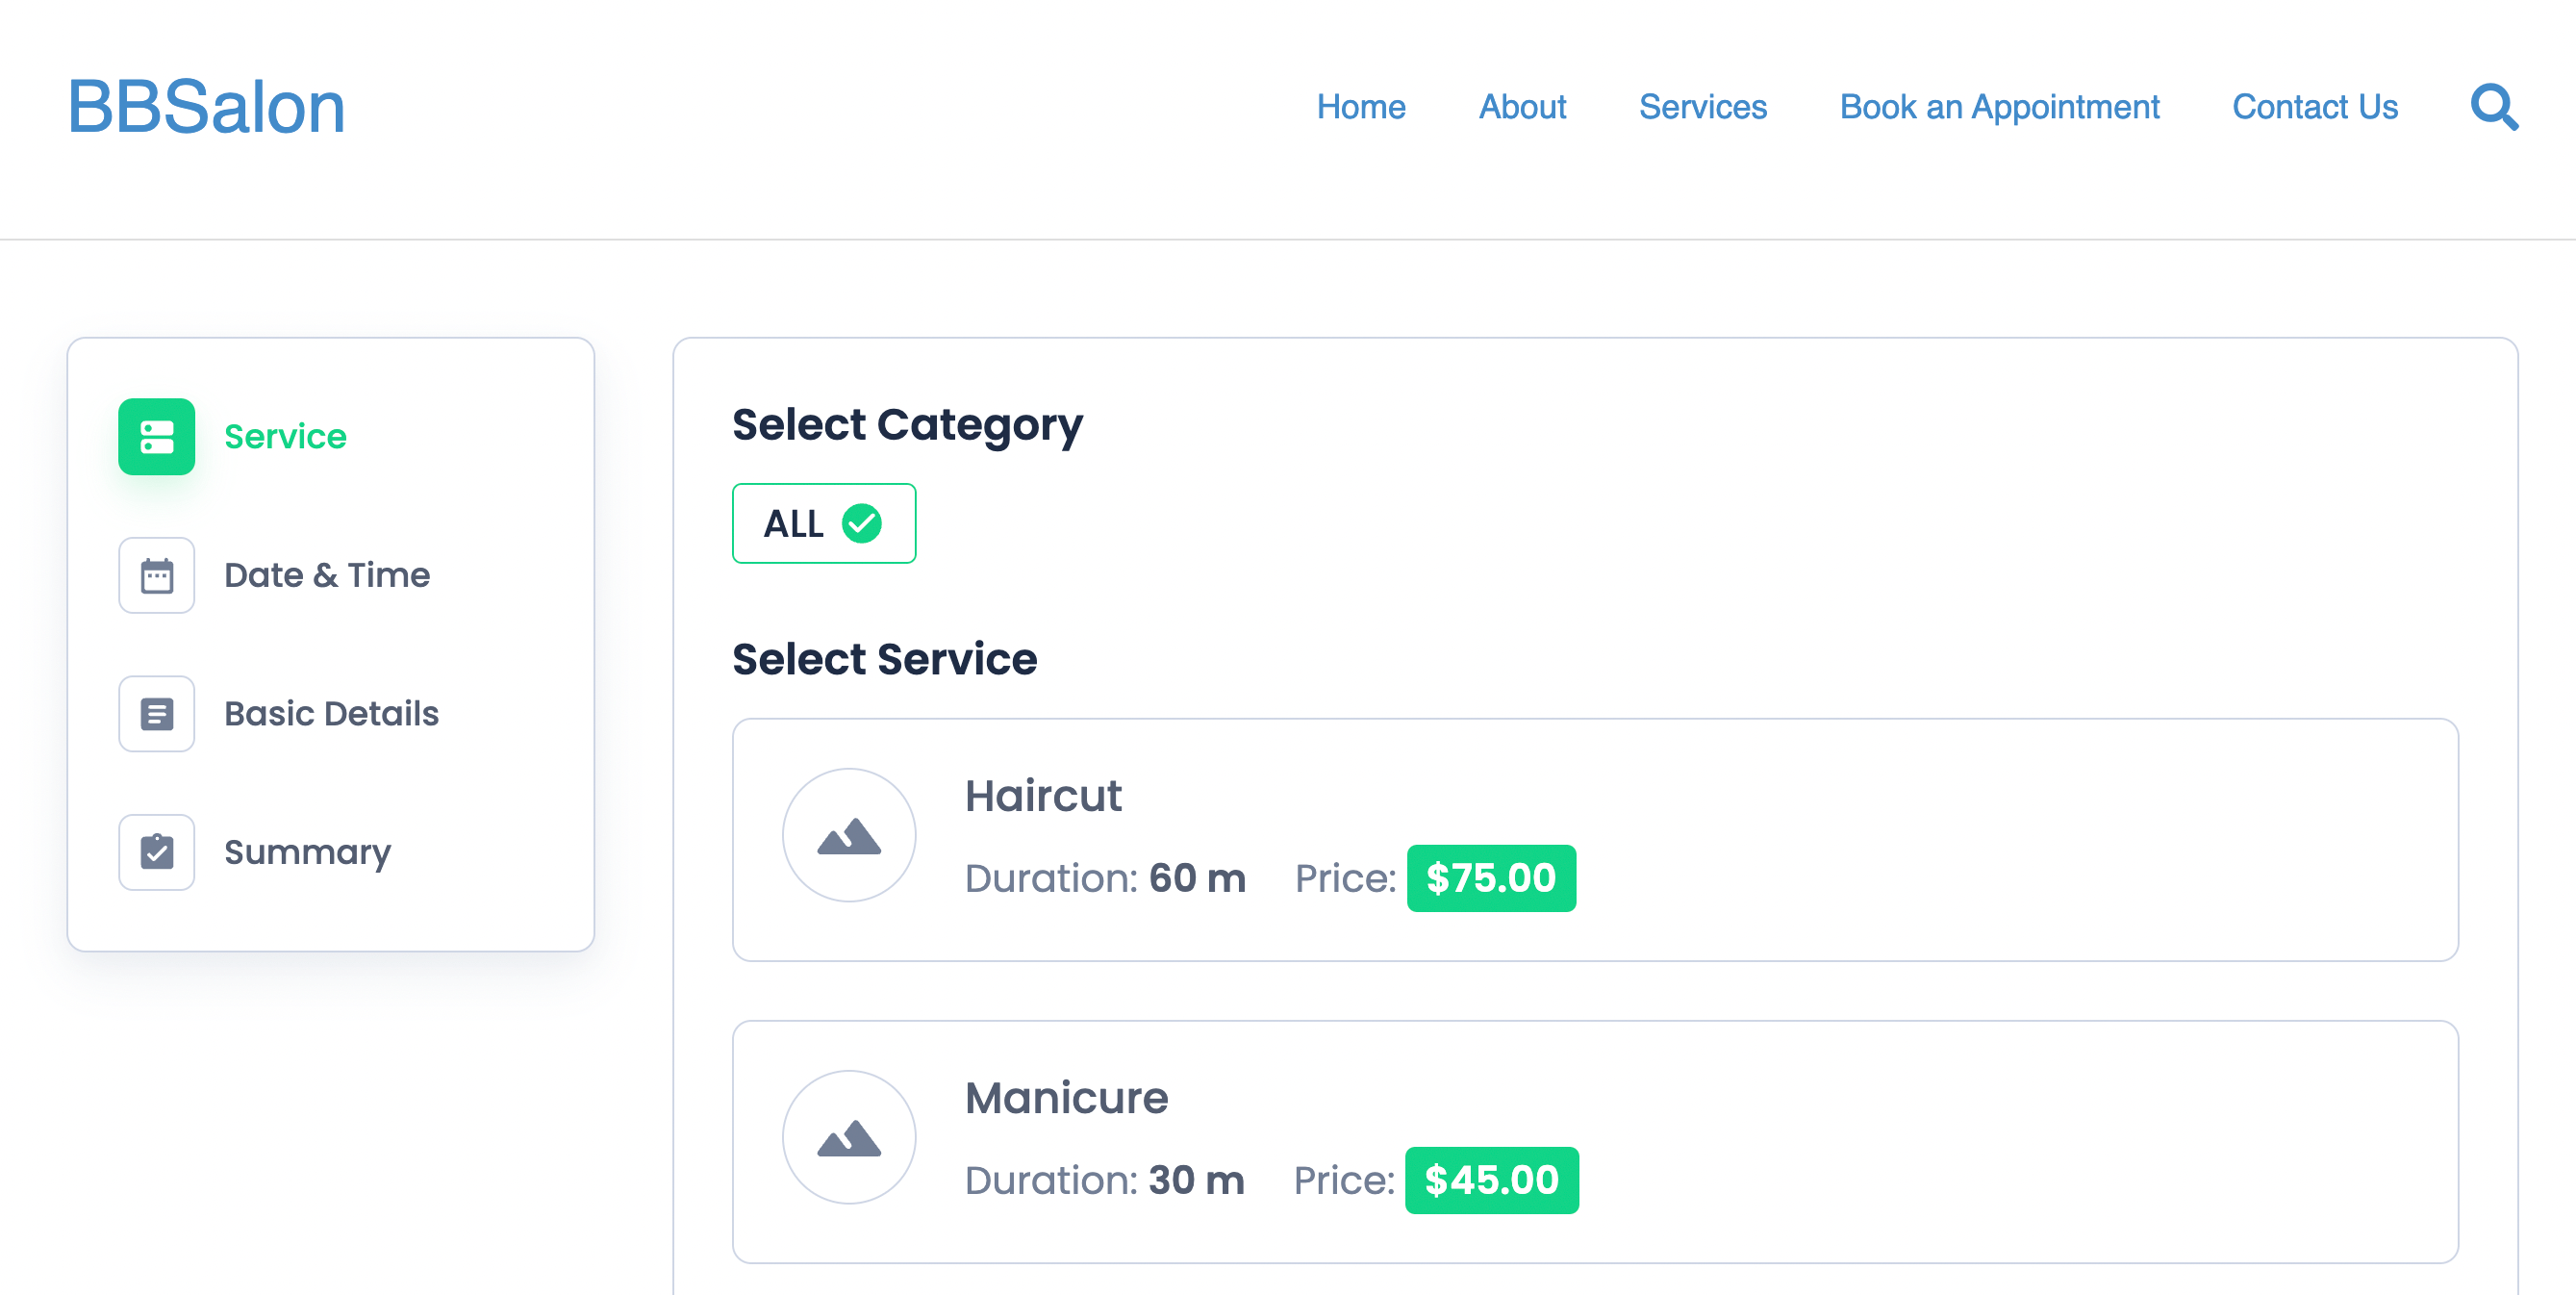
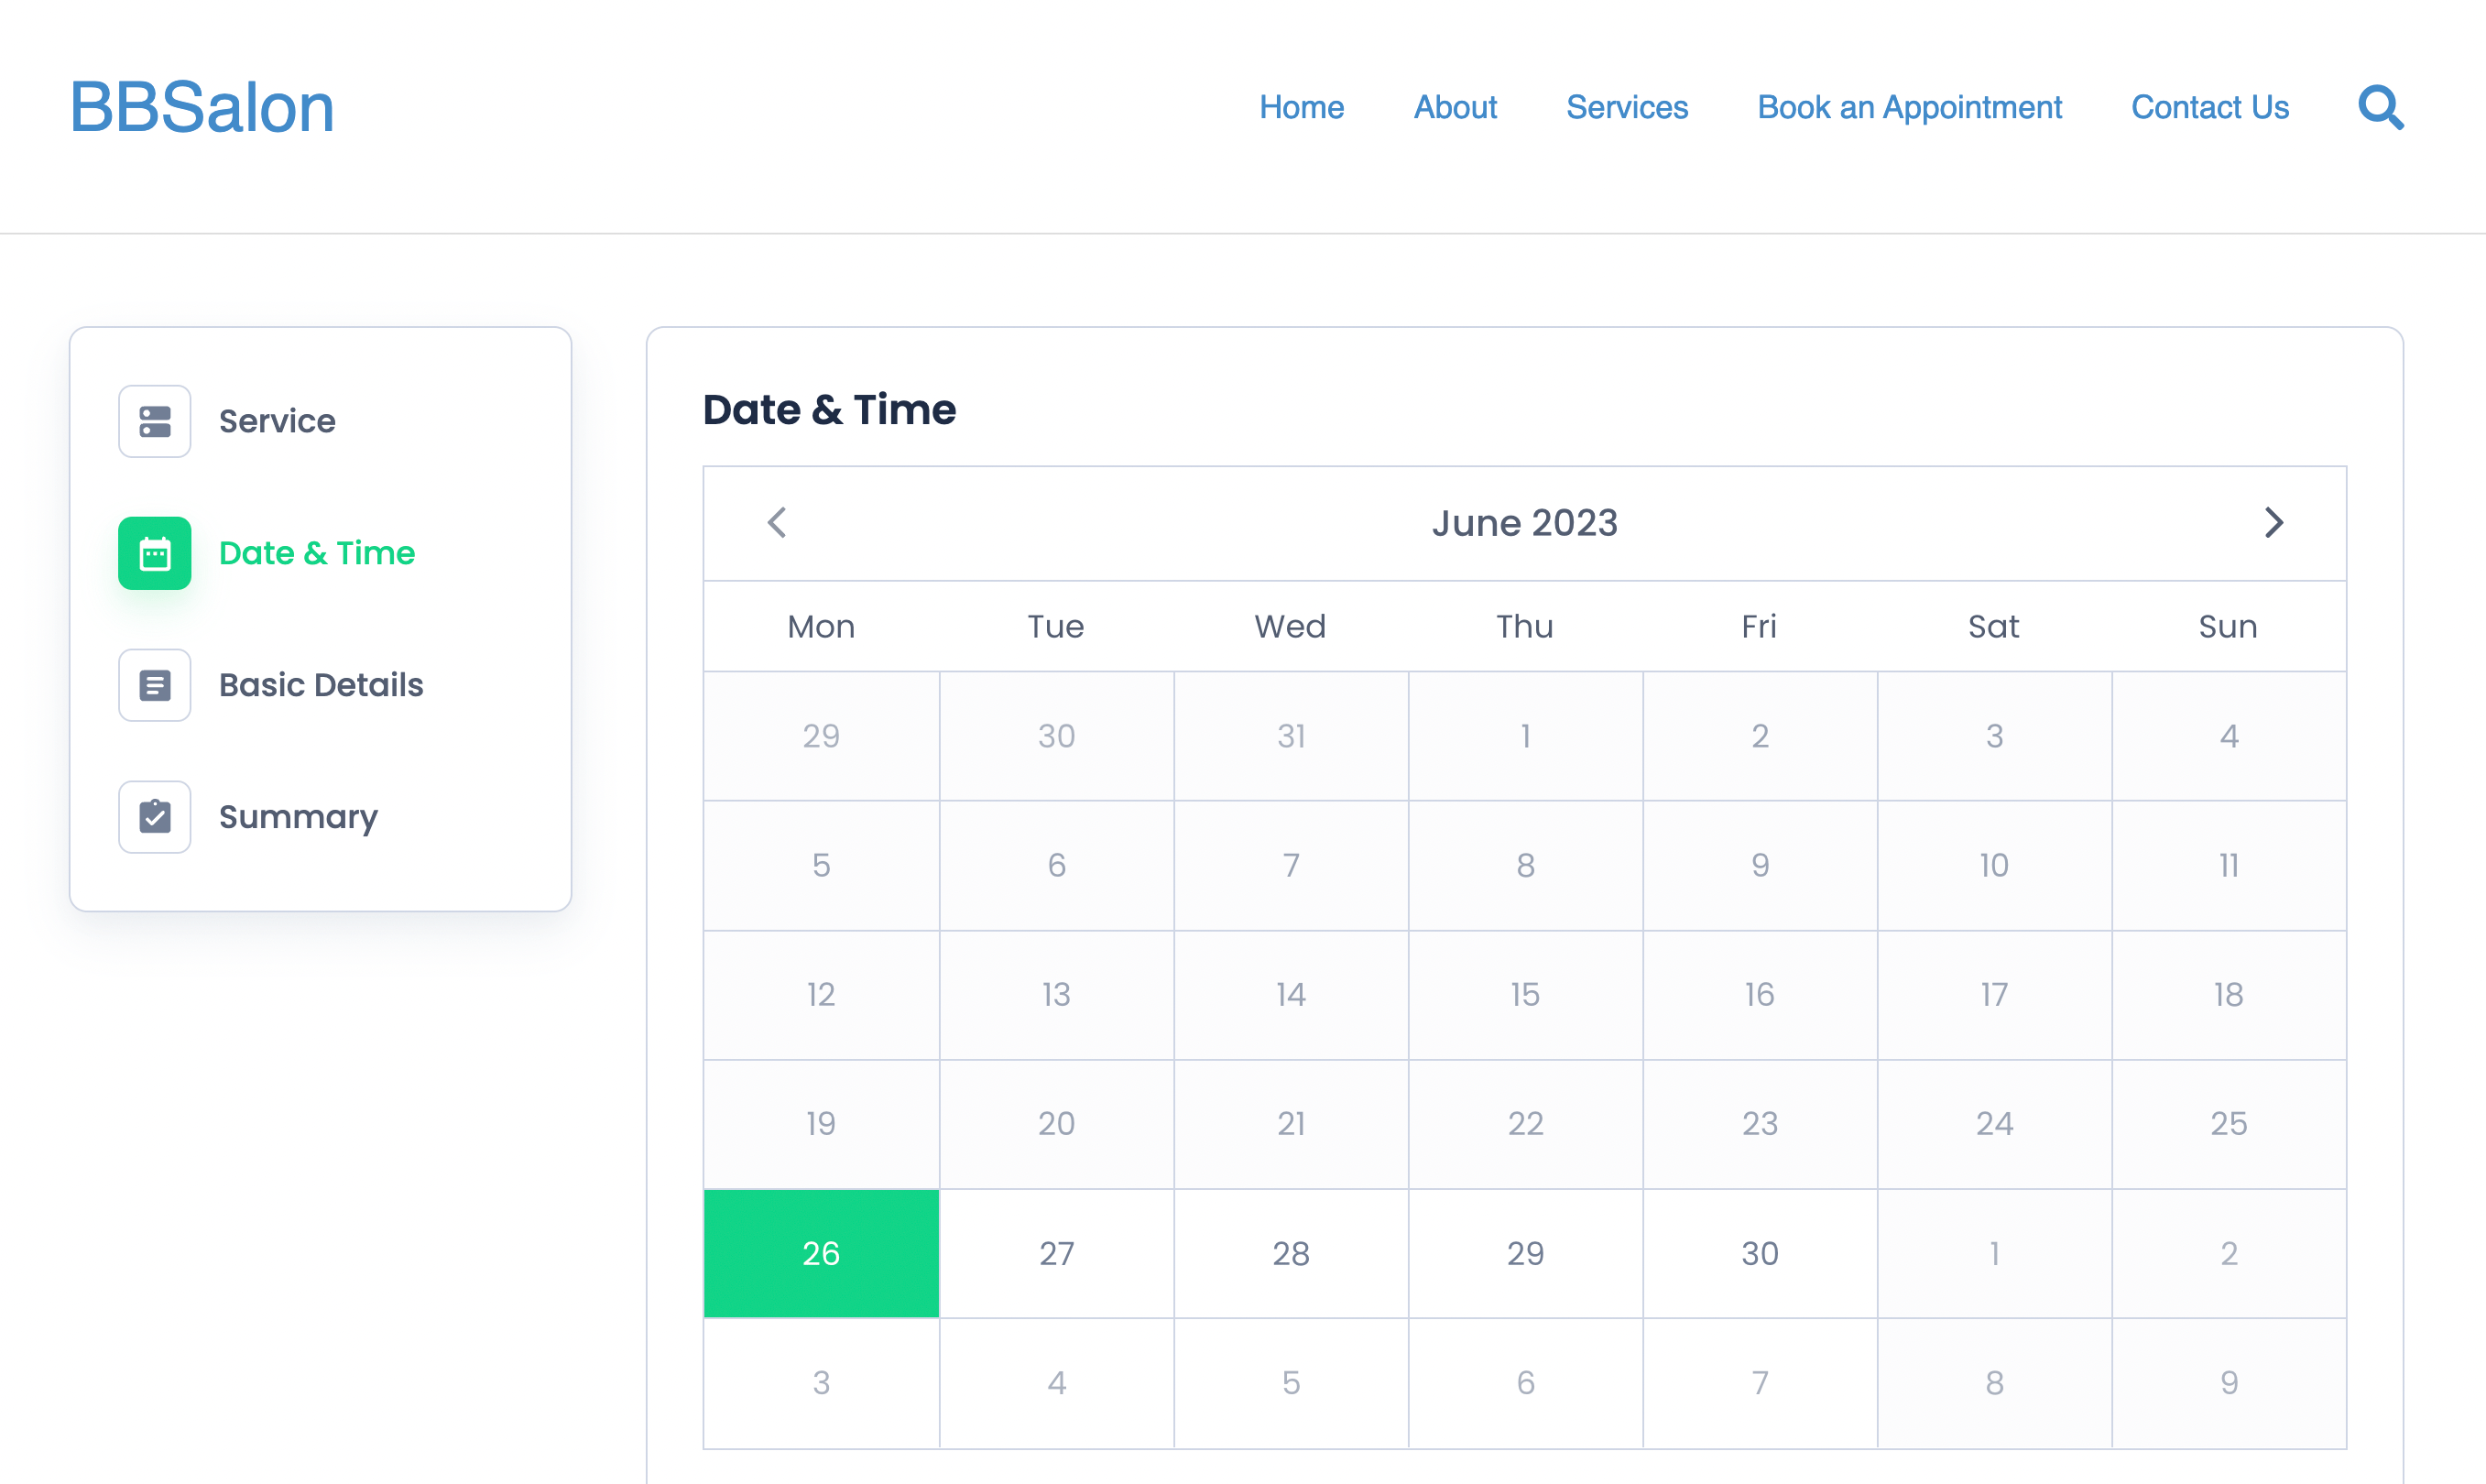
Customers will be able to easily choose a service, and then select a time and date from the calendar:
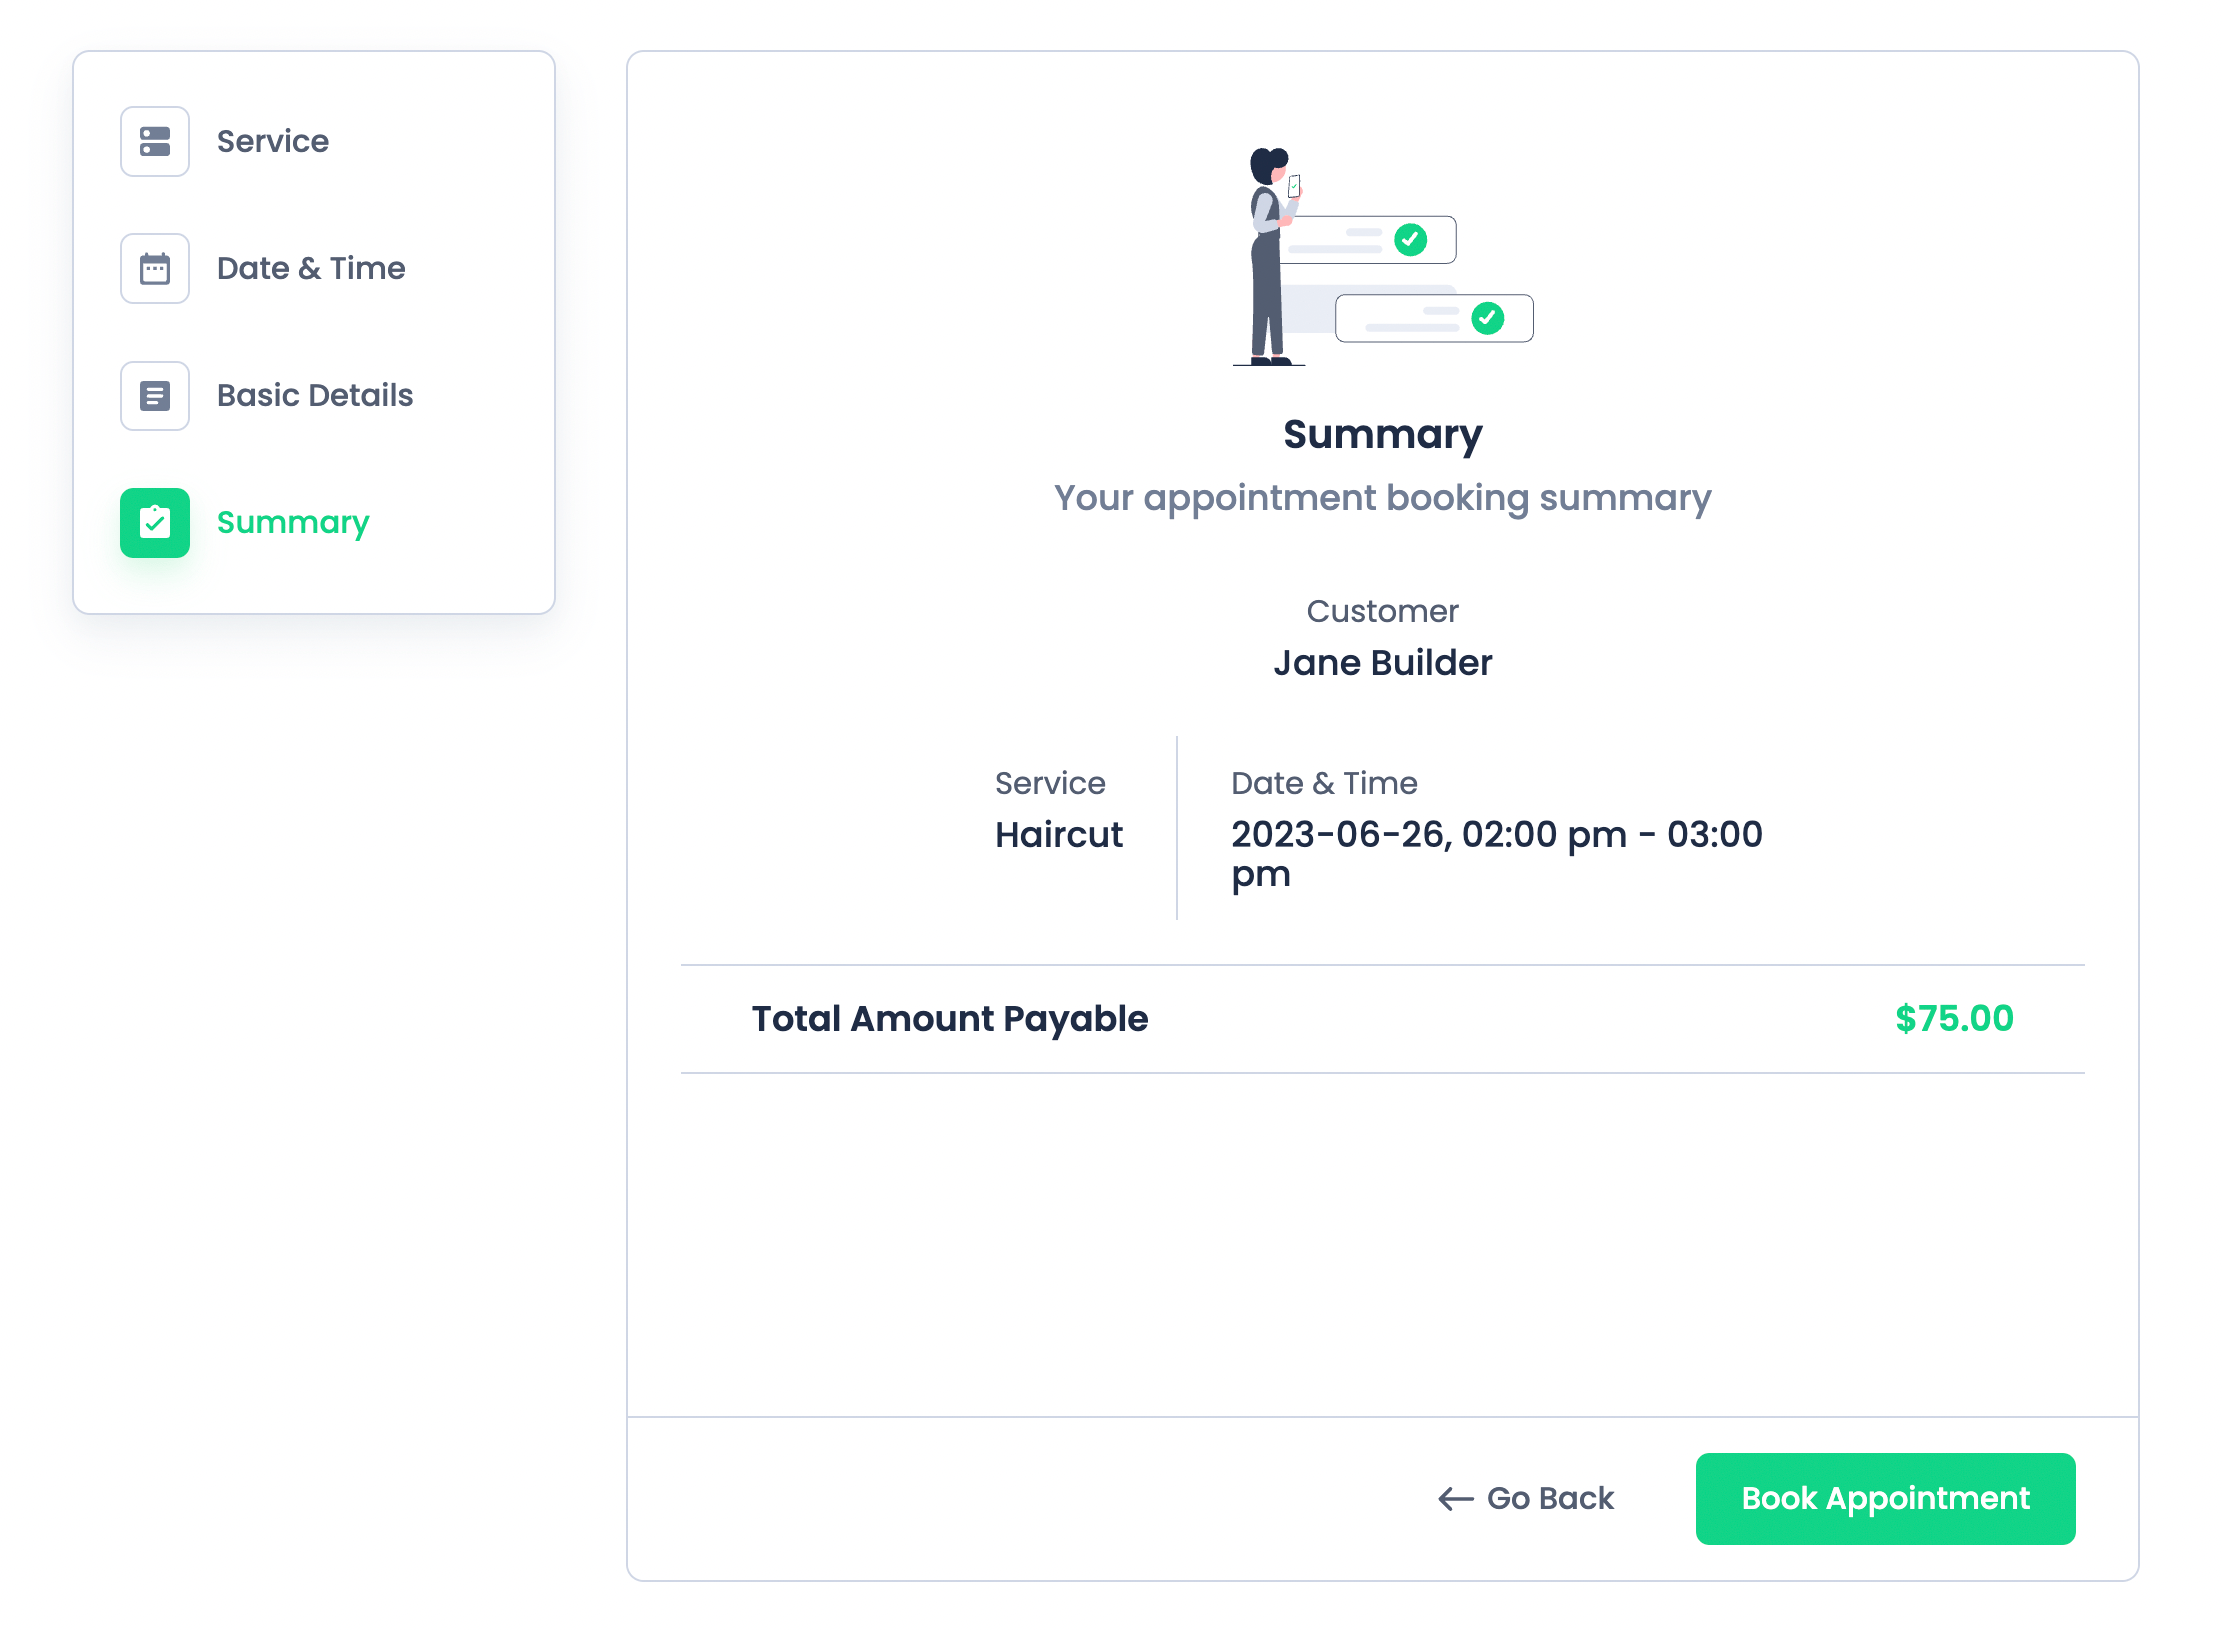
After that, they’ll need to enter some Basic Details. Then, they’ll see a summary of the information they entered before clicking Book Appointment:
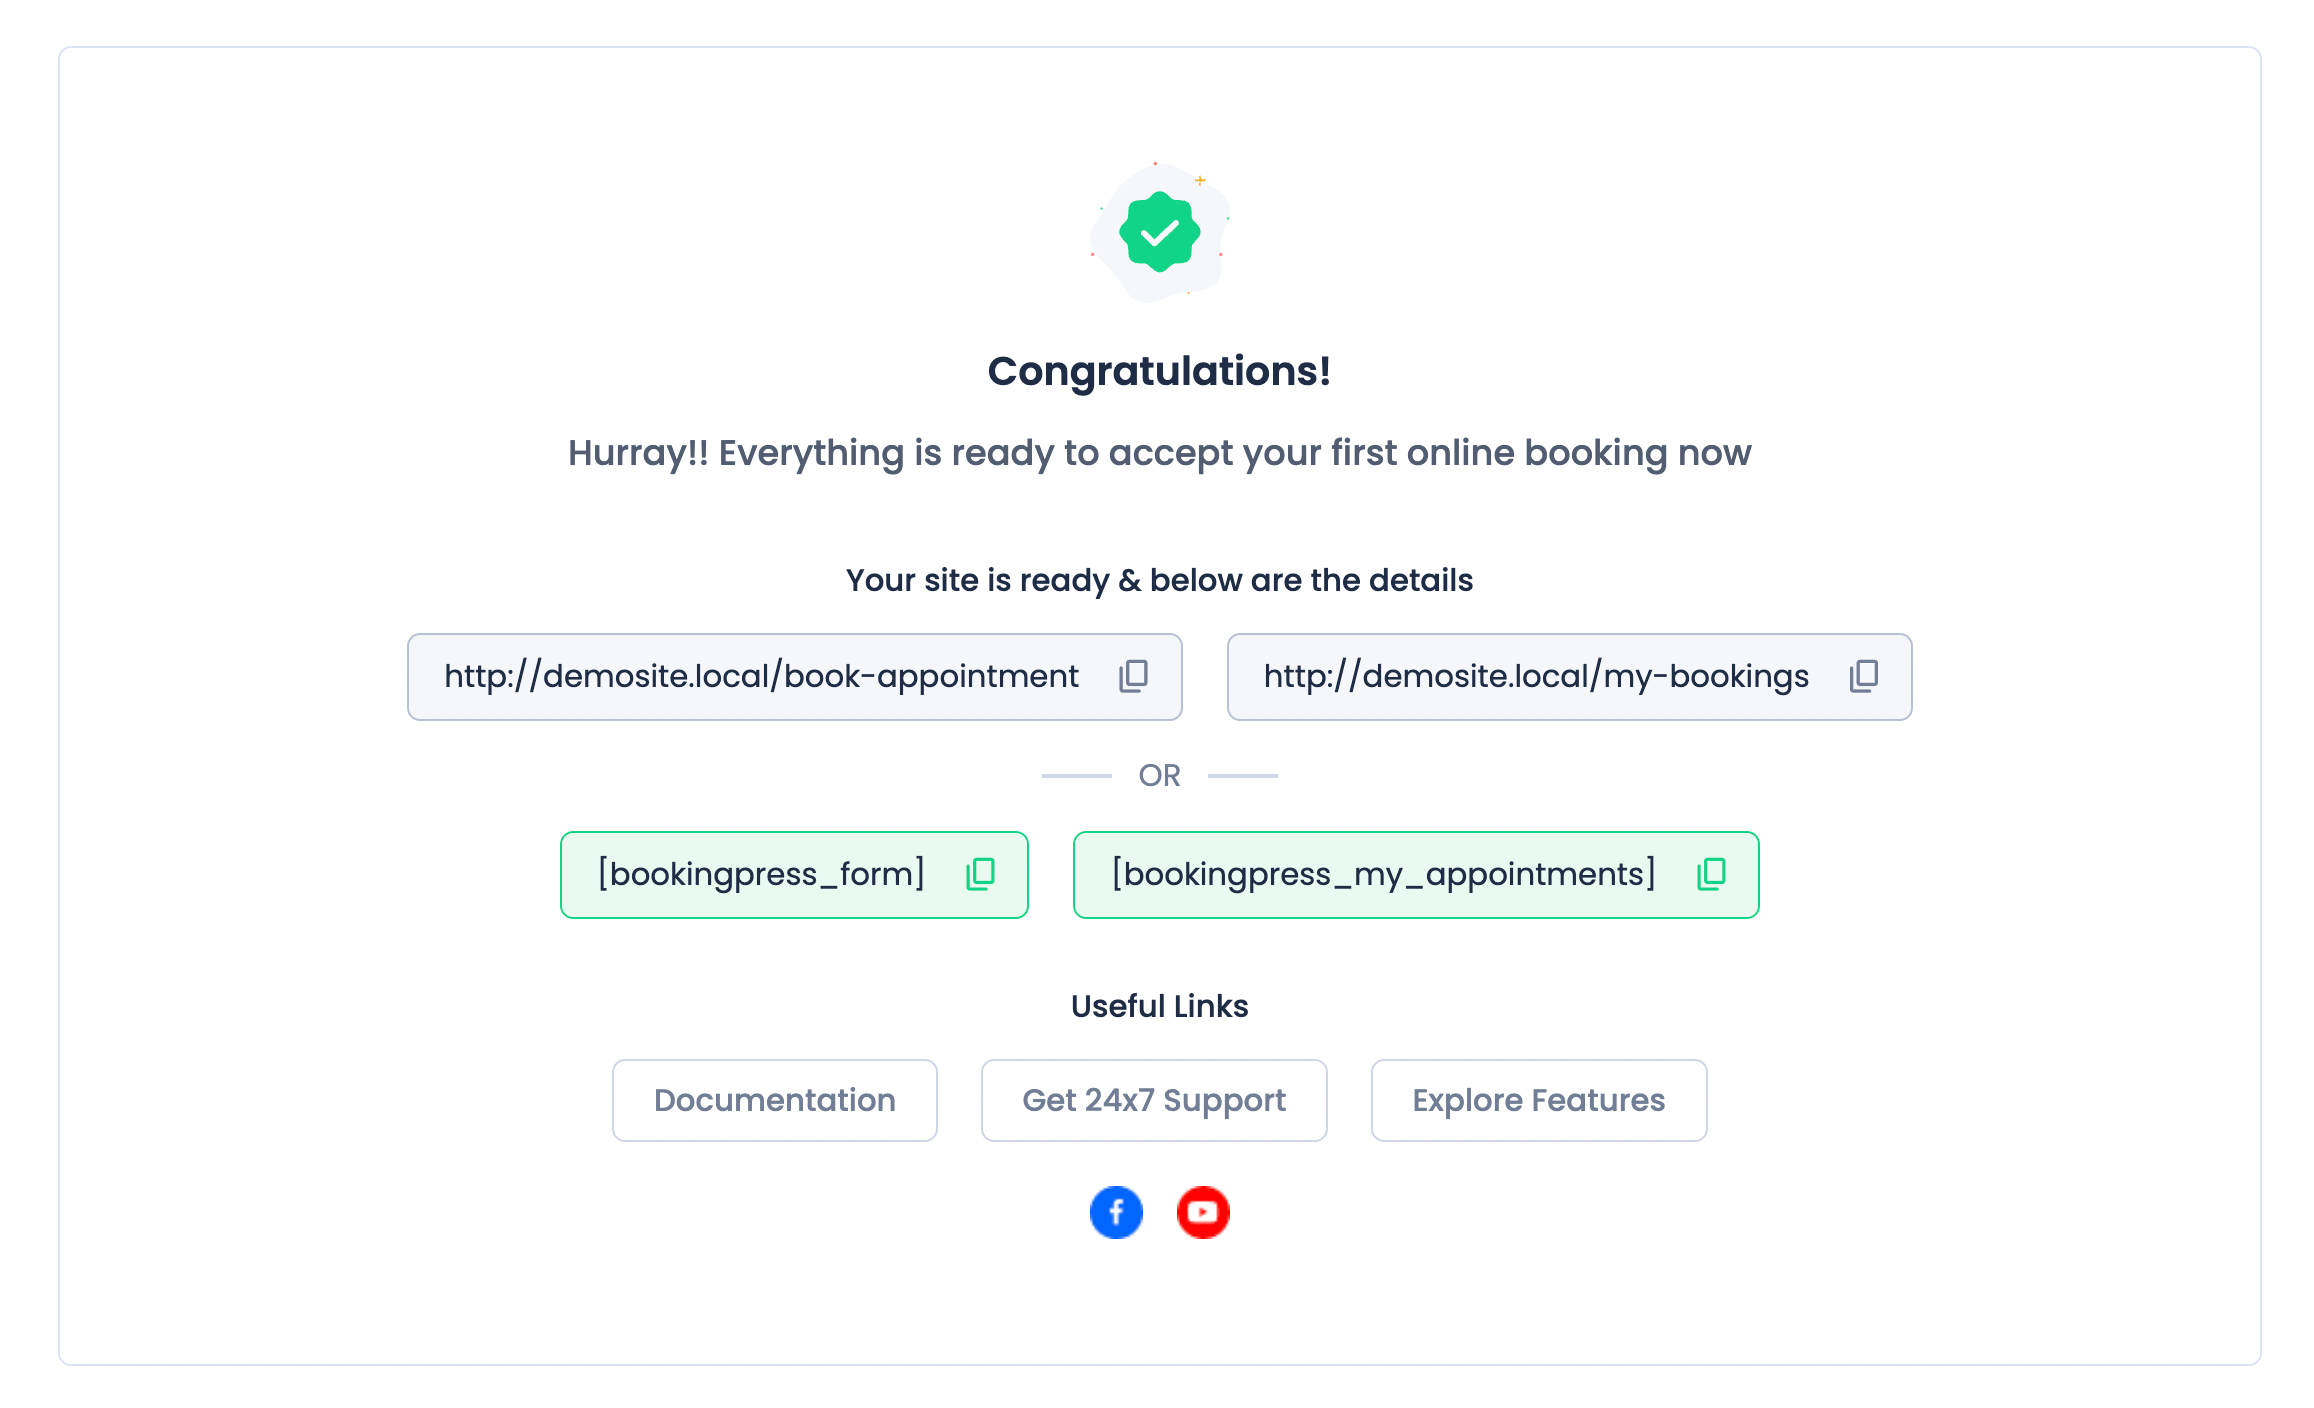
Finally, the customer will receive a confirmation number and brief thank you message.
If you’d like, you now have another chance to use Beaver Builder modules to add more content and imagery to this page, or to customize your layout.
Conclusion
Managing appointments manually can be an arduous process. Just about any service-based business can benefit from adding a streamlined appointment booking system to its website. This is an excellent way to add appointment booking to simplify workflows and maximize efficiency.
To recap, here’s how you can create a website with a built-in appointment booking system:
- Choose a web host, install WordPress, and select a theme.
- Create your booking page using the Beaver Builder plugin.
- Customize and add a booking system using the BookingPress plugin.
Related Questions
Can You Create a Booking Website for Free?
With a free platform like WordPress, you can get a website up and running quickly. You can also use the free versions of tools like Beaver Builder and BookingPress to add booking features to that site. However, you will need to pay for
Is It Hard to Make a Booking Website?
No! With beginner-friendly tools like WordPress, Beaver Builder, and BookingPress, it’s very easy to create an attractive and functional booking website in just a few steps.
Our Newsletter
Our newsletter is personally written and sent out about once a month. It's not the least bit annoying or spammy.
We promise.
Try Beaver Builder Today

Related articles

Beaver Builder AI: Build WordPress Layouts with AI (Now in Alpha)
Hey everyone! Big news. After a long time of building behind the scenes, Beaver Builder AI is here. The alpha…

How Beaver Builder Products Work Together to Build Flexible WordPress Websites
Building a WordPress website often means stitching together a theme from one developer, a page builder from another, and a…

From Azeroth to WordPress: How Warcraft Tavern Uses Beaver Builder
Since releasing Beaver Builder 12 years ago, a feeling will come up from time to time that just never gets…
Join the community
We're here for you
There's a thriving community of builders and we'd love for you to join us. Come by and show off a project, network, or ask a question.
Since 2014
Build Your Website in Minutes, Not Months
Join Over 1 Million+ Websites Powered By Beaver Builder.