
We don’t need to tell you that efficiency counts when it comes to web development. You have to plan, design, build and launch a high-quality website to your client’s specifications, all while keeping one eye on the clock.
This is a delicate balancing act when you’re building just a single website. So when you’re juggling multiple projects, it can quickly begin to feel like you’re herding cats.
In this article, we’ll show you how to streamline development from conception to completion.
Let’s begin!
The Challenges of Taking on Multiple Clients as a Web Developer
Keeping up with multiple clients can be tricky, but it’s necessary to pay the bills. Especially if you’re living the freelance life, you’ll always want to be a few projects deep to avoid hitting a dry spell.
Of course, each of your clients has different goals and requirements for their project. These are objectives that you, as their web developer, have to keep track of and include in their deliverables.
Forgetting even a small detail can mean having to go back and redo work, wasting time and money.
Without some serious project and time management systems in place, you could find yourself staring down a negative bank balance.
Another challenge of working on multiple projects is doing the same prep work over and over. Not only is this an obvious time-waster but also repetitive tasks are tedious and can remove the fun of web development.
The solution to these problems is to streamline development.
By maximizing your efficiency and staying organized, you can deliver sites to your clients’ specifications quickly and avoid becoming bogged down in menial tasks.
7 Ways to Streamline Your Development Projects
With the right framework in place, you can minimize the impact of development challenges on your bottom line and your sanity.
Here are seven tips for optimizing your process.
1. Build a Repeatable Workflow
Developing an effective workflow that you can follow for each project takes the guesswork out of your job.
A simple way to implement this is to create a checklist. By sticking to a formula, you’ll ensure you don’t miss anything important.
List the tasks you have to complete, from client onboarding through post-launch responsibilities.
You don’t have to be super granular here. You’ll add more specific items for individual projects as they come up.
The idea is to note categories that every small task falls under. An example workflow might look something like this:
- Plan: Gather information about the client, their goals, and the needs of their website and its end users.
- Design: Create a wireframe and/or mockup and show it to the client for approval.
- Build: Develop the site according to the client’s specifications and feedback.
- Launch: Make the site live and hand it off to the client.
- Maintenance: Follow up to ensure the site is performing as expected, and carry out regular maintenance if you’ve been contracted to do so.
Next, you’ll want to adopt a system to keep track of where you are in your workflow. If you work solo, it can be as simple as a Google Sheet you set up for this purpose.
Project management apps are also handy for organizing this information, especially if you outsource any part of your work. Trello is a popular solution, but there are many options.
Following your established workflow can make a significant difference when it comes to organizing and planning your web development projects.
Over time, you’ll start to internalize it and fall into a natural rhythm. Keep at it, and you may find you’re able to work faster without missing any steps.
By having a standard workflow to follow, you’ll also have a better idea of how long you typically take to accomplish each phase of a project.
This will show you areas where you can further streamline development and improve efficiency.
2. Don’t Rush the Planning Stage
Like developing a workflow, you’ll also want a battery of standard questions you ask each client at the beginning of a new project.
Schedule an onboarding call with your main point of contact and gather all the information you need right from the start.
If you don’t already have a go-to list of questions, here are a few to get you started:
- What are the client’s goals for the website?
- Who will be using the website?
- Who will handle site maintenance post-launch?
- How and how often will you communicate?
- What is the timeline, and is it flexible?
One significant benefit of asking questions and getting information up-front is that will help prevent ‘scope creep’. This is when a project becomes a much bigger job than agreed upon. It can negatively affect your earnings and delay your other projects.
Along with expectations around timelines and deliverables, you should be clear about communication.
It’s smart to schedule at least a few check-ins when you know you’ll reach your contact. There’s nothing worse than having a project stall because you have a question and your client is on the golf course.
While all of this may slow down your planning stage a bit, it’s still key if you want to streamline your development.
Having clear expectations in place will prevent you from having to redo work down the line.
3. Identify and Fix Time Sinks
A “time sink” is any task that takes longer than it should. Waiting on a client to respond to an email is one example.
You can’t always control situations like this, but you can set up systems to minimize them as much as possible.
For example, you can schedule your phone or video calls in advance so you can give updates as well as ask questions.
If you’ve planned carefully, you’ll know what needs to be accomplished before the next check-in and can anticipate potential sticking points. Your client can play all the golf they want and you can work efficiently knowing you shouldn’t have any emergency questions.
Another way to avoid time sinks and streamline development is to identify tasks that can potentially be automated.
For example, if you find you’re asked the same questions repeatedly, develop some canned email responses to help you process your inbox faster.
You can also create email templates for onboarding or updates.
Fill in personal details such as the client’s name, schedule the email to be sent, and move on to your next task.
4. Don’t Start From Scratch
If you’ve worked as a web developer for a while, you’ve probably built a few websites with really unique features. You’ve also probably completed a whole lot of projects that have very similar architecture.
Knowing that most of the sites you create will have the same bones, there’s no reason to start from zero for every new project.
To streamline future development, take a little time to build a starter site with a framework theme, such as our Beaver Builder Theme:
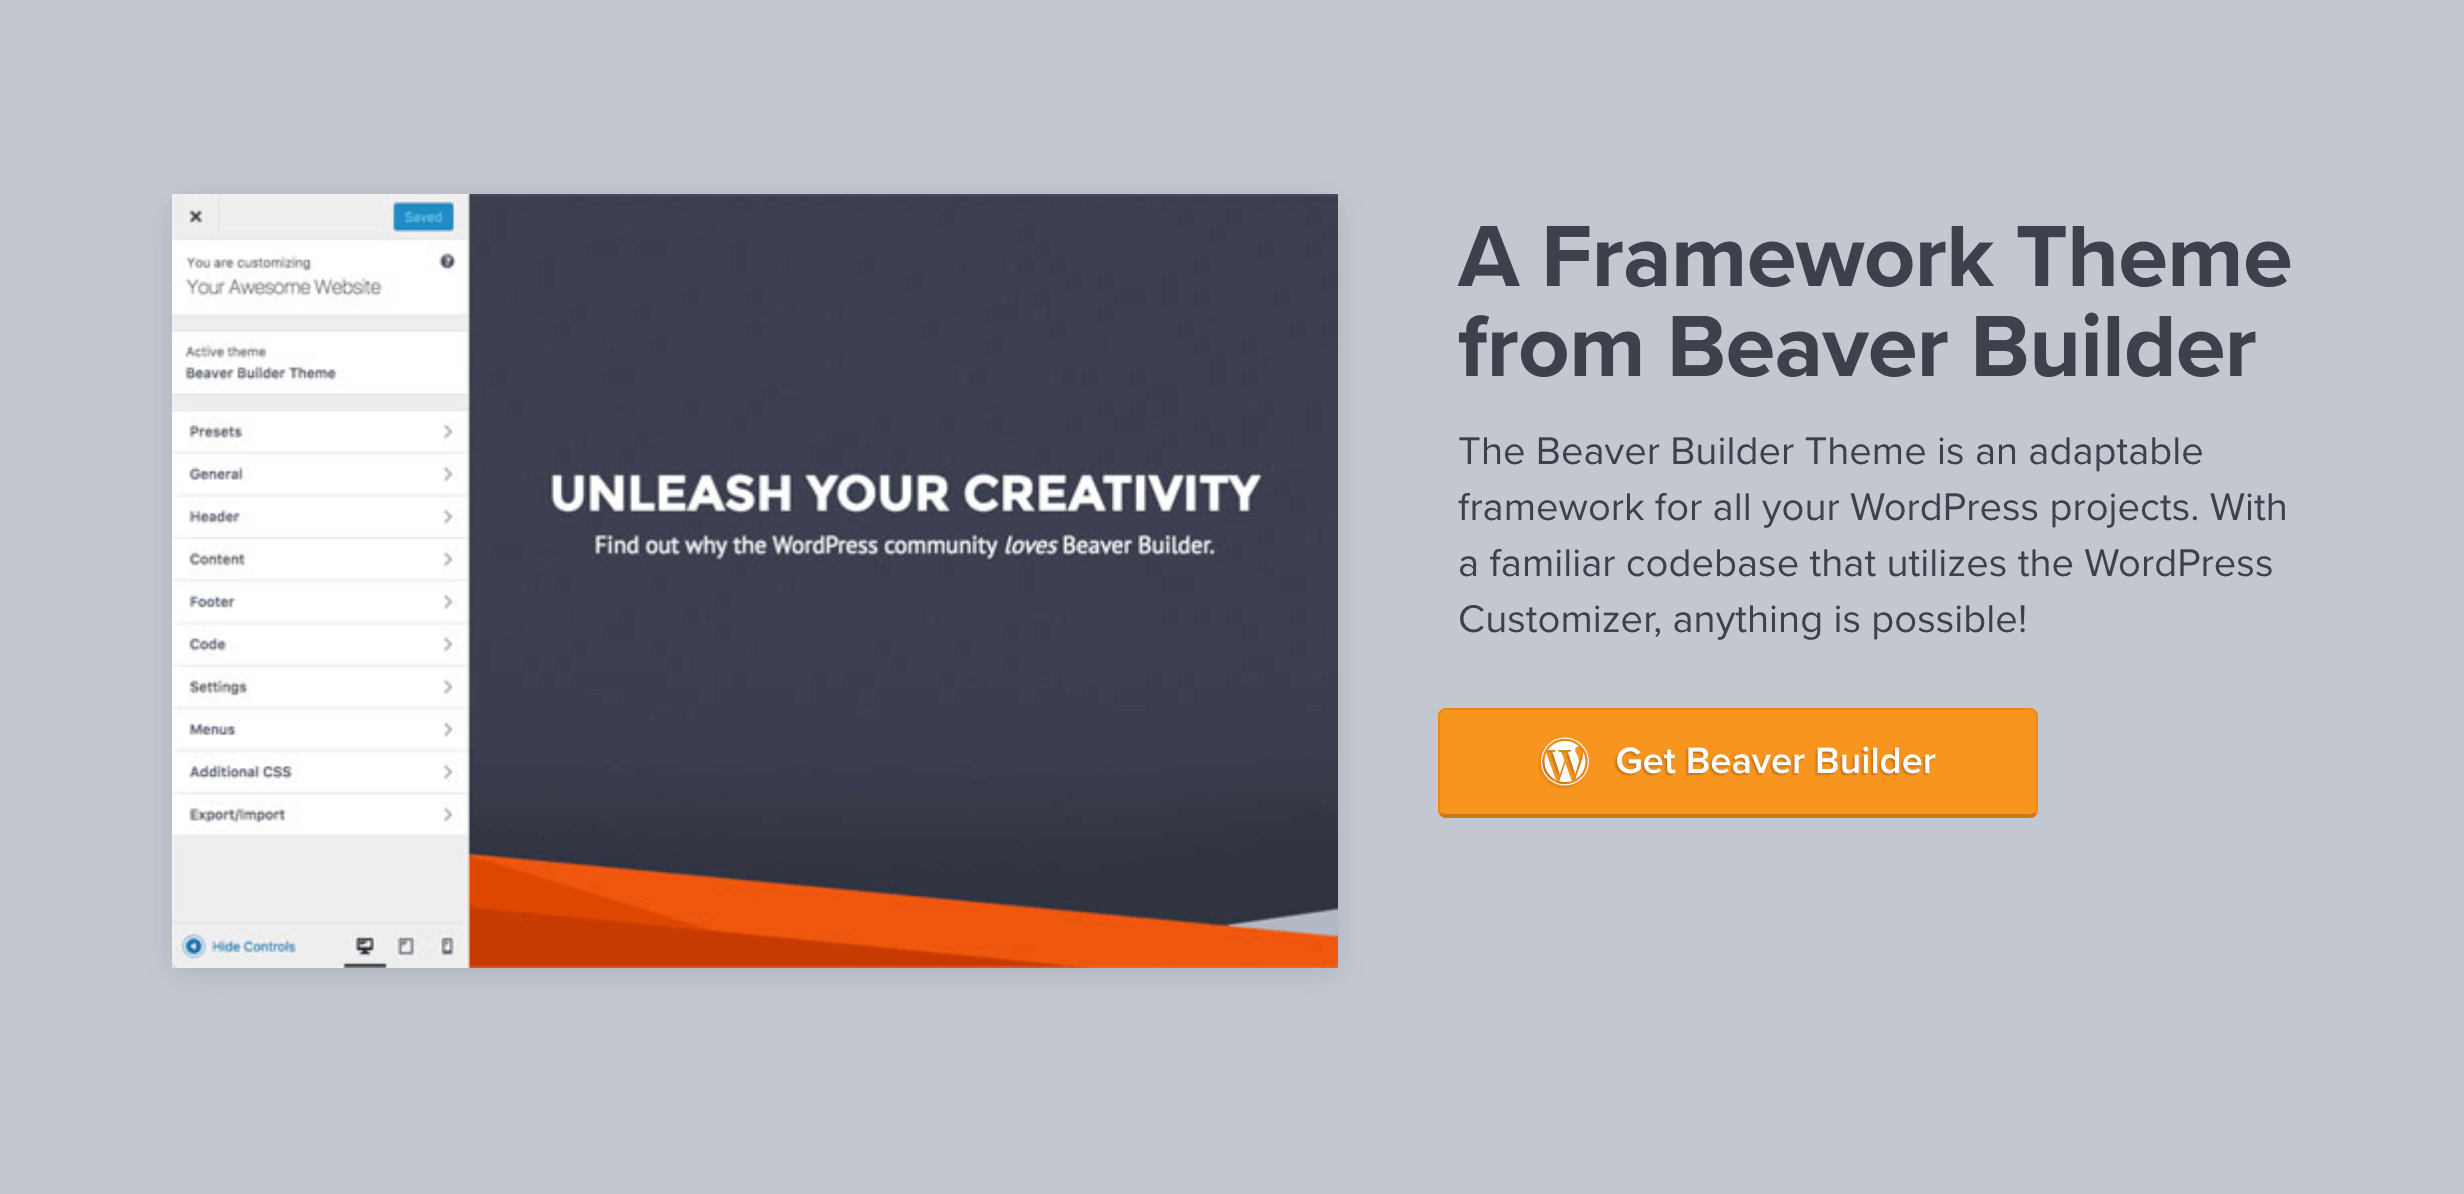
You can export and import your basic Customizer settings and use this foundation over and over and customize it to meet the needs and style of each client.
Another strategy is to develop multiple starter websites locally. Local by Flywheel is a handy tool that can help you keep them organized:
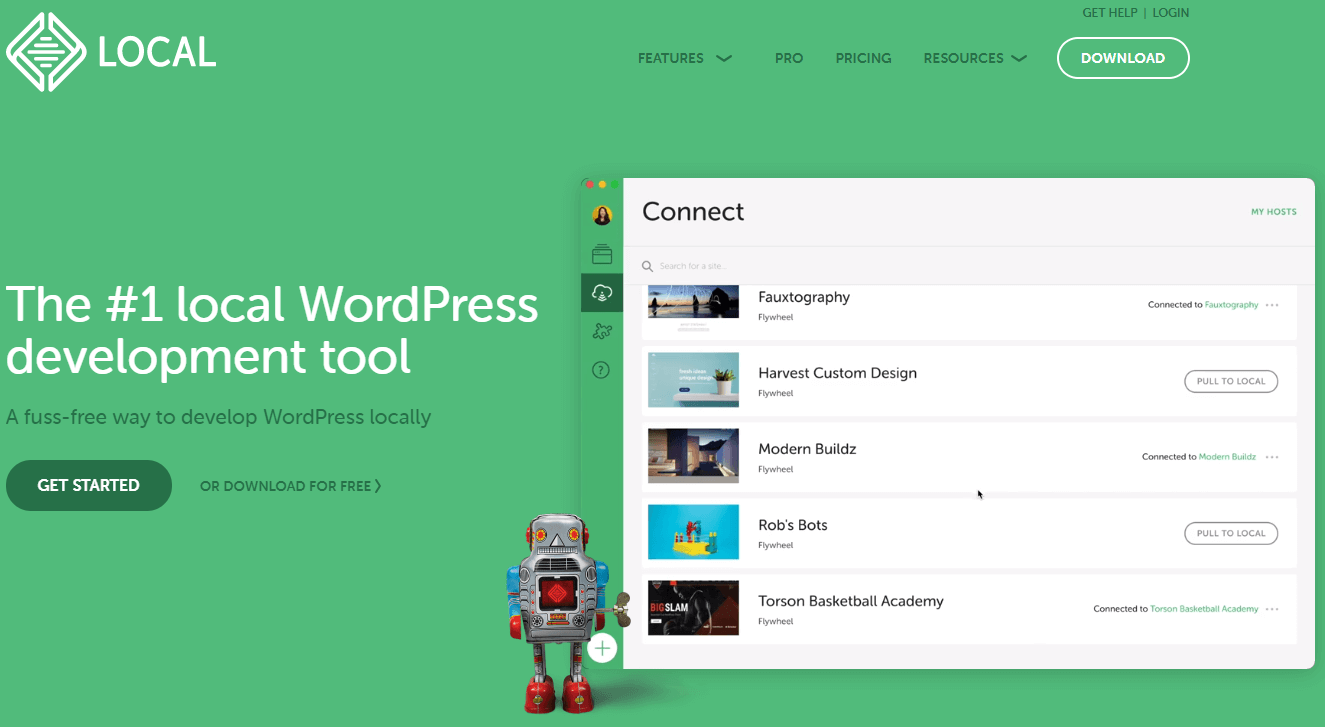
This way, you have a blueprint to work from no matter what kind of website you’re currently building.
When you create your starter site, include your tried and true plugins.
Unless you have a specific request from a client, you may as well stick with what you know works. Consider these plugins to be a part of your developer toolkit and get to know them well.
5. Build a Toolkit for Development
Speaking of which, having a go-to set of reliable, flexible development tools makes any project go more smoothly. When it comes to building your WordPress development toolkit, focus on quality over quantity.
It can be fun to pounce on every shiny new idea that comes out. However, it’s more effective to build expertise with a few tools you use regularly.
In-depth knowledge pays off and can streamline development much more effectively than continuously trying to learn new interfaces and features.
Which plugins you include in your toolkit will depend on your personal preferences and needs.
We recommend having a page builder such as Beaver Builder on hand:

Page builders include many robust features that can replace other plugins, minimizing the number of tools you have to maintain.
They’re also handy for tailoring your starter sites for each client without having to code.
Beaver Builder pairs perfectly with our framework theme for this, although you can use it with almost any theme.
Another advantage of using our plugin for development is its white labeling feature.
You can remove the Beaver Builder branding in the WP Admin areas and substitute it with your own. You can even replace the built-in layout templates with your own designs.
Additionally, the Beaver Themer add-on lets you take Beaver Builder’s functionality a step further. You can use it to build headers, footers, and templates that you can apply to multiple posts.
All of this is done through a drag and drop interface.
When choosing tools, select ones with robust and knowledgeable communities that can help you if you get stuck.
The only thing better than being an expert is having a group of other experts to rely on when things go south.
6. Create a Formula for Site Launch
Site launch is probably the stage when you’re most likely to get careless and have something slip through the cracks.
The end is in sight, you’re ready for a new challenge, and it’s very tempting to just coast through the end of the project.
An effective way to avoid this is to go back to the basic workflow you designed and break down your launch process into steps.
Follow them carefully, and you don’t have to worry about handing over an unpolished final product.
The last thing you want is for a client to find something that you missed. That means more work for you, plus it’s embarrassing and can damage your professional reputation.
Here are a few specific things to check for as you wrap up a project:
- Clear out any test content that may be lingering.
- Check the site on the front end using multiple devices and browsers.
- Perform a mobile responsive test, and optimize for mobile as needed.
- Test all functionality, including contact forms and checkout processes.
Then, take a break. Get away from the project for a couple of hours, and come back with fresh eyes.
It’s almost guaranteed that you missed something on your first pass. Once you’ve given the site a final check, you can launch it with confidence.
Don’t forget the final step of enabling indexing by search engines.
7. Follow Through With Clients Post-Launch
You may feel like your job is done at this point, but providing strong post-launch support such as good response time, maintenance and incident management will leave a positive impression on your client.
Create a checklist for yourself (yes, another one) so you can be sure you’re providing them with everything they need.
Set aside some time to train the client with their new site and answer any follow-up questions.
How much time you’ll need to dedicate to this will depend on your client’s tech-savviness. Budget more than you think you’ll need so that you can be thorough.
This is also an opportunity to bring up WordPress maintenance. If you aren’t going to keep up the site yourself, be sure to pass on-site maintenance information to the new owners.
This conversation will save you time by preventing future support requests that could have been avoided by running regular updates and creating backups.
You don’t want panicked phone calls when client websites become infected by ransomware and haven’t been backed up in six months.
If you’re handling client site maintenance, consider outsourcing most or all of the associated tasks. GoWP or a similar service can save you a lot of time and be a profitable investment:
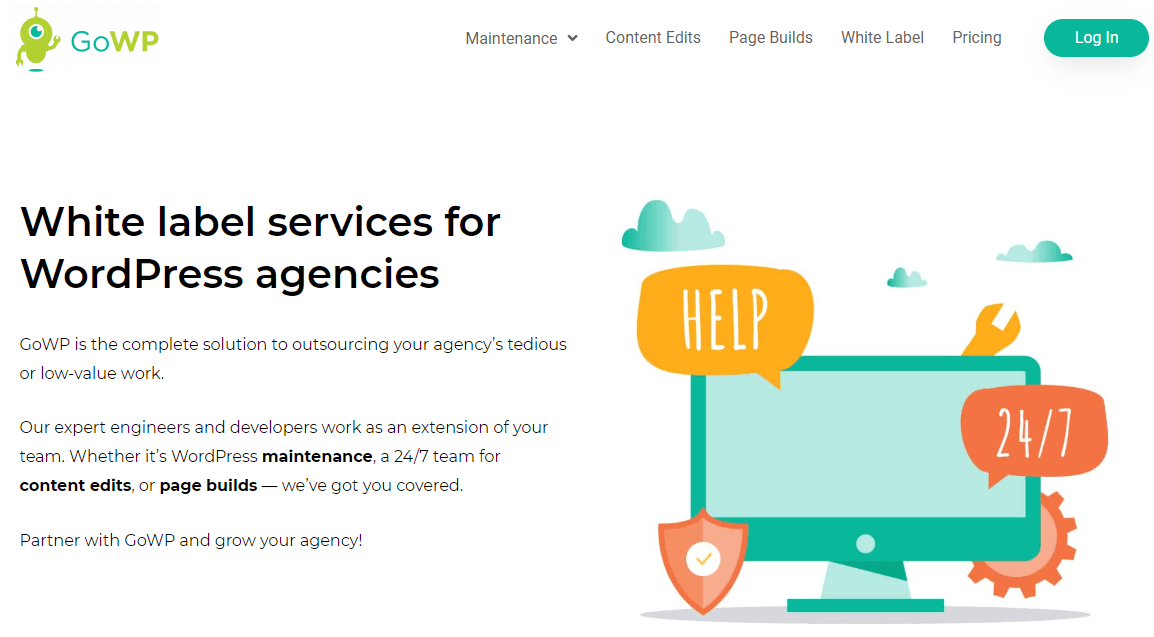
You have more sites to develop and new clients to onboard. Let someone else worry about updating plugins, while you get paid.
Conclusion
Website development is a job with many moving parts, so it’s crucial to have systems in place to help your projects flow smoothly.
It takes time to optimize these processes and find the right tools, so the sooner you get started, the better. Streamlining your workflow can potentially set you up for more money and happier clients.
When you’re starting your next assignment, keep these tips in mind:
- Build a repeatable workflow.
- Don’t rush the planning stage.
- Identify and fix time sinks.
- Don’t start from scratch.
- Build a toolkit for development.
- Create a formula for the site launch.
- Follow through with clients post-launch.
Are there any tips you’ve tried for streamlining your development process? Let us know in the comments section below!
2 Comments
Our Newsletter
Our newsletter is personally written and sent out about once a month. It's not the least bit annoying or spammy.
We promise.
Try Beaver Builder Today

Related articles

How to Sell Websites to Clients (Without Talking About Tools)
Struggling with how to sell websites to clients without getting lost in tech talk? Learn how to communicate the real…

Case Study: How One Freelancer Built a Web Design Business with Beaver Builder
Wondering about Beaver Builder for freelancers? Cami MacNamara operates WebCami Site Design, a successful solo web design business in West…
Best Practices for Managing Web Design Clients
Managing web design clients effectively is one of the most crucial skills for a web designer, agency, or freelancer. Whether…
Join the community
We're here for you
There's a thriving community of builders and we'd love for you to join us. Come by and show off a project, network, or ask a question.
Since 2014
Build Your Website in Minutes, Not Months
Join Over 1 Million+ Websites Powered By Beaver Builder.
Great advice, thank you for sharing!
This is great. We use some of the pre built templates from UABB and BB and they give us a huge jumping off point. This is all really great content, I need more so I can share it with clients and my team.