
Landing a new web design client is cause for celebration but setting expectations, agreeing to a timeline, and scoping a project can be stressful. Putting a clear process in place for onboarding web design clients can help you get started on the right foot.
In this post, we’ll cover why it’s important to have an onboarding process. Then we’ll share how to onboard web design clients in six steps.
Why It’s Important to Have an Onboarding Process
Onboarding is a series of steps you take to get new customers ready to work with you. This process also covers any tasks you might need to handle to prepare yourself for a new project.
Effective onboarding helps set expectations for both you and your customers. As a designer, you might want to provide information about what you need from the new client as far as input and feedback. This process can also give you a sense of what working with this client will be like. Think of it as a trial run before really digging into a new project.
You should also develop a clear timeline for deliverables. If clients know exactly what they’ll be receiving and when, it can cut down on unnecessary queries that can slow down your work.
If you want to maintain control over your workflow, onboarding is your chance to do just that. When you take the initiative to set clear guidelines and expectations, clients are more likely to respect your procedures.
Finally, onboarding sets you up for efficiency. Heading into a project with all the information and assets you need means you can concentrate more on design and less on chasing down missing pieces.
Onboarding Web Design Clients (In 6 Steps)
Now that you know how an onboarding process can benefit your business, let’s look at some steps you can follow when communicating with potential clients.
1. Gather Some Initial Project Details
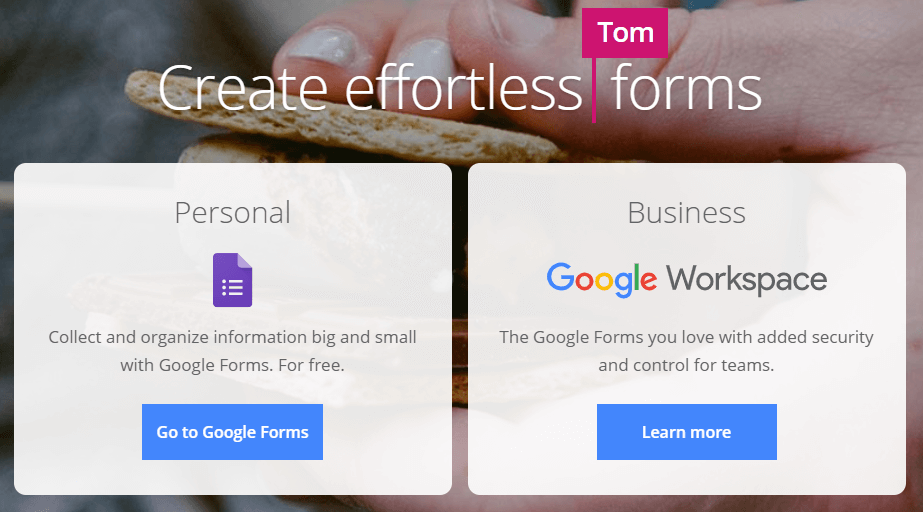
Before taking on a project, you should get a basic idea of what you’ll be doing. Creating a questionnaire is an effective way to do this. You can use Google Forms to quickly build a basic form for clients to fill out:
Ask for information that can help you scope out the project. A good place to start is by asking clients whether they want you to design a brand new website or revamp an existing one. If they ask for a makeover, get the URL of the existing site.
This form is also a chance to capture some data on the individuals you’ll be working with. It’s good to get contact information early so you can schedule a kickoff call.
Avoid asking for too much information at this early stage. The last thing you want is for your form to dissuade people from contacting you.
After you have your form built, you can email a link to potential clients or add it to your website.
2. Schedule a Call to Discuss the Process and Timeline
After a potential client fills out the form and provides some project details, you can schedule your first call with them. Starting this kickoff call with an overview of your process can help to manage expectations. It’s also important to be transparent about how often you’ll be communicating with your client, what your working hours are, and the best way for them to contact you.
You can also work out a timeline during this call. Setting a clear schedule can cut down on constant back-and-forth communication. You can also plan check-in calls for various stages of the project so you won’t have to waste time dealing with premature queries from the client.
Something else for you to touch on during this call is your process for feedback. Don’t be afraid to give clients deadlines. For example, if you’d like to receive feedback on deliverables within five business days, try to be clear about that. Let them know how the project will be affected if these deadlines aren’t met.
Finally, it’s important to be upfront about what you’ll need to complete the project. This could include design assets, a brand guide, login information, and so on.
3. Sign a Contract
If all has gone well up to this point, it’s time to sign a contract. If you’re a freelancer, you may think this step is unnecessary. However, a contract is there to protect you and your business.
While it’s nice to think that every project will go smoothly, that’s not realistic. A contract can ensure you get paid if your client’s company goes under. You’re also covered if they decide not to use your work, or if they don’t stick to the processes outlined in your kickoff call.
Your contract should also lay out the specific services you’re offering. This can help to prevent “scope creep”, which is when a project slowly grows to include much more work than originally agreed on.
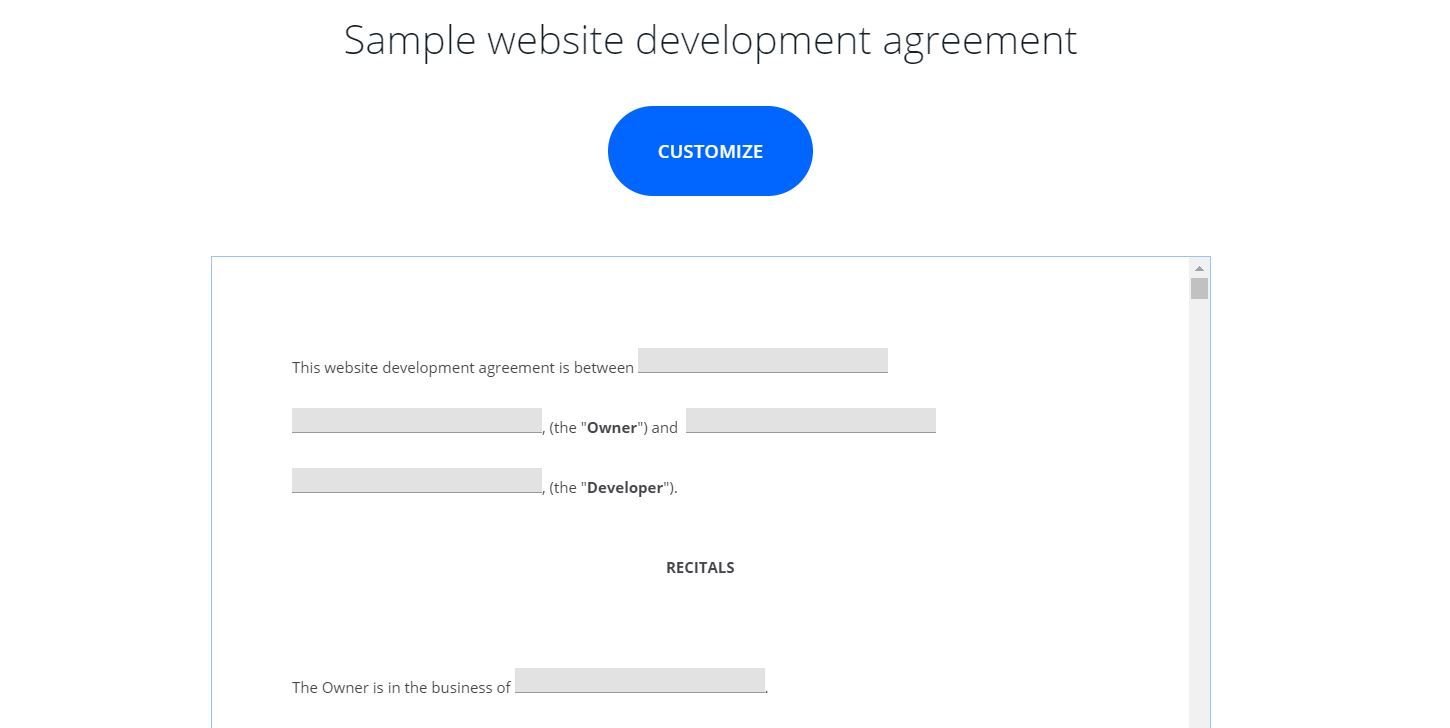
Sometimes things just don’t work out and either you or the client needs to walk away from a project. Include guidelines for how either party can terminate the contract. This might include required notice and whether a post-termination payment is due. Consider having a lawyer-approved template you can work from. LegalZoom has a website development agreement builder you can use to put together a contract:
Chances are you’ll receive some pushback or change requests on the contract. Be prepared to negotiate with your clients and know which points you’re flexible on and which are must-haves for you.
Once everyone is reasonably happy with the terms of the contract, all that’s left is to sign. You can use an online eSignature tool like HelloSign to do this. With the contract signed, it’s the right time to send an invoice and get the agreed-upon deposit.
4. Ready Your Project Management System
Having a project management system in place can help keep your design workflow and assets organized. To make things easier for you and your client, start with a cloud storage solution that you’re both familiar with. Google Drive and Dropbox are both excellent choices.
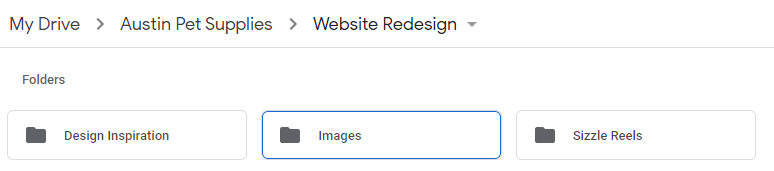
Keep a separate folder for each of your clients. If you’re working on multiple projects for the same customer, group them under the main client folder. Break assets down by type and include any inspiration you’ve sourced in its own folder:
You might also want to invest in an external hard drive for long-term storage. A client might want to hire you again and they’ll appreciate it if you already have what you need to get started.
If you work with design templates, like those in Beaver Themer, having design assets ready to go can really cut down on the time you spend on projects. Just pull in the assets and move on!
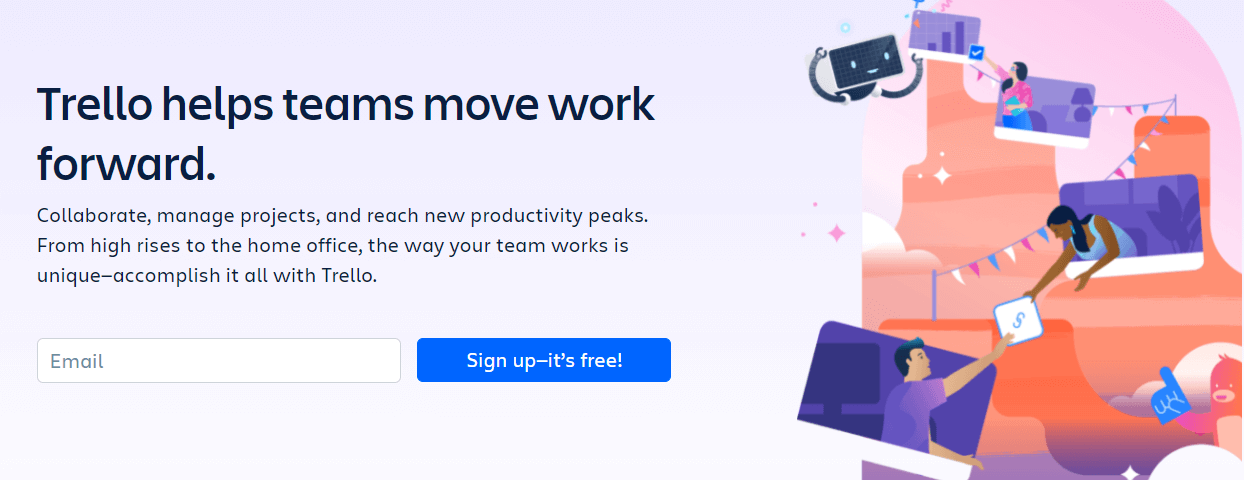
You could also create a template in a project management solution such as Trello:
While this can be especially helpful if you work with a team or outsource any portion of the project, it’s also great for helping you stay on track. You can create cards for each task and even add checklists to those cards to break each step down further.
Whenever a new project comes along, you can just duplicate your template. You can populate it with any deliverables and due dates that you and your client agreed upon during your kickoff call. You can even share this board with your customer so they can follow your progress.
5. Gather Design Assets
Whether you’re working on an existing site or building a new one, you’ll likely need to get some content and brand assets from your client. These might include logos or custom fonts that help to establish brand identity.
If your client has a mood board or brand style guide, you may want to request access to them. This branded material can give you a strong sense of what the customer is going for.
Content Snare is a robust tool that helps you keep assets organized:
It also lets you send clients a detailed list of what you need, including due dates, to ensure your project stays on track. You can even save your requests to use in future projects.
6. Build and Share a Creative Brief
The final step in onboarding web design clients is to build a creative brief for the project. A creative brief is a document that defines the project’s objectives and the strategy for completing them. This document shouldn’t be more than one page.
Include the company’s mission and target audience in your brief. These components are a solid foundation for any design project.
Outline the objectives for the project. You should have gotten a good idea of these goals from your initial client questionnaire.
The creative brief is another opportunity to define the scope of the project by listing specific deliverables and due dates. You can also list specific colors, images, fonts, and other assets you need.
Share your completed brief with the project’s key stakeholders to ensure that you’re all ready to move forward. After you’ve received their approval, you can consider your onboarding process complete.
Conclusion
Thoughtful and organized client onboarding can help to set a positive tone for the entire design project. Not only do clients appreciate it, but you make things easier for yourself as well.
Let’s review the steps for successful web design client onboarding:
- Gather some initial project details.
- Schedule a call to discuss the process and timeline.
- Sign a contract.
- Get your project management system ready.
- Gather design assets.
- Build and share a creative brief.
Do you have any questions about onboarding web design clients? Ask us in the comments section below!
Our Newsletter
Our newsletter is personally written and sent out about once a month. It's not the least bit annoying or spammy.
We promise.
Try Beaver Builder Today

Related articles

How to Sell Websites to Clients (Without Talking About Tools)
Struggling with how to sell websites to clients without getting lost in tech talk? Learn how to communicate the real…

Case Study: How One Freelancer Built a Web Design Business with Beaver Builder
Wondering about Beaver Builder for freelancers? Cami MacNamara operates WebCami Site Design, a successful solo web design business in West…

Best Practices for Managing Web Design Clients
Managing web design clients effectively is one of the most crucial skills for a web designer, agency, or freelancer. Whether…
Join the community
We're here for you
There's a thriving community of builders and we'd love for you to join us. Come by and show off a project, network, or ask a question.
Since 2014
Build Your Website in Minutes, Not Months
Join Over 1 Million+ Websites Powered By Beaver Builder.