
How to Create a WordPress Author Page with Beaver Themer (In 5 Steps)
If your blog has multiple contributors, readers may want to browse posts by a specific author. While WordPress provides a basic author archive page by default, it lacks customization options. Fortunately, you can create a fully customized WordPress author page using Beaver Themer.
In this guide, we’ll explore the benefits of author archives and walk you through the steps to create a custom WordPress author page with Beaver Themer. Let’s dive in!
Table of Contents:
- An Introduction to Author Archive Pages (And Why You Might Want to Use Them)
- How to Create an Author Page with Beaver Themer (In 5 Steps)
- Create an Author’s User Profile
- Associate One or More Posts With the User
- Create an Archive Themer Layout for Author Archives
- Customize Your Layout
- Save Your Changes and Review the Author Page
- Conclusion
- Related Questions
An Introduction to WordPress Author Pages (And Why You Might Want to Use Them)
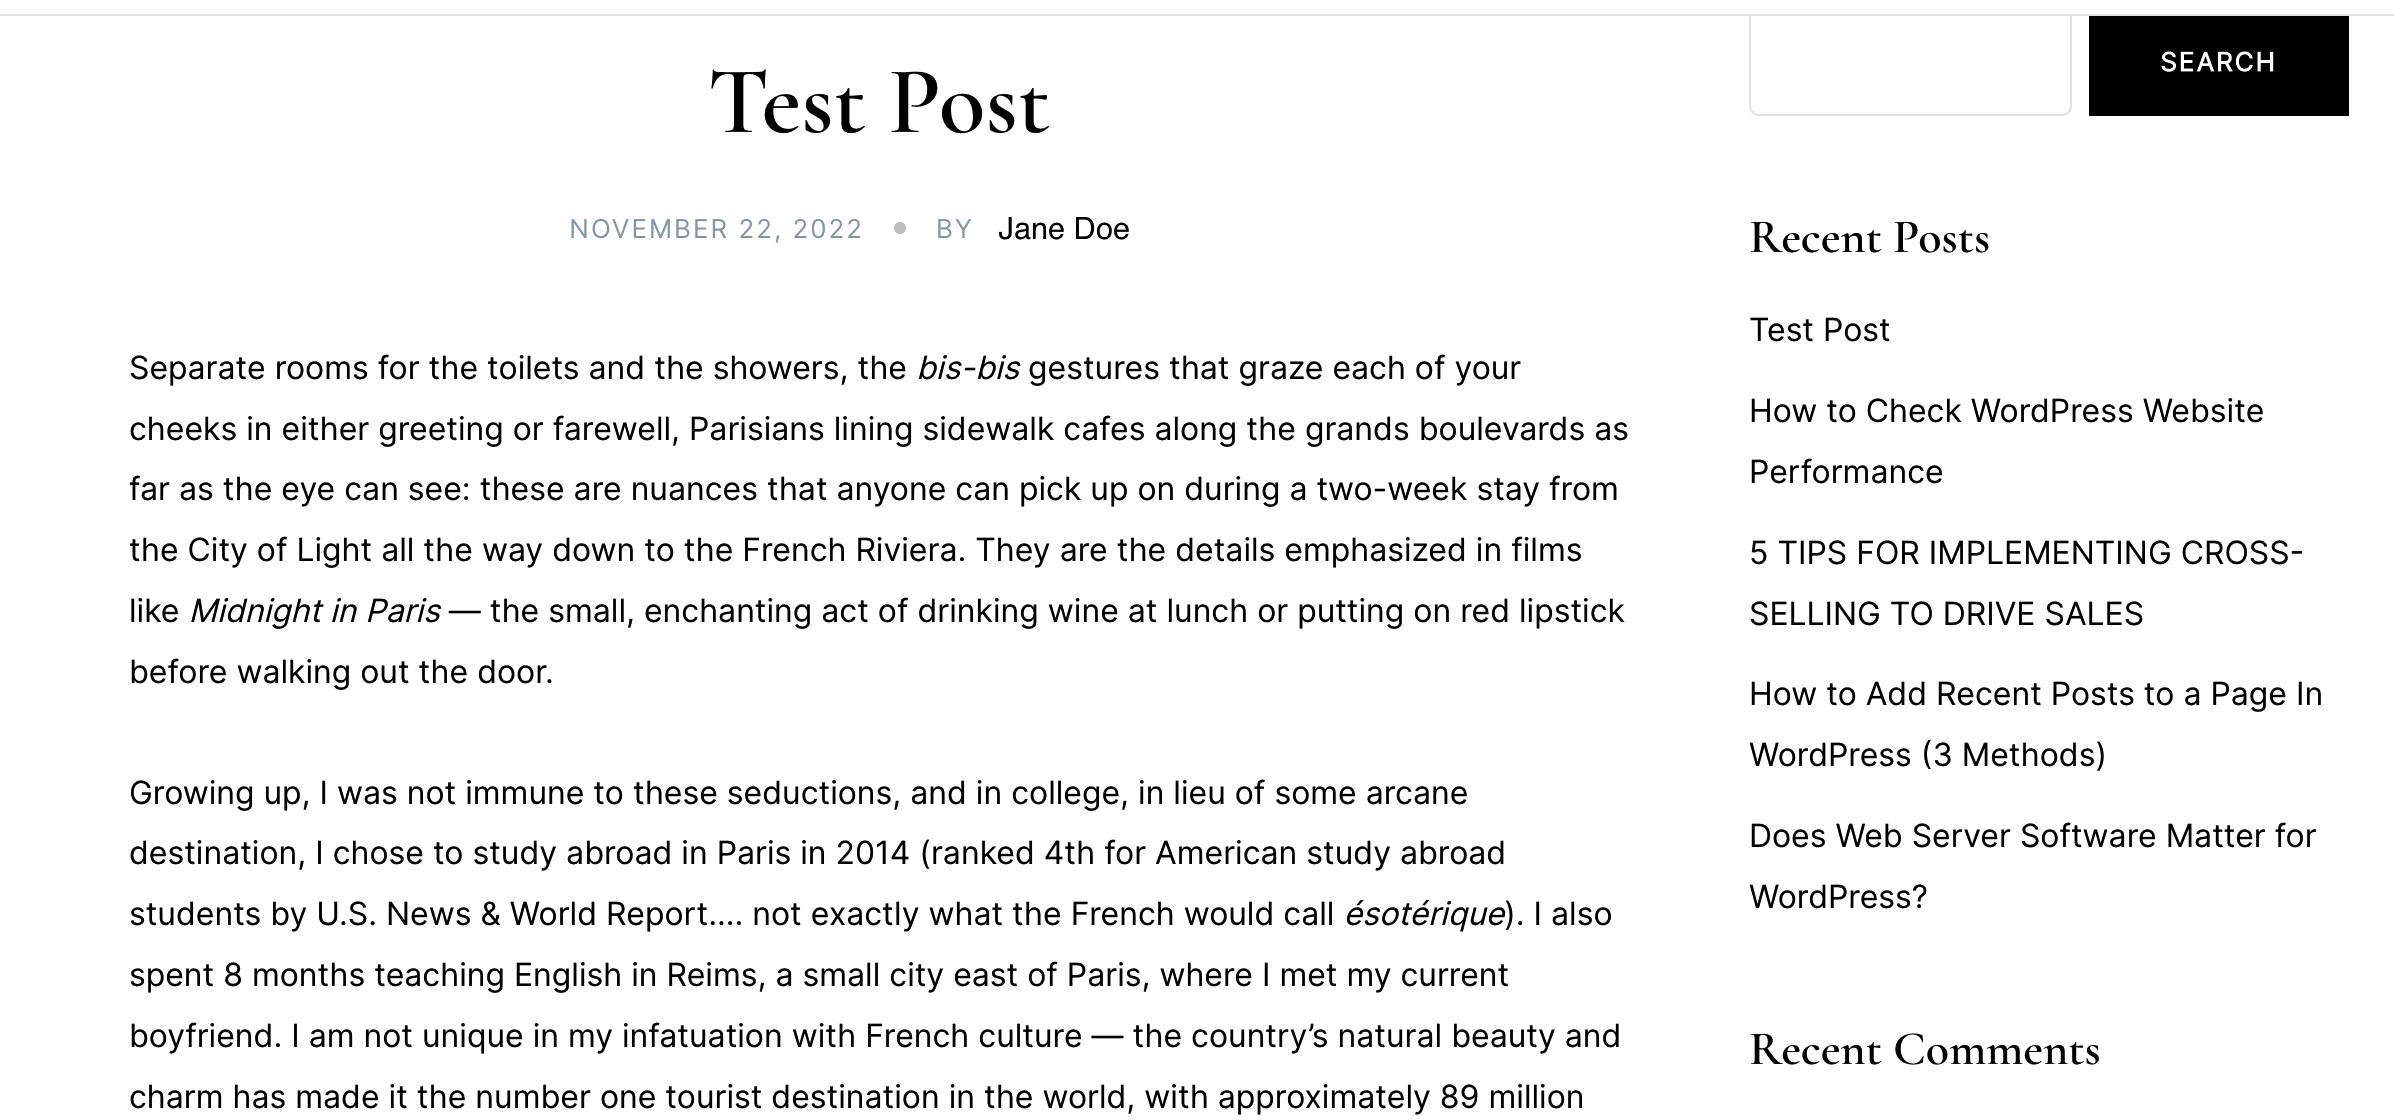
An author archive page is what you see when you click on the writer’s name in an article and a list of their posts is displayed:

There are several benefits to displaying an author page on your website. For instance:
- It can boost SEO rankings. An author archive page highlights key pieces of information. This helps search engines skim your content for keywords to find relevant data, which may in turn boost your site’s ranking in search results.
- It can increase a site’s credibility. Displaying multiple works by an author can make that user appear more knowledgeable and trustworthy. Readers may be more likely to see your page as a reliable source if it has numerous articles per author.
- Contributors can more easily find their past work. An author archive page streamlines the navigation process by listing all relevant articles, which helps both authors and readers find what they’re looking for.
By default, WordPress creates an archive page for your posts. However, it offers limited support in terms of personalization. With Beaver Themer, you can create a custom archive layout:
Using our tool, you can add personalized details to this page and make it more engaging. This can help reduce your bounce rate and encourage visitors to check out other articles on your blog.
How to Create a WordPress Author Page with Beaver Themer (In 5 Steps)
Now that you know what an author archive page is and how it can benefit your WordPress site, let’s look at how to customize this page.
For this tutorial, you’ll need to have Beaver Builder and Beaver Themer installed on your WordPress website. Once you have these two tools, you’re ready to get started!
Step 1: Create an Author’s User Profile
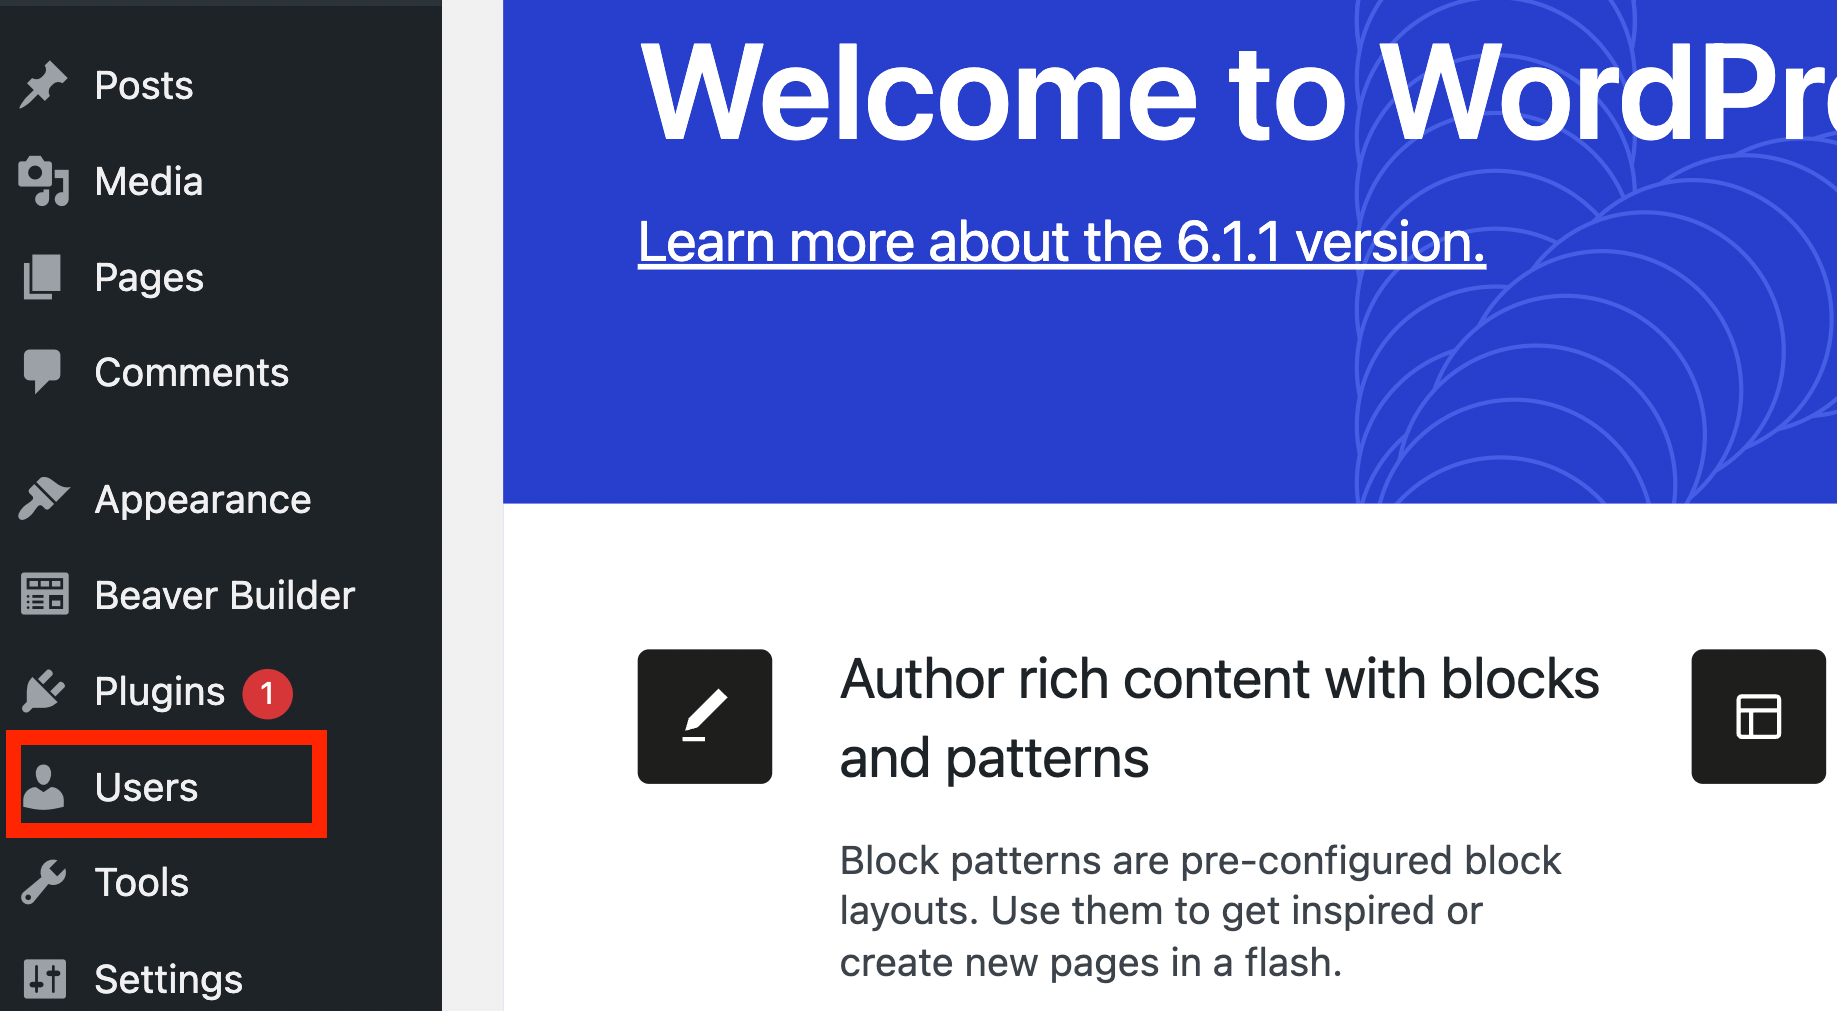
First, you’ll need an author profile that has a bio and an image. Navigate to your WordPress dashboard and click on Users:
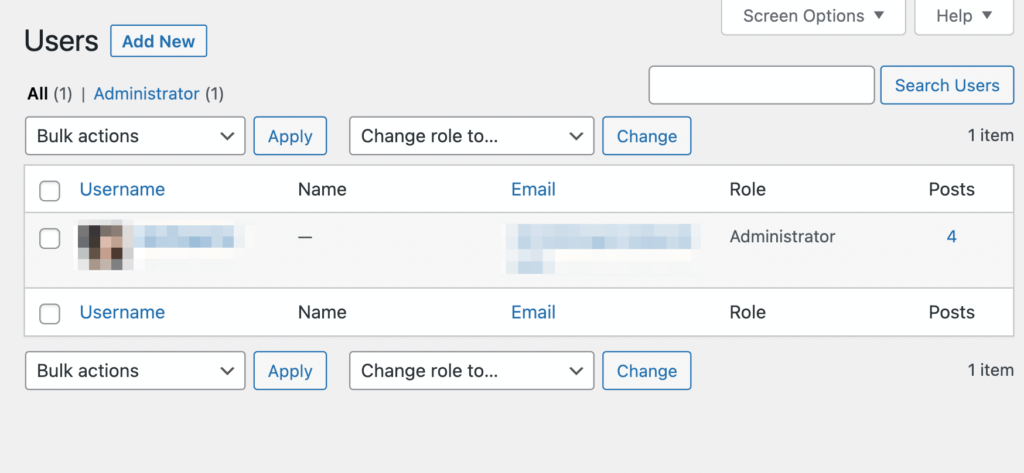
From here, you can either select an existing user or create a new one:
We’ll be creating a test user for this tutorial. When you click on Add New, you’ll be asked to provide some information about the user:
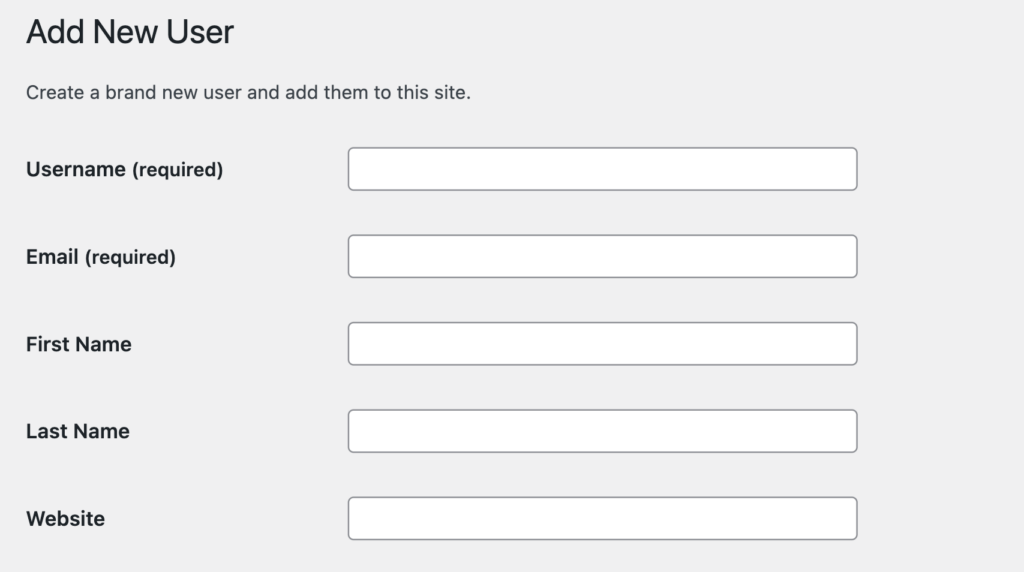
For example, you’ll need to add a username and email. You’ll also need to select a role for the user. Using the dropdown menu, set the role to Author:
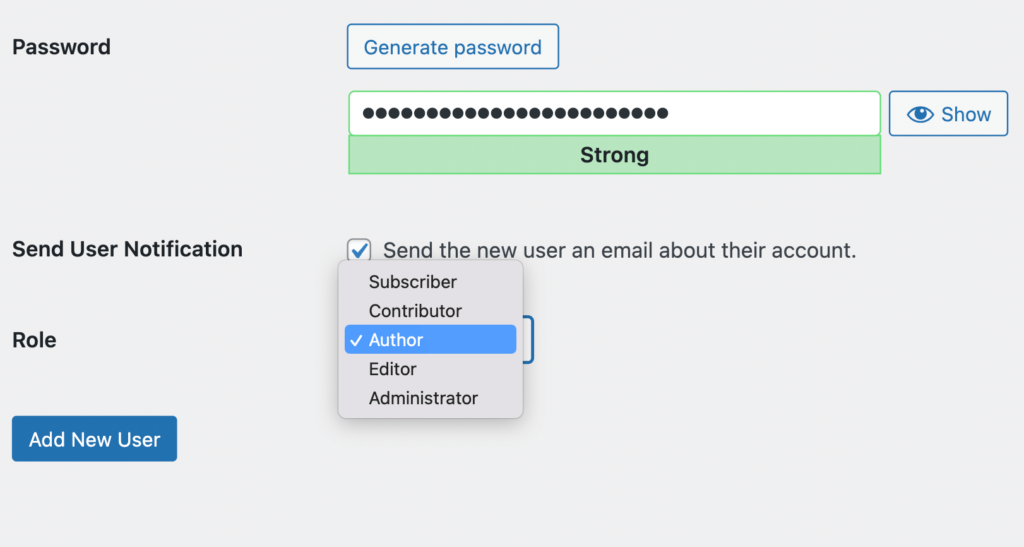
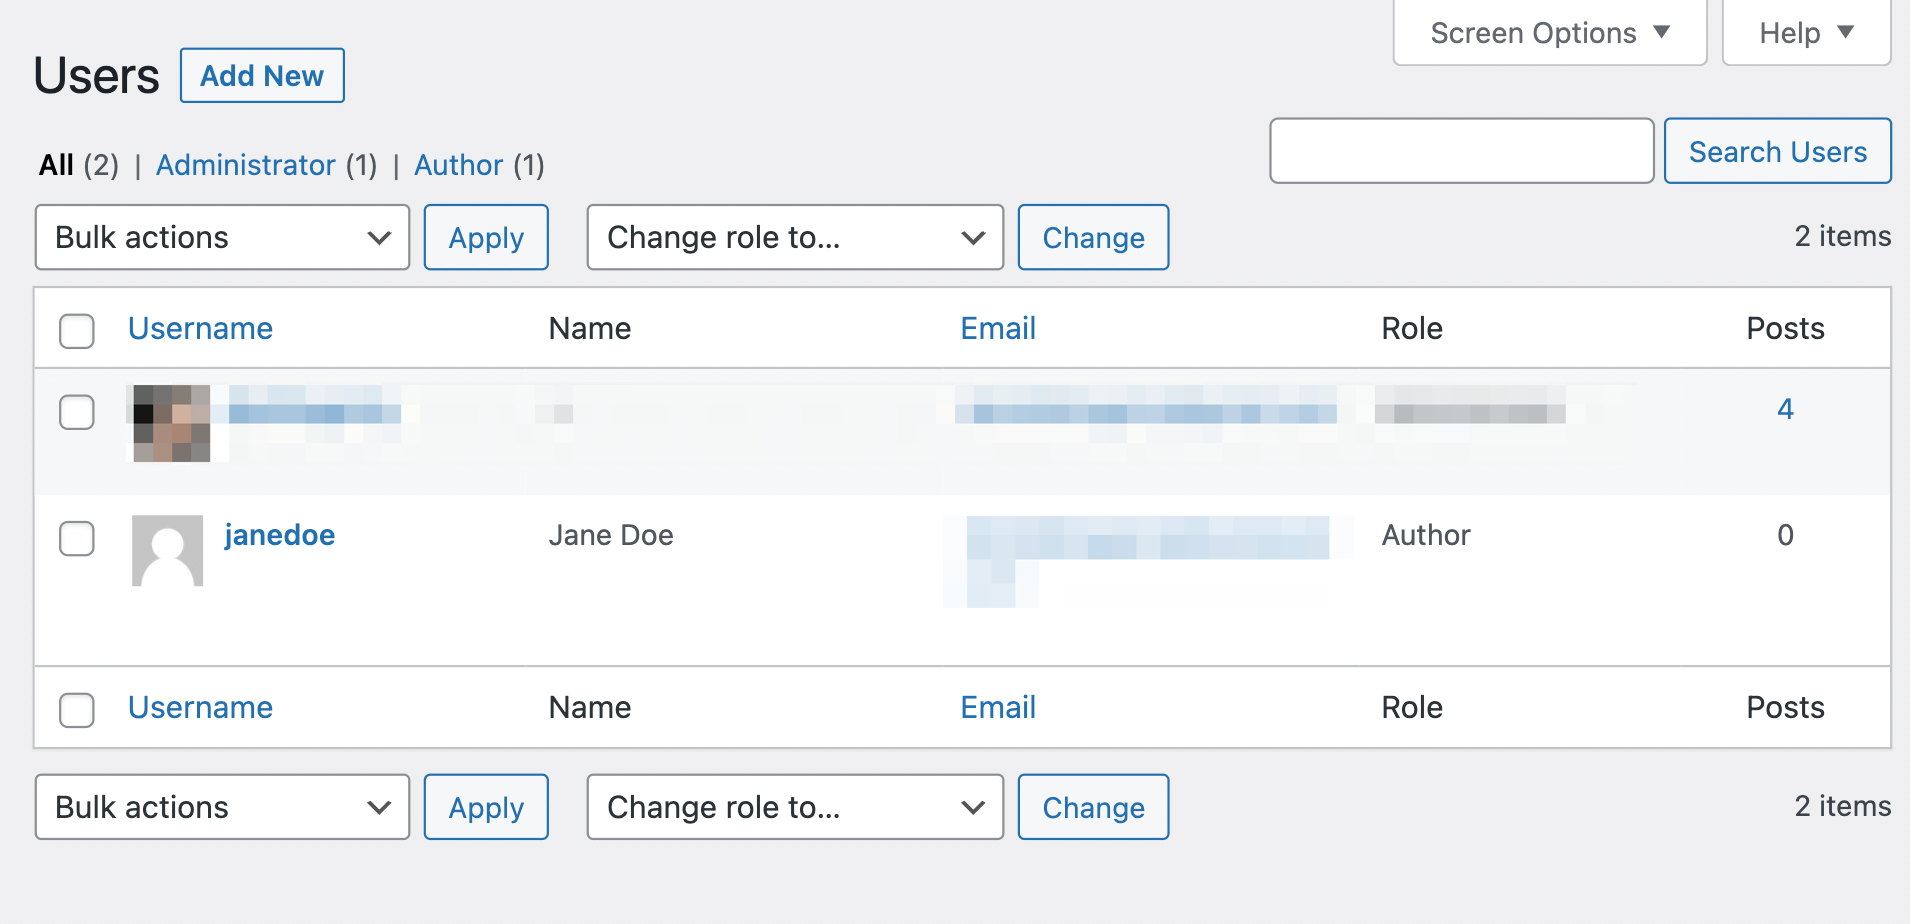
Then, click on Add New User. Your new profile will be added to the Users page:
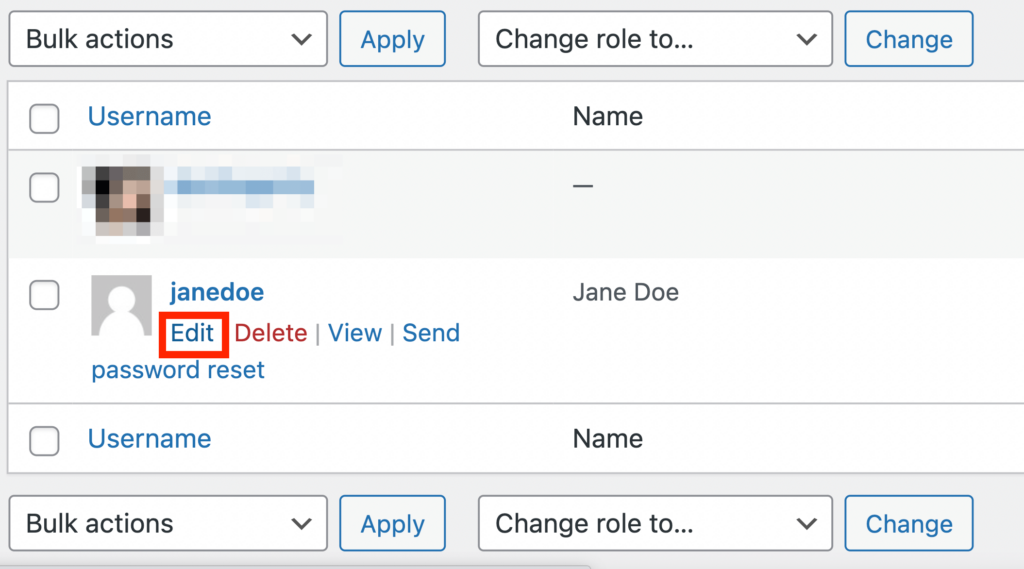
Now, hover over the username and click on Edit:
On the next page, you can select a display name and write a bio:
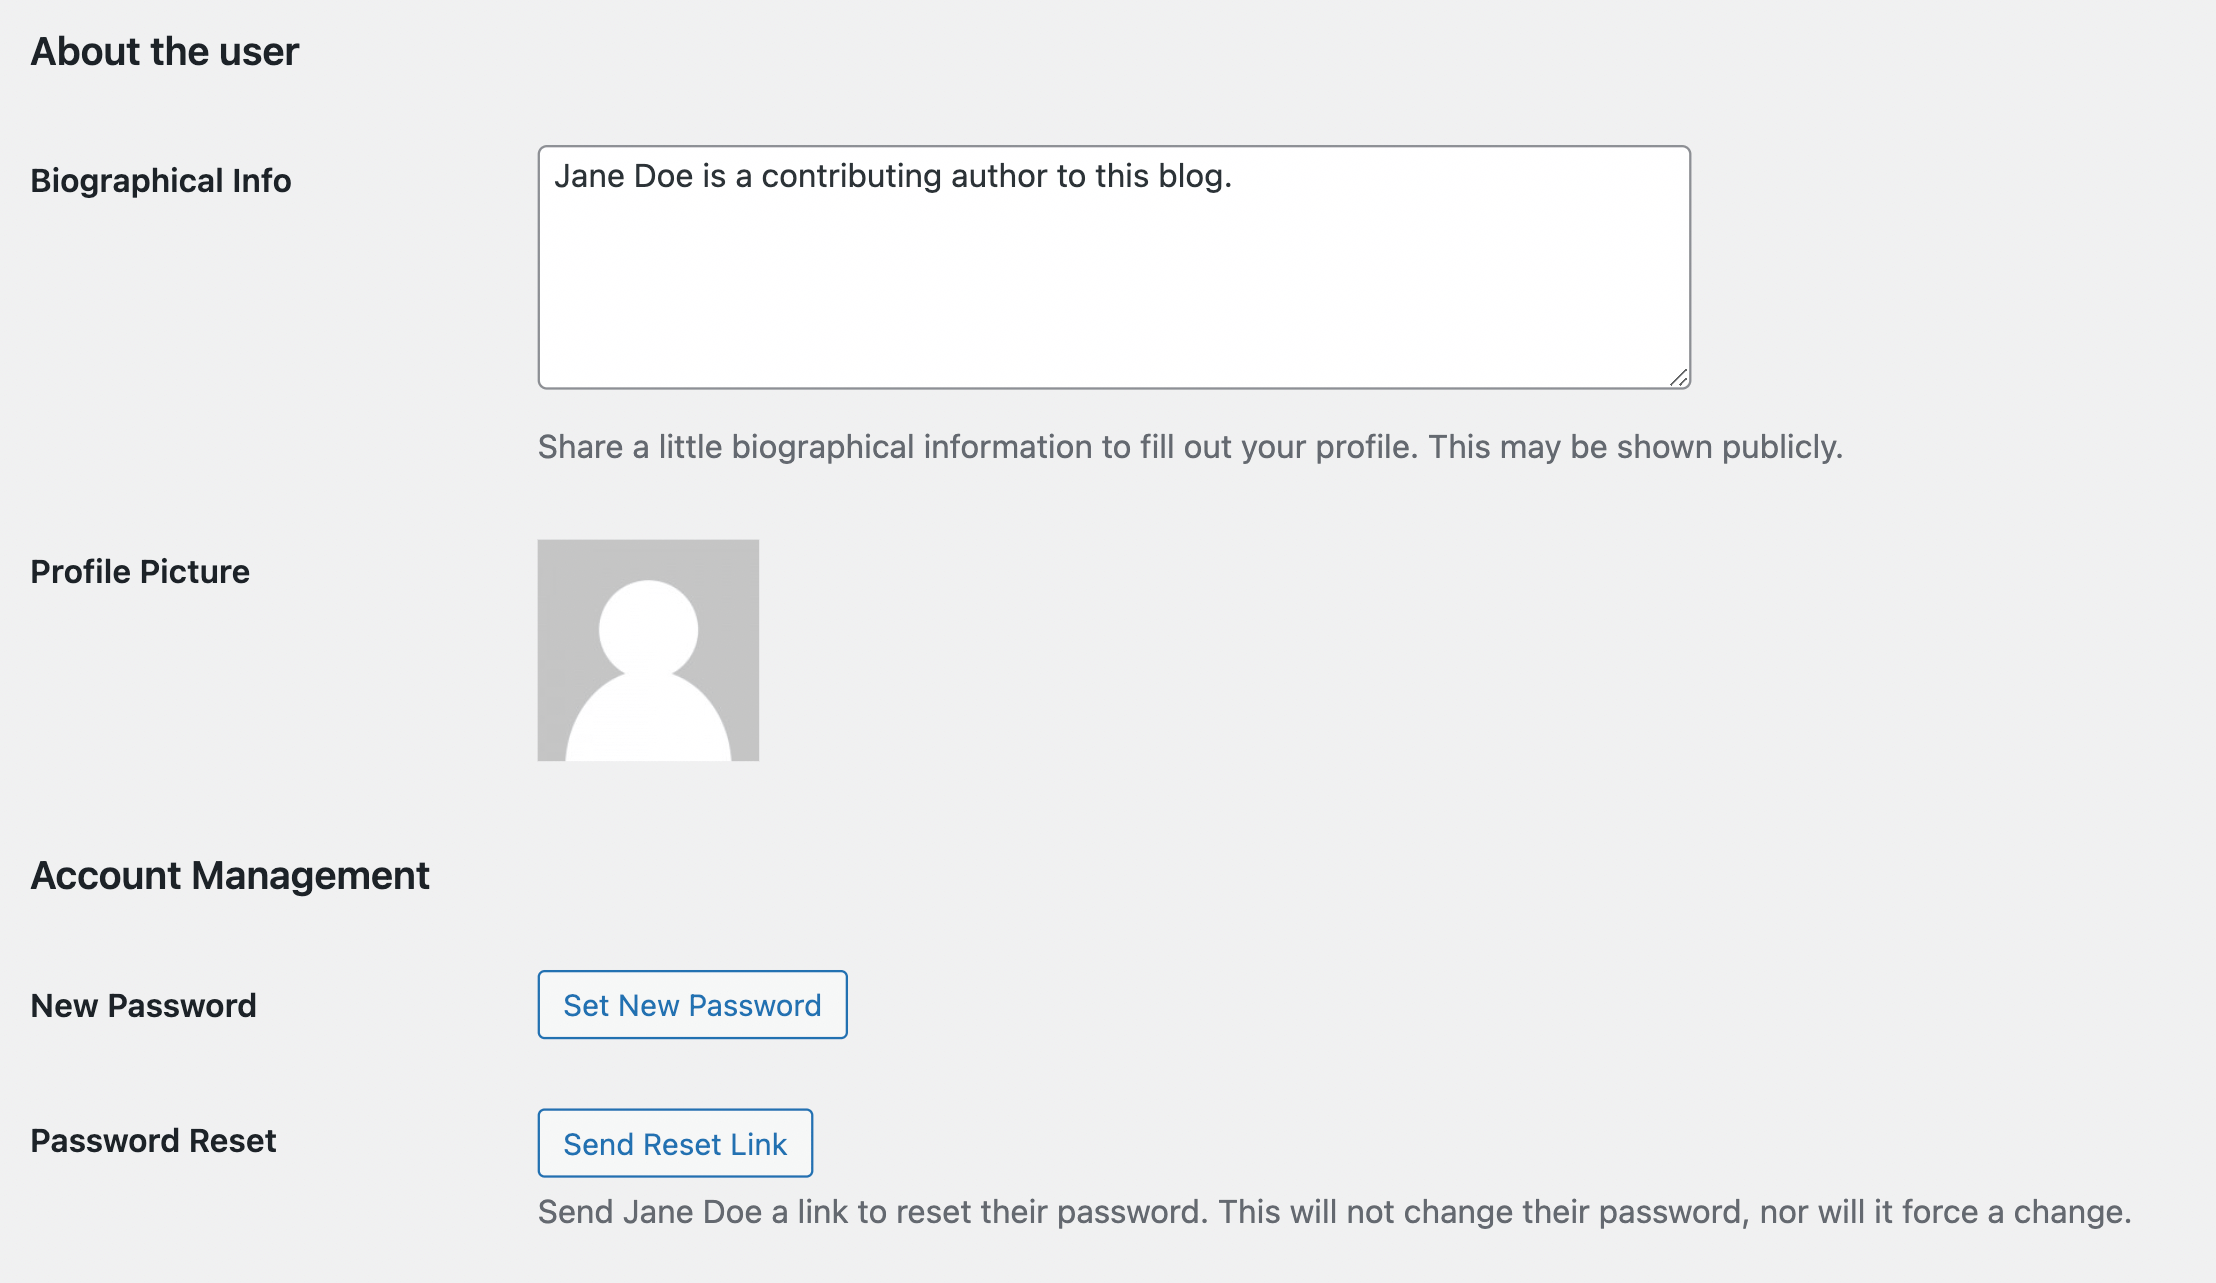
You will also want to upload a profile picture through Gravatar. When you’re ready, click on Update User. This will save your changes to the user profile.
Step 2: Associate One or More Posts With the User
Now it’s time to create a test post for your user. If you already have posts associated with an author, you don’t need to complete this step.
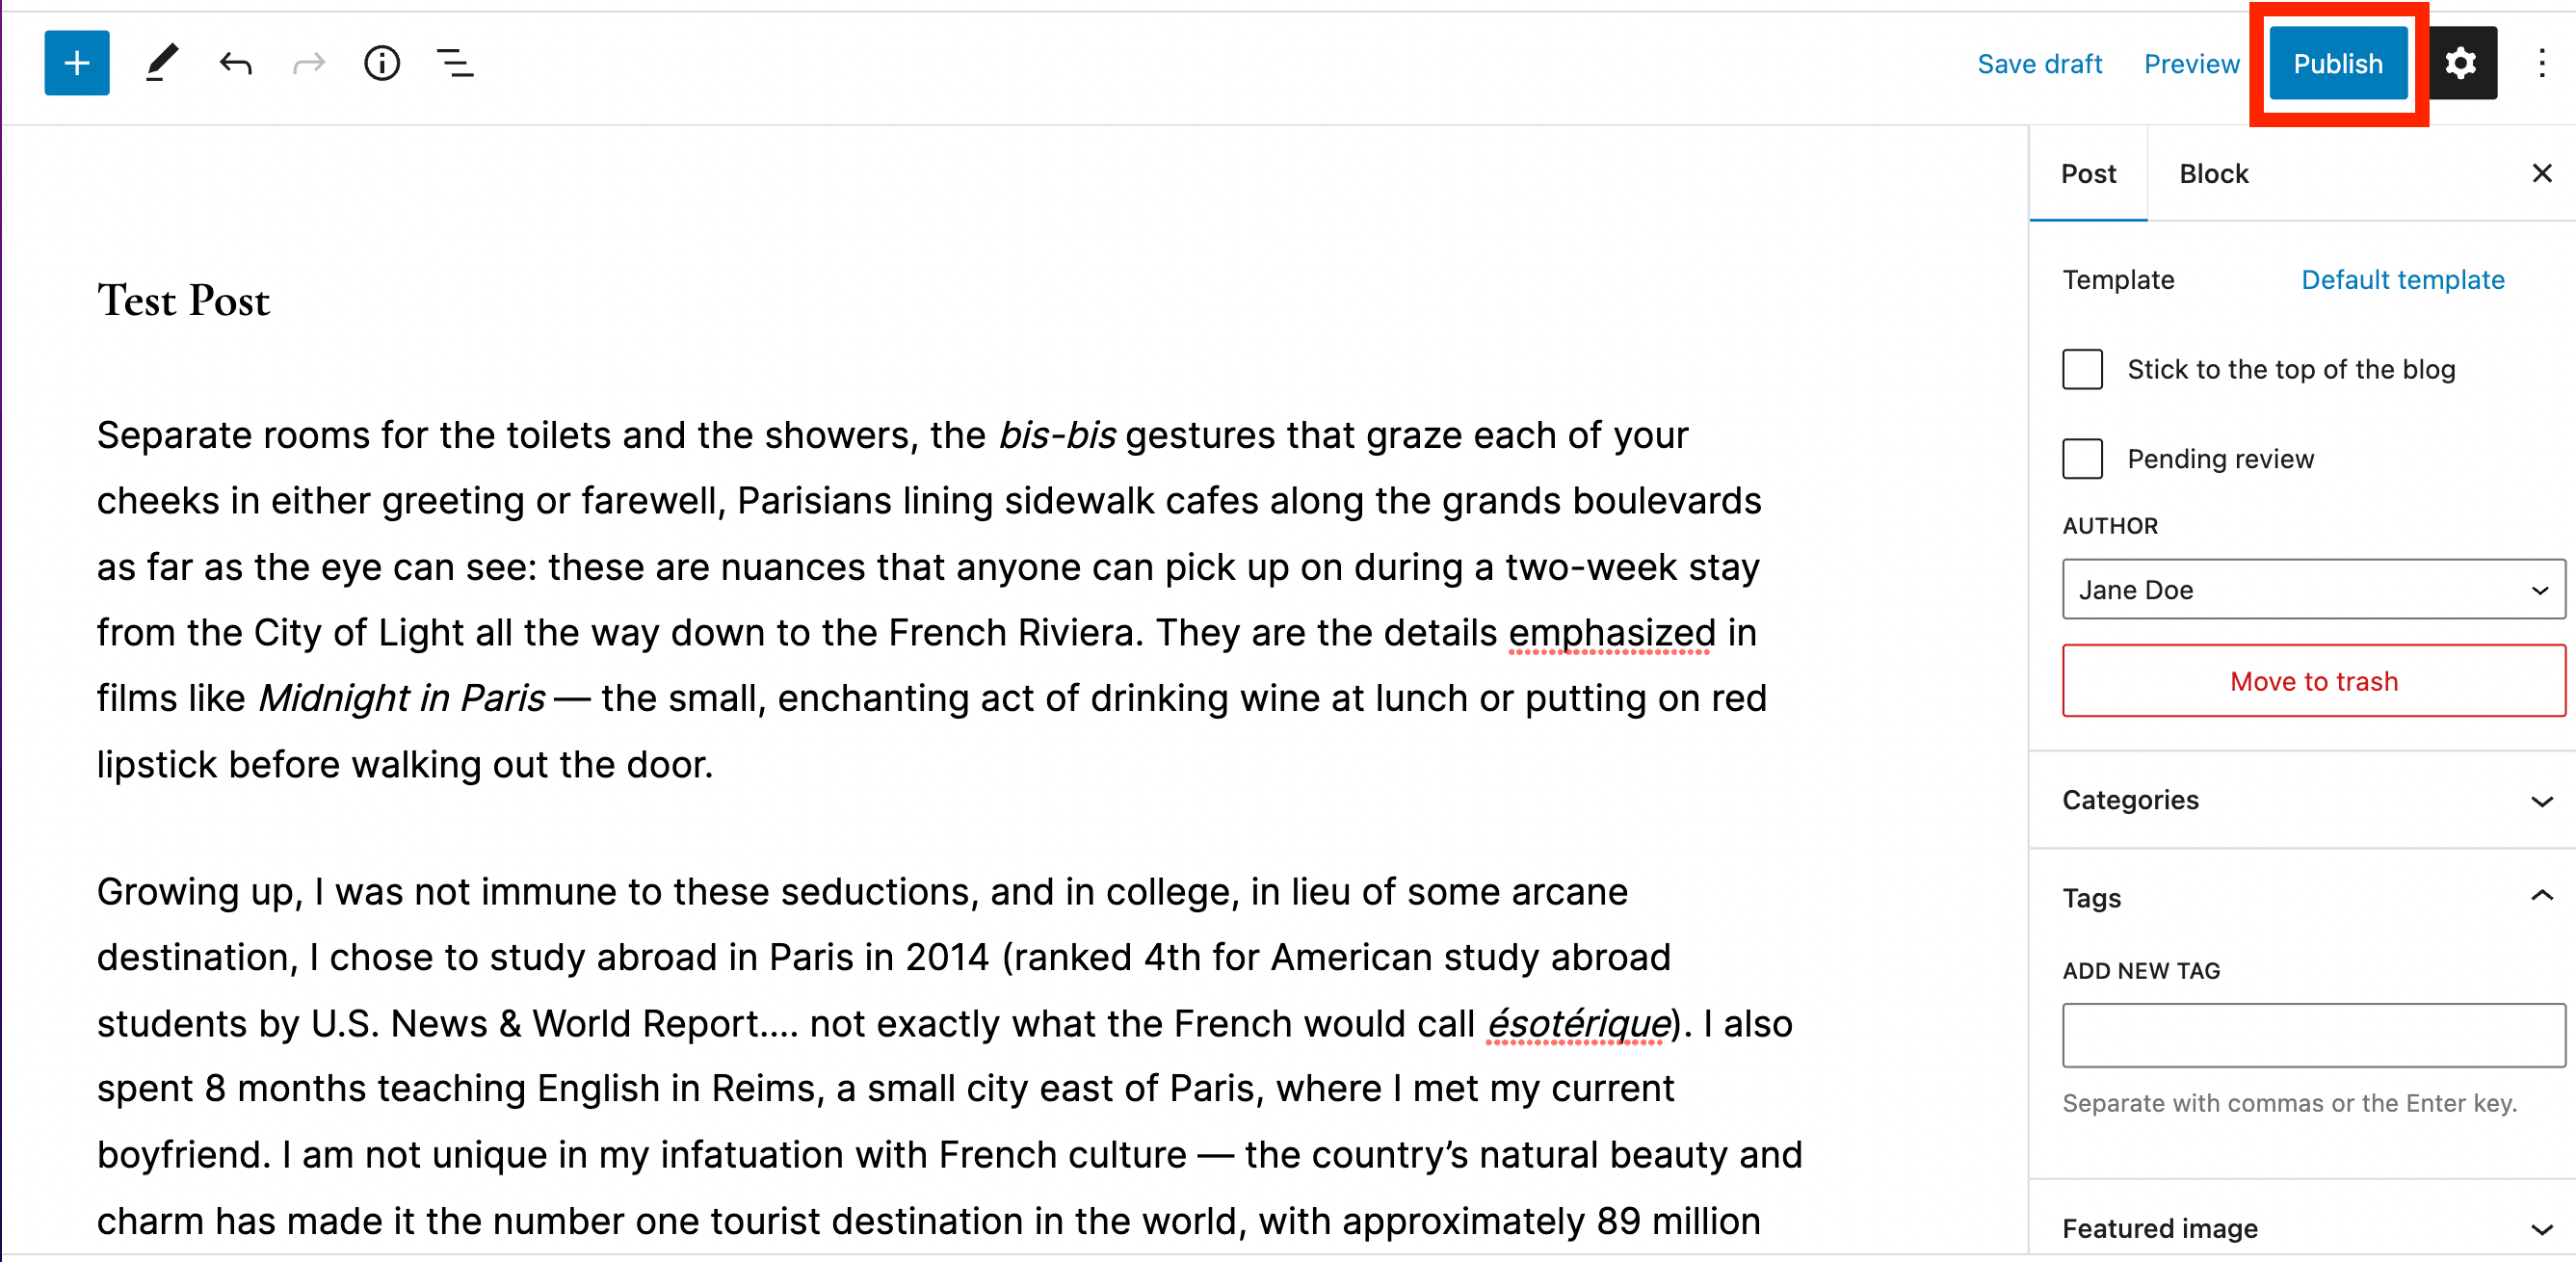
Your test post will help you see what an author archive will look like. Start by navigating to Posts and click on Add New. Add a title and some text to the post.
Then, go to settings and click on the dropdown menu under Author:
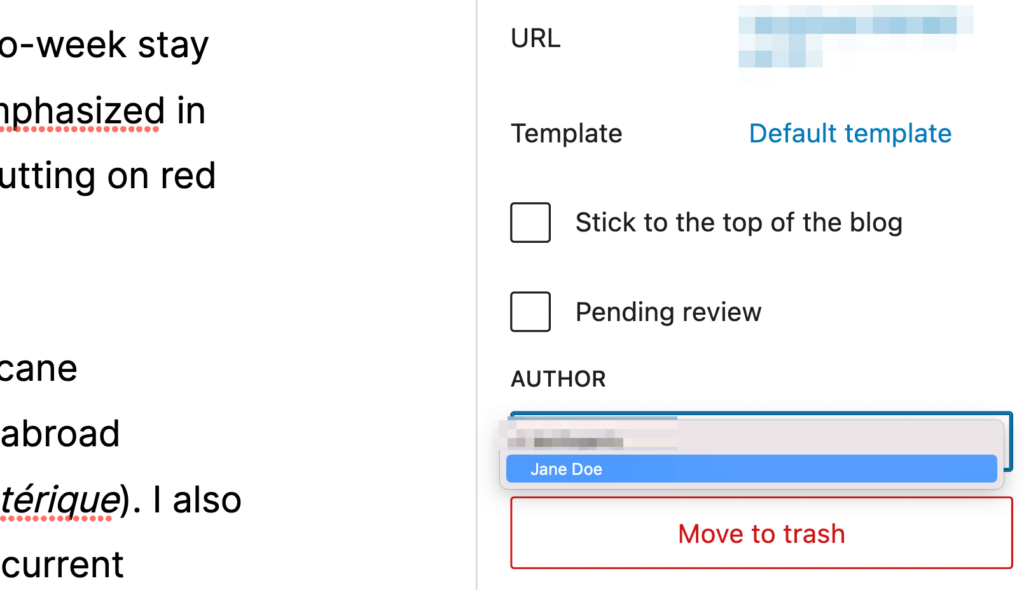
Choose the test profile you created, then hit Publish:
This will provide a test post for your author archive page.
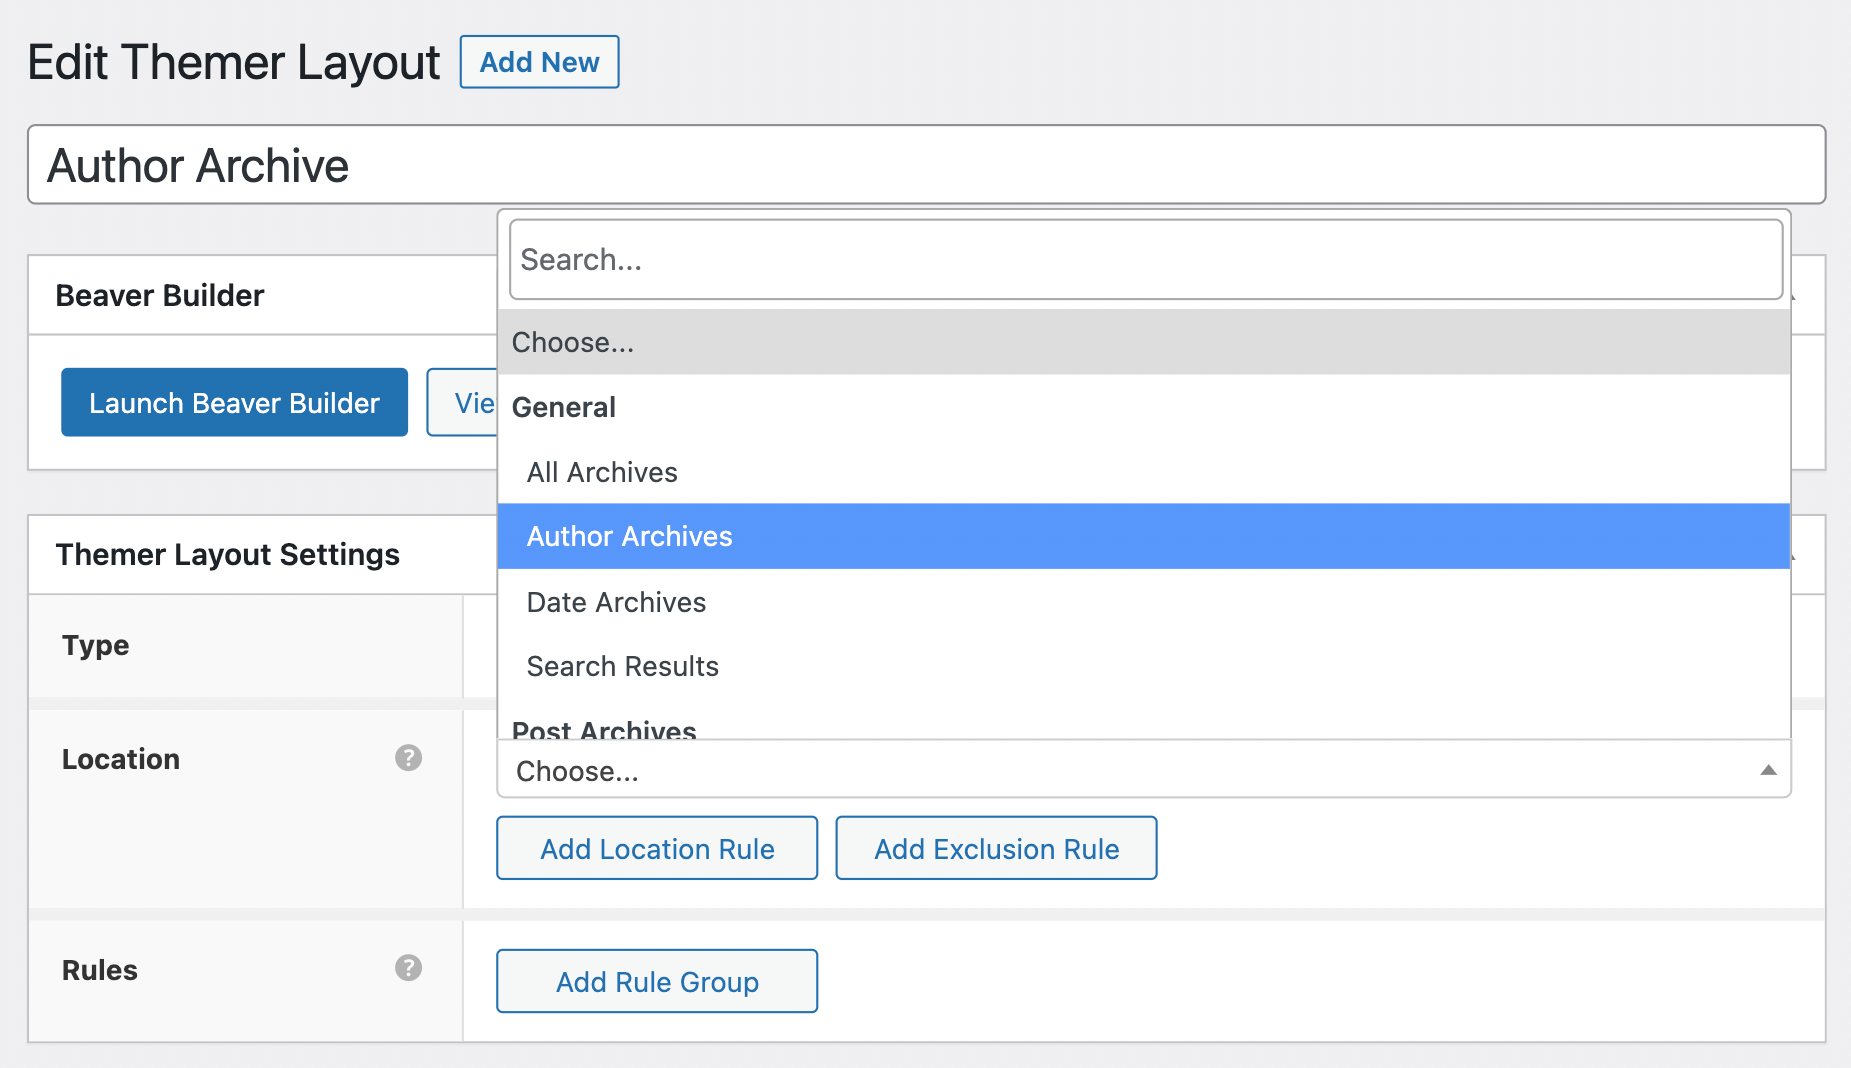
Step 3: Create a Themer Layout for Author Archives
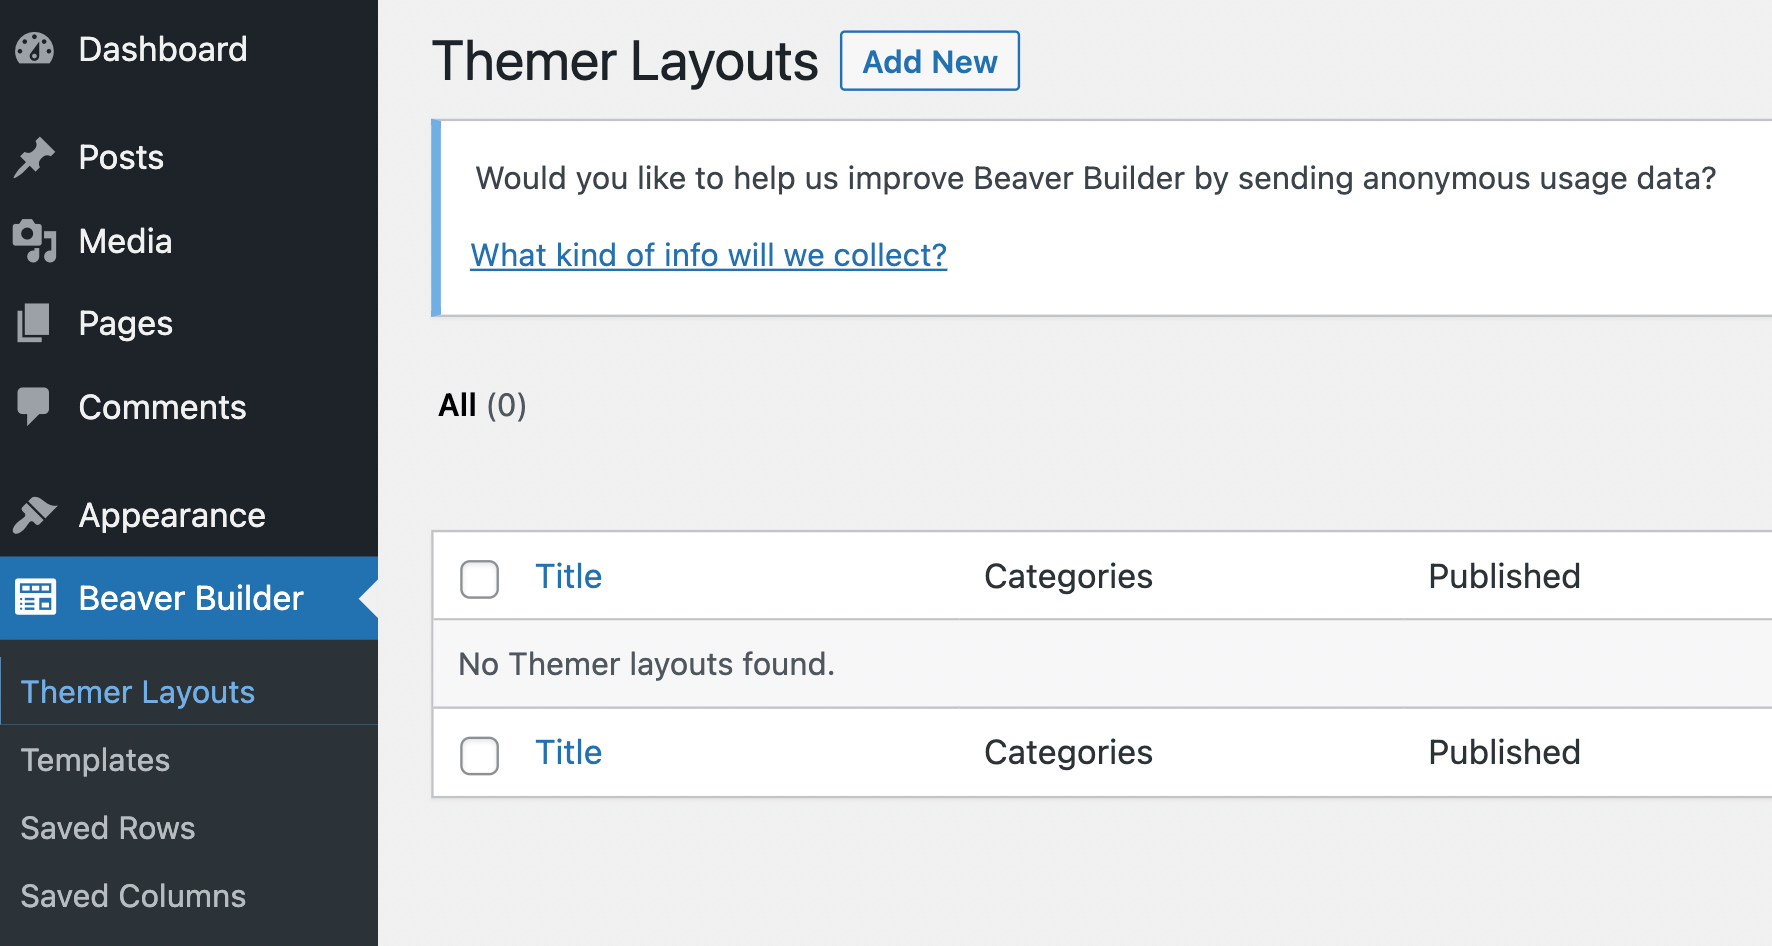
Now that you’ve created a user and a new post, it’s time to create a Themer layout. Go to your WordPress dashboard and navigate to Beaver Builder > Themer Layouts:
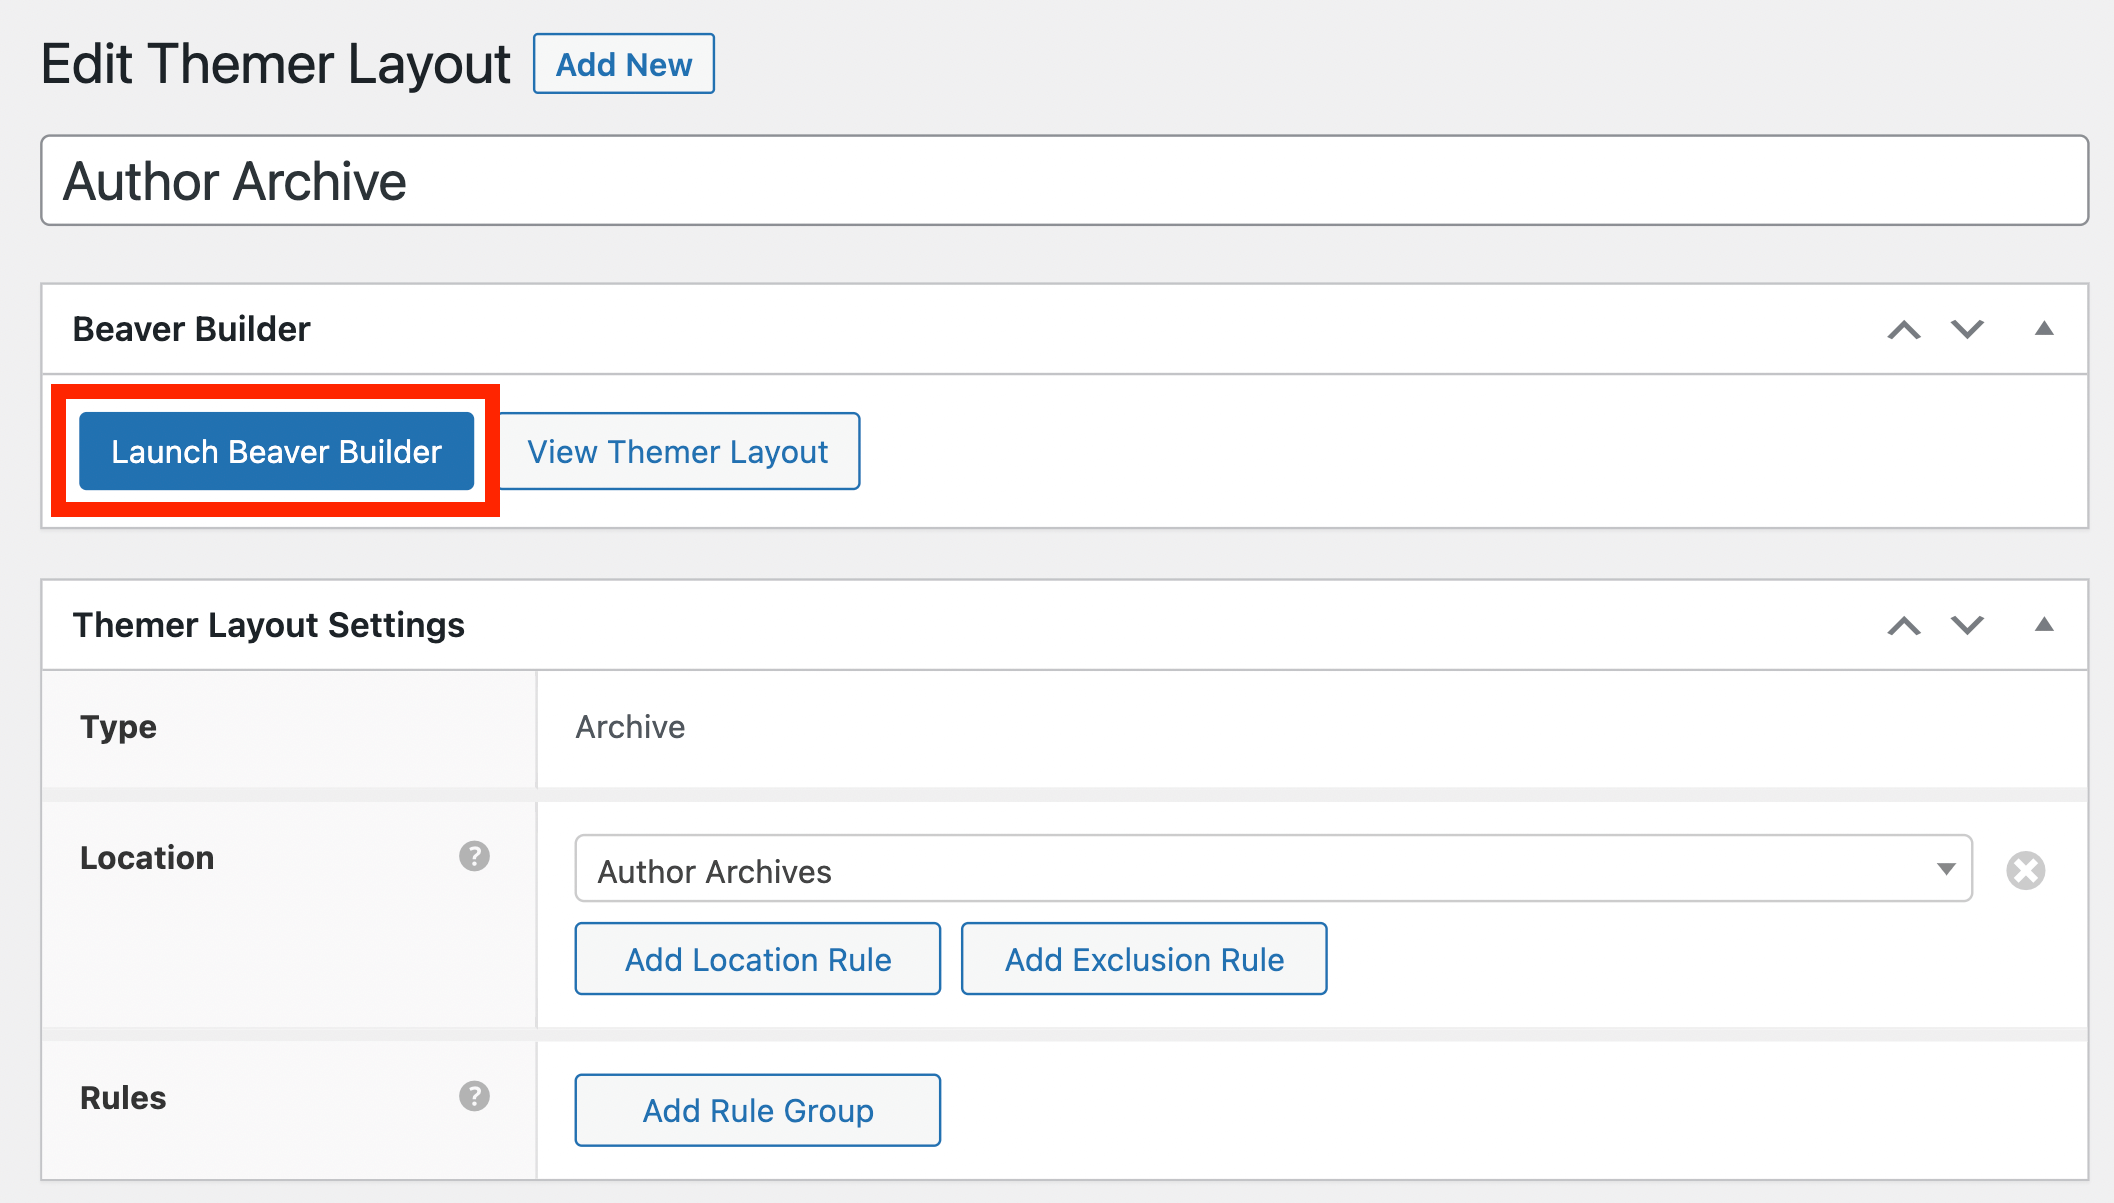
Click on Add New. In the Title field, type in Author Archive. Then, in the Layout field, select the Archive option:
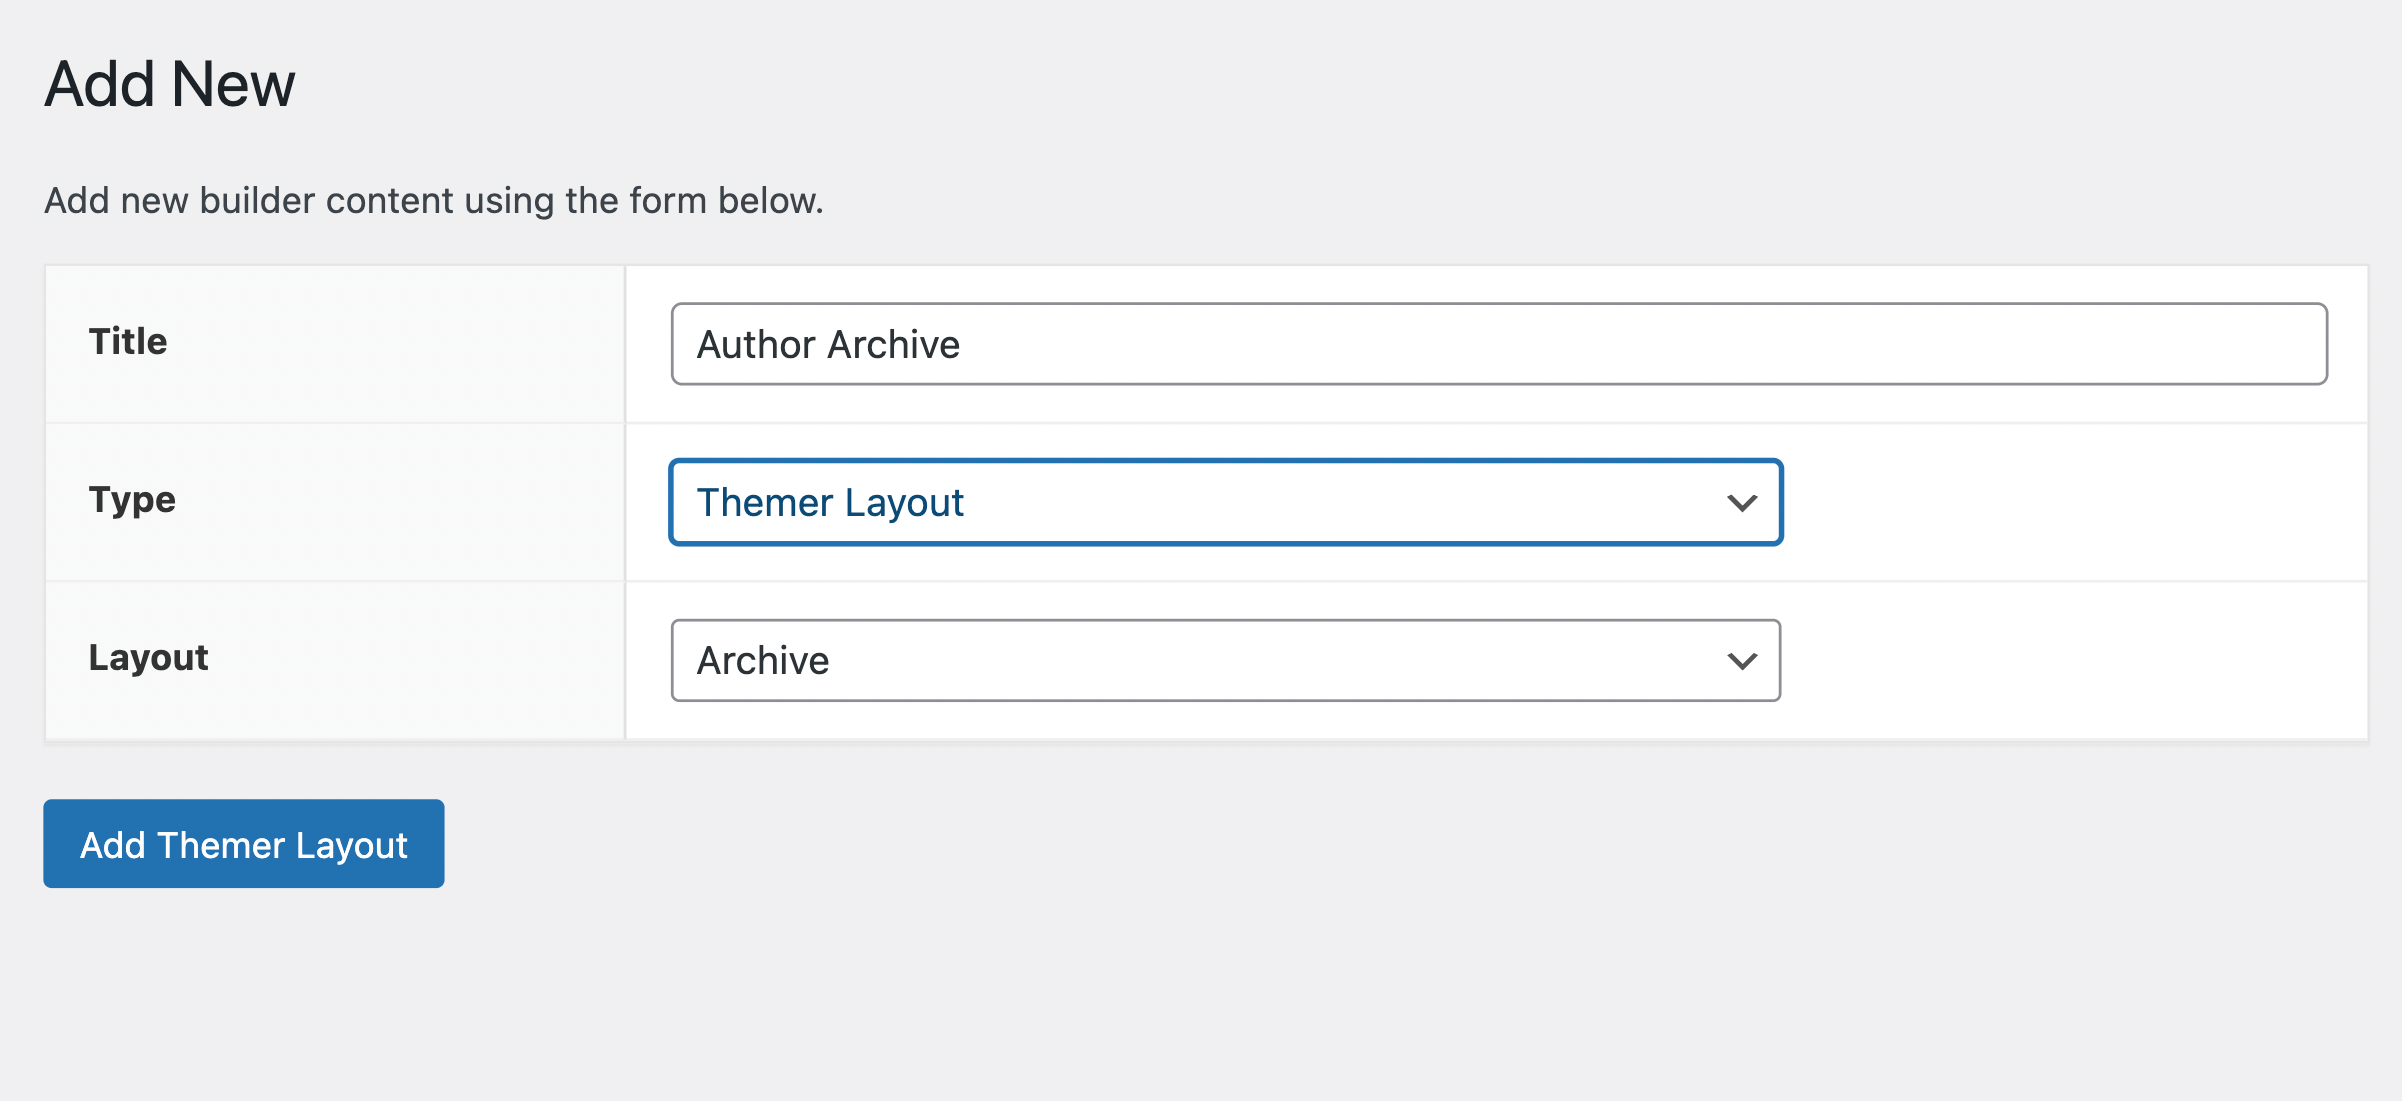
Click on Add Themer Layout. This will take you to a page where you can make modifications to your Themer layout.
Next to the Location field, click on the dropdown menu and select Author Archives:
Next, click on Launch Beaver Builder:
In the editor, set the Preview As to Author Archives:
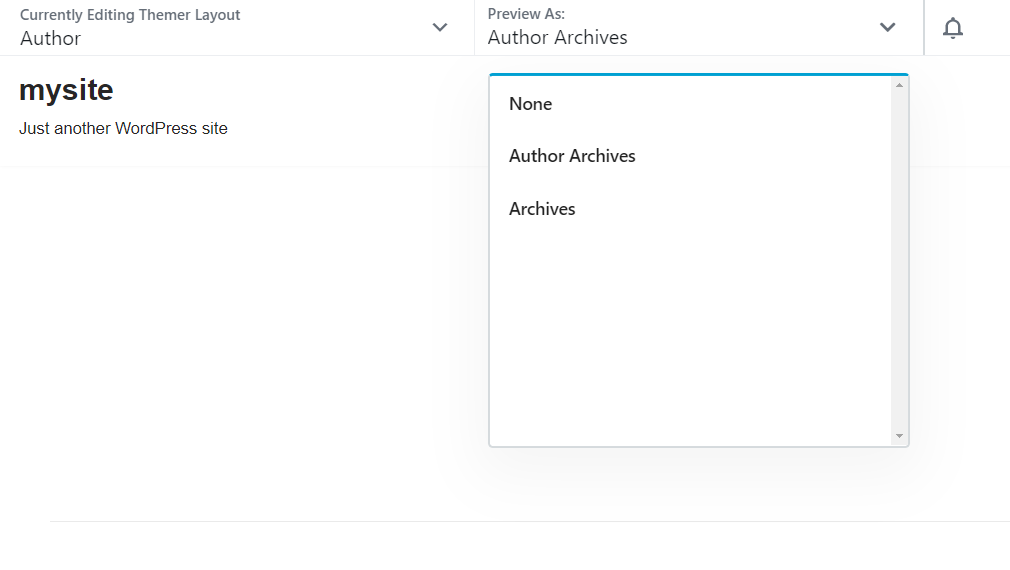
This setting will automatically default to the user that is currently logged in and will only display posts by them.
Step 4: Customize Your Layout
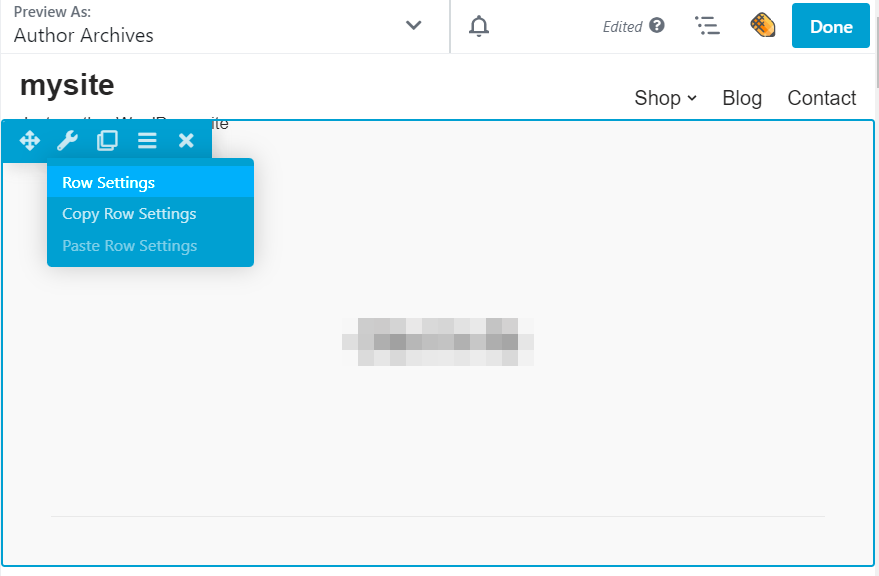
Beaver Themer makes it easy to customize your layout. You have endless design options so that you can make the design perfectly fit your brand. Here’s an example to get started. Let’s start with the heading.
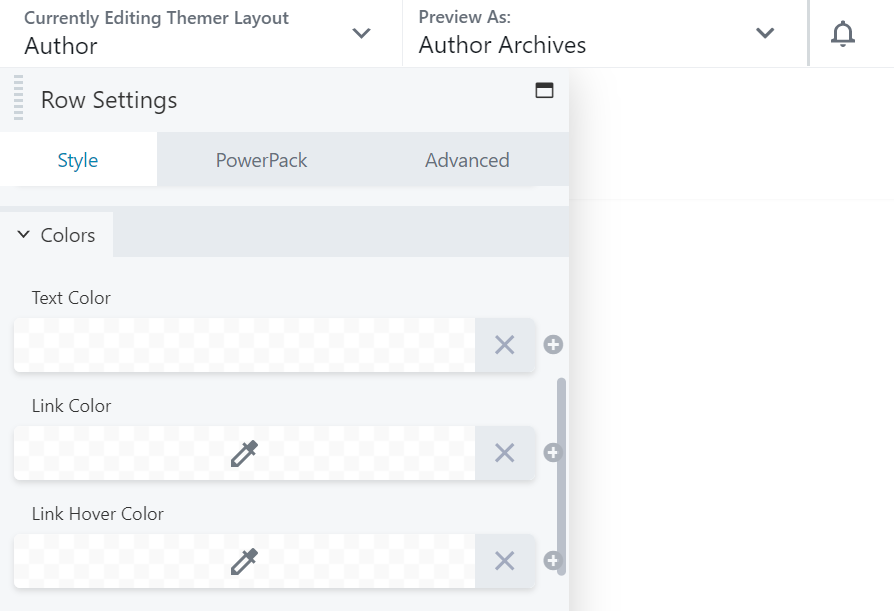
Hover over the row that contains the heading. Then, select the second icon in the toolbar to open the row settings:
In the Style tab, change the text color to white:
Then, navigate to the Background section and change Type to Photo:
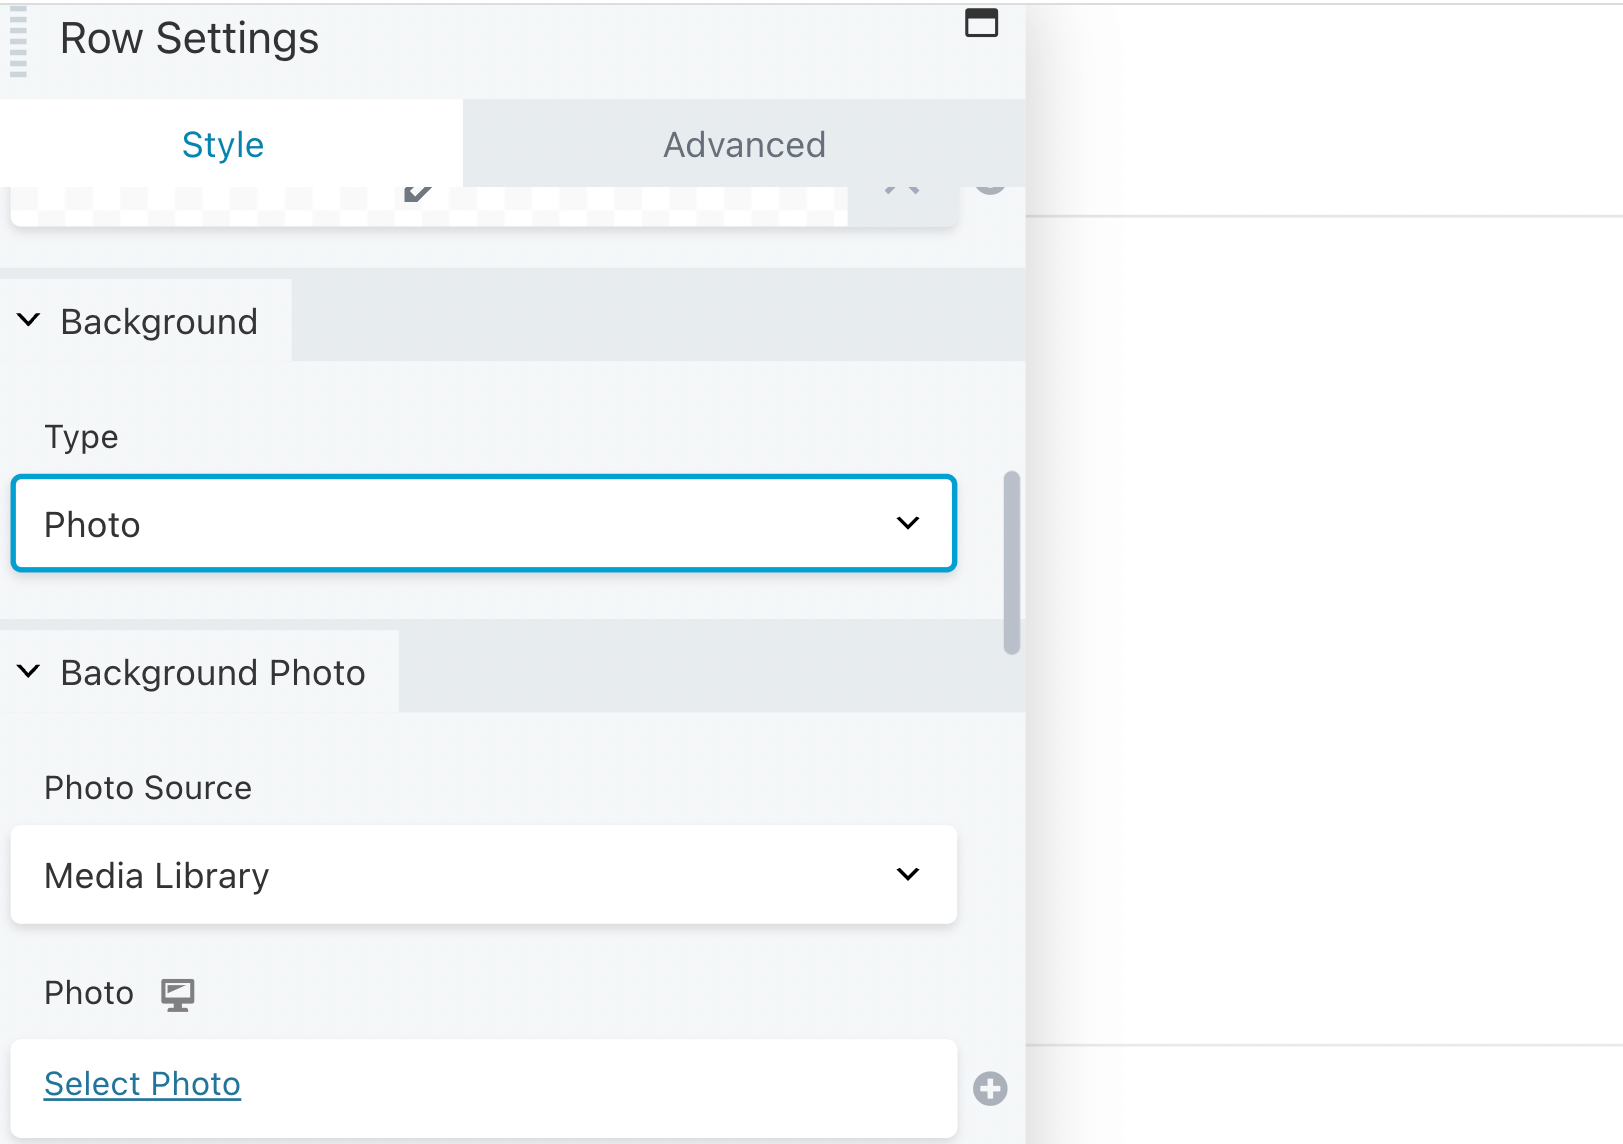
In the Background Photo section, click on the plus sign next to Photo field and select Author Picture:

In the Author Picture box, you can customize the size of your image:
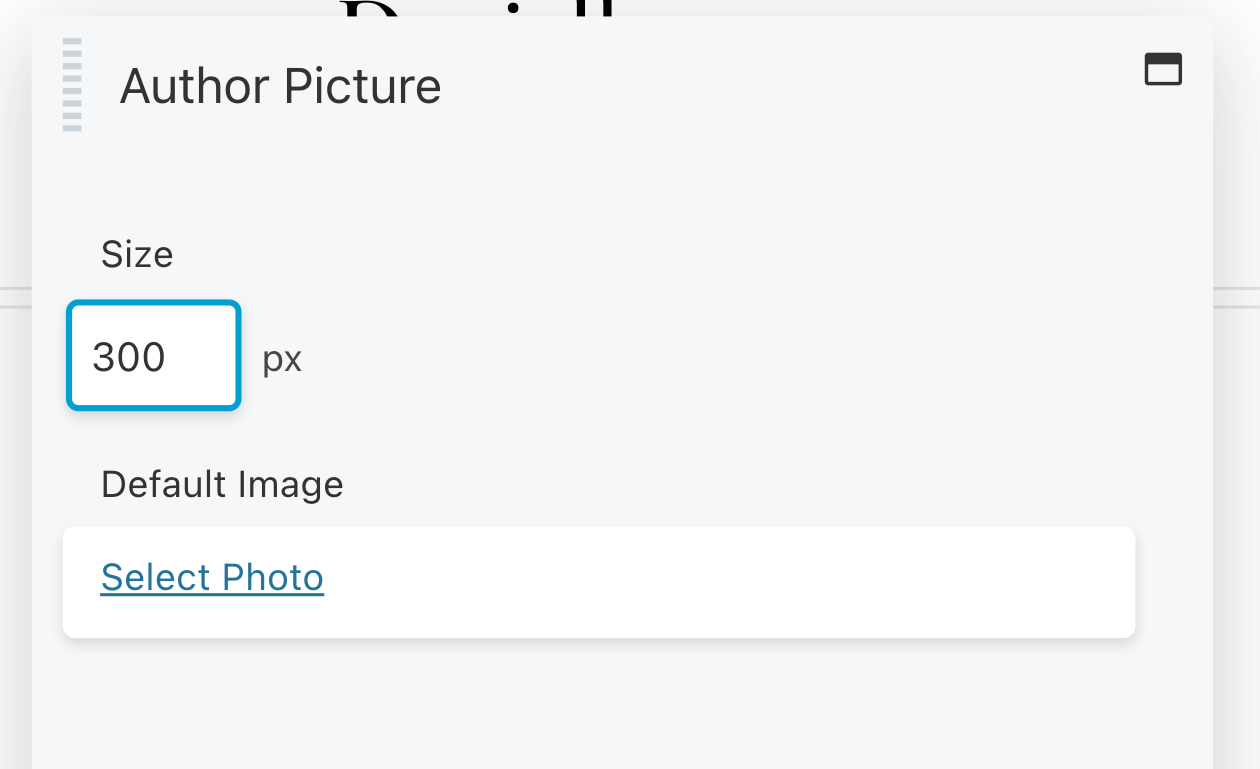
Under Default Image, select a photo. This can be a headshot of your author.
Next, you can customize the overlay of your image in the Background section:
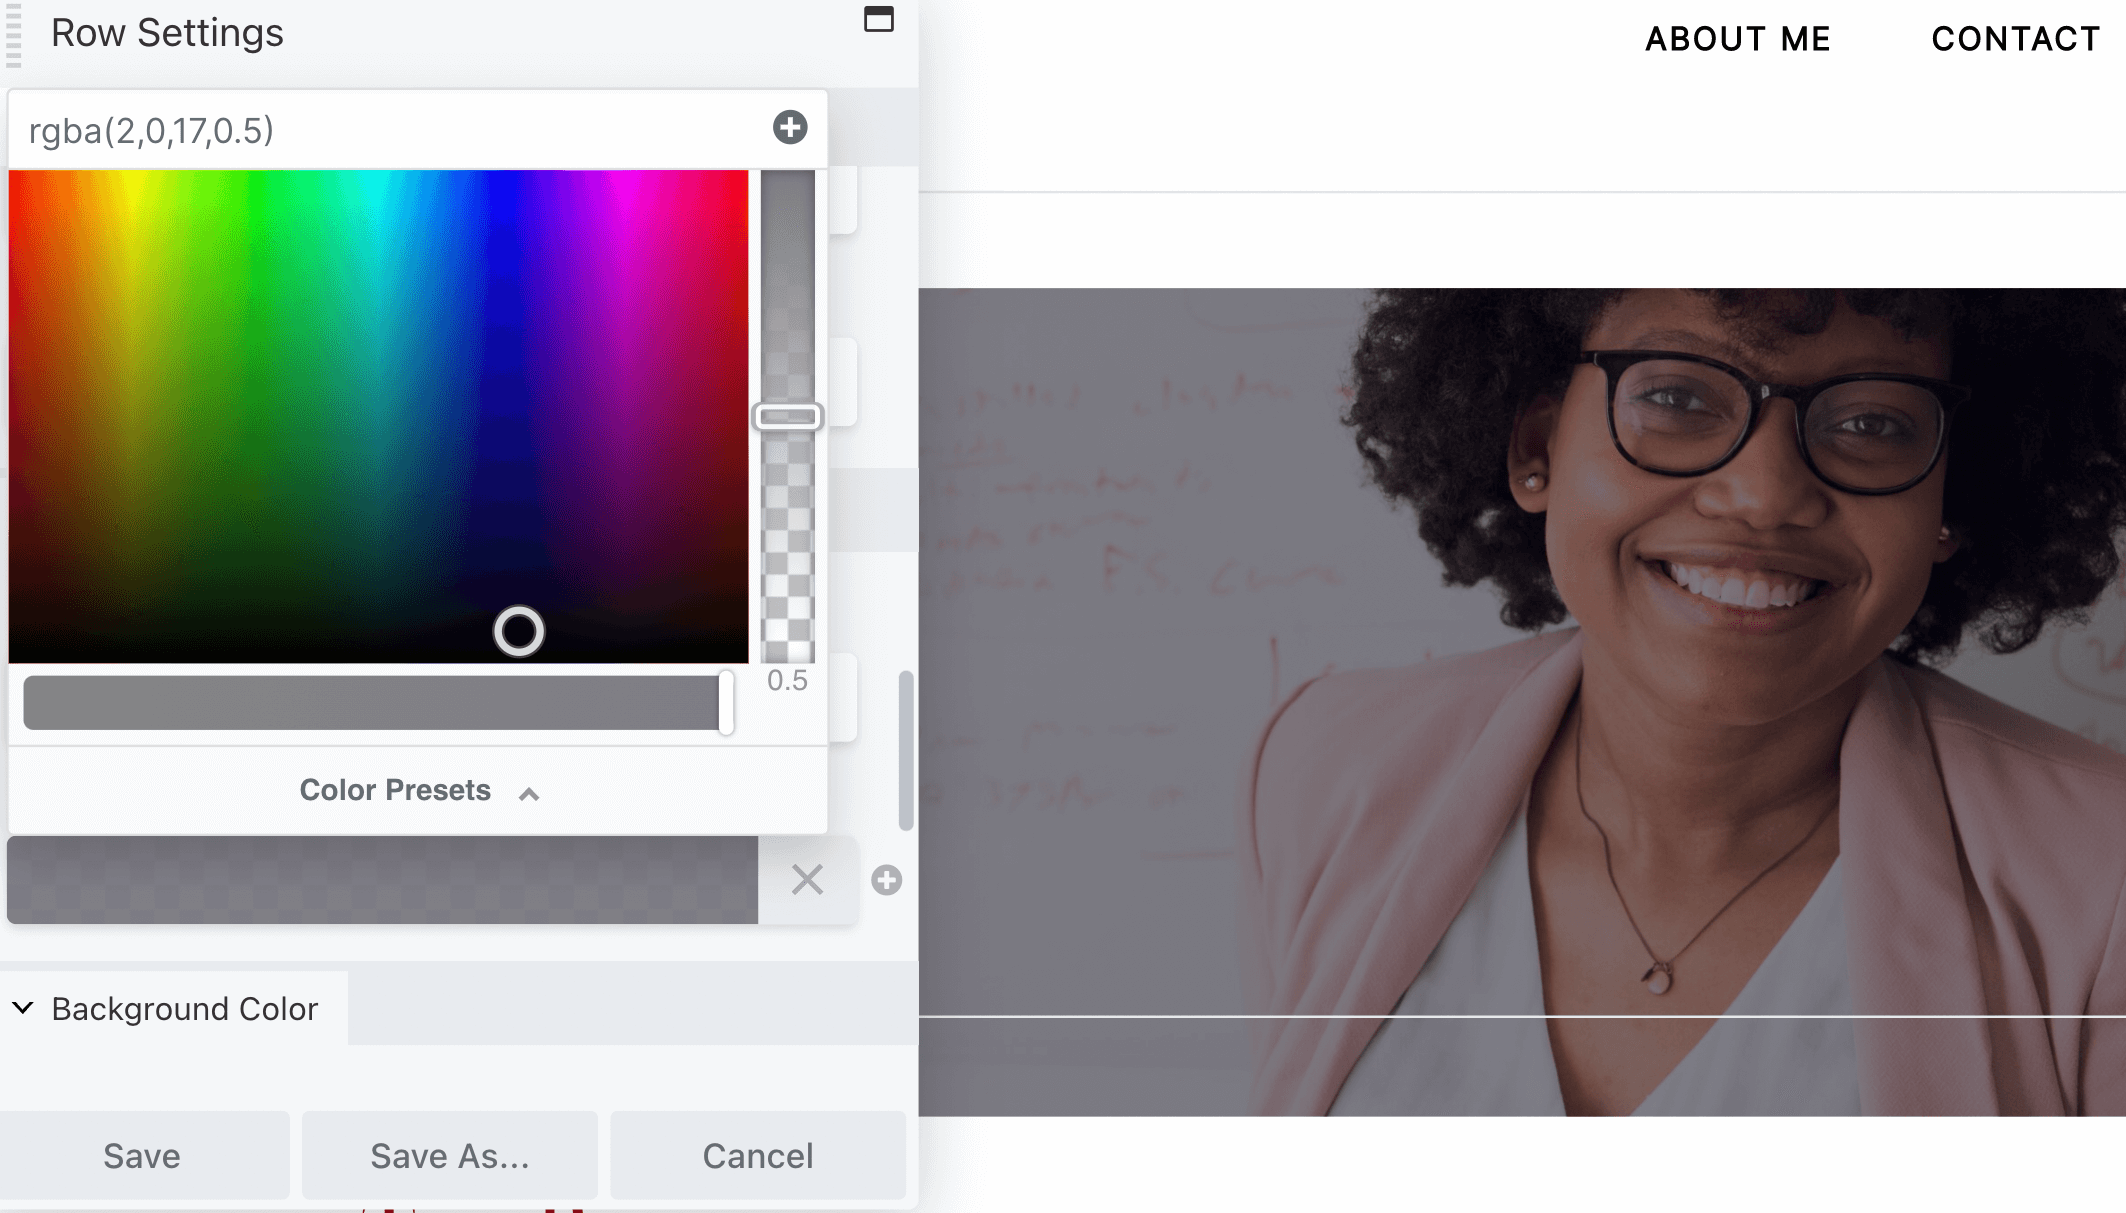
Once you’re done, click on Save.
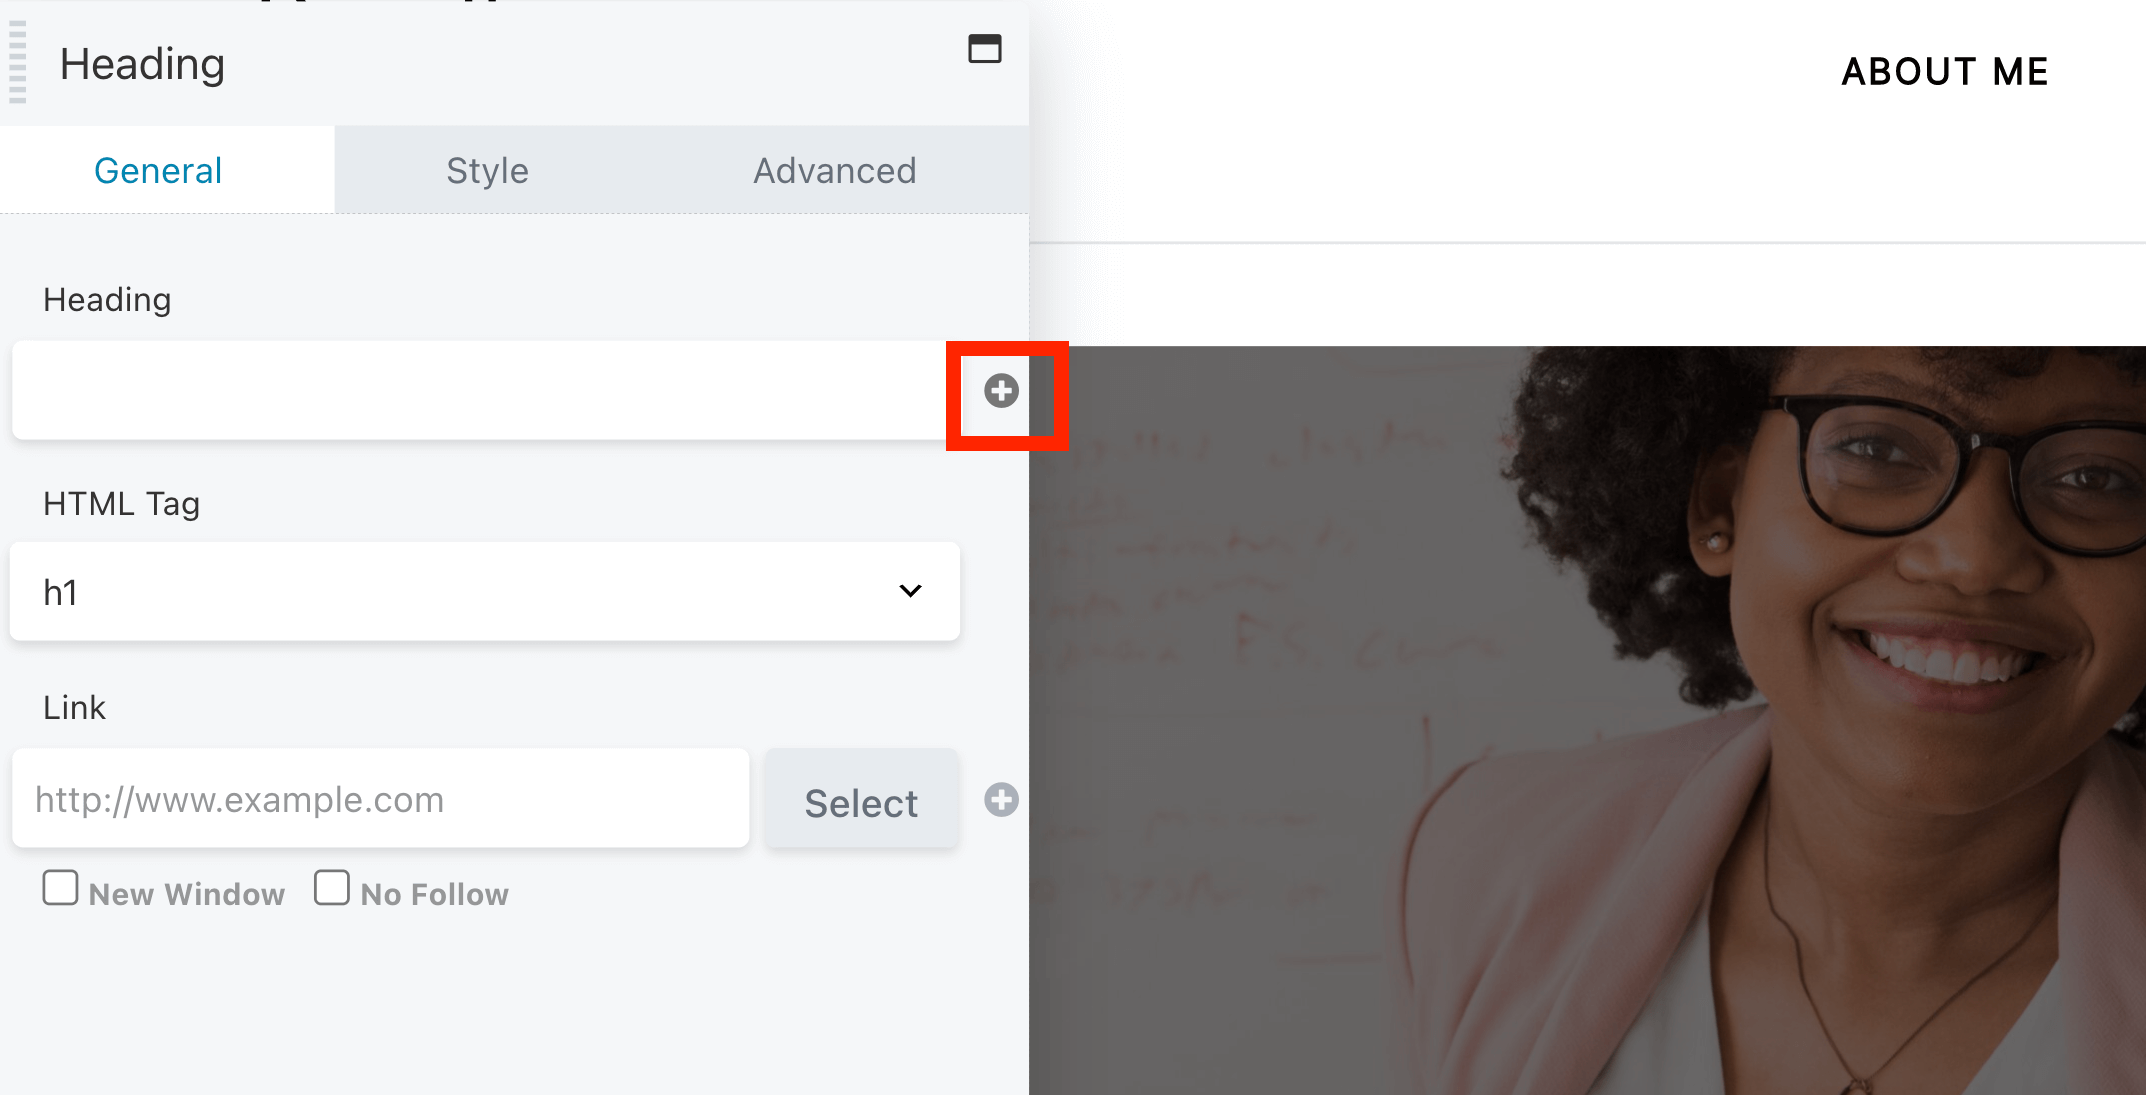
Now, let’s edit the name of the author. Select the Heading module to open its settings. Then, navigate to the Heading field and click on the plus sign:
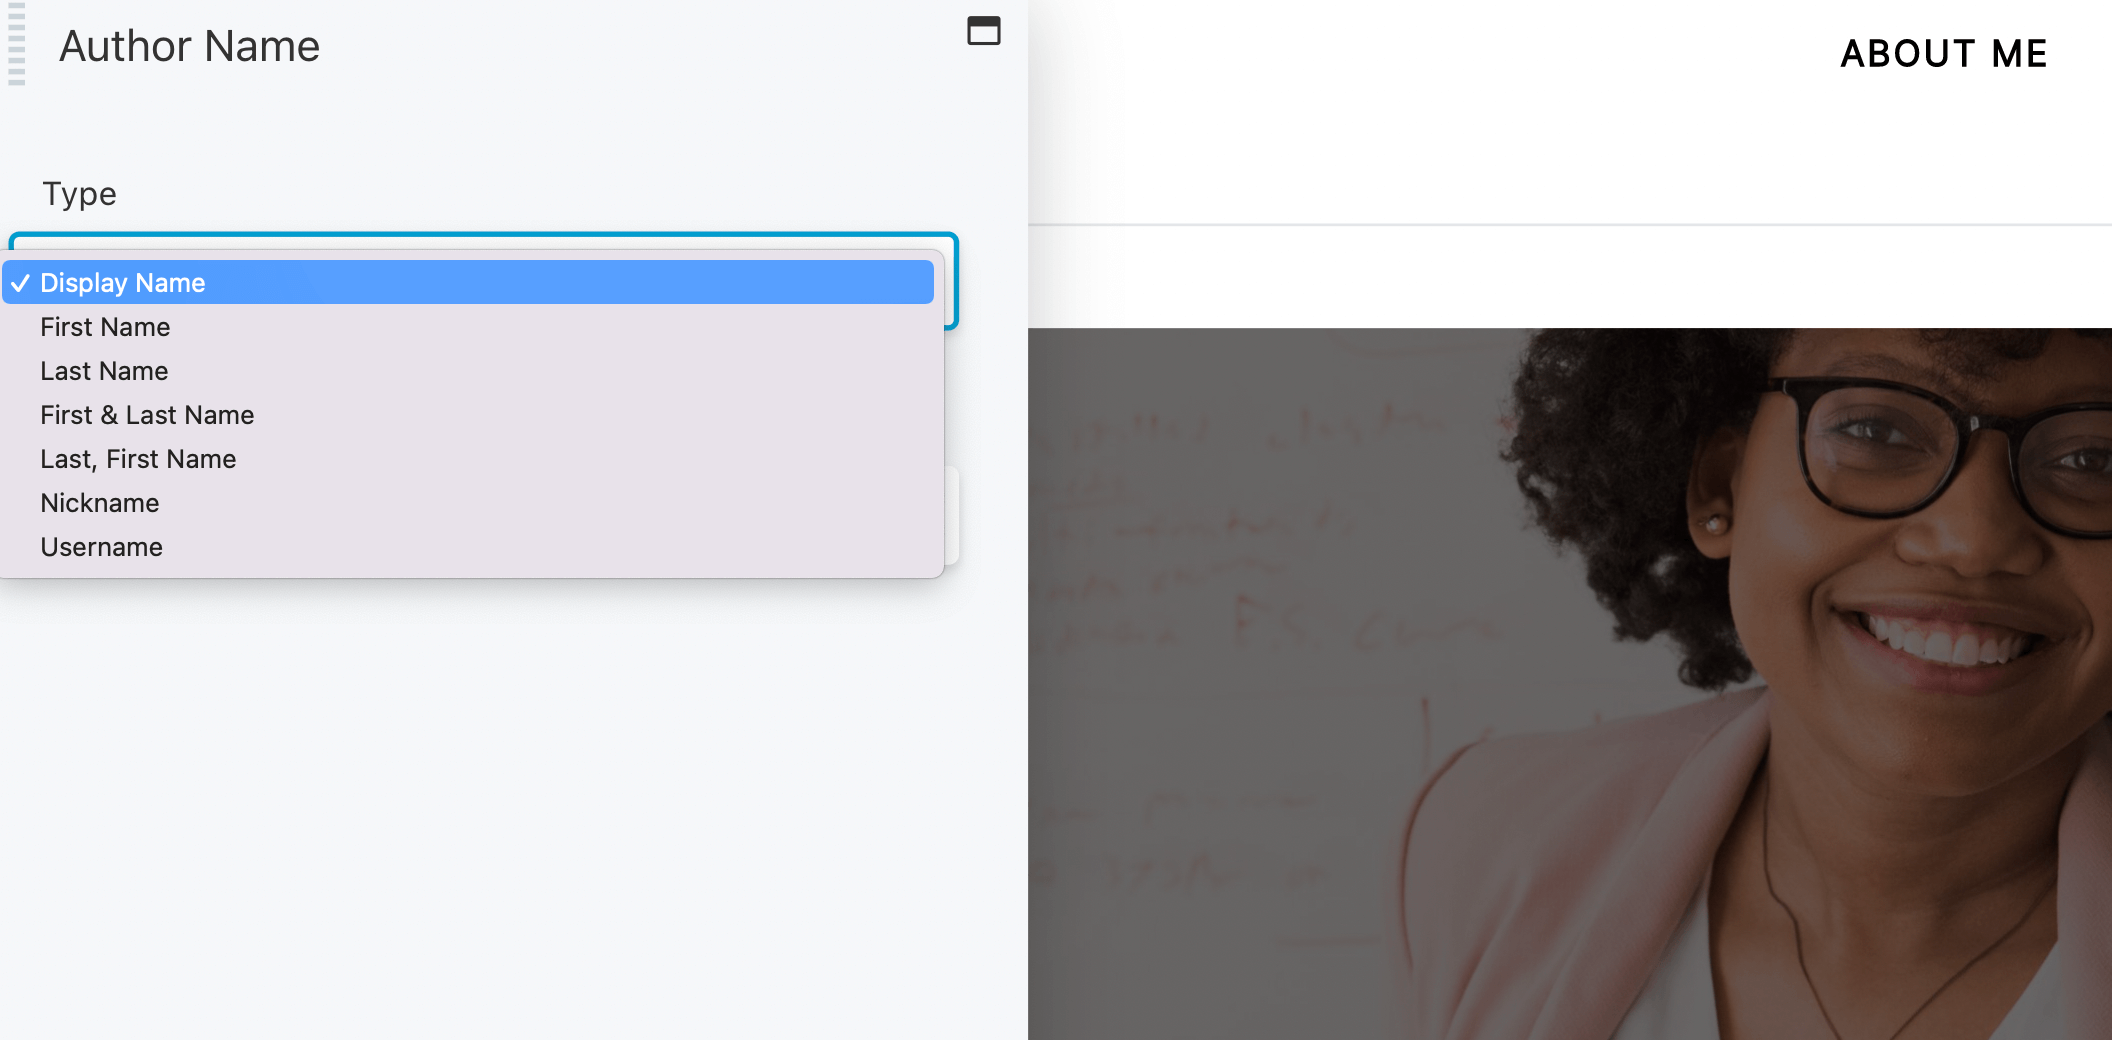
Select Author Name. Then, choose how you want to display the name. This can be the first name, display name, or the nickname you entered in the user profile:
Once you’re done, click on Save.
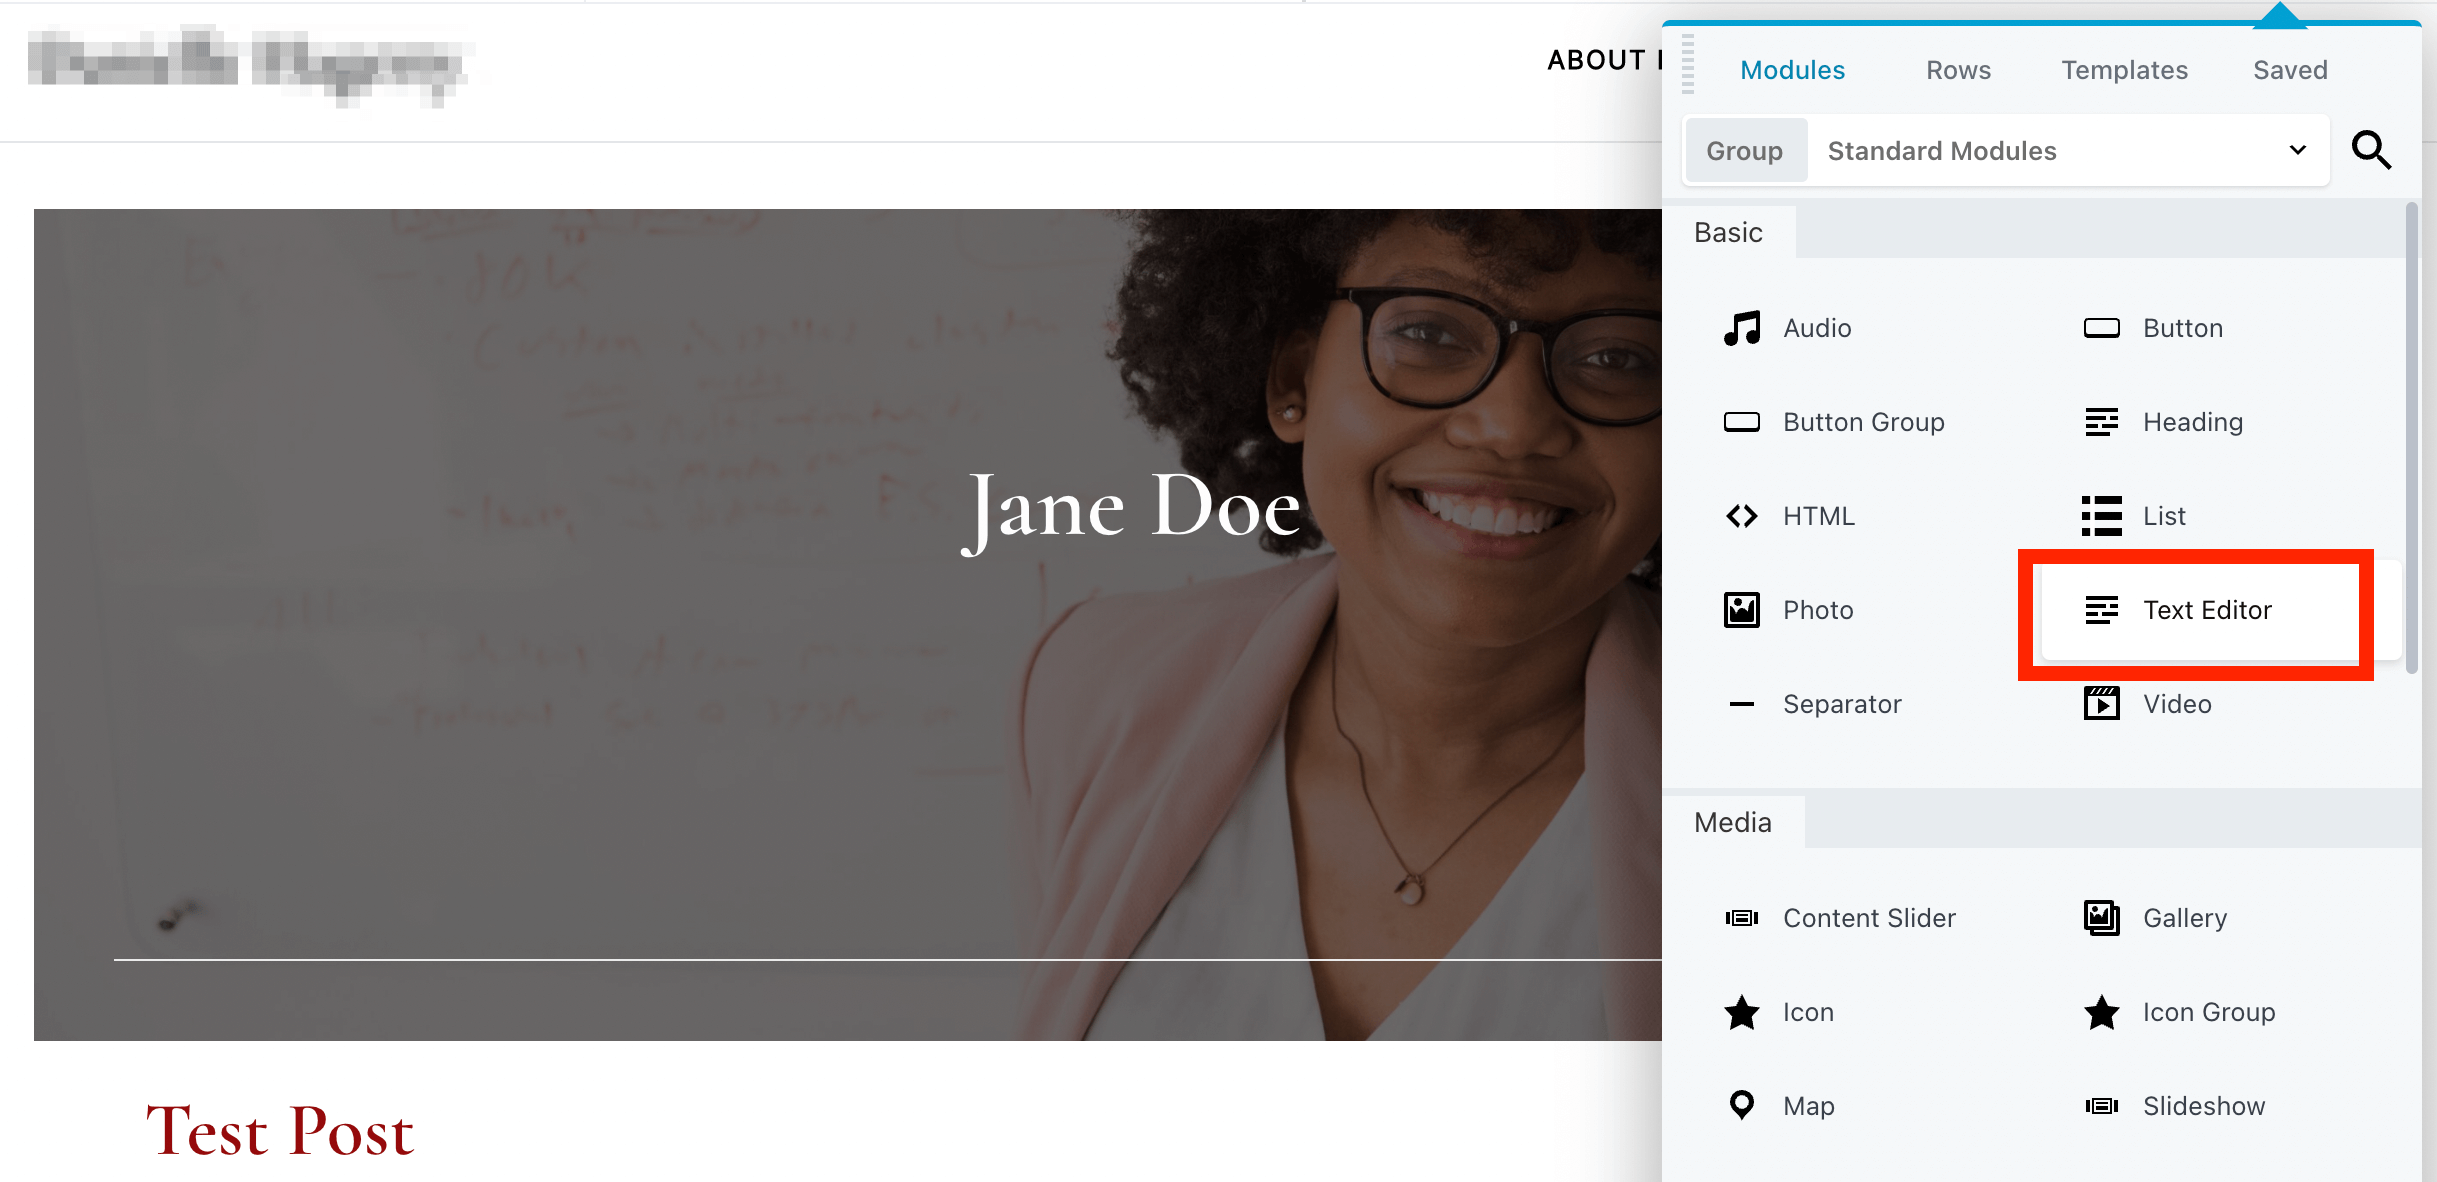
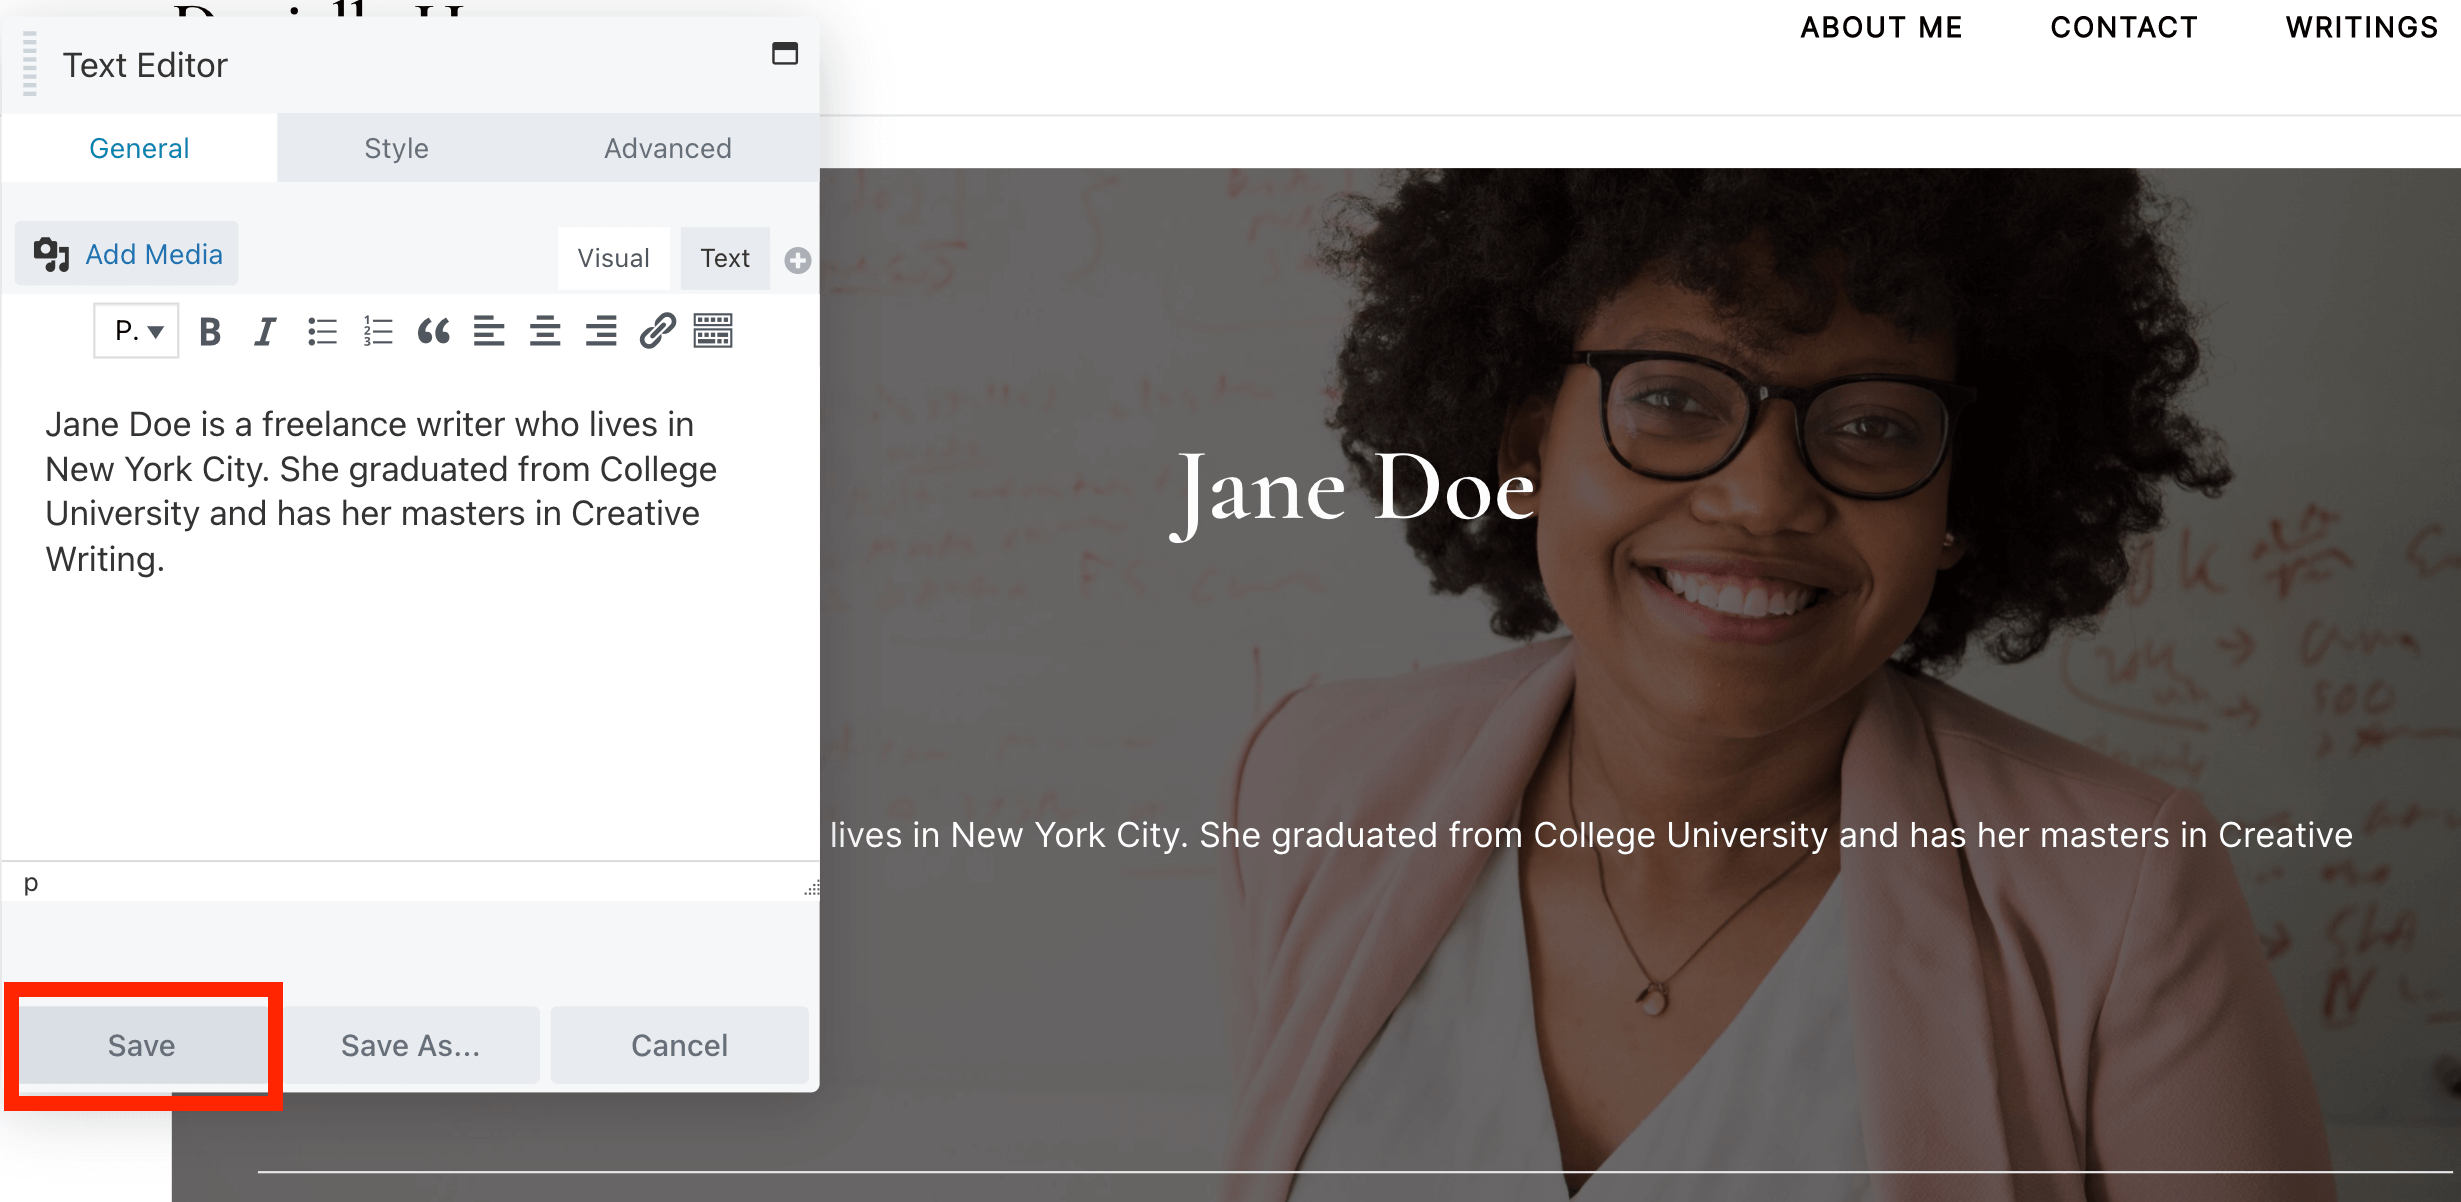
You can also display an author bio in this section. To do this, add a Text Editor module to the row:
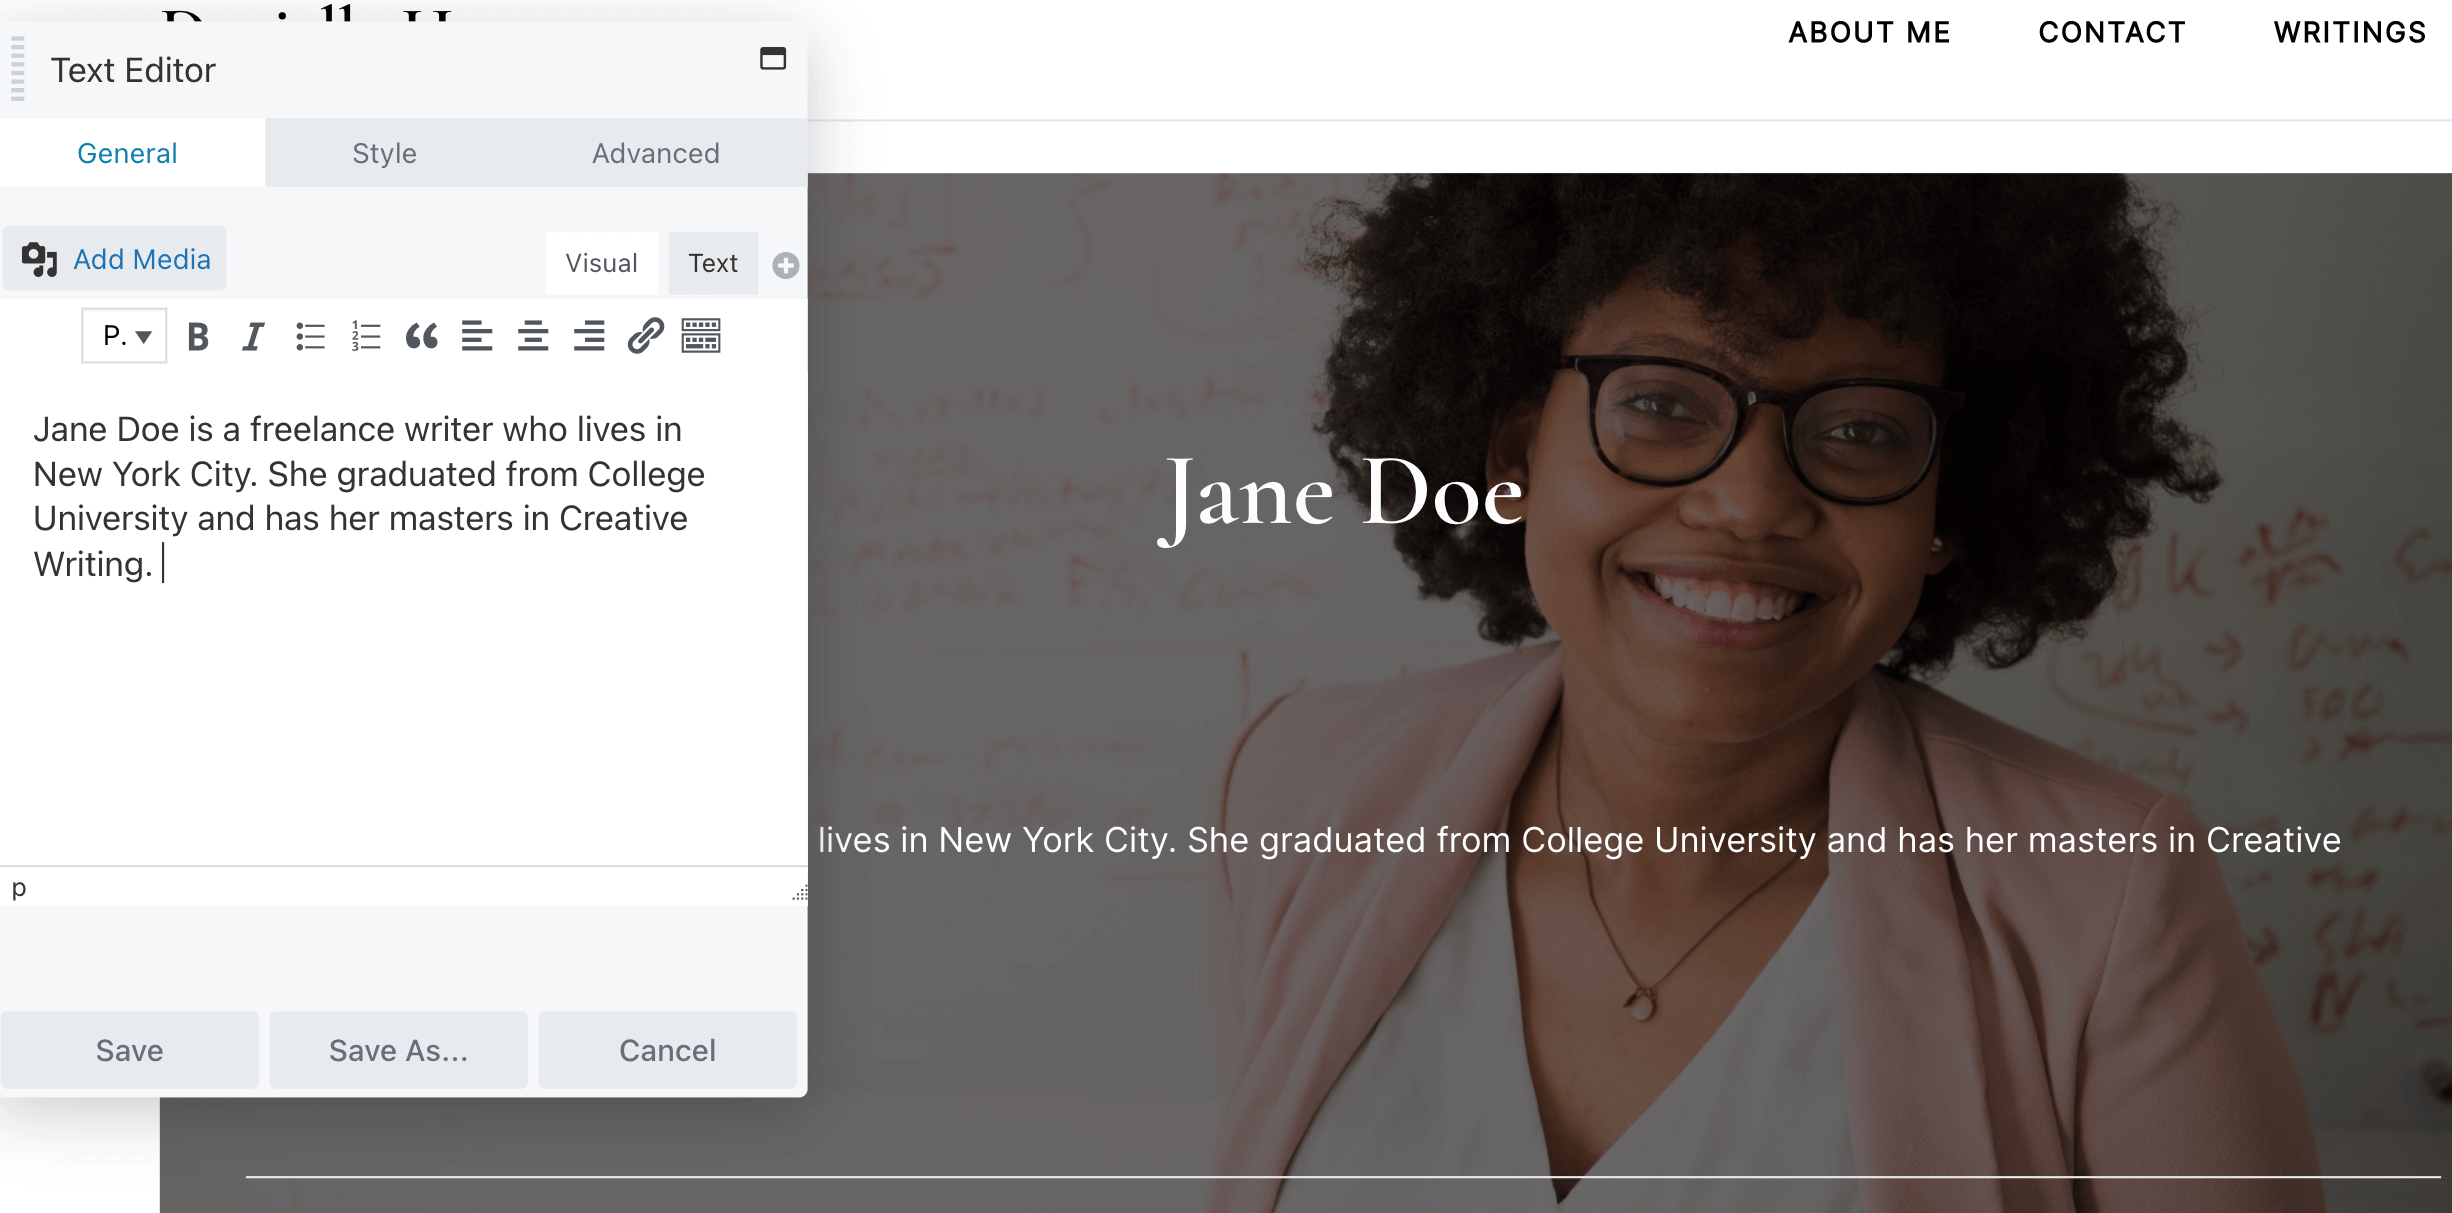
Write your short bio in the WYSIWYG editor found under the General tab:
Alternatively, you can easily add the Author Bio that you entered into your user profile. To do this, click on the plus symbol, locate Author Bio, and click on Connect:
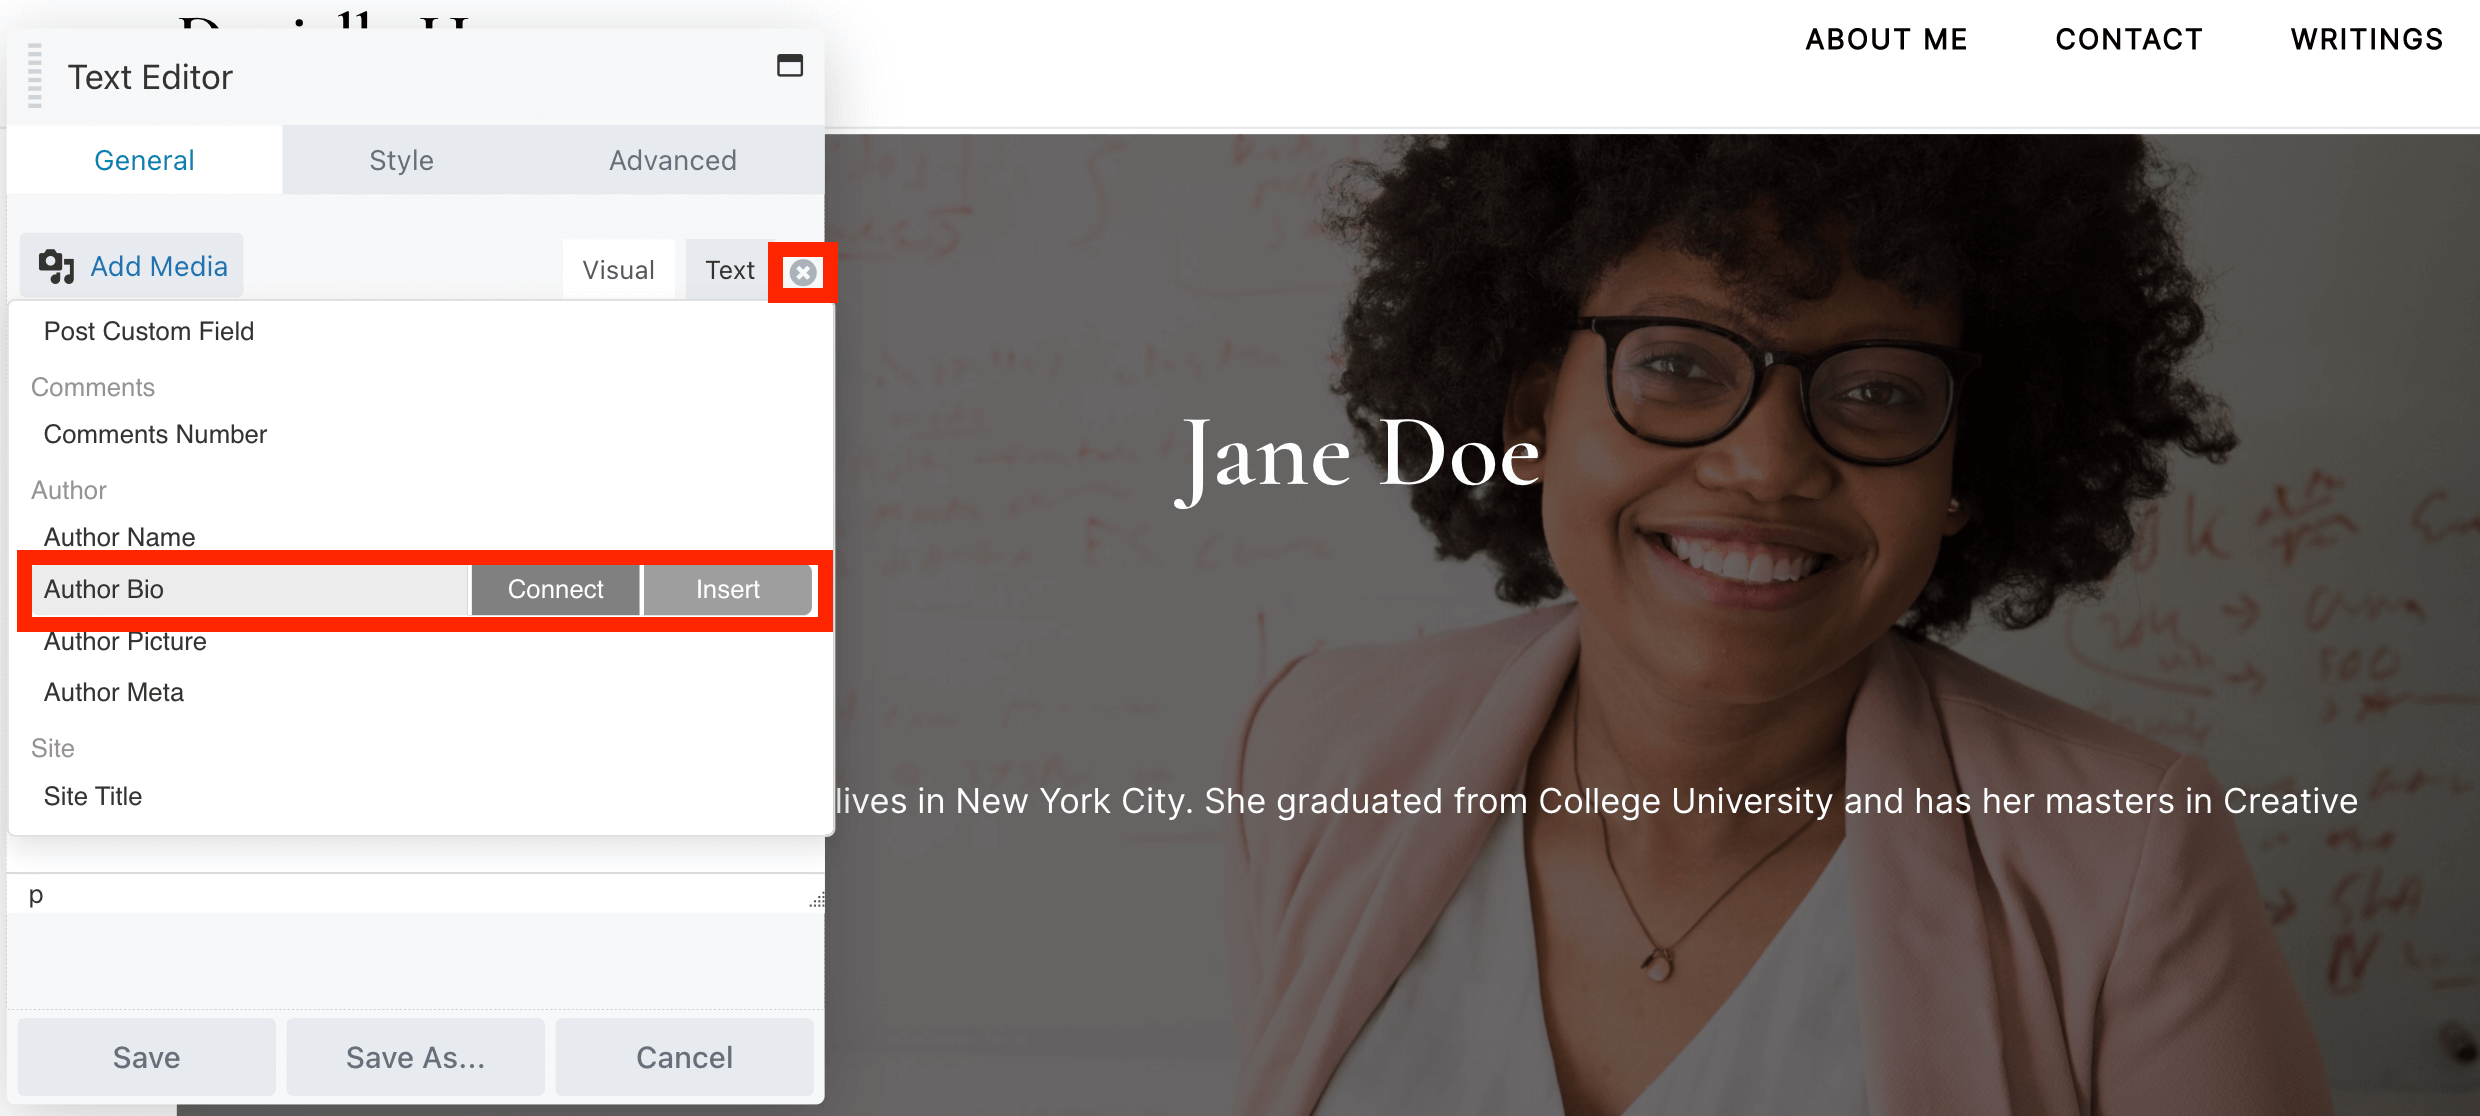
Next, click Save:
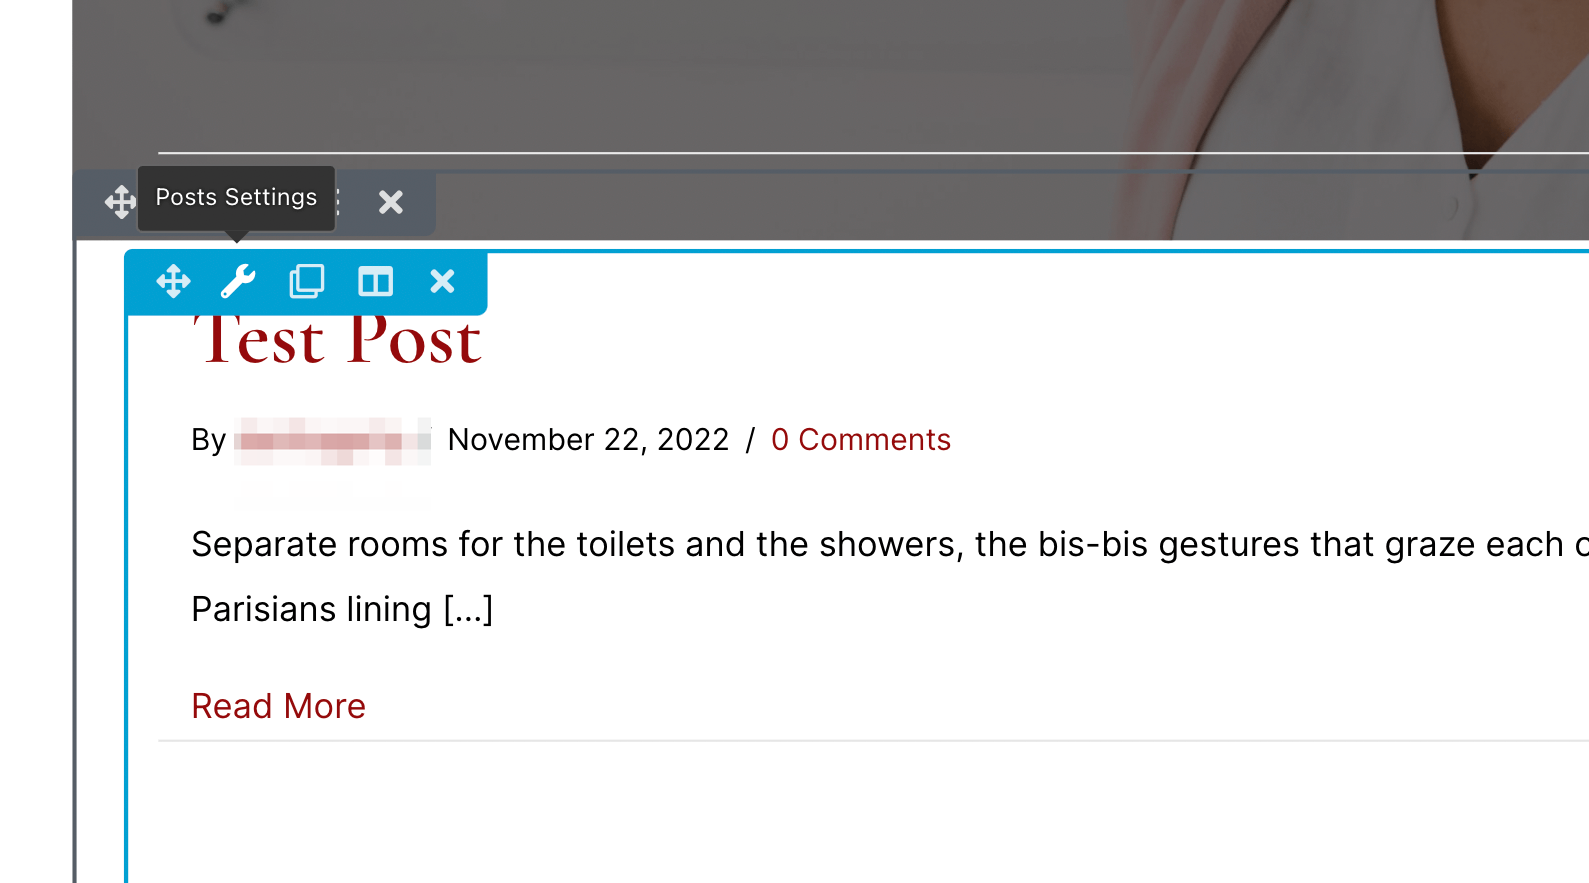
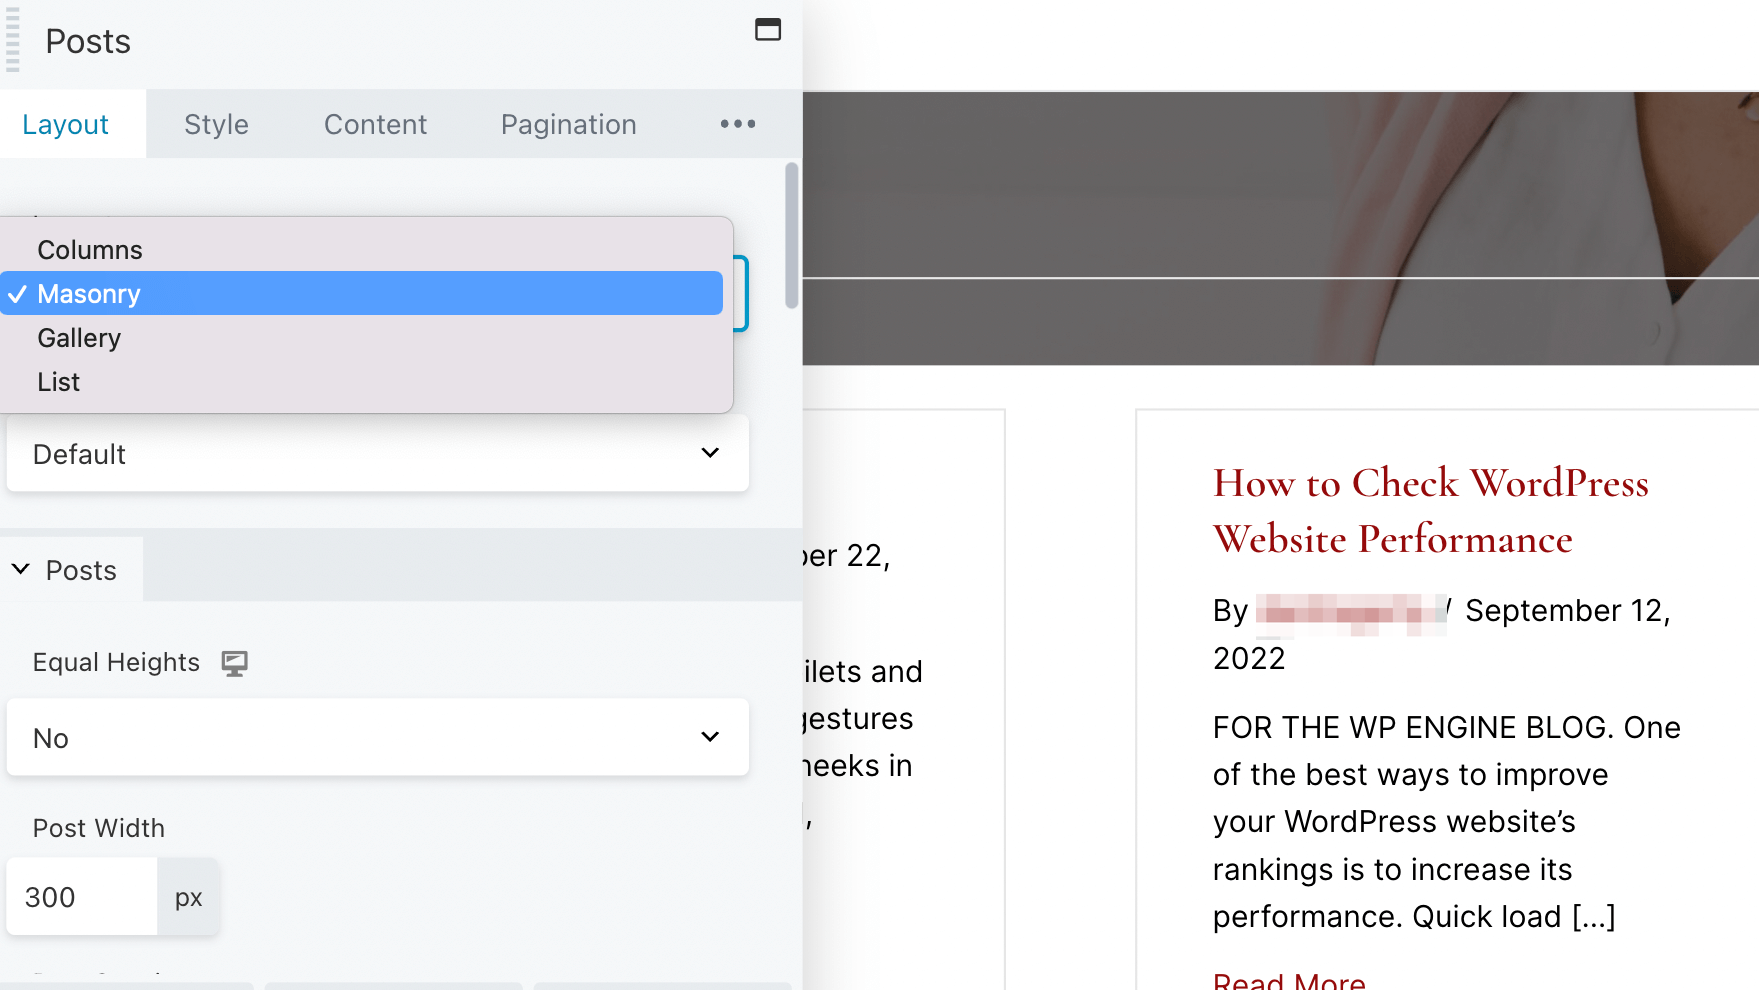
You can also change the way your posts are displayed. Click on the Posts module to open the settings:
In the Layout dropdown menu, choose your preferred layout. For example, the Masonry option will display your articles in coumns without a fixed height for rows:
When you’re happy with your changes, click on Publish:

You now have a customized author archive page!
Have fun experimenting with the different settings available. For example, you may prefer to use a plain background for the header. Or, you may wish to display the posts by that author in a neat list rather than blocks.
Step 5: Save Your Changes and Review the Author Page
Once you’ve completed your author page, you can review it to see if everything looks good. To do so, navigate to a post written by the author and click on their name:
This will take you to the author archive page that you created:

Now, the new author page will enable readers to find content written by a particular user and offers a better user experience.
Conclusion
If you have many contributors to your blog, you’ll need an easy way to browse posts by different authors. With an author archive page, users can find all articles by a particular contributor in one place.
To recap, here’s how to create an author page with Beaver Themer:
- Create an author’s user profile or use an existing one.
- Associate at least one post with the user so that they can render on your page.
- Create an archive Themer layout for your author archive page.
- Customize your template by adding a bio and author image and editing the layout of the posts.
- Save your changes and review the author page.
Related Questions
What does Beaver Themer do?
Beaver Themer is a theme builder plugin that enables you to build custom dynamic layouts for your website, including headers, footers and WooCommerce pages. It uses Beaver Builder’s intuitive drag-and-drop editor and comes with a library of professionally designed templates.
Do I need the Beaver Builder page builder to Use Beaver Themer?
You need to have the Beaver Builder page builder plugin installed and activated on your website to use Beaver Themer. With these two tools, you’ll be able to create layouts for archives, posts, WooCommerce products, 404 pages, and more.
Our Newsletter
Our newsletter is personally written and sent out about once a month. It's not the least bit annoying or spammy.
We promise.
Try Beaver Builder Today

Related articles

How to Create Headers and Footers with Beaver Themer
Page builders are great for creating beautiful pages, but they often don’t extend customization to headers and footers. This limitation…
How to Customize WordPress Website Header
Many elements make up a well-designed website. Your WordPress website header is particularly important because it’s the first thing visitors…
How to Use a Header Template in WordPress
Customizing a WordPress header isn’t often an easy process. If you’re not comfortable editing theme files, there aren’t many ways…
Join the community
We're here for you
There's a thriving community of builders and we'd love for you to join us. Come by and show off a project, network, or ask a question.
Since 2014
Build Your Website in Minutes, Not Months
Join Over 1 Million+ Websites Powered By Beaver Builder.