
There’s a wealth of content on Search Engine Optimization (SEO), and most people now know the basics. However, the very first step is the easiest to overlook: making sure your site’s content can be found by search engines. This involves creating a sitemap and using it effectively.
In this post, we’ll explain what a WordPress sitemap is and why you need one. Then we’ll walk through how to create one for your site and let Google know about it.
Let’s get to work!
How Search Engines Understand Your Website
Before we discuss sitemaps, it’s worth taking a look at how search engines make sense of and rank your website. Although each search engine is a little different, they all function through the use of ‘bots’ (also known as ‘crawlers’), which automatically explore websites and store information about them.
When one of these crawlers – such as the ‘Googlebot’ – first encounters your site, it explores each page and follows the links it finds. As it goes along, it records details about where your site’s pages are located, how they’re related to one another, and so on. Google then uses this information to determine what keywords each page should rank for and how high it will be ranked. Googlebot usually explores sites from time to time to see how they’ve changed.
Problems That Arise During the Crawling Process
Traditional SEO focuses on providing Google with lots of accurate information to encourage its algorithms to rank your content highly. These strategies are important, of course.
However, what many site owners overlook is the initial information-gathering stage of the process and various ways it can break down. Here are a few of the issues that can arise:
- Search engine crawlers don’t find your site. While this is unlikely, it can also take longer than you’d like for them to locate and index your site. The same applies when you update your site because it can take quite a while for the bots to recrawl it on their own.
- The crawlers don’t find all of your site’s pages. For example, if you have a page on your site that isn’t linked from any others, the bots may skip over it entirely, so of course, they can’t index or rank it.
- The crawlers can’t understand how your pages are related. The bots might have a hard time understanding your site’s hierarchy, which affects their ability to determine which pages are the most important and find related content.
These potential problems may create serious roadblocks for search engines. If the bots can’t find your pages or gather all the information they need, they aren’t likely to rank them highly in relevant results.
An Introduction to Sitemaps
So, what’s the solution to the above problems? You can probably guess from this article’s title: create a sitemap. In this article, we’re referring to the sitemap that isn’t visible to human visitors, although the term sitemap is sometimes used to describe a list of visible pages on the front end. A sitemap in the sense we’re using it is a list of all your site’s pages, organized hierarchically with supplementary information about each page, catered to provide search engine bots with exactly what they’re looking for.
When a crawler arrives at your website, its first task is to look for a sitemap. If you don’t have one, it’ll attempt to explore your site’s pages. If you do, the sitemap will be used as a guide when indexing your site.
A sitemap helps you avoid the problems discussed above, because:
- It can notify Google right away about a new or updated website, so it will send the crawlers your way sooner.
- It can list all of the pages you want search engines to know about so they won’t miss any important content.
- It can contain information about your site’s structure, making it more likely that search engines will rank your pages correctly.
It doesn’t matter what type of site you’re running, a sitemap is a necessity. Fortunately, putting one together is easier than you might expect.
How to Create a Sitemap for Your WordPress Website (In 3 Steps)
If you’re not particularly tech-savvy, creating a sitemap by hand is a tall order. The good news is that there are a lot of simple ways to generate one quickly. In the following three steps, we’ll look at how to put together your WordPress sitemap and let Google know about it.
Step 1: Choose a Tool for Creating Your Sitemap
Several WordPress plugins create site maps. Check your existing plugins to see if you already have one that does it. Some of the larger multi-feature plugins include this functionality.
This is especially true of dedicated SEO plugins. For instance, both Yoast SEO and All in One SEO Pack provide sitemap-generation features. If you’re already using one of these popular tools, you won’t need to install anything new.
However, if none of your plugins can create a sitemap, don’t worry. There are also plugins specifically designed for this purpose. We highly recommend Google XML Sitemaps:
This popular tool is regularly supported and extremely well-rated. It’s a lightweight solution that does exactly what it needs to do, without any frills to confuse you or slow down your site.
In the next step, we’ll show you how to create a sitemap using this plugin. If you want to use a different tool, you should be able to find a guide in the plugin’s documentation to help walk you through a similar process. If you create a sitemap on your own, skip to Step 3.
Step 2: Generate Your Sitemap Using a Plugin
Now, it’s time to create your sitemap. First, install and activate the Google XML Sitemaps plugin. Upon activation, the plugin automatically generates a sitemap.
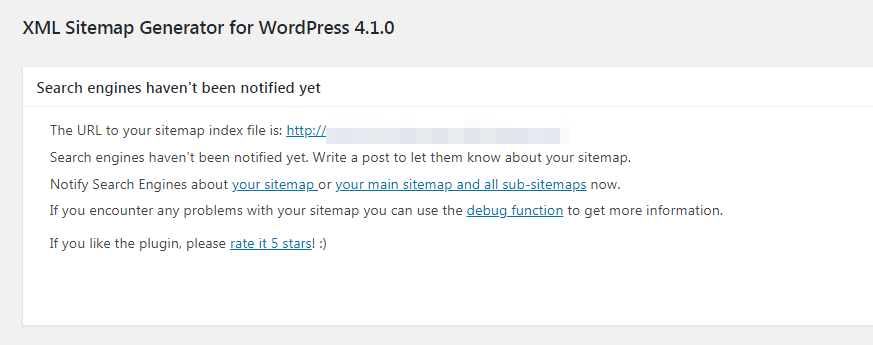
Go to Settings > XML-Sitemap. You’ll see a message such as the one in the following screenshot, showing you the URL to your sitemap.
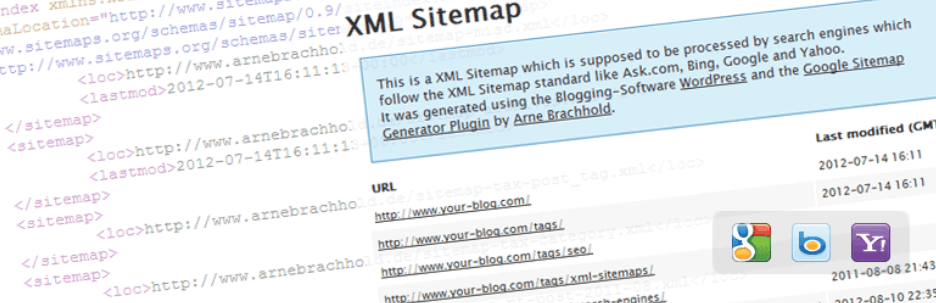
Click the URL to see what your new sitemap looks like, as in this screenshot:
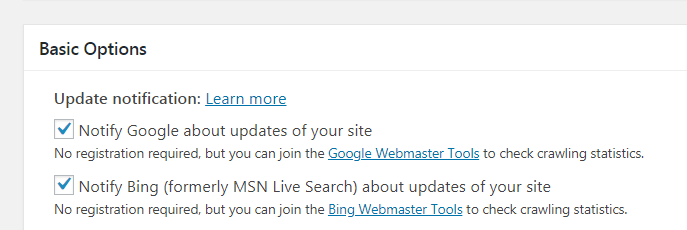
Technically, this is all you need to do. However, there are also some options on the Settings > XML-Sitemap page you may want to consider tweaking. For example, this particular plugin can notify both Google and Bing about your sitemap. Select the checkboxes in the screenshot below to keep them notified about updates to your site. This can save you a lot of time:
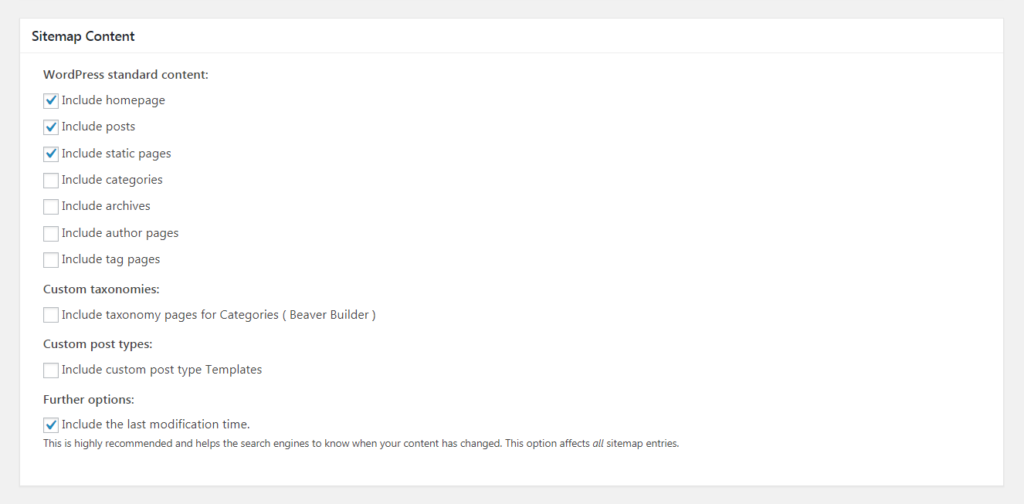
You can also customize which pages are included and excluded in your sitemap. This is handy if there’s content you don’t want search engines to index:
There are other advanced options here as well, which you can read more about in the plugin’s documentation. For most users, the basic settings will be sufficient to create an effective sitemap. Don’t forget to save your changes to this page when you’re done.
Step 3: Notify Search Engines About Your Sitemap
If you used Google XML Sitemaps as described above, you’ve already notified a few search engines about your sitemap’s existence. However, what if you used a different plugin or you want to handle the process manually?
You don’t have to notify search engines about your sitemap, but it’s a good idea. It will prompt them to start crawling your site much sooner and ensure that they know where your sitemap is located. Notify each search engine you care about.
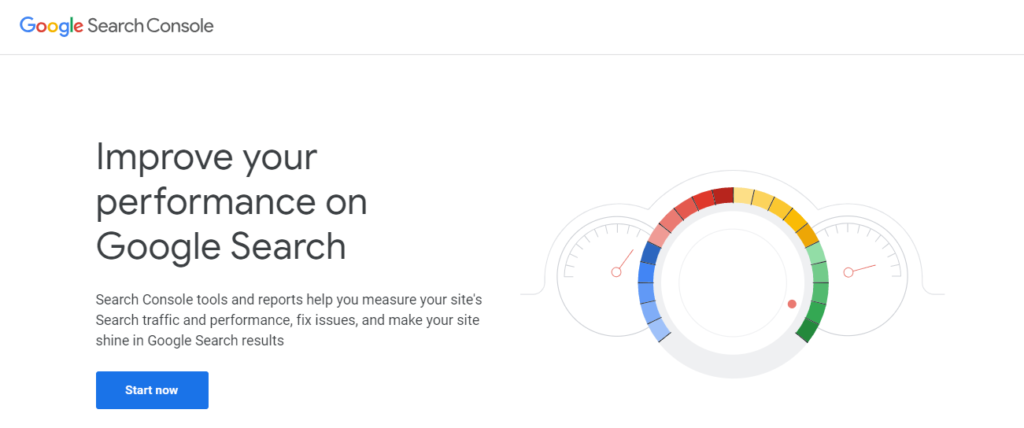
As an example, let’s look at how you can do this with Google. If you haven’t already, sign up for the free Google Search Console service. This offers a variety of tools for managing your site, tracking analytics, and so on:
Add your website as a new property, following Google’s own guide. Once complete, open your dashboard and navigate to the Sitemaps section:
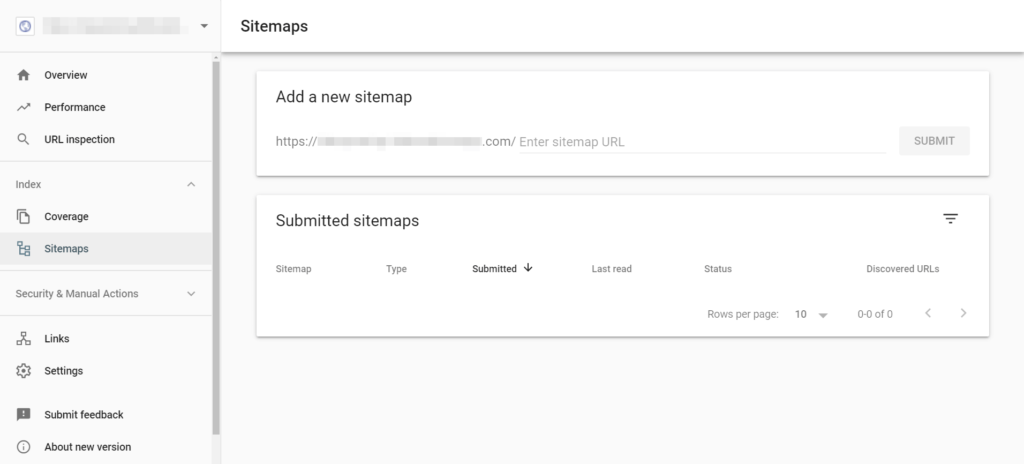
Enter your sitemap’s URL, then click Submit:
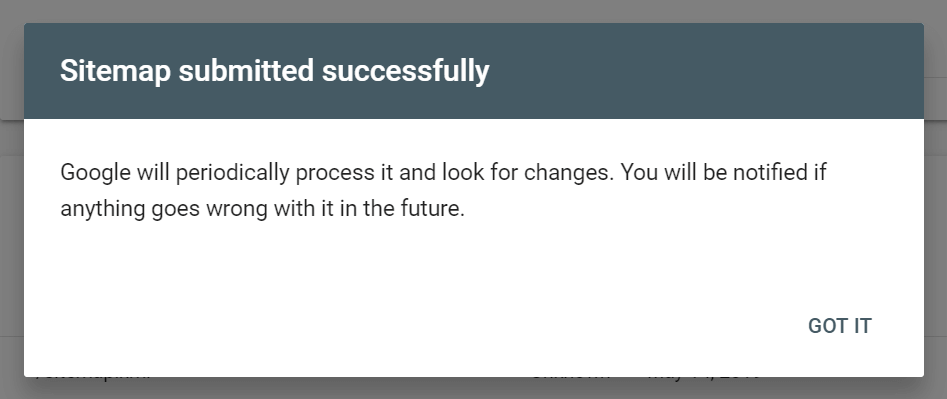
You’ll see the success message shown above, letting you know that the sitemap was submitted successfully. You’ll also see it listed in the Submitted sitemaps section:
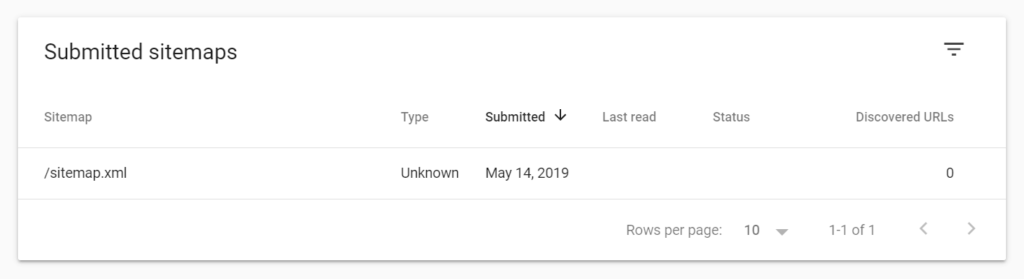
Google now knows where your sitemap is located and will dispatch its crawlers to check it out. You can return to this page for updates and resubmit your sitemap if you make changes to your site, such as adding new pages.
Conclusion
All the content optimization in the world won’t help your site if Google and other search engines aren’t able to find it. Creating a sitemap is a quick and simple process that lets search engine crawlers know where all of your pages are located and how they’re related.
To generate your WordPress sitemap, all you have to do is:
- Choose a tool for creating your sitemap.
- Generate your sitemap using a plugin.
- Notify search engines about your sitemap.
Do you have any questions about how to customize your WordPress sitemap? Ask away in the comments section below!
4 Comments
Our Newsletter
Our newsletter is personally written and sent out about once a month. It's not the least bit annoying or spammy.
We promise.
Try Beaver Builder Today

Related articles

How Beaver Builder Products Work Together to Build Flexible WordPress Websites
Building a WordPress website often means stitching together a theme from one developer, a page builder from another, and a…
Growing a Facebook Group to 14,000 Members: Community Management Tips with David McCan
David McCan grew the Dynamic WordPress Facebook group to over 14,000 members. We sat down to talk about his moderation...

Why Agencies Are Switching to Beaver Builder: Performance Testing Results
By Chris Smith – HYPEsites.com For WordPress agencies, page builder choice directly impacts the metrics that matter most: project margins,…
Join the community
We're here for you
There's a thriving community of builders and we'd love for you to join us. Come by and show off a project, network, or ask a question.
Since 2014
Build Your Website in Minutes, Not Months
Join Over 1 Million+ Websites Powered By Beaver Builder.
Thanks for sharing. I also agree that the sitemap plays a key role to help your site content rank higher on search engines. It’s really difficult fo crawlers to find your page and post. I sometimes don’t want search engines to index some of my pages. Should I include them in the sitemap?
Hi Suzie, if you don’t want search engines to index certain pages you can manually “noindex” them. Here is a great article that explains how to do this easily. https://www.wpbeginner.com/wp-tutorials/how-to-hide-a-wordpress-page-from-google/
Anthony,
Great article! If I have 2 sites that are the 10% different, one for Domestic and one for International, will I need to install the plug in on both sites since 90% is identical? Will there be “canonical” issues? Also, since they share the same root and the international section is a subdomain (forward slash) to differentiate it, do you anticipate any issues when the bots crawl?
Hi AW, I don’t have any personal experience building and indexing sites for International, but I did find this in-depth article about multilingual sitemap that can be helpful https://websiteseochecker.com/blog/multilingual-sitemap-a-complete-guide-to-international-seo/