
When you’re designing a website, it’s important to think about its color palette. If you create links with unappealing hues, your visitors might be less willing to click on them. Fortunately, in this article you will learn how to change link colors in WordPress. By doing this, you can improve the appearance and credibility of your content.
In this post, we’ll discuss why you may want to consider changing the link colors on your website. Then, we’ll show you how to do this using four different methods. Let’s get started!
Table of Contents
Why You Might Consider Changing Your Website’s Link Colors
Links play an important role in your website. For example, when you feature blog content with inbound and outbound links, you can improve Search Engine Optimization (SEO). Google uses link Click-Through-Rates (CTRs) to rank your content which makes link building an effective SEO strategy.
Additionally, you can use links to drive visitors to other pages on your website. Directing traffic to more of your content can encourage users to stay on your website for longer periods.
However, a link needs to be visually appealing in order to attract clicks. If a link color is too light, it might blend in with the rest of your content, which can result in a poor CTR. On the other hand, links that are too bright may reduce your perceived credibility.
Therefore, if you aren’t gaining many link clicks, you might want to consider experimenting with colors. A more effective link color can:
- Increase visibility
- Align with your brand colors
- Improve credibility
- Enhance your website’s visual appearance
On the whole, when visitors view your website, they’ll want to see an attractive design. With an eye-catching link color, you can improve user experience and prevent users from leaving quickly.
Choosing the Right Link Colors for Your Website
It can be difficult to find the perfect link color to maximize clicks. This process may involve some trial and error, but there are a few things you may want to consider from the start.
Often, the best link color is a contrasting shade. That’s because when you make a link stand out, visitors will be more likely to see it and click on it. This can be the key to driving conversions.
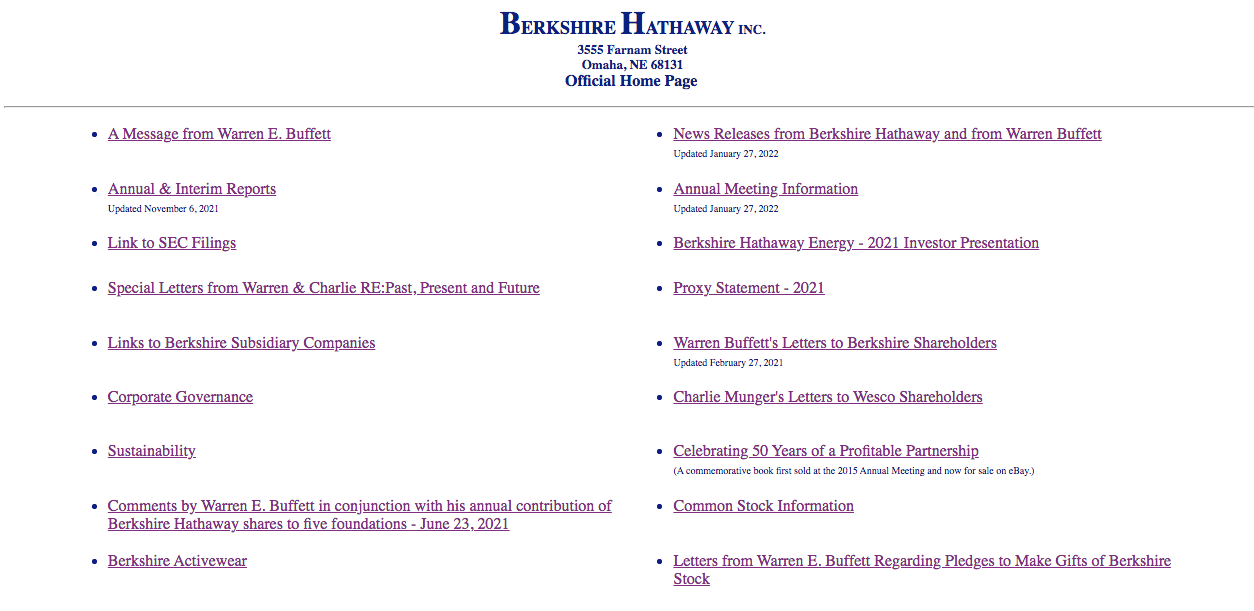
For example, the following website features a plain white background with a maroon link color. Since nearly all the text consists of links, and there aren’t any interesting visual elements, there’s very little incentive to click on them:
You may want to avoid a design as bland as the one above. On the other hand, the MIT Scheller Teacher Education Program offers a model we can learn from. This visitor-forward website leverages dark blue link buttons. Although the entire site has a blue color scheme, the contrasting hues are eye-catching:

These buttons are also accompanied by useful structural elements to distinguish each category. Ideally, you should try to re-create this clarity in your own color scheme.
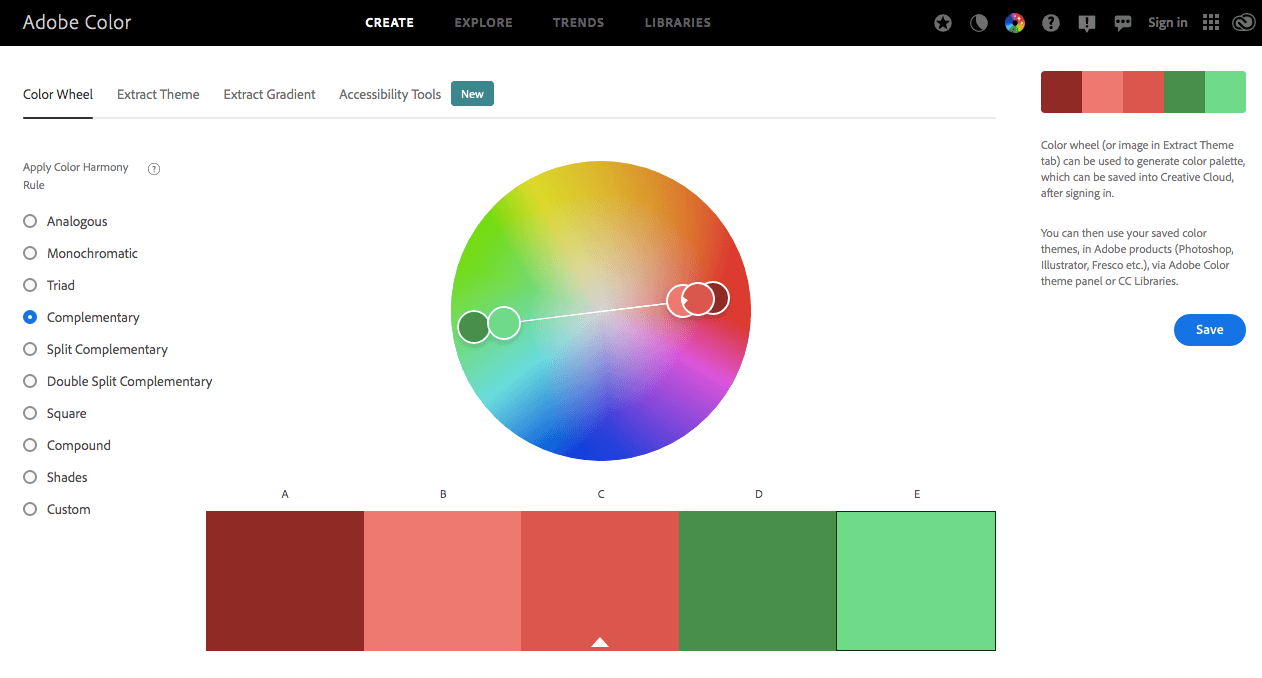
One way to find a good link color is by using the Adobe Color Wheel. With this tool, you can create a color palette based on complementary colors. When you choose a primary color, you get contrasting color suggestions. This means you can easily identify a new shade that pops next to your brand colors:
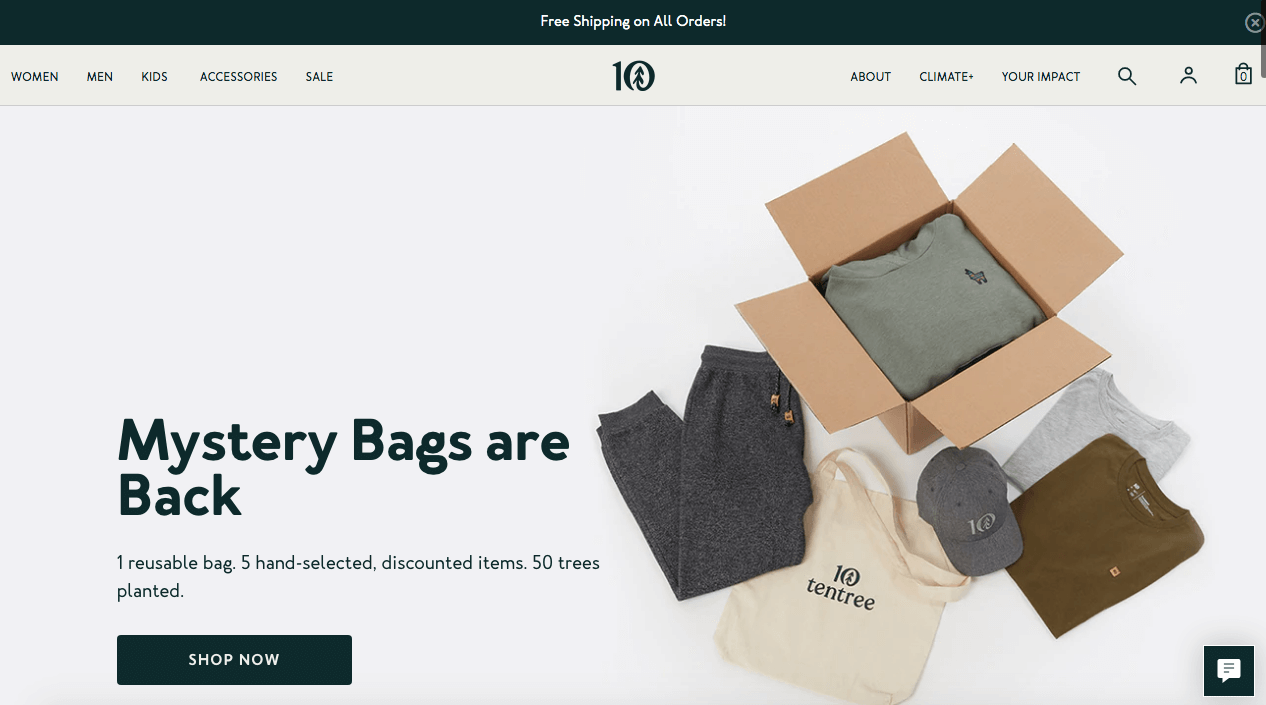
On that note, you’ll also want to keep your audience and overall branding in mind. For instance, if you manage a website for children’s games or an amusement park, your ideal viewers might appreciate a brighter color scheme. Alternatively, if your client has a more mature, masculine group of followers, they might favor darker link colors:
The bottom line is that link colors should draw the user’s attention, while also staying cohesive with the rest of your design. There isn’t one color that magically produces conversions. However, if you are intentional with your choices, you can find an effective link color for any website.
How to Change Link Colors in WordPress (4 Methods)
If you’re ready to start changing your website’s link colors, there are a few techniques you can use. However, most involve directly editing your WordPress theme. Therefore, to avoid creating functional issues or losing any data, you may want to back up your website before you begin.
1. Use the Global Styles Feature (Block Themes Only)
With the introduction of WordPress 5.9, you have the option to customize your entire website via Full Site Editing (FSE). Instead of using the Customizer tool, the Global styles interface allows you to edit larger theme elements. However, the majority of WordPress themes don’t currently support this new functionality.
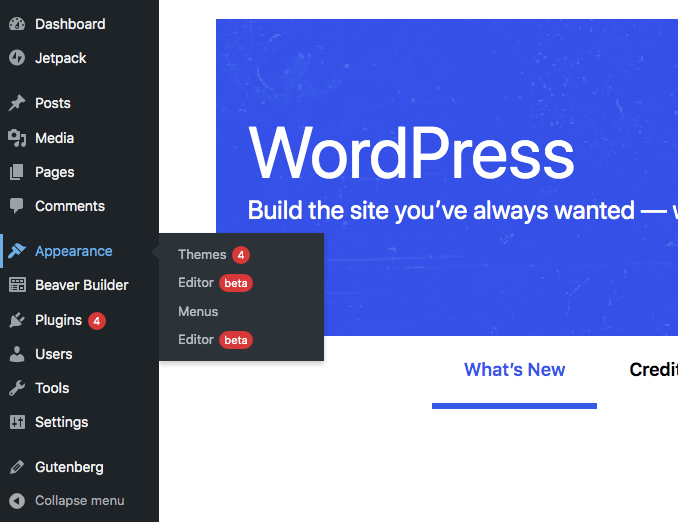
If you want to continue with this method, you’ll need to make sure that you’re using the WordPress Block Editor and a compatible Block Theme. Then, to get started you can go to Appearance > Editor in your WordPress dashboard:
This will bring you to the Full Site Editor. There, navigate to the top-right corner of your screen and click on the button with a duotone circle. If you hover over it, you will see that you are now within the Styles section:
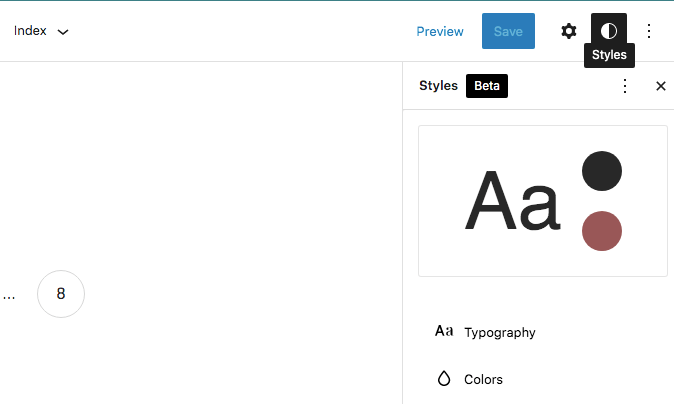
In this Styles tab, find Colors. This will give you options to change your theme’s color palette:
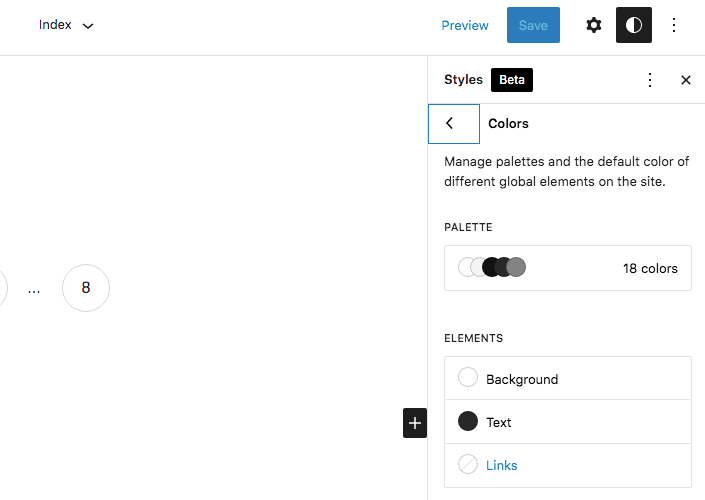
At the bottom of the panel, click on Links. Here, you’ll see different default colors based on your theme. However, you can also choose a custom color using the color picker:
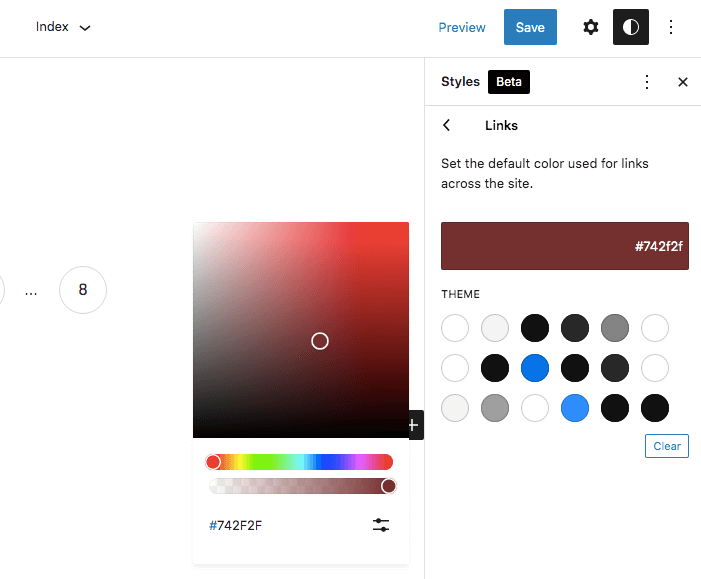
Once you click on the color you want, it will automatically enter the custom hex code into the text box. If you’re happy with your choice, click on Save. Since the Global styles tool enables FSE, with this action you will have updated your link colors across your entire website.
2. Via the WordPress Customizer
There are many reasons you may not want to update to a block theme. For example, you might need a bit more control for more nuanced customization. Alternatively, the limited number of block themes currently available may not suit your needs.
In any of these cases, you can easily use the Customizer tool to change your link colors. From your WordPress dashboard, go to Appearance > Customize:
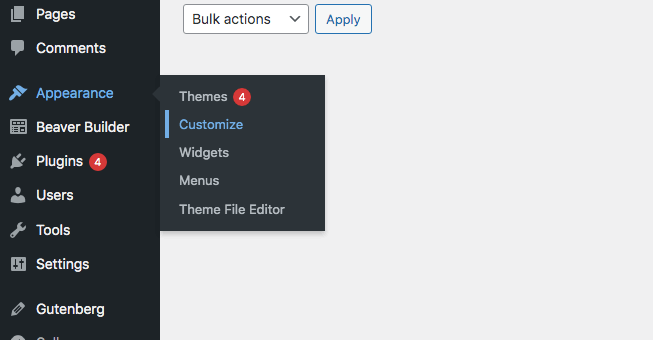
This automatically opens the Customizer. Then you’ll need to find the color editing tab. This will vary based on your theme. For this example, we’ve activated the Astra theme. In our customizer, we went to Global > Colors:
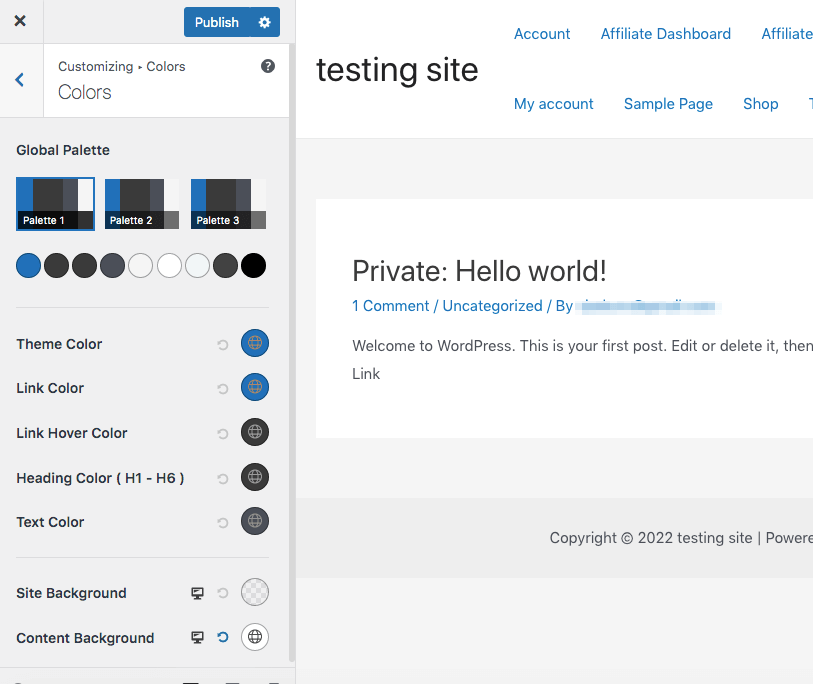
Here, we can find various settings regarding our theme’s colors. For this theme, we found an option labeled Link Color. Remember that it may be labeled differently based on your theme. If you don’t see this button, try to find a tab called Accent Color or Primary Accent.
Using the color picker, choose your desired color:
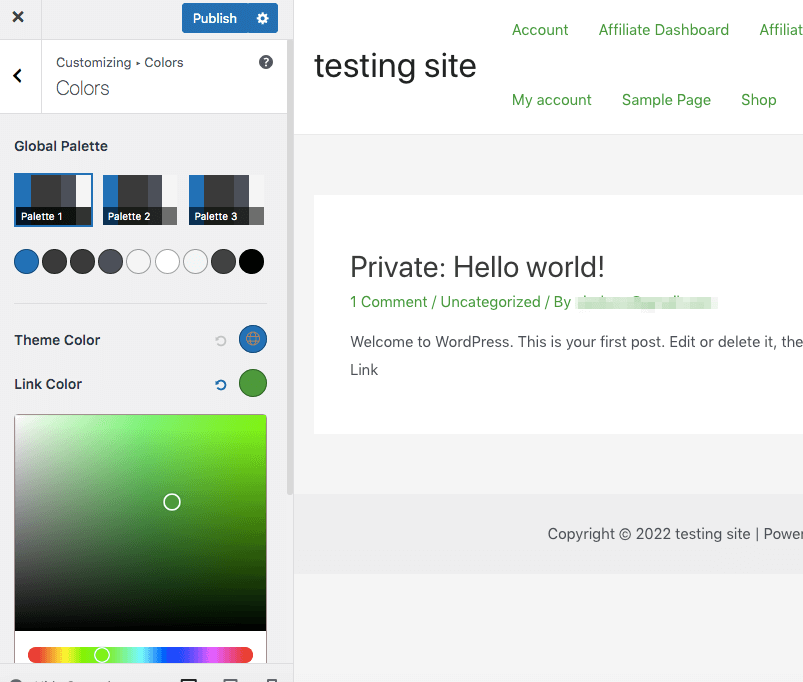
Alternatively, you can enter a color’s hex code into the text bar. Once you’ve landed on a color you like, click on Publish. This will update all the link colors on your site.
3. Edit Your Beaver Builder Theme
If you’d like to easily make global changes to your site but still maintain a high level of control, we’d recommend using the Beaver Builder theme. With our tool, you can easily modify your link colors.
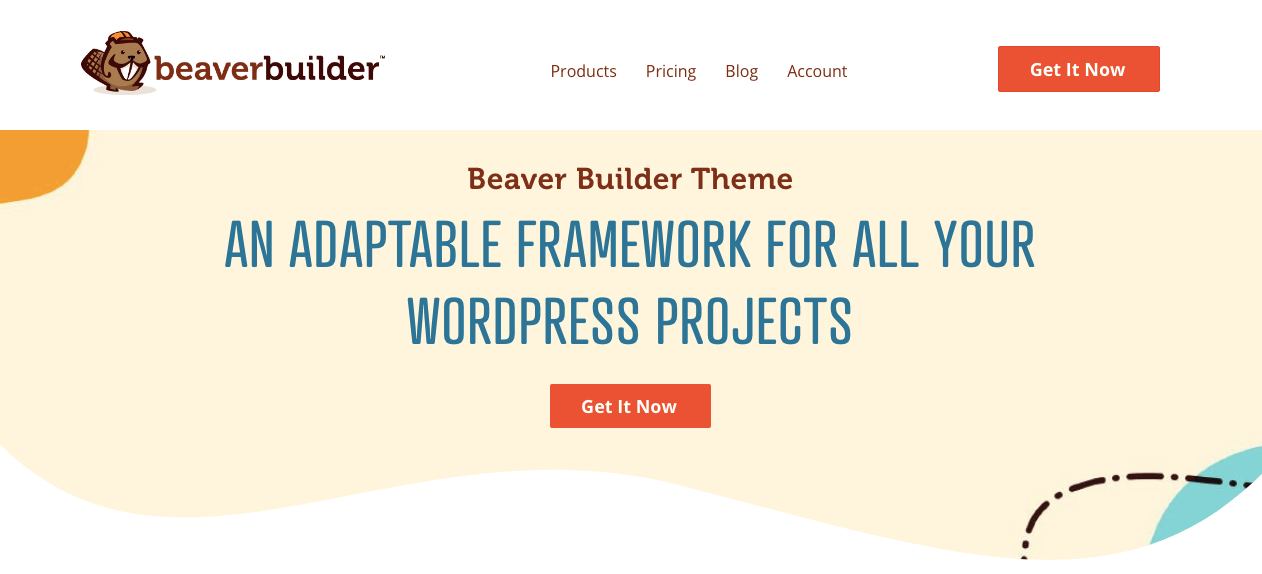
What’s more, Beaver Builder allows you to quickly design websites with a drag-and-drop page builder. Whether you want to create a blog or an online store, this means you can edit your website without dealing with any code:
To get started, you’ll need to install and activate both the Beaver Builder plugin and our Beaver Builder theme. Keep in mind that this is a premium tool, so you’ll also need to select a plan.
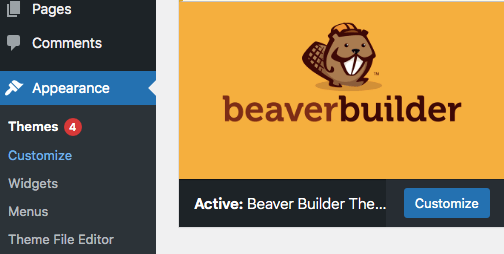
Once you’re set up, you’ll be able to set your color scheme with presets. However, if you don’t like your default link presets, you can easily change them. To do this, go to Appearance > Customize:
Then navigate to General > Accent Color. Using the color picker, you can choose a custom color for your links:

When you’re finished, click on Publish. This will universally modify the link colors in your theme.
4. Add Custom CSS Code
Lastly, you can enter custom CSS code in your customizer tool in order to change link colors. This process is slightly more complicated, but it does offer more flexibility in color choices. As such, it may be a good option for experienced WordPress developers, or designers who are working with a client’s pre-determined color palette.
In this scenario, you may already have a custom color that you need to use. If not, you can find a color code using a website such as color-hex. There, you can search for a specific shade or view a list of popular colors:
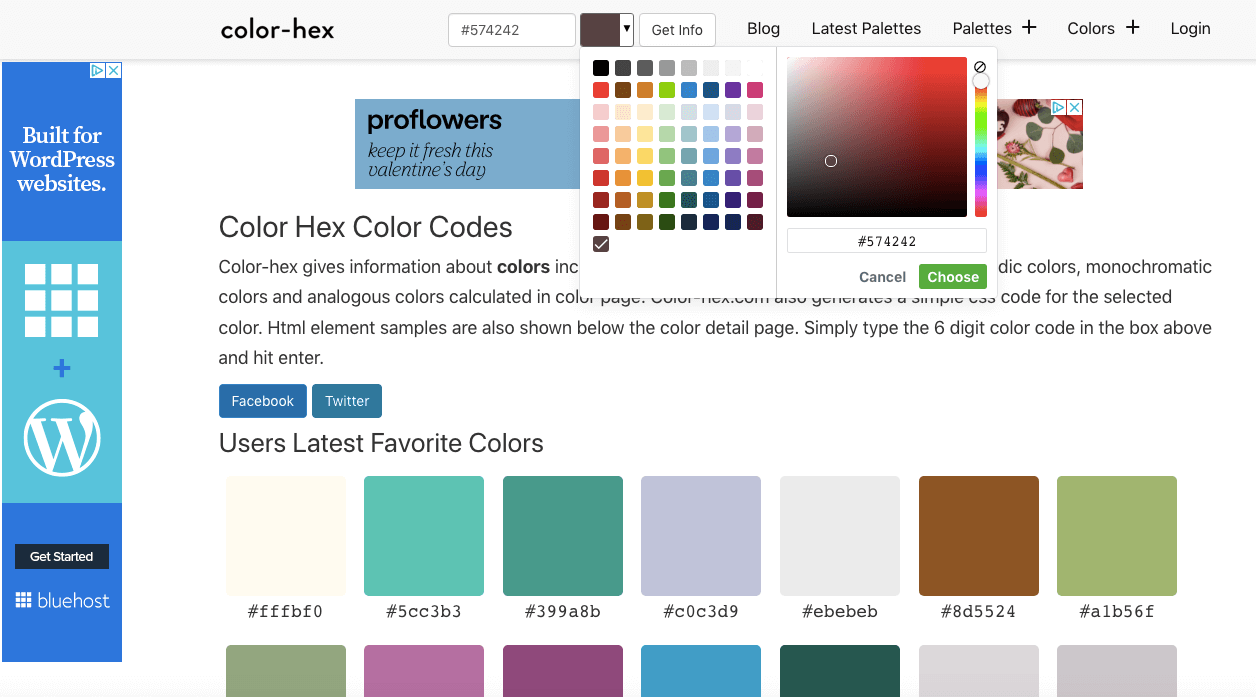
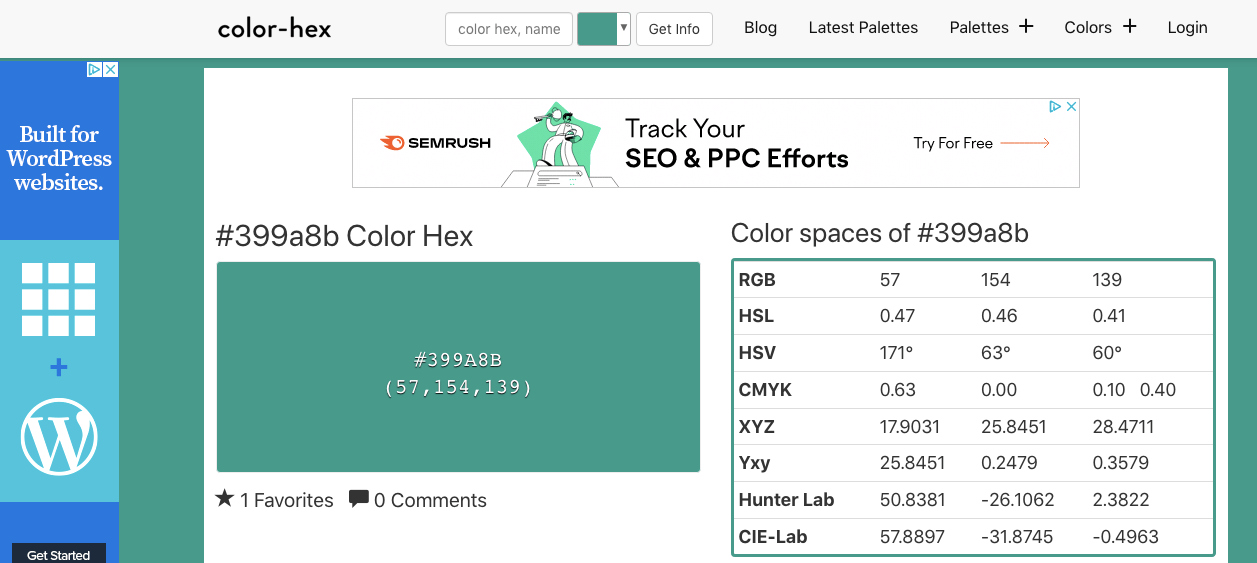
Underneath each color, you’ll see a hex code. Copy the specific code for the color you’d like to choose. For this example, we’ve chosen #399a8b:
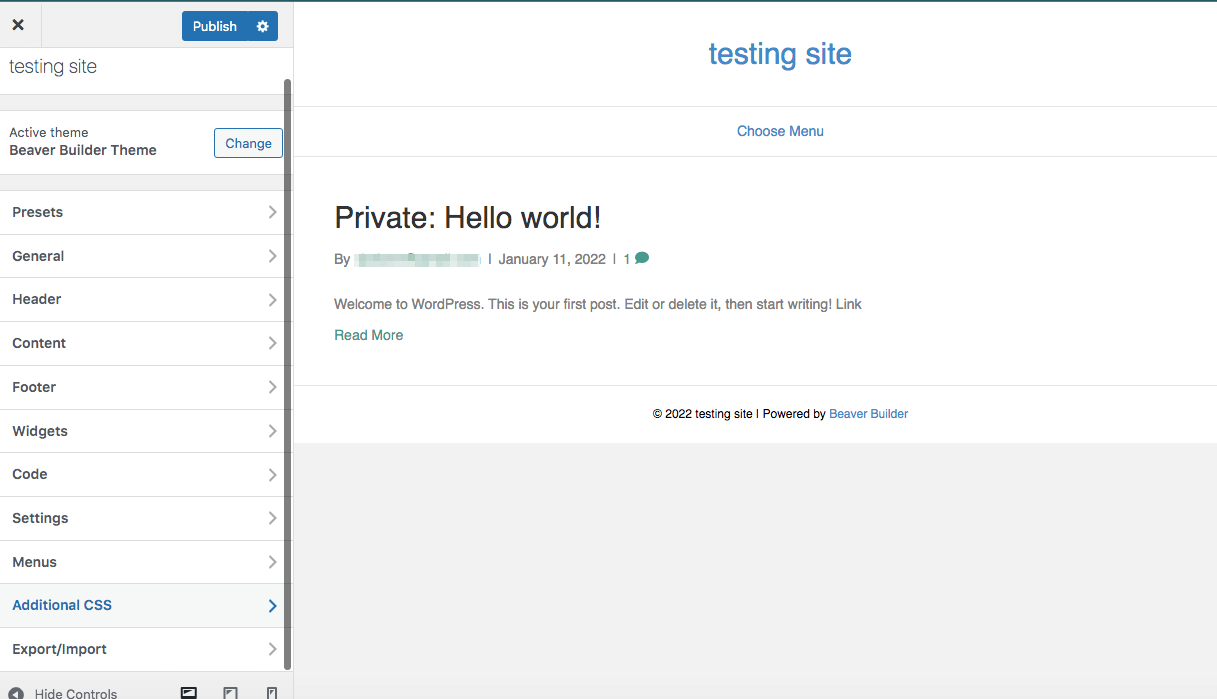
Next, go to your WP admin and click on Appearance > Customize to bring up the Customizer. At the bottom of the tab options, in your left-hand panel, you’ll see Additional CSS:
Now, simply paste your new color’s hex code within the following CSS code snippet:
a { color: #399a8b; }Then copy this CSS and paste it into the box at the bottom of the Additional CSS tab:
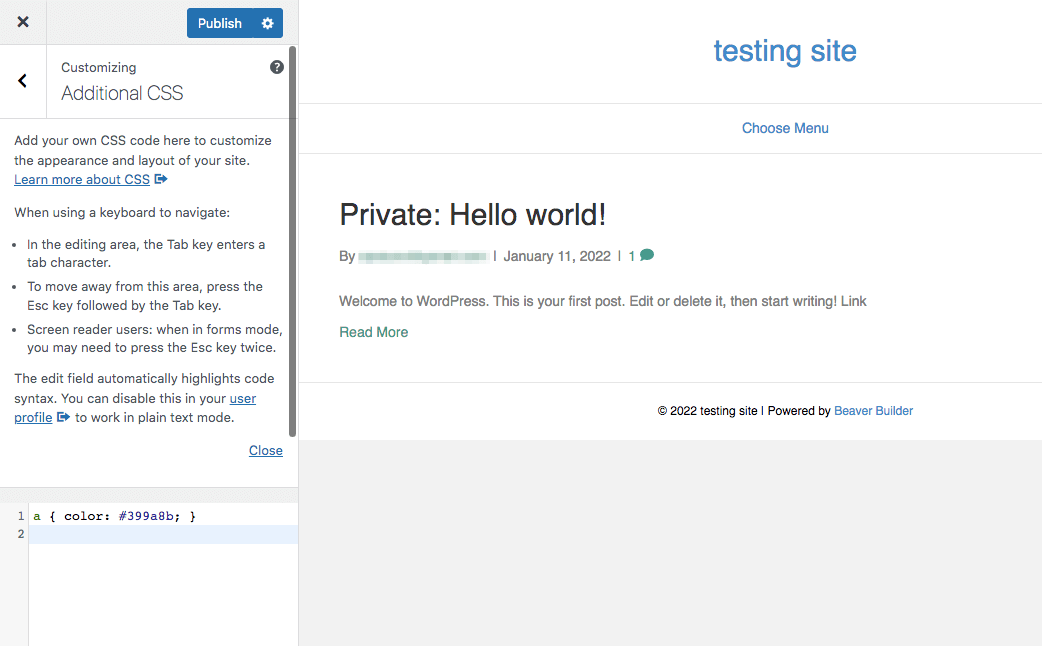
Now, you should be able to see your new link color! If you’re happy with the change, click on Publish.
Conclusion
Even after you’ve chosen a custom website theme, you might not be satisfied with its default colors. Fortunately, WordPress allows you to modify link colors to be more noticeable or aligned with your brand. That way, you can create a more visually-appealing site while also reducing your visitor bounce rates.
To recap, here are four simple methods for changing the link colors on your website:
- Use the Global styles feature (block themes only).
- Use your WordPress customizer.
- Edit your Beaver Builder theme.
- Add custom CSS code.
Do you have any questions about changing your website’s link colors? Let us know in the comments section below!
Our Newsletter
Our newsletter is personally written and sent out about once a month. It's not the least bit annoying or spammy.
We promise.
Try Beaver Builder Today

Related articles
How To Add Content Restriction in Beaver Builder
Wondering how to restrict content in Beaver Builder? If you run an online business built around premium content or educational…

Best WordPress Black Friday Deals (2023)
Hey Beaver Builders! Are you looking for the best WordPress deals for this holiday season and Black Friday? We reached…

How to Redirect a WordPress Page (Manually and Using a Plugin)
In this article, we’ll dig into what redirects are and why you might need or want to use them. We'll...
Join the community
We're here for you
There's a thriving community of builders and we'd love for you to join us. Come by and show off a project, network, or ask a question.
Since 2014
Build Your Website in Minutes, Not Months
Join Over 1 Million+ Websites Powered By Beaver Builder.